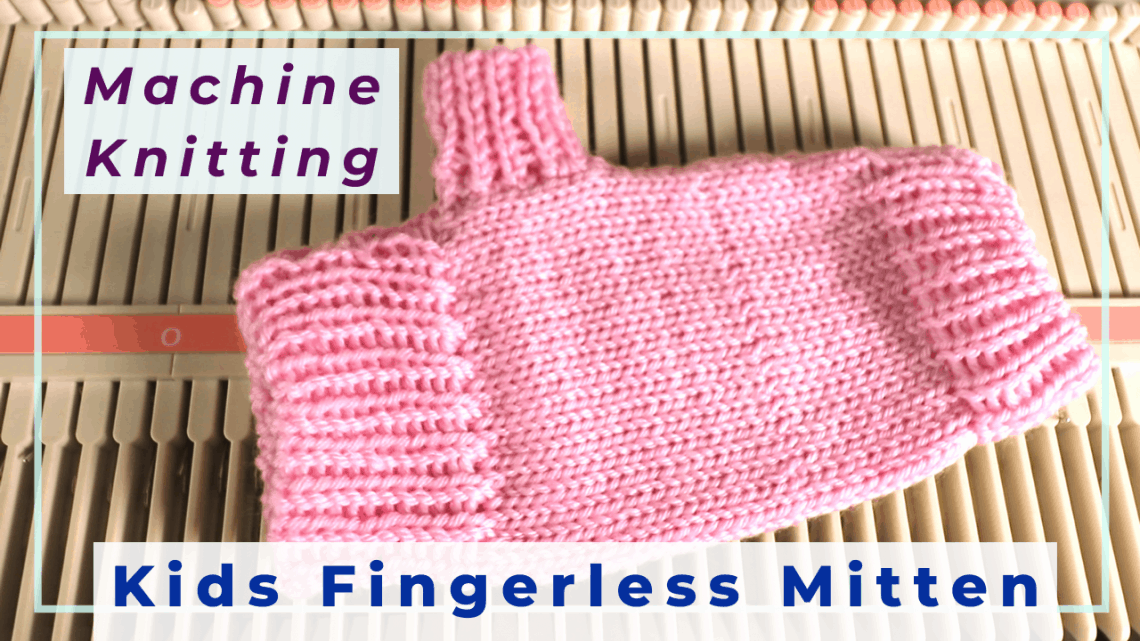
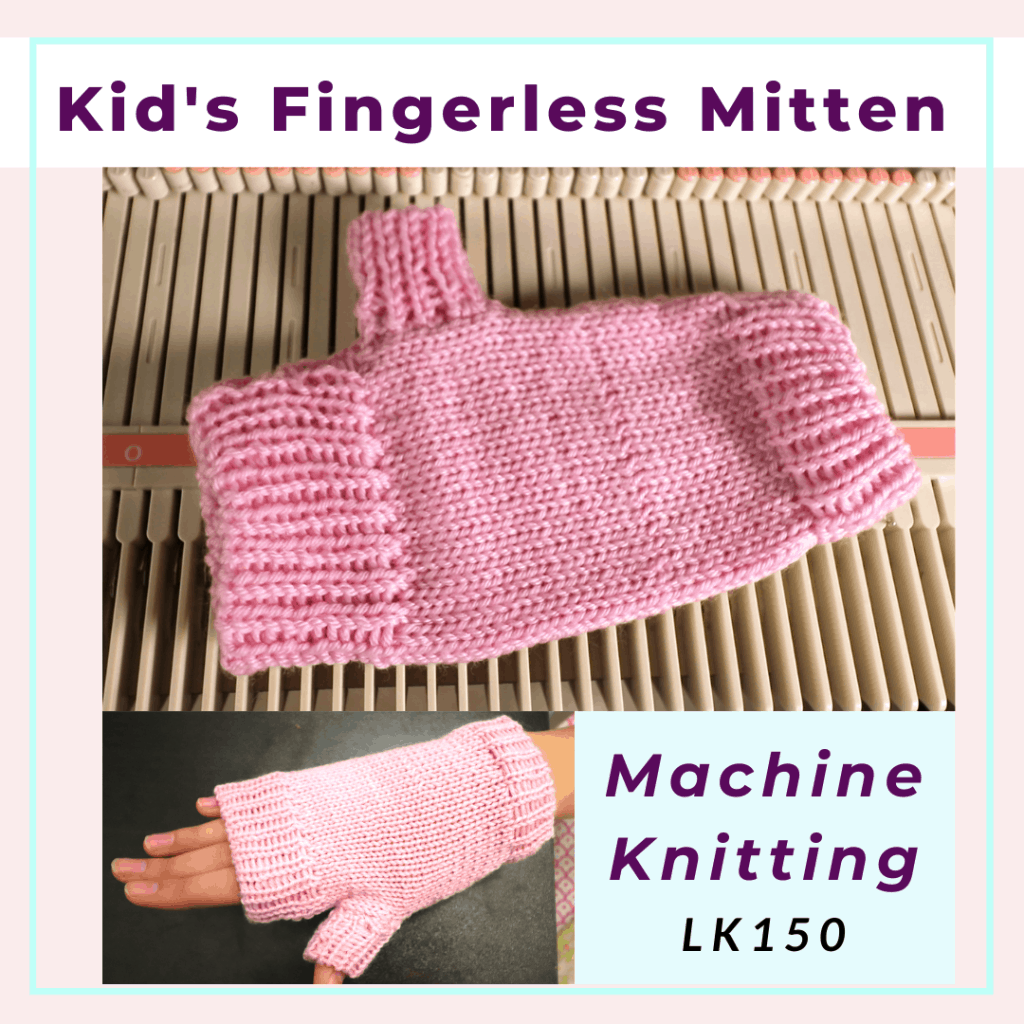
Machine knit kid-size fingerless mittens on an LK150
Here is a quick project using a basic knitting machine (LK150) for a pair of fingerless mittens. The following project is done for my 11 years old girl but it can be easily modified for adult sizes.
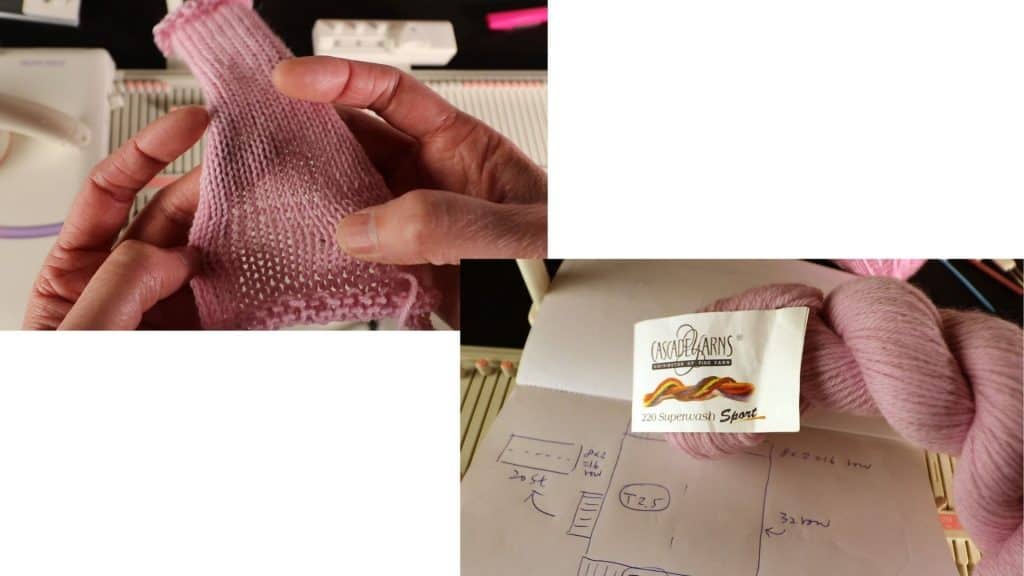
Material: any sports weight yarn. It can be modified for a different yarn weight. You just need to knit a swatch first to calculate the stitch numbers and row numbers per inch.
This is done in an LK150 knitting machine, but it should work in any knitting machine because no patterning device is needed.
Watch the tutorial for the fingerless mitten on LK150
How to knit a fingerless mitten on an LK150 knitting machine — step by step
For this design of fingerless mitten, the thumb piece is sewn to the main piece at a 90-degree angle. You can wear the mitten upside down so the wrist area is covered more like the picture below.
This pattern is for 11 years old kid. I think it should fit around 5th grader to 7th grader. Change the stitch and row numbers for bigger or smaller sizes.
You can also decide the location of the thumb hole to make the mitten higher and cover the finger more, or lower and cover the wrist more.

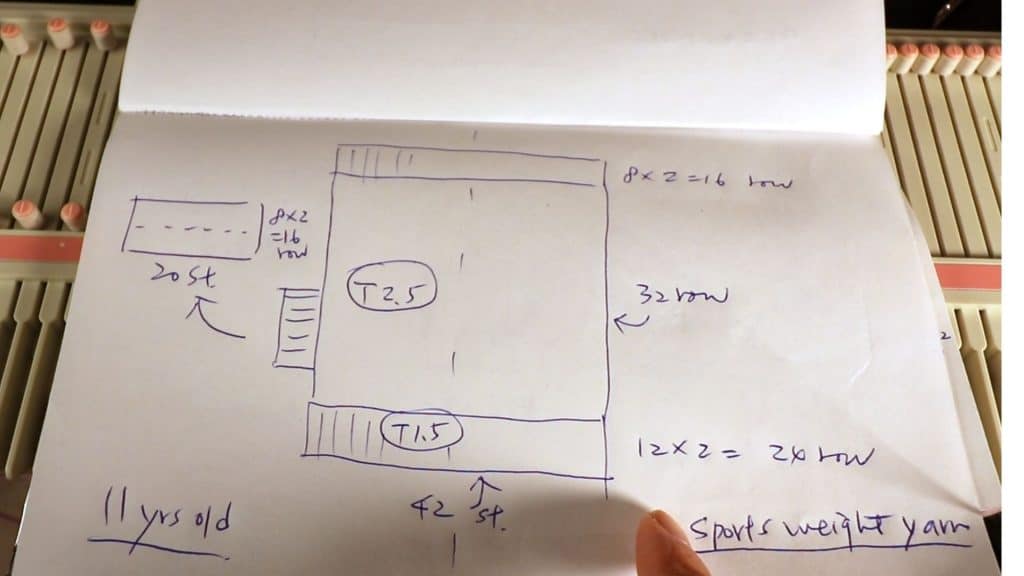
Swatch
Before you start, it is best to make a swatch with different tensions to see which tension produces the best fabric. There are many methods to make a swatch. The easiest way is to just knit a few inches wide and a few inches long for every tension. Then measure the stitch and row numbers per inch. A bigger size swatch will result in a more accurate measurement.
I use the Cascade 220 Sports weight yarn. They are not too bulky and the mittens fit into a pocket or backpack easily.
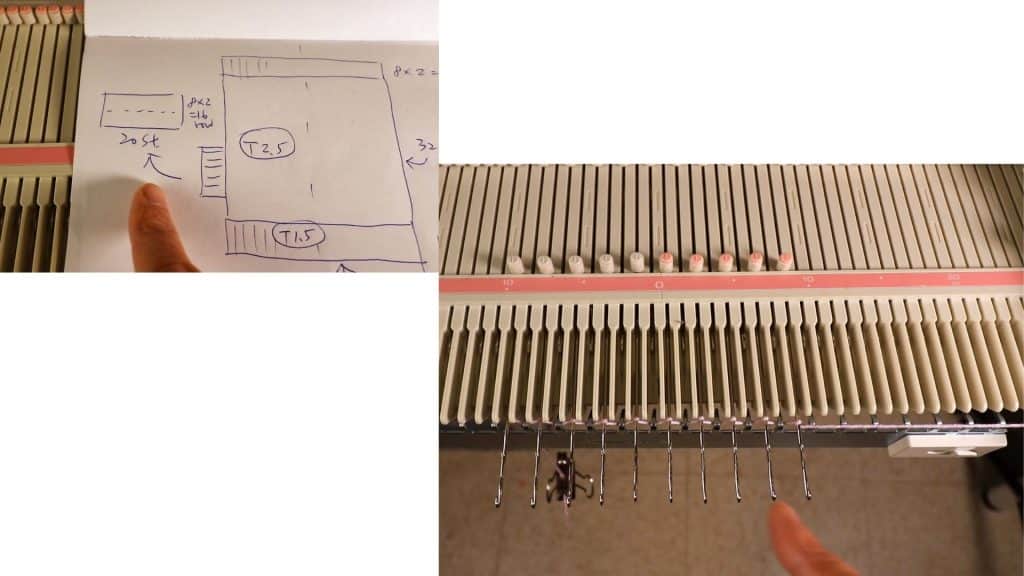
The diagram
Here is a simple design. We start with a mock ribbing, knit plain stockinette stitches, then back to mock ribbing and bind off.
The thumb piece is optional. It is another mock ribbing rectangle.
After knitting the pieces, just sew them together with a mattress stitch or whip stitch (or both).
Cast on
For mock ribbing, some stitches will be out of work. I cast on every other needle with E-wrap. Other stitches are in the A (out of work) position for now.
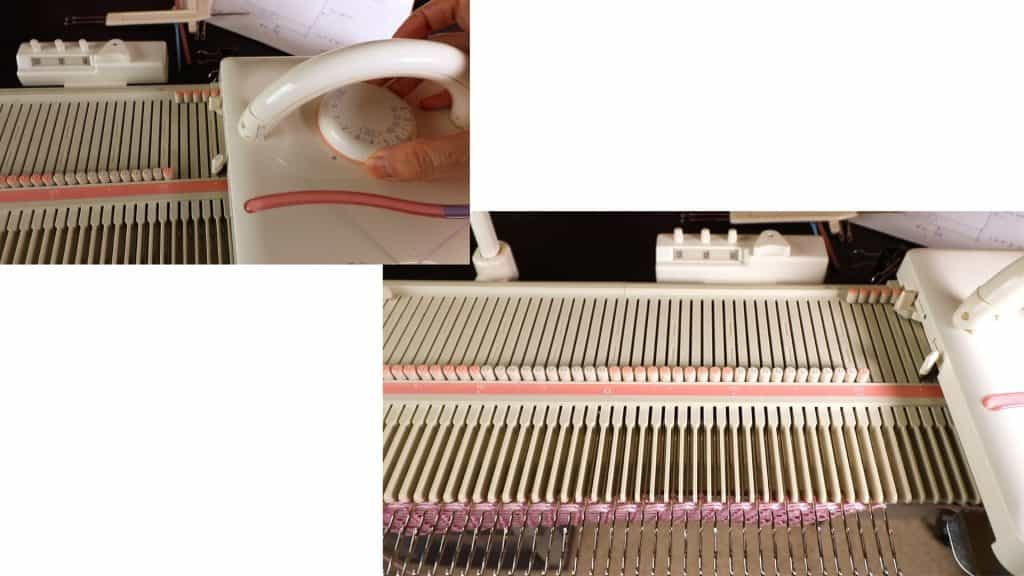
Hang some weight. Set tension to 1.5 (I use 1.5 for ribbing and 2.5 for the main part). Start knitting according to our design diagram. I knit 24 rows. After knitting 24 rows, we will fold the fabric in half (12 rows).
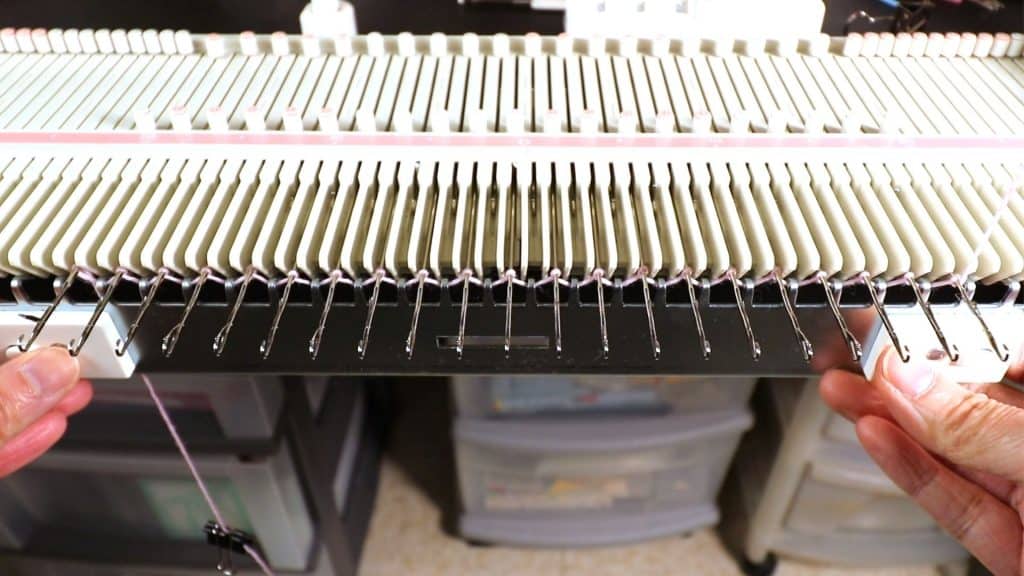
After knitting 24 rows, take the weight off and use a 1-prong transfer tool to pick up the cast-on stitch and hang it to the empty needles (every other stitch that was in A position before).
If there is one stitch off, just pick a nearby loop in the corner.
After stitches are back to the empty needles, push all needles out to D position and push the fabric back to the end so the next row will be easy to knit (no dropped stitch).
Change the tension to 2.5 or your main tension and knit one row.
Now knit the main part or 32 rows in main tension.
You can add texture or fancy stitches such as cable stitches here. Just remember the second mitten will be a mirror image and the pattern will be on the opposite side.

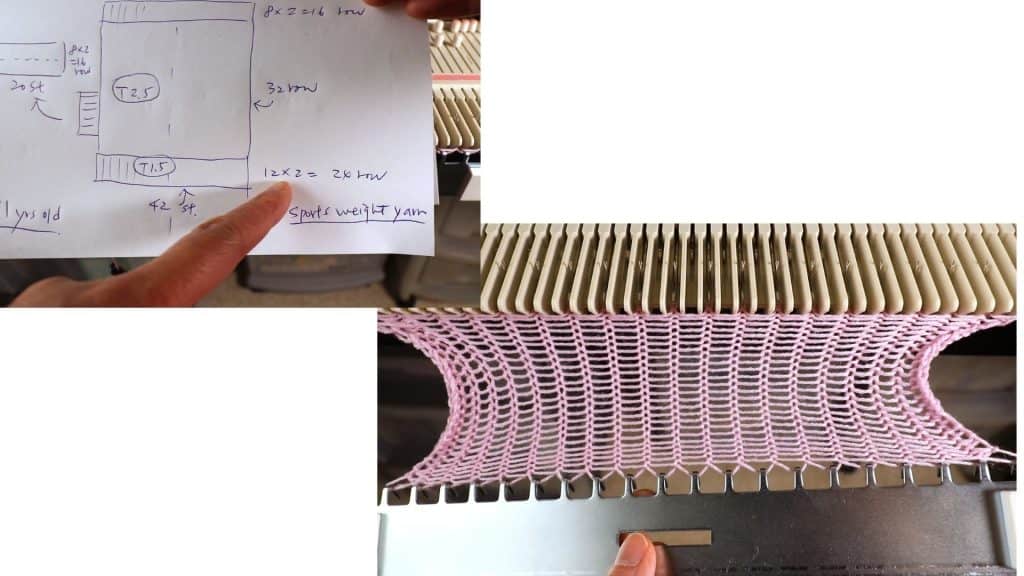
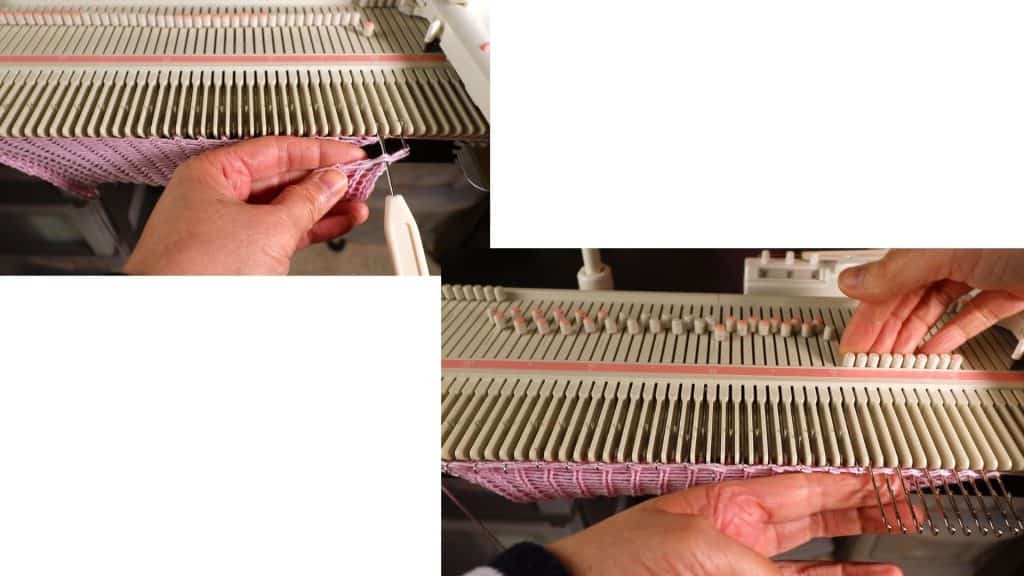
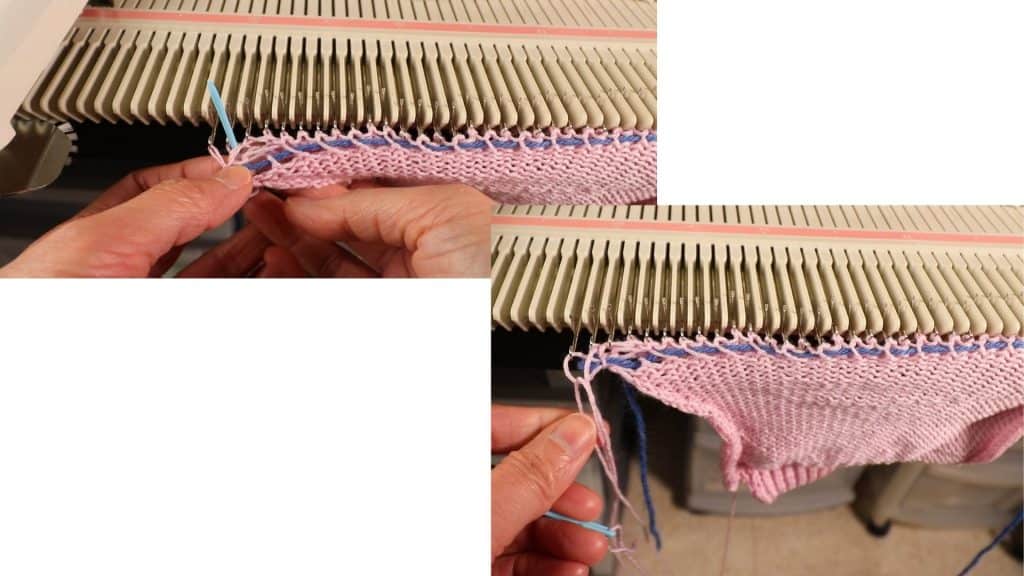
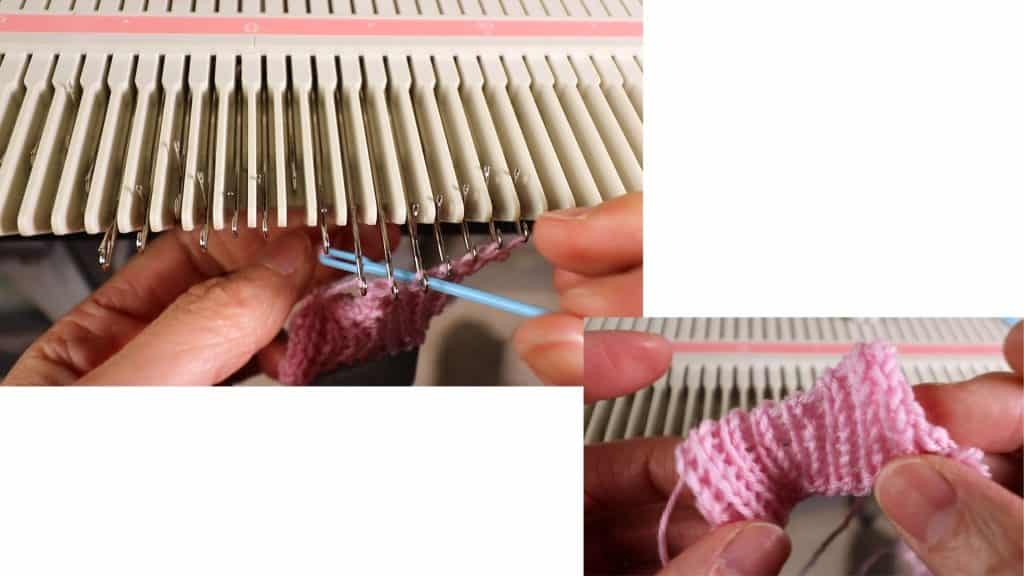
After 32 rows, we are ready to do mock ribbing again. My old way is to just transfer every other needle to the next stitch, but that will create holes. I am trying the no-hole mock ribbing technique from Diana Sullivan’s video on YouTube this time.
According to her method, use a piece of contrast color yarn and a needle, thread it through “every other stitch”, take these stitches off needles, and place the needles back to A or non-working position.
Next, adjust the tension to the mock ribbing tension (1.5) and knit the mock ribbing rows (16 rows).


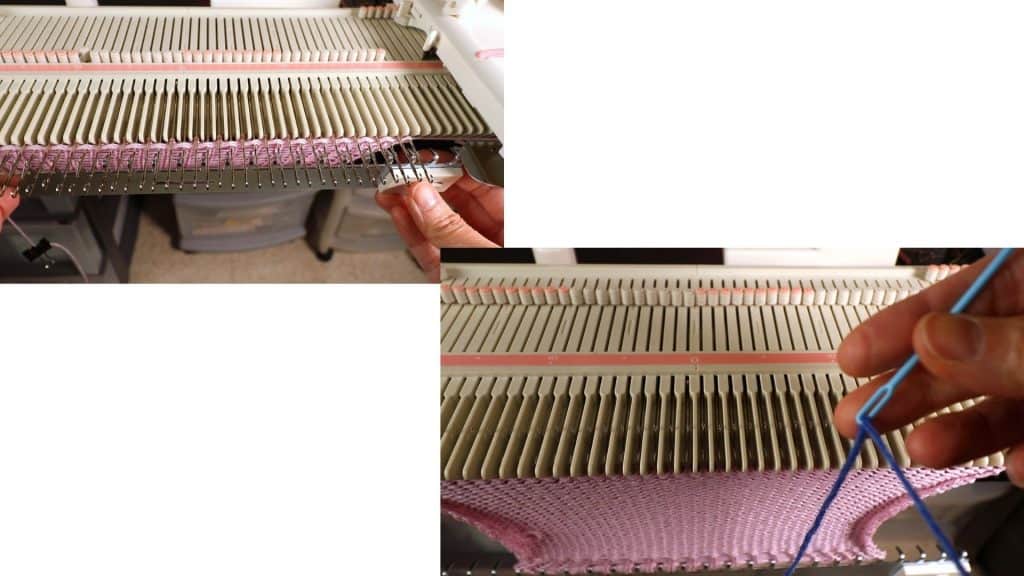
After 16 rows, pick up the stitches on the contrasting color yarn and place to the empty needles (every other stitch).
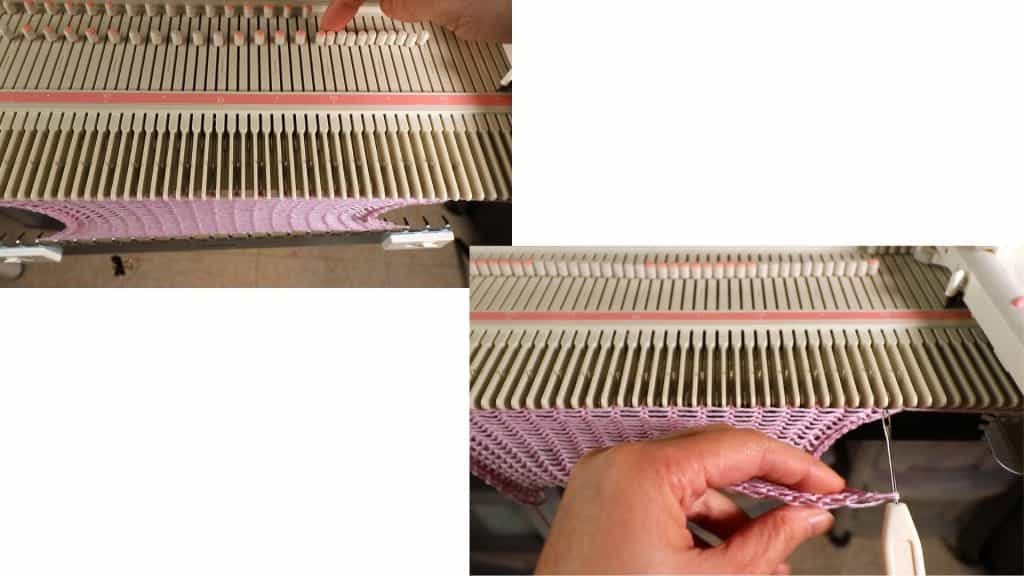
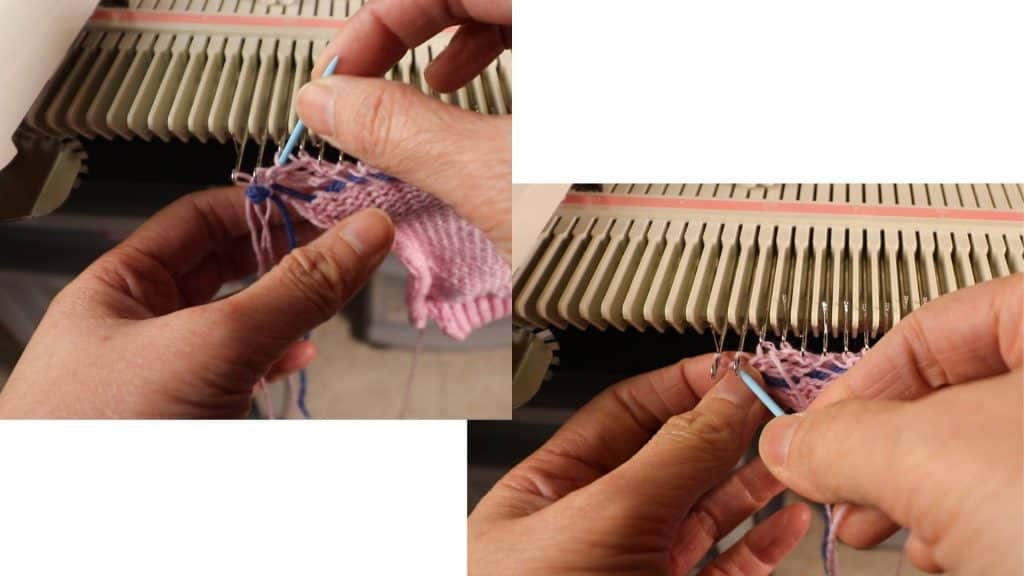
Push all the needles to D position, push the fabric back, and knit one row.
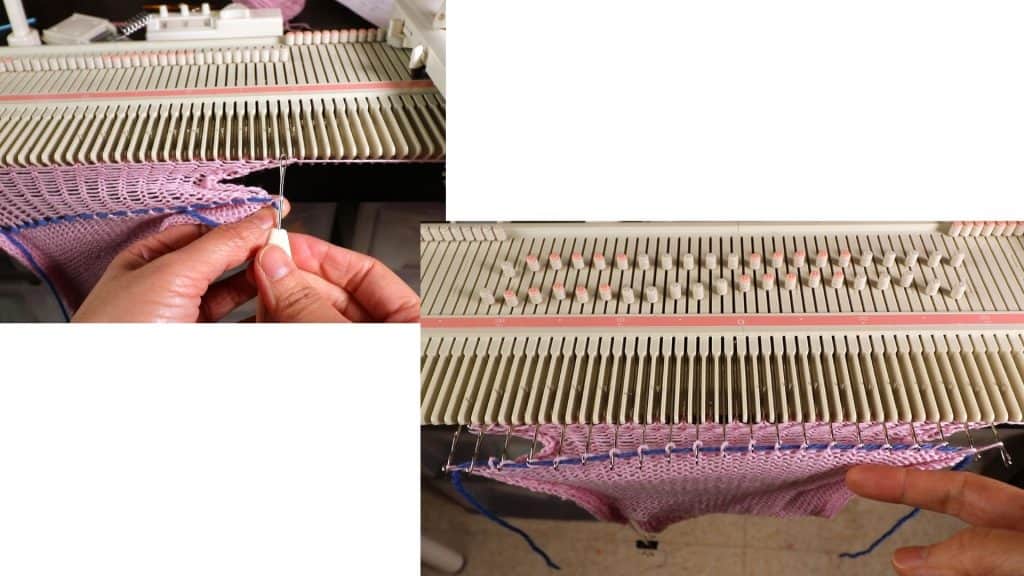
Then cut a long yarn tail (3 times or more or the fabric width) and thread through a needle. We will do the sewn bind off to make sure it is stretchy enough.

The sewn bind off is the repeat of:
2 stitches forward (third stitch from the edge), thread the yarn from the back to the front.
Then 1 stitch back (second stitch from the edge), and thread the yarn from the front to the back.
The stitch that has been worked twice can be taken off the needle.
After bind-off, take out the contrasting color yarn. It will have a ridge so it can be very stretchy.
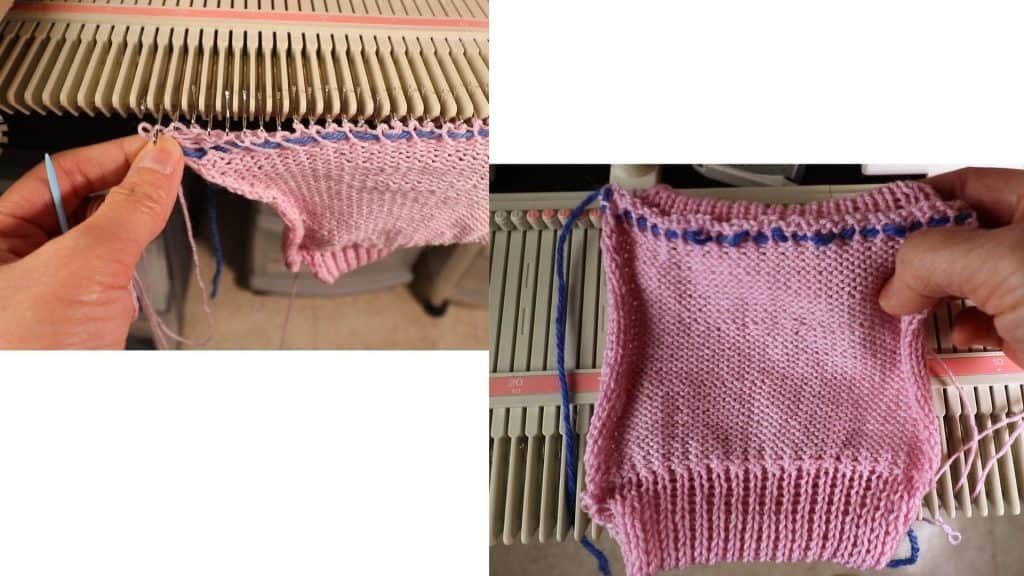
The back side (left picture) and the front side (right picture) view. There is no obvious holes between the mock ribbing and the main piece.
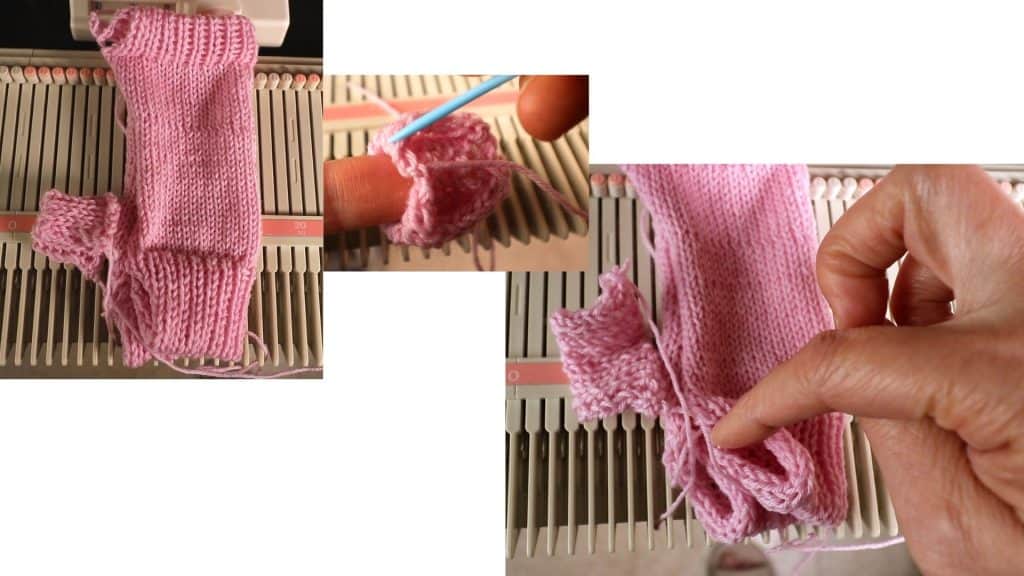
Thumb piece
The thumb piece is also a mock ribbing.
Cast on from L10 to R 10 with every other needle out of work. E-wrap these 10 stitches.
Set ribbing tension (1.5) and knit 16 rows.
After 16 rows, place the cast on stitches to the empty needles (every other needle).

Push the needles out to D position, and push the fabric back to prepare for the next row.
Knit 1 row.

Use the same sewn bind-off as before.
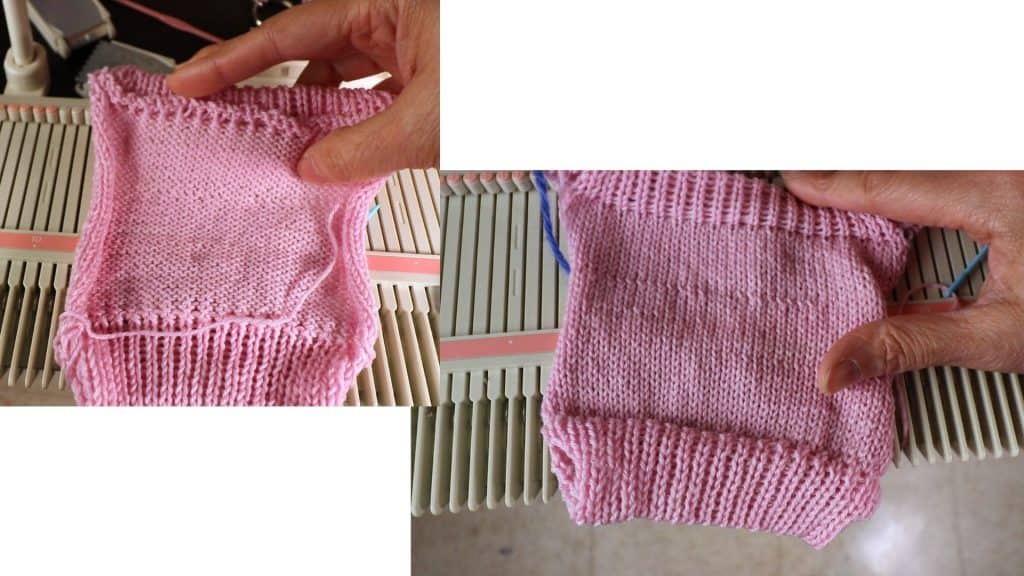
Assembly
The last part is to sew the pieces together. The mock ribbing has 2 layers. Sew the inner layers first, then outer layers. I use basic whip stitch for the mock ribbing and mattress stitch for the side of the main piece.
You can decide the placement of the thumb. I leave at least a few stitches from the bottom ribbing. Maybe you like to place the thumb right in the half-way point. It will be another look.
Happy knitting!

🛒 Visit our Amazon page (this contains affiliated links, and we get a small percentage without extra cost to you): https://www.amazon.com/shop/picturehealer
Machine knitting simple kid’s fingerless mittens
Featured Posts
- How to machine knit a heart shape on an LK150

- Machine knitting a loop stitch for big texture

- Machine knitting a corner-to-corner, diagonal dishcloth

- Machine knitting a buttonhole band on an LK150

- Tuck stitch blanket on an LK150 – Part 1
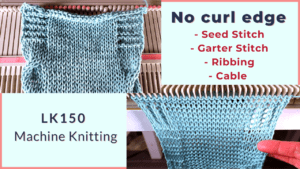
- No curl edge with seed, garter, ribbing, or cable stitches
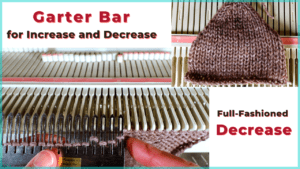
- Full-fashioned decrease, Garter Bar increases or decreases in the middle of a row
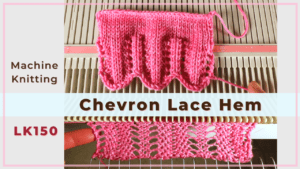
- How to machine knit a Chevron Lace Hem
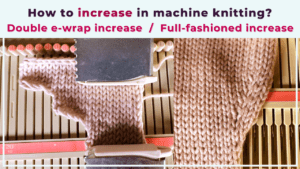
- Machine knitting increases – the full-fashioned increase and double e-wrap
- Picot hem with a scalloped edge and eyelets on an LK150 knitting machine

- The loop through loop bind-off and the sewing bind-off

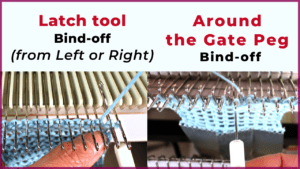
- The latch tool bind-off and around the gate peg cast-off
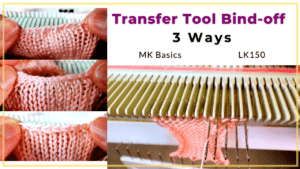
- Transfer tool cast off and variations- Simple, No hole, and Even-tension
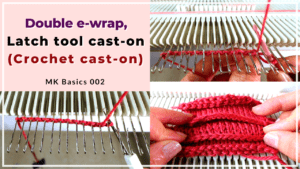
- Double e-wrap, latch tool, and crochet hook cast on
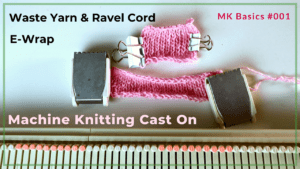
- Machine Knitting basics – Cast on with waste yarn, ravel cord, and e-wrap


You May Also Like
How to use a Single Motif Cam on a Brother knitting machine
Back to school mask sewing for everyday wear