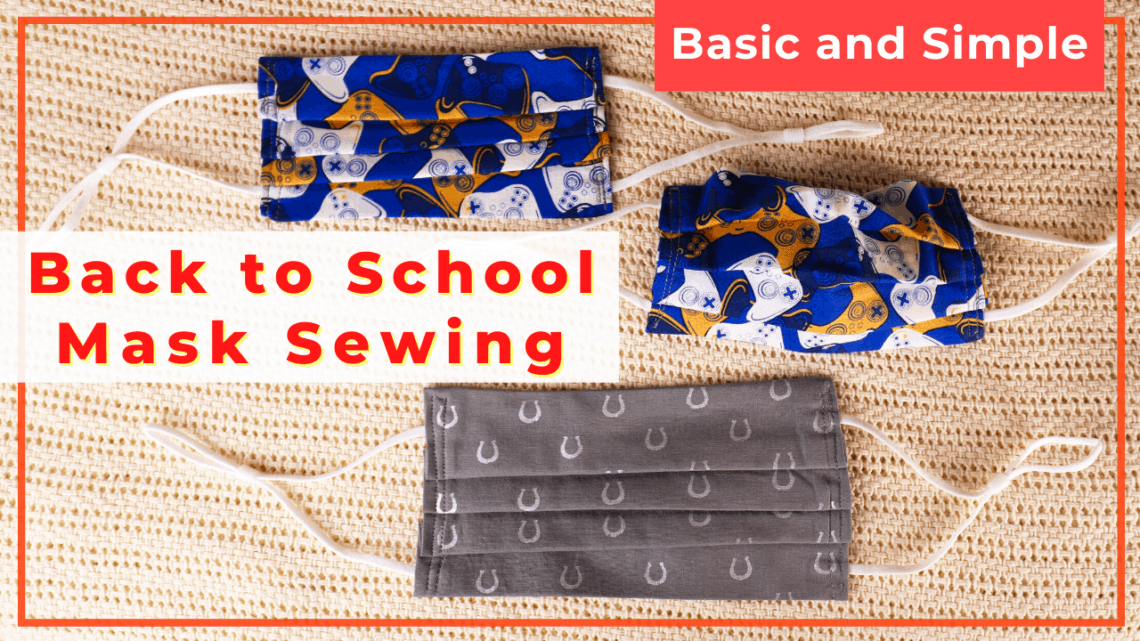
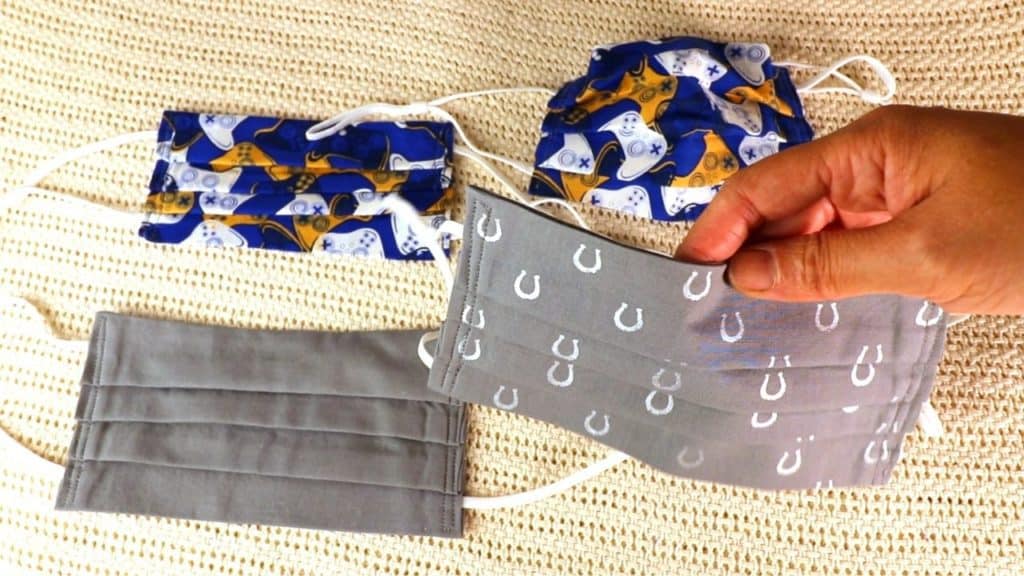
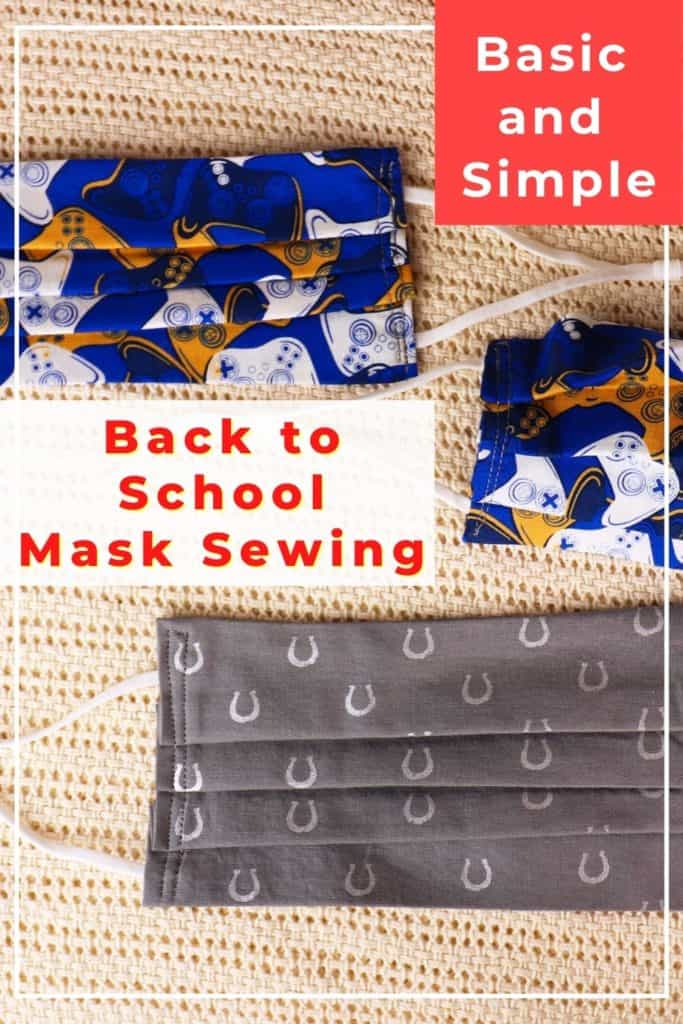
Back to school mask sewing for everyday wear
The weather is getting cooler, kids are getting ready to go back to school in person. Time to sew more masks, so they always have extras. The one style our kids like is the basic surgical style with 3 folds in the center. The filter pocket is not used often, and even the nose wire is not really necessary. So this version of the mask is the simplified version. No pocket, no wire, and with the new adjustable elastics for ear loop. That makes sewing masks so much easier!
For the original mask tutorial and pattern (4 sizes) with filter pocket, nose wire, and the exact size of elastics, click here.
You can get the adjustable elastics for mask-making HERE. (Affiliated link.)
Watch the back-to-school mask sewing tutorial
Mask Pattern
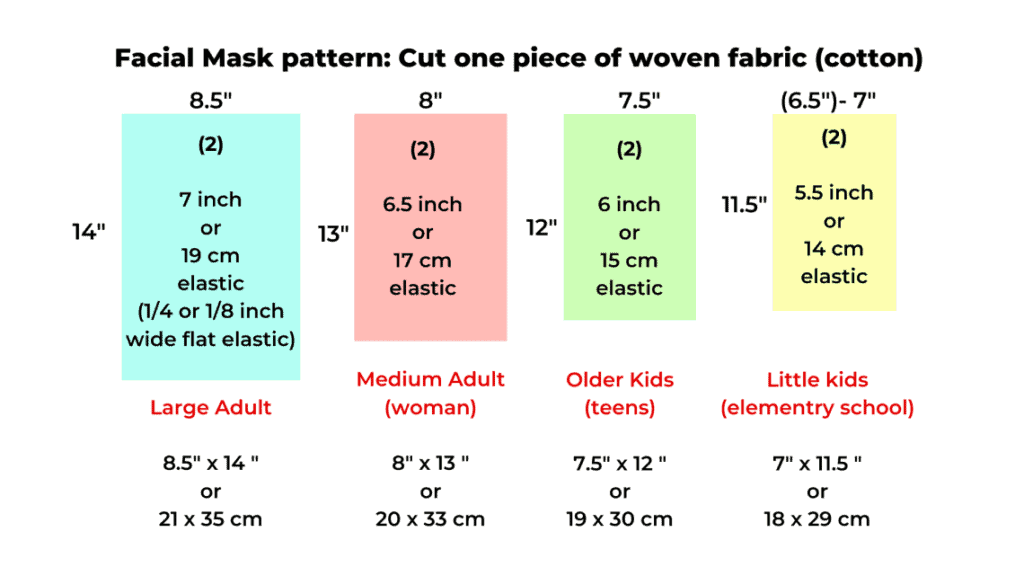
We are using the previously posted patterns (Link HERE). This is the most straightforward design. Each pattern is a rectangle.
For my 7-year-old boy, I use the little kid pattern and cut 7 inches by an 11.5-inch rectangle.
If you are using regular elastics, the chart below shows the exact sizes of the elastics you need. For the little kids’ mask, you will need (2) 5.5 inch (14 cm) long elastics for each mask.
Since I am using the adjustable elastics as ear loops, I do not need to worry about the exact size.
You can get the adjustable elastics for mask-making HERE. (Affiliated link.)
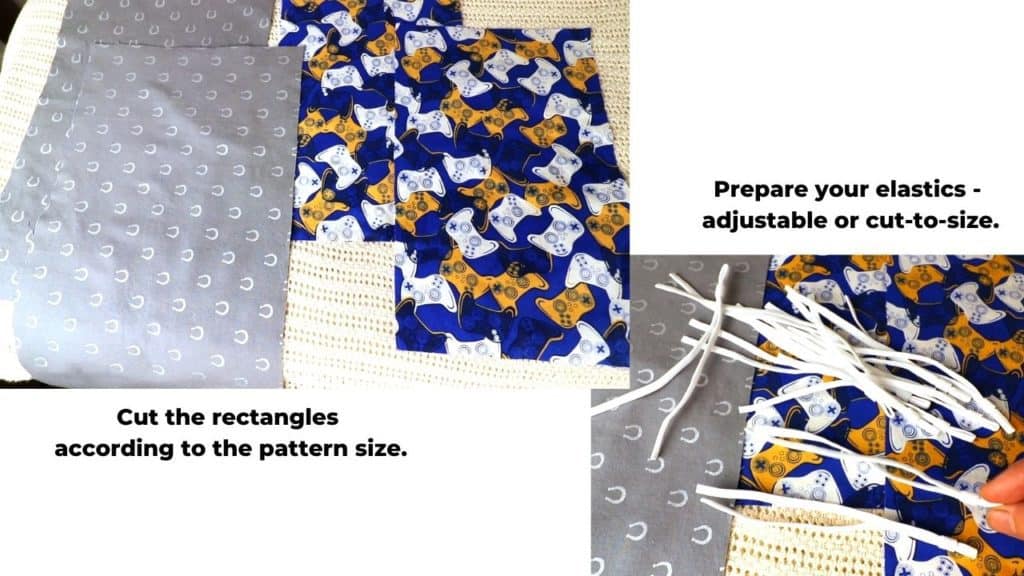
When cutting your fabric, pay attention to the direction of the fabric pattern. The fabric will be folded in half along the length. Make sure the final pattern will show up correctly. If your fabric is plain or without a directional pattern, it does not matter then.
Finish the edges
The first step is to finish the edges, so the threads will not unravel easily. This step is optional, but it can make the mask last longer.
There are many ways to finish the edges. I can sew a line of zigzag stitches close to the edges and overlap a little at the end.
Another way is to use a serger to overlock the edges. It sews very quickly if you have a serger.
You can also use a pinking shear to cut a zigzag line along the edges. The angled fabric will not unravel as easily as a straight edge. But, it is not as sturdy as sewing a zigzag line or serged edge.
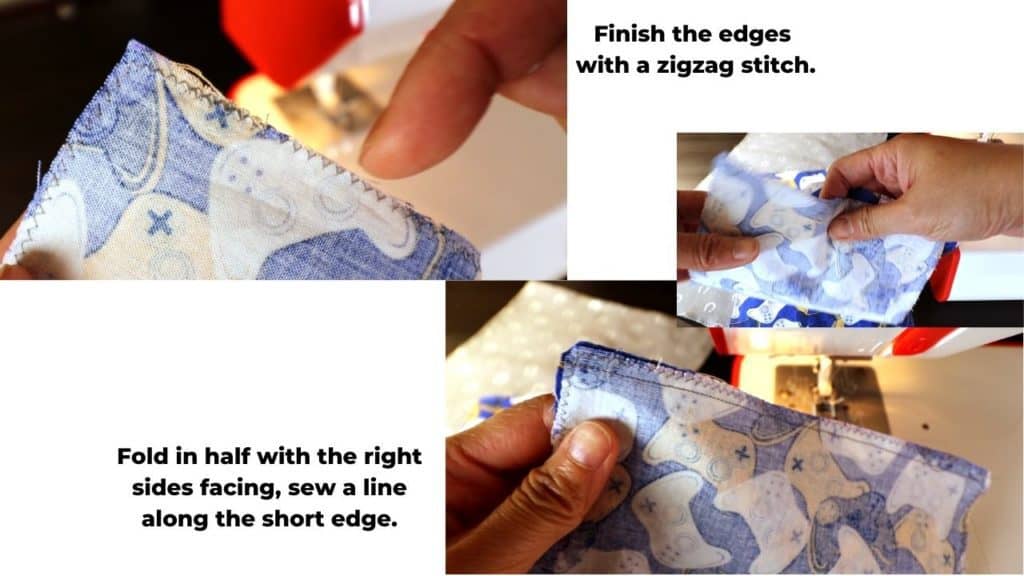
Sew the short ends together
Next, we can sew the 2 short ends together with the right side of the fabric facing each other.
I use a 3/8 inch seam allowance. You can adjust the seam allowance size. It is not critical for this project, but it does change the overall size of the mask slightly.
After sewing a straight line. Iron and turn the fabric inside out. Now we have a tube.
Fold the sides in and insert elastics
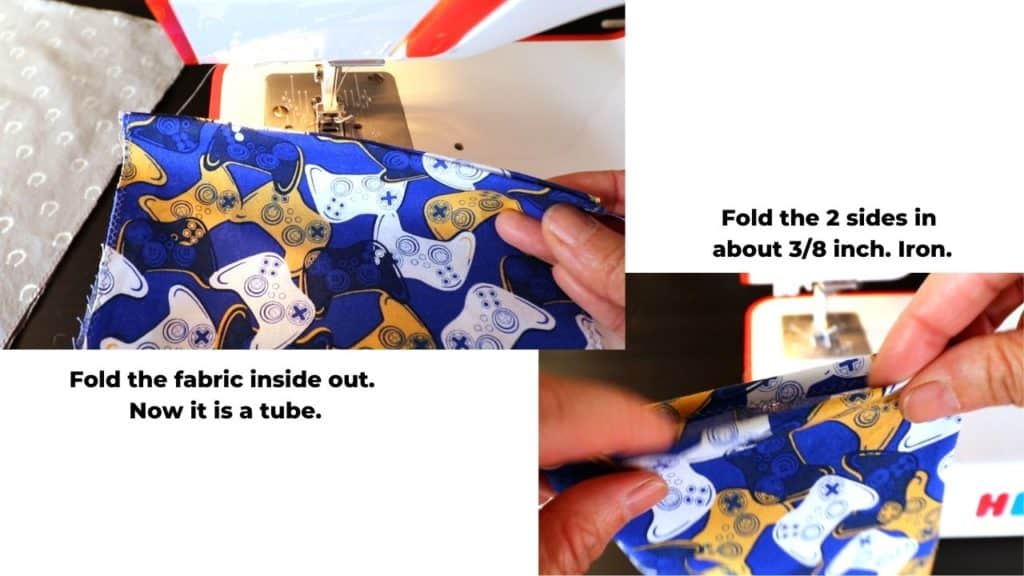
Next, we can fold in both sides by about 3/8 inch. This hides the raw edges. Now we can insert elastics.
The elastic should be placed close to the top and bottom edges but leave a little distance from the edges. This will fit our faces better, and also give enough space for the folds in the center.
You can sew up the side seams first (with elastic inserted), or wait until after the next step, making 3 folds.

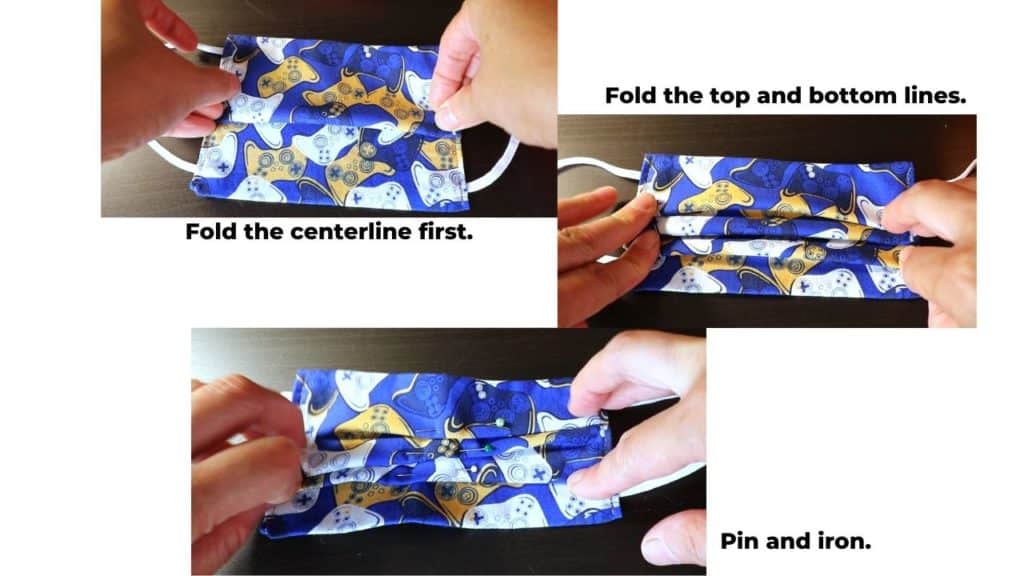
Make 3 folds in the center
It is easier to fold the center-fold first, then top and bottom. It will look a little off-center. You can adjust the folds up or down a little to make the spacing look right.
Pin and iron to make the process easier.
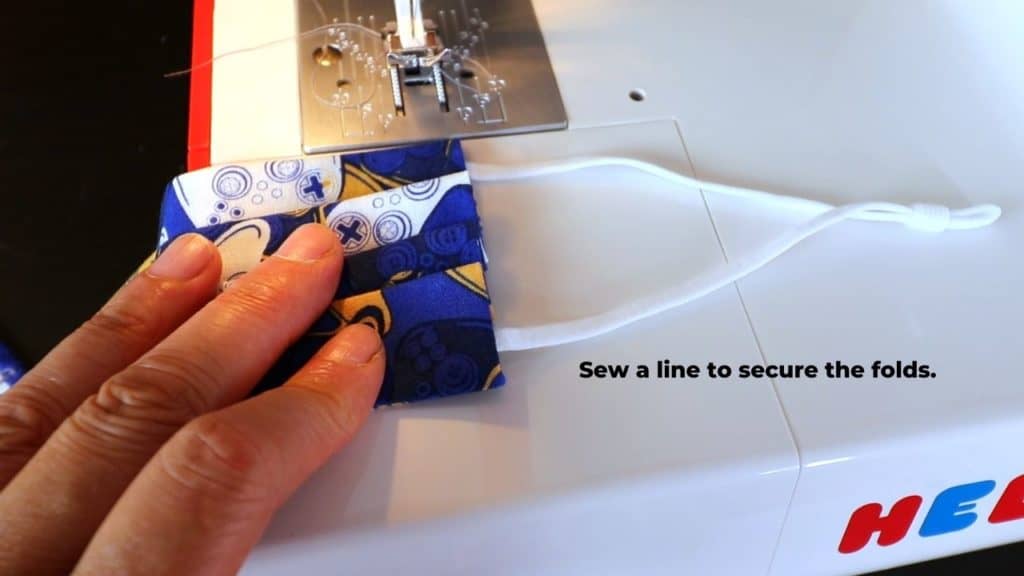
Now everything is in place, just sew 1 or 2 lines along the side edges so the folding lines and elastics are secure.
All done. A simple, everyday mask for your family!
Note about the wire for the nose
You can add nose wire easily before closing the side seams.
My new favorite option is the wire from the grounded coffee packages. They are pretty sturdy. Another option is to use the wire from a disposable mask.
Simply cut the wire to the desired length (4-5 inches), insert it into the top center, and stitch around it. It creates a pocket for the wire. The wire will not be removable in this way. So make sure the wire you pick is sturdy enough for laundry. See the previous post about sewing the nose wire HERE.
You can get the adjustable elastics for mask-making HERE. (Affiliated link.)
Recent Posts


You May Also Like
How to use a Single Motif Cam on a Brother knitting machine
How to sew a guinea pig fleece house
