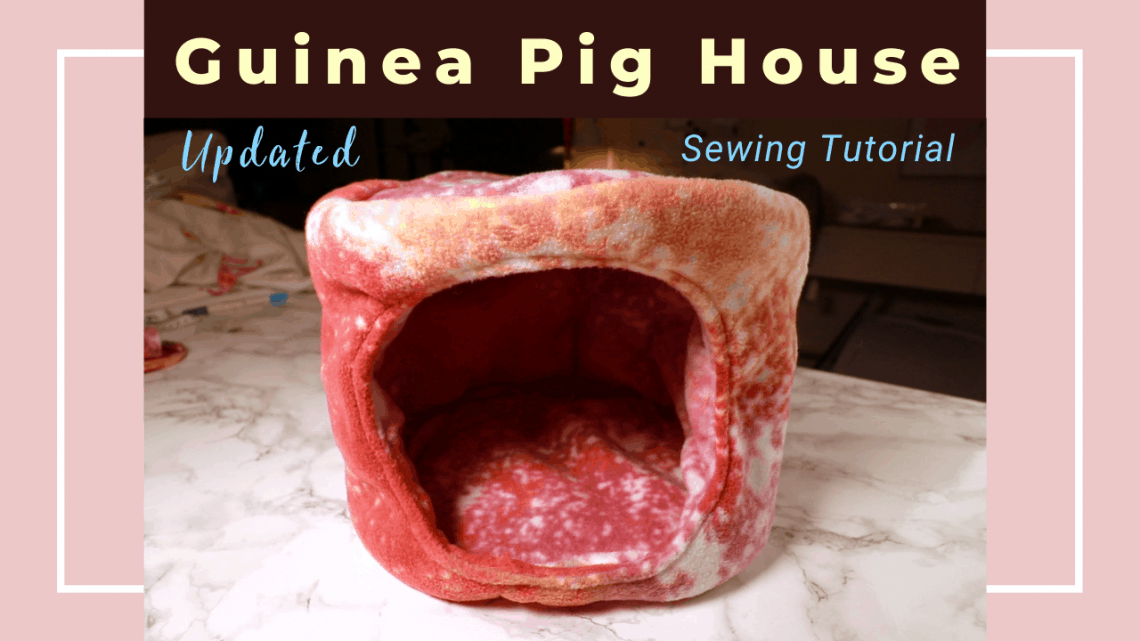
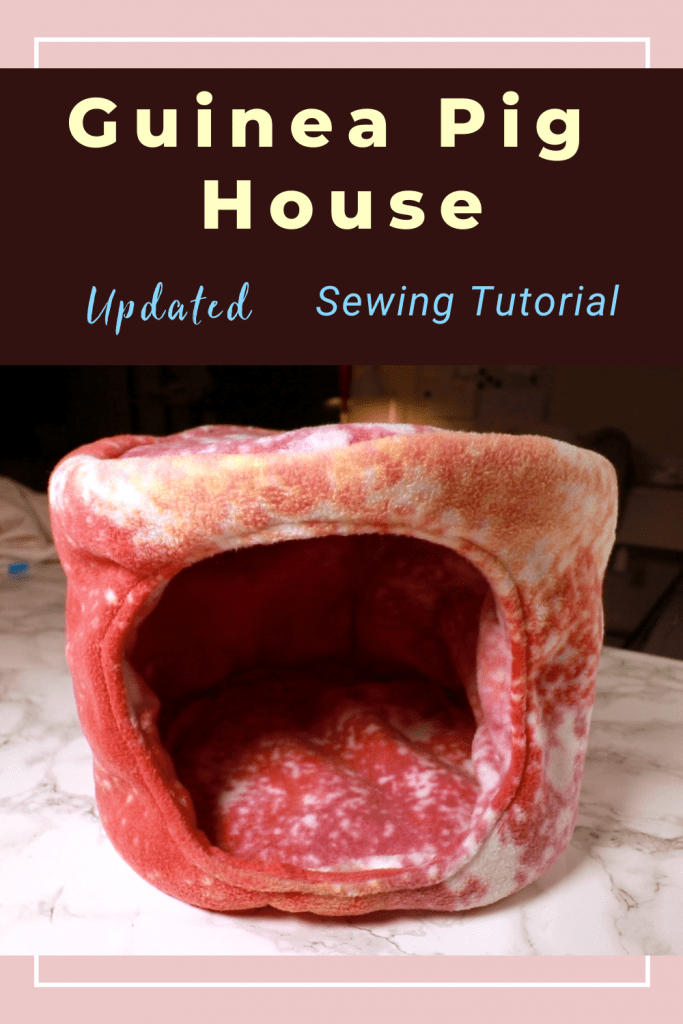
How to sew a guinea pig fleece house
Sewing for your pet is fun and rewarding. You can buy a bed or house for your guinea pig or other small pets, but it is not the same.
Pet stores don’t really have a lot of good choices for guinea pig beds or accessories. They can also get expensive sometimes. Besides, our pets are not picky about the perfect appearance either. They will appreciate warm houses in the cold weather no matter how the stitches look. So look around your house for material and start DIY or sew them some fleece hideouts.
This project is based on our old guinea pig bed sewing video before we switched all crafty projects to our CreativeTien YouTube channel. Here is the link to the old video: https://youtu.be/avSoN5TTE10
Watch our updated video of sewing the fleece bed for guinea pigs
Step-by-step picture tutorial
Before you start, make sure you measure the size of your pet to make the right size pattern. Young guinea pigs grow very fast. It is safer to make the house bigger.
The material is basic fleece because fleece can breathe and let any urine drain down and still keep the top surface dry. For the sides and top of the house, this quality is not as important.
Another material is some sturdy or stiff material to keep the shape. I use batting that is for the quilt-making. It comes in polyester or cotton. Cotton is actually stiffer and keeps the shape better.
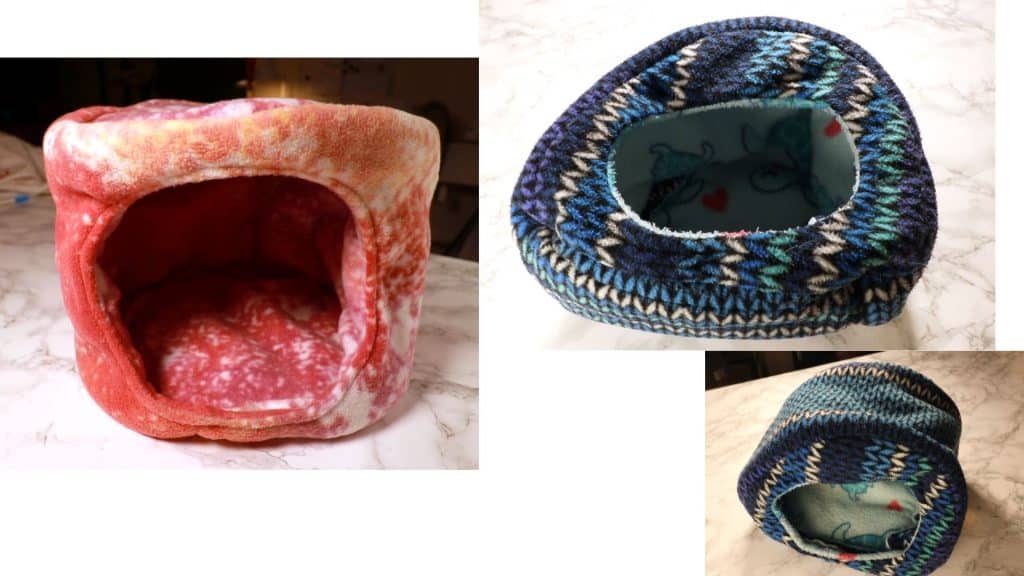
Below are 2 types of the guinea pig bed. The technique is about the same. You can adjust the design to fit your piggies.
Here we are sewing the style on the left. It has 2 circular pieces (top and bottom) and 1 long rectangle as the body part.
Pattern
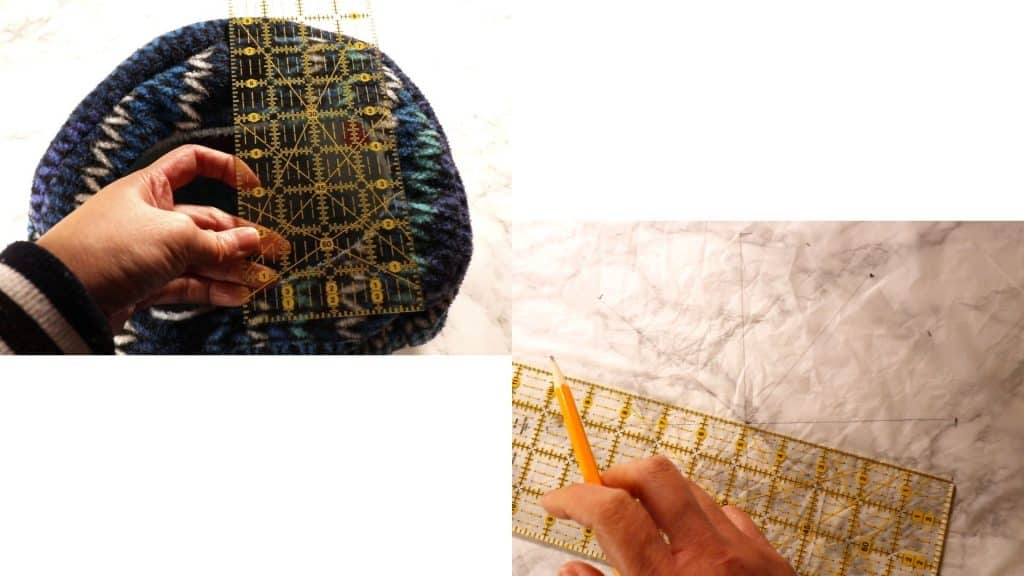
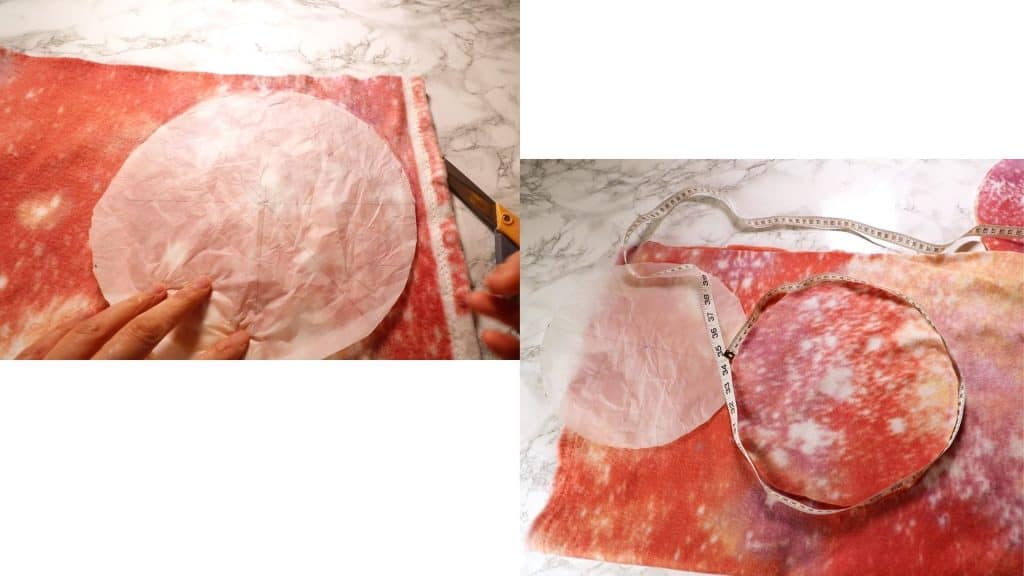
First, we have to come up with a pattern. It is just circles and rectangles. Decide the overall dimension of the house, and we can start drawing the circle.
I just measure about 9-10 inches diameter and connect the dots to draw a circle. You can use any template around the house to draw the circle too.
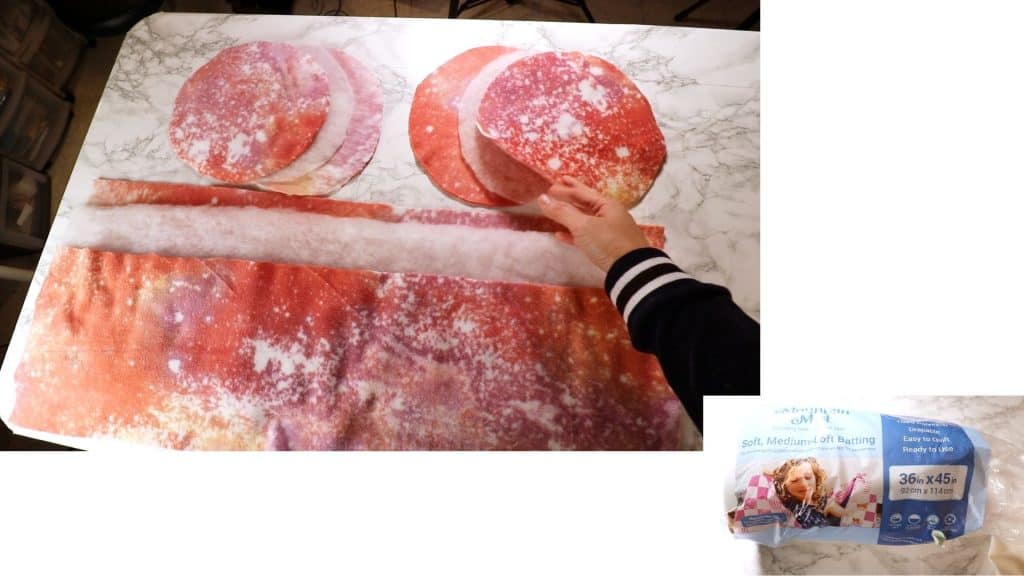
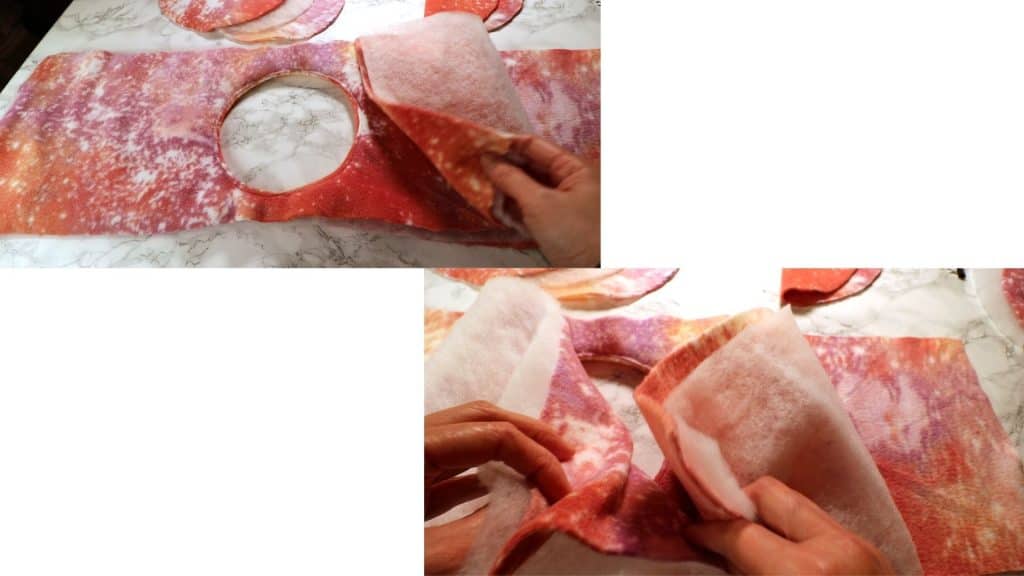
Leave some seam allowance and cut 4 pieces. Cut two pieces of the same size with batting material.
Now we are going to measure the rectangle body. Measure the circumference of the circle pattern you just drew. Add a little seam allowance (1/2 inch). Here I have around 34 inches.
Decide how tall you want the pet house to be. I use 10 inches including seam allowance. After sewing, it will be much shorter.
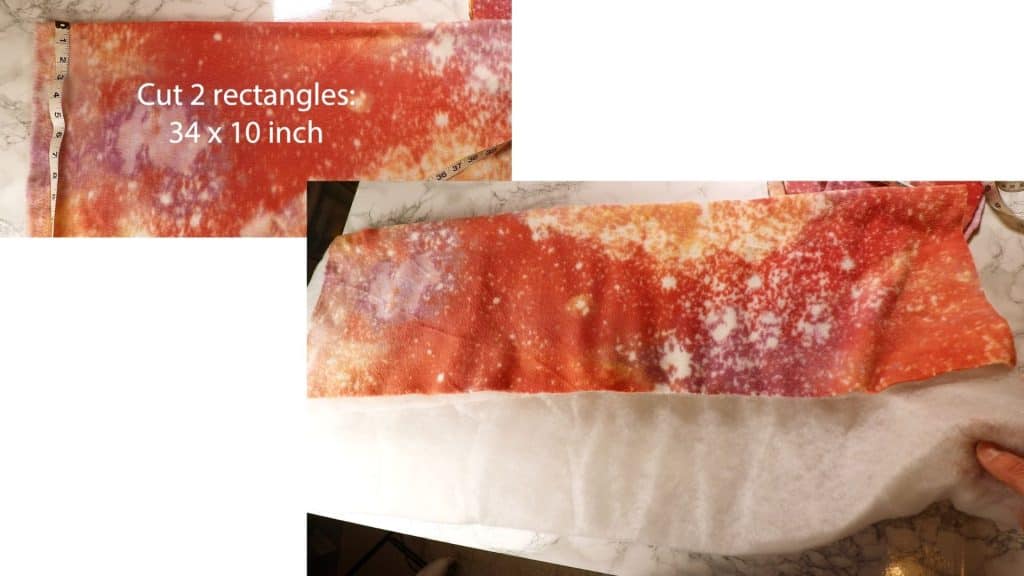
Cut 2 pieces of long rectangle with fleece, and 1 pieces with the batting.
Make sure the length will match the circumference of the 2 circles (roof and bottom). Consider the seam allowance too. Adjust if necessary.
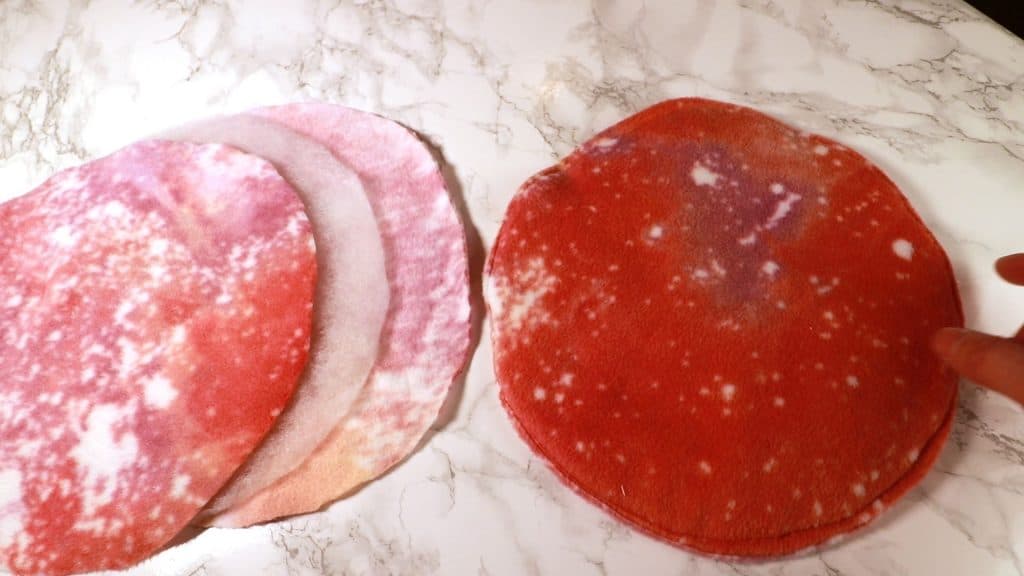
All pieces are cut. See the picture below.
The right bottom shows the image of the batting package.
The opening
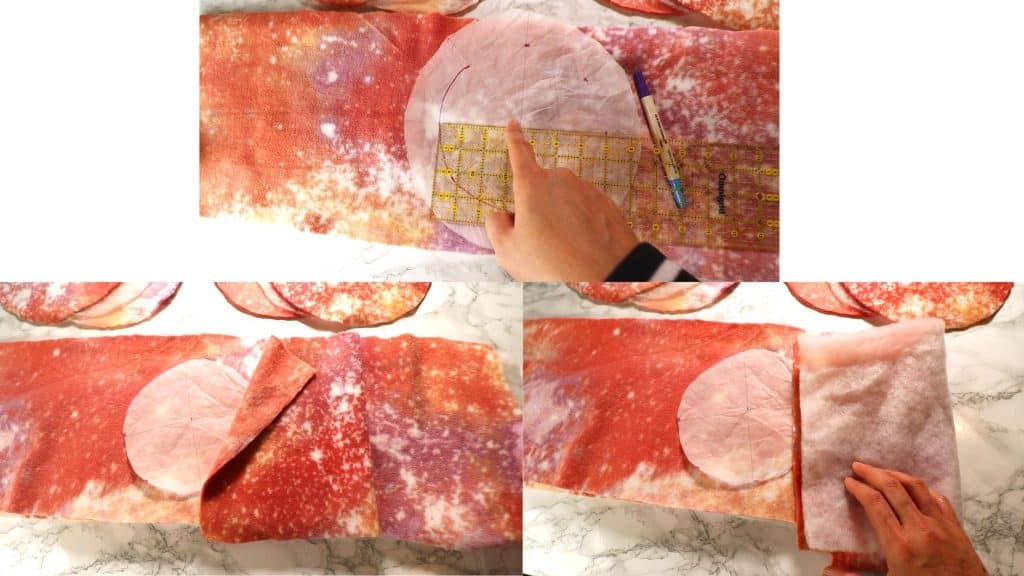
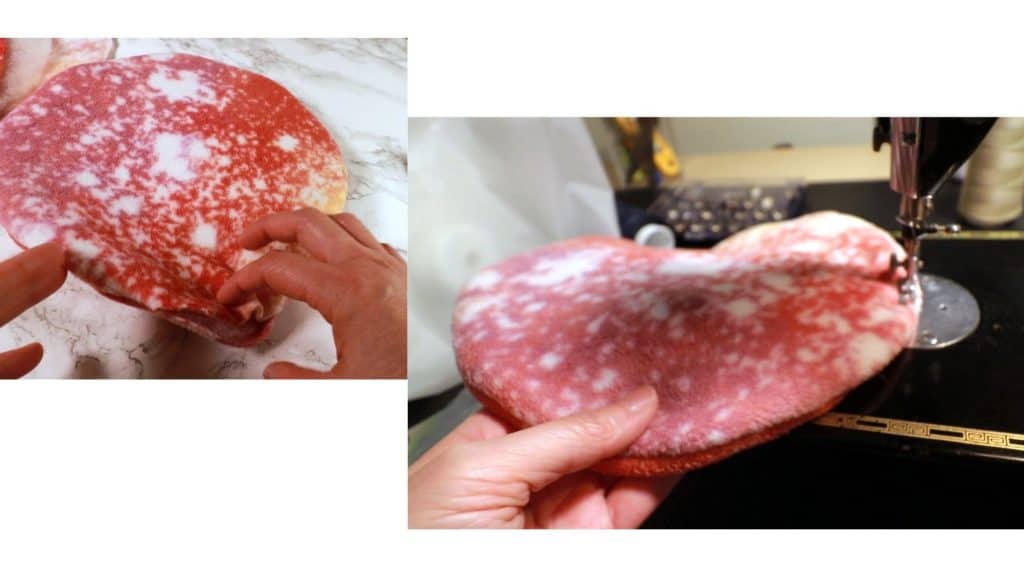
Now the opening part. I use the same circle pattern to make a smaller circle pattern. You decide how big you want the opening to be. Trace the circle onto the fabric.
The placement of fabric
The fabric placement is important before we sew. We want the right side facing each other, so the batting can be on the bottom. See the picture below.
Pin/clip and sew the outline of the circle. No need to leave an opening for this step.
After sewing the circle, we can cut open the center close to the circle.
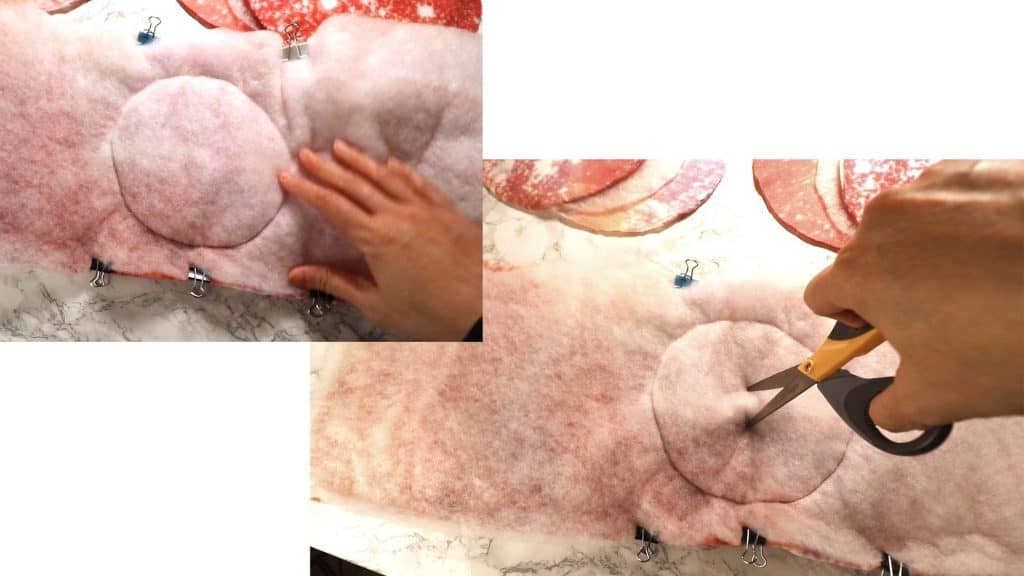
Clip the fabric along the circle so it is easier to flip over.
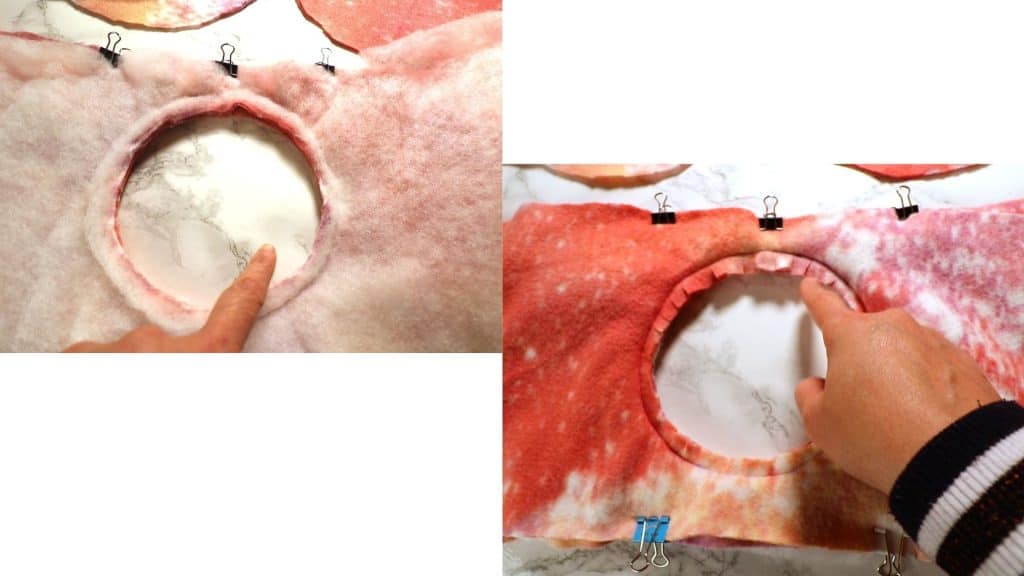
Place the top layer through the opening to another side. Now we have a clean circular edge.
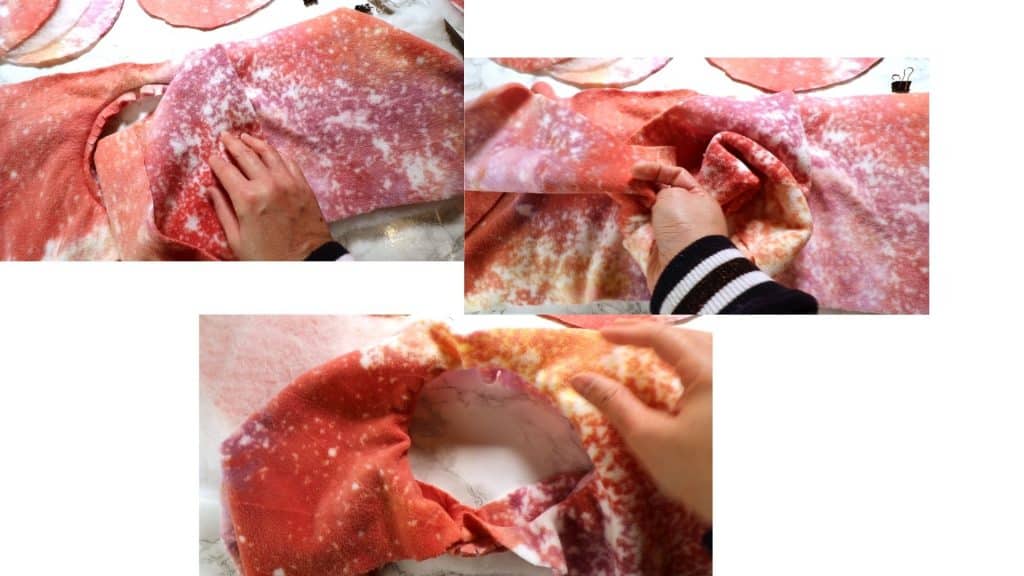
Clip or pin, and topstitch (just simple straight stitches) around the circle to keep the fabric in place.
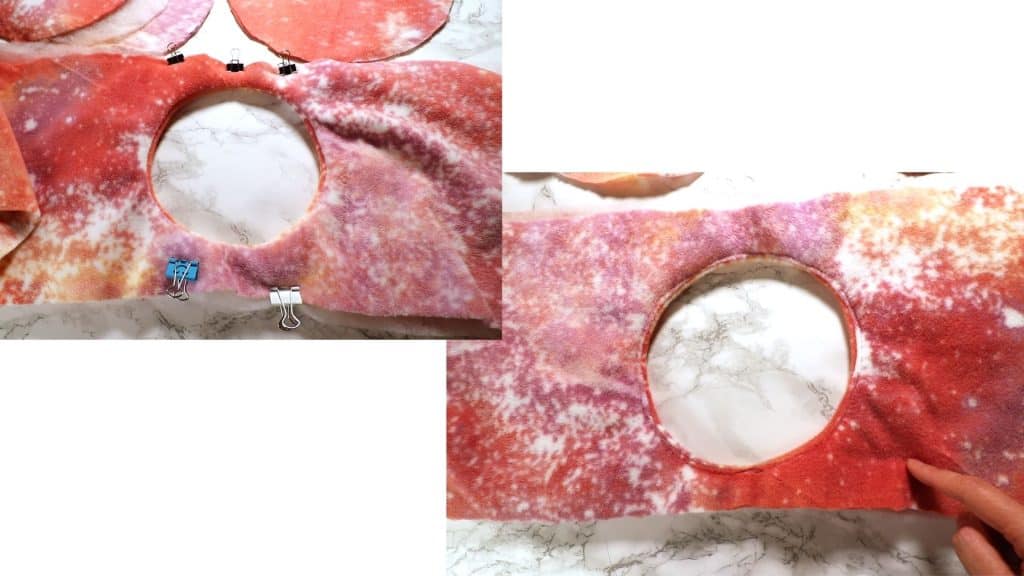
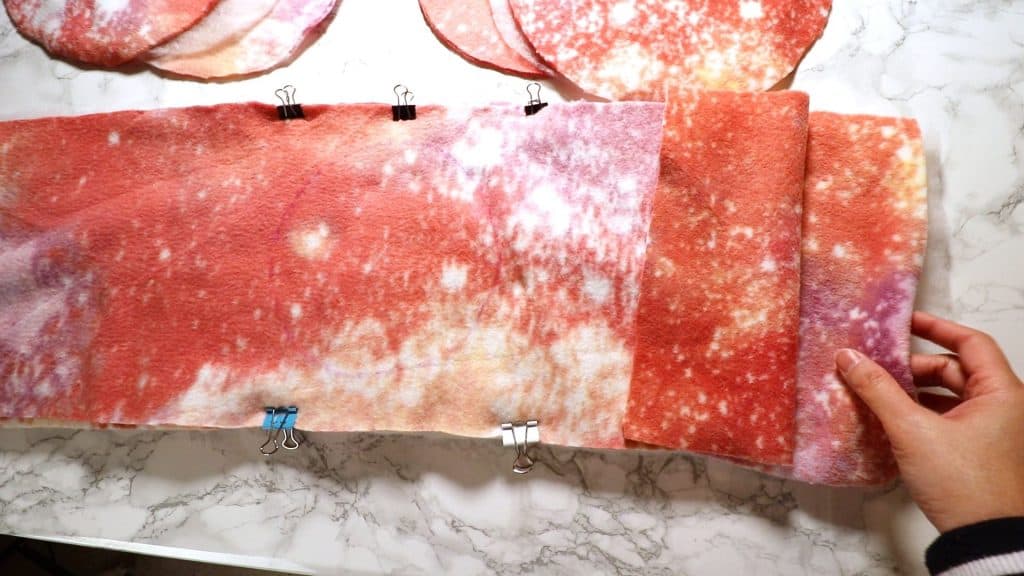
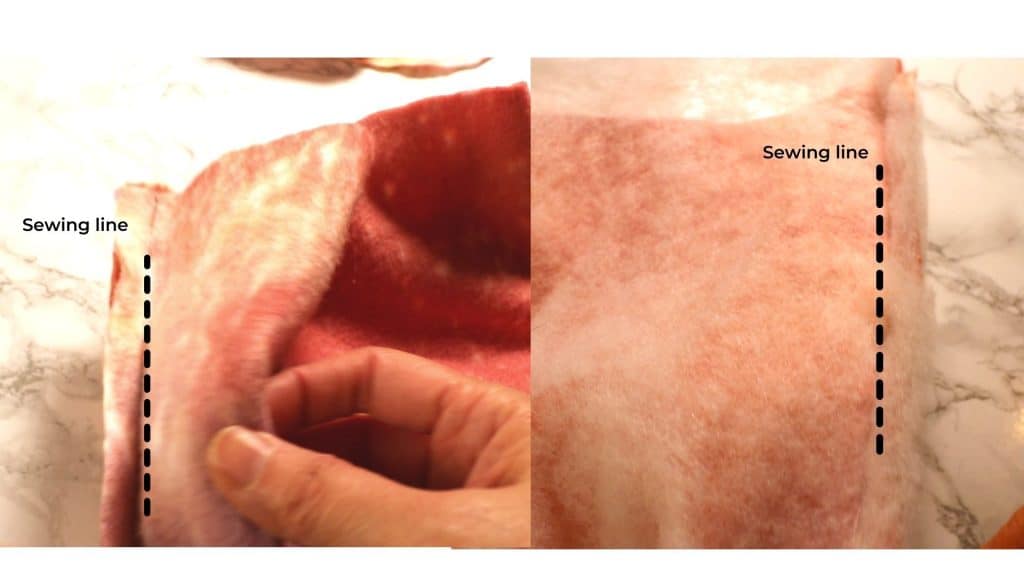
Connecting ends to make a tube
To make the body part into a tube, we have to connect the ends. Pick up the top layer of both ends (left and right) and place on one side, then pick up another 2 layers (1 fleece and 1 batting) and place on the opposite side.
Sew a line on each side. Make sure it will still match the circle on the top and bottom. Trim extra fabric if needed.
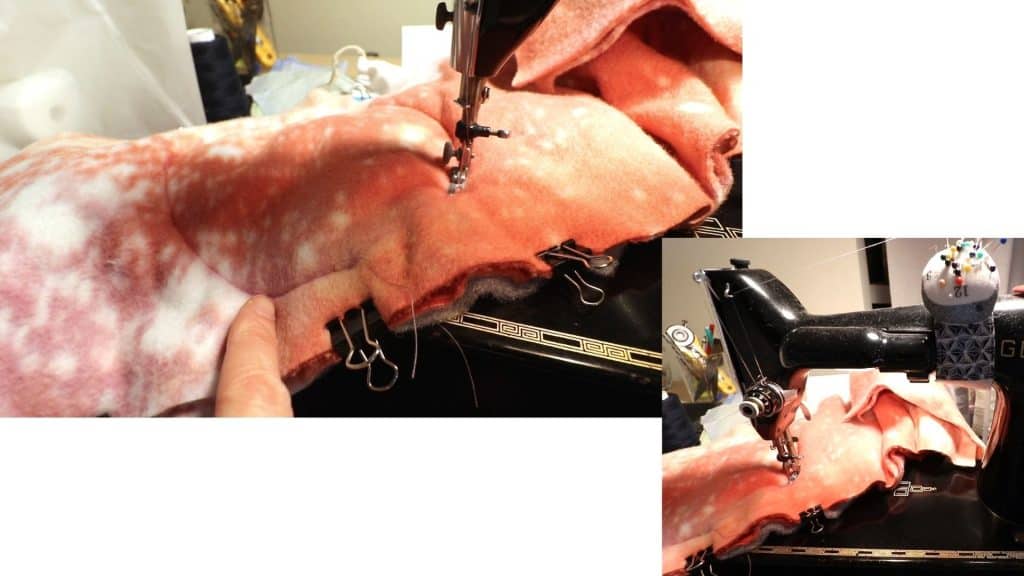
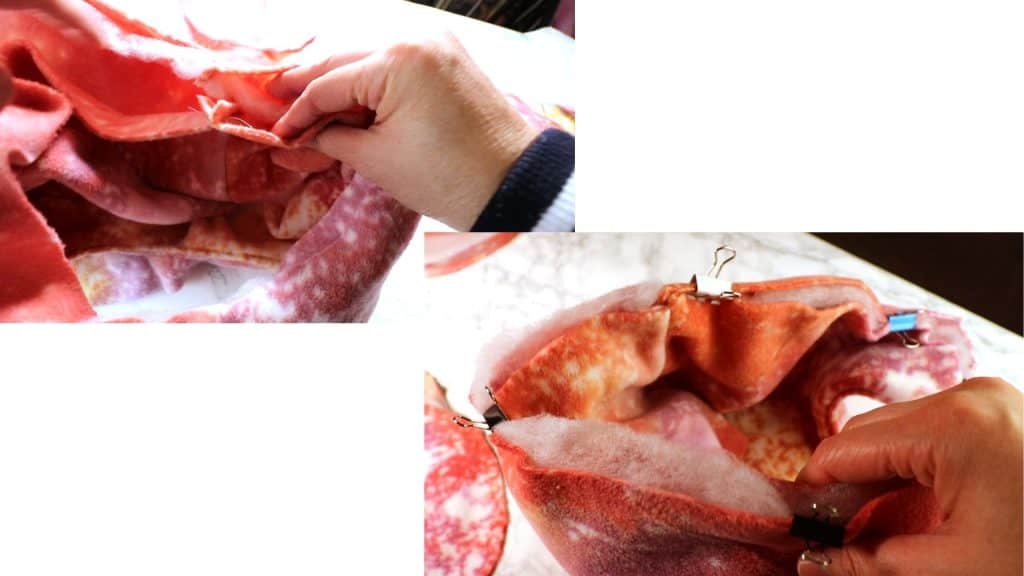
Now we can flip it so the seam is sandwiched inside.
Pin and sew a line along the long edges on both top and bottom. See the picture below.
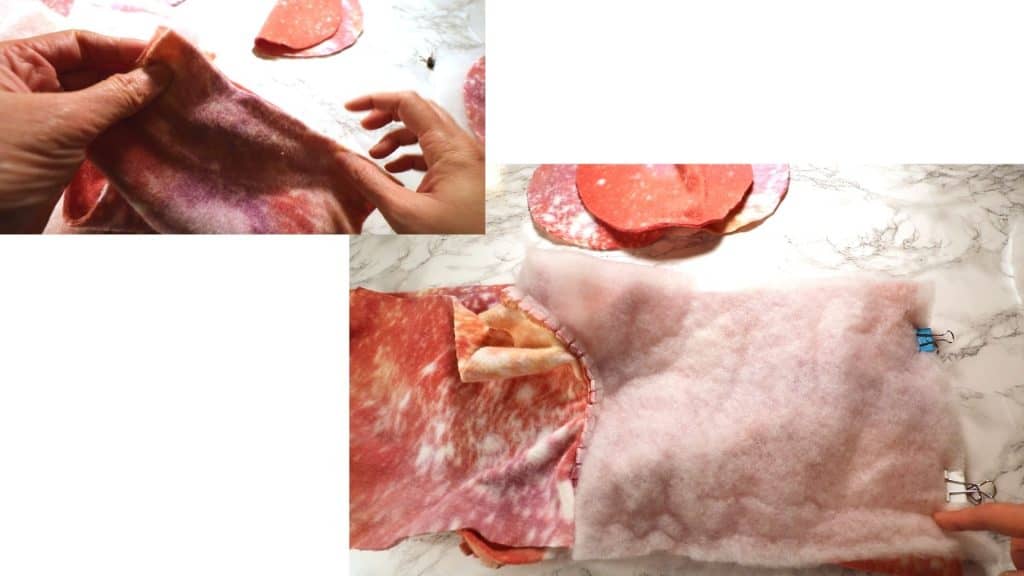
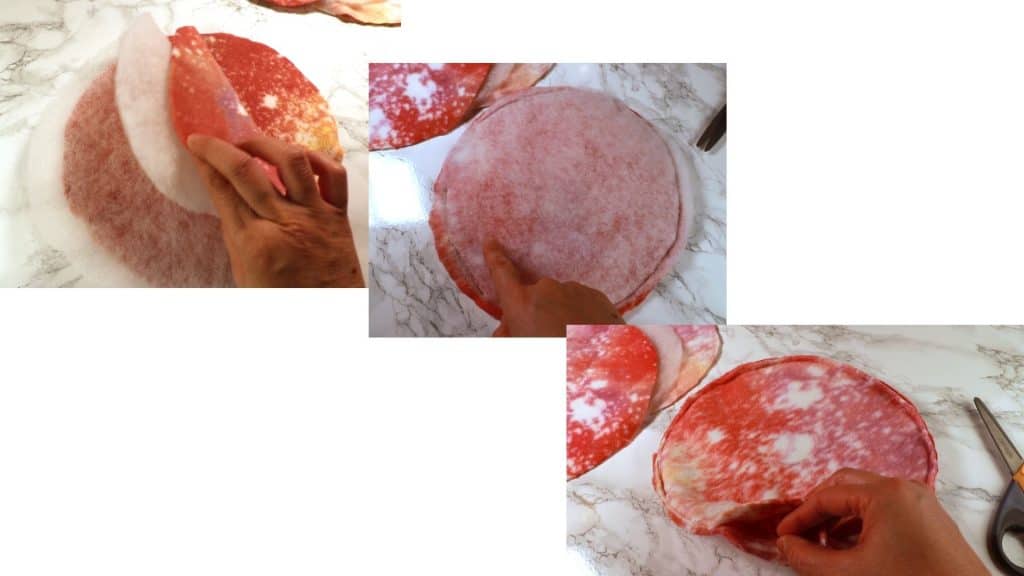
Circular top and bottom
Place the right side of the 2 fleece facing each other, the batting can be either on the top or bottom. Sew along the circular edge and leave 2-3 inches opening for turning later.
After sewing, turn the piece inside out. Tuck in the opening edge and sew through.
Keep sewing along the edge as top stitches to secure the 2 layers of fabric.
After the sewing (right picture), make another one the same way.
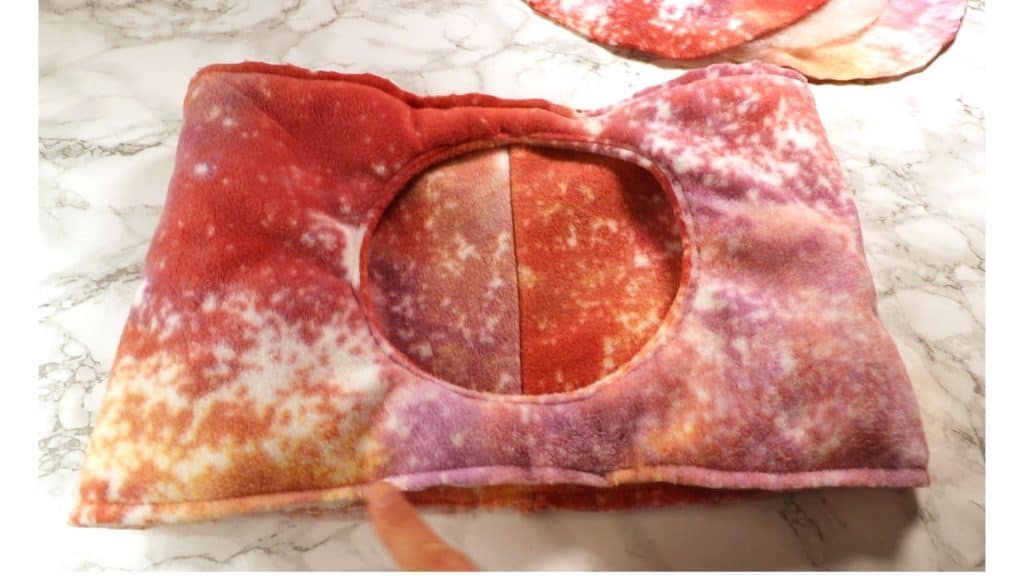
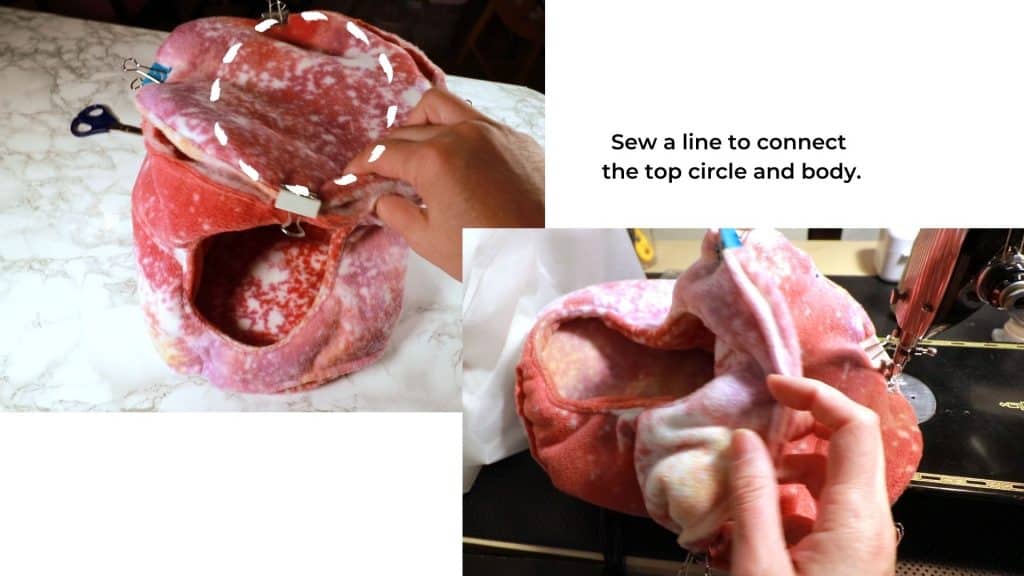
Assemble top/bottom and the body
Now we finished both circles. Place all pieces with the wrong side facing out. Clip them together with the body piece and sew a line along the edges.
This can be a little too thick for some sewing machines. If your machine can not sew that many layers of fabric, you can sew by hand.
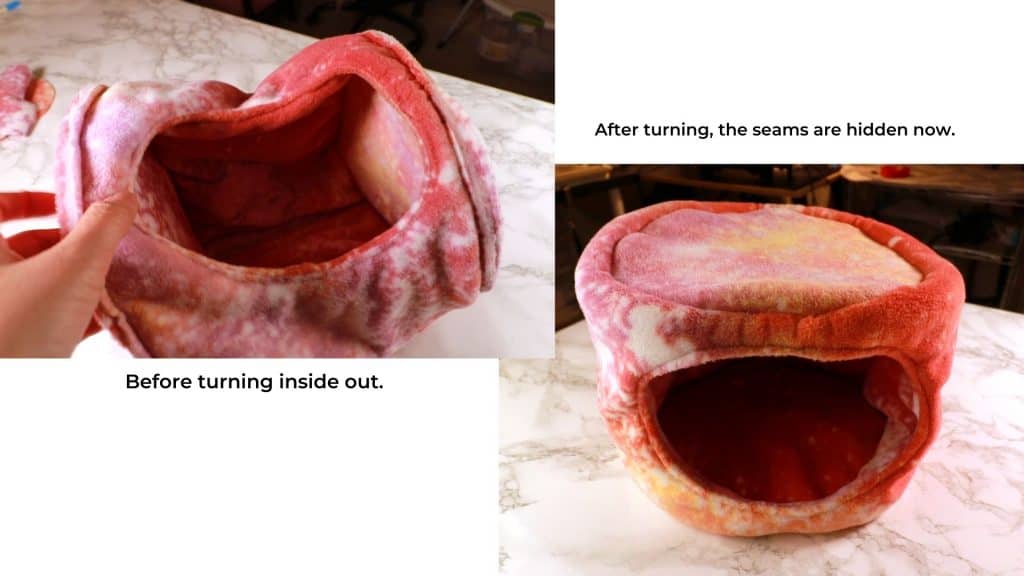
Finished sewing. You can see the ridges of the seam because we still have the wrong side facing out.
Turn the piece inside out and now we are done.
🛒 Visit our Amazon page (this contains affiliated links, and we get a small percentage without extra cost to you): https://www.amazon.com/shop/picturehealer
Guinea pig fleece house sewing tutorial
Featured Posts
- How to machine knit a heart shape on an LK150

- Machine knitting a loop stitch for big texture

- Machine knitting a corner-to-corner, diagonal dishcloth

- Machine knitting a buttonhole band on an LK150

- Tuck stitch blanket on an LK150 – Part 1
- No curl edge with seed, garter, ribbing, or cable stitches
- Full-fashioned decrease, Garter Bar increases or decreases in the middle of a row

- How to machine knit a Chevron Lace Hem
- Machine knitting increases – the full-fashioned increase and double e-wrap

- Picot hem with a scalloped edge and eyelets on an LK150 knitting machine

- The loop through loop bind-off and the sewing bind-off

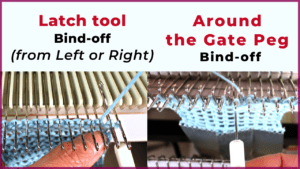
- The latch tool bind-off and around the gate peg cast-off
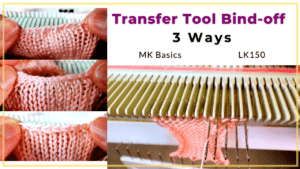
- Transfer tool cast off and variations- Simple, No hole, and Even-tension
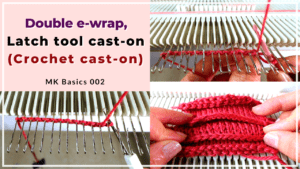
- Double e-wrap, latch tool, and crochet hook cast on
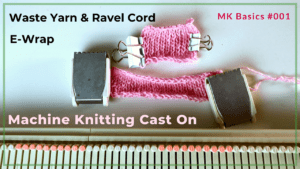
- Machine Knitting basics – Cast on with waste yarn, ravel cord, and e-wrap


You May Also Like
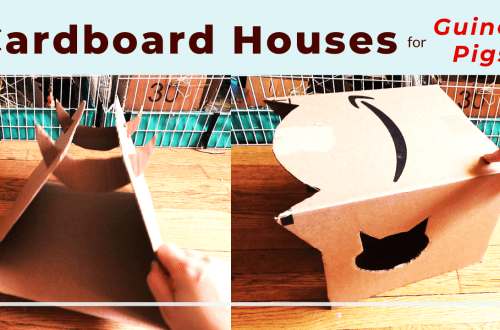
Cardboard house making for guinea pigs or other pets
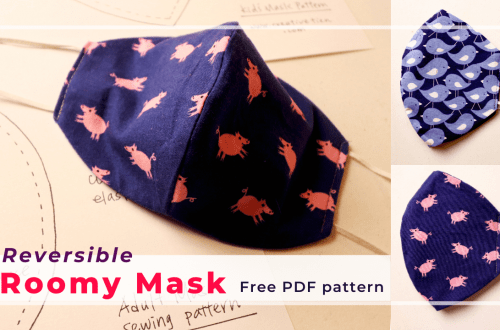
Reversible, roomy mask sewing with free 2-size pattern download