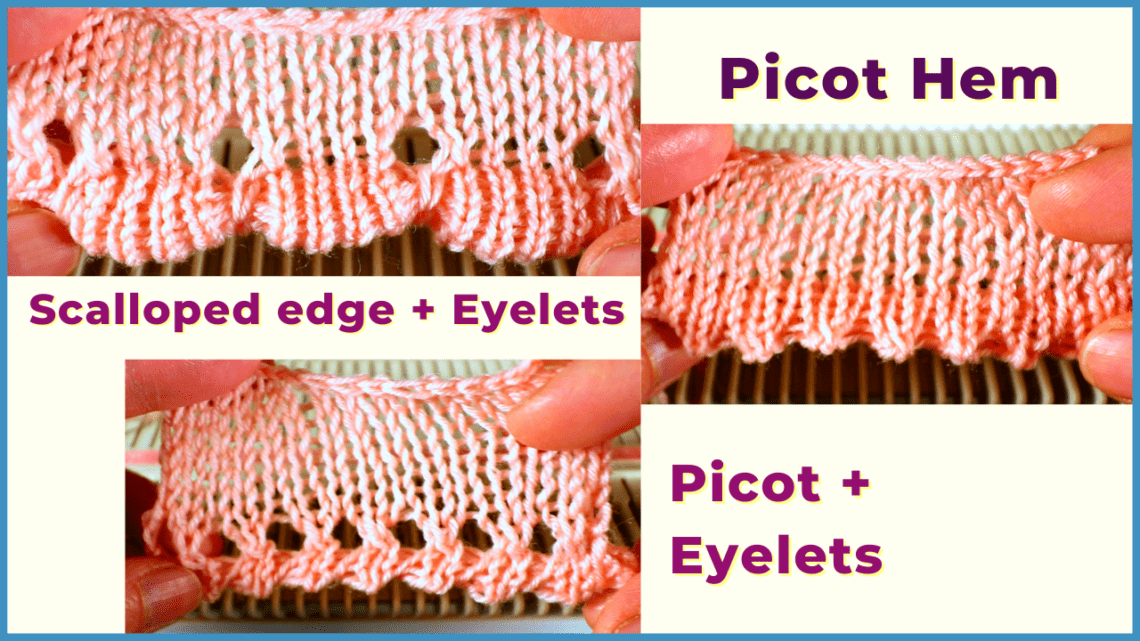
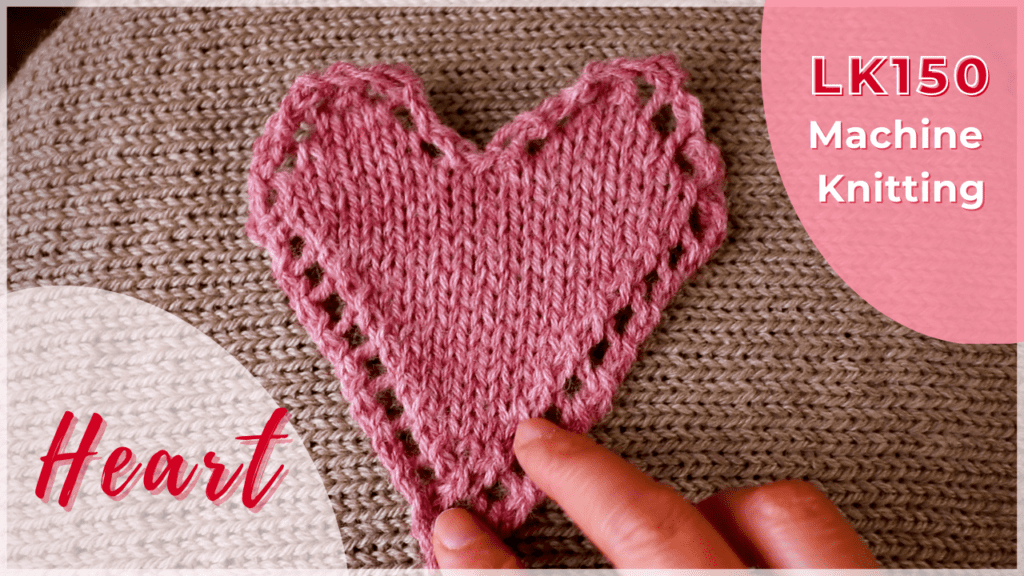
Picot hem with a scalloped edge and eyelets on an LK150 knitting machine
Here is the tutorial for a scalloped hem with eyelet lace and a picot edge. It is not that difficult to make on a simple knitting machine such as an LK150. The result is beautiful and feminine, suitable for a spring dress or little girl’s cardigan.
I use simple hand manipulation with a transferring tool to create lace eyelets. There is no need for a patterning device or fancy machine.
There are many variations you can try. Changing the repeat of the stitch number will change the scallop size. Add more or take out the lace eyelets to create different looks.
Watch the video tutorial on how to knit the picot hem with scallops and lace eyelets
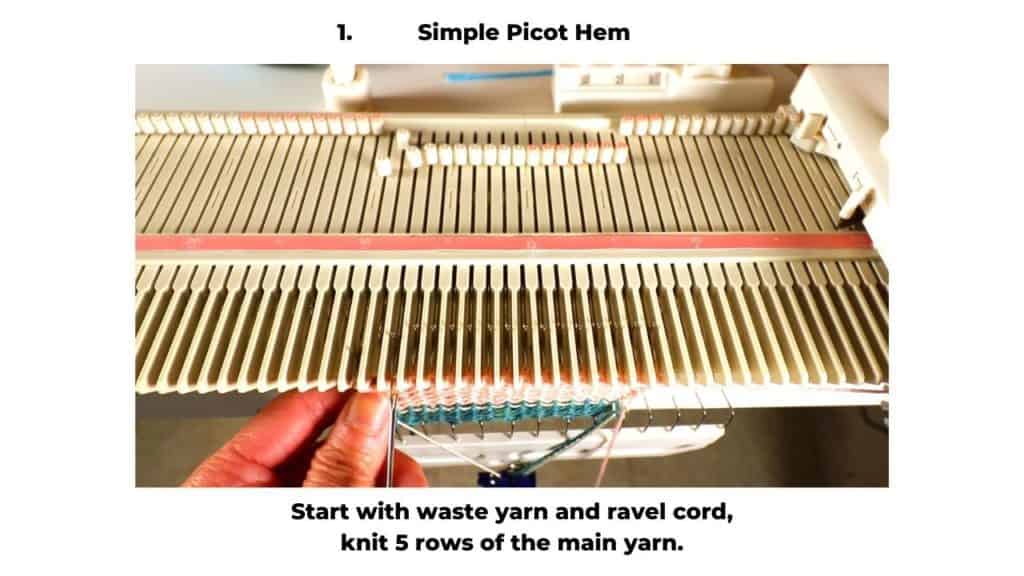
1. How to knit a simple Picot Hem
Decide how many stitches you need. This simple picot hem has eyelets for every other needle, so an odd number of stitches can create a symmetrical pattern.
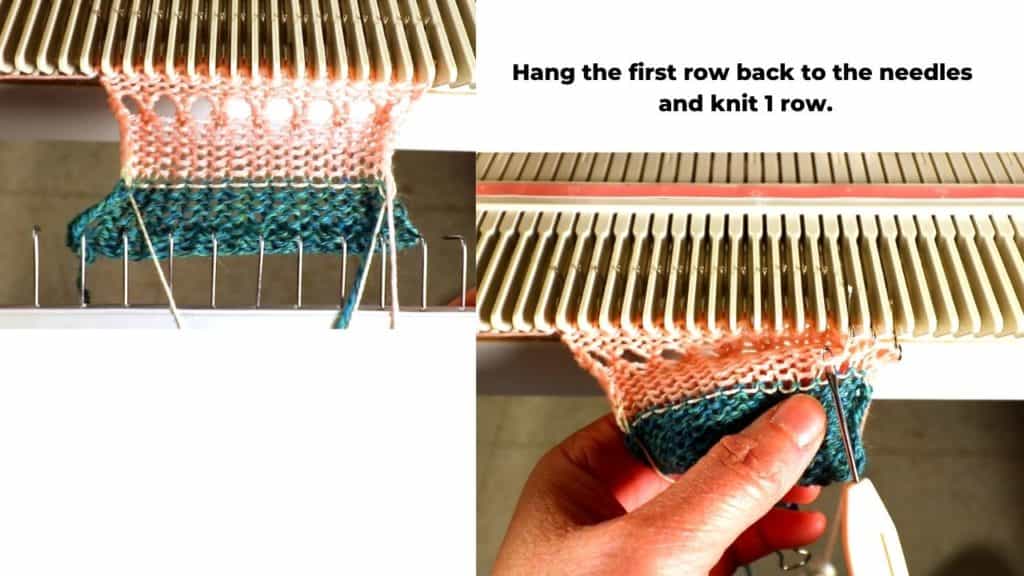
The hem will be folded in half by picking up the first row of stitches and hanging back to the needles. So you can decide how many rows you want after folding the hem. There will be one row of lace stitches in the middle by transferring the stitches.
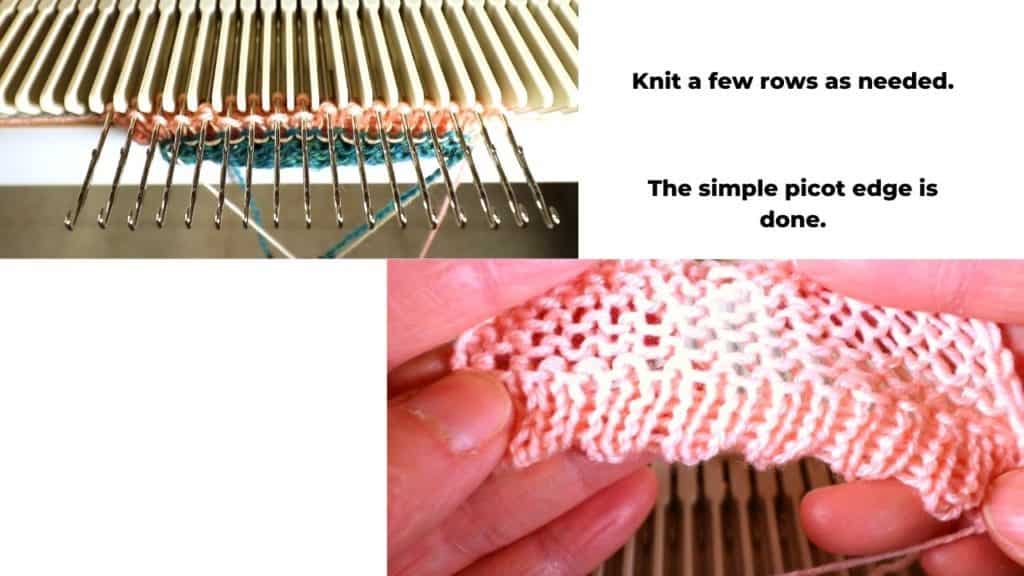
In this sample, I knit 5 rows of plain stockinette stitches, 1 row of lace transfer, and then 5 rows of plain stitches. Then I pick up the first row of stitches and hang them back to the needles. Continue knitting a few plain rows.
You can use any type of cast-on method. I use waste yarn and ravel cord here.
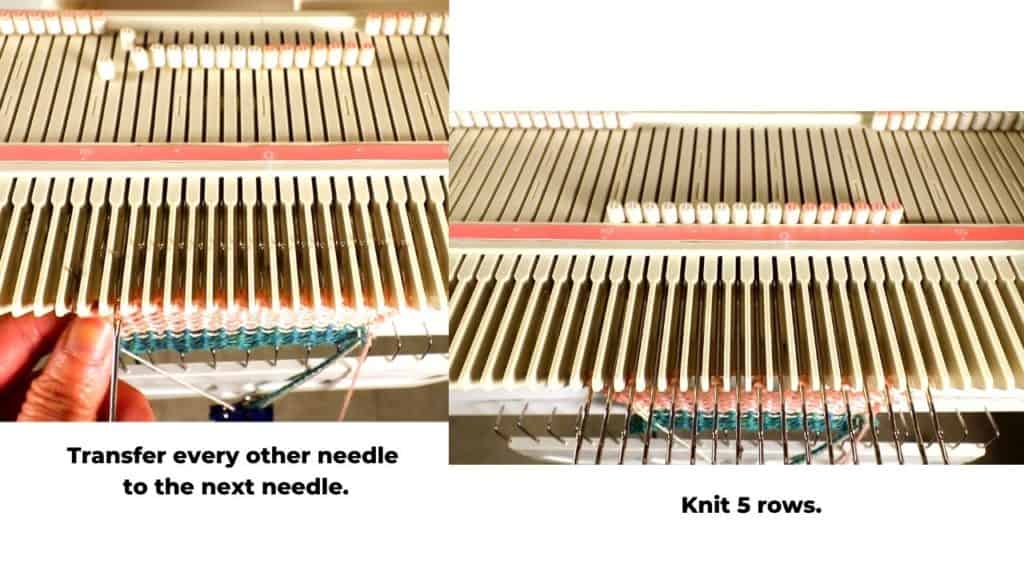
Following every lace transfer (eyelets), set all needles to B position (working position) so they will be knitted back.
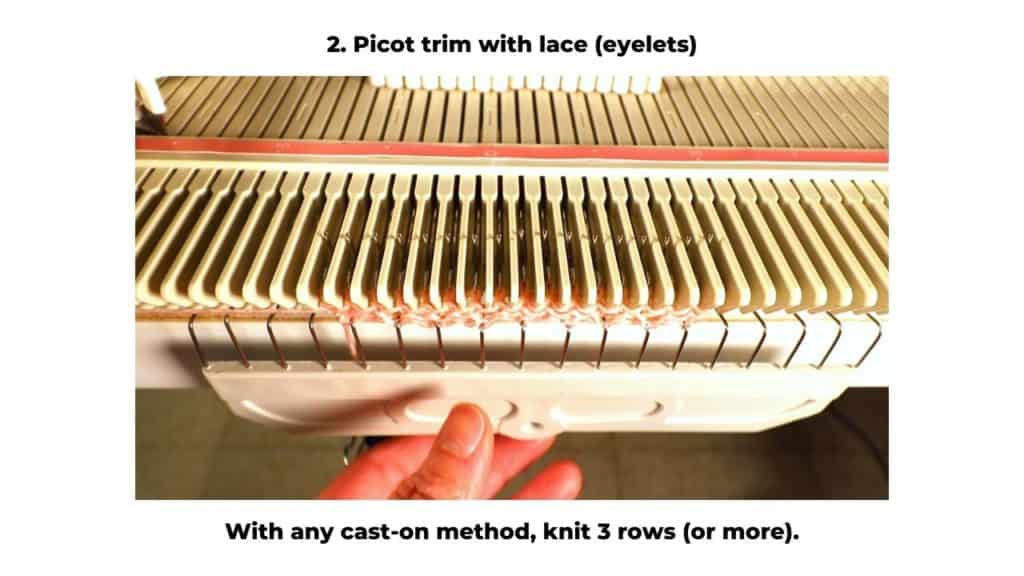
2. Picot trim with lace (eyelets)
This is a variation of the simple picot hem. I added a row of eyelet transfer stitches after the simple picot hem to create a lace pattern.
In this sample, I knit 3 rows of plain stitches, 1 row of lace, and then 3 rows of plain stitches. Hang the first row back to the needles, knit 1 row, and then knit 1 row of the lace again.
Continue knitting your main pattern or simply knit a few plain rows before taking it off the machine.


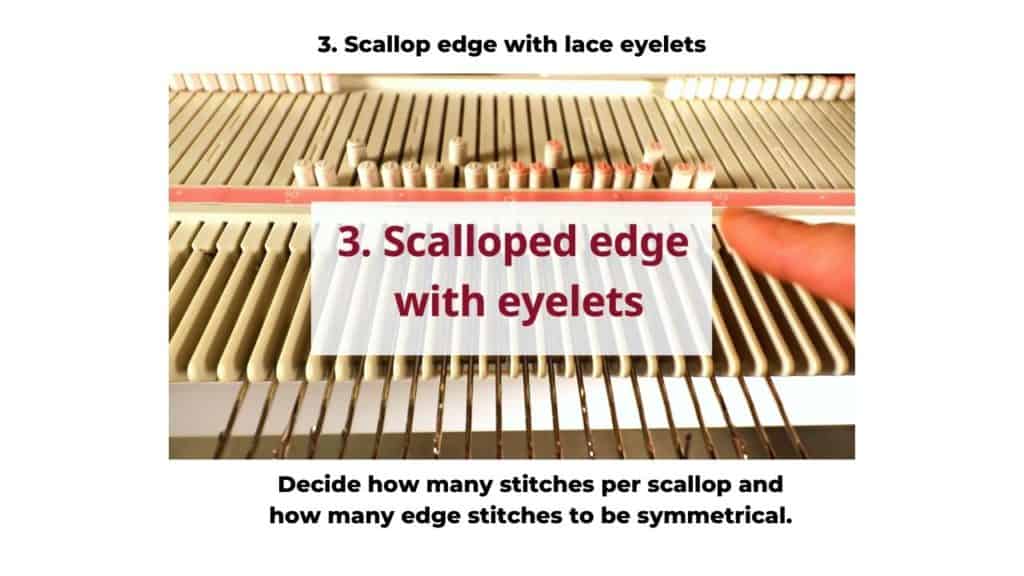
3. Scallop edge with lace eyelets
This is another variation. I want to increase the size of the picot to make a curved scallop edge.
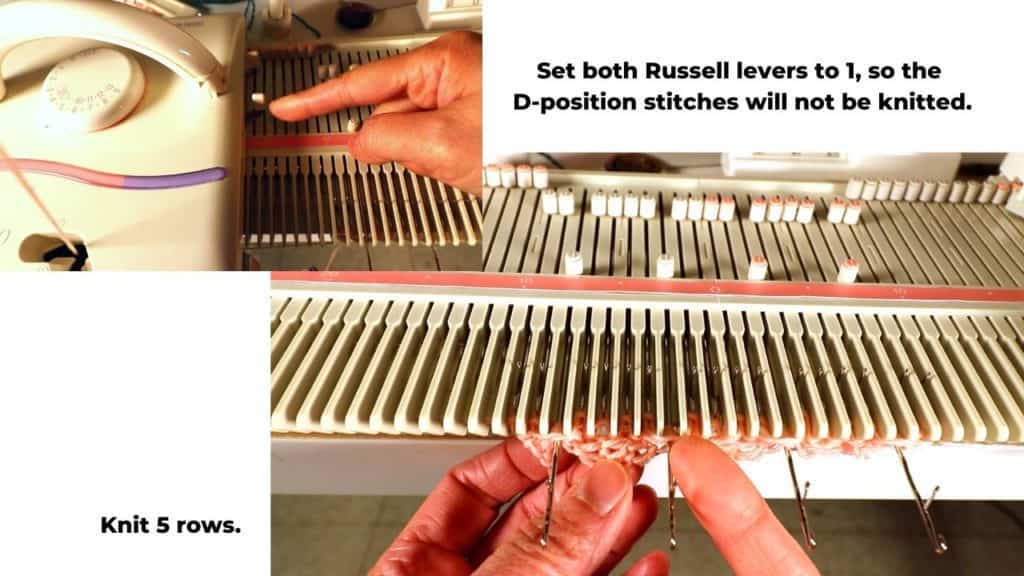
First, decide how many stitches per scallop. In between the scallops, I have one Tuck stitch. The scallops are created by Tuck stitch. Tuck stitch is simply created by setting the Russell lever to 1, so it does not knit needles in the D (holding) position.
Decide how many edge stitches you want to create a symmetrical look. Then you know how many stitches to cast on.
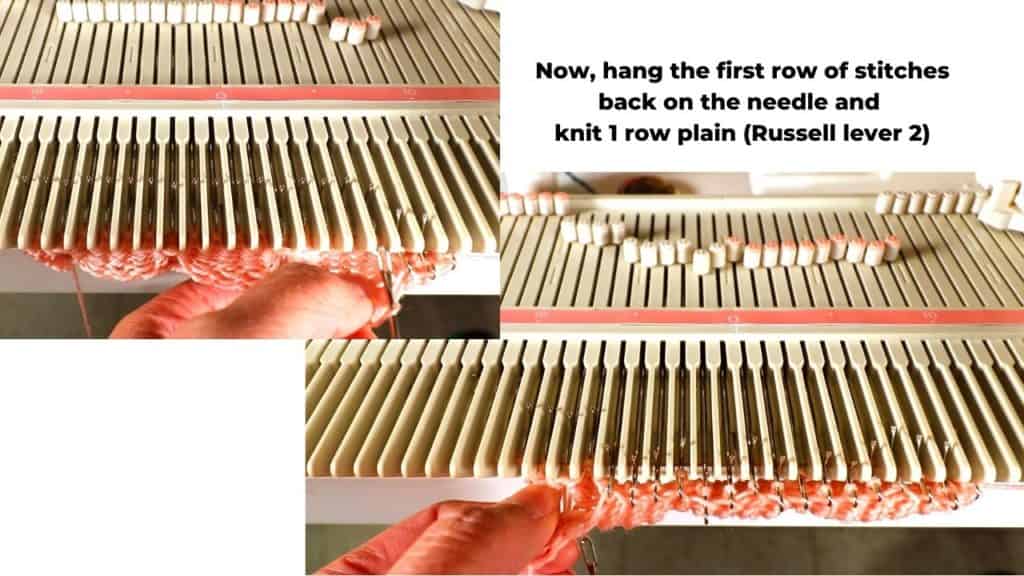
Here I use an e-wrap cast on, place every 5th stitch on hold (D position), and set the Russell lever to 1 for Tuck. Knit 5 rows. Set the Russell lever back to 2, knit 1 row. Repeat the first part again by pulling every 5th stitch to the D position, set the Tuck stitch (Russell lever 1), and knit 5 rows.
Then, hang the first row back to the needles, and knit 1 row.
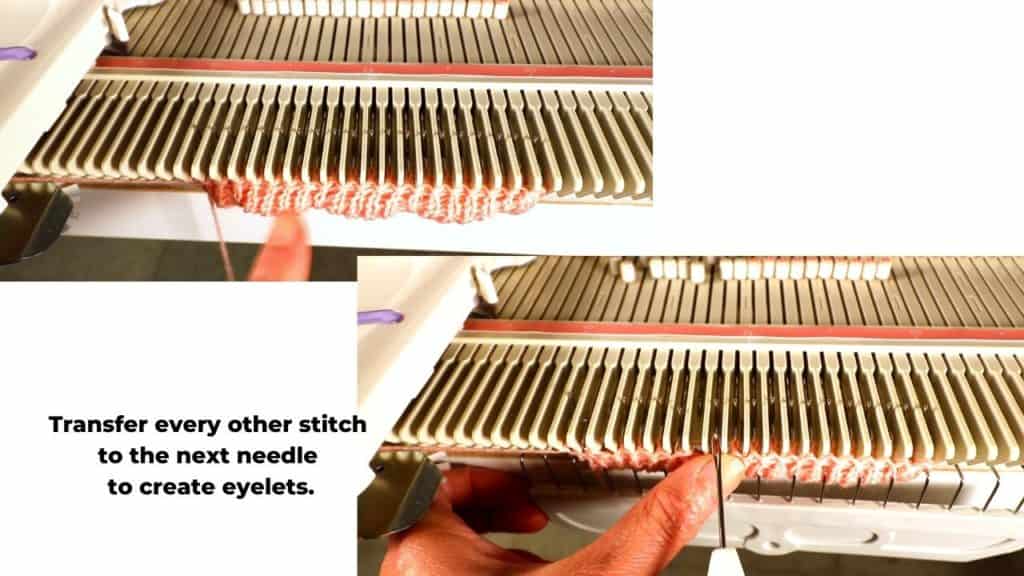
Now we transfer every fifth needle to the next needle to create lace. Place all the needles in a working position and knit 1 row. Continue knitting with the main part or knit a few rows of plain stitches.


Recent Posts


You May Also Like
Kid’s cut and sew sweater on a Brother 260 knitting machine
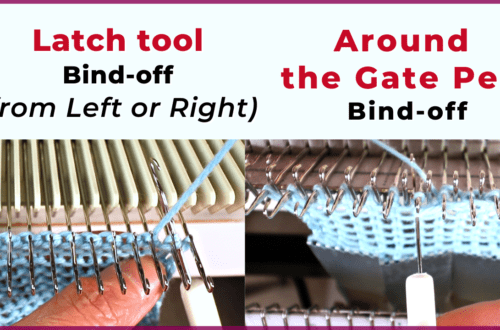
The latch tool bind-off and around the gate peg cast-off