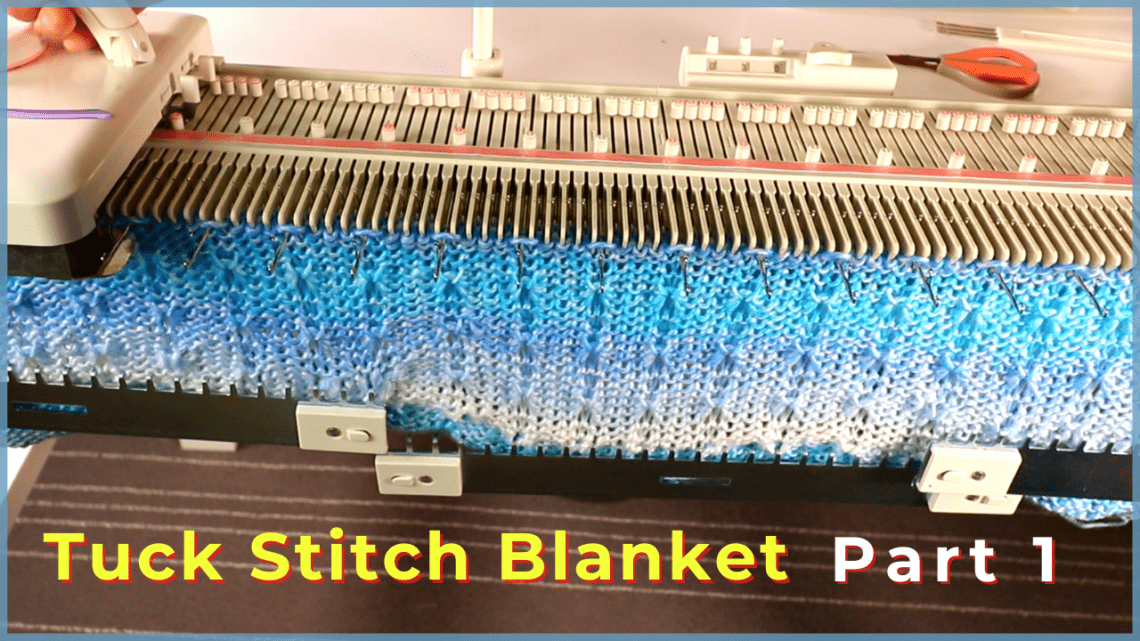
Tuck stitch blanket on an LK150 – Part 1
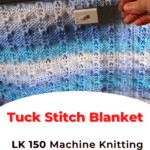
Here is a simple machine knitted baby blanket with Tuck stitch. Part 1 is about the main piece and Part 2 will be about the trimming or edge finish.
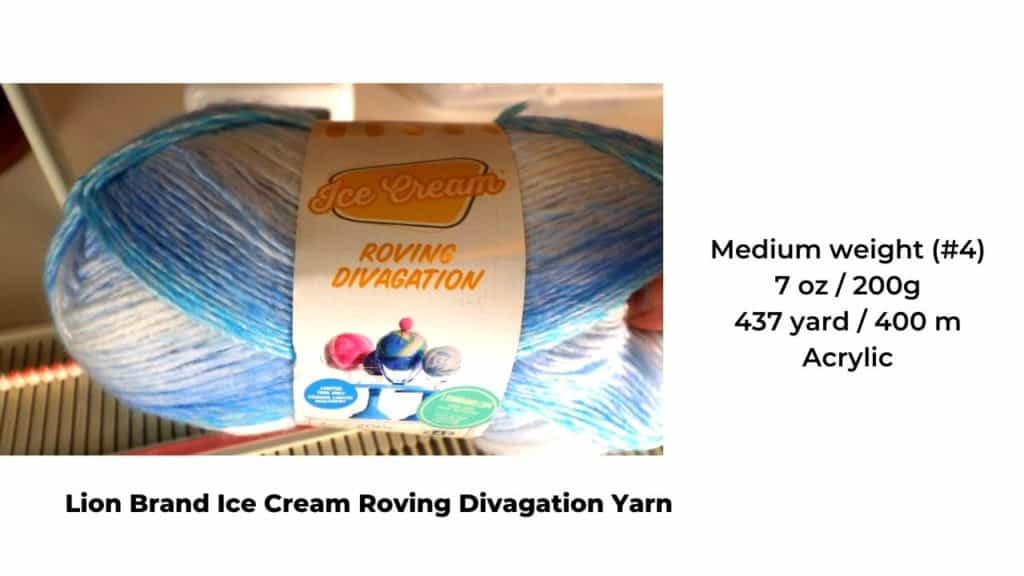
I am using an LK150 knitting machine and medium-weight (worsted) yarn: Lion Brand Ice Cream Roving Divagation.
You can purchase the yarn here: https://amzn.to/3w96d1A (This is an affiliated link, and we might earn a small fee for qualified purchase.)
The LK150 knitting machine link: https://amzn.to/3l1eFet
Below are the approximate dimensions for different size blankets. You can modify this chart to fit your needs.
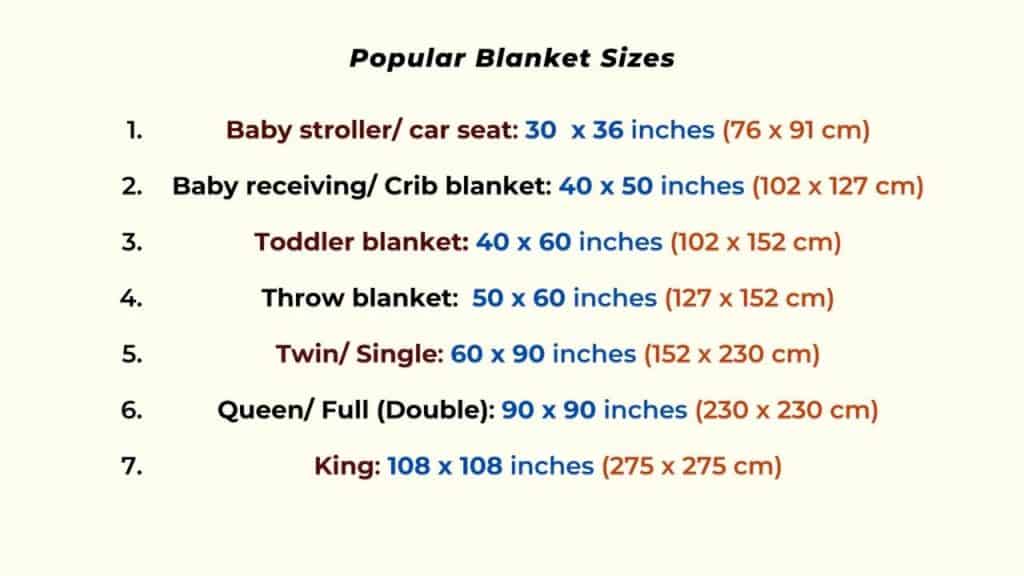
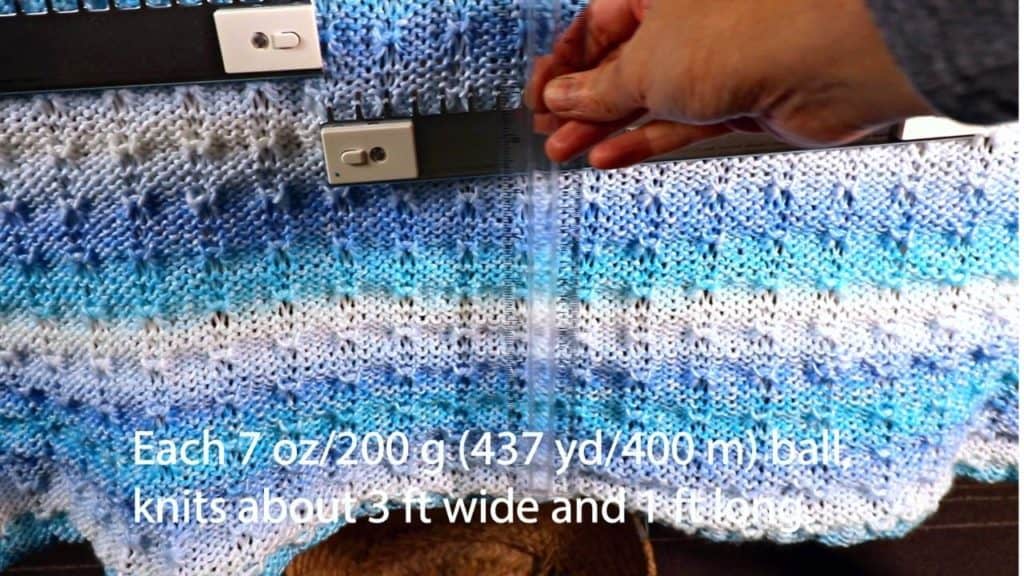
I am making this blanket for my 7-years-old boy. Each yarn ball knits up about 3 feet wide and 1 foot long fabric. So I will need about 6-7 balls of the 200g yarn including the trim.
The design of the blanket knitting
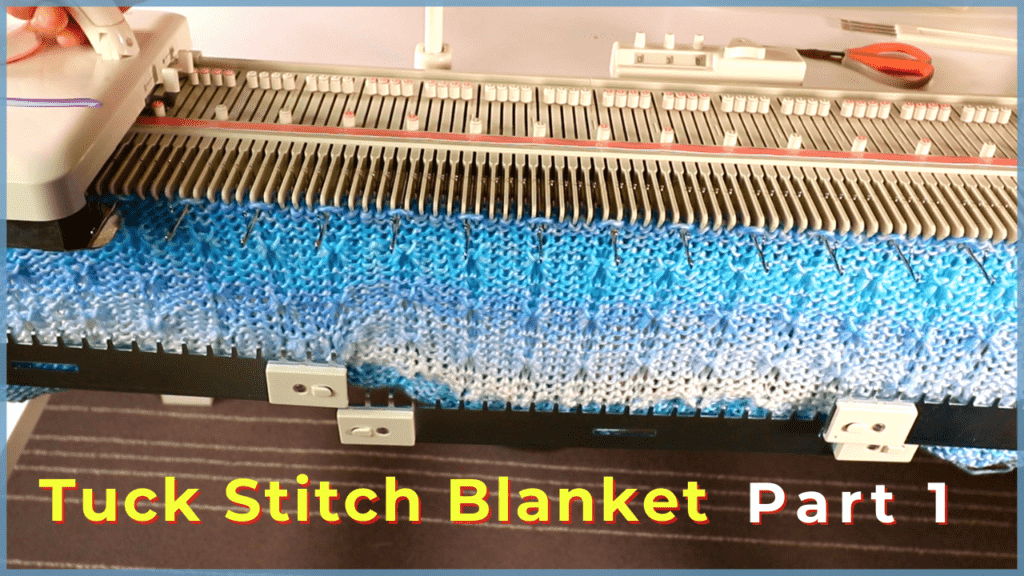
I try to keep the stitches simple. This yarn is very soft, but not very strong. Complicated stitch pattern might break the yarn. So, I am using Tuck stitch every 5th stitch, creating vertical lines and textures.
Tuck stitch also makes the fabric wider and flat compared to stockinette stitch. It also creates a textured surface on the wrong side. So this is a good choice for blanket knitting.
Since this is a color-changing yarn, I try to have a big panel in the center to show the color changes. If I need wider fabric, I will knit 2 smaller panels on each side and stitch them up later.
I started with waste yarn, changed to the main yarn and started by knitting 5 rows of plain stitches.
Then, start my tuck pattern repeat. Alternating 3 rows of Tuck pattern and 3 rows of Plain Stockinette stitches.
When the length is long enough, knit 5 rows of plain stitches, and knit a few rows of waste yarn to take off the machine.
Alternatively, you can start with mock ribbing, and end with mock ribbing, so both top and bottom will be finished. You will only need to finish the left and right sides later.
The finished dimension of this blanket is about 3 feet wide, and about 5 feet long. You can adjust to your preference.
We will look at different options to finish the edges in the next post.
The machine knitted Tuck stitch
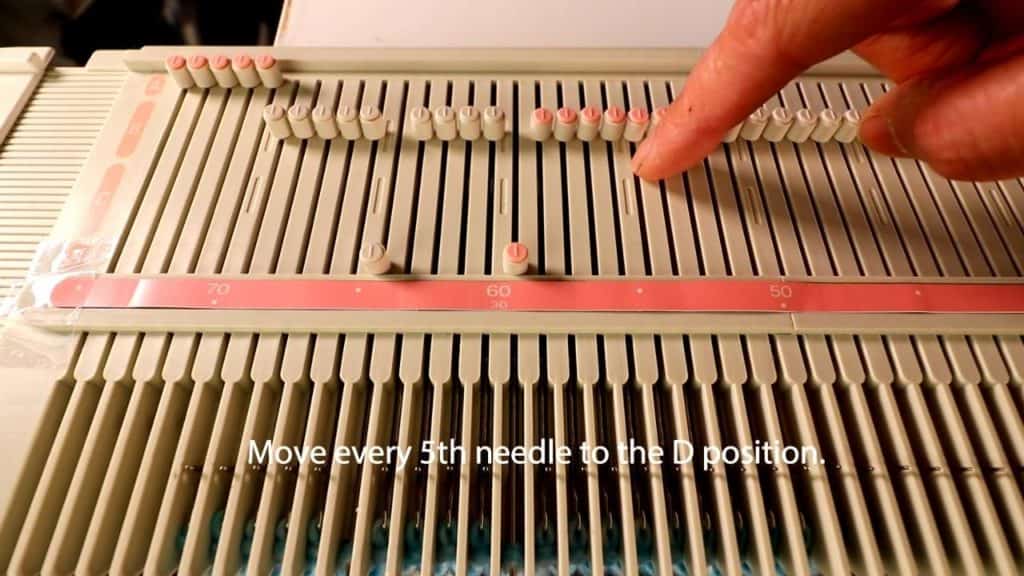
The Tuck stitch is unique to machine knitting. We selected the Tuck stitch needles and pulled them all the way out to the D position. I pull out every 5th needle for this project.
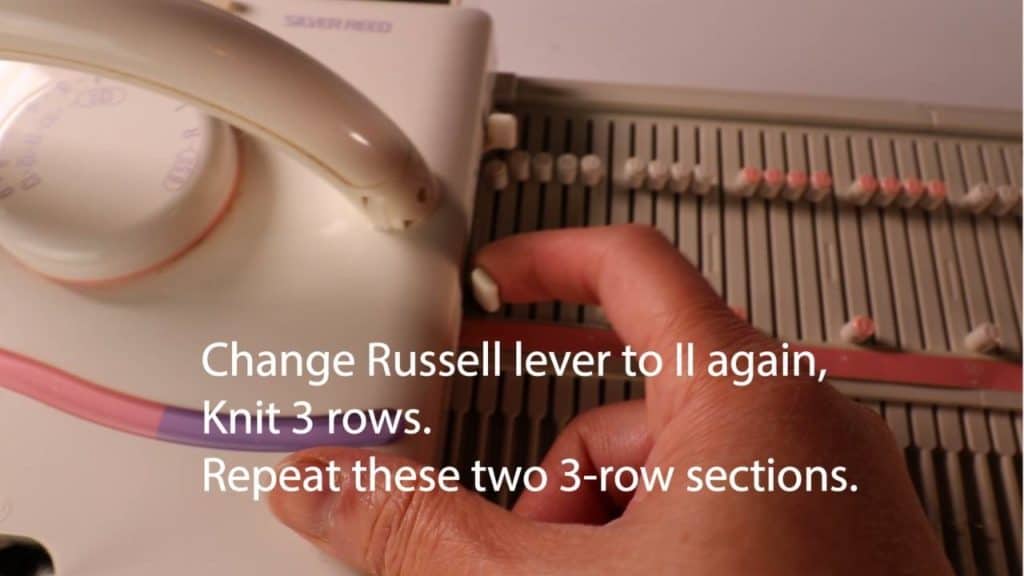
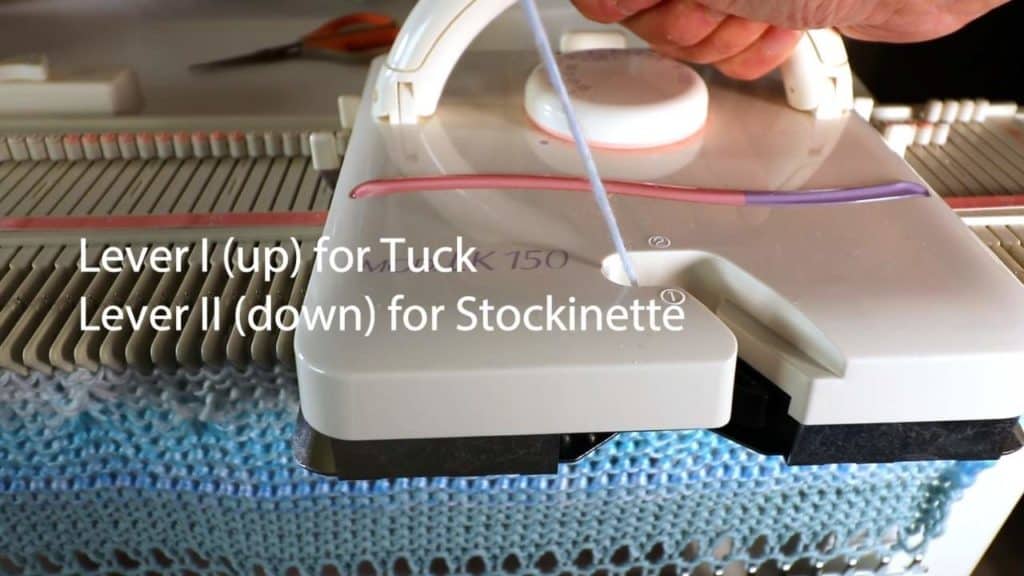
Change the Russell lever to I, so the D-position needles will not be knitted.
Knit 3 rows. The selected needles will have 3 yarn strands on top of the needles.
Change the Russell lever to II again for Stockinette stitch.
Knit 3 rows.
Keep repeating these 6 rows (3 rows of Tuck and 3 rows of Stockinette) until the length you like.
The Tuck stitch limit
Since Tuck stitches are just yarns tucked away before knitted, there is a limit to how many yarn strands can be tucked before causing problems. 2-3 rows should be safe. It is not a good idea to tuck too many rows because it would be very hard to knit all the yarn strands.
Tuck stitches are not supposed to be next to each other. It would be difficult to knit the next row.
Picture tutorial for the Tuck stitch blanket on an LK150 knitting machine
It is a good idea to wind the yarn into cakes first. It is not necessary, but it will make knitting much easier.
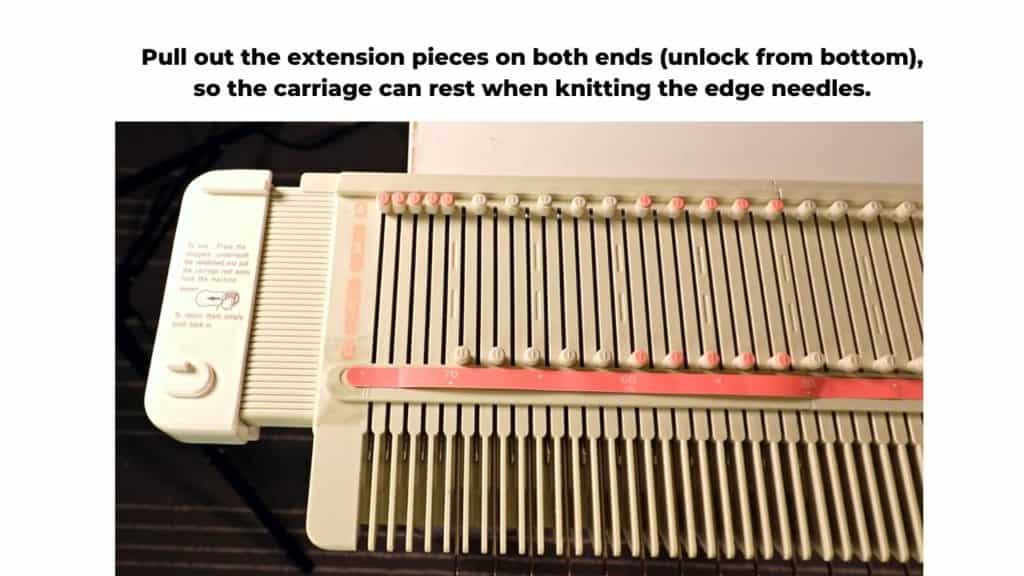
Since we are using almost full needle beds, we can pull out the extension beds on both sides, so the carriage has a place to rest.
There is a lock on the underside of the bed, just push the button to unlock the extension units.
You can purchase the yarn here: https://amzn.to/3w96d1A (This is an affiliated link, and we might earn a small fee for qualified purchase.)
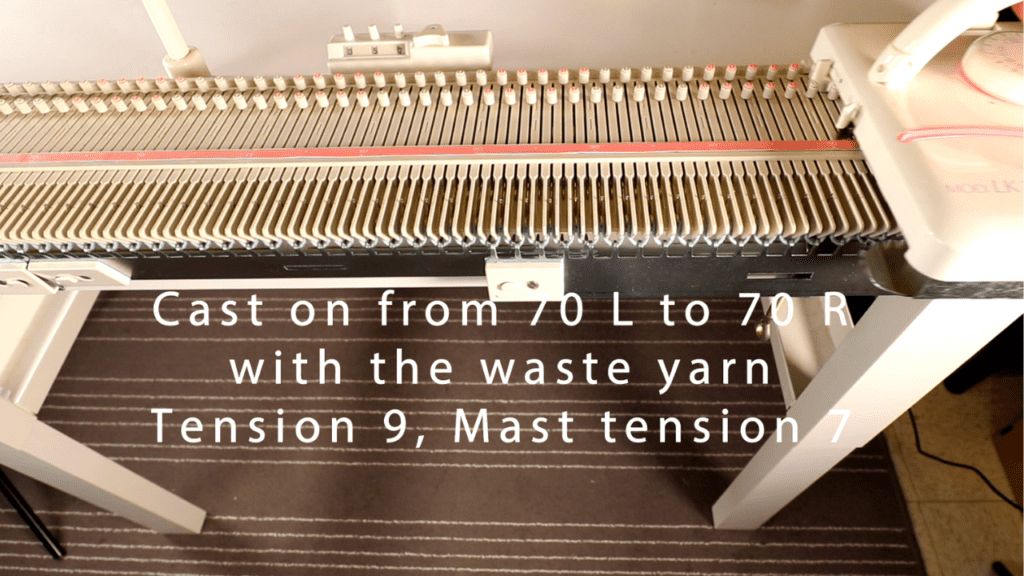
Cast on from left 70 to right 70 needles with waste yarn, and then switch to the main yarn.
My tension is 9 for the carriage and 7 for the mast tension.
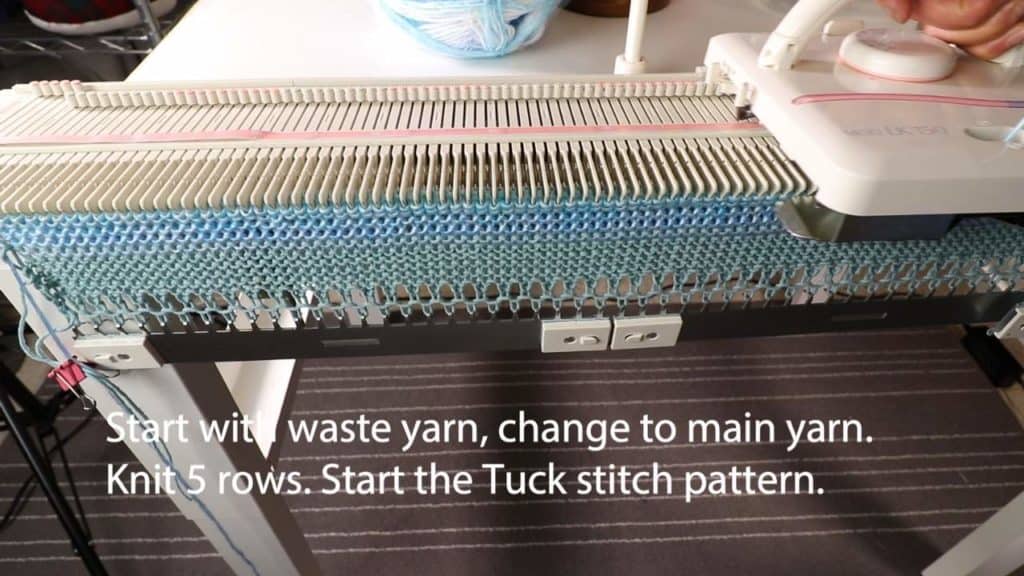
After 5 plain rows, start pulling out every 5th stitch to the D position.
Change the Russell lever to I for Tuck stitch, and knit 3 rows.
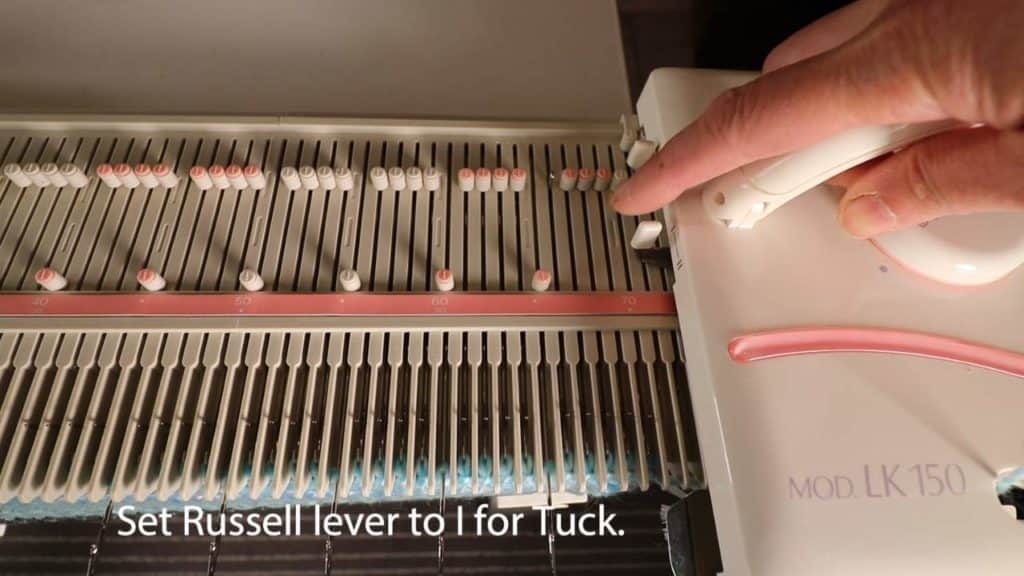

Change the Russell lever to II again for Stockinette and knit 3 rows.
Then start from the Tuck stitch again by pull every 5th needle to D, change Russell lever to I and knit 3 rows.
Keep repeating 3 rows of Tuck and 3 rows of Stockinette until the length you like.
Don’t forget to change the Russell lever before knitting the next 3 rows.
Tuck stitch creates vertical lines and texture on the wrong side.
If you offset the Tuck stitch location, it can be a diamond shape instead of vertical lines.

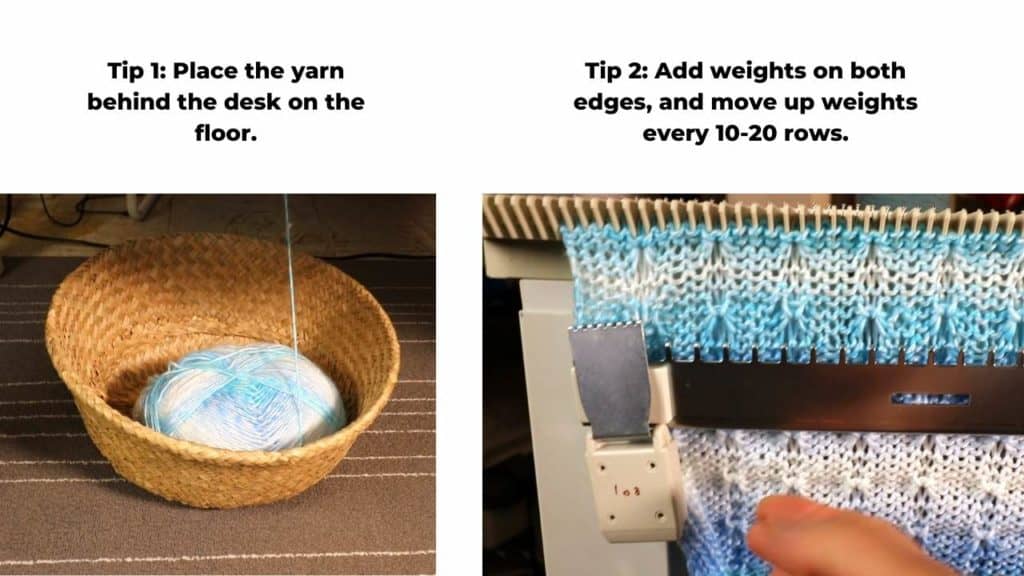
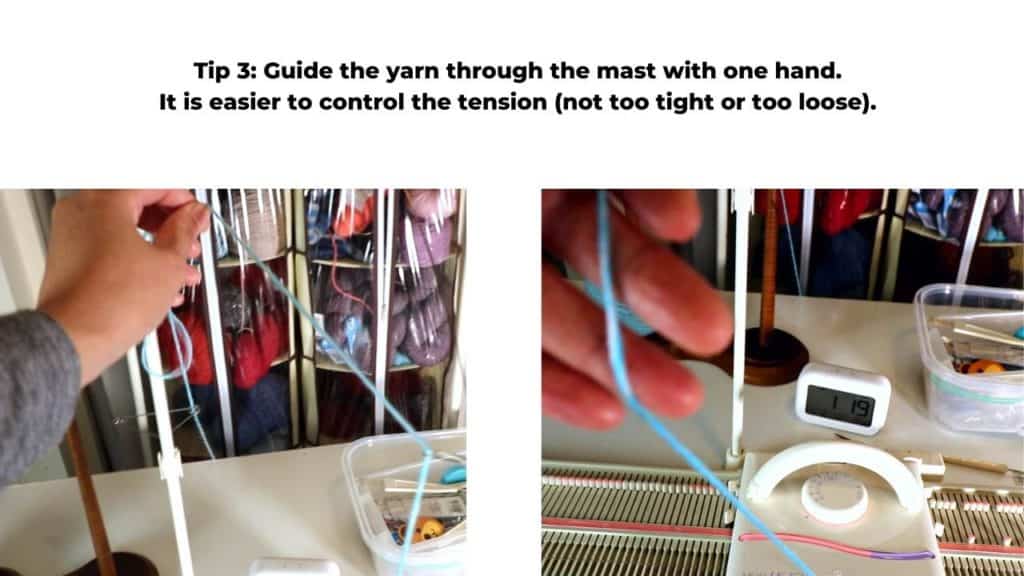
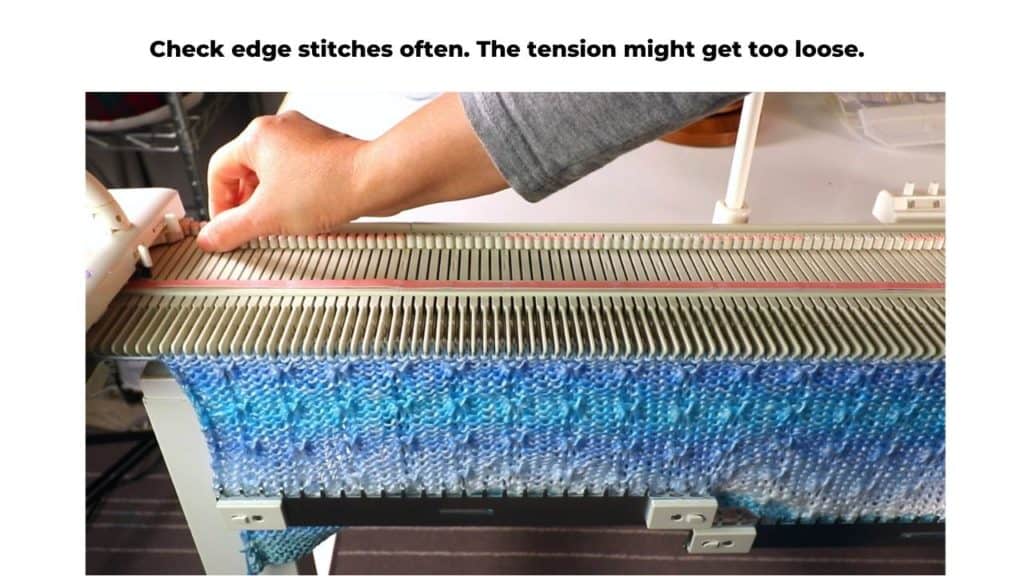
Tips for blanket knitting
You can purchase the yarn here: https://amzn.to/3w96d1A (This is an affiliated link, and we might earn a small fee for qualified purchase.)
The LK150 knitting machine link: https://amzn.to/3l1eFet
Watch the video about Part 1 of the Tuck stitch blanket knitting
Latest Posts


