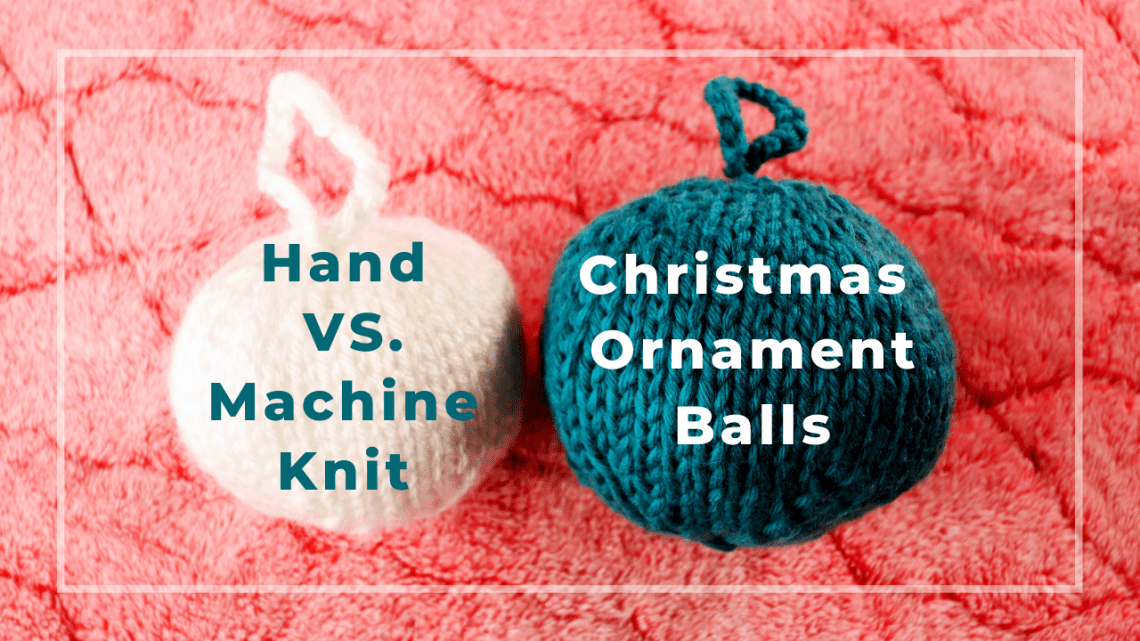
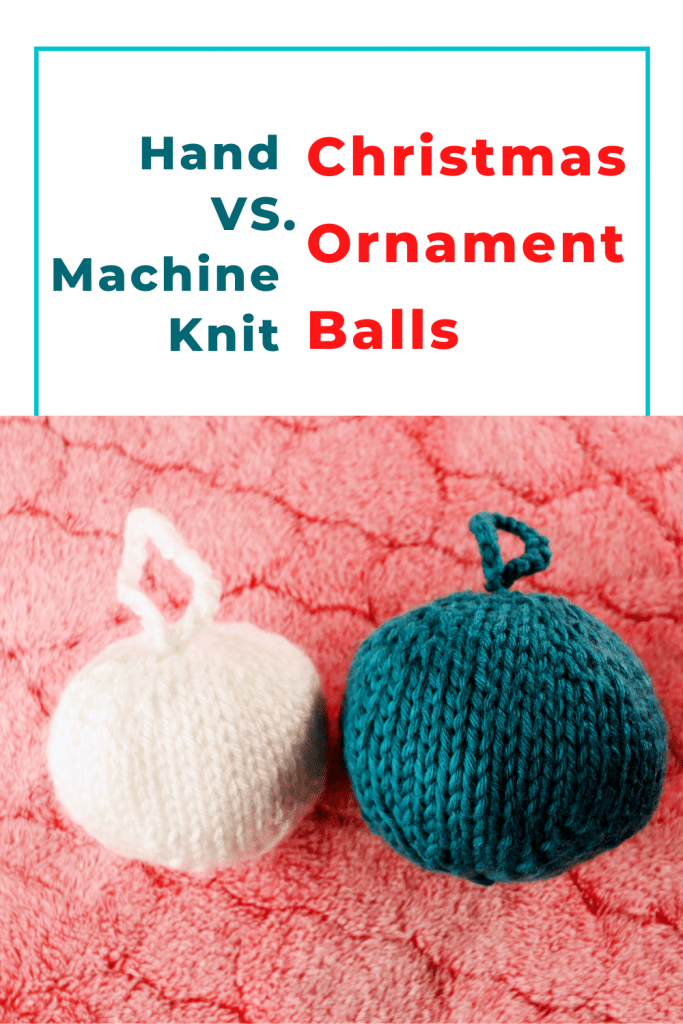
Hand vs. machine knitted Christmas ornament balls
How do you knit a basic ball by hand-knit or machine knitting? Here we are trying both and learn the pros and cons of each method.
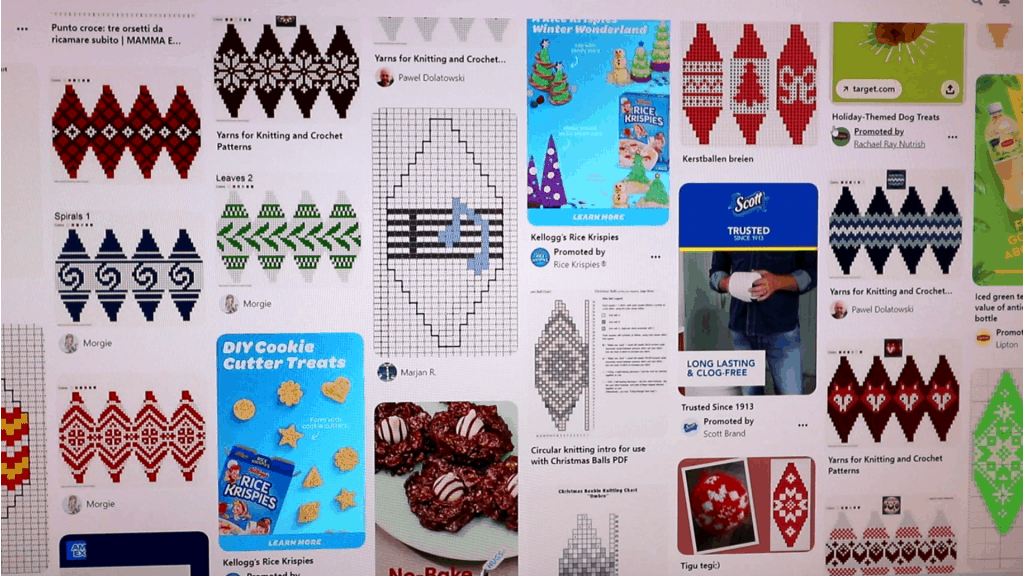
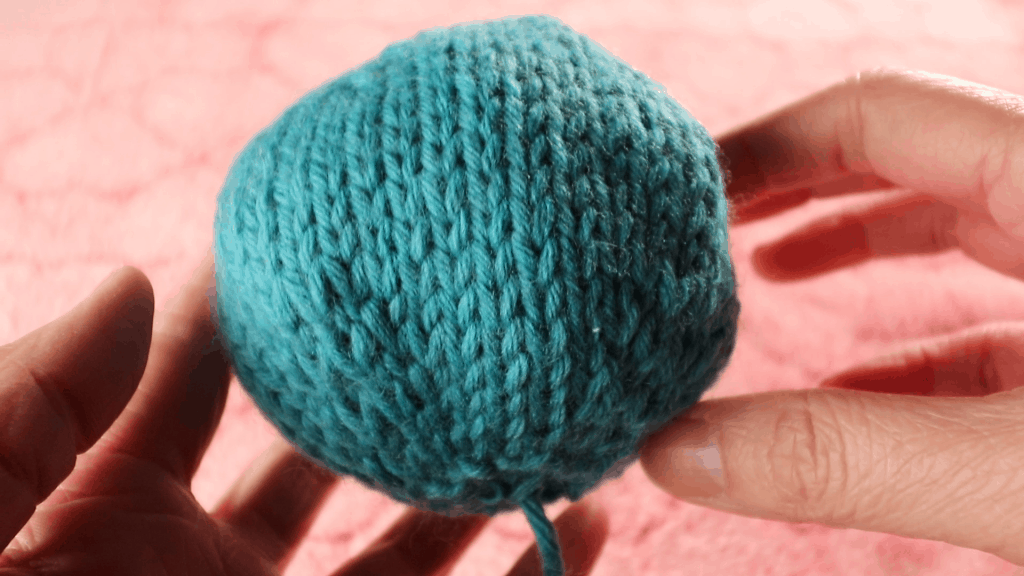
We see a lot of knitted Christmas ornament balls (Baubles) with fancy Fair-Isle patterns around Christmas time. If we can knit the basic ball shape, we can design the pattern and customize the ornament easily.
There are a lot of Christmas ornament-ball knitting patterns on Pinterest. They all have the basic shapes. It is usually the 4 repeats of the same shape. See some examples below. Each of the 4 repeats can have the same or different design. The repeated shape has some increase and decrease in the top and bottom third.
The decrease is like the top of a hat knitting
It is similar to knit the top of a hat. We can divide the hat into 6 sections (or 5 or 4…) and decrease 2 stitches in each section at a time. Add 1 or more row of plain knitting in between the decrease depending on how much slope you like the decrease to be.
You can make the ball as big or small as you like. The technique is the same. You just need to increase and decrease more rows.
Different ways to make a Christmas ball
People make the Christmas balls in many ways. Some prefer knitting individual repeat separately and sew them together. You can also knit them as a big rectangle, ignoring the decrease, and sew up the increase/decrease later (hand sewing with yarn or machine sewing) after knitting. Everyone has a different preference and you can also combine different methods.
For this project, we are showing you hand knitting a ball in the round with a circular needle, and machine knitting flat (no ribber) with hand-manipulated decreasing.
Watch the video about Hand vs. Machine knitted Christmas balls.
Picture Tutorial for knitting a basic ball
Hand-knit a ball
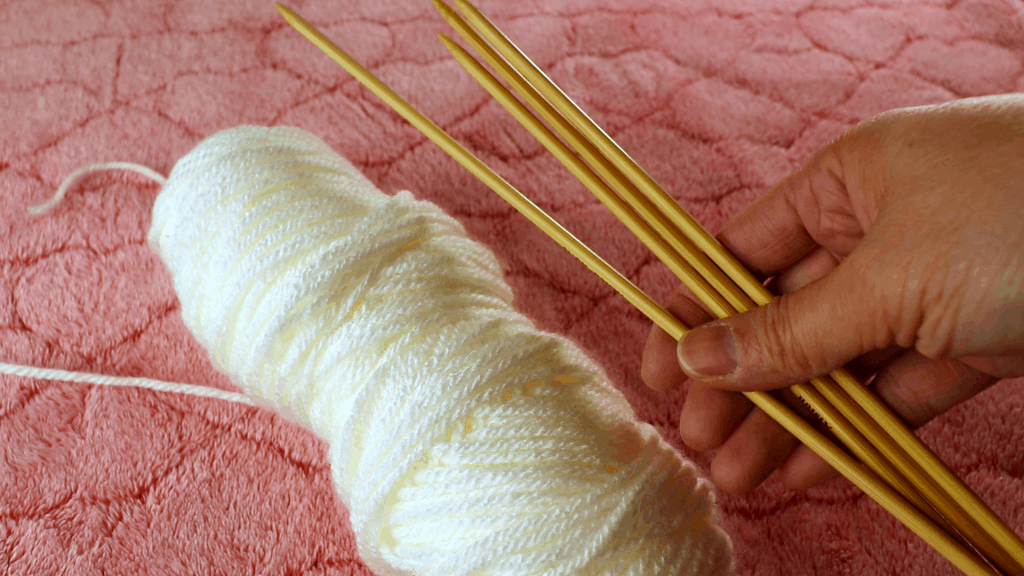
Supplies
We are going to knit in the round here. So either a set of double point needles or a long circular needle will work.
3 or 4 stitch markers will help to identify the 4 sections. If you are using 5 of the double point needles, you do not need the stitch marker.

Cast on
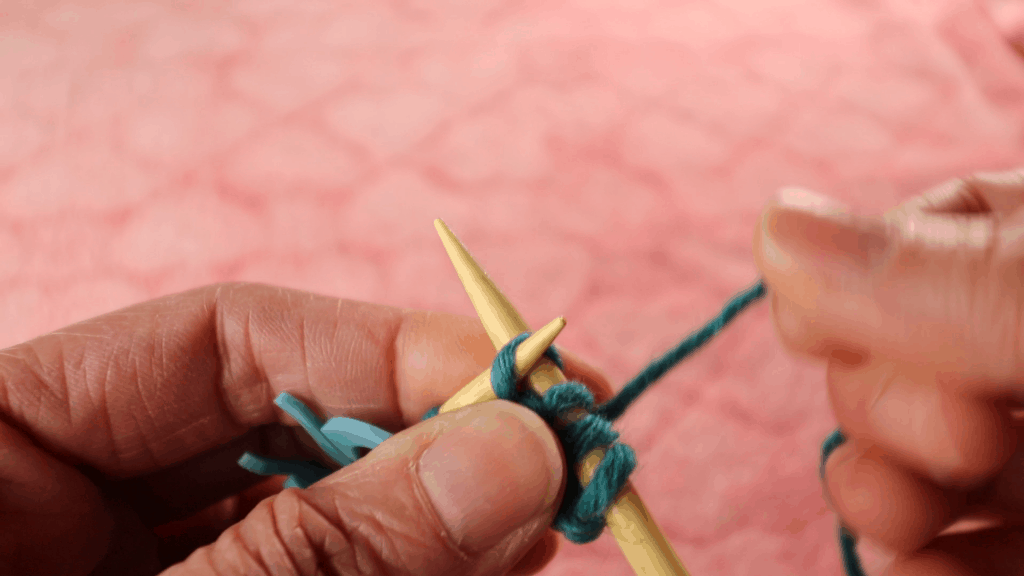
Cast on 12 stitches and divide it into 4 sections of 3 stitches each.

Knit the first row and place markers.
Arrange the stitches for knitting in the round.
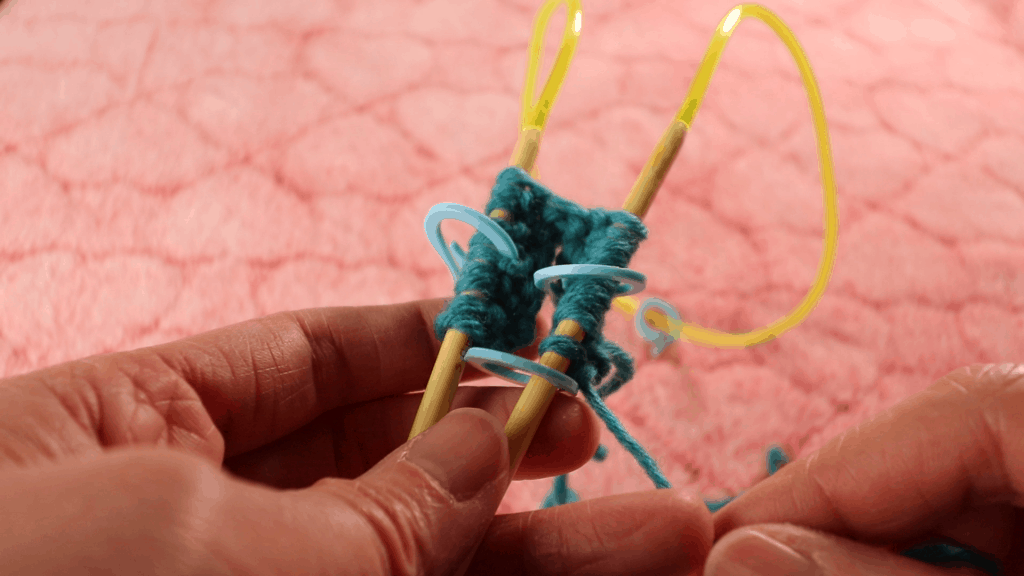
Increase
We are going to increase 2 stitches in each section.
Each section: K, M1R, K, M1L, K
Repeat that for the whole round.
Knit 1 round plain.
Each section has 3 stitches. We are going increase between the first and second stitches (M1R), as well as the second and third stitches (M1L).
The M1R leans toward the right and the M1L leans toward the left. If you don’t mind the leaning direction being perfectly symmetrical, you can use any type of increase such as knit front and back.
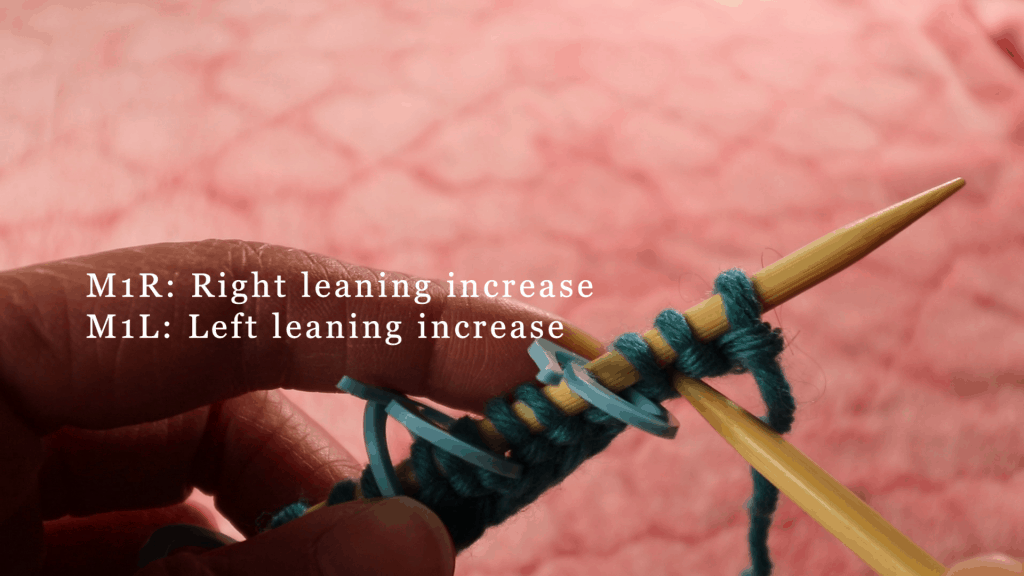
M1R
The M1R is the right leaning increase.
Pick up the bar in between stitches with the left needle so the left leg is in the front. See the picture below.
Knit from the front knit-wise. Now M1R is done. One stitch increase.

Knit the next stitch.
M1L
Knit M1L by lifting the bar so the right leg will be in the front.
Knit the stitch from the back. Now M1L is done and one stitch is increased.
The first and last stitch of each section will be plain stockinette stitch. The stitch next to that will be the increase or decrease.
Keep repeating the increase row and plain knit row until there are 44 stitches total (or your desired size).
Center
Knit about 8-10 rounds of plain knitting for the center part. You can adjust the row number. For reference, the center is about 1/3 of the total row numbers.
Add design, pattern, and texture to this center section if you like.

Decrease
Decrease row pattern:
K, K2tog, K until the last 3 stitches, SSK, K. Repeat this for each sections.
K1 round of plain stockinette in between the decrease row.
Continue repeating the decrease row and the plain knitting row until each section has 5 stitches left.

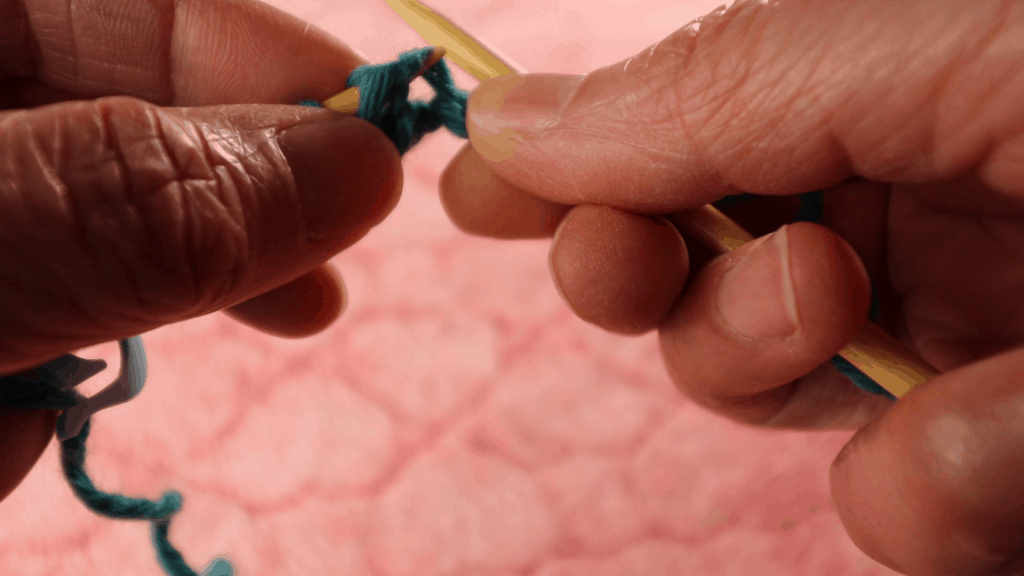
SSK:
Slip one stitch knit-wise, Slip one stitch knit-wise, Knit the 2 slipped stitch together. One stitch decreased.

When you have only 5 stitches in each section. Use the SK2P decrease for the center 3 stitches.
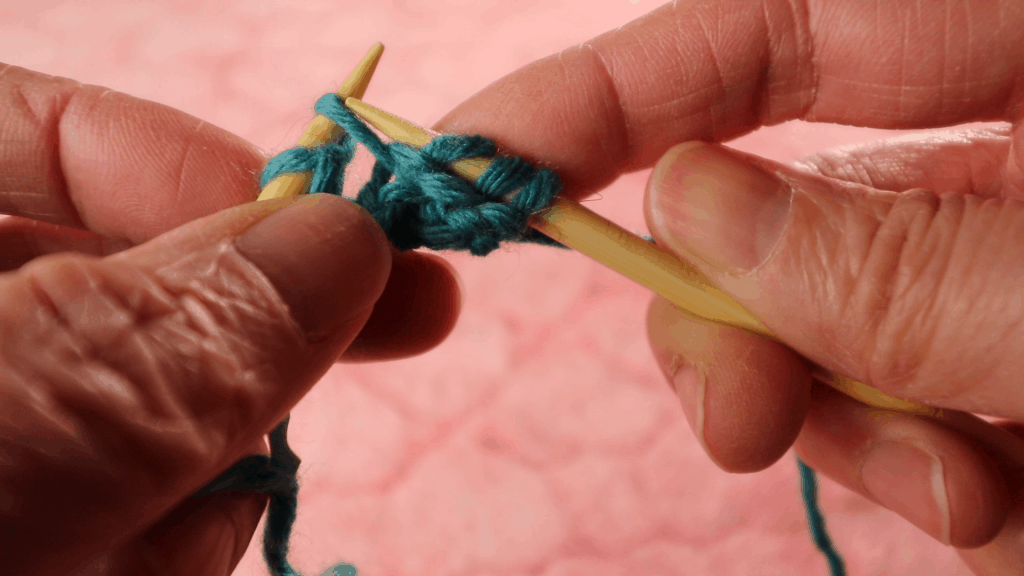
SK2P:
Slip, K2tog, Pass the slipped stitch over.
You should have 3 stitches in each section after this round.
Knit 1 last row and cut the yarn leaving a tail. Thread the yarn tail through all stitches and pull tight.
Sew up the other end of the ball to close the hole.
Add crocheted chain stitch to form a loop if desired.
Stuffing
Add stuffing at the end or half-way if you are inserting a solid ball.

Machine knitted ball
There are 3 parts in the basic chart, the increase, the center, and the decrease. Just like knitting the top of a hat, there are many ways to knit that.
You can sew the 4 repeats together after knitting them individually, or knit the whole thing in one rectangle piece and sew up the decreasing triangle later (the decreasing part will be hidden inside the ball anyway).
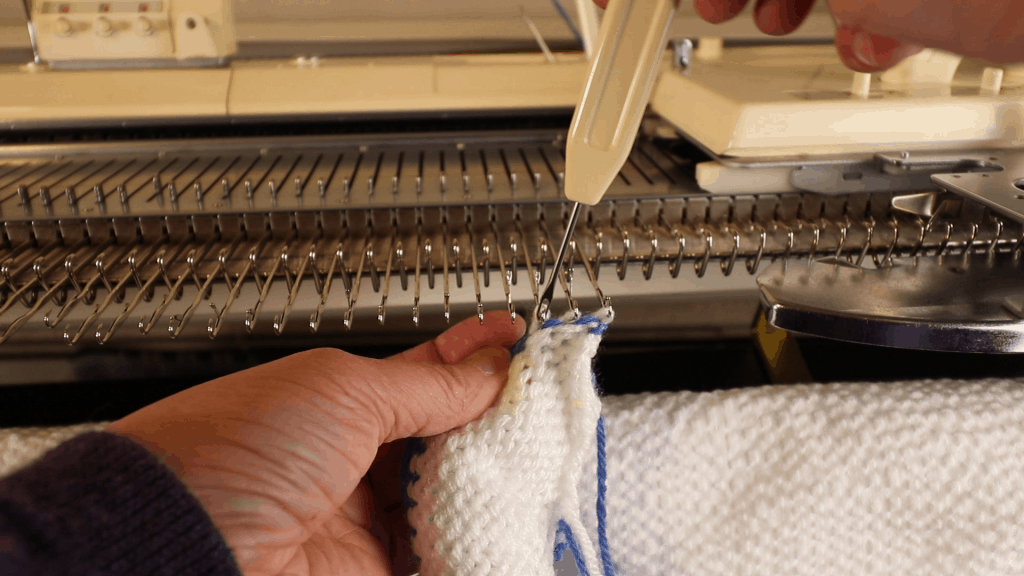
I try to knit as one piece but starting from the center up, then decrease by moving stitches over (hand-manipulated). Begin and end with waste yarn.
After taking it off the machine, hang it back upside down to continue the decrease. So instead of increase at the beginning, I decrease on both sides. It seems easier this way, but it gets pretty tight when I try to rehang back to the machine.
Or you can start with the 2 stitches and increase as the chart indicated. Maybe using the backward loop or double e-wrap method.
If you plan to sew the seam later, consider adding one more column on each side for sewing.
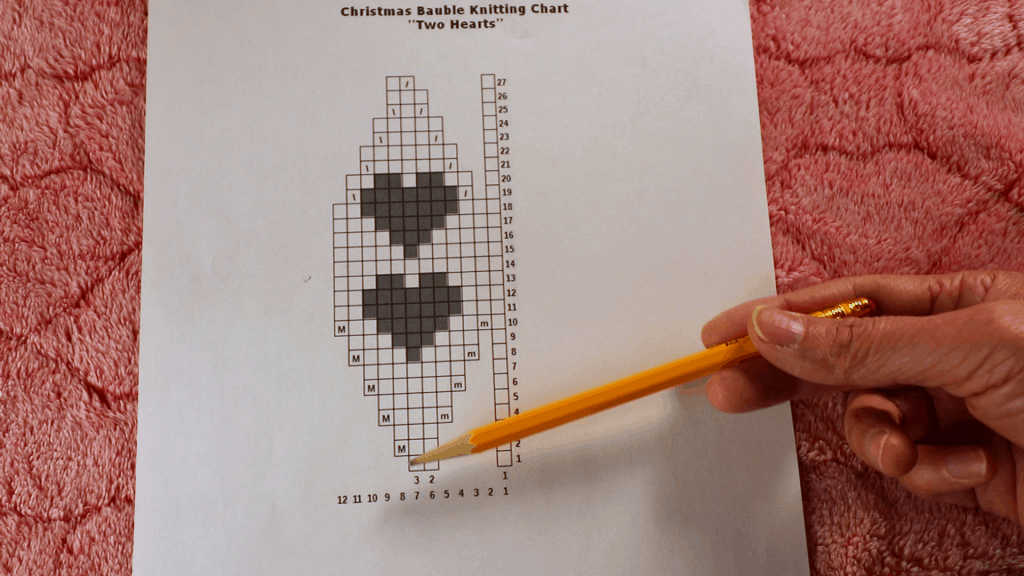
I started with 44 st with the waste yarn (11 × 4 =44 st). Change to the main yarn. Knit the center part (about 9 rows).
Decrease
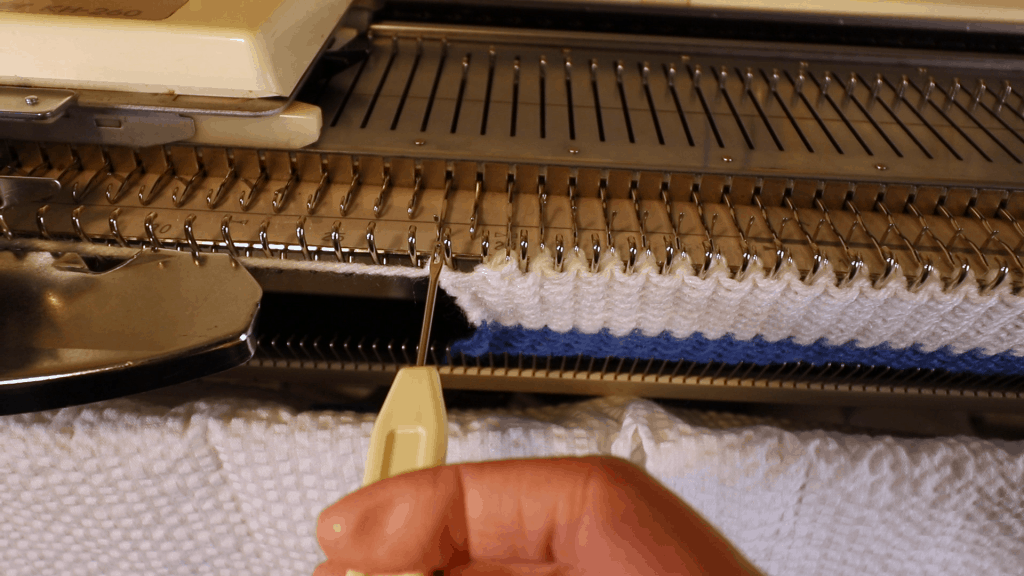
Just like hand knitting, I divide all stitches into 4 sections. Work on the stitches next to the first and last stitches of each section.
Simple decrease by moving the second needle to the third, and the 10th needle to the 9th, so they are leaning symmetrically.
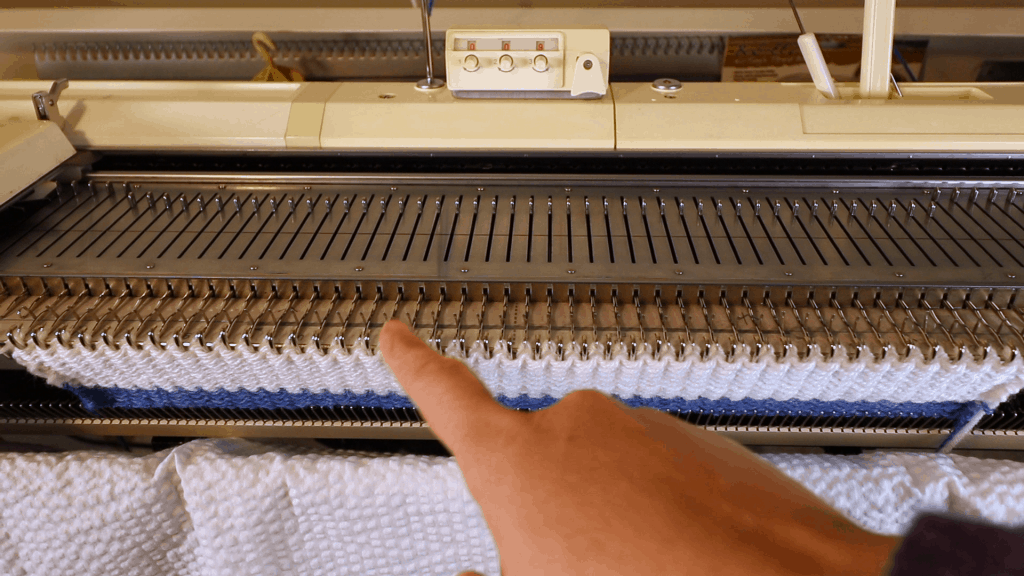
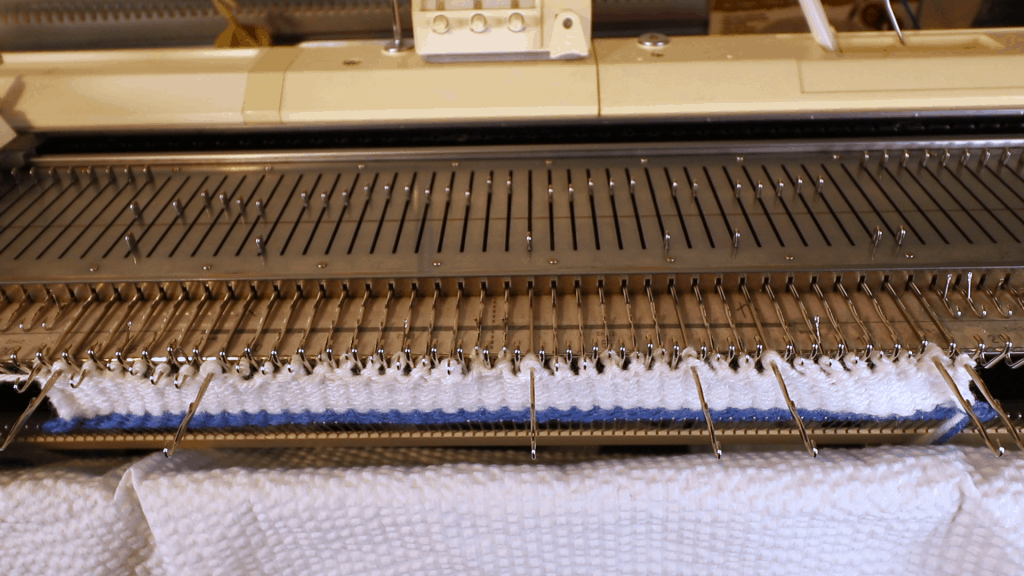
After the first decrease row. You can see some empty stitches.
The next step is to move the stitches over (toward the center) so there is no empty stitches.
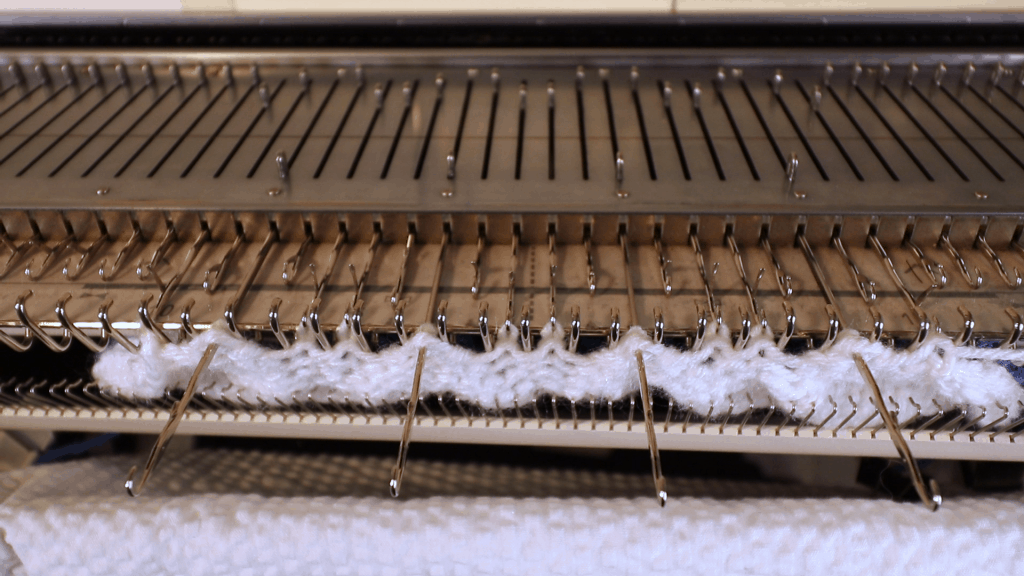
You can use a garter bar or multi-transferring tool to speed up the process.
If there are too many empty needles in between, transfer one stitch at a time so the stitch is not over-stretched. This process might be tedious. That is one limit of machine knitting.

The below picture shows all stitches moved so there is no empty needle in the middle of the knitting. I try to move stitches toward the center (0,0) direction.
Knit 1 row.
Then, start the next decrease row.
Another decrease round before eliminating empty needles.
Keep repeating the decrease round and plain knitting round until only 12 stitches on the machine.
Knit a few rows of waste yarn and take it off the machine.

After taking off the machine. Half of the ball is done.
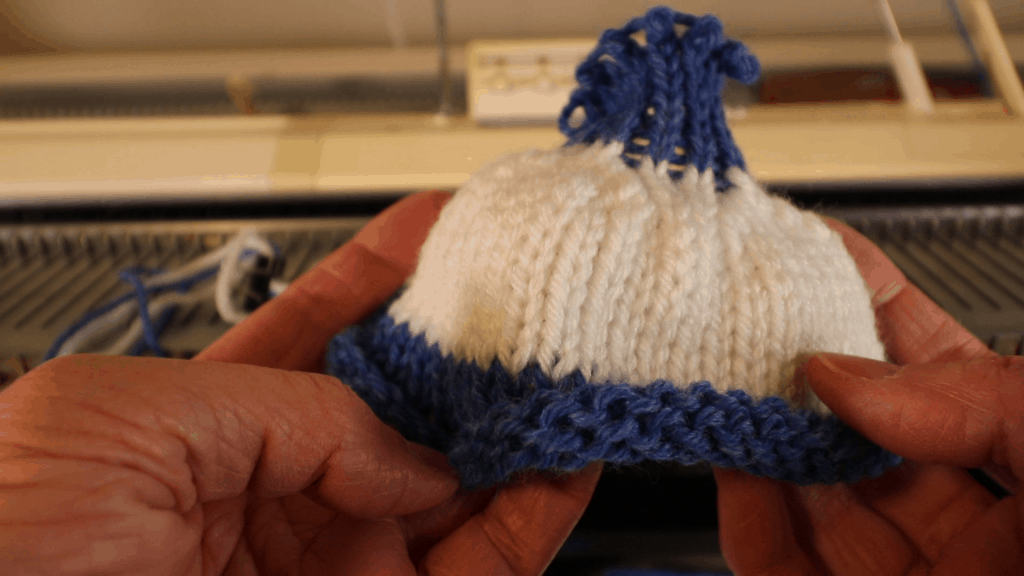
Now turn it upside down and hang the stitches back to the knitter.
Hang weights and repeat the same decreasing process above for the other side of the ball.
Or you can take it off the machine and hand knit the decrease. Since this is a small project, hand knitting does not take that long.

The left side is machine knitted and the right side is hand knitted. (picture below).
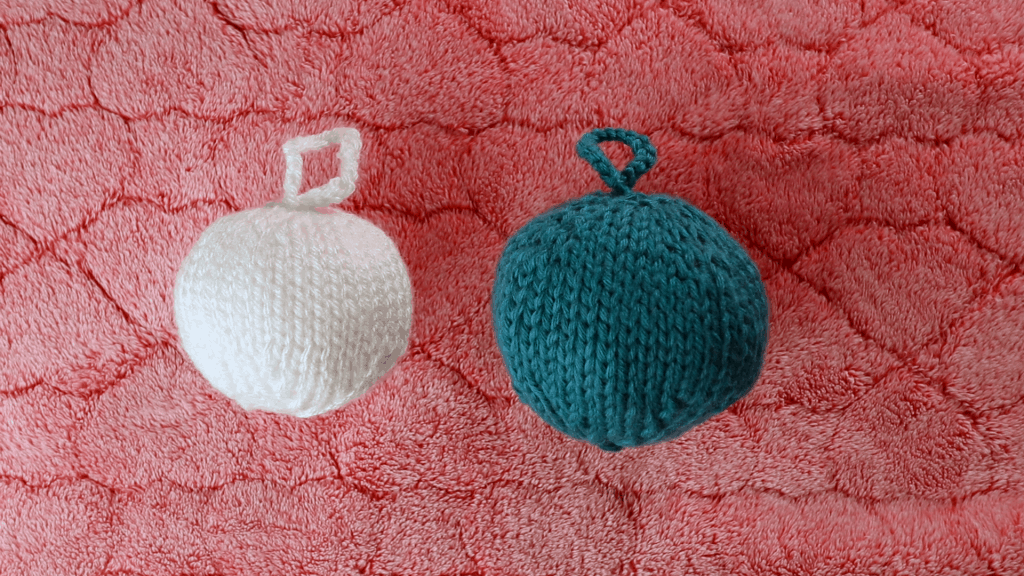
Comparison
If you are good with a punch card or other patterning device, it is worth knitting the center part on the machine at least because of the speed and even stitches. Once you have a punch card designed, you can knit a lot quickly.
For one of a kind, spontaneous knitting design, hand-knit is more flexible. There is no limit on the stitches, yarn size, or pattern design. It is also very relaxing to have a ball of yarn and knitting needles in hand. It is portable, unlike the fixed knitting machine with a loud noise.
Personally, I like to combine both. For the part that needs speed, quantity, and size, I will use a knitting machine. For complicated stitches, techniques, or just want to have a relaxed time, I will knit by hand.
There is no right or wrong way to knit. Sometimes speed is more important, sometimes it is the intricate detail, and sometimes it is about enjoying the meditation zen moment of hand knit.
🛒 Visit our Amazon page (this contains affiliated links, and we get a small percentage without extra cost to you): https://www.amazon.com/shop/picturehealer
Hand-knit vs Machine knit Christmas Ornament Balls
Featured Posts
- How to machine knit a heart shape on an LK150

- Machine knitting a loop stitch for big texture

- Machine knitting a corner-to-corner, diagonal dishcloth

- Machine knitting a buttonhole band on an LK150

- Tuck stitch blanket on an LK150 – Part 1
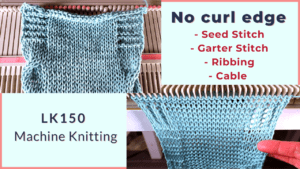
- No curl edge with seed, garter, ribbing, or cable stitches
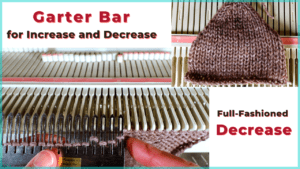
- Full-fashioned decrease, Garter Bar increases or decreases in the middle of a row
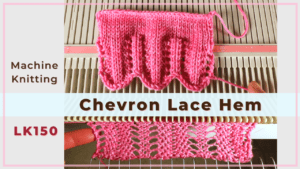
- How to machine knit a Chevron Lace Hem
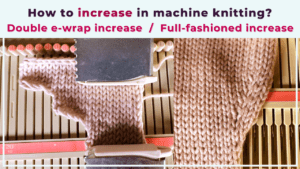
- Machine knitting increases – the full-fashioned increase and double e-wrap
- Picot hem with a scalloped edge and eyelets on an LK150 knitting machine

- The loop through loop bind-off and the sewing bind-off

- The latch tool bind-off and around the gate peg cast-off
- Transfer tool cast off and variations- Simple, No hole, and Even-tension
- Double e-wrap, latch tool, and crochet hook cast on
- Machine Knitting basics – Cast on with waste yarn, ravel cord, and e-wrap


You May Also Like
Machine knit a 2-color mock Brioche stitch without a ribber
Easy reversible bubble stitch cowl knitting pattern with chunky yarns