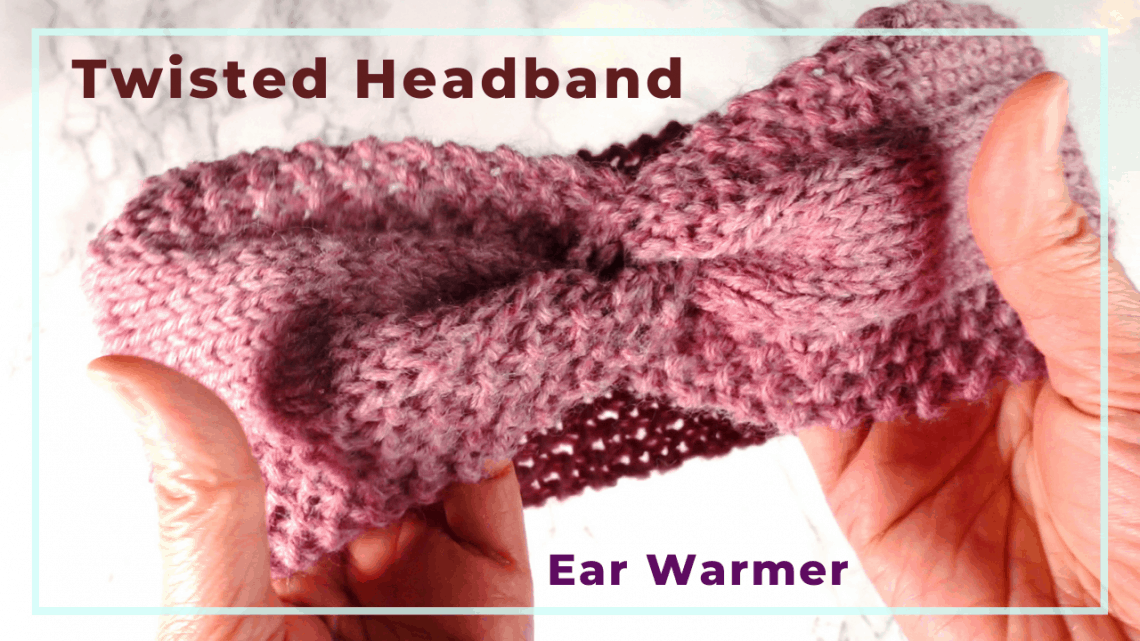
Hand knitting a twisted headband or ear warmer
The twisted headband seems popular these years, either with a sewing or knitting version. The twist is created by a certain way of folding before sewing up. Here we are going to hand knit a basic twisted headband or ear warmer. Watch the video tutorial or read on for the photo tutorial.
Watch the twisted headband/ear warmer on Creative Tien YouTube channel
How to knit the twisted headband
We are using the worsted weight yarn (medium), and matching needle size (around 5 mm). It is a good idea to knit a swatch first to see if you like the tension.
We are going to knit back and forth to create a rectangle, so a circular knitting needle is optional.
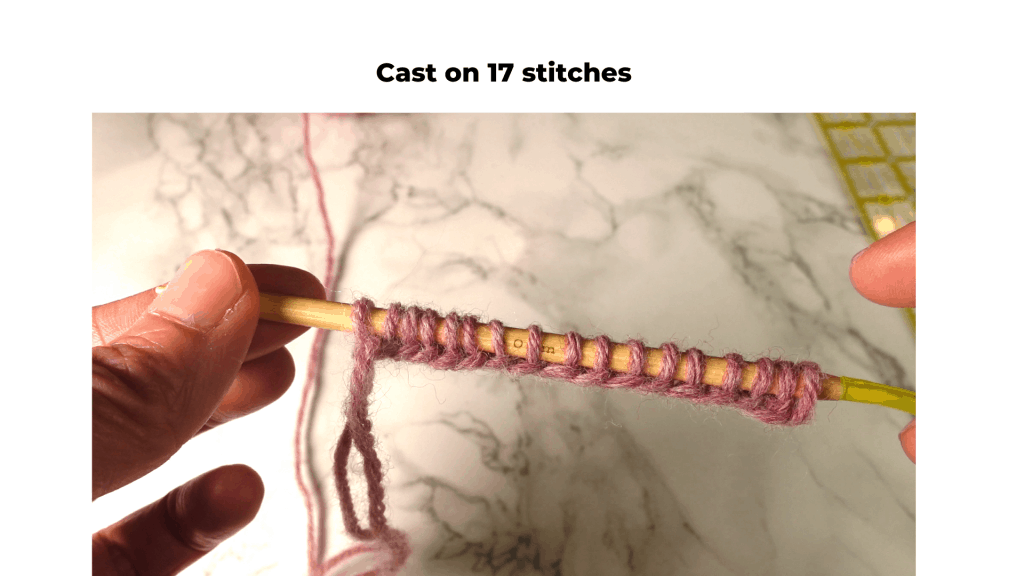
Cast on: 17 Stitches. (Long tail cast on is fine).
This creates about 3.5 inches wide rectangle. Adjust the stitch numbers if you like.
The design here is to have a seed stitch section on the first and last 5 stitches, and a plain stockinette stitch in the center.
Other alternatives include the 1 by 1 ribbing for the first and last 5 stitches, or cable stitches in the center.
Here are 2-row repeats:
The first row: Knit, Purl, Knit, Purl, Knit, Knit 7 (front center section), Knit, Purl, Knit, Purl, Knit.
The second row: Knit, Purl, Knit, Purl, Knit, Purl 7 (back of the center section), Knit, Purl, Knit, Purl, Knit.
Repeat these 2 rows until about 19-20 inches for the average adult, or less for kids.
Bind off, and leaving a long yarn tail for sewing.

You can place stitch markers between the 5 side stitches and the center stitches. Or just count the stitches.

My width is about 3.5 inches. Fewer stitches if you want a less wide headband.

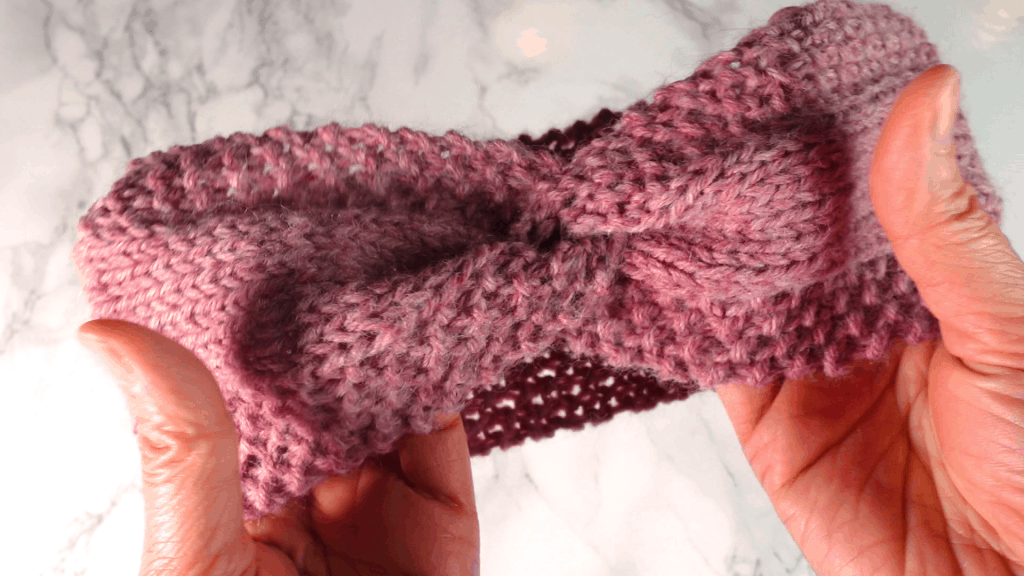
The center plain stitch can be a little curly. You can use a steam iron to flatten a little.

The knitting part is done. It is basically a long rectangle and edges so it will not curl.

The Fold
Fold the piece lengthwise, and leave the wrong side out (facing you).
Pick up the 2 ends. It looks like 2 Cs.
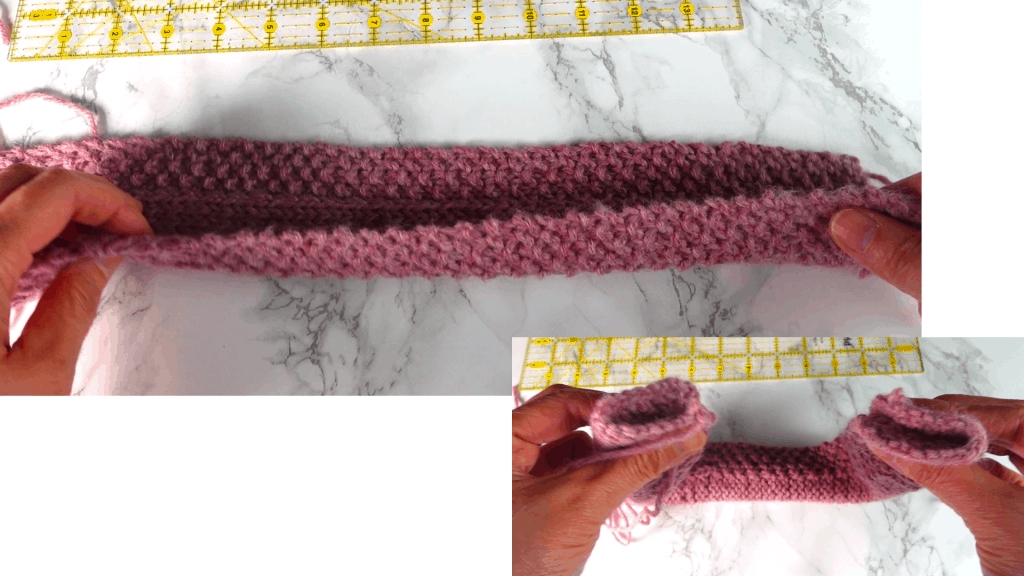
Place the 2 Cs like the picture below. Use yarn tail to sew close the top.
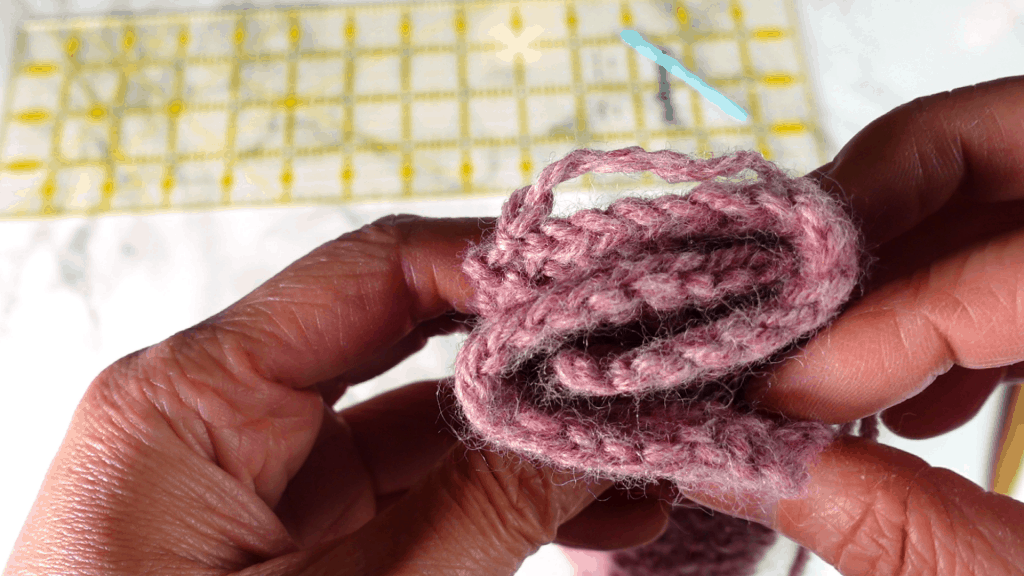
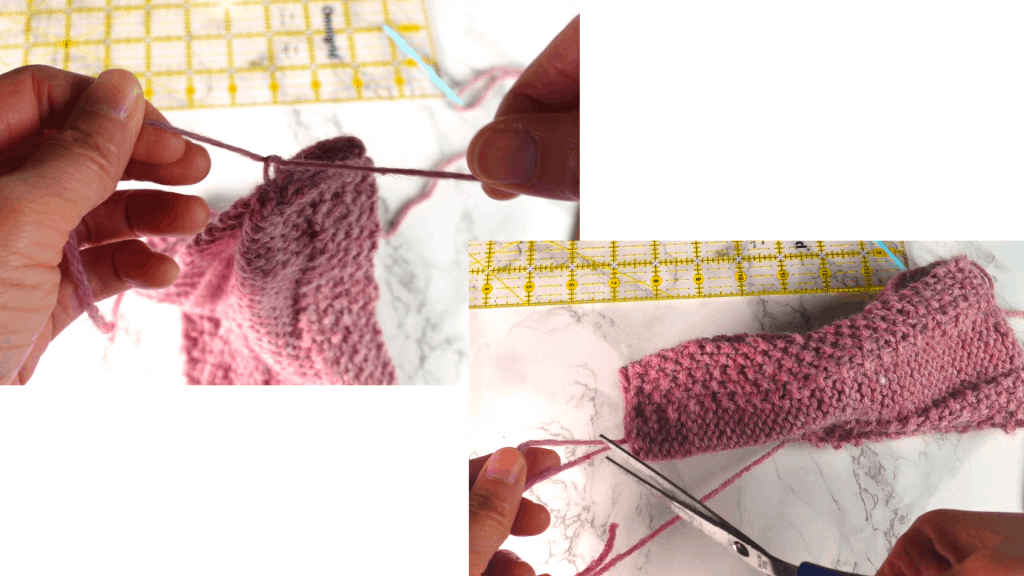
Remember to sew through all 4 layers.

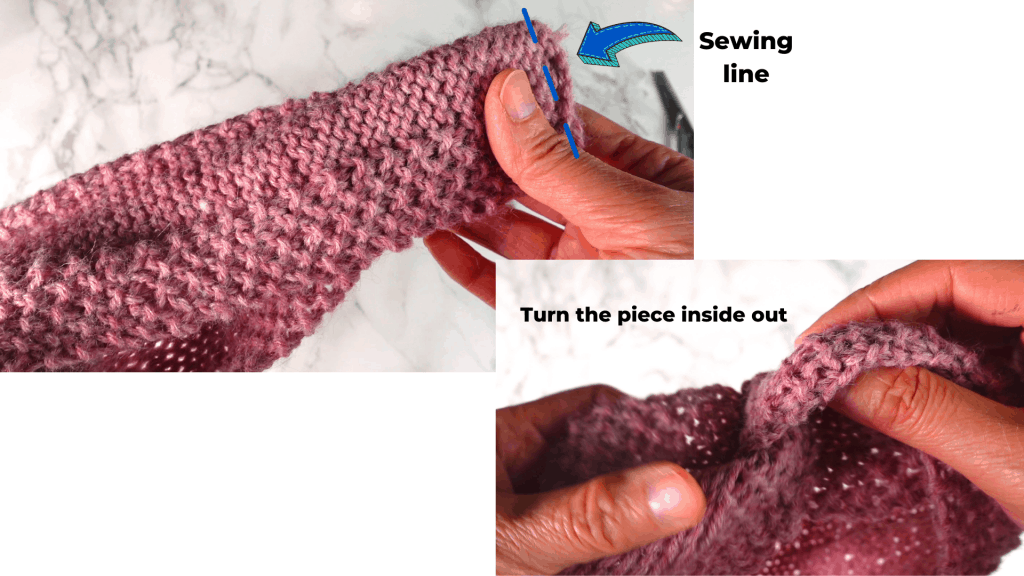
Secure the yarn end and cut off extras. The sewing line will be hidden after it is done. So don’t worry if it is not very neat.
After sewing, just open up the fold and turn the piece inside out. See the twist formed.
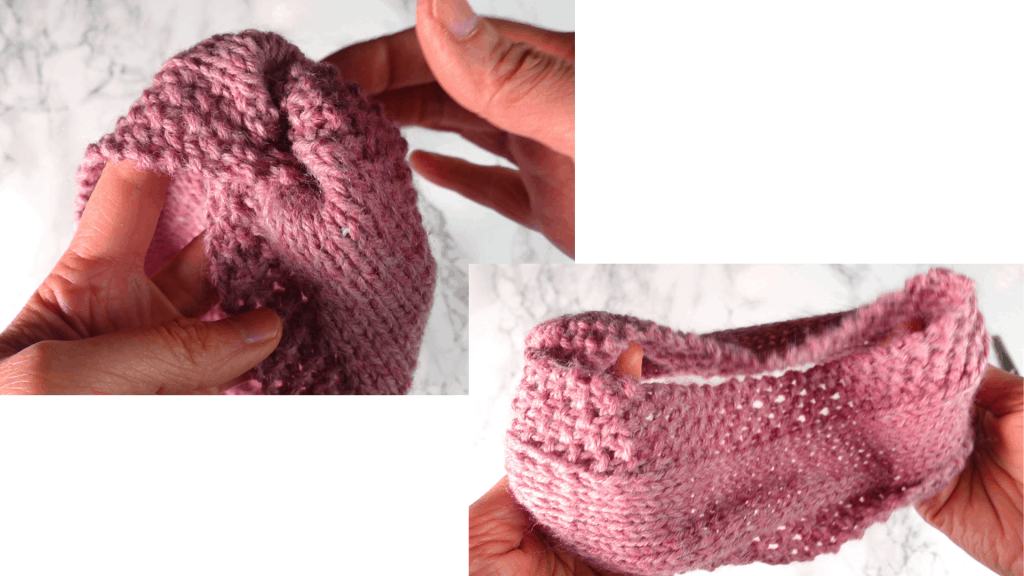
All done. Time to try on.


🛒 Visit our Amazon page (this contains affiliated links, and we get a small percentage without extra cost to you): https://www.amazon.com/shop/picturehealer
Twisted headband or ear warmer knitting tutorial
Featured Posts
- How to machine knit a heart shape on an LK150

- Machine knitting a loop stitch for big texture

- Machine knitting a corner-to-corner, diagonal dishcloth

- Machine knitting a buttonhole band on an LK150

- Tuck stitch blanket on an LK150 – Part 1
- No curl edge with seed, garter, ribbing, or cable stitches
- Full-fashioned decrease, Garter Bar increases or decreases in the middle of a row
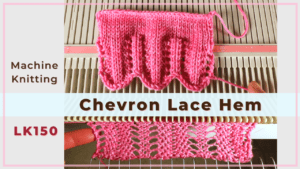
- How to machine knit a Chevron Lace Hem
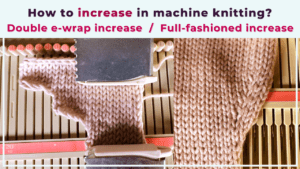
- Machine knitting increases – the full-fashioned increase and double e-wrap
- Picot hem with a scalloped edge and eyelets on an LK150 knitting machine

- The loop through loop bind-off and the sewing bind-off

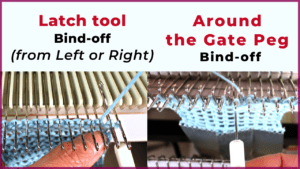
- The latch tool bind-off and around the gate peg cast-off
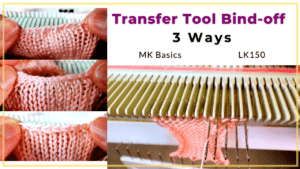
- Transfer tool cast off and variations- Simple, No hole, and Even-tension
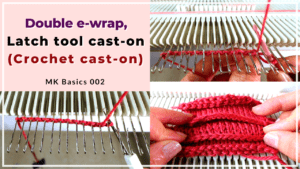
- Double e-wrap, latch tool, and crochet hook cast on
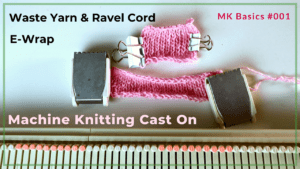
- Machine Knitting basics – Cast on with waste yarn, ravel cord, and e-wrap


You May Also Like
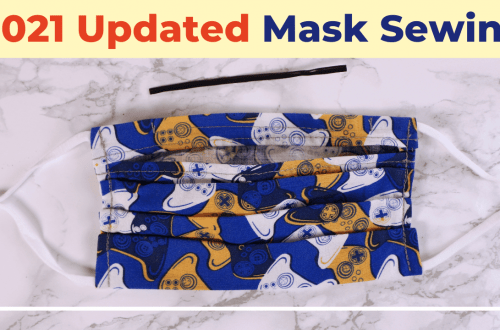
Sewing a mask with pocket and removable wire (2021 update)

Gaiter style mask (Neck tube or scarf) with filter pocket made from a T-shirt