Sewing a mask with pocket and removable wire (2021 update)
This post is the 2021 updated version of our first and most popular mask sewing tutorial in 2019. The mask sewing pattern download is the same including the adult and kid sizes. See the link below.
Pattern PDF free download of the mask patterns: https://bit.ly/3pVZ0gi
Link to the 2019 mask sewing tutorial: https://creativetien.com/2020/03/25/simple-face-mask-sewing-with-wire-and-an-opening-for-filter-insert/
Watch our video tutorial of the 2021 updated mask on Creative Tien YouTube channel:
2021 updated mask sewing
The elastics
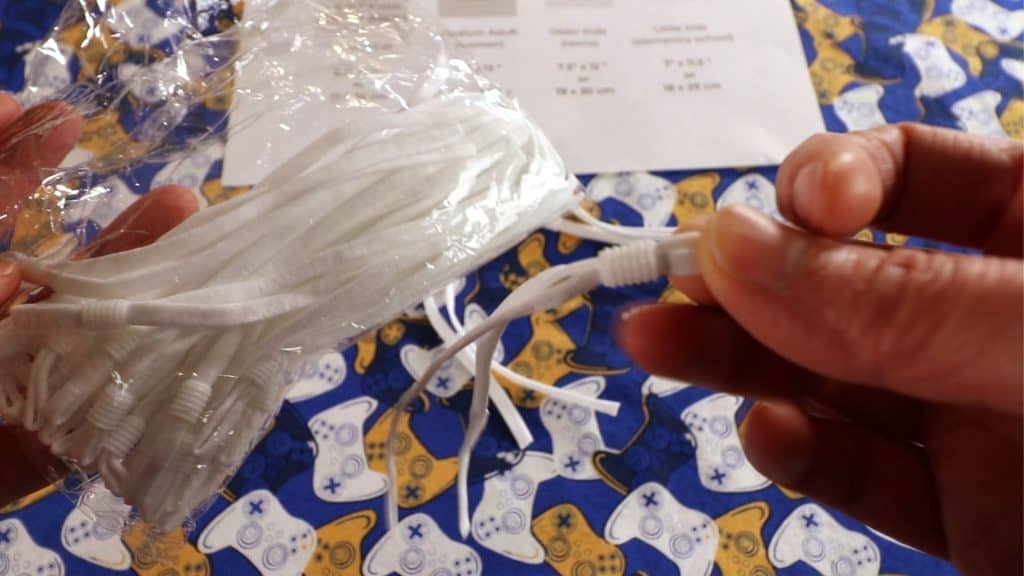
It is been almost a year since our first mask sewing tutorial, mask sewing supplies are easily available now. One of my favorite accessories is the “adjustable elastic”.
There is a small bead or plastic piece on the elastic, so you can adjust the length by sliding up or down the piece. These elastics are easy to buy online now (eBay or Amazon) and the price is pretty decent. It solves the problem of fitting individual size properly.
Another way is to cut the elastics longer, and you can just tie knots to shorten it. If you need to adjust the size in the future, you can untie and tie a new knot again.
Bendable wire for the nose area
Another issue for mask making is finding the right wire. We used to just put in a twisty tie from the grocery store. Some qualities are not great. Avoid the twisty ties with paper or color paper so it does not run or break in the wash.
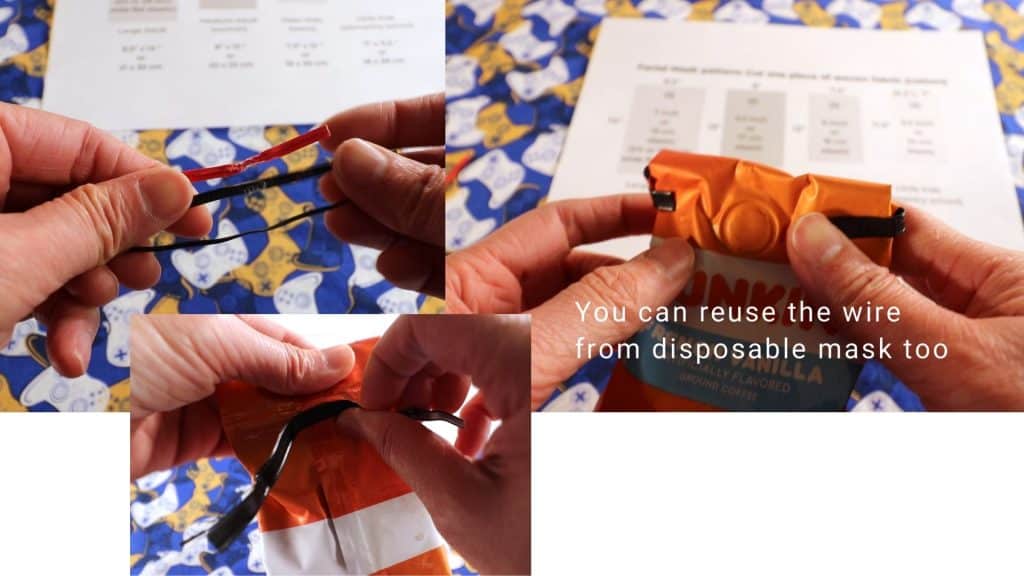
You can reuse the wire from disposable masks. Some wires are very flexible but some can be too stiff. If you are buying online, make sure it is flexible enough so you can bend into the right shape.
If you are not sure the wire will withstand the washing machine, you can always sew a pocket for the removable wire. See the sewing direction below.
My current favorite wire is from the grounded coffee package. The wire to close the package seems very strong and flexible. The Dunkin Donut brand works well for me (not sponsored).
Picture tutorial for the mask sewing
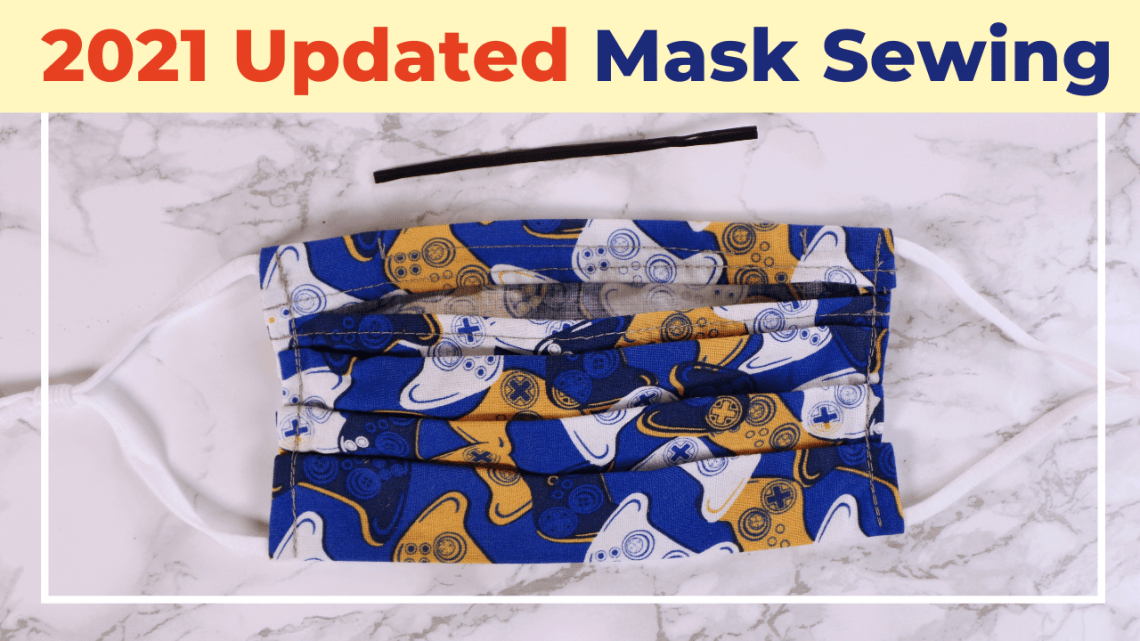
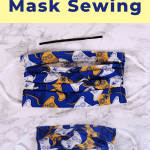
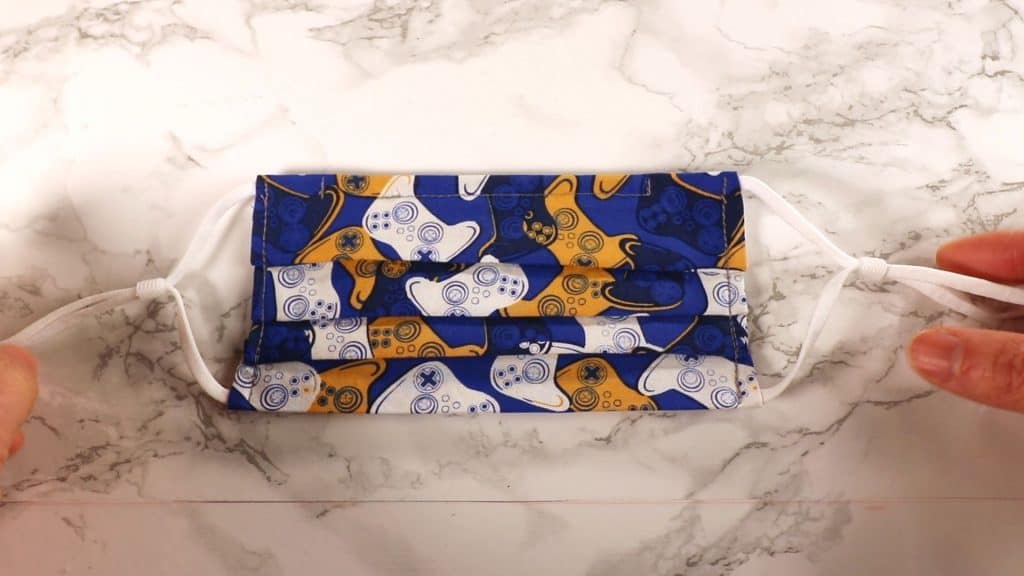
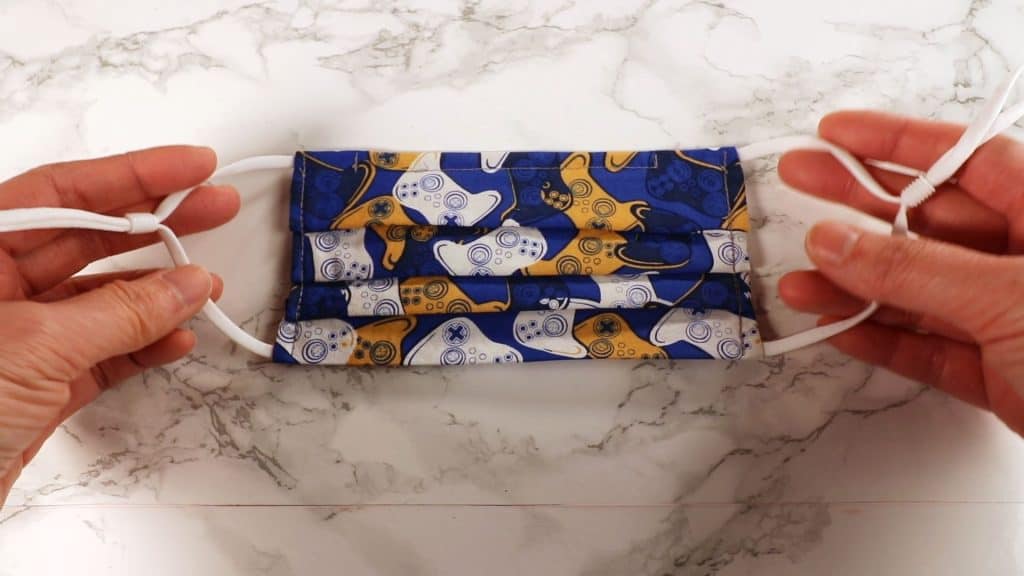
Here are the pictures of front and back of the finished mask with adjustable elastic and removable wire.

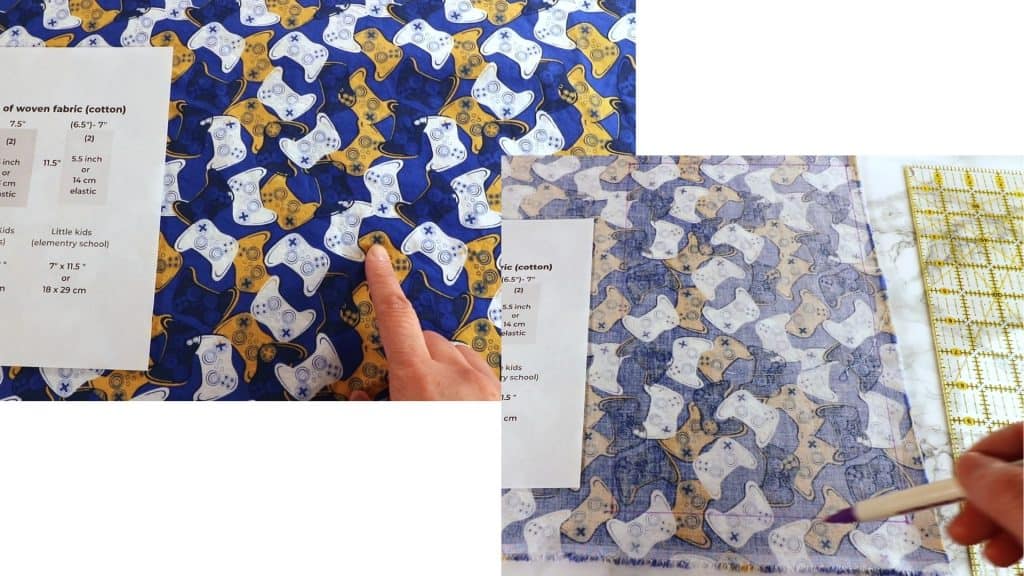
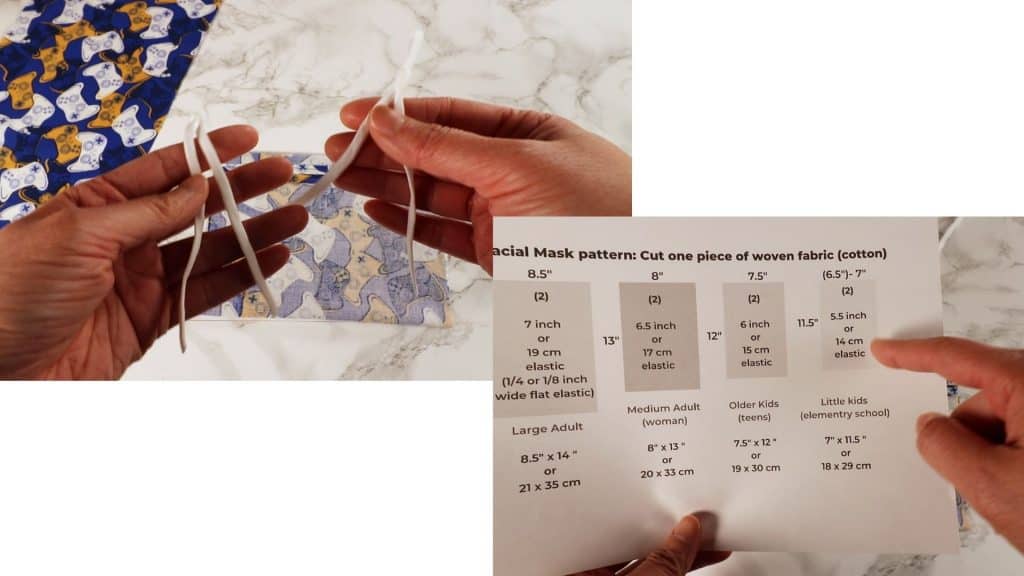
First, find some cotton fabric you like. You don’t need a lot. One yard fabric can be cut into about 6 masks depending on the mask size. The large adult size only needs 8.5 x 14 inches. Wash and iron first before sewing.
Download and print the free PDF pattern here: https://bit.ly/3pVZ0gi
Mark and cut the fabric according to the chart. Seam allowance is included so no need to leave extra fabric.
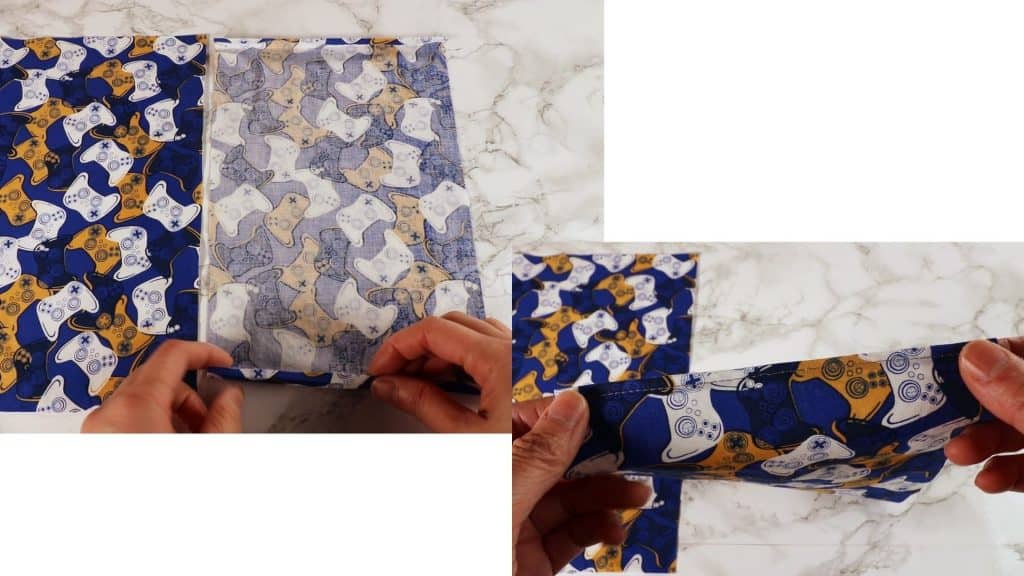
Double fold the short edges and sew a line. I always back stitch at the beginning and the end even though they will be hidden.
Prepare your elastic. Cut the length according to the chart or use the adjustable elastic.
With the right side facing you, fold down the top edge (short side) about 1/2 inch, and fold up the bottom edge (short side) to meet the top edge.
Place the elastics inside so the ends of the elastics are at the 4 corners. See picture below.
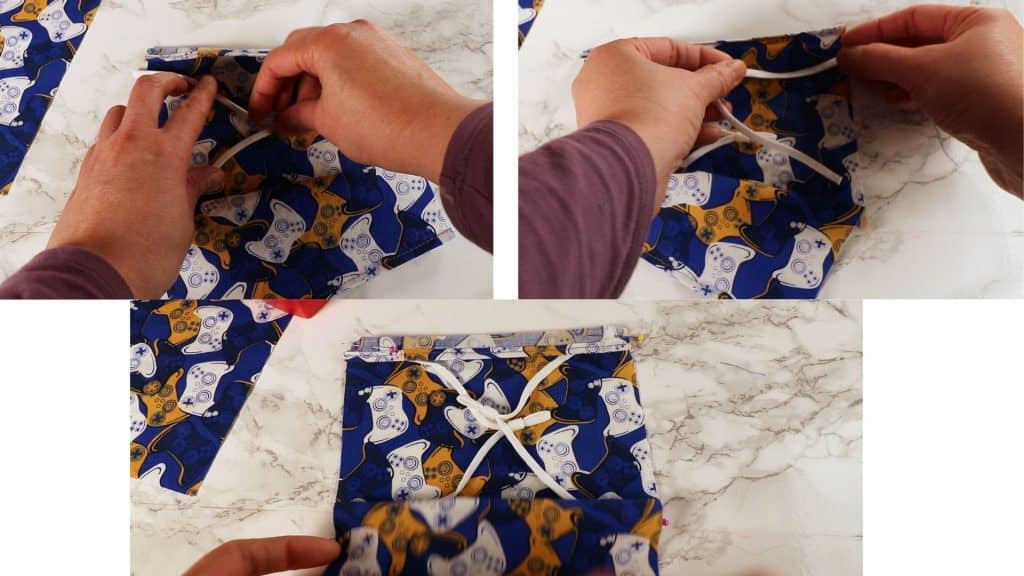
Pin down the elastic and sew the 2 sides. (Elastics are enclosed inside).
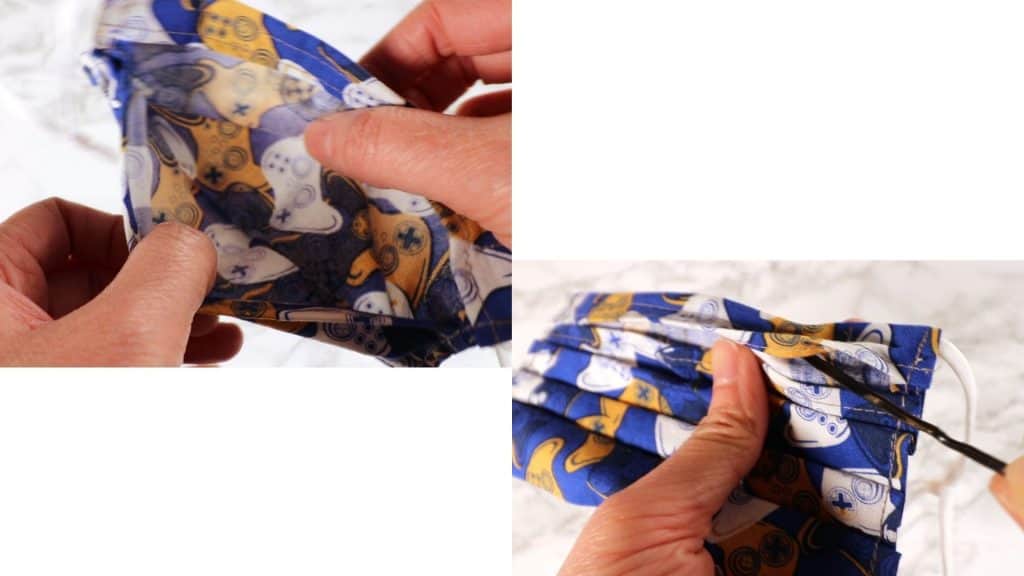
Turn inside out through the pocket opening.
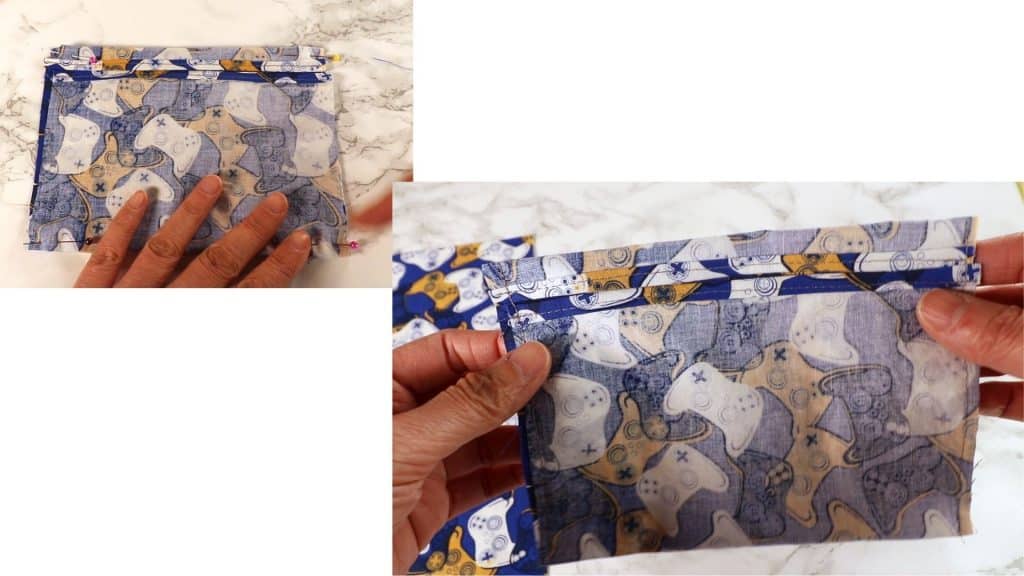
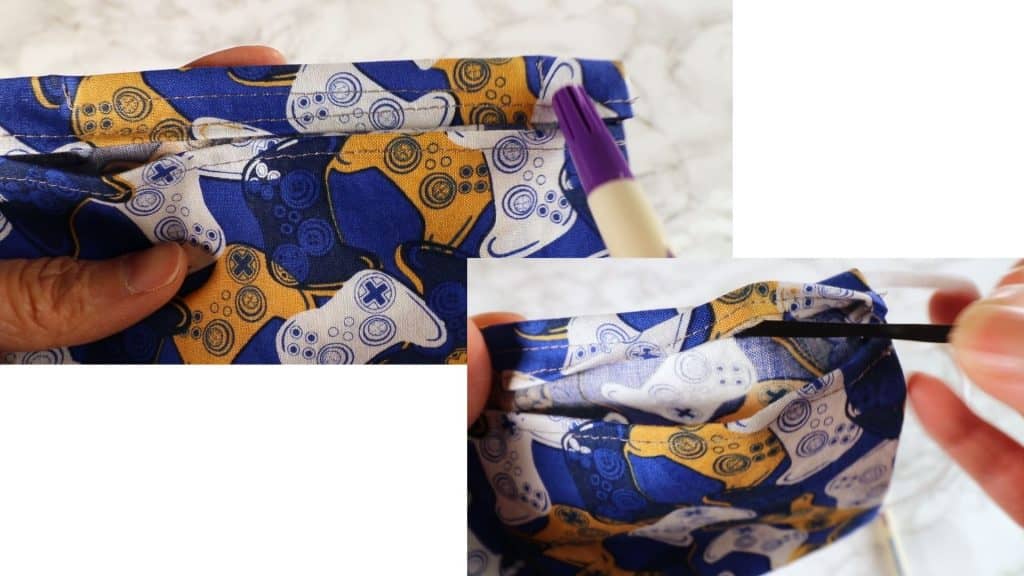
Place the wire in place. See pictures below.
To make a removable pocket for wire insert, sew an L shape on one side and a short line on the other end. (See the picture below). This creates a small opening so the wire can be removed before washing.
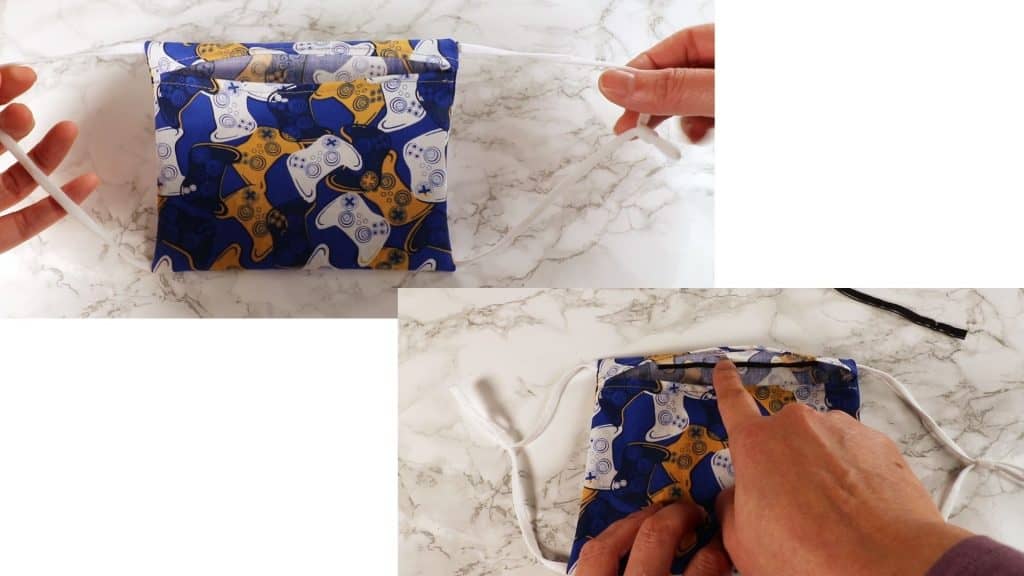
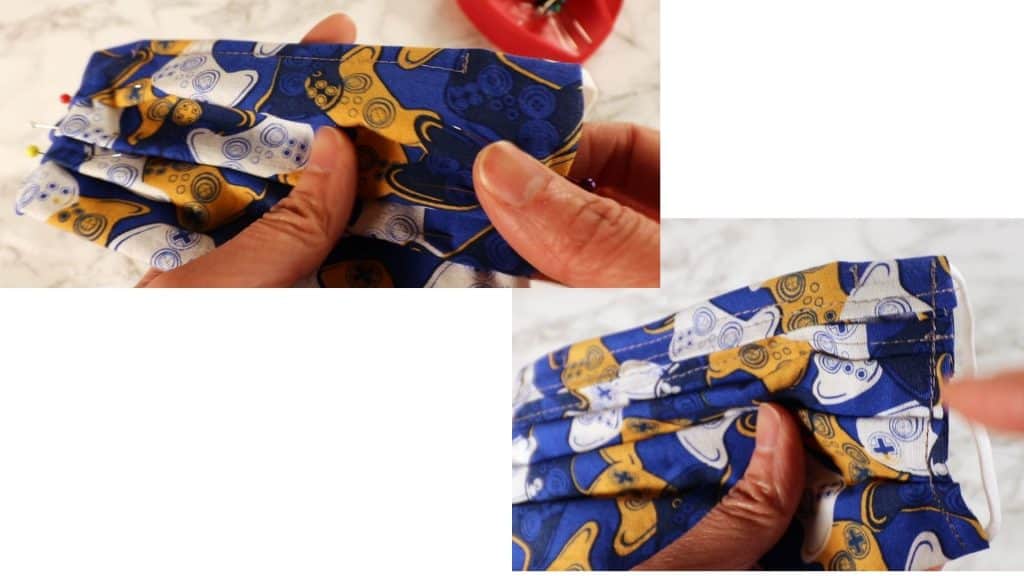
Start your 3 folds. It is easier to start with the fold in the center, and then the top/bottom fold. I like to fold it down on the front side so it does not collect dusts or germs easily.

After folding, pin and sew a line or double lines to secure the sides.
Give an iron and it is all done. Time to try on and adjust the earloop elastics.
🛒 Visit our Amazon affiliated page (We get a small commission without extra cost to you.): https://www.amazon.com/shop/picturehealer
Mask Sewing Tutorial and free download – 2021 version
Featured Posts
- How to machine knit a heart shape on an LK150

- Machine knitting a loop stitch for big texture

- Machine knitting a corner-to-corner, diagonal dishcloth

- Machine knitting a buttonhole band on an LK150

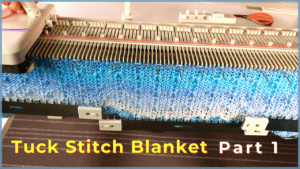
- Tuck stitch blanket on an LK150 – Part 1
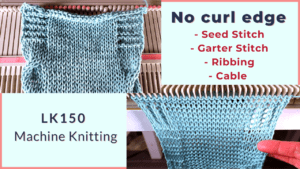
- No curl edge with seed, garter, ribbing, or cable stitches
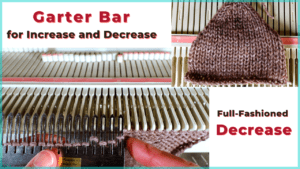
- Full-fashioned decrease, Garter Bar increases or decreases in the middle of a row
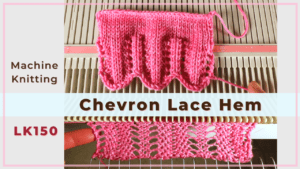
- How to machine knit a Chevron Lace Hem
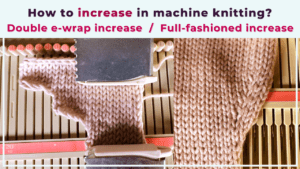
- Machine knitting increases – the full-fashioned increase and double e-wrap
- Picot hem with a scalloped edge and eyelets on an LK150 knitting machine

- The loop through loop bind-off and the sewing bind-off

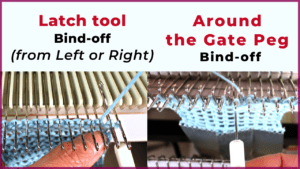
- The latch tool bind-off and around the gate peg cast-off
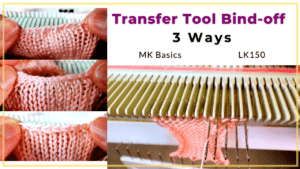
- Transfer tool cast off and variations- Simple, No hole, and Even-tension
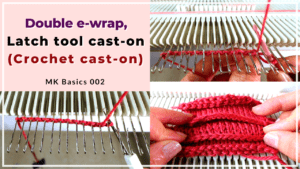
- Double e-wrap, latch tool, and crochet hook cast on
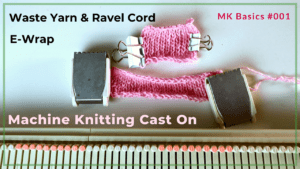
- Machine Knitting basics – Cast on with waste yarn, ravel cord, and e-wrap


You May Also Like
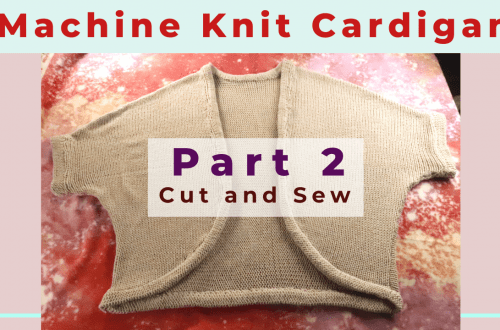
Cut-and-sew machine knitted cardigan
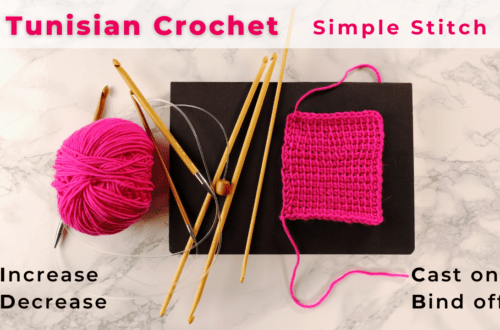
Tunisian crochet simple stitch increase, decrease, cast on, and bind off