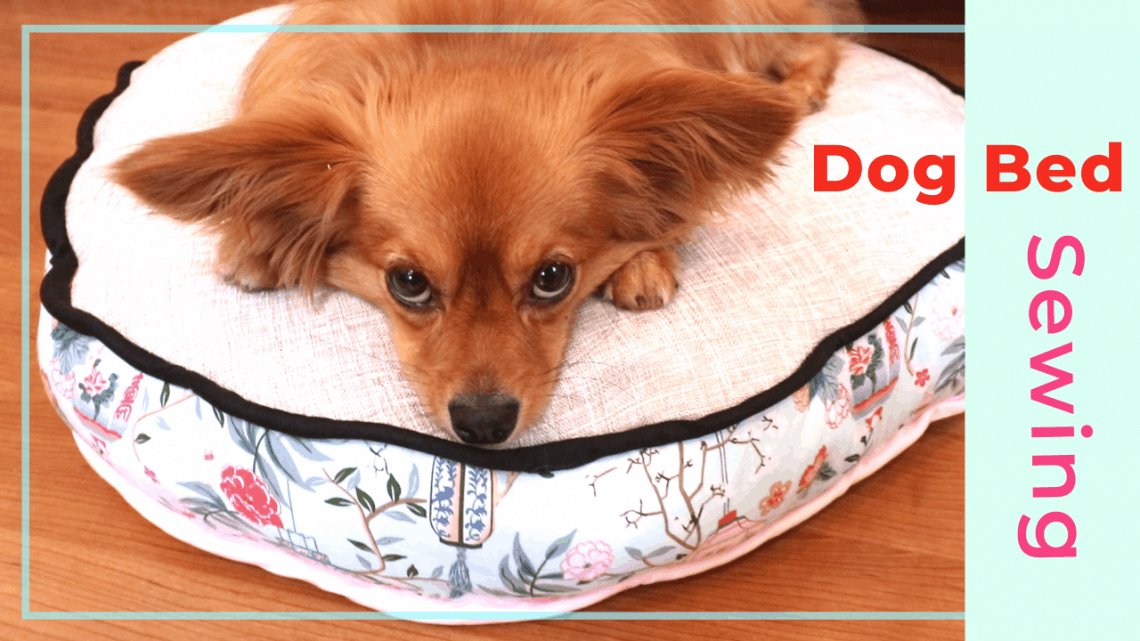
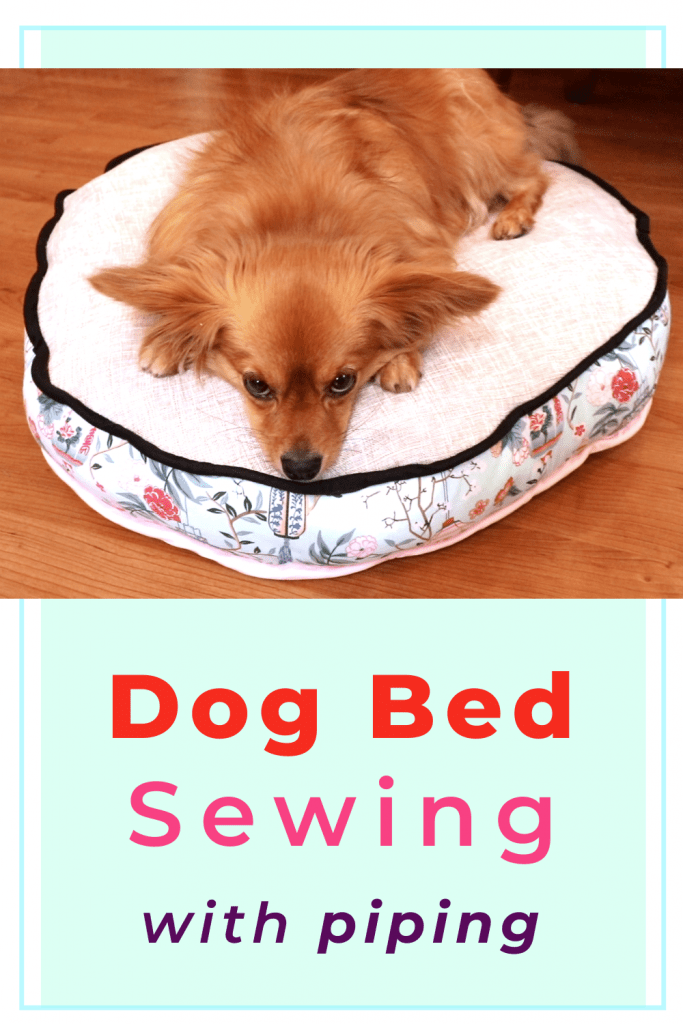
Sewing a simple dog bed with piping edges
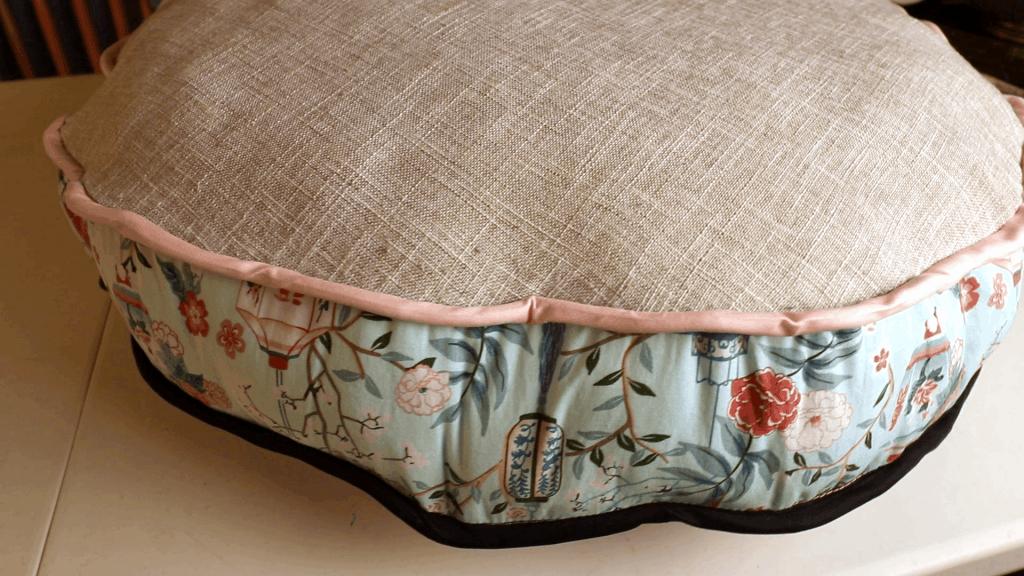
Here is a simple circular dog bed sewing project. I want a dog bed that is machine washable, sturdy, and still visually pleasing. So I came up with a round pillow shape with piping edges and contrasting fabrics.
Watch our dog bed sewing tutorial
Step by step dog bed sewing tutorial
Material
Fabric for top, bottom, and side panel. They can be the same fabric, or coordinating patterns. For practical purposes, the fabric should be sturdy and machine washable. The good choice includes denim, twill, bottom-weight cotton, canvas, and twill. Some home furnishing fabric will work well too.
Polyester stuffing – A lot of pillow stuffing today contains machine washable polyester. Depending on the size of your dog, you will need a different amount of stuffing. I make 24 inches circular dog bed and it takes at least 2 regular pillows to look decently full.
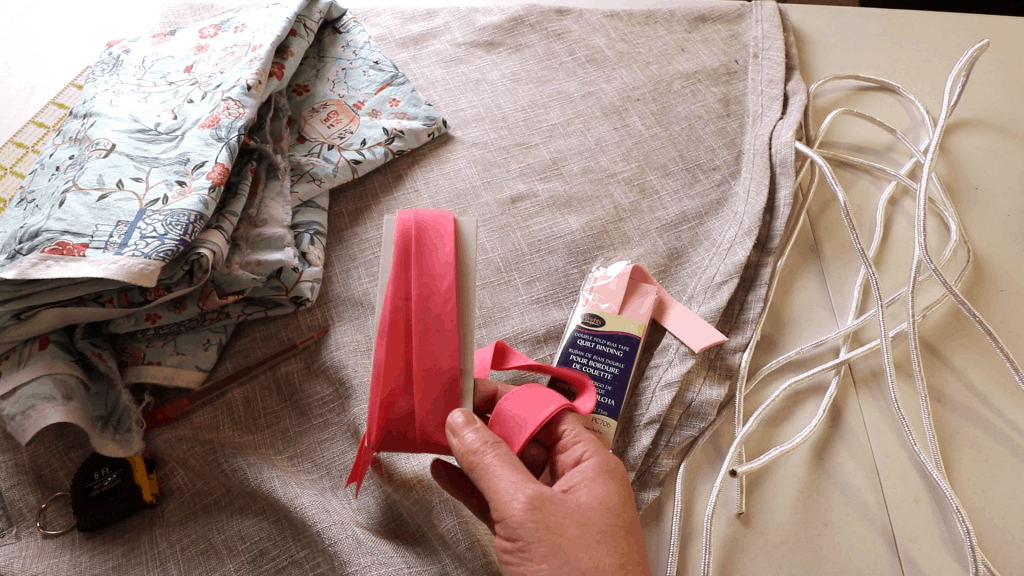
Piping – you can buy them from sewing stores directly, or make them yourself.
To make your own piping, you will need a cord or string that is long enough to go around the bed and a bias tape that is big enough to cover the cord of your choice and long enough for the cord. You can make your own bias tape at home. Check out my previous video here. It is easier to just buy the bias tape from a store.
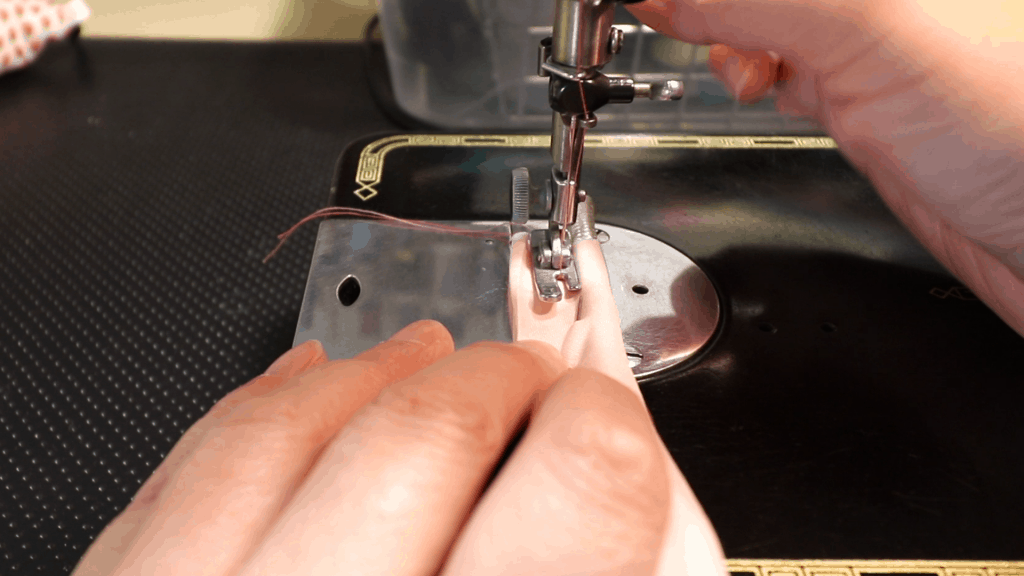
Sewing machine with a piping foot or zipper foot. Most of us don’t have a piping foot around, but a zipper foot will work nicely too. It keeps the stitch close to the piping.
I did not have the proper foot with me at the time of filming, so I just use the straight stitch foot for my Singer 201 machine. It results in a somewhat wavy and wonky line. I will definitely invest in a piping foot or zipper foot next time.
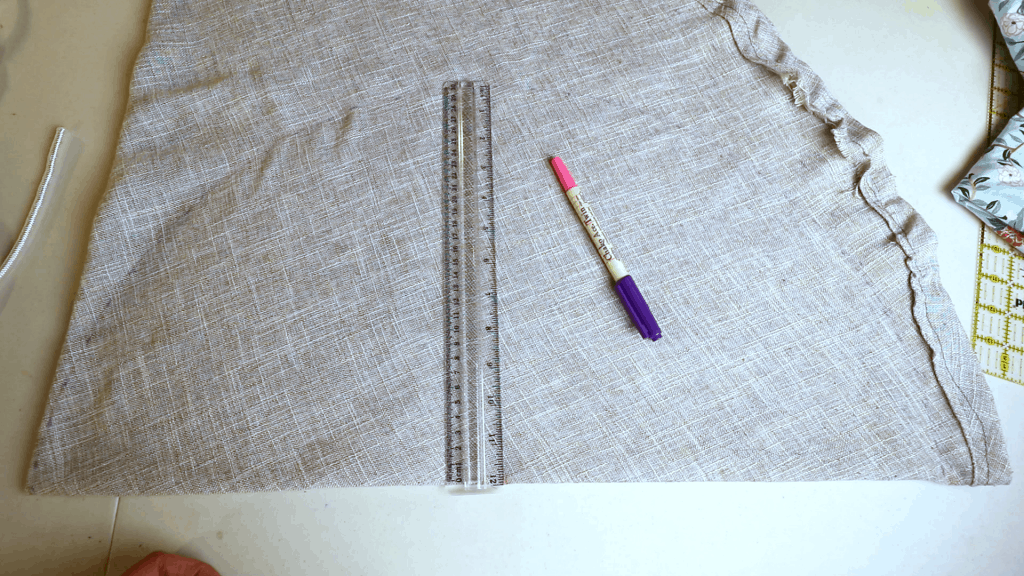
Draw and cut the circles. Need 2 pieces (top and bottom).
Depending on the size of your dog, you can decide the best size to make the dog bed. I use my old table cloth to cut (2) 24-inch wide dog bed. I use my 12-inch ruler and mark dots first before connecting them into a circular line.
Pin and cut the fabrics.
Measure the circumference for the length of the side panel. It is easier to stand up the tape to go around the circle.

Cut the side panels based on the length just measured above, plus seam allowance. The height is a personal preference. I added 1 inch to my final height for top and bottom seam allowance. The total is about 5- 6 inches, depending on how full you like the dog bed to be.
It is easier to make the panel higher because we have to turn the whole piece inside out through the side panel opening later.
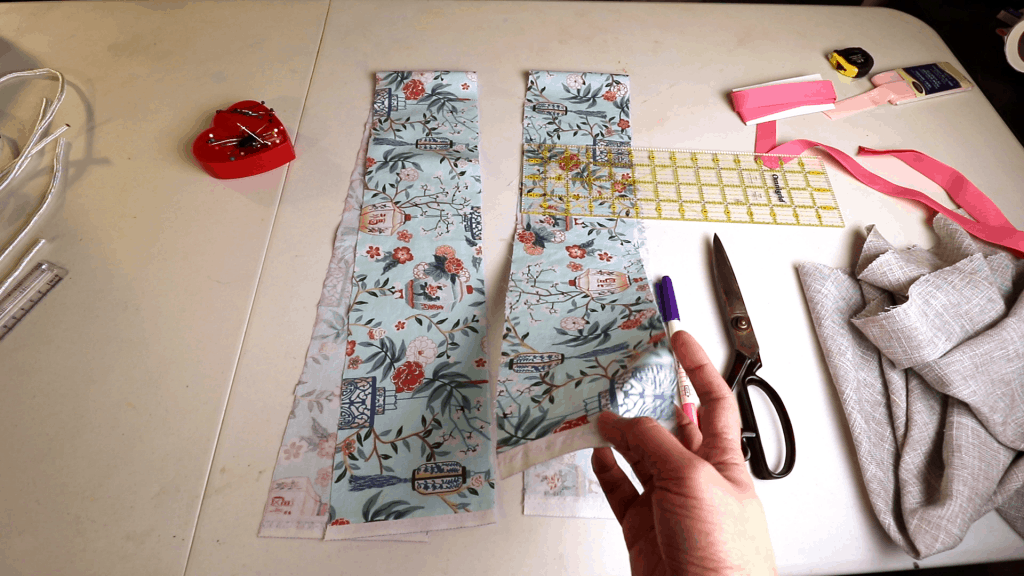
If your side panel consists of 2 or more pieces, sew up the seams first so it is a long continuous piece.
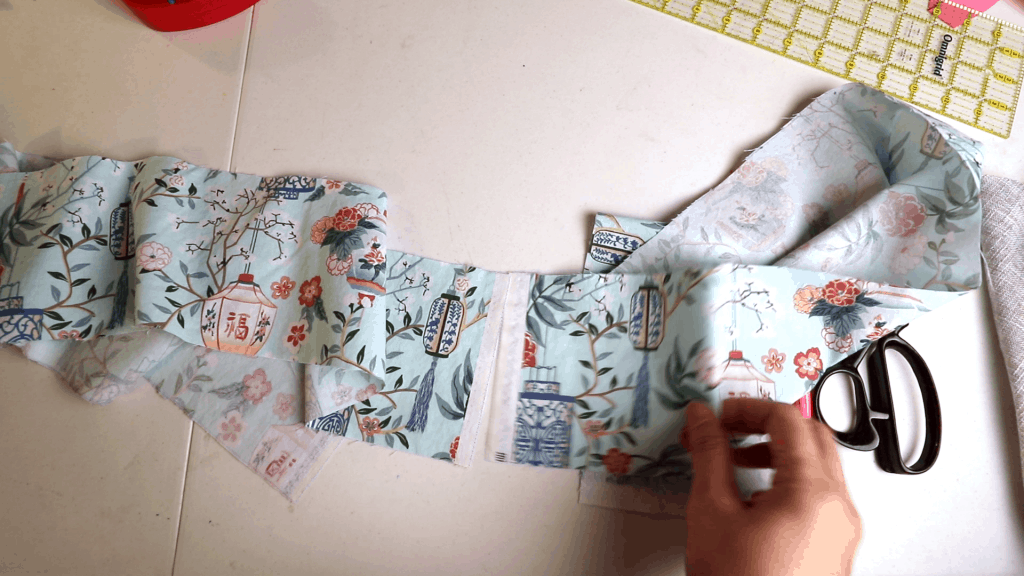
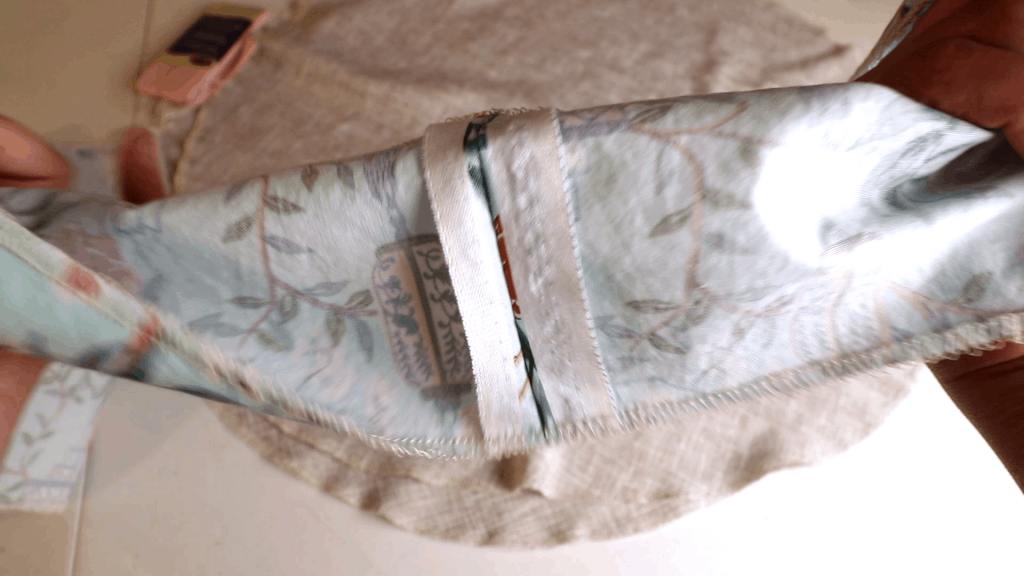
I also finish the top and bottom edges with a serger. You can use a zig-zag stitch or just leave it. It makes the edges stronger but it is optional because the edges will be hidden inside.
I also finish the edges of the circular fabrics with a serger (overlocker). This is optional.

Now all pieces are cut.

Make your piping
If you buy the piping from the store, you can skip this part.
Enclose the cord inside the bias tape, and sew a line as close to the piping cord as possible. This is the time to use a piping foot or zipper foot on your sewing machine.
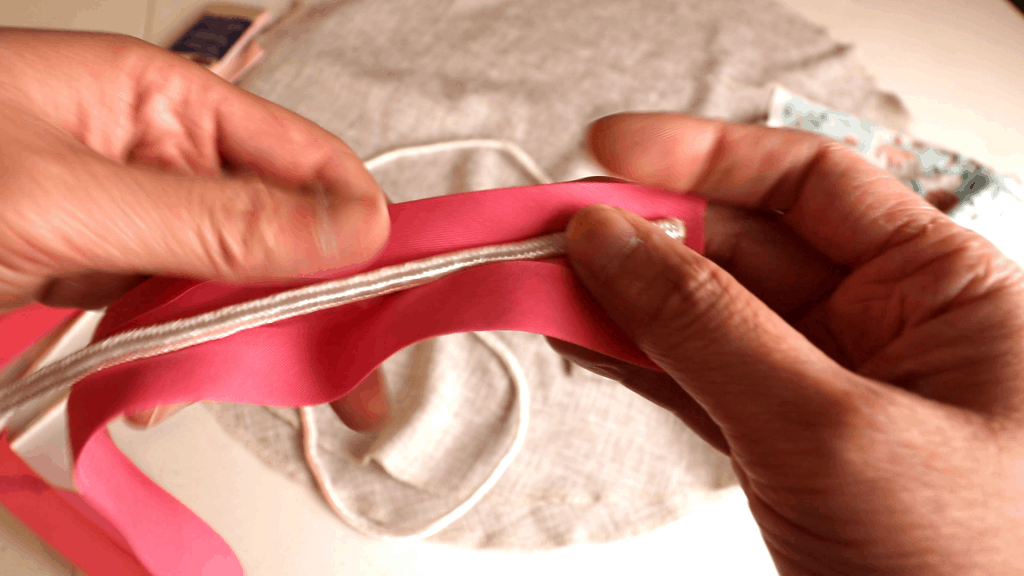
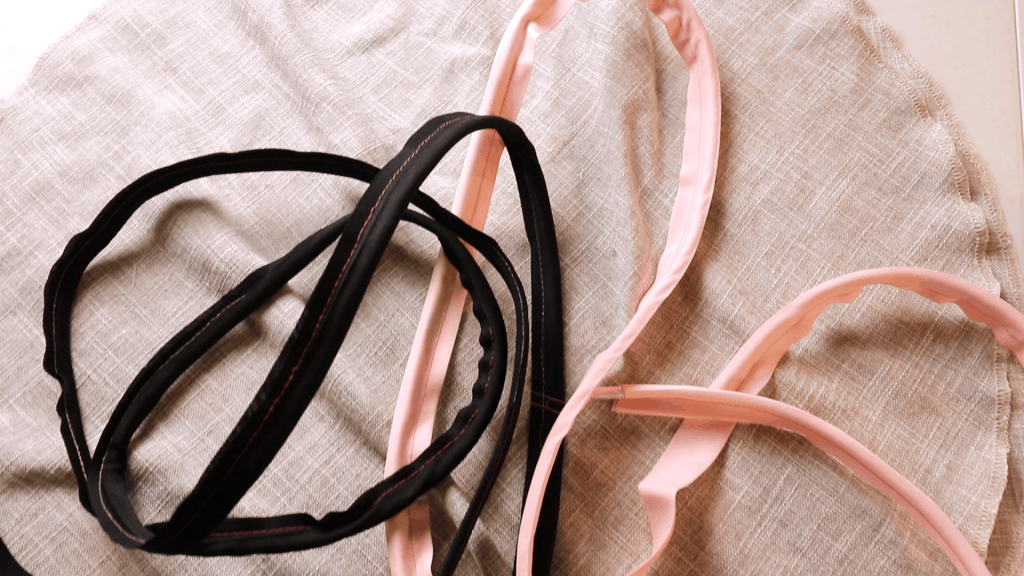
Finished home-made piping. I use 2 different colors for top and bottom.
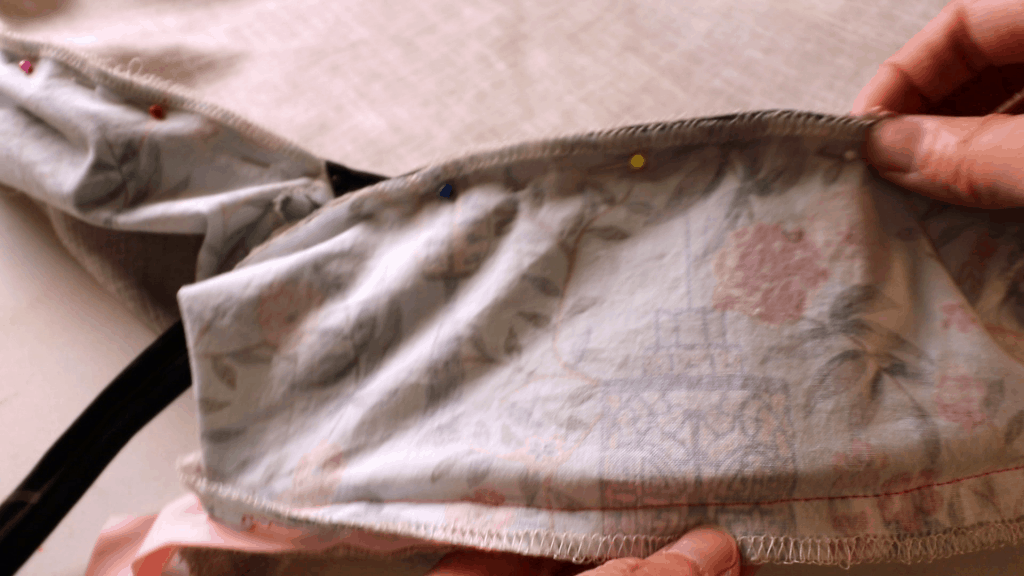
Place the piping in between the 1 circular fabric and side panel as shown below. The raw edge of the piping is aligned with the raw edge of the fabrics.
Start sewing about 2 inches in from the end of the piping, so we can overlap the pipings later. Sew the line as close tot he piping cord as possible using a piping foot or zipper foot.
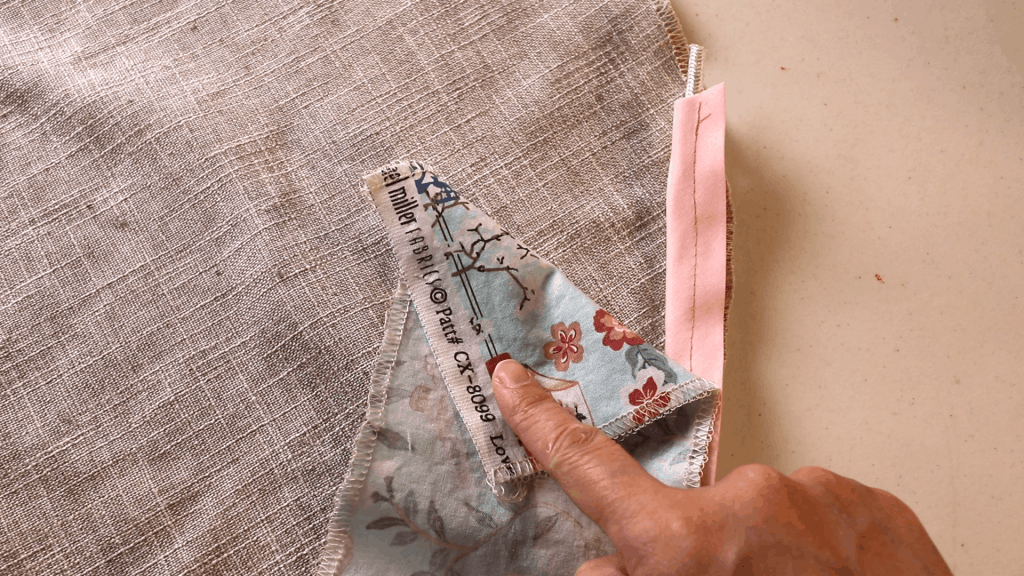
Start sewing about 2 inches from the end.
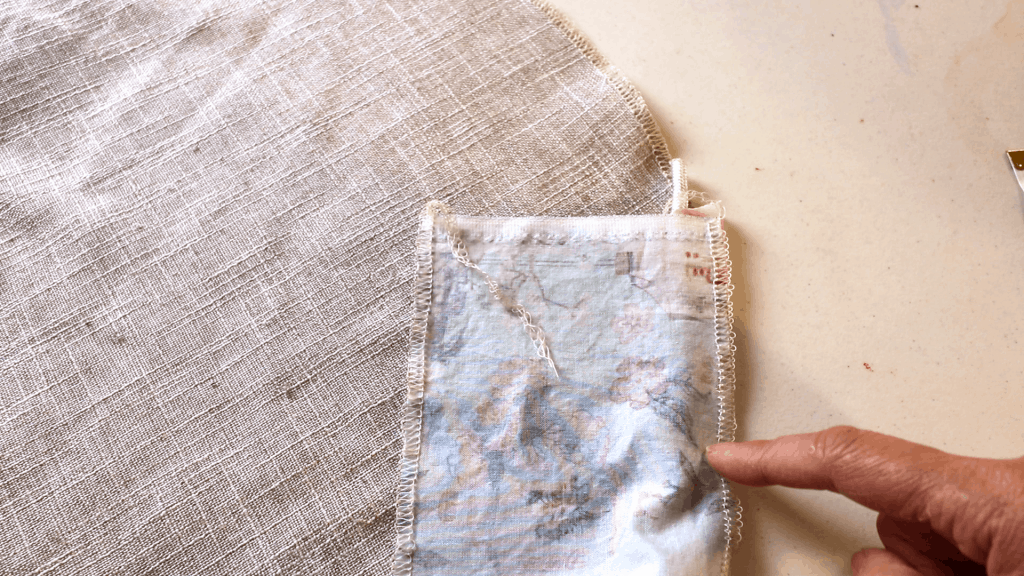
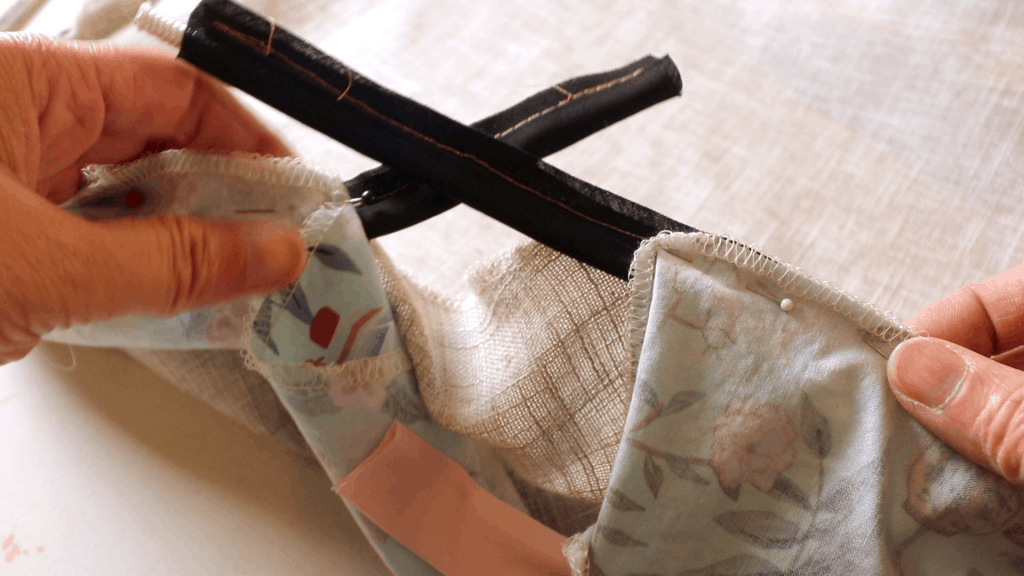
Pin and sew all the way around. Do the same with the other side of the circular fabric. We will end up with some overlay of the side panels and piping.
Both top and bottom are sewn.
Now we have overlay of the piping.
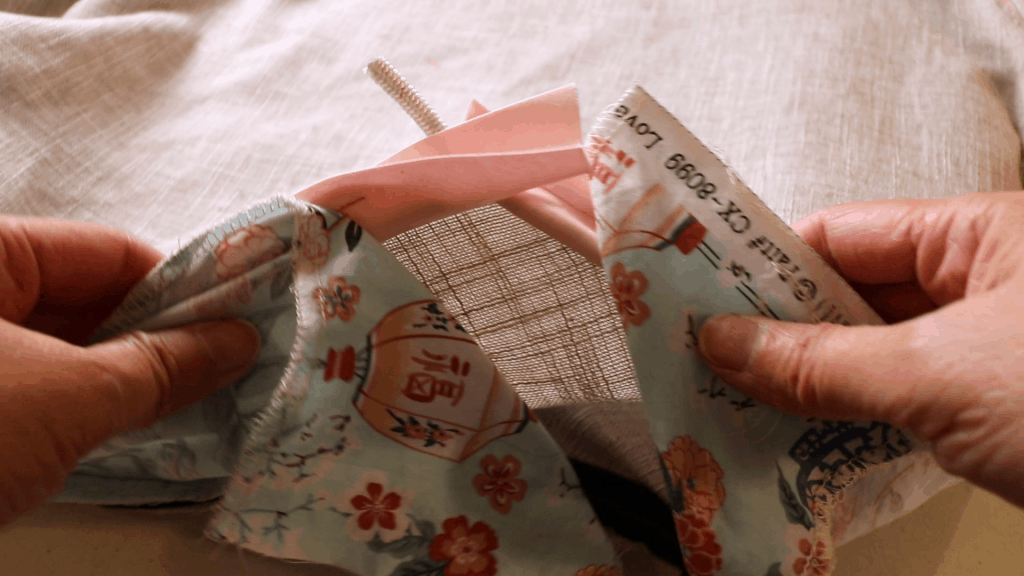
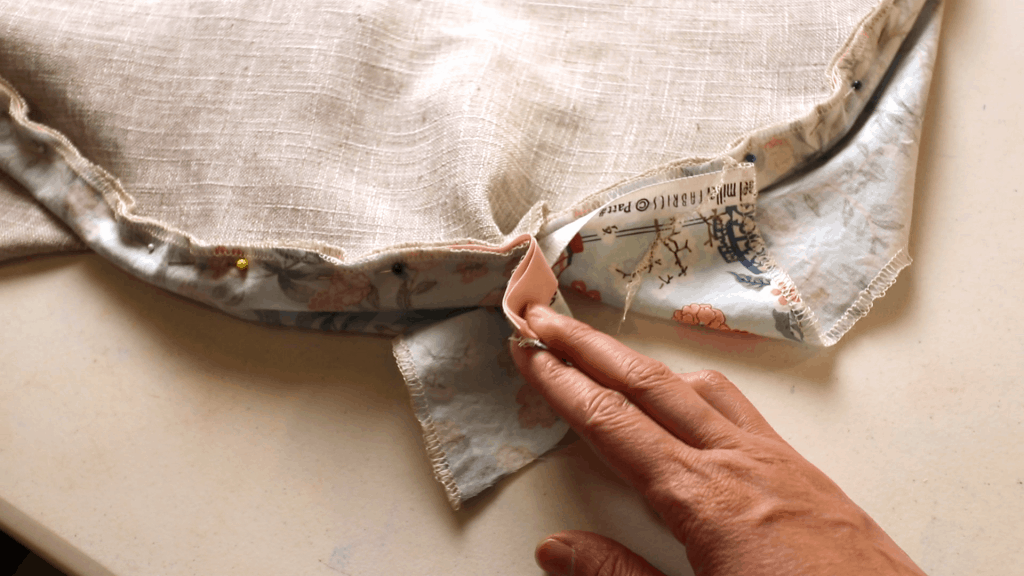
Cut the extra cord so they are aligned end to end, but leave the bias tape fabric longer.
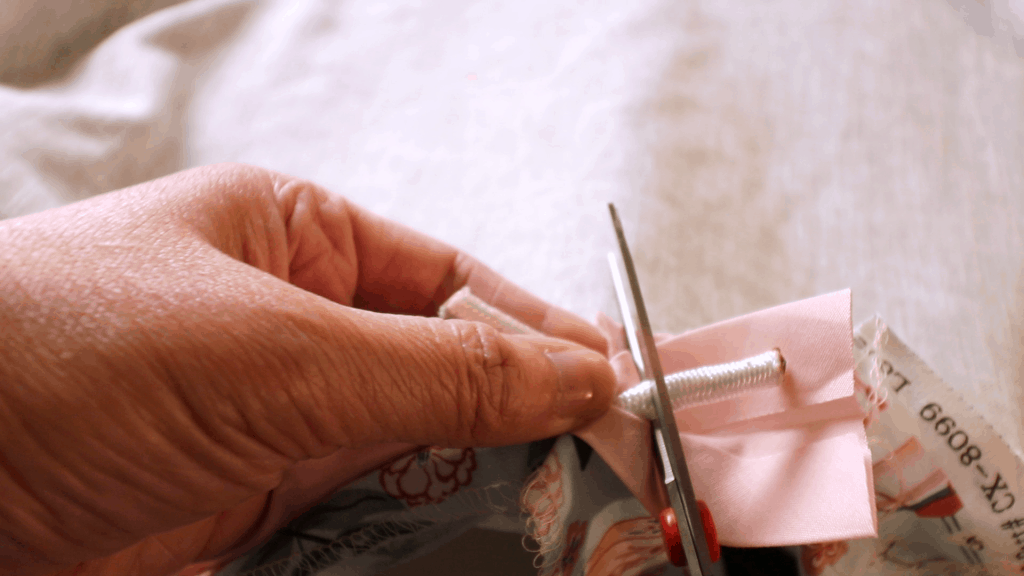
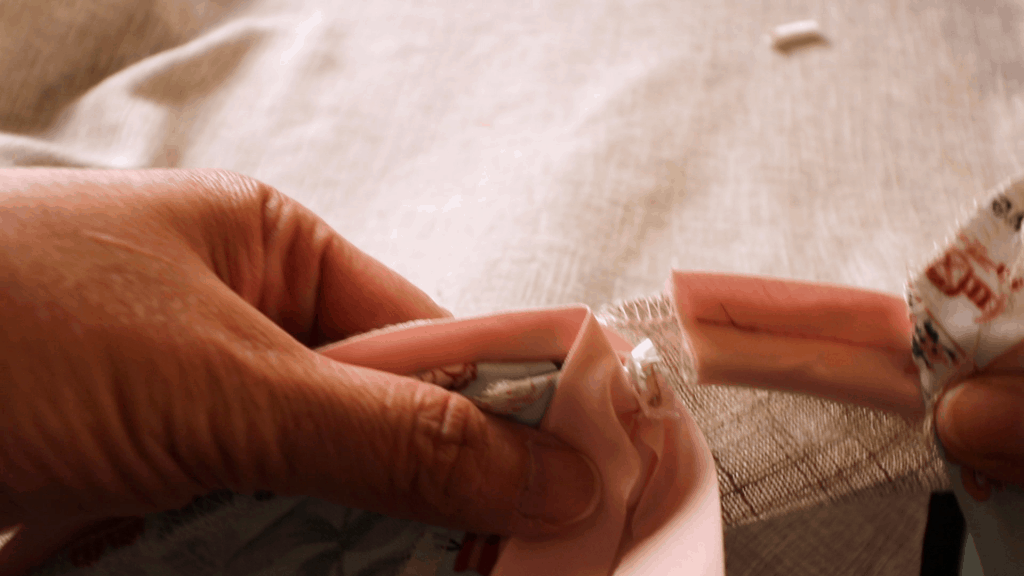
Fold one side of the bias tape in (hide the raw edge), and insert the other side of bias tape fabric inside. Make sure the cord is aligned end to end.

Continue sewing the line close to the piping cord to finish up. Same on the other side.
After sewing, there are several layers here.
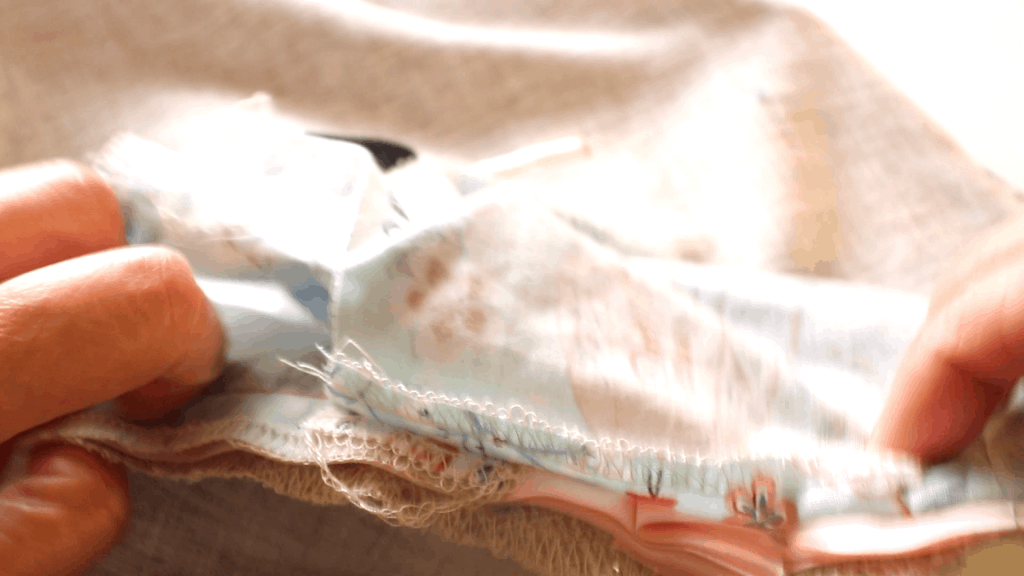
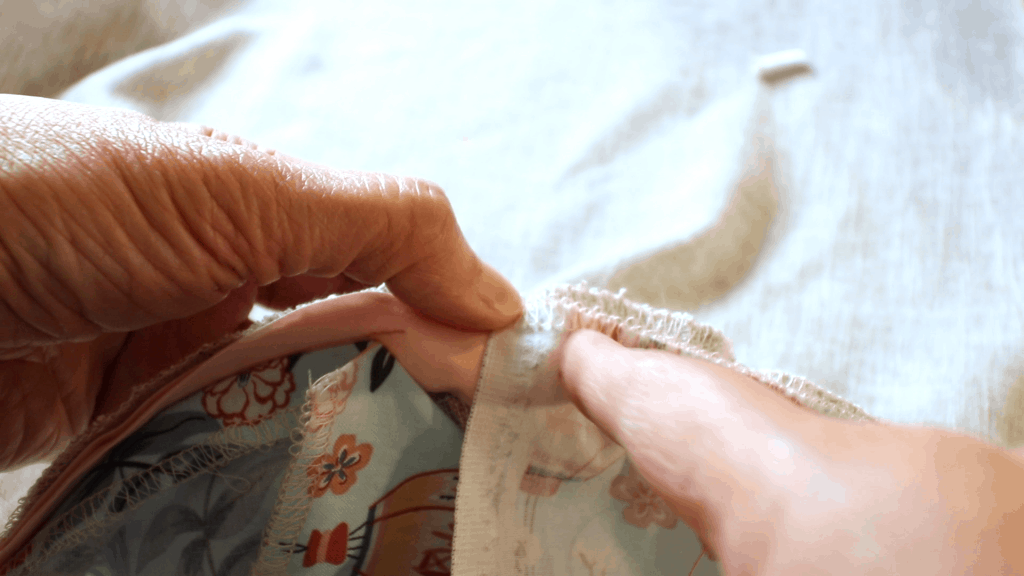
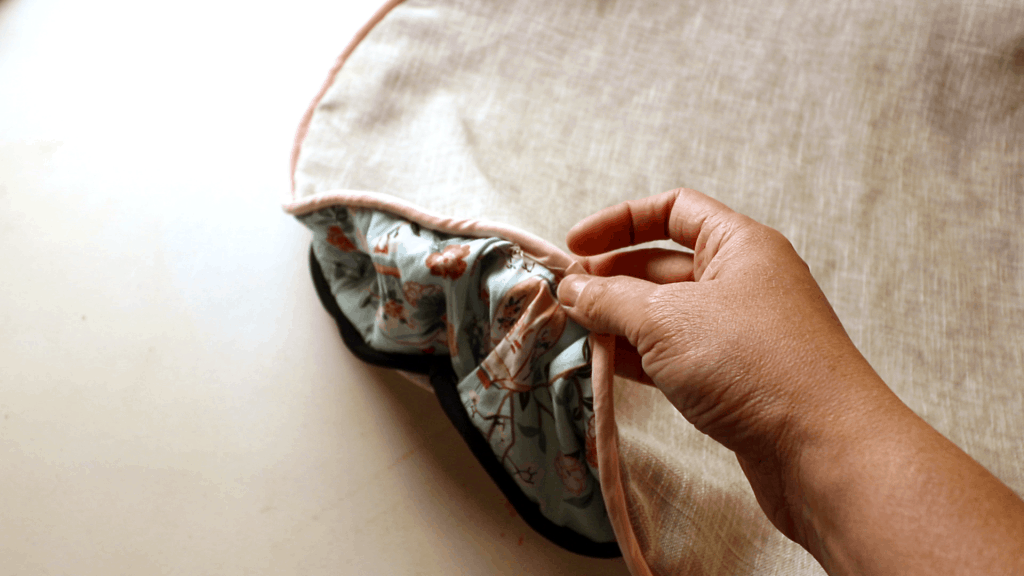
Now turn the bed inside out through the opening of the side panel.

After turning, the only thing left is stuffing the polyester filling, and sew up the opening.
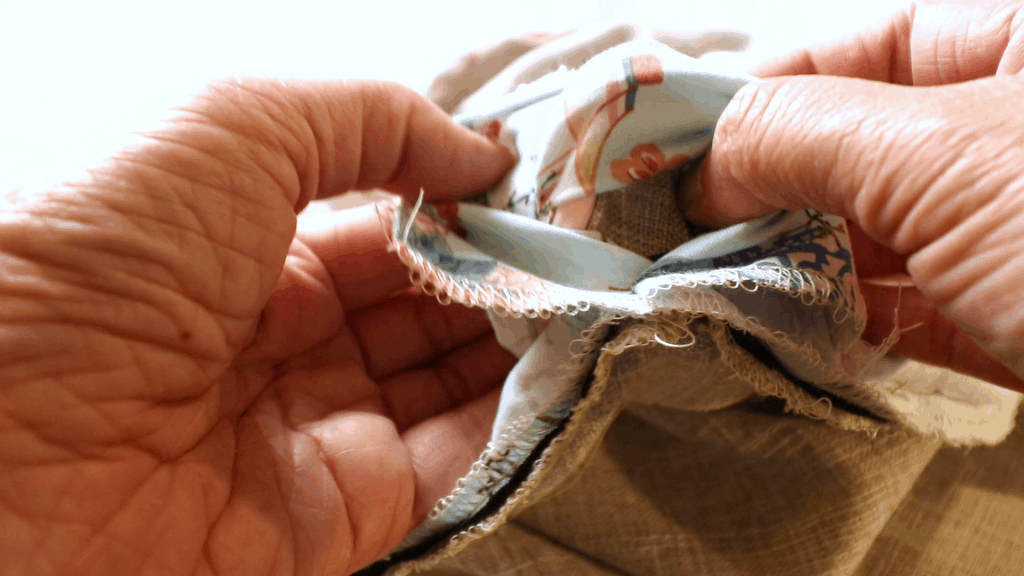
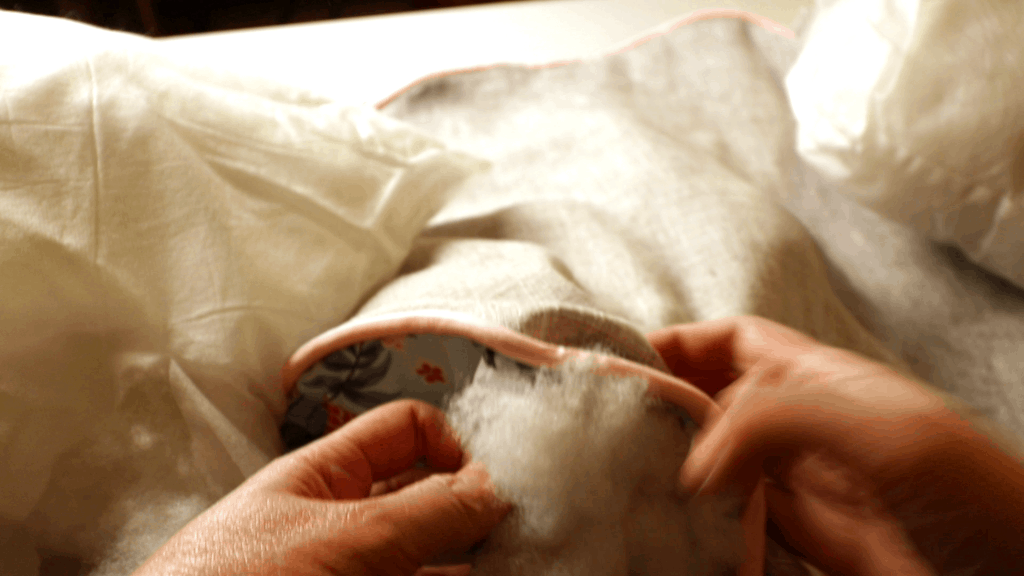
Add as as much stuffing as you like though the opening.
Sew up the opening by a sewing machine or hand sewing.
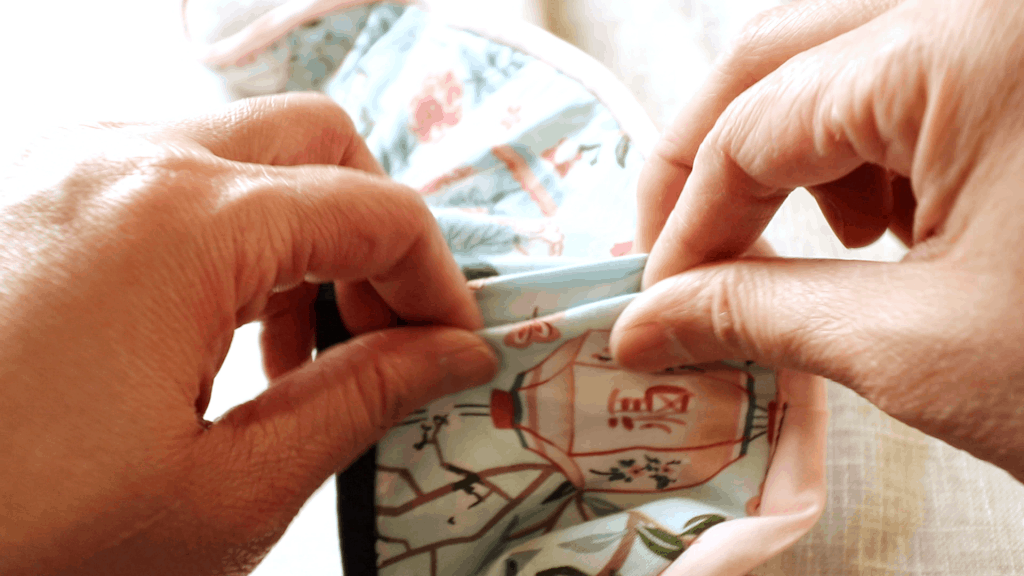
I just hand sew with a needle and thread using the whip stitch.
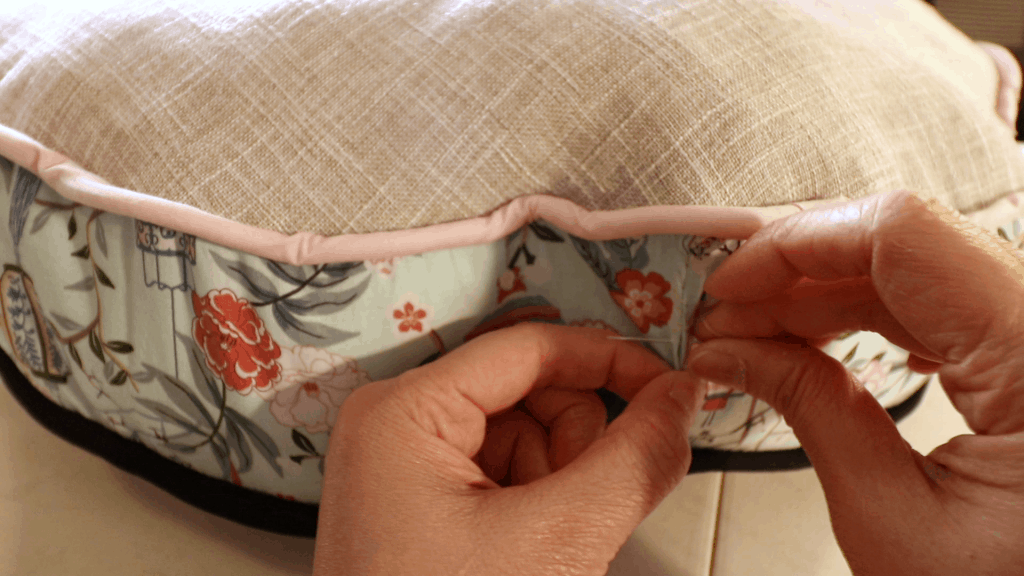
All done. The piping is wavy because of the choice of my cord, and because I did not use a piping foot or zipper foot. Note for the next time.


You May Also Like

Tunisian crochet in the round (Magic Loop)

Hand vs. machine knitted Christmas ornament balls
