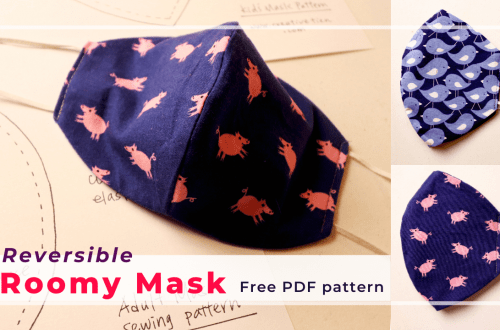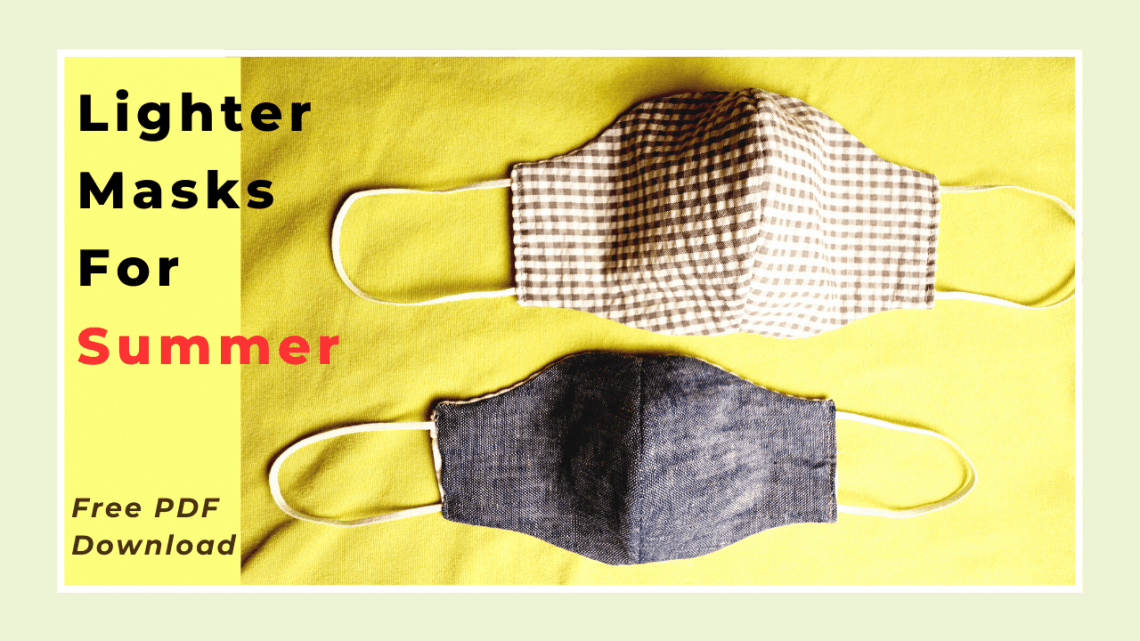
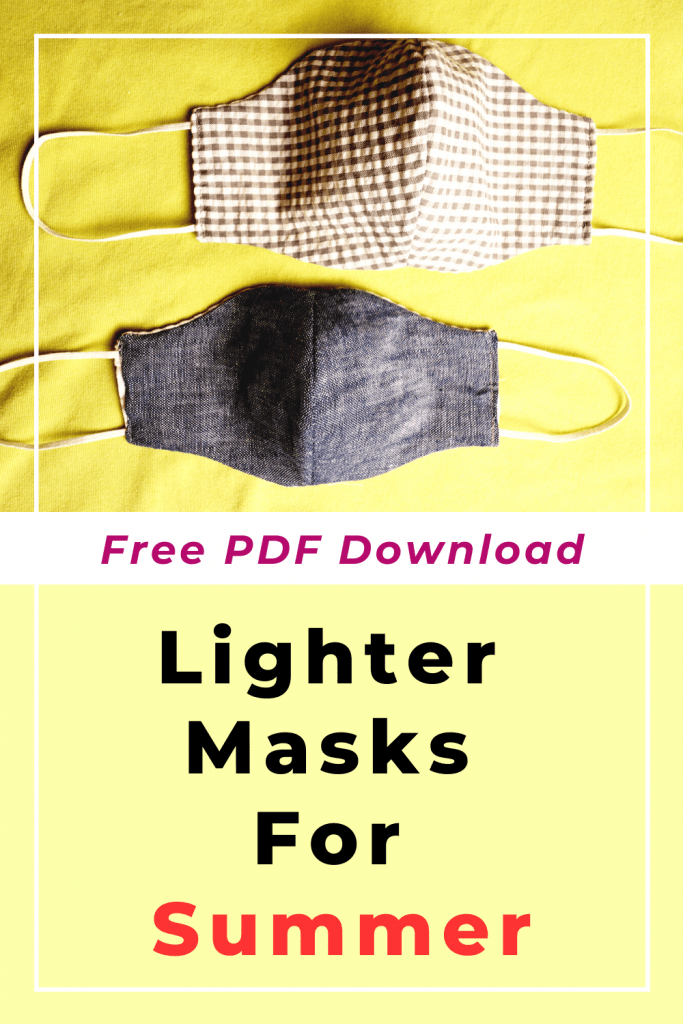
Lighter masks for summer with free pattern download (3 sizes)
There are times for a heavy-duty mask, and times for a light mask. A lighter mask helps you keep the mask on longer comfortably especially when the weather is hot and you are going to an open outdoor area without a big crowd.
Disclaimer: Handmade masks are not medical grade. If you really need good protection, choose an N95 or other medical masks. More layers and thicker fabric can bring you more protection, but there is a balance of comfort and effectiveness. Depending on the location and activity, you can choose a lighter mask or a heavy one.
Free pdf pattern download for 2 adult sizes and 1 kid’s size: Click here for the link.
Watch our lighter mask sewing tutorial on CreativeTien YouTube channel
Mask pattern
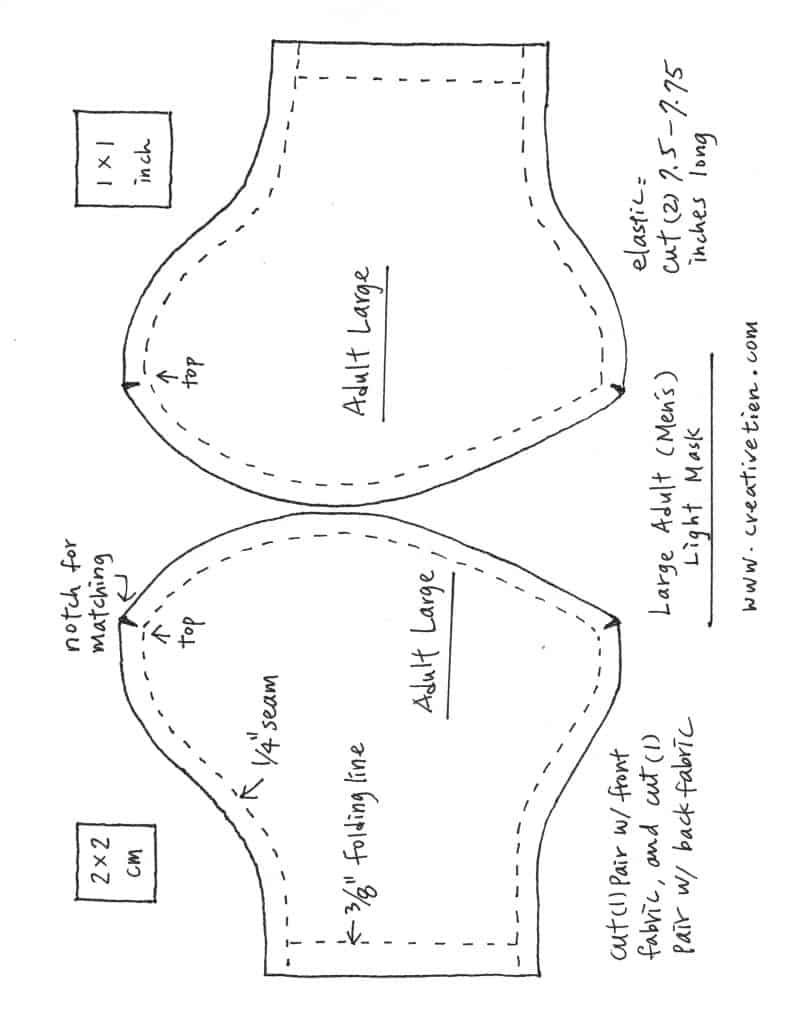
Adult size large (Men’s)
Adult size medium to small (Women’s)

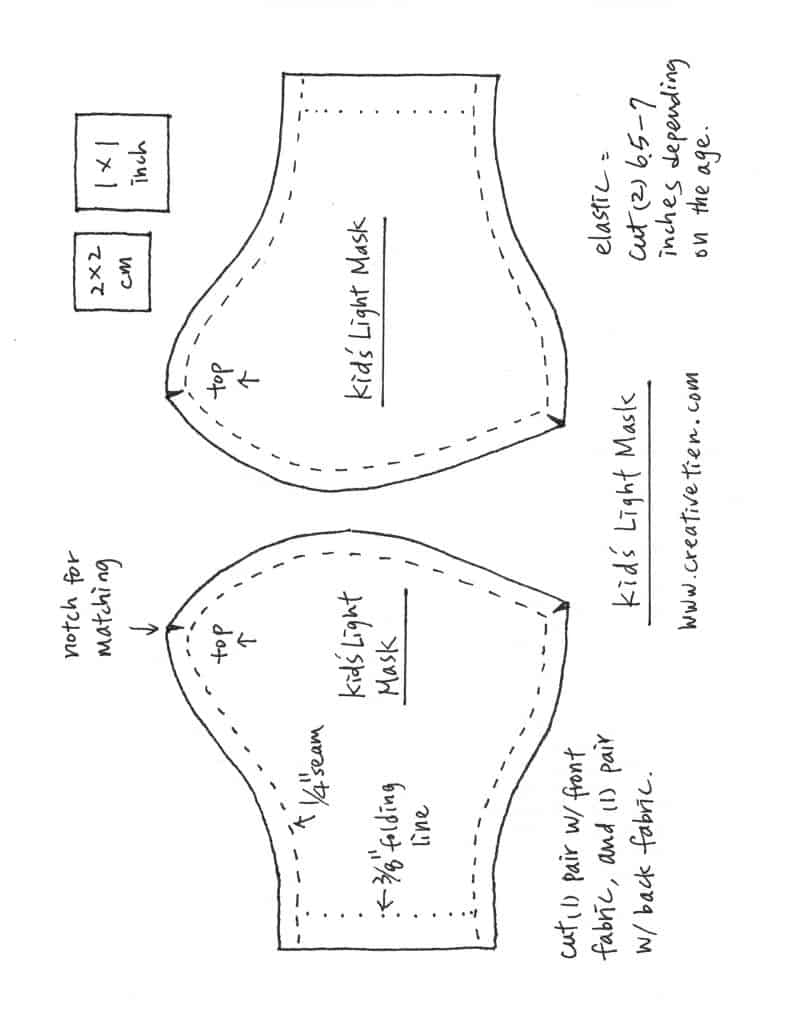
Kid’s size
Free pdf pattern download link HERE.
Step by step mask sewing
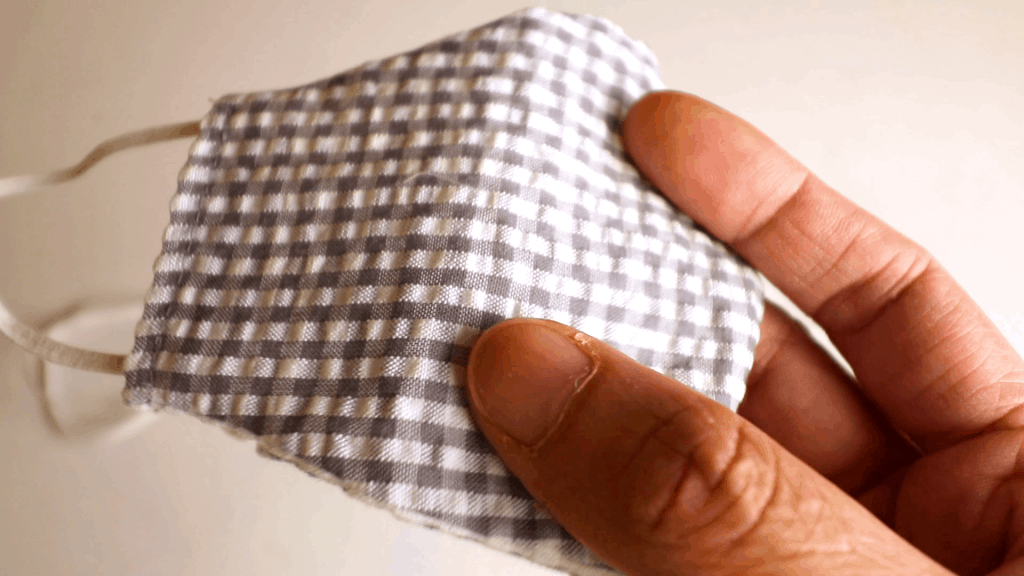
This mask design has a more streamlined shape. Some fabrics are reduced around the chin and cheeks area so it is lighter and more comfortable to wear.
Choosing a summer-friendly fabric is another way to make the mask light and breathable. Use natural linen, light cotton, jersey, seersucker, or even silk can make the mask a lighter version. You can combine any of the above fabric too.

The classic seersucker fabric for the summer days.
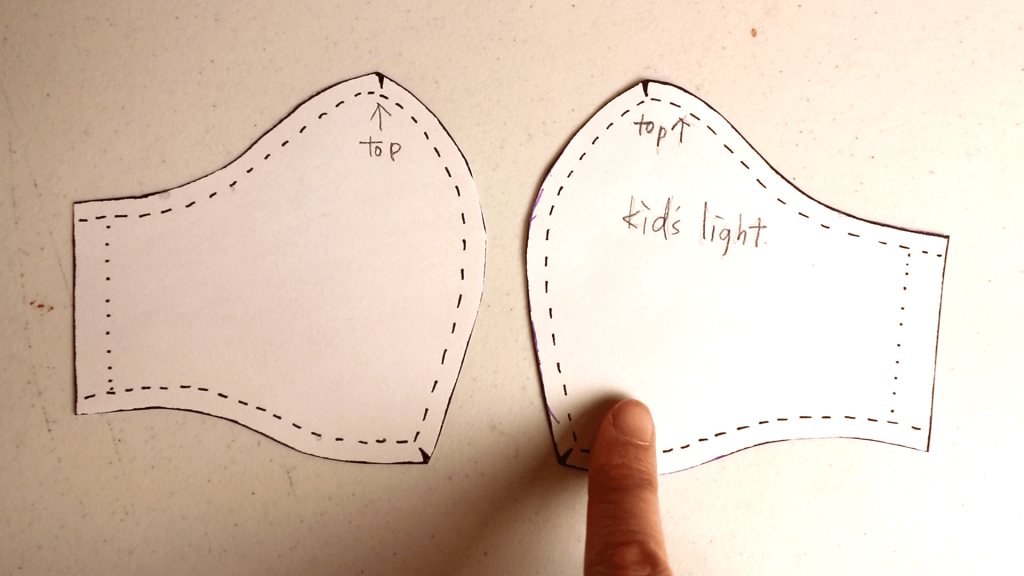
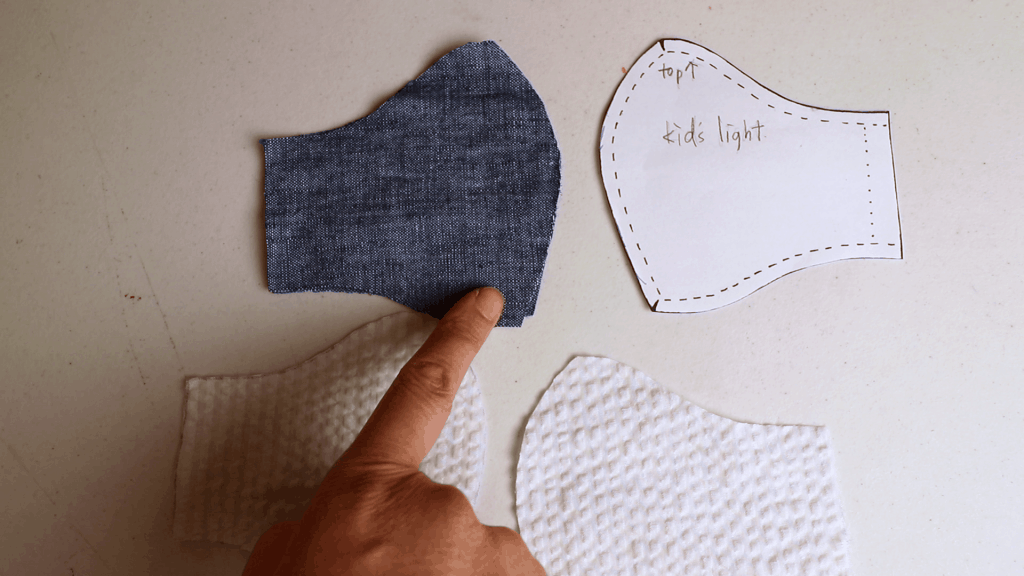
The pattern is in pairs (mirror image) so it is easier to cut if your fabric has directional pattern.
There is a top side (nose) for this pattern. The top has a bigger curve for the breathing room and the chin side has a less slope.
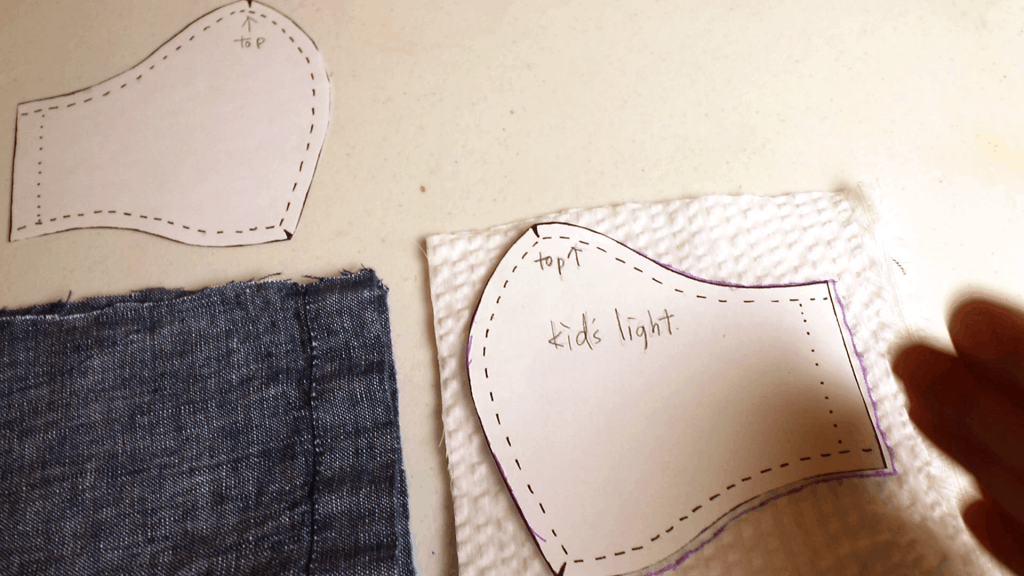
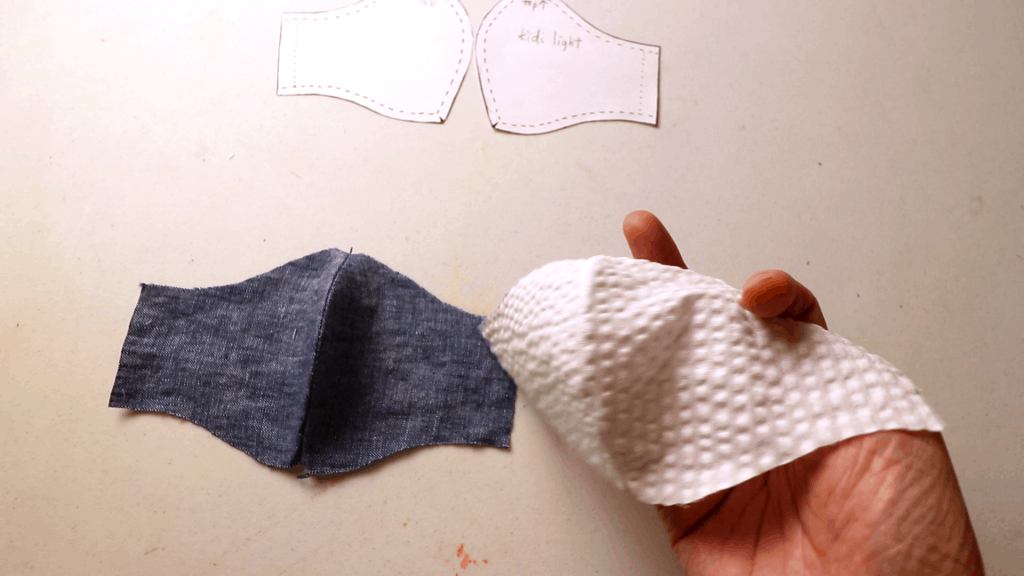
This mask is reversible. I picked recycled linen and white seersucker for the front and back sides.
If your fabric has a directional pattern, make sure they are matching before cutting. If not, just fold the fabric, trace the pattern, and cut.
Align the side edge with the direction of the fabric before tracing.
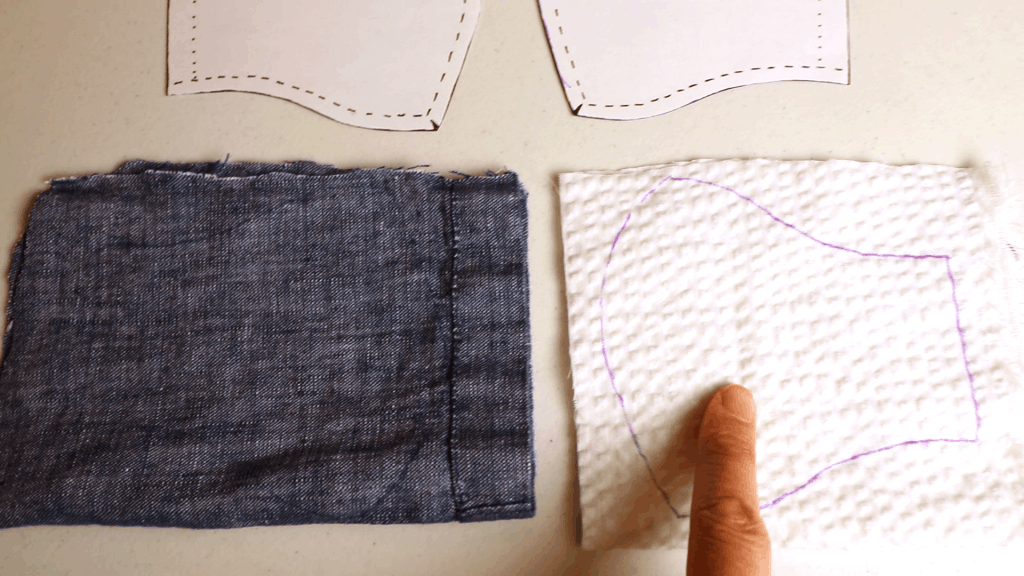
All 4 pieces are cut.

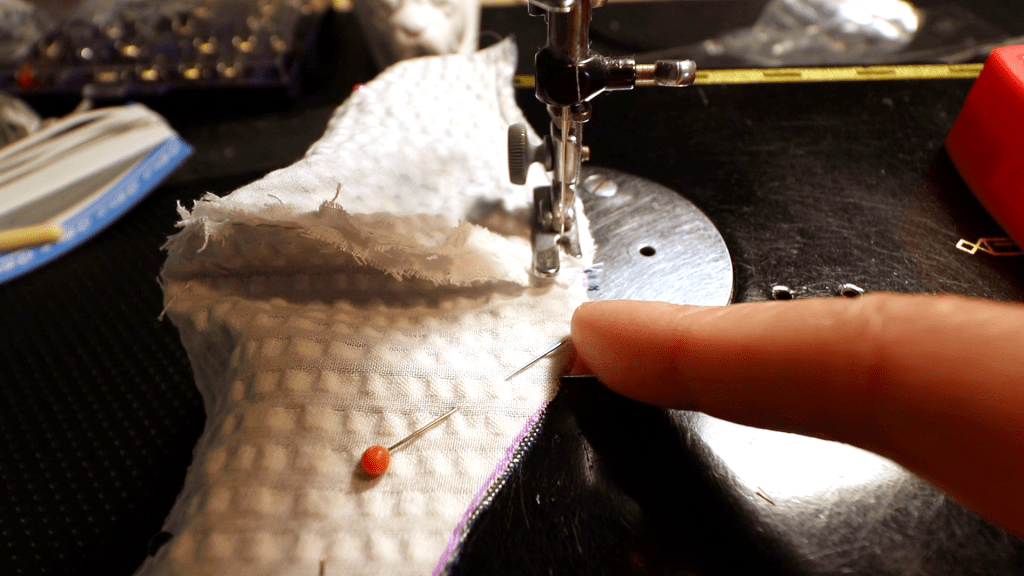
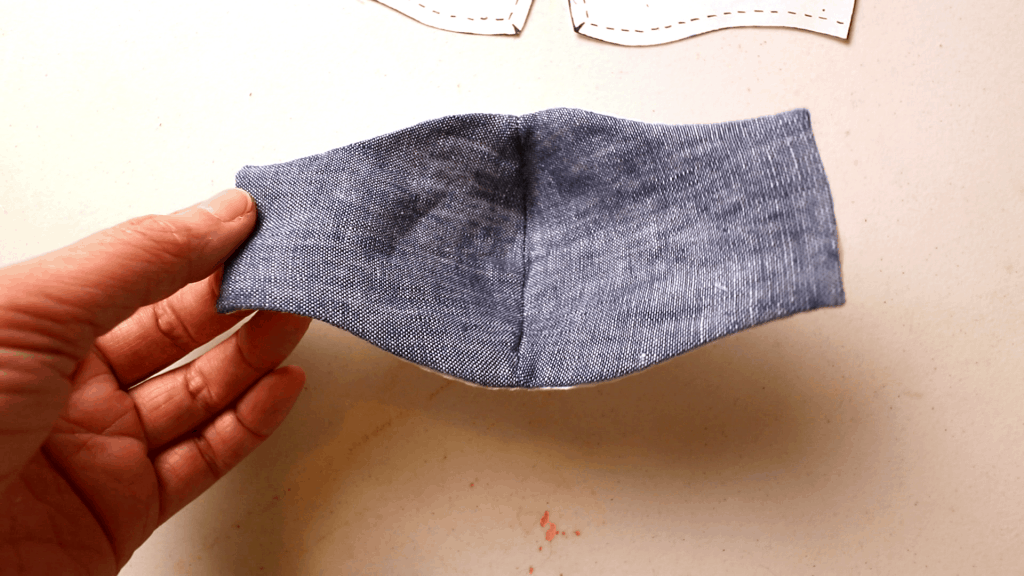
Sewing the centerline
Place the 2 pieces together with the right side facing each other, pin and sew a line from top to bottom with 1/4 inch seam allowance.
Same on the other pair of fabrics.

Back stitch at the beginning and end of the line.

Finished sewing line.

Snip some small lines around the curve so it will be easier to turn over later. Make sure not to cut the sewing line.

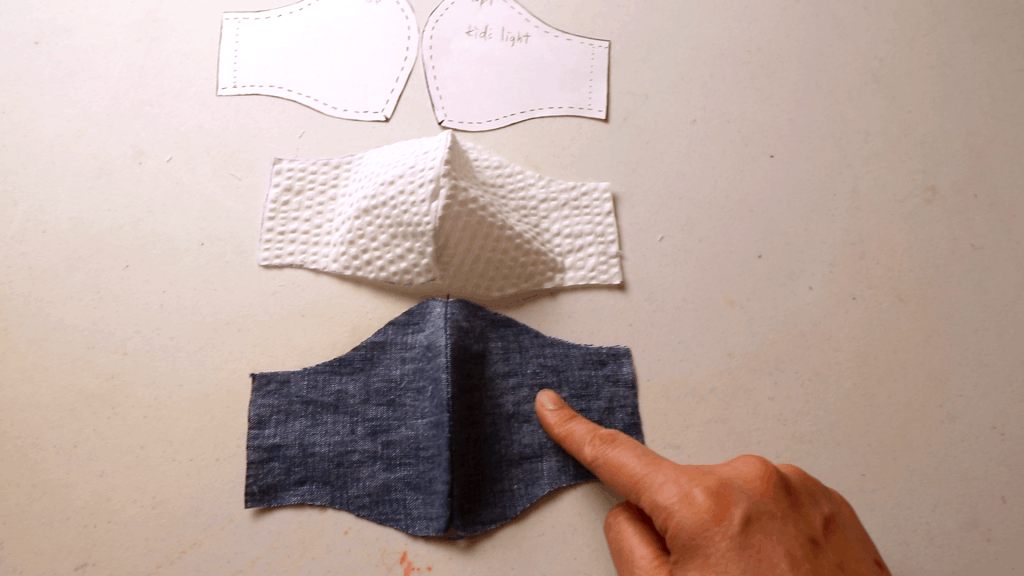
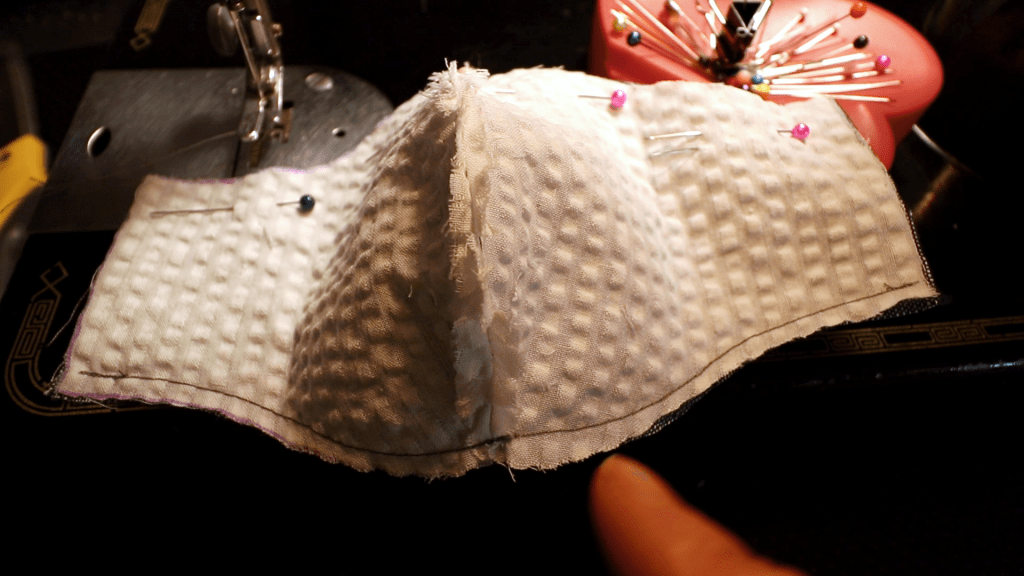
Iron and open up the 2 pieces.
Sewing the front and back together
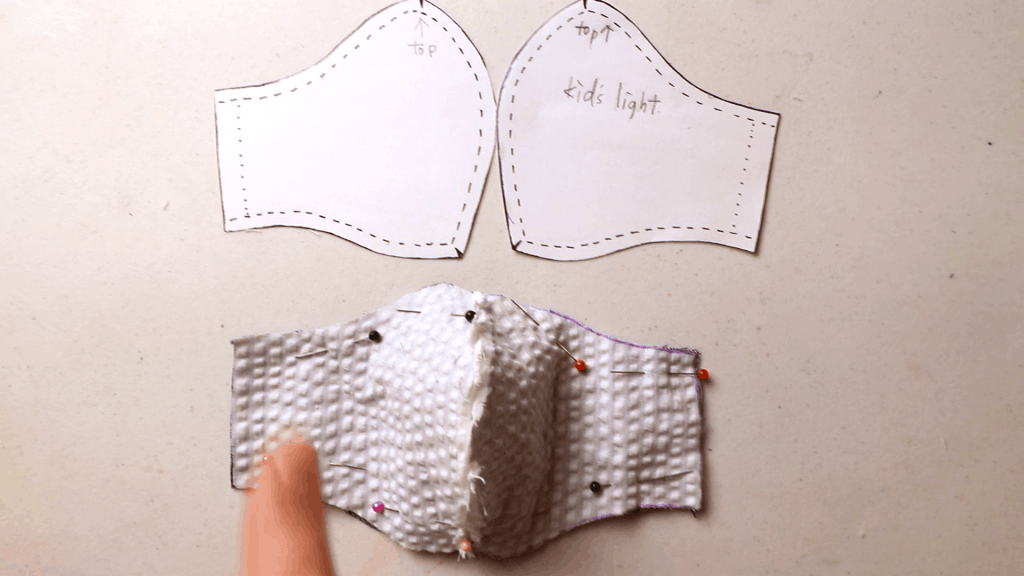
Now with the right sides facing each other, pin and sew a line on top of the mask and a line on the bottom of the mask with 1/4 inch seam allowance.
Back stitch at the beginning and the end.

Open the center seams to opposite sides to reduce the bulk. I like to go over this area twice so it is stronger. Just backstitch a few times and continue sewing.
One side finished. Sew the same on the other side.
Both lines are done.

Now turn the piece inside out through one side opening.
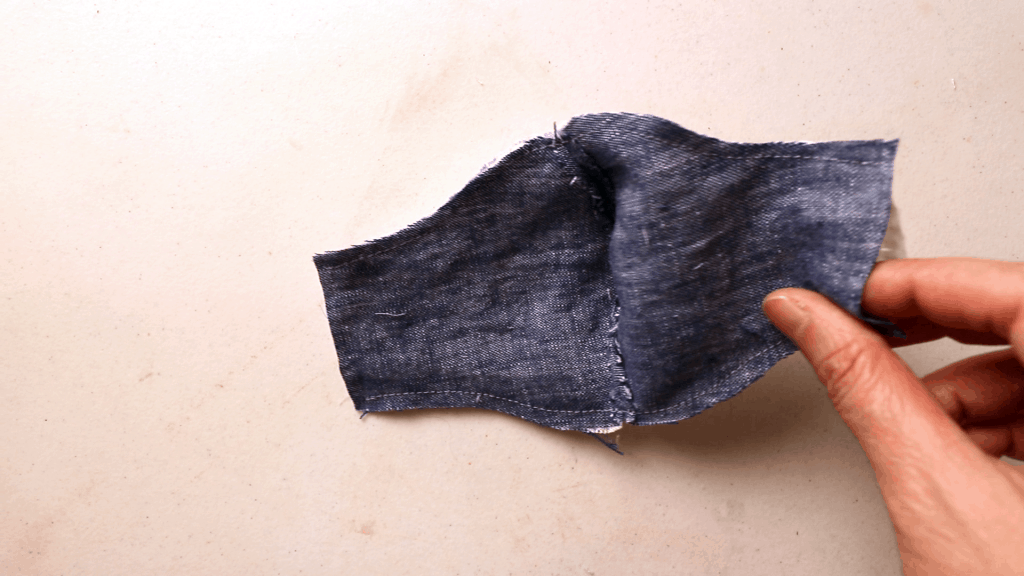
After turning it inside out, we can iron and fold in the side edges about 3/8 inches to 1/2 inches.
When ironing, make sure the fabrics are not trapped in the curves.

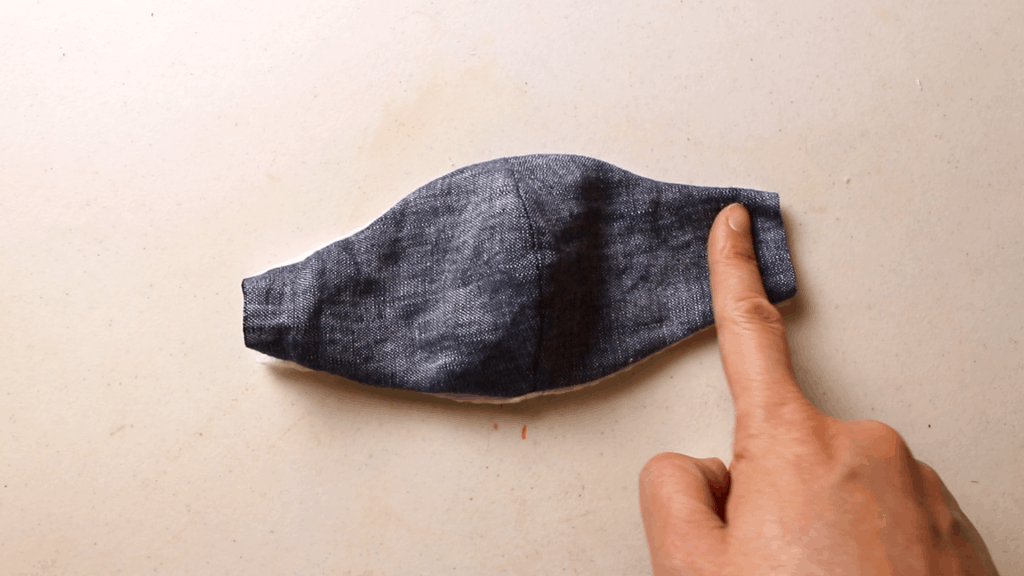
After ironing and folding in the side edges.
Cut (2) pieces of elastics based on the pattern and your preference.
For this kid’s mask, I cut (2) 7 inches elastics for my 11 years old. The 6.5 inches works for my 6 years old.

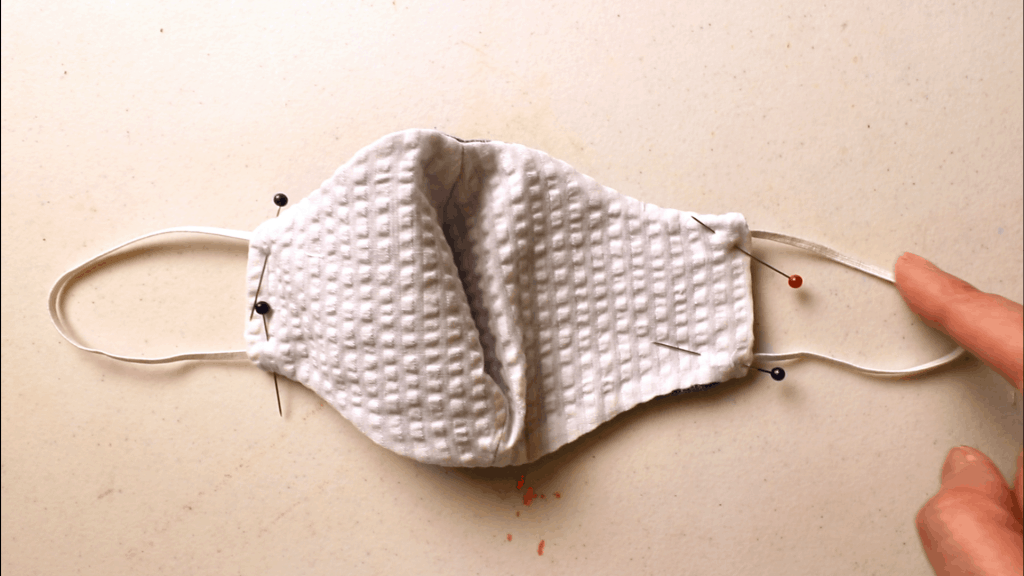
Insert the elastics, pin and sew a line near the side edges.
Back stitch at the beginning and the end so the sewing line goes over the elastics twice.
After sewing with matching thread. All done!
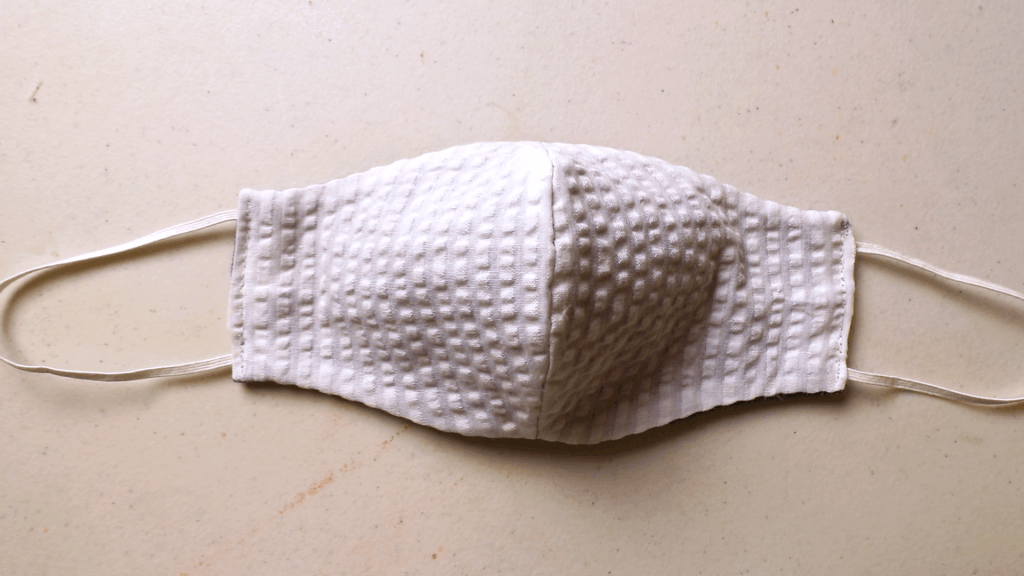
The other side.
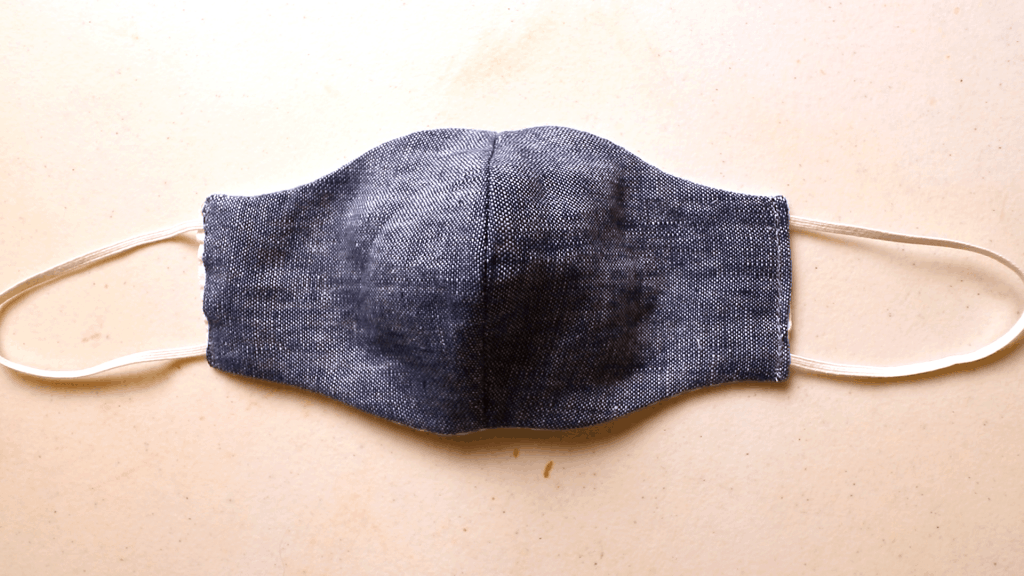
The bigger curve is the top side for the nose.
The top one is for my 6 years old and the bottom one is for my 11 years old.
Happy sewing!


You May Also Like
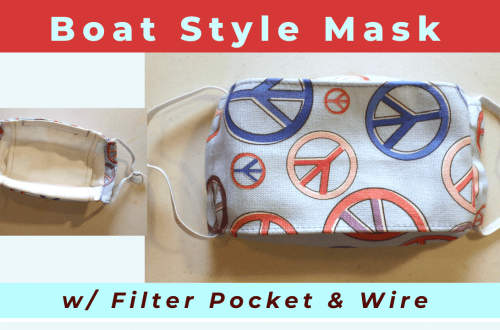
Boat style mask with filter pocket and wire on a home-printed fabric
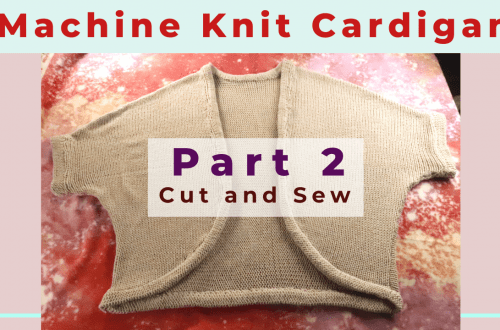
Cut-and-sew machine knitted cardigan