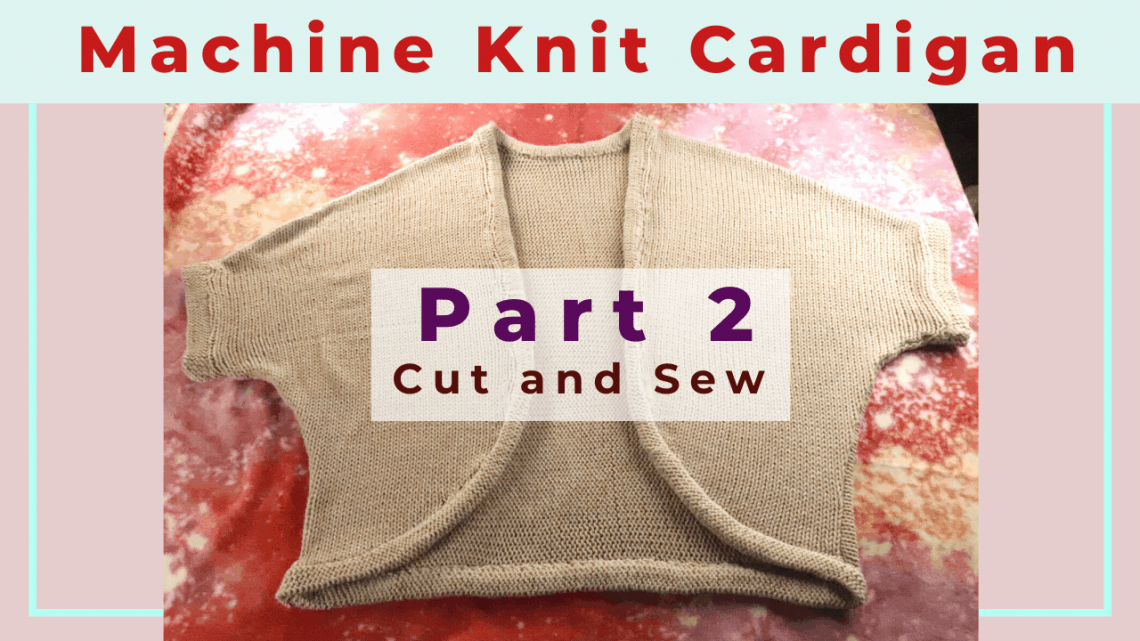
Cut-and-sew machine knitted cardigan
You can make a sweater quickly with a knitting machine, but there is a learning curve for all the shaping techniques such as increase, decrease, and short-row. One easier way is to produce knitted fabric on a machine and “cut and sew” pieces together for any garment.
Advantage of the cut-and-sew
- It is simple and straightforward. No complicated shaping of the neck or curve lines. It is more beginner-friendly.
- It can fit better because it is based on a pattern that fits you. It can be blocked or washed first before sewing, so there is no surprise for the final size.
- Very quick to produce and assemble.
- Very adaptable. You can adjust the pattern easily.
Disadvantage of the cut-and-sew technique
- There will be some waste of the yarns because we are cutting into the fabric.
- Depends on the sewing machine and serger (overlocker) you are using, there might be waving lines and uneven stitches.
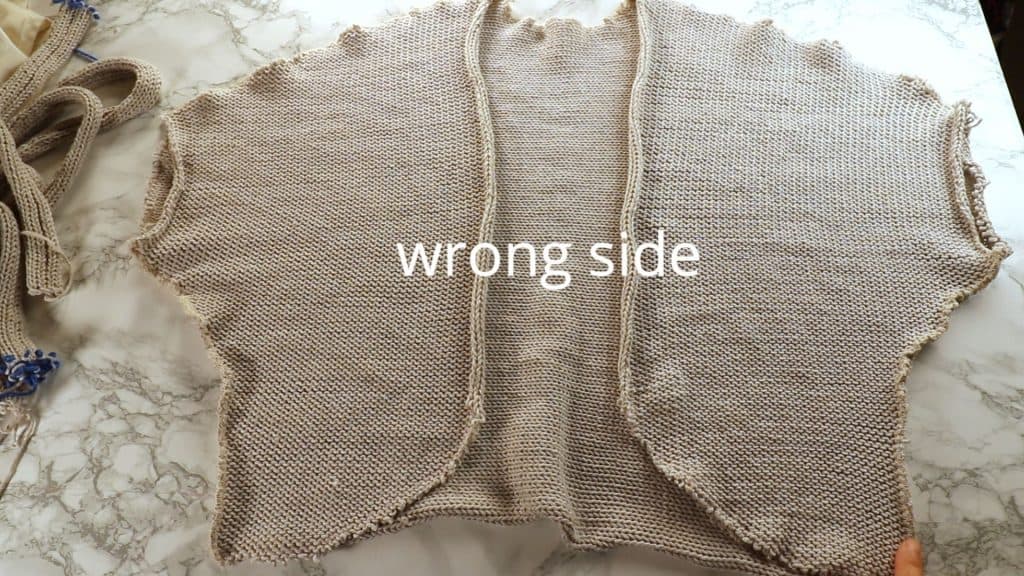
- The wrong side will show the threads on the seams. It is not as neat as shaping on a knitting machine.
- If you cut too much, it is irreversible. You can not just frog it back and redo.
Basic process
So here is a cardigan project using the cut-and-sew technique. I traced the pattern from an old cardigan, then knit 3 rectangles on a knitting machine (LK150, but any knitting machine will work). Trace the pattern to the fabric, cut, and sew them together. Finally, knit and sew the trim to hide all the raw edges.
There are many variations and techniques you can play with to cut-and-sew a garment quickly. You can try sew-as-you-go trim as I showed in a previous post. If your knitting machine has a ribber, you can knit a long ribbing for the trim too. Or you can choose to have the trim as a simple stockinette stitch and let it curl at the edges.
For the choice of a sewing machine or serger/overlock machine, I just use an old Singer 201 straight stitch sewing machine and a Brother overlocker. You do not need an overlock machine, but it speeds up the sewing by cutting and finishing the edge at the same time.
In the cardigan project below, I do not need the seam to be stretchy, so a straight stitch sewing machine works fine. If you need a stretchy seam, you should use a serger/overlock machine or a standard sewing machine with a zigzag stitch. Some sewing machines might have problems sewing knit fabric. Test out your machine first. If the basic setting of a sewing machine does not work, try the following ideas:
- a ballpoint needle (for knits and stretchy fabric)
- a twin needle for a nice looking double-line finish
- a stretchy tread such as wooly nylon. Some people like to wind their bobbins with these stretchy threads for knits.
- Add a stabilizer (maybe a stretchy one) for easy sewing.
Watch the video for the cut-and-sew cardigan — part 1
Watch the video for the cut-and-sew cardigan — Part 2
Picture Tutorial for the cut-and-sew machine knitted cardigan
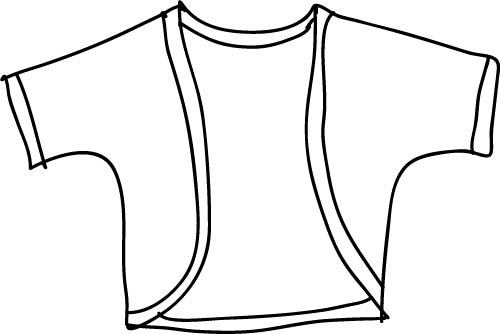
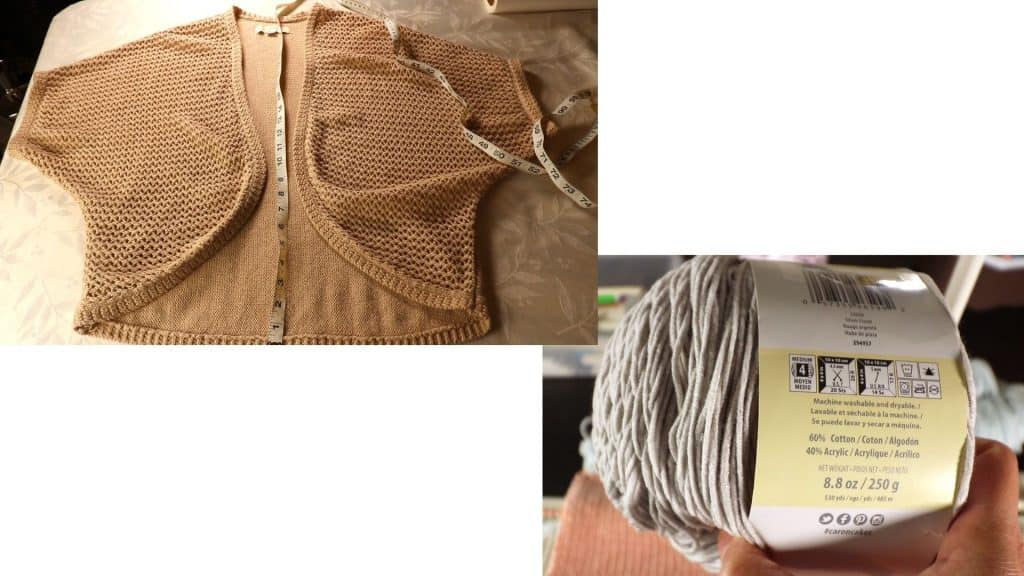
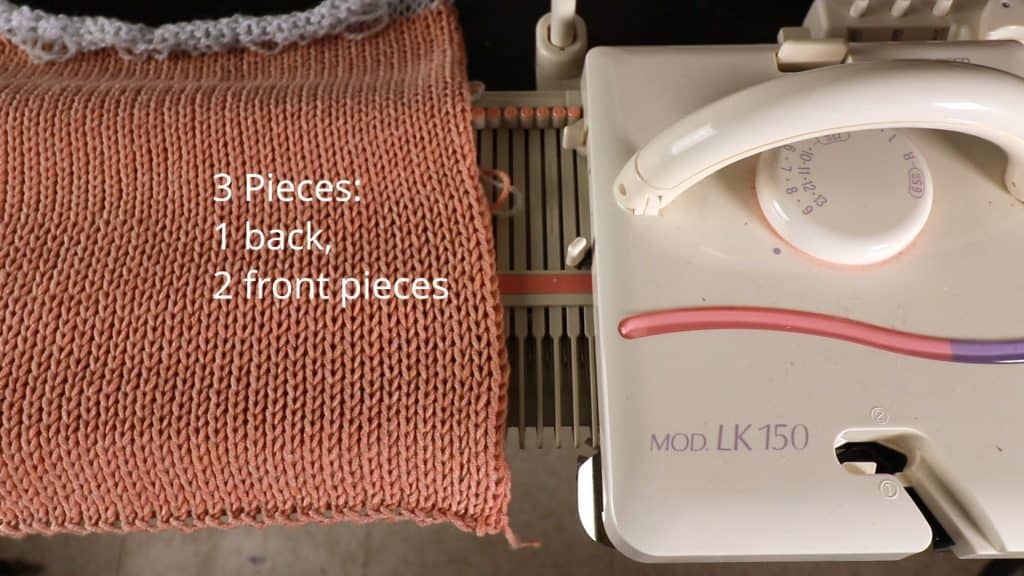
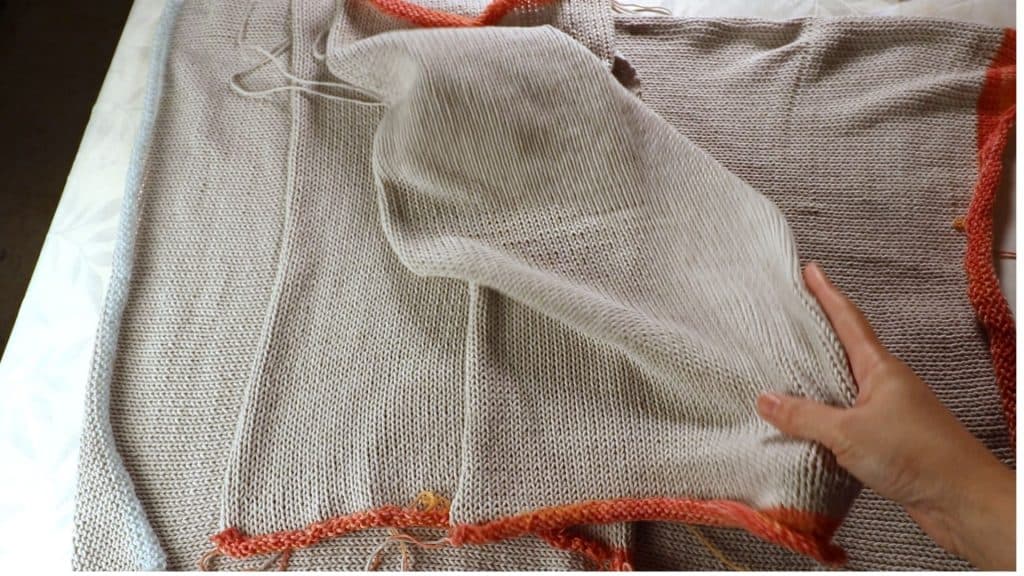
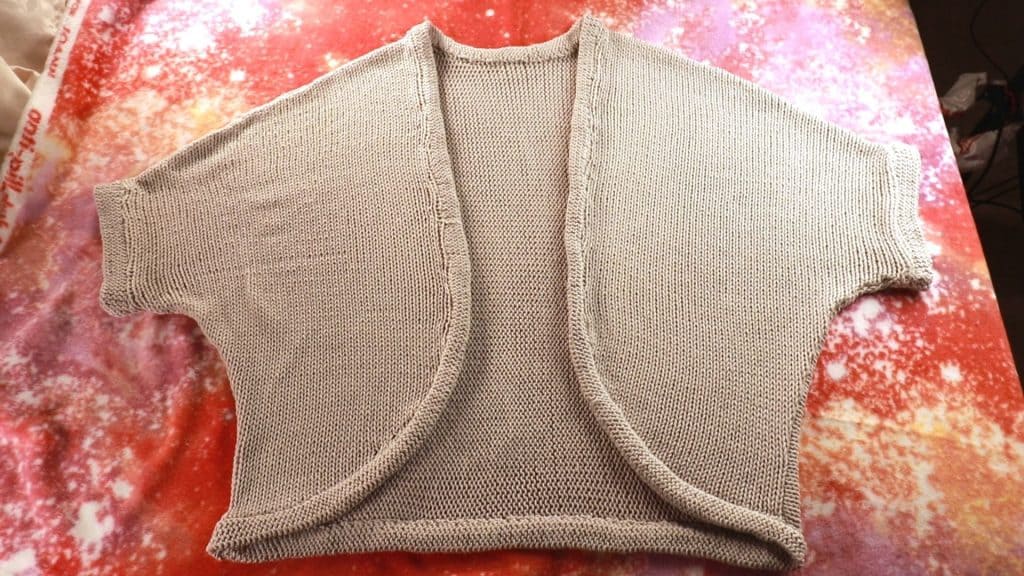
Here is my inspiration cardigan. It is basically 3 pieces. One for the back and two for the front.
The yarn I use is a medium (worsted weight) cotton blend. Two balls of the 250g are plenty for the short sleeve cardigan.
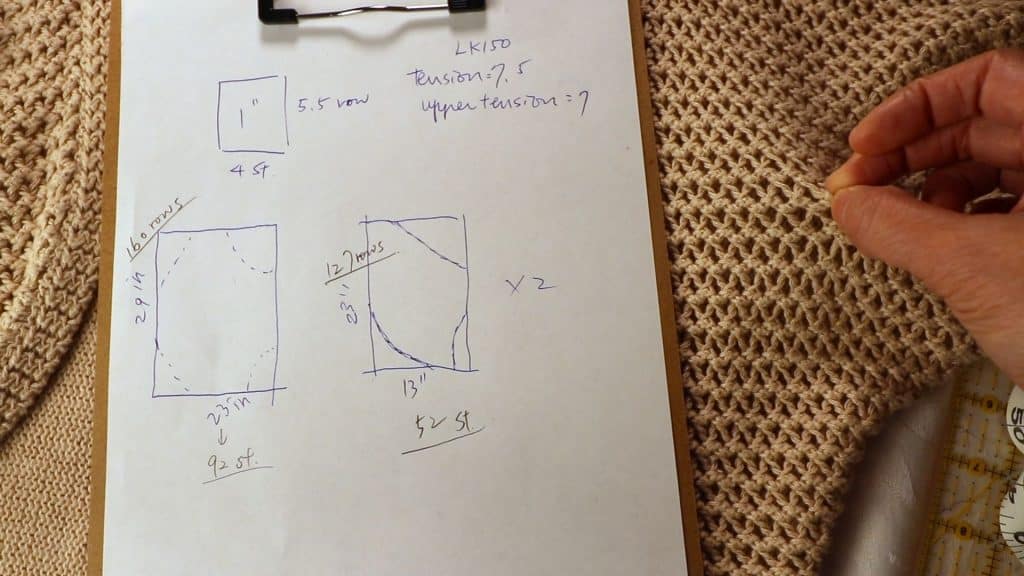
The first thing is to knit a sample and find your ideal gauge. It is a personal choice of fabric density. I added a piece of contrasting color yarn at the edge when I change tension.
The final tension I use is around 7.5.
Add a piece of the contrasting color yarn at the end of the section to mark different tensions.
Based on the tension swatch and the measurement of the cardigan, I calculate the cast on stitches and rows. I can always knit more stitches and rows first because we are going to cut the fabric later. Too big is better than too small.
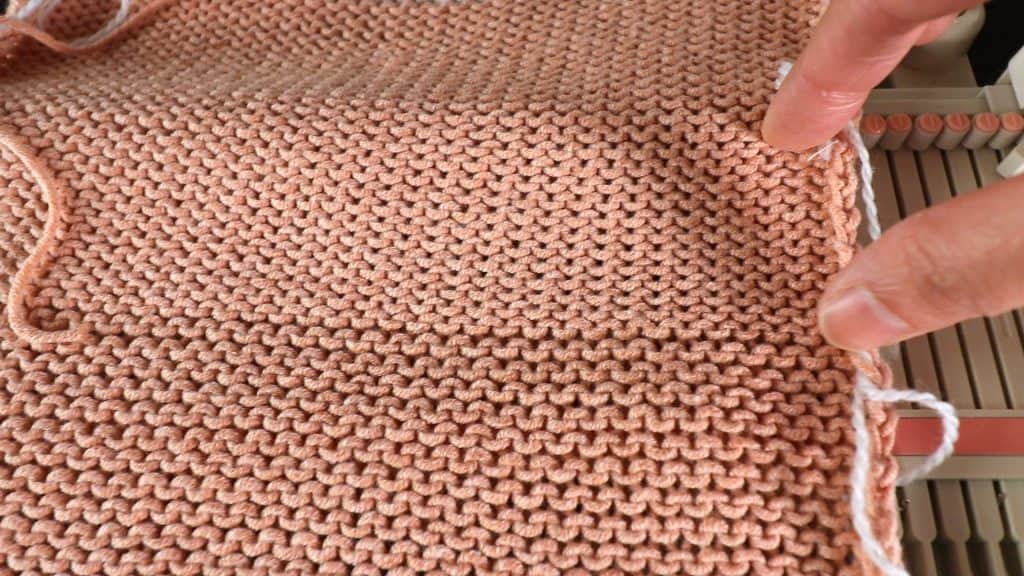
Knit rectangles based on the calculation. You can add fancy stitches if you like.
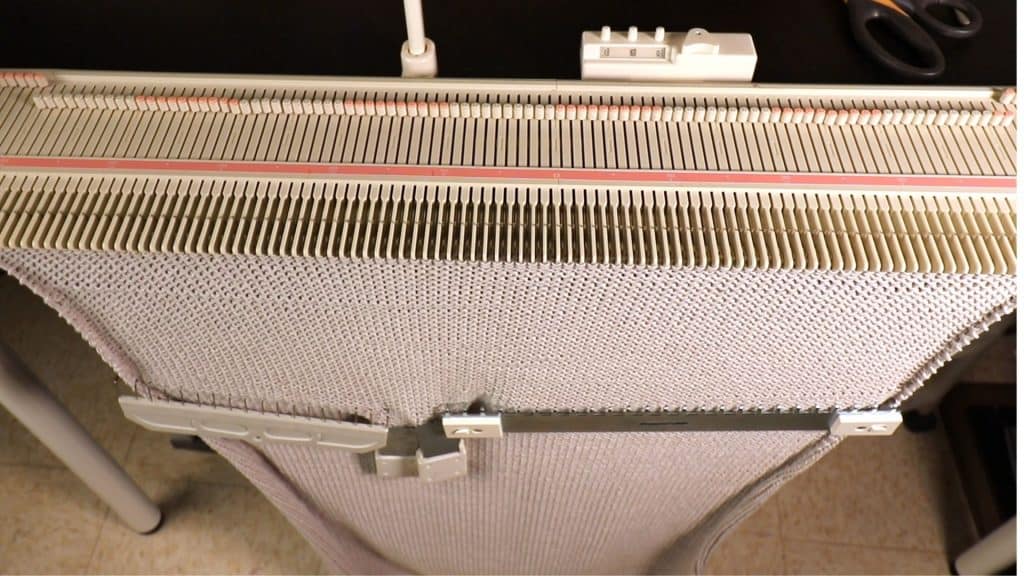
The back piece and 2 front pieces are knitted. I use the waste yarn at the beginning and end of the knitted pieces.
Pattern making
Make your own pattern by tracing the garment that fits you. Use tracing paper or any papers you have. Tape them together if the paper is too small.
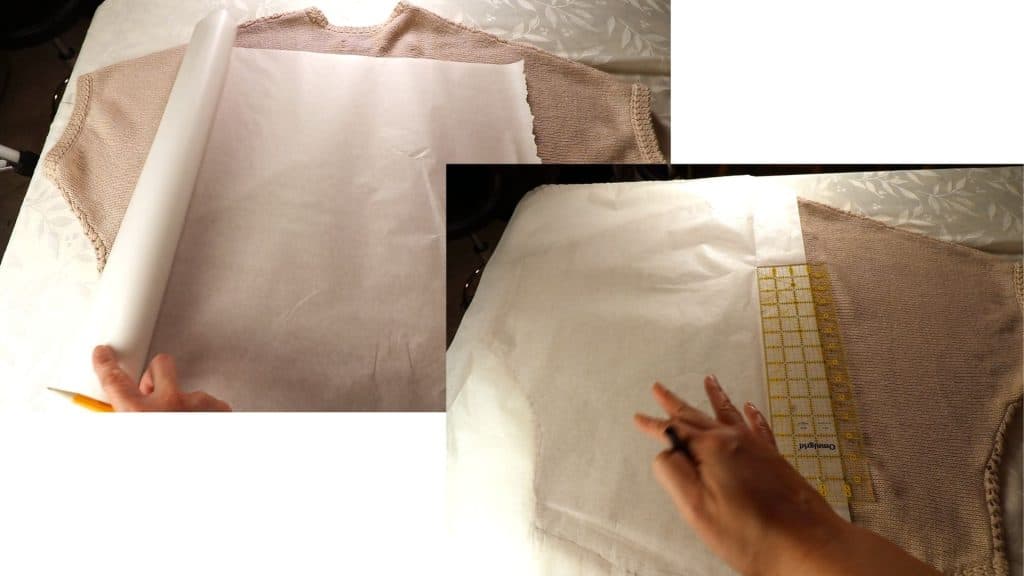
Trace the outline of the cardigan by freehand and ruler. Mark the direction of the front, back, neck, and sleeve. Cut out the patterns.

Pin the pattern on the previous knitted fabric. Use a fabric marker to trace the outline. Sew the outline with a standard sewing machine or a serger.
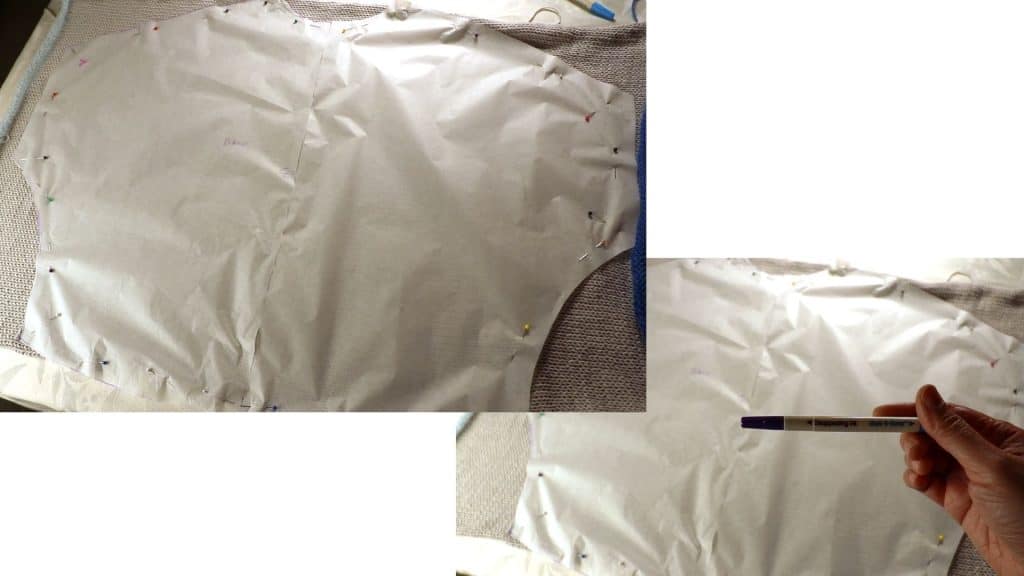
I sew over the outline twice to make sure it locks the stitches.
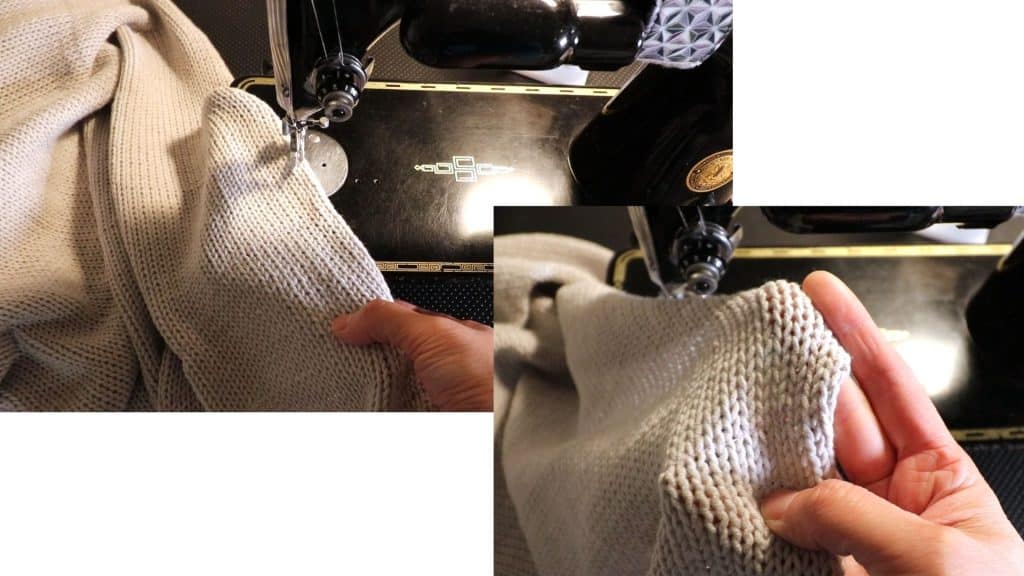
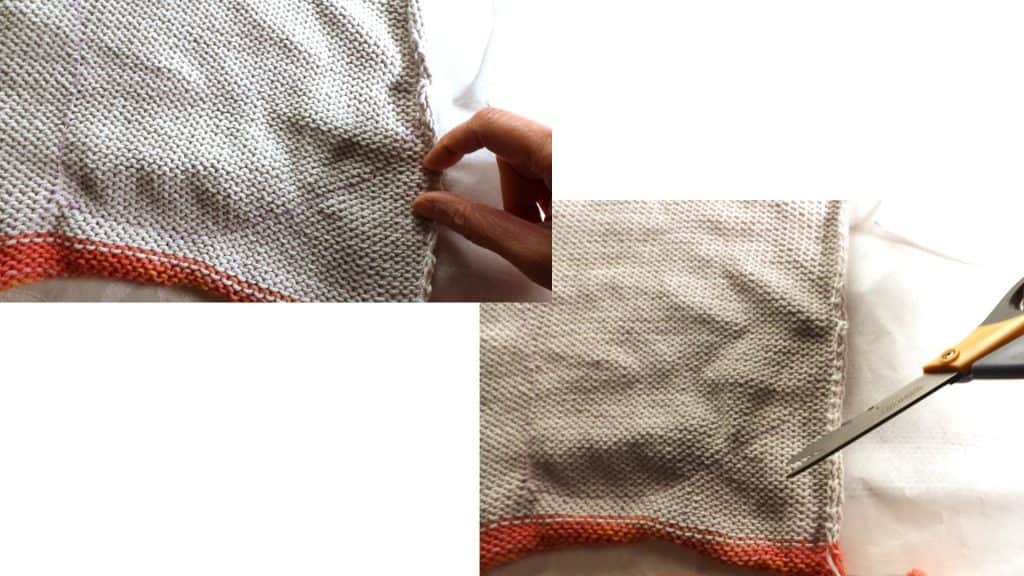
Now we have the 3 pieces with outlines sewn.

Cut the pieces leaving a little seam allowance.
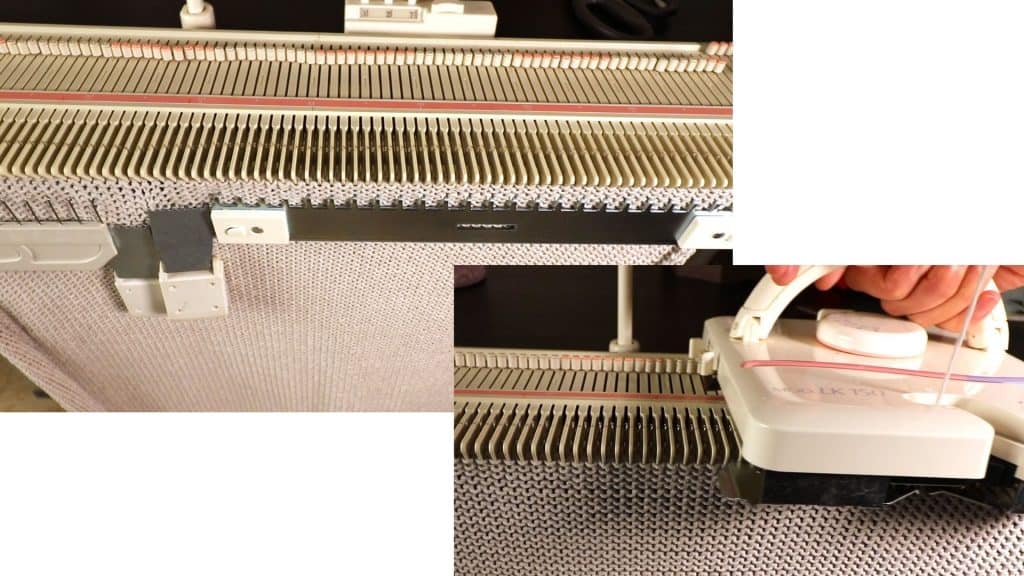
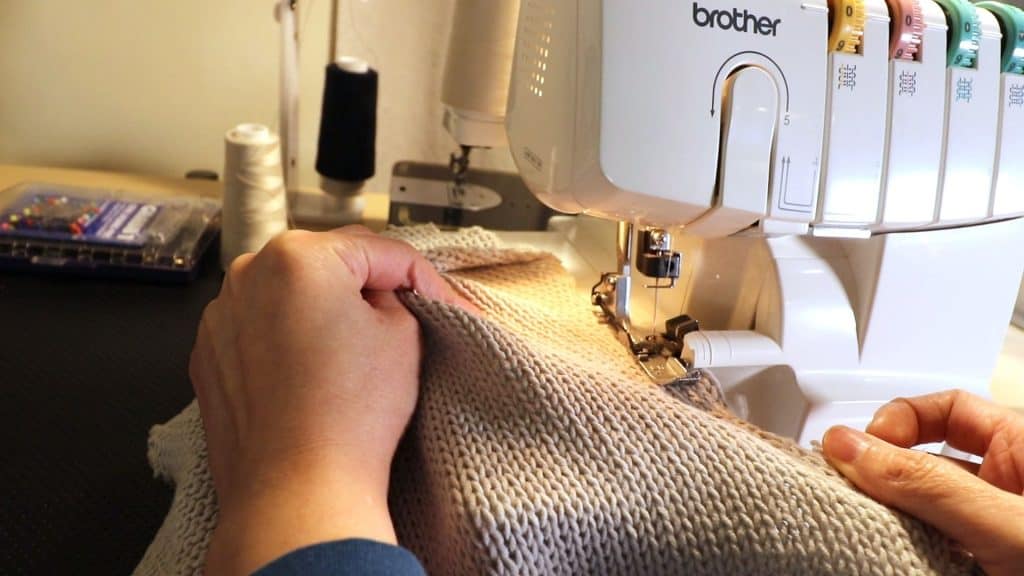
After cutting the knitted fabric, pin the front and back pieces together. Sew the shoulders and side seams on a serger or a sewing machine.
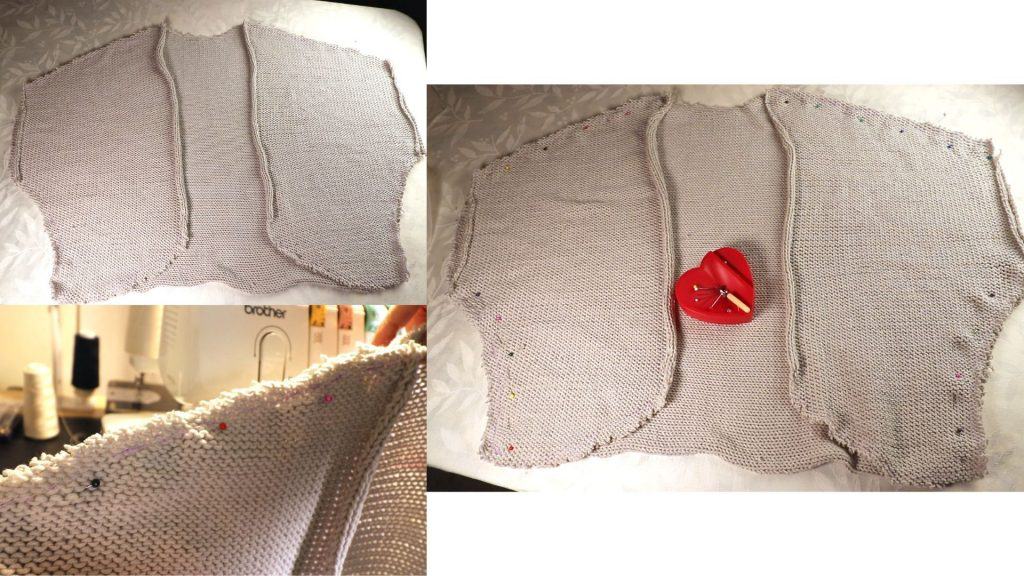
Sewing the seams with my Brother serger/overlocker.
After sewing. Note the lines are waving around shoulders and side seams.
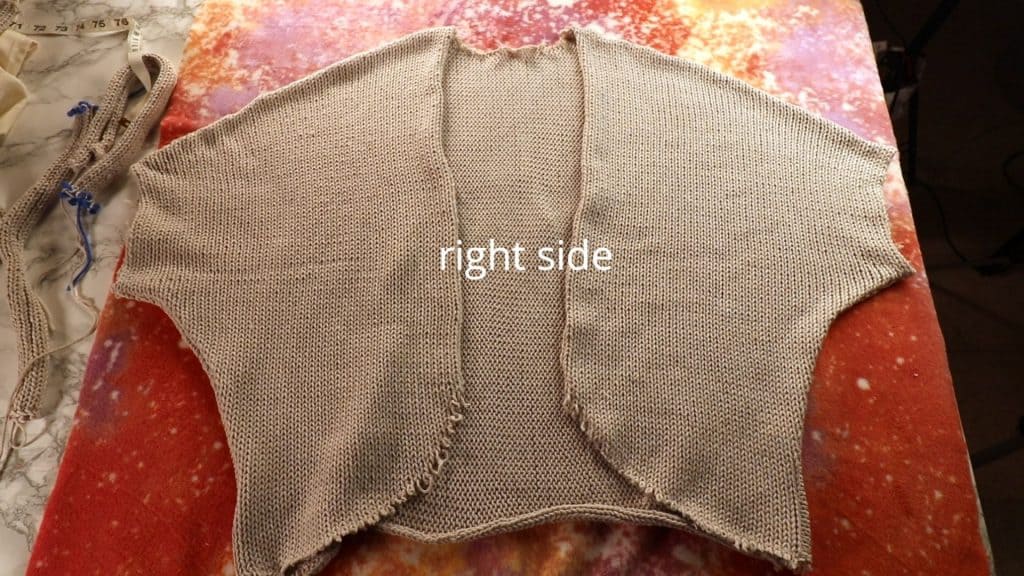
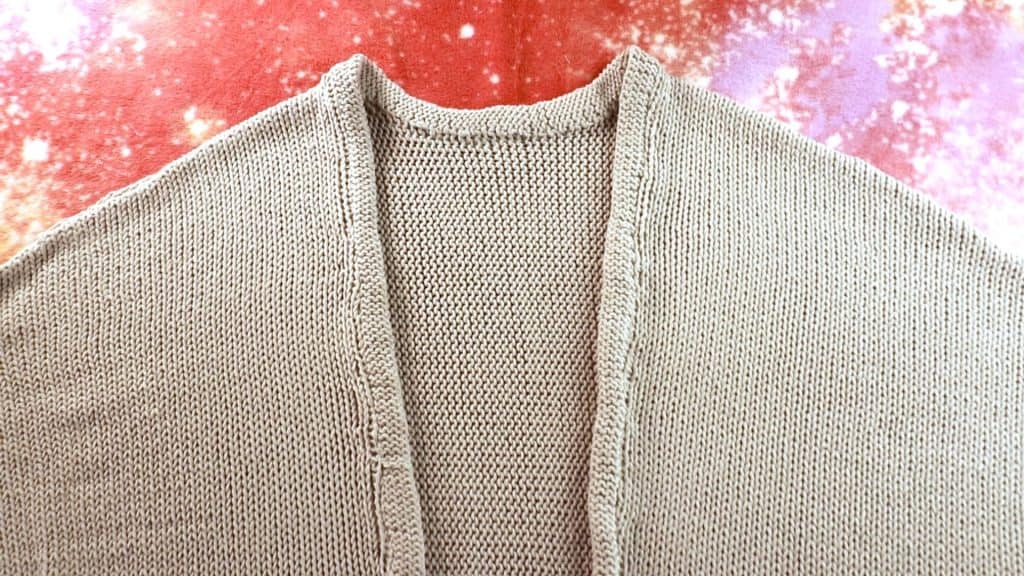
The right side of garment after blocking. The shoulder is less waving.
Knitting the trims
There are many ways to knit trims. I am showing the easy way here.
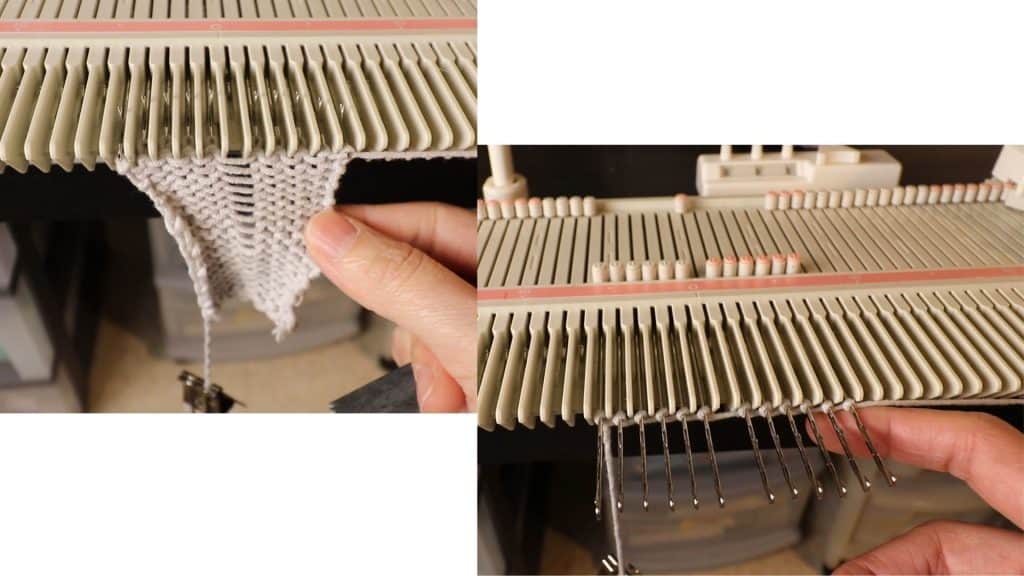
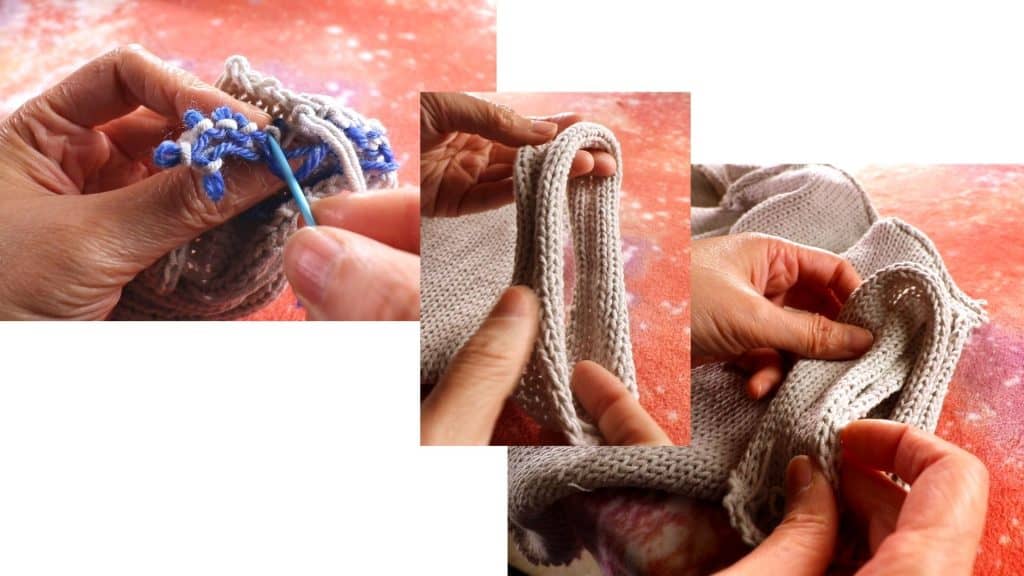
Knit 5-6 stitches, leave one stitch out of work, and then another 5-6 stitches. So it is easier to fold in half and enclose raw edges.
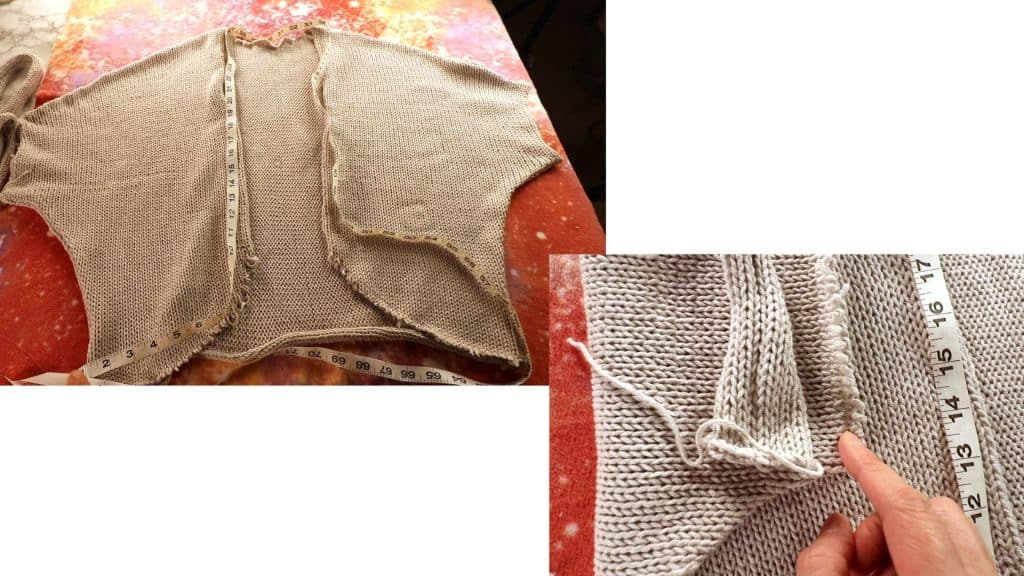
Measure the length of the trim and knit that length plus a little extra.
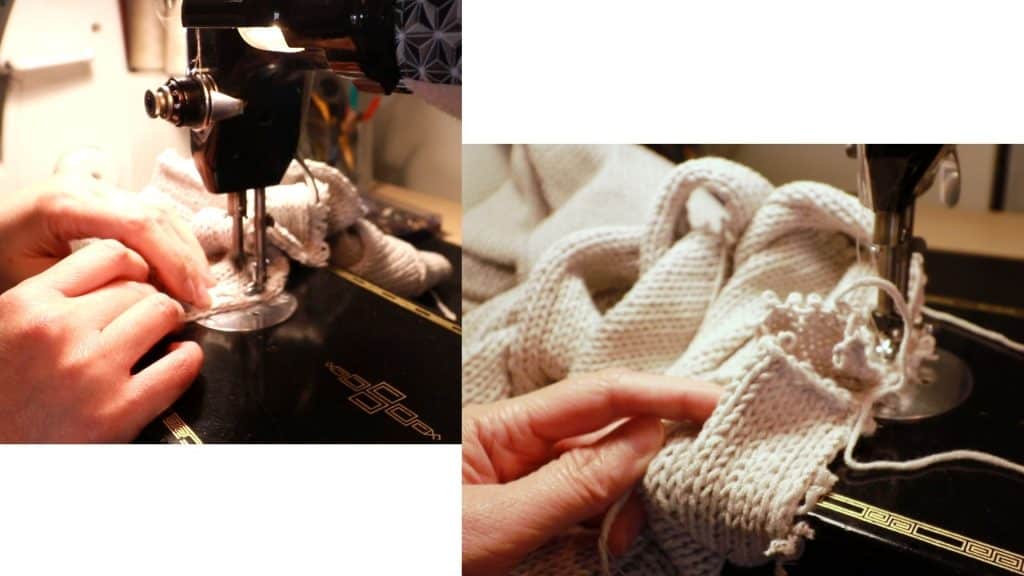
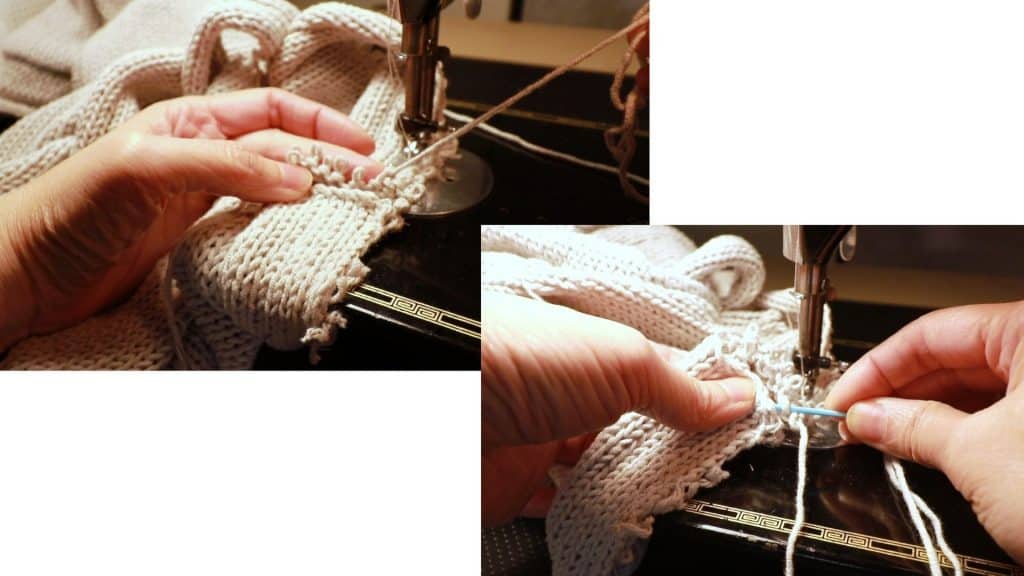
With the right side of the trim and garment together, we can start sewing near the edges. You can sew directly on the previous sewing line, or next to the sewing line, so we can enclose the sewing lines later.
You can connect the 2 ends of the trim first by sewing together. It is easier to have the whole loop ready before sewing onto the sleeve.
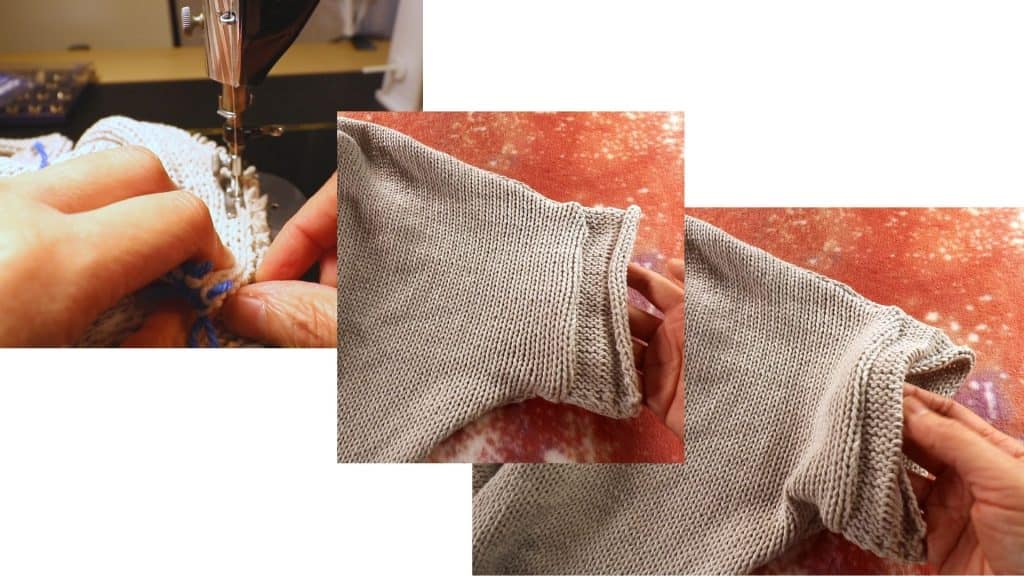
Sew the trim and sleeve together with the right side facing each other. My right side of the trim is the reversed stockinette side.
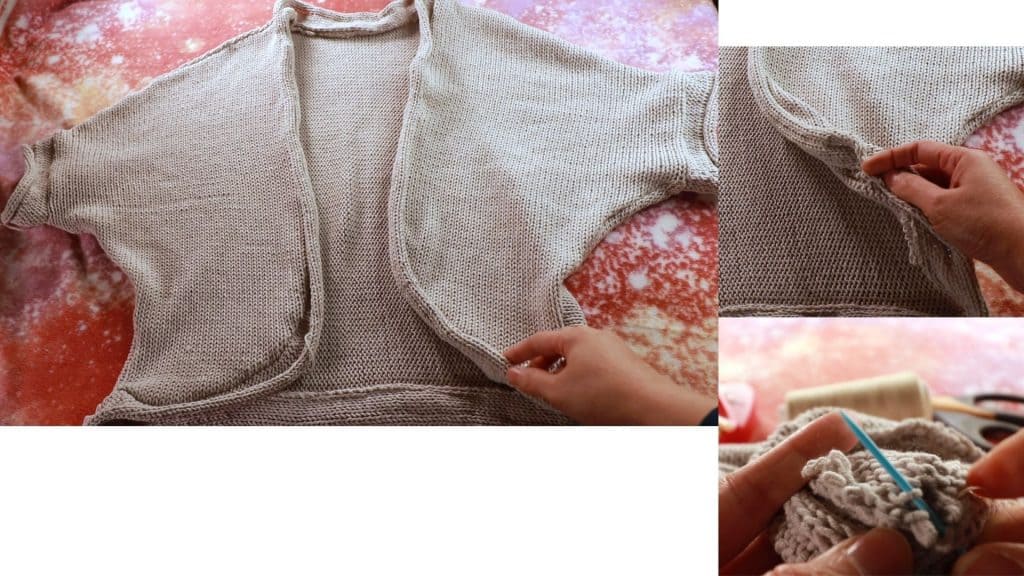
Then it is ready to fold the trim back in half and hand-sew it to the backside.
Do the same for the main body. Start with the left lower corner, place the trim and the garment with right sides facing each other, then sew along the edges.
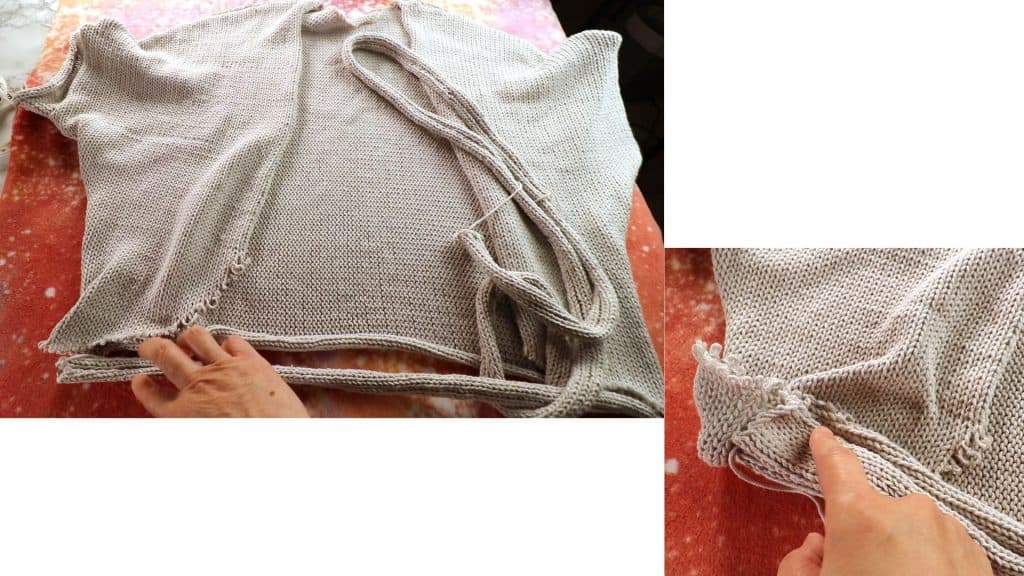
When you are near the end, unravel the extra rows of yarn until the 2 ends match. Sew the ends together.
The cardigan with the trim sewn.
Next is to fold the trim to the back and hand sew them close.
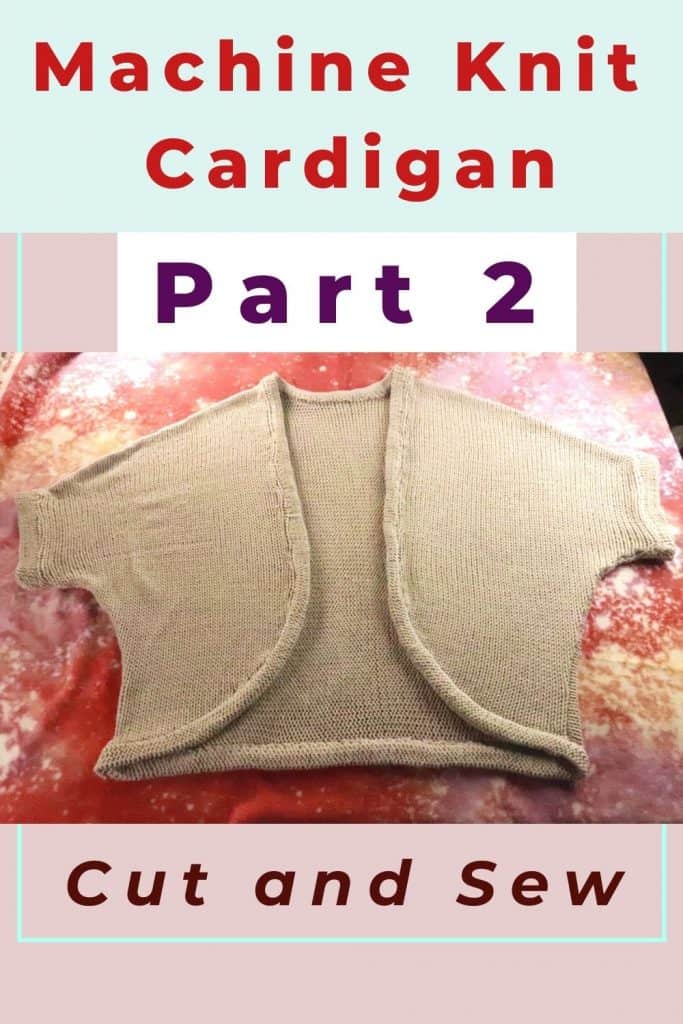
Finished cardigan. Happy knitting.

🛒 Visit our Amazon page (this contains affiliated links, and we get a small percentage without extra cost to you): https://www.amazon.com/shop/picturehealer
Machine knitting a simple cardigan with cut and sew technique
Featured Posts
- How to machine knit a heart shape on an LK150

- Machine knitting a loop stitch for big texture

- Machine knitting a corner-to-corner, diagonal dishcloth

- Machine knitting a buttonhole band on an LK150

- Tuck stitch blanket on an LK150 – Part 1
- No curl edge with seed, garter, ribbing, or cable stitches
- Full-fashioned decrease, Garter Bar increases or decreases in the middle of a row
- How to machine knit a Chevron Lace Hem
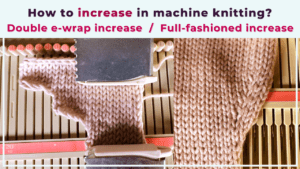
- Machine knitting increases – the full-fashioned increase and double e-wrap
- Picot hem with a scalloped edge and eyelets on an LK150 knitting machine

- The loop through loop bind-off and the sewing bind-off

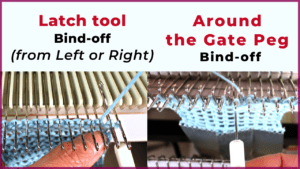
- The latch tool bind-off and around the gate peg cast-off
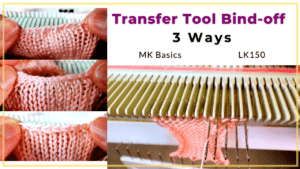
- Transfer tool cast off and variations- Simple, No hole, and Even-tension
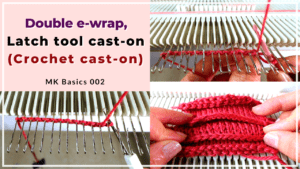
- Double e-wrap, latch tool, and crochet hook cast on
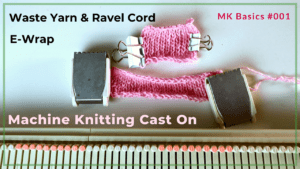
- Machine Knitting basics – Cast on with waste yarn, ravel cord, and e-wrap


2 Comments
Hannah Roxanne Basnett
Hi,
This is very impressive!
I am a student at De Montfort Univeristy studying Fashion Buying and Makerting. I am doing a project on sustainable sourcing and am focusing on a knitted cardigan.
I was wondering how long would it take to make this cardigan?
Thanks,
Hannah
Tien
Hi, it does not really take long if you just knit fabric and sew on a sewing machine because there is no shaping on the machine. It took me about 2 days.
But it is tricky to sew neatly. I am still learning and experimenting. Maybe next time I will add a stabilizer to make sewing easier. A serger/overlocker is convenient but the seam can be stretched out easily.
It all depends on the yarn content, weight, gauge, and so on. Some methods will work better than others.
Quality yarns are so expensive in the US so it makes no sense to mass-produce and sell. The project is just for fun and hobby. Good luck with your study.