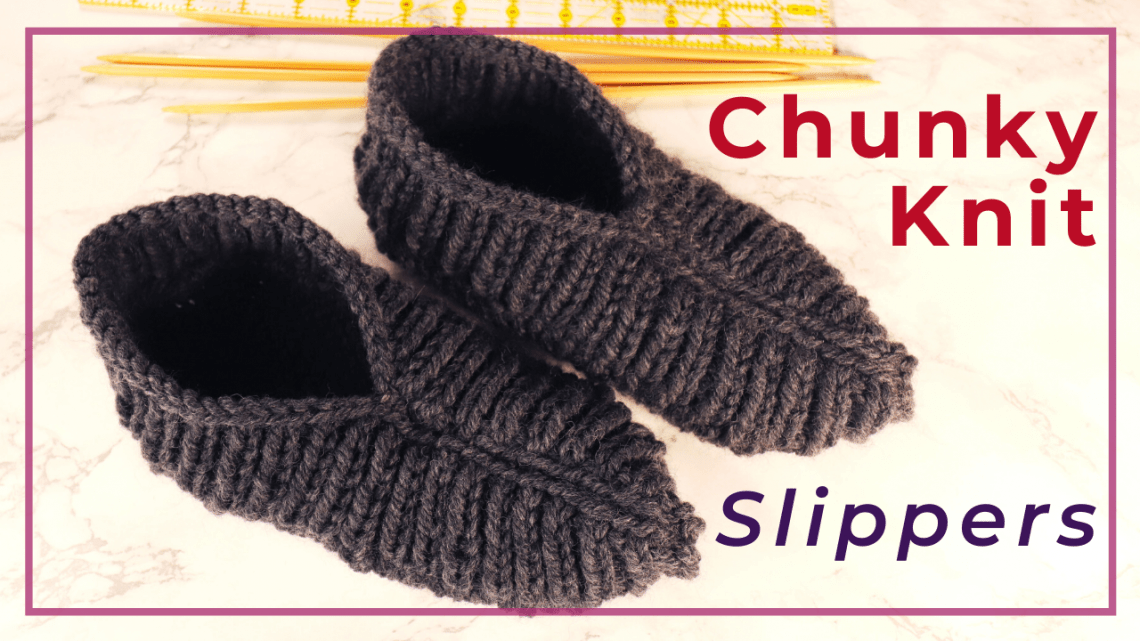
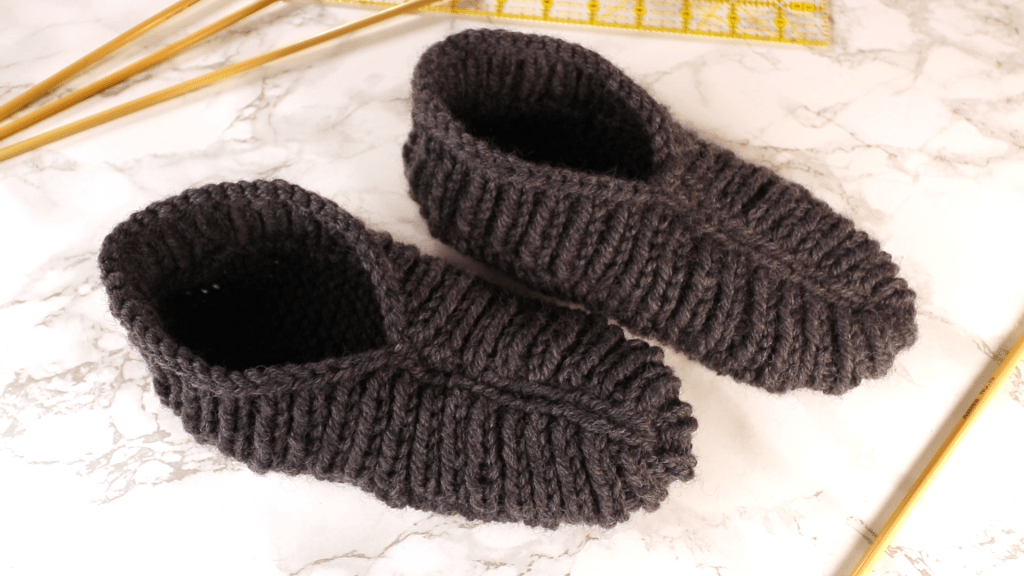
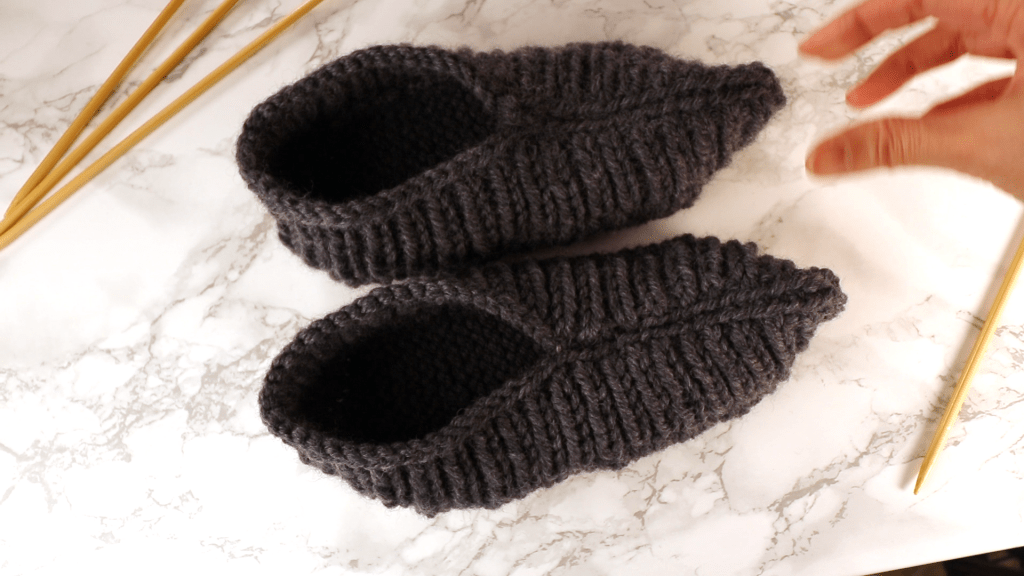
Chunky hand-knit slippers with pattern
You can knit up these house slippers quickly with chunky weight yarns. It has a straightforward construction so it is easy to knit for beginners. The size can be adjusted easily by increasing or decreasing stitches and rows.
The construction of the knitted slippers
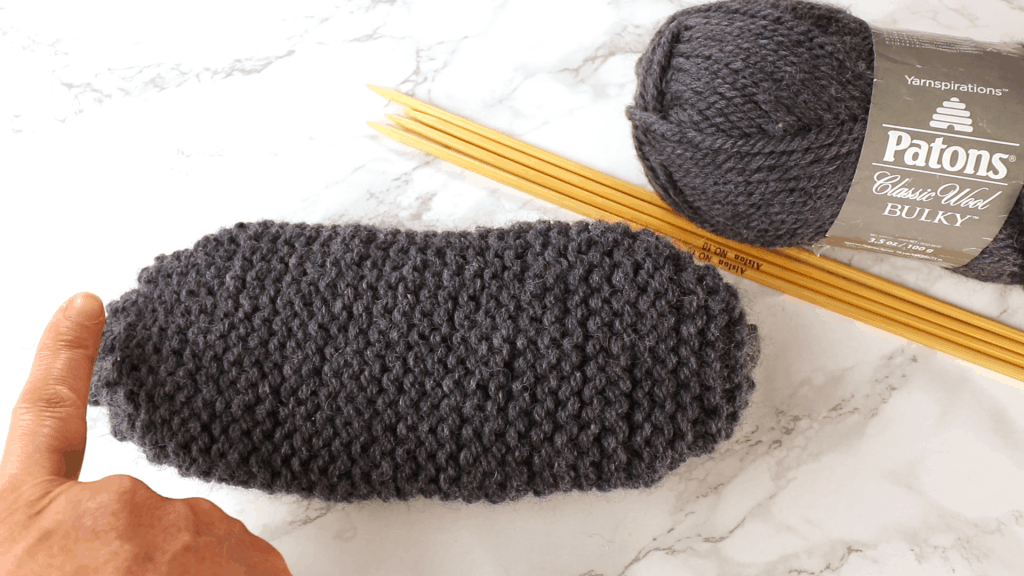
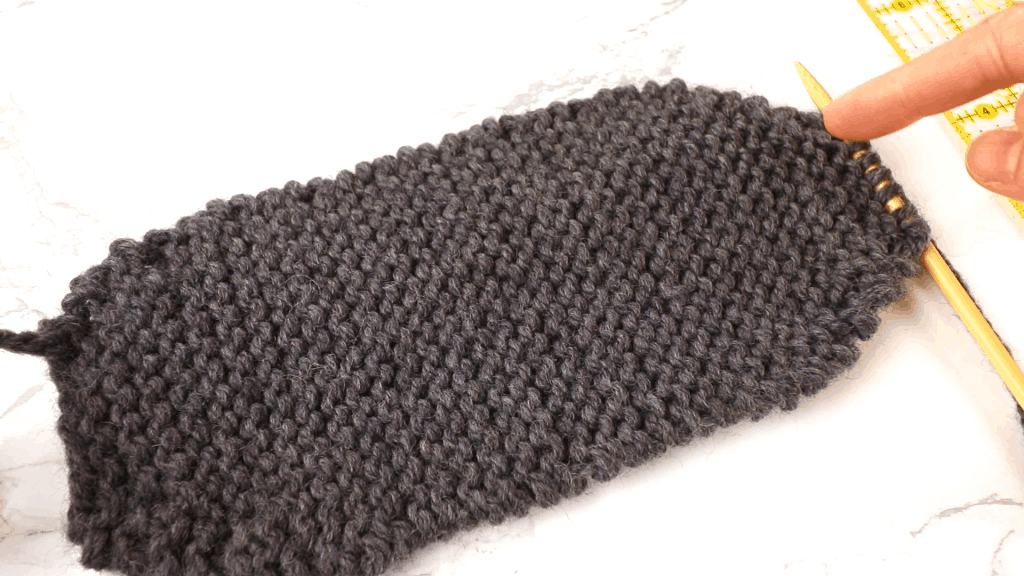
The first part is the bottom piece. It is knitted flat from one end.
Increase stitches until the desired width. Knit the garter stitch until the decreases. Then, decrease stitches until the same amount of stitches as cast on stitches.
The second part is to pick up stitches and knit 1 x 1 ribbing until around 7 rows. Bind off.
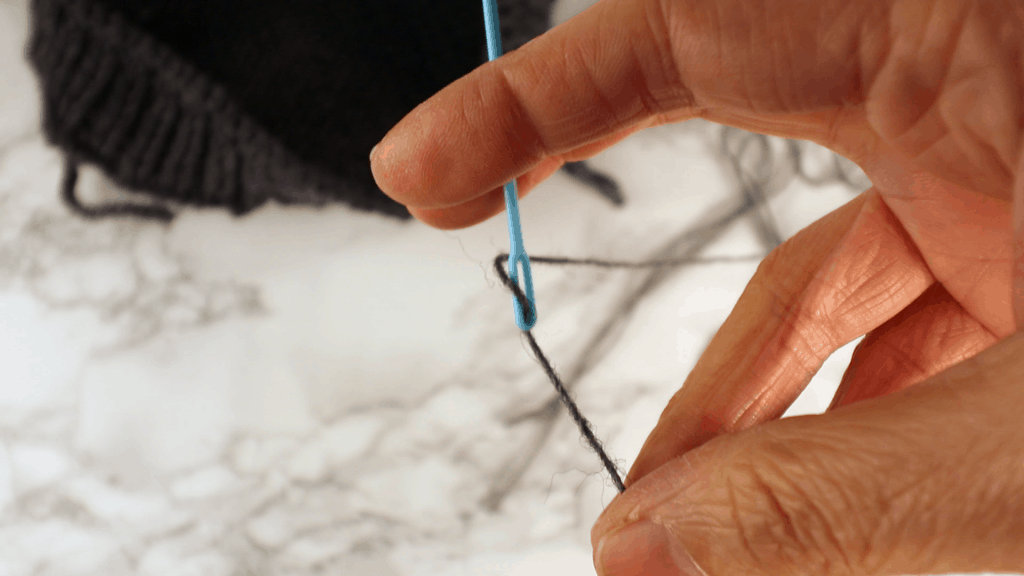
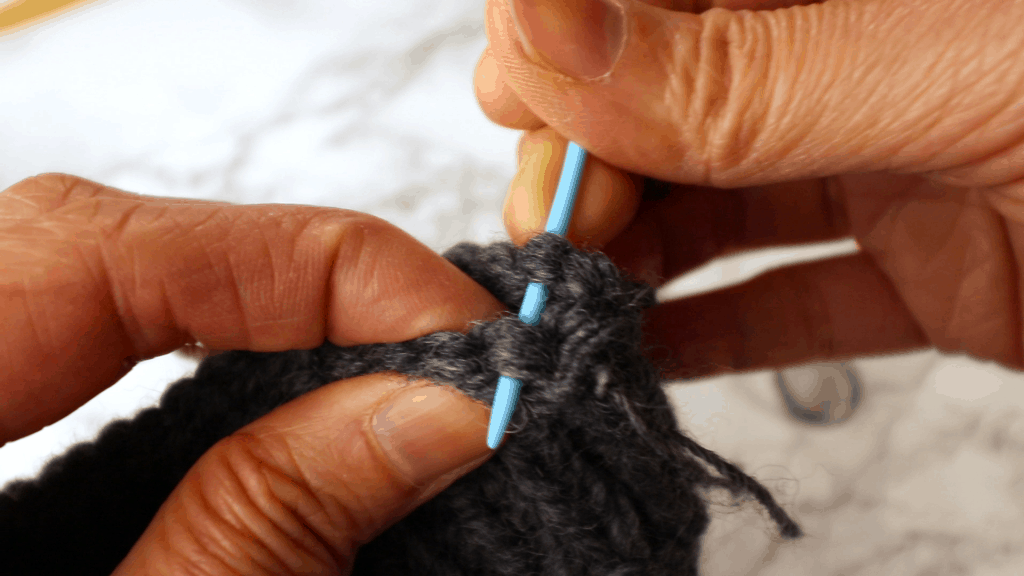
The third part is to sew close the front top with a thinner yarn from the wrong side (inside) of the slippers. Weave in the yarn ends and you are done.
Watch our video for the slipper knitting tutorial
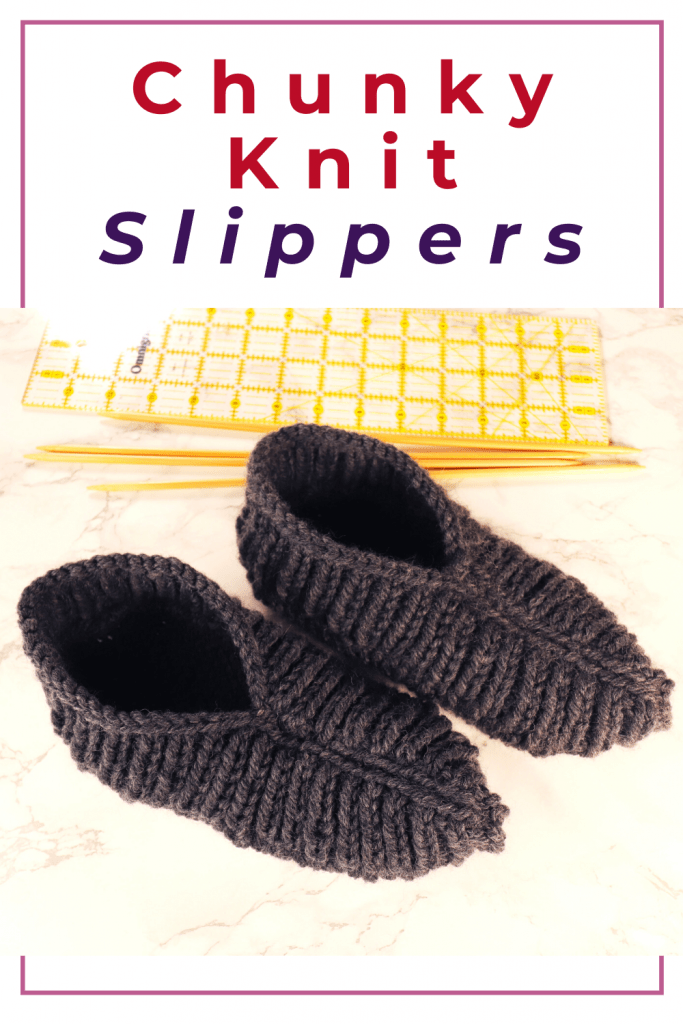
Chunky slippers knitting pattern
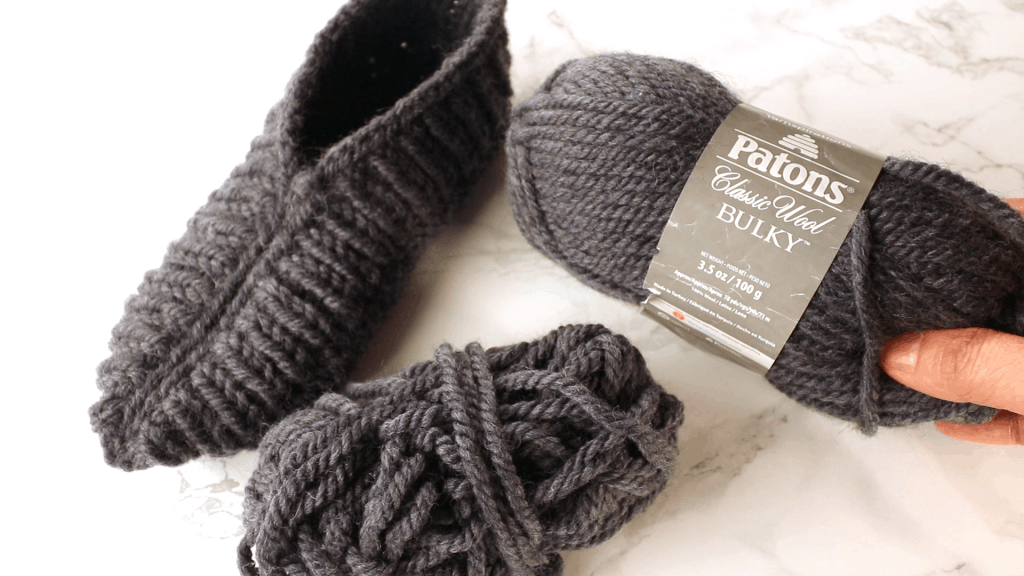
Material:
You will need bulky yarns and a set of double point needles or one circular needle (with the magic loop method) for knitting in the round.
For sewing the front top of the slippers, use a thinner yarn and a yarn needle (darning needle).
Increase
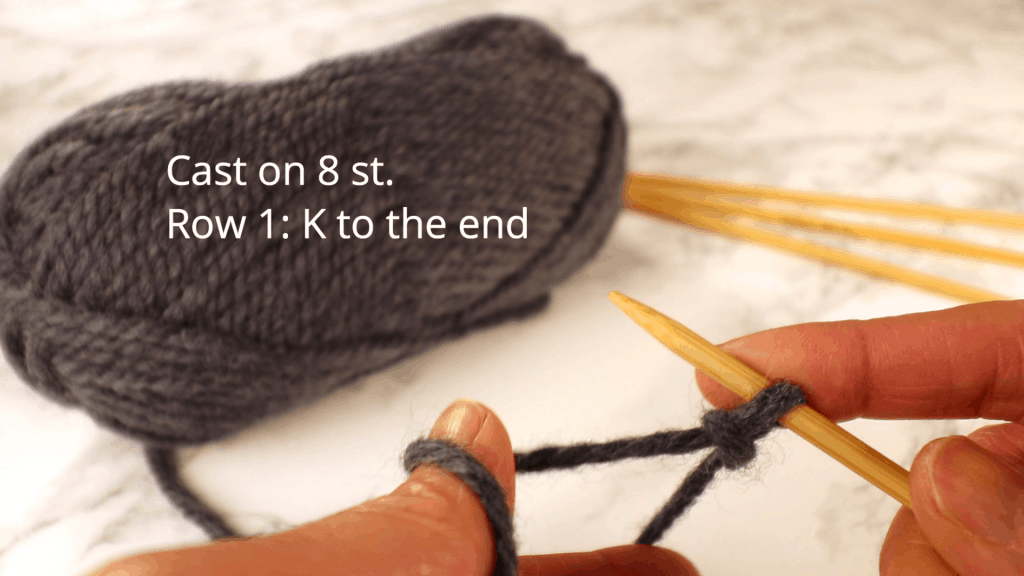
Cast on 8 stitches.
Row 1: K to the end.
*Somehow I missed “row 2” in the video so the next row is “row 3” which is the decrease row. It is corrected in this post.
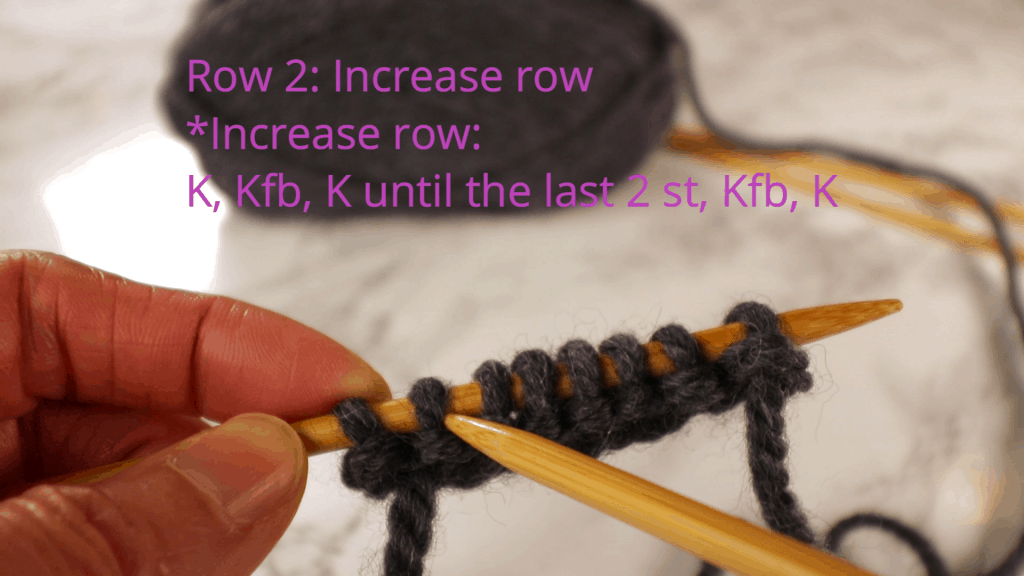
To increase, knit front and back on the second stitch and the second to the last stitches. 2 stitches will be increased this row.
Row 2 (increase row): K, Kfb, K until the last 2 st, Kfb, K.
Knit front and back for the second to the last stitch.

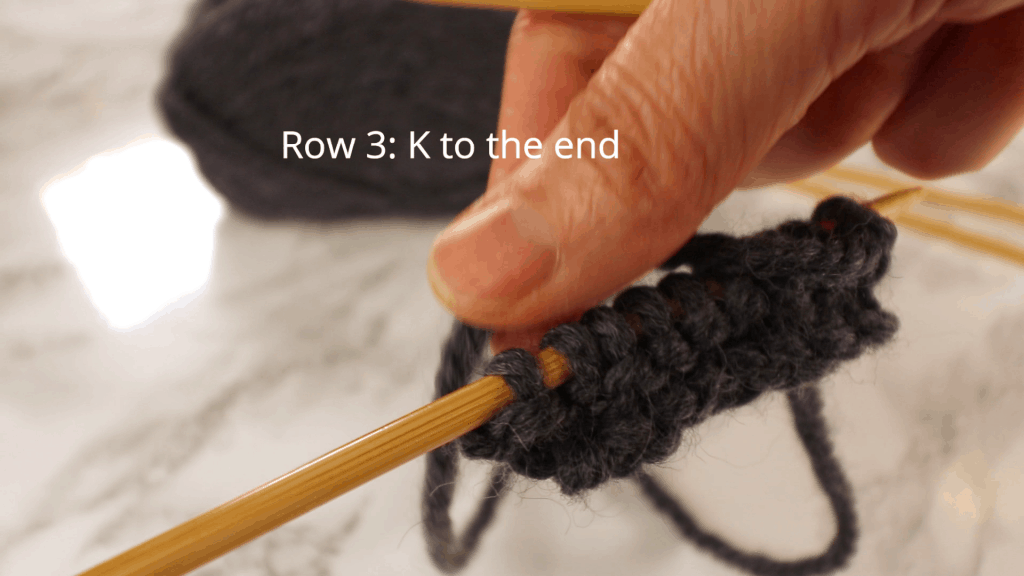
Row 3: K to the end.
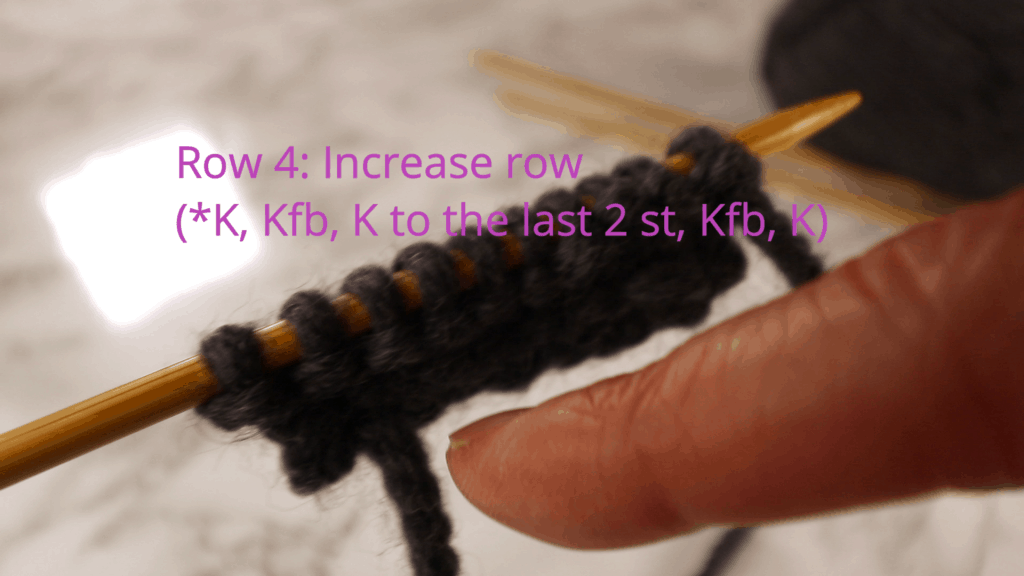
Row 4: Increase row (same as the last increase row)
K, Kfb, K to the last 2 stitches, Kfb, K
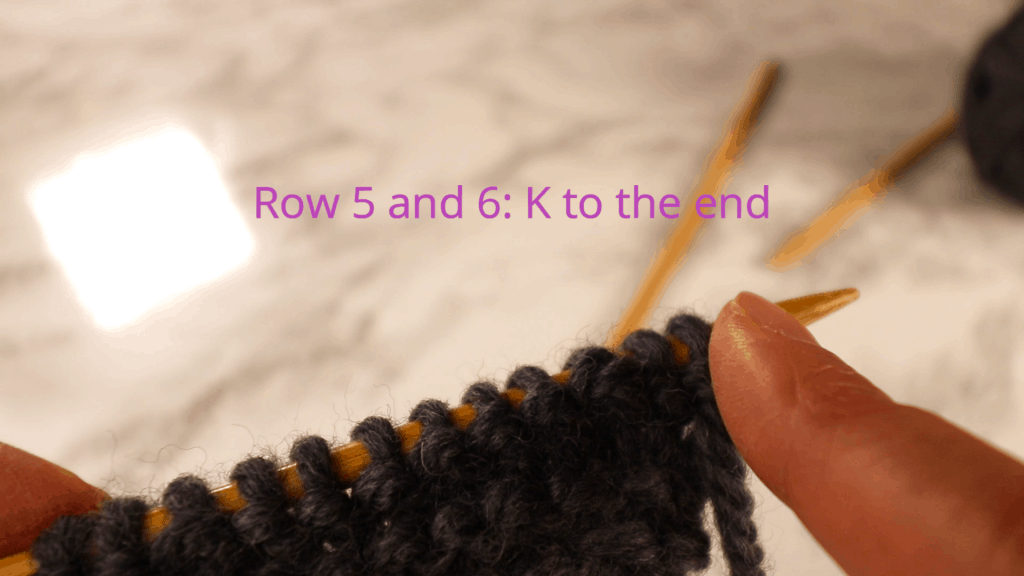
Row 5 and 6: K to the end.
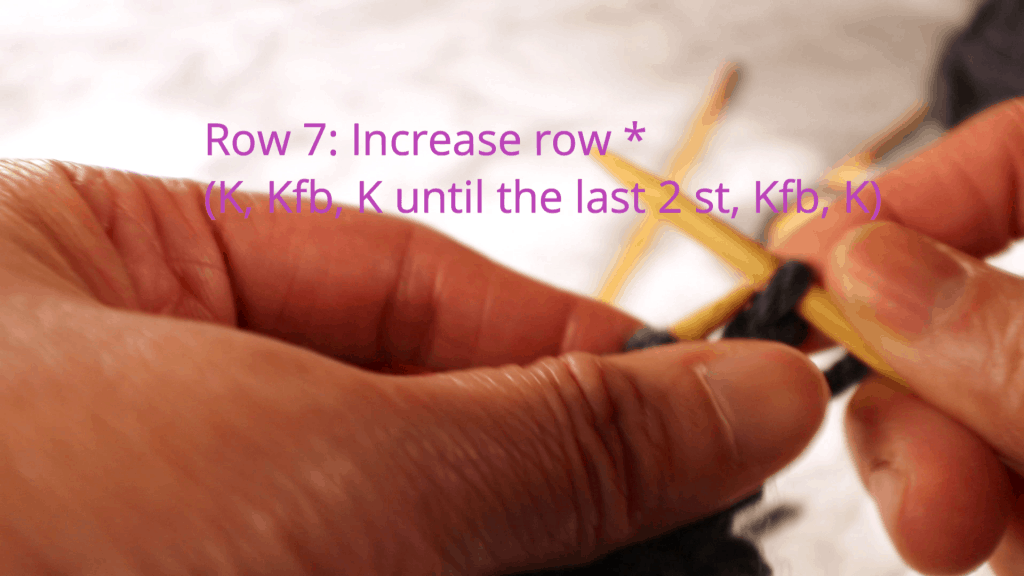
Row 7: Increase row (same as last increase row)
K, Kfb, K until the last 2 st, Kfb, K
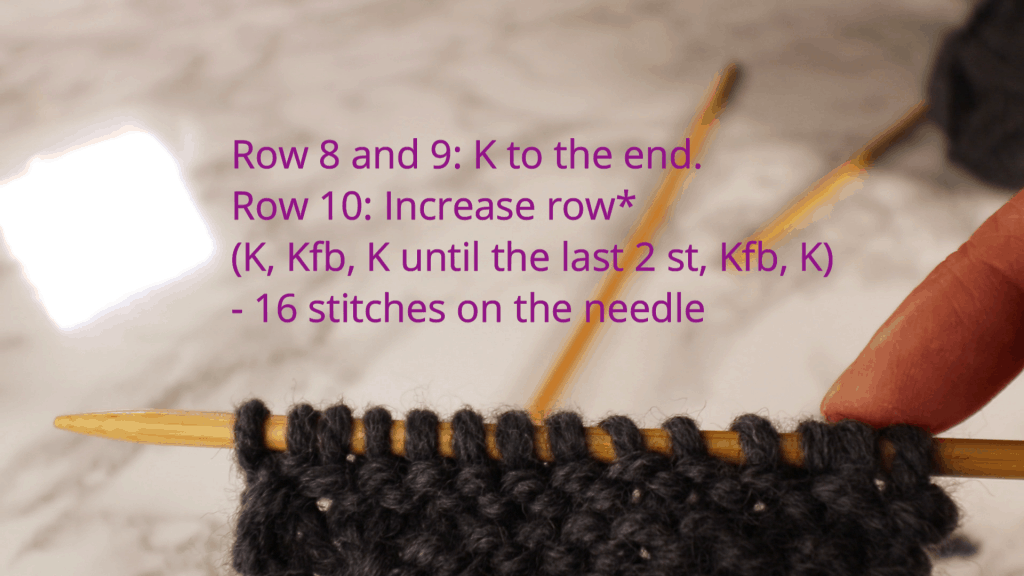
Row 8 and 9: K to the end.
Row 10: Increase row (same as the last increase row)
K, Kfb, K until the last 2 st, Kfb, K
There will be 16 stitches on the needle now.
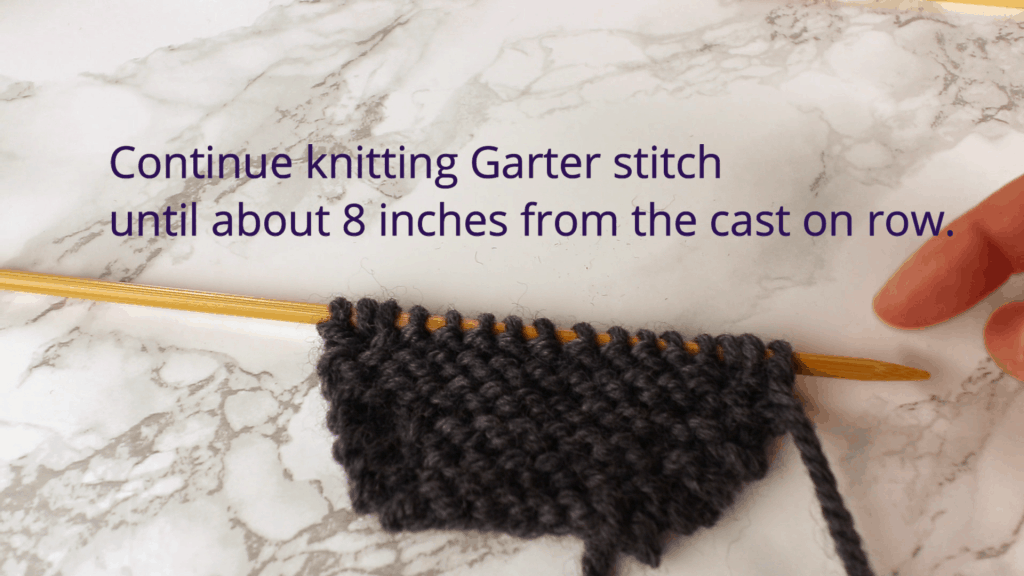
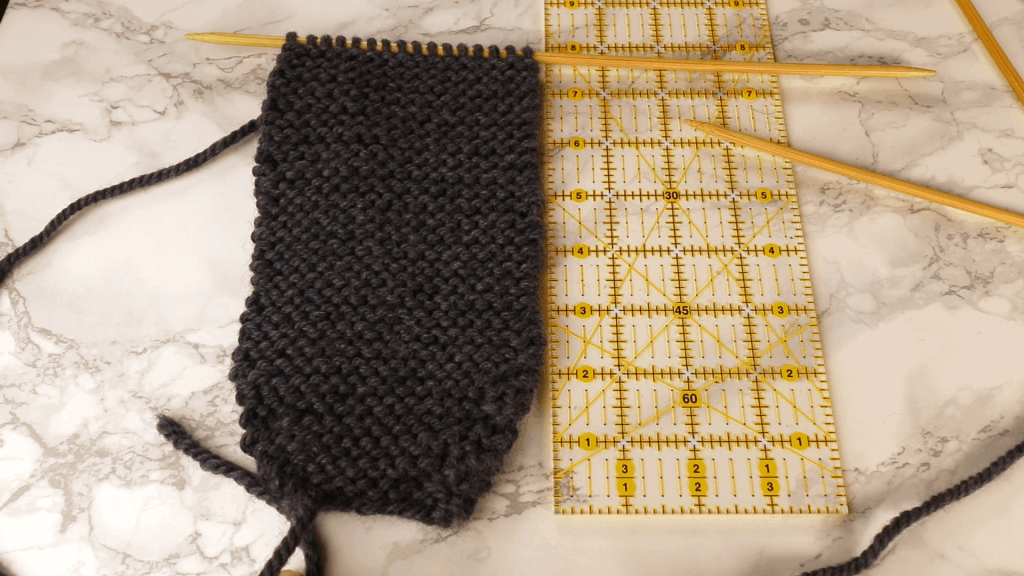
Continue knitting garter stitch (without increase) until the decreasing part. It is about 8 inches from the cast-on row for a medium woman size.
Decrease
After knitting up to 8 inches, it is time to decrease. Similar to the increasing part at the beginning, except in reverse. I use “knit 2 together” as a simple decrease.
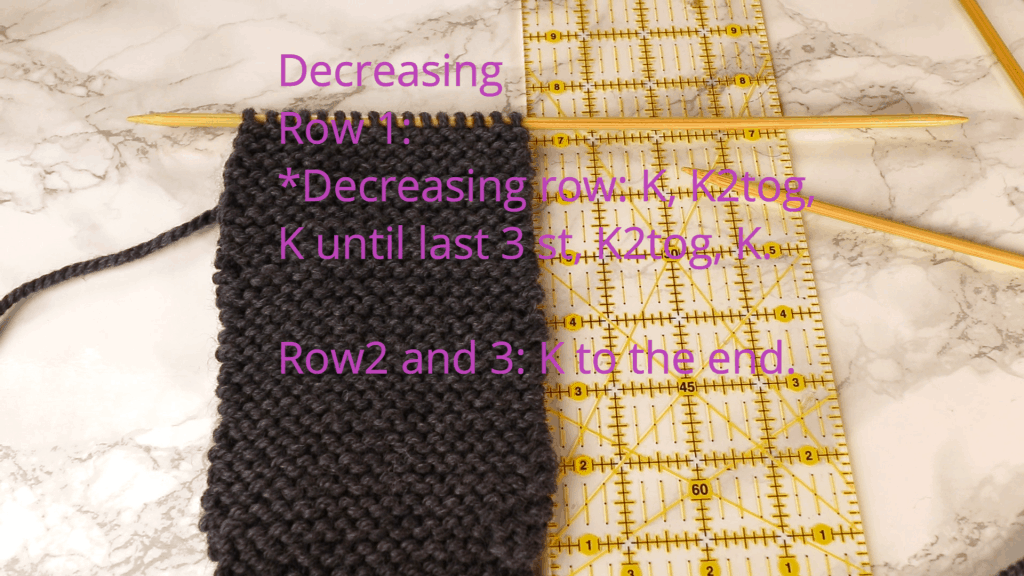
Row 1/ decrease row:
K, K2tog, K until the last 3 st, K2tog, K.
Row 2 and 3: K to the end.
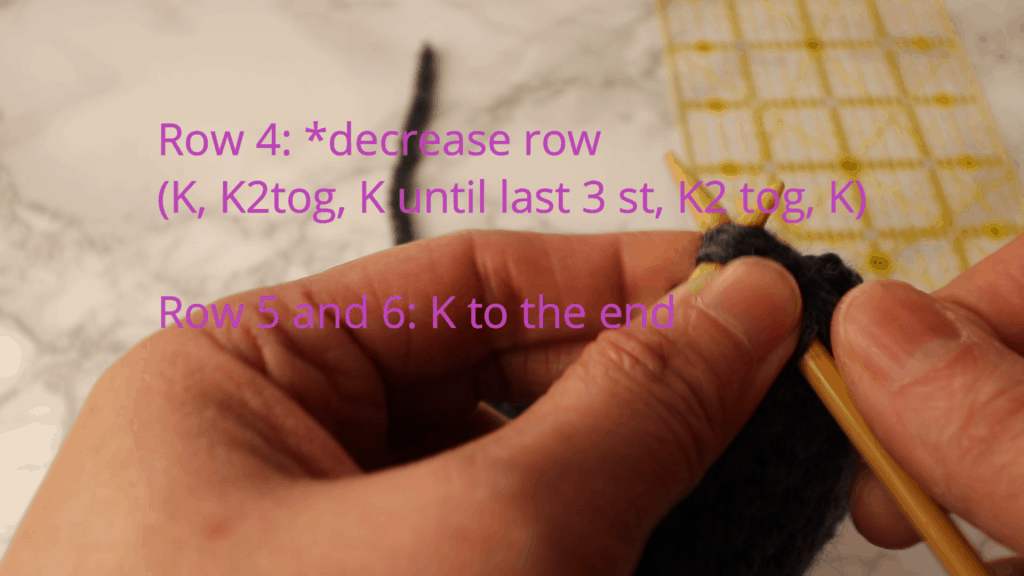
Row 4: decrease row (same as the last decrease row)
K, K2tog, K until the last 3 st, K2tog, K
Row 5 and 6: K to the end.
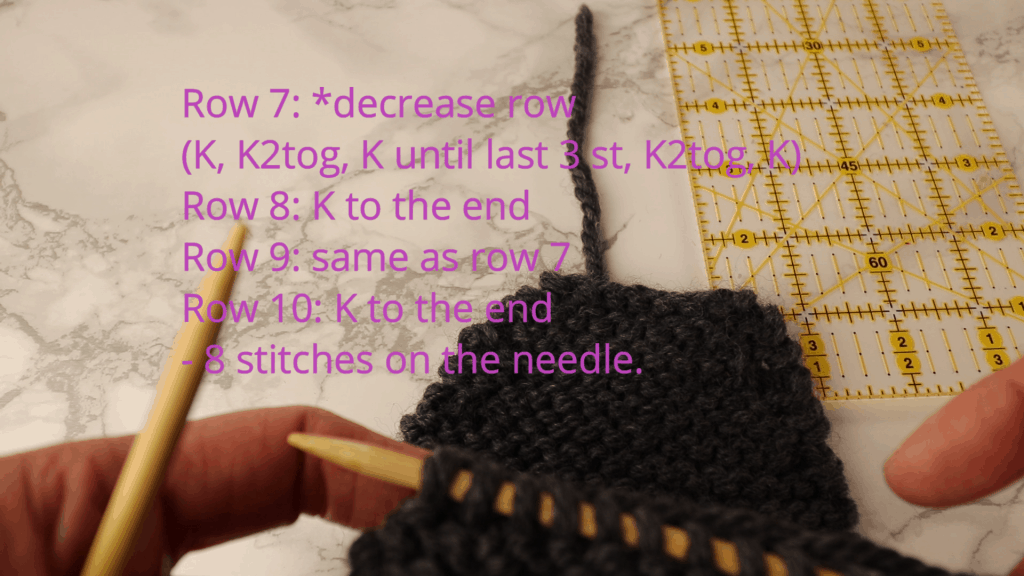
Row 7: decrease row (same as the last decrease row)
K, K2tog, K until the last 3 st, K2tog, K
Row 8: K to the end
Row 9: decrease row (same as row 7)
Row 10: K to the end.
There will be 8 stitches on the needle now.
We just finished the bottom piece.
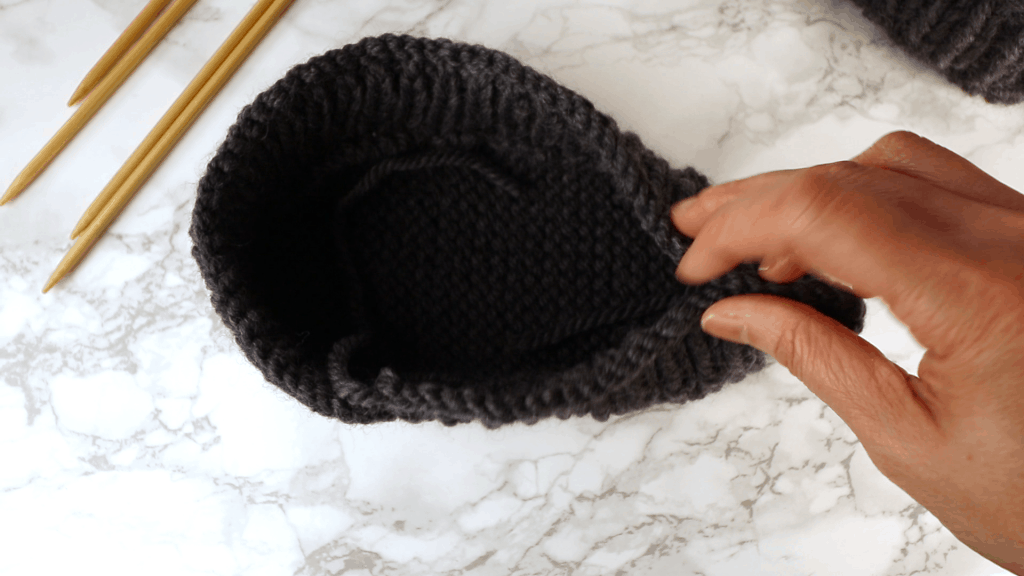
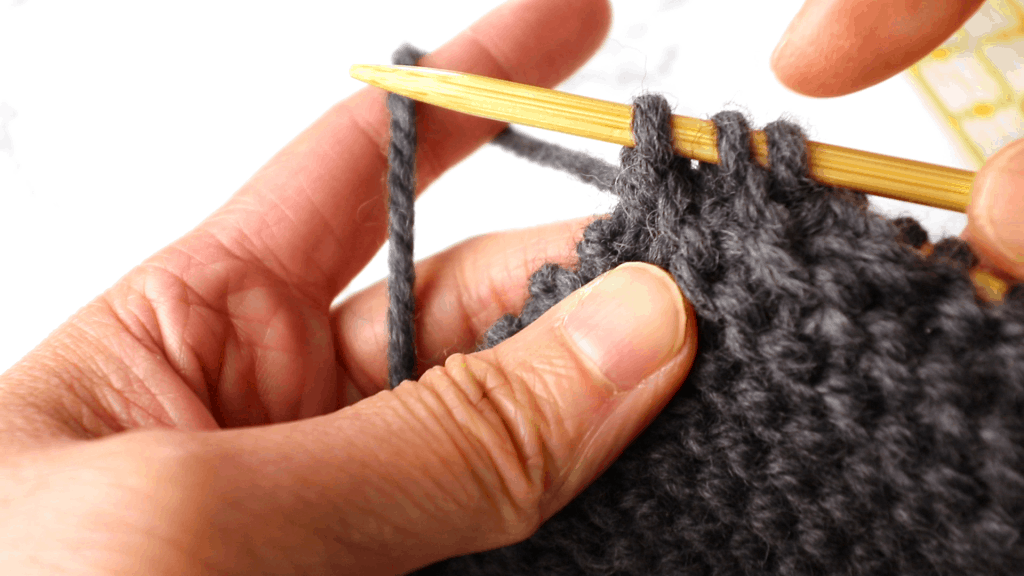
Pick up stitches all around and knit 1 x 1 ribbing (alternating 1 knit and 1 purl stitches) for about 7 rows. Since we will knit 1 x 1 ribbing. Pick up even number of stitches.
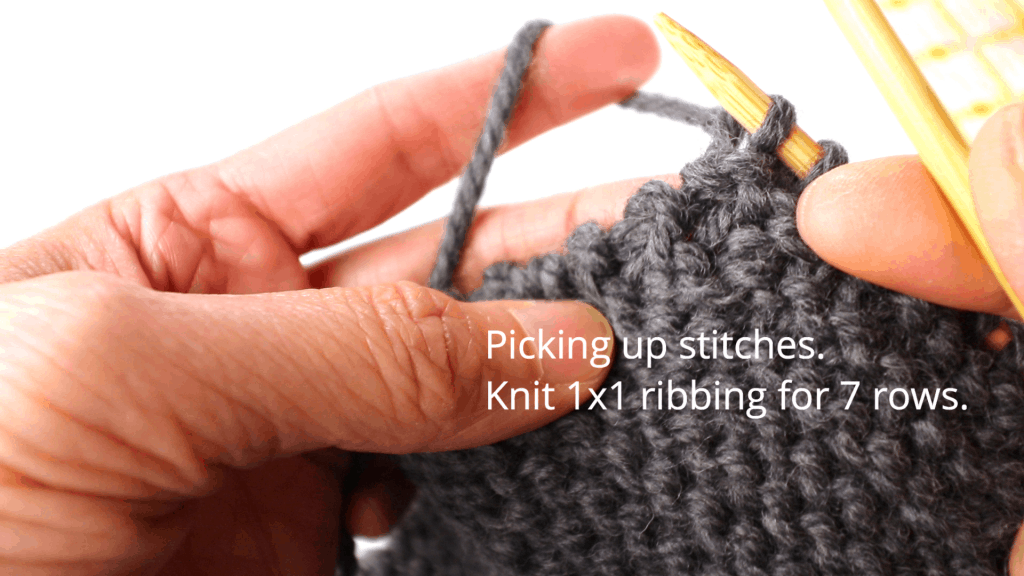
I picked up stitches between 2 ridges.
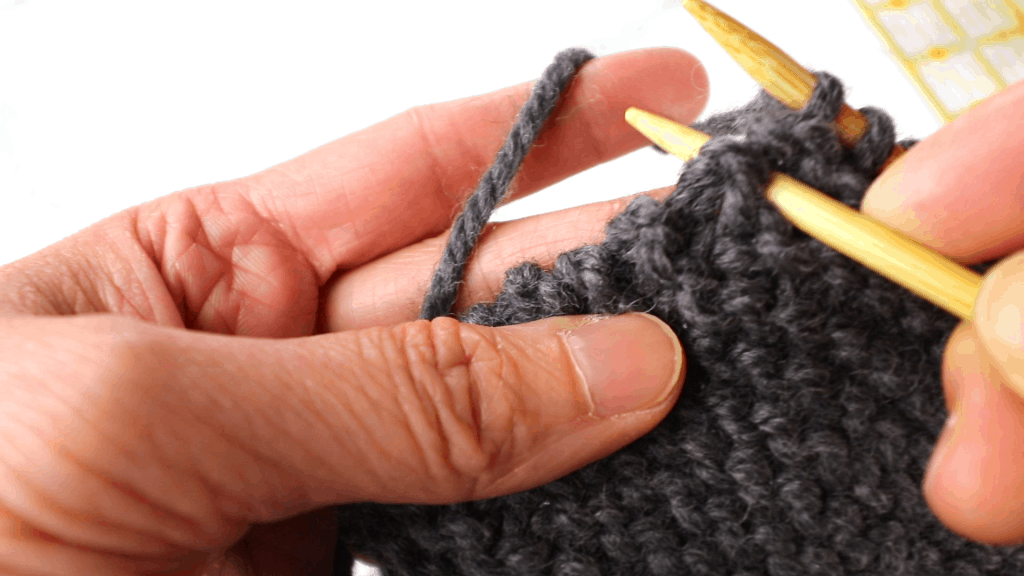
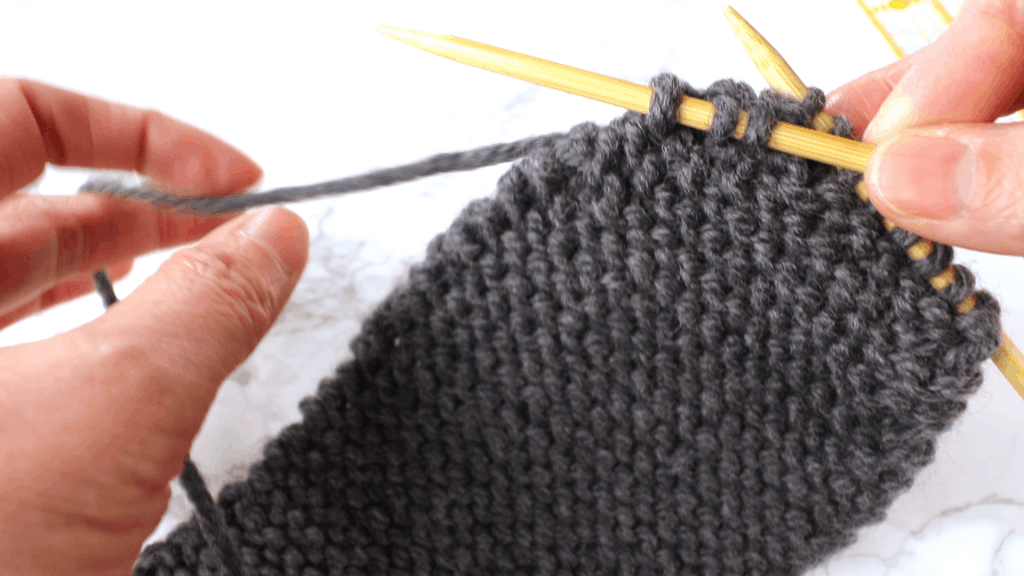
Arrange the needles so there is one needle on each side and one for the back side.
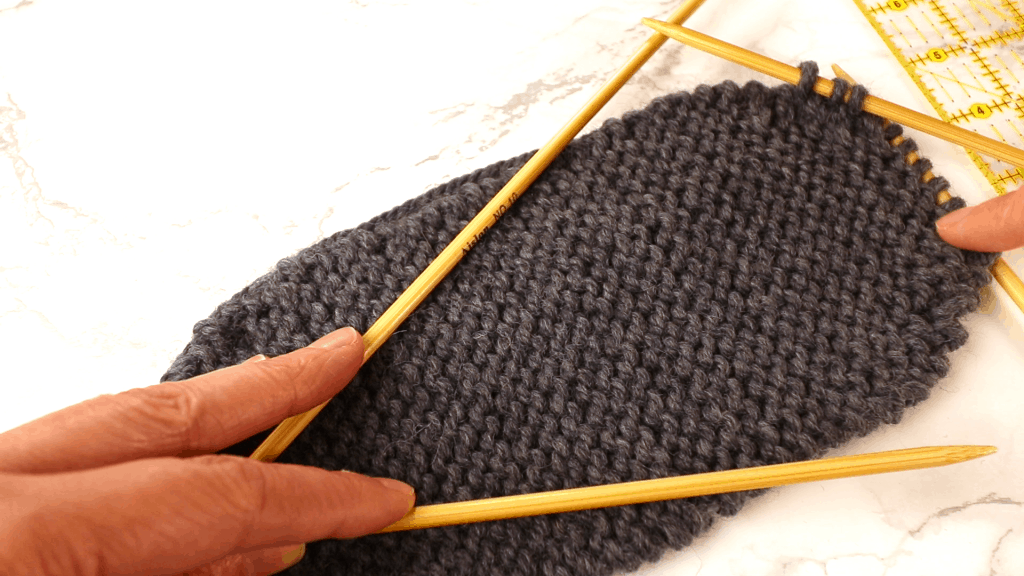
There are too many stitches on the 2 front needles. We can transfer some stitches to the back needle.
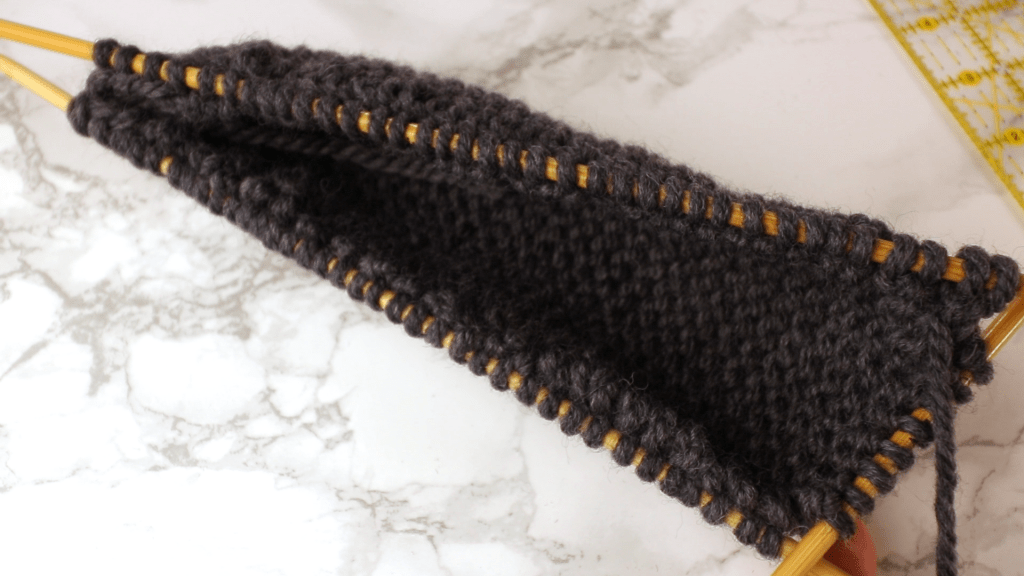
Start knitting 1 x 1 ribbing.
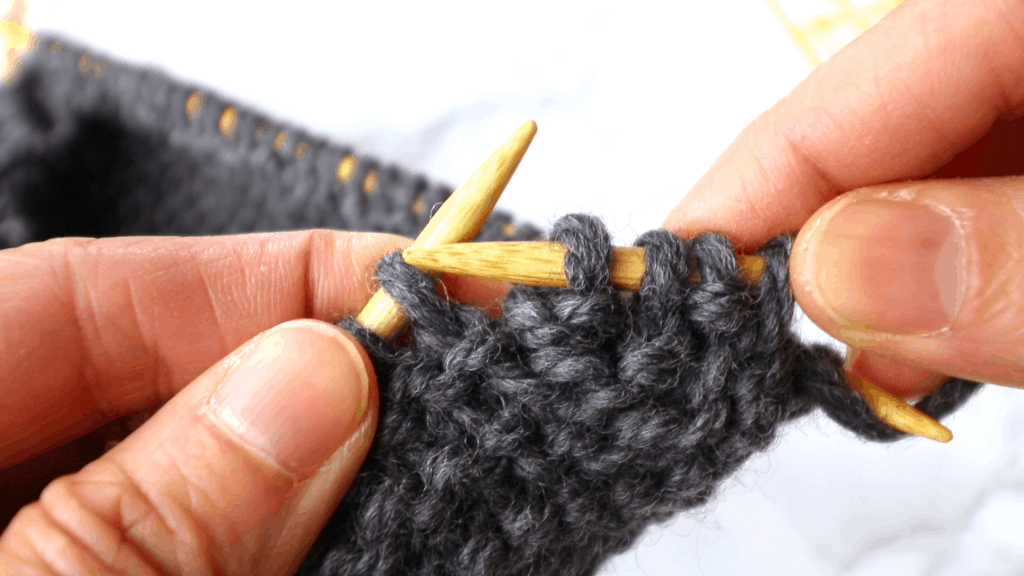
Stitches should be somewhat evenly distributed in the 3 needles. Or you can use one circular needle with the magic loop method.

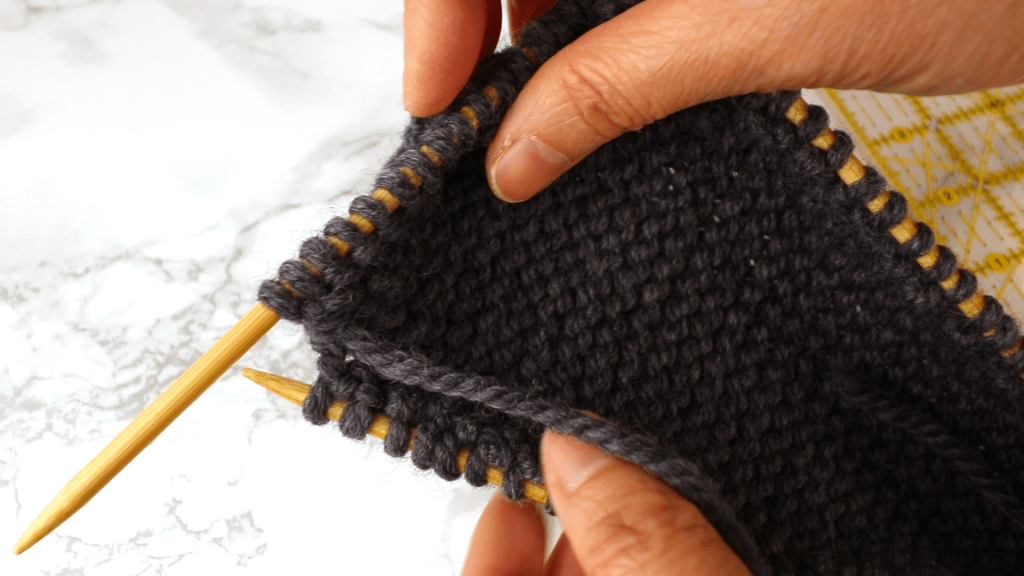
After knit about 7 rows of 1 x 1 ribbing, bind off all stitches.
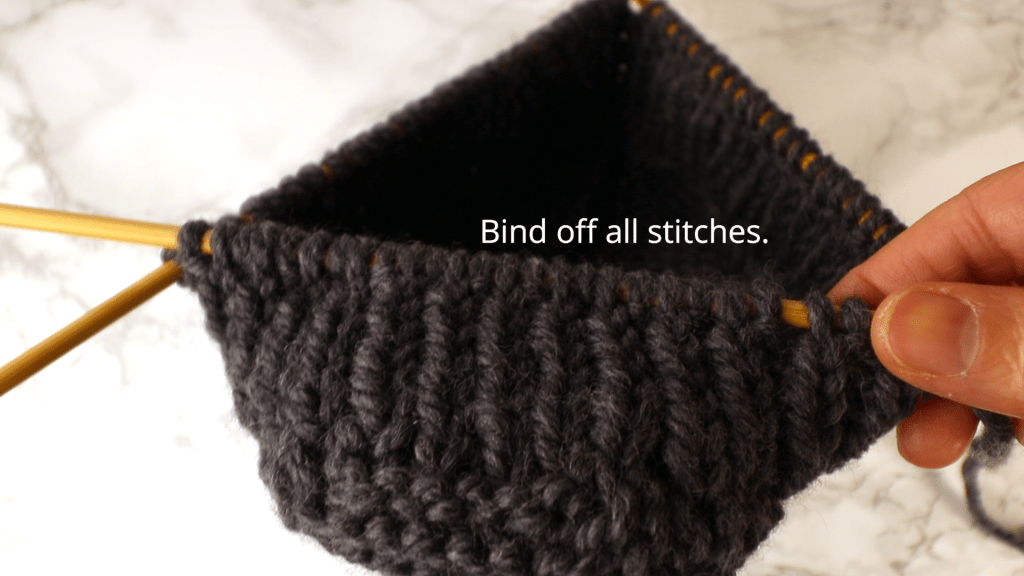
Bind off in knit will create a chain row on the top. You can also bind off in pattern (1 knit, 1 purl….).
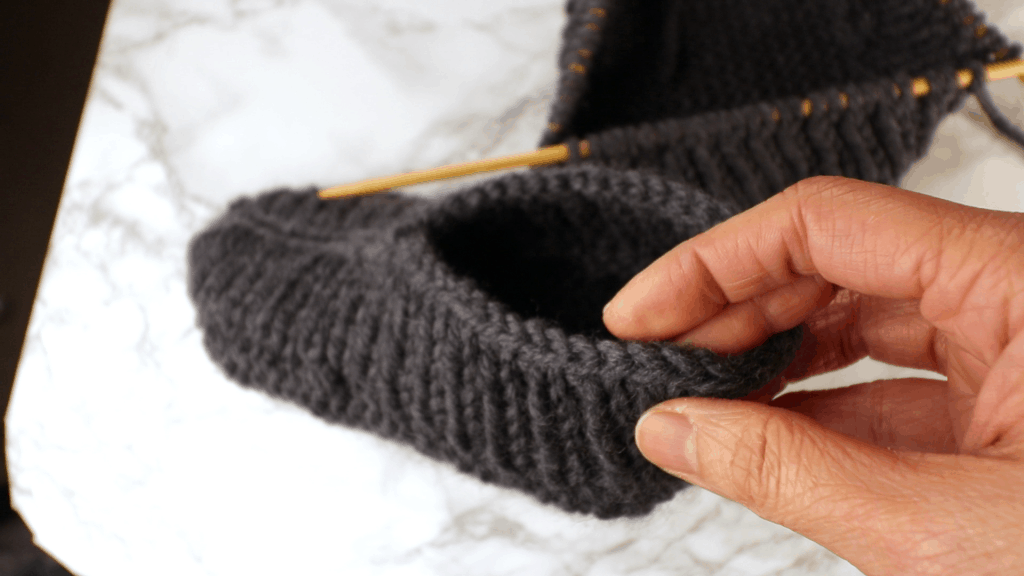
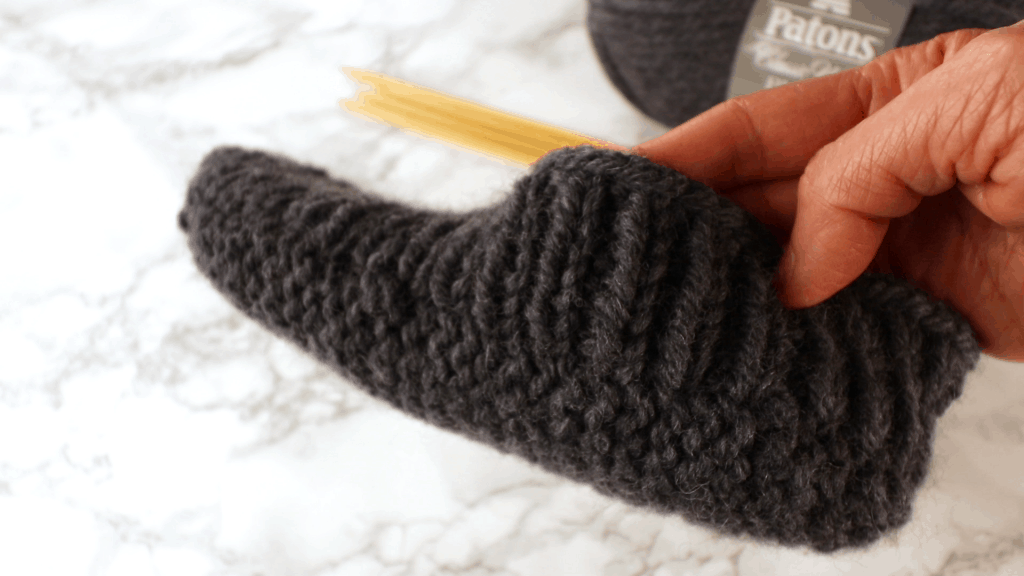
Now we have something looks like a basket. We will sew up one end with a thinner yarn and a needle from the back side (wrong side).
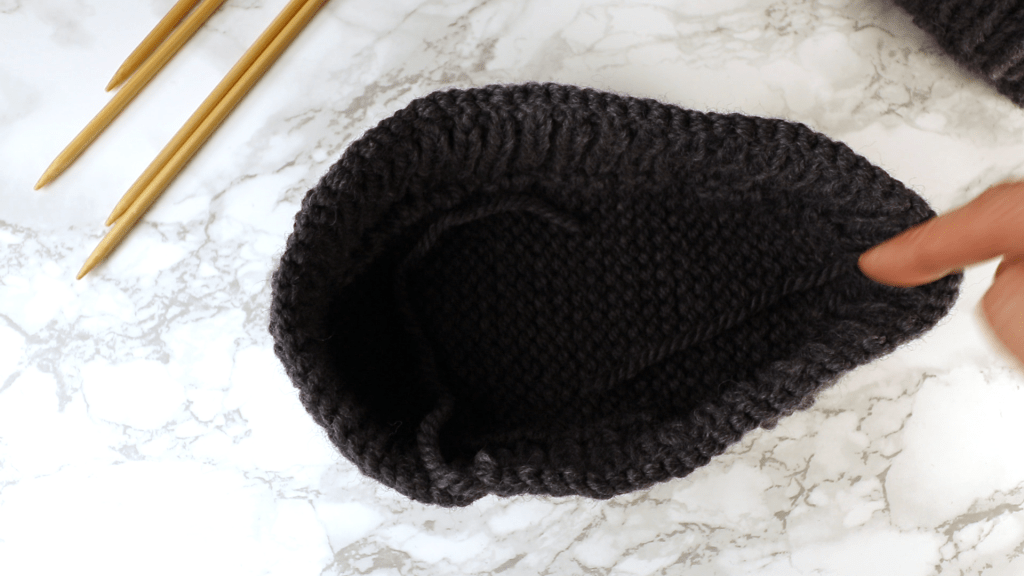
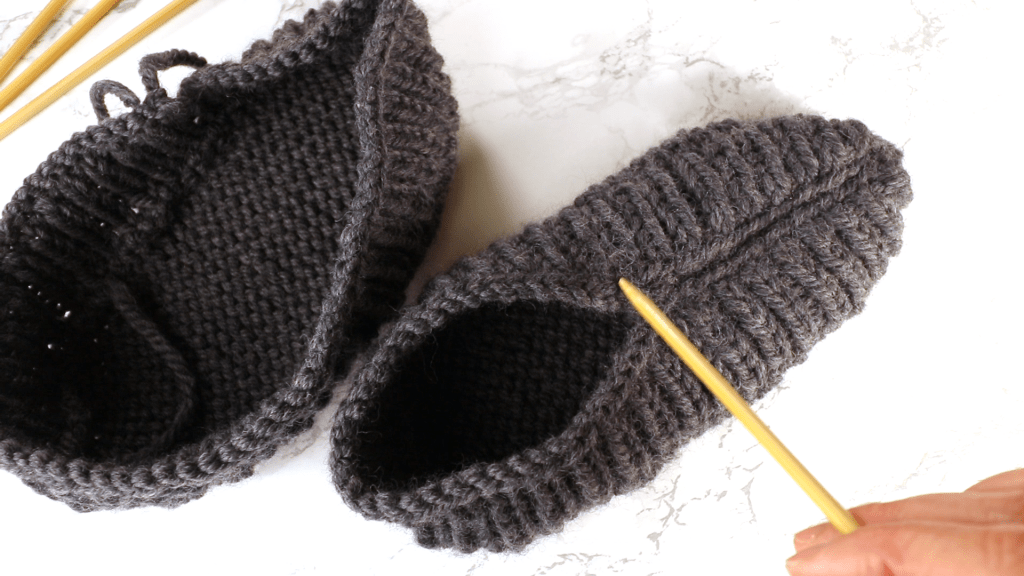
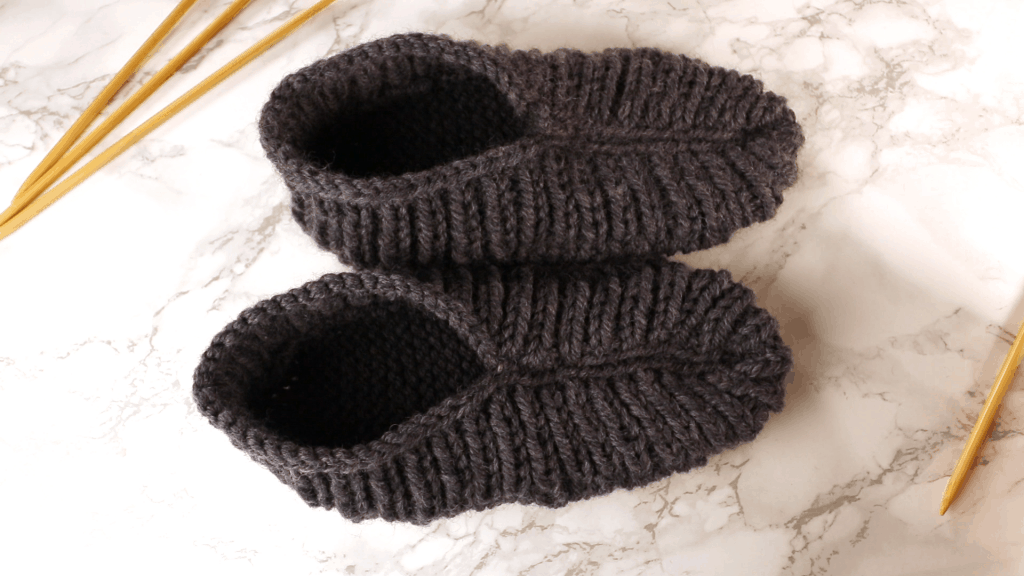
After sewing up and weave in yarn ends, we can turn it over and try it on.
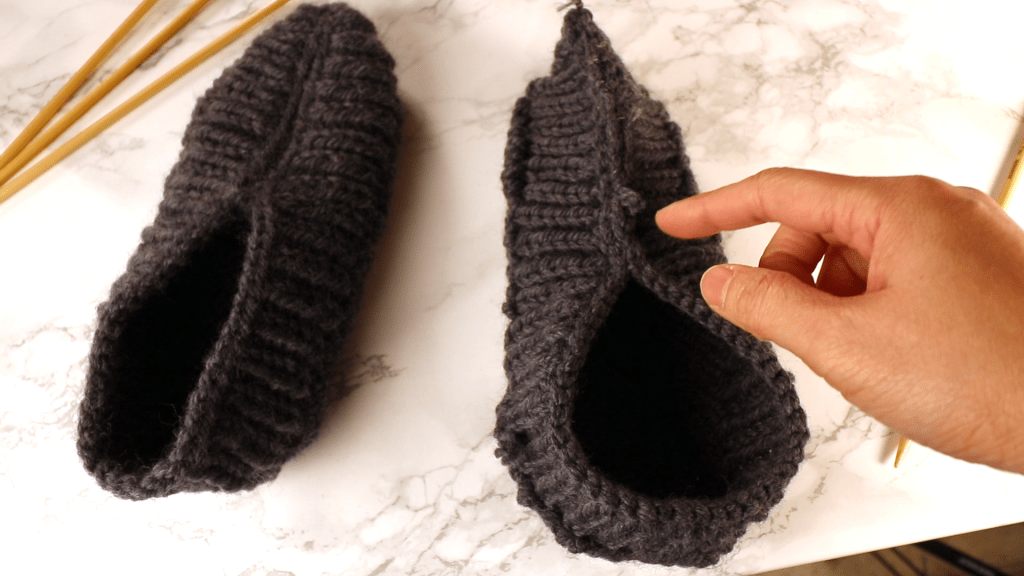
The tip of the slippers can be pointed. You can push them in so they are more rounded.
Happy knitting!
🛒 Visit our Amazon page (this contains affiliated links, and we get a small percentage without extra cost to you): https://www.amazon.com/shop/picturehealer
Chunky knit slippers tutorial
Featured posts
- How to machine knit a heart shape on an LK150

- Machine knitting a loop stitch for big texture

- Machine knitting a corner-to-corner, diagonal dishcloth

- Machine knitting a buttonhole band on an LK150

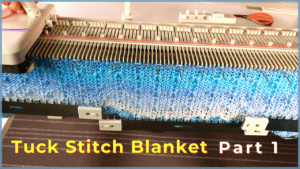
- Tuck stitch blanket on an LK150 – Part 1
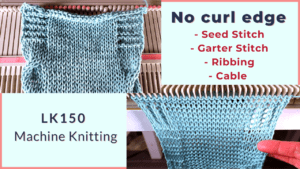
- No curl edge with seed, garter, ribbing, or cable stitches
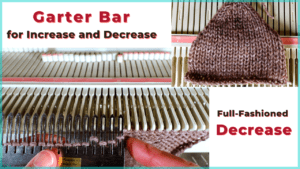
- Full-fashioned decrease, Garter Bar increases or decreases in the middle of a row
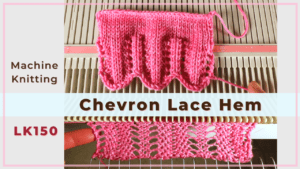
- How to machine knit a Chevron Lace Hem
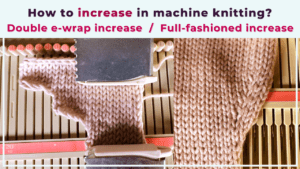
- Machine knitting increases – the full-fashioned increase and double e-wrap
- Picot hem with a scalloped edge and eyelets on an LK150 knitting machine

- The loop through loop bind-off and the sewing bind-off

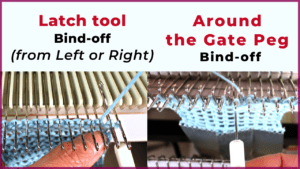
- The latch tool bind-off and around the gate peg cast-off
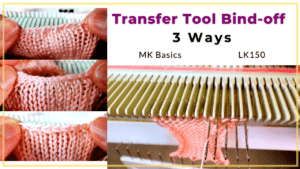
- Transfer tool cast off and variations- Simple, No hole, and Even-tension
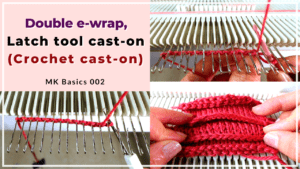
- Double e-wrap, latch tool, and crochet hook cast on
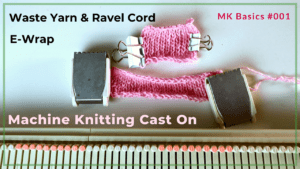
- Machine Knitting basics – Cast on with waste yarn, ravel cord, and e-wrap


You May Also Like
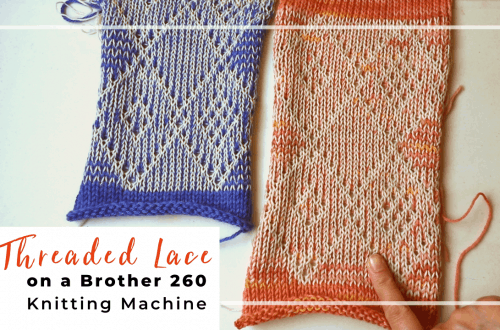
How to knit a Thread Lace on a Brother 260 bulky knitting machine
Reversible face mask sewing from 2 squares of fabric