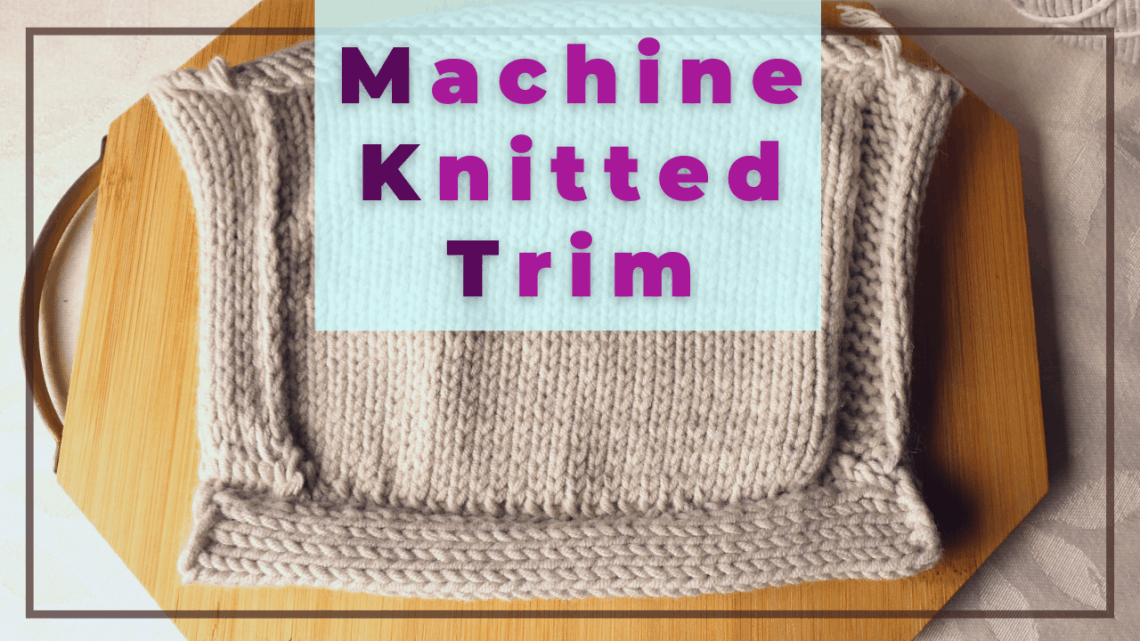
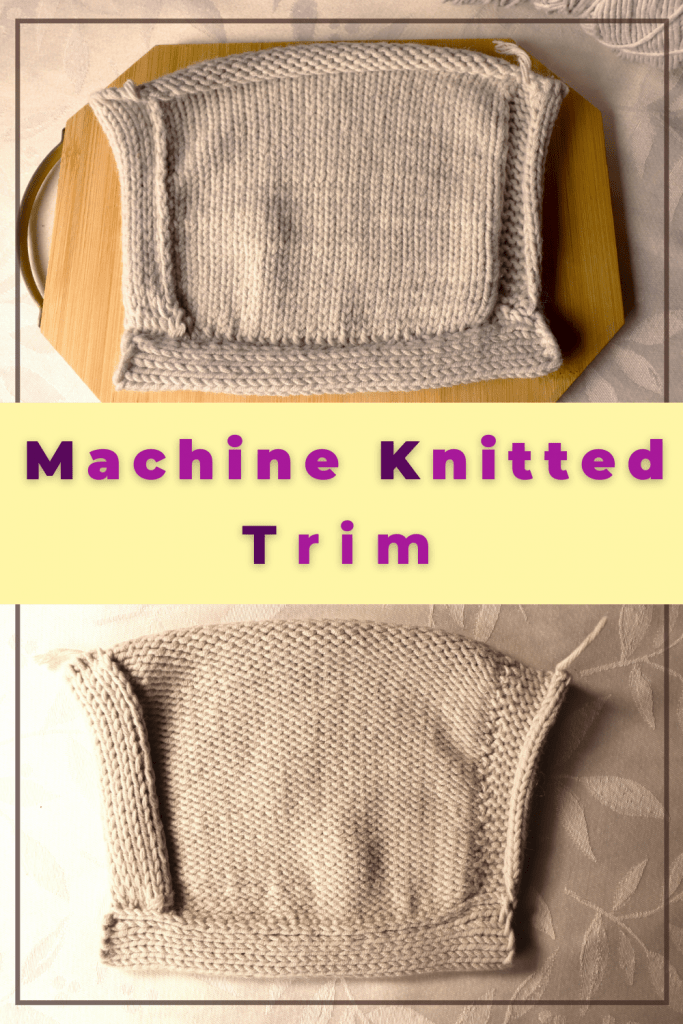
How to add a sew-as-you-go trim or panel on a knitting machine
The most common way to finish the edge of a knitting piece is to add ribbing so the knitting has a nice finish and does not curl. You can also machine knit a simple stockinette stitch panel while attaching the main piece at the same time. This method can be used to join an old knitted (separate) panel. It can be useful for creating a bigger blanket by joining panels or finish the edges of a sweater to stop the curling.
You do not need a patterning device or electronic knitting machine to knit the sew-as-you-go panel. The plastic bed machine such as the LK150 will work fine too.
Watch the video below knitted with a stockinette stitch on a Brother 260 bulky machine. The method can be used to join a garter stitch or other types of stitches too. Just have to adjust the tension and the number of picked up stitches.
Watch our video of the sew-as-you-go machine knitted trim
Machine knitting the trim — sew/knit as you go
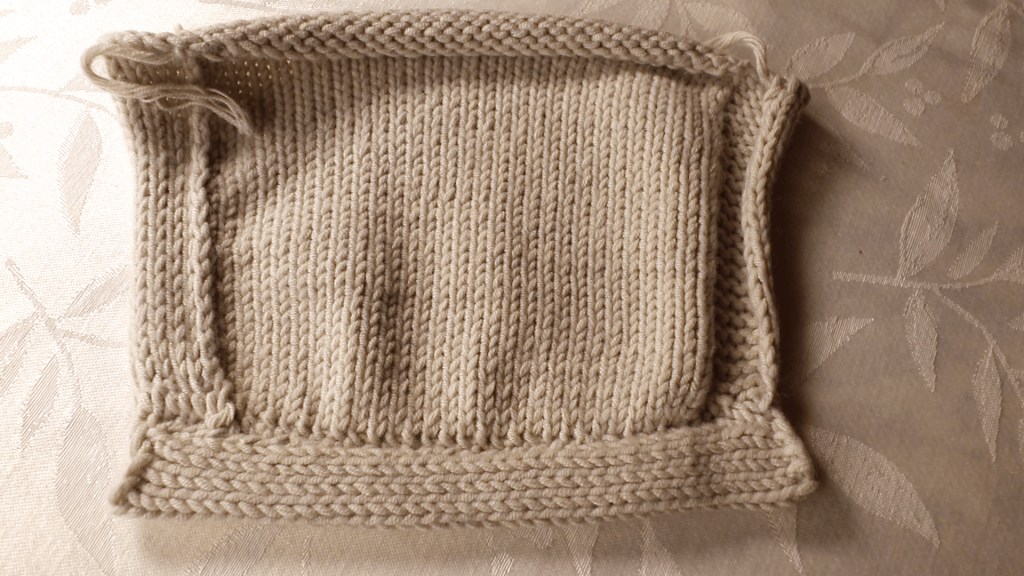
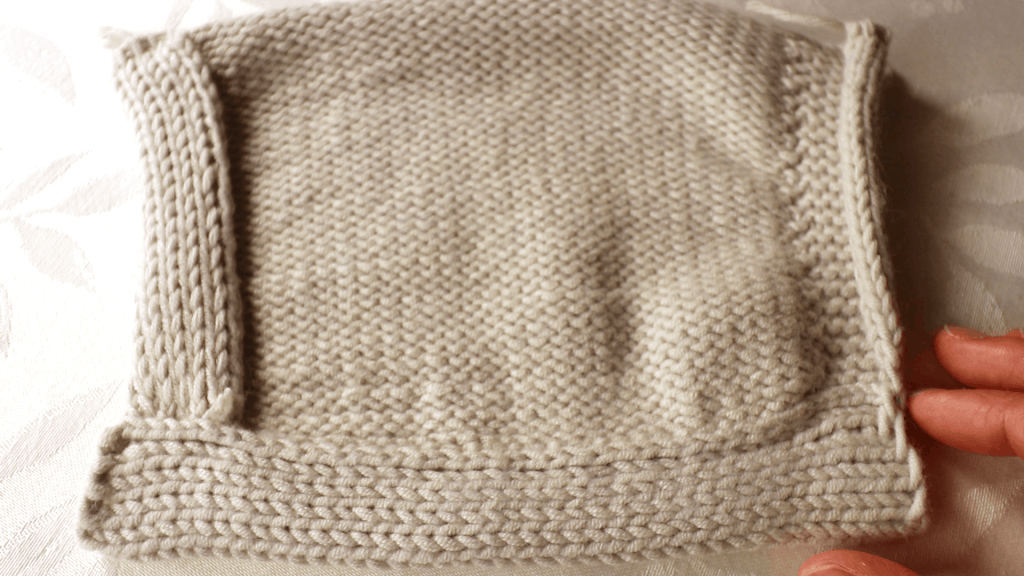
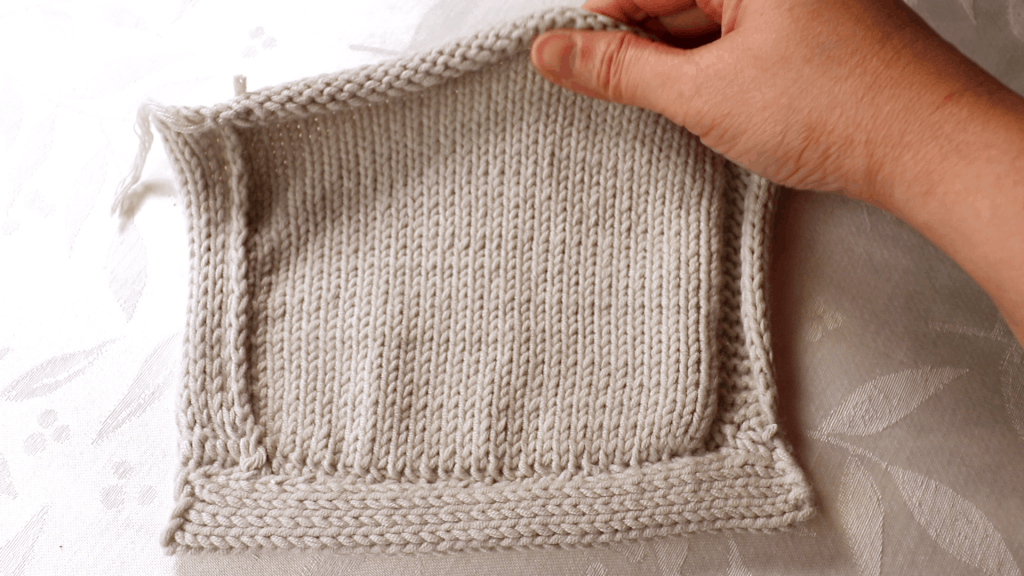
The below picture shows the 3 different trim variations on a stockinette piece.
One side has the front of the stockinette next to the front of the stockinette stitch, the other side has the front next to the backside.
The bottom shows a longer trim folded in half and hand-sewn closed.
Start with a sample of plain knitting. I have about 30 stitches and 45 rows. I use carriage tension 7 on the Brother KH260 knitting machine.
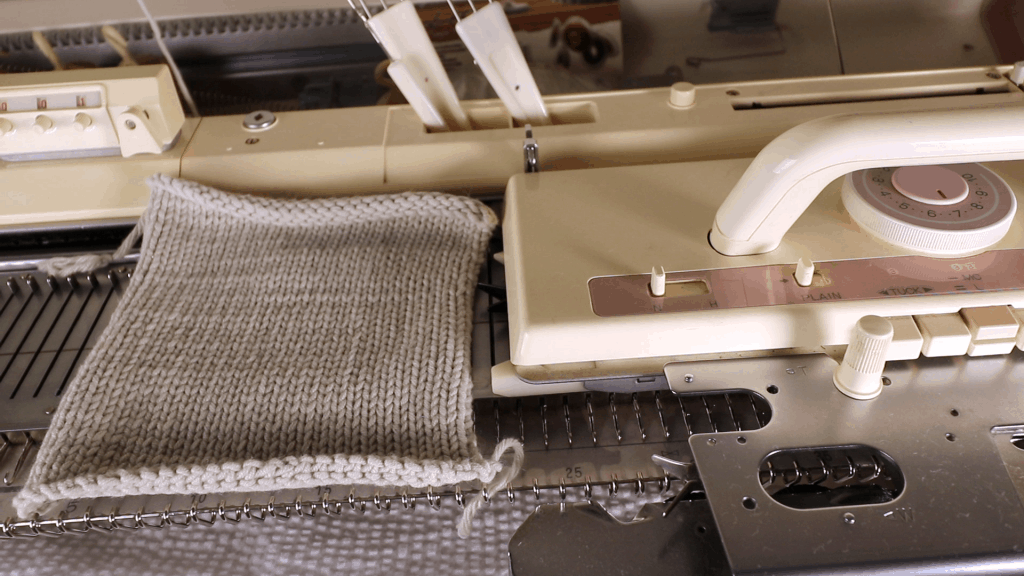
Decide how many stitches you want the trim panel to be. I use 8 stitches and the e-wrap cast on. Any cast-on method will work.
(1) Front side next to the front side
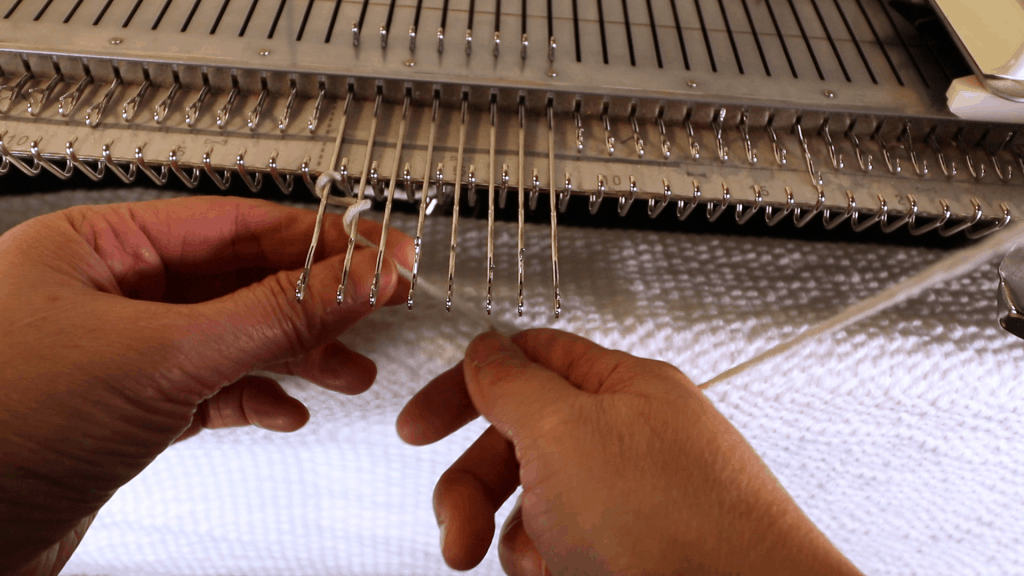
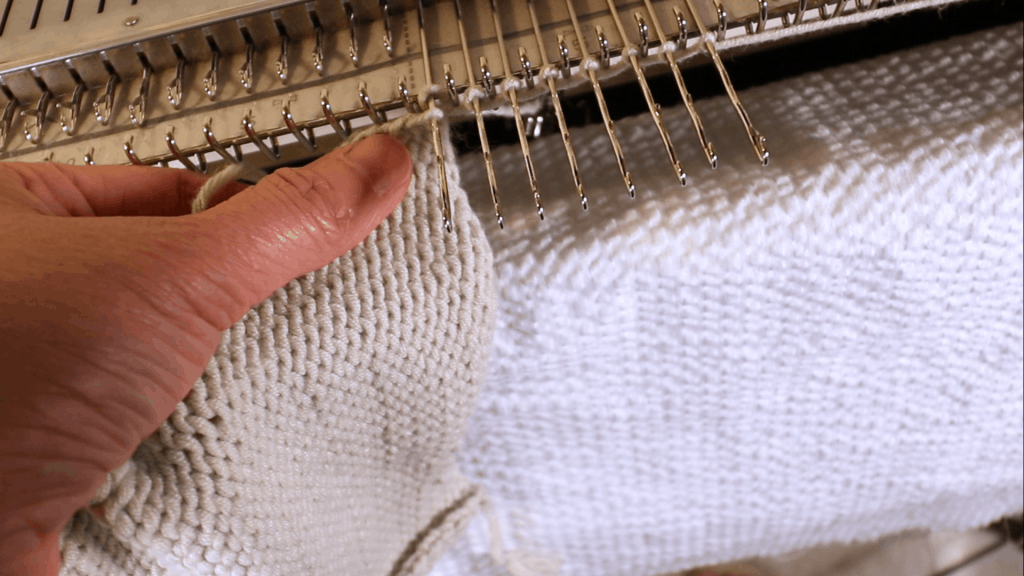
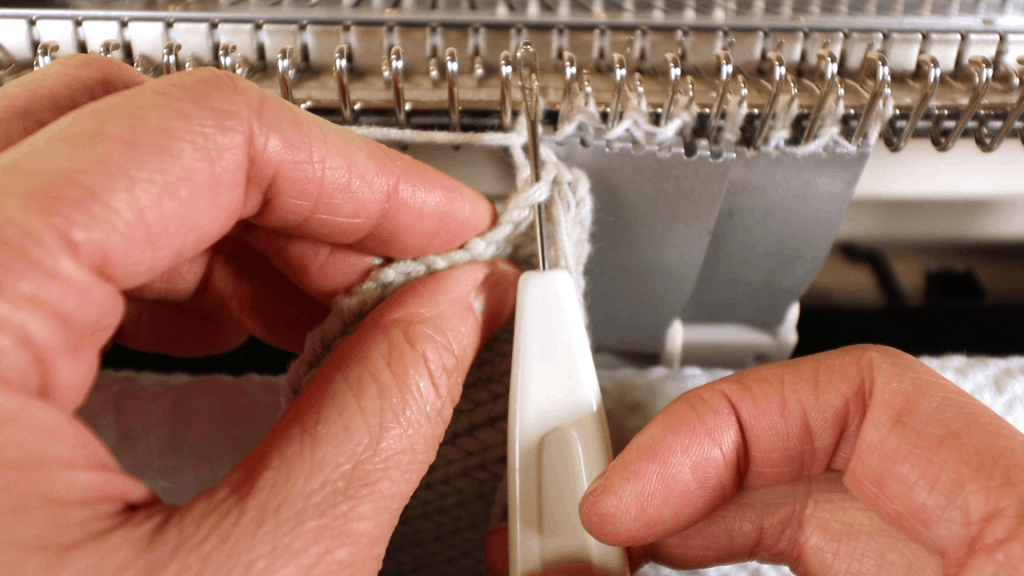
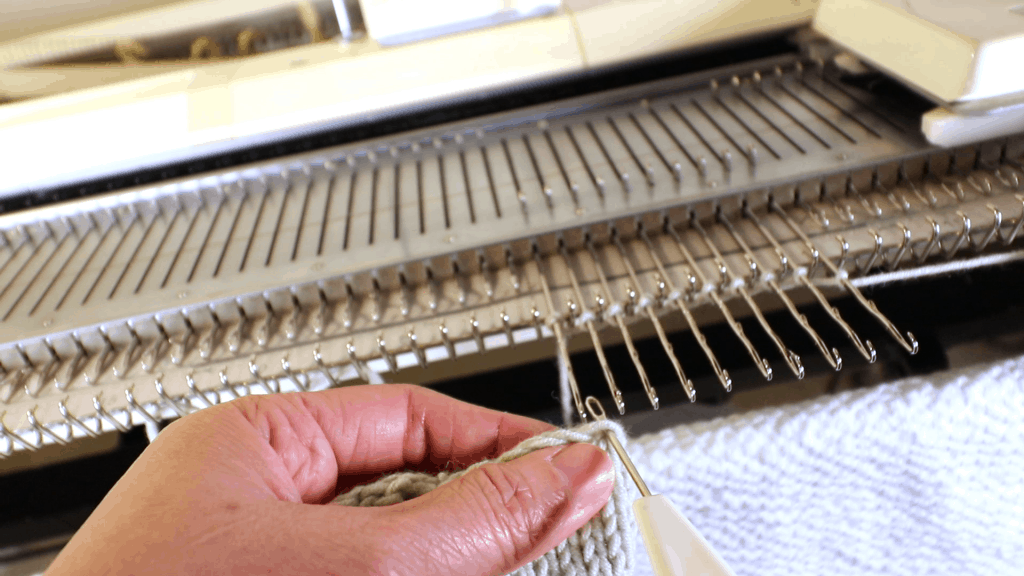
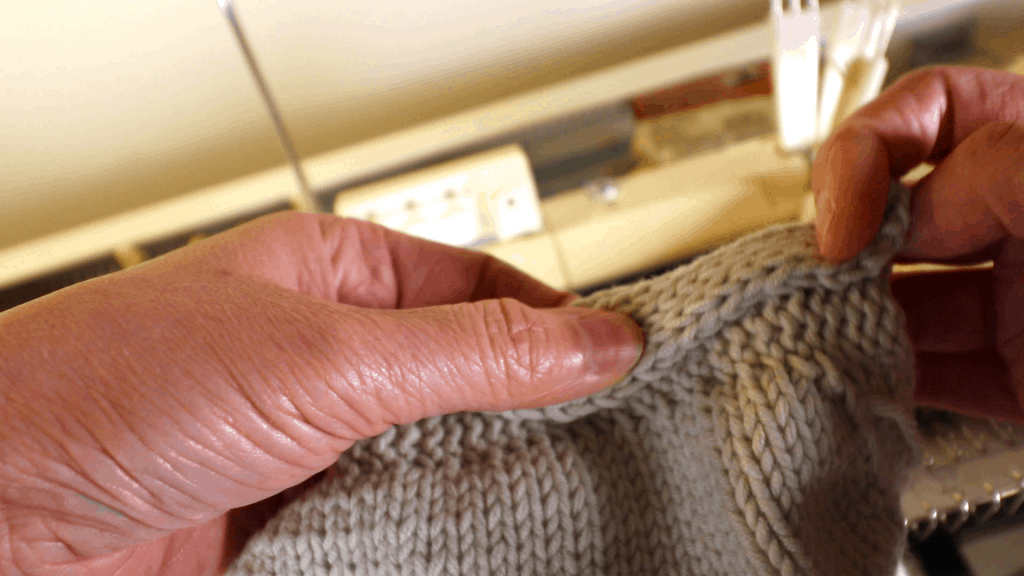
For this one, I want the front side of the main knitting next to the front side of the trim (The V side), so I have the backside of the piece facing me and start with the right bottom corner. Ready to pick up the first stitch and work my way from the bottom up.
When we look closely, you can see the outer edge has a loop/line and a knot. We will pick up the loop and skip the knot.
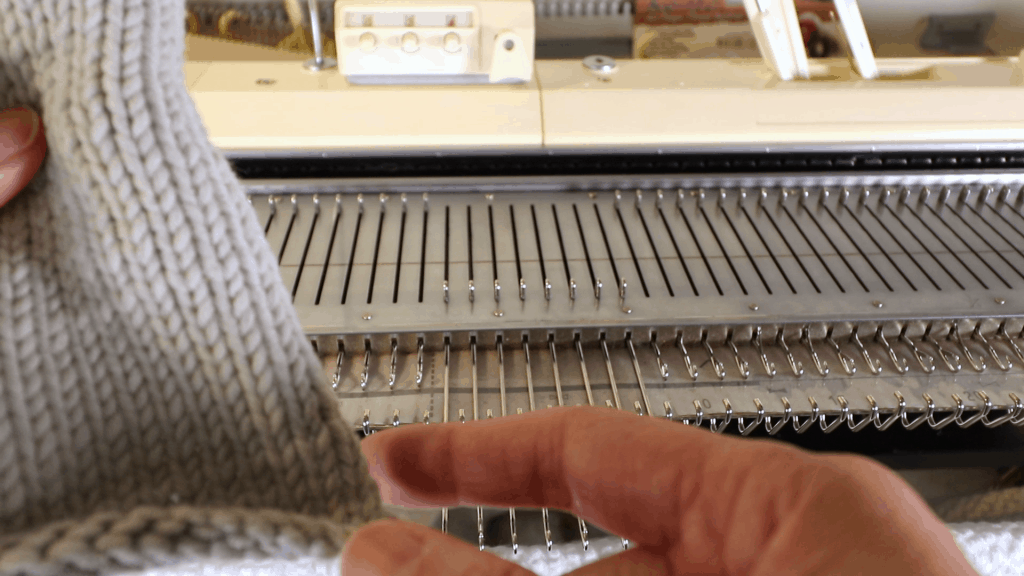
Pick up the first loop in the corner and hang it to the left-most needle.

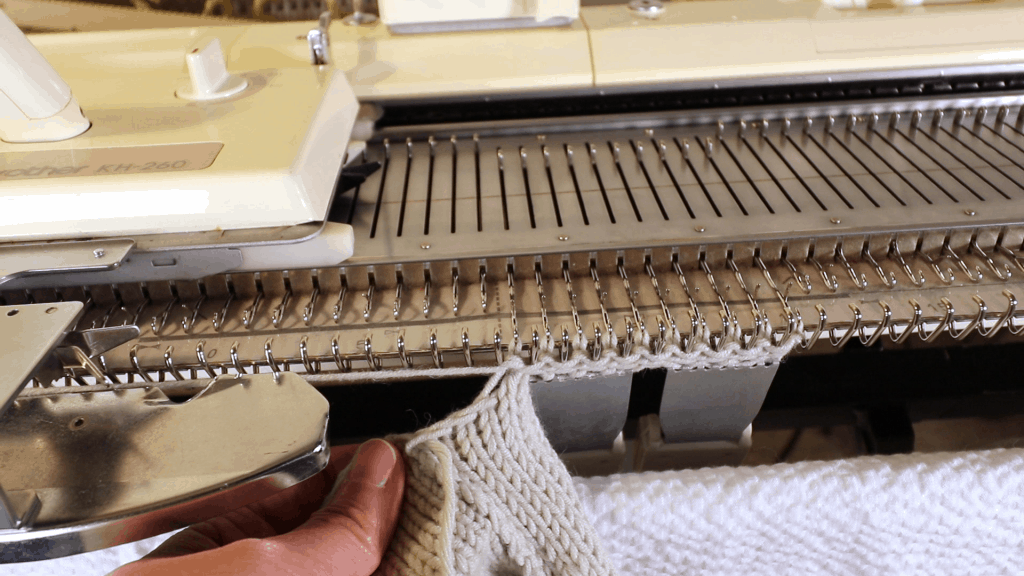
Knit across.
Pick up the next loop and hang it on the left-most needle. Knit cross.
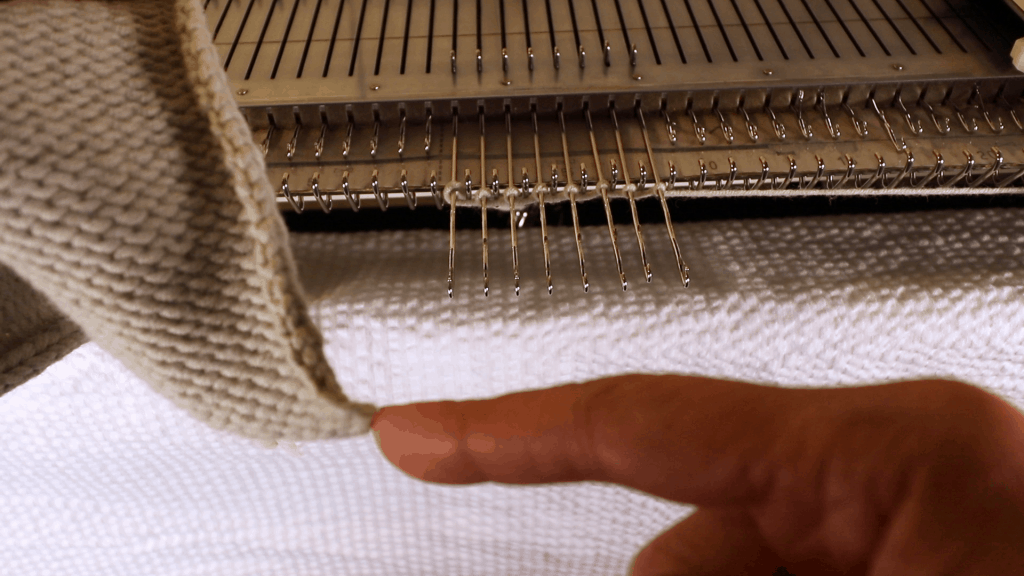
Keep repeating the steps until all stitches are picked up.
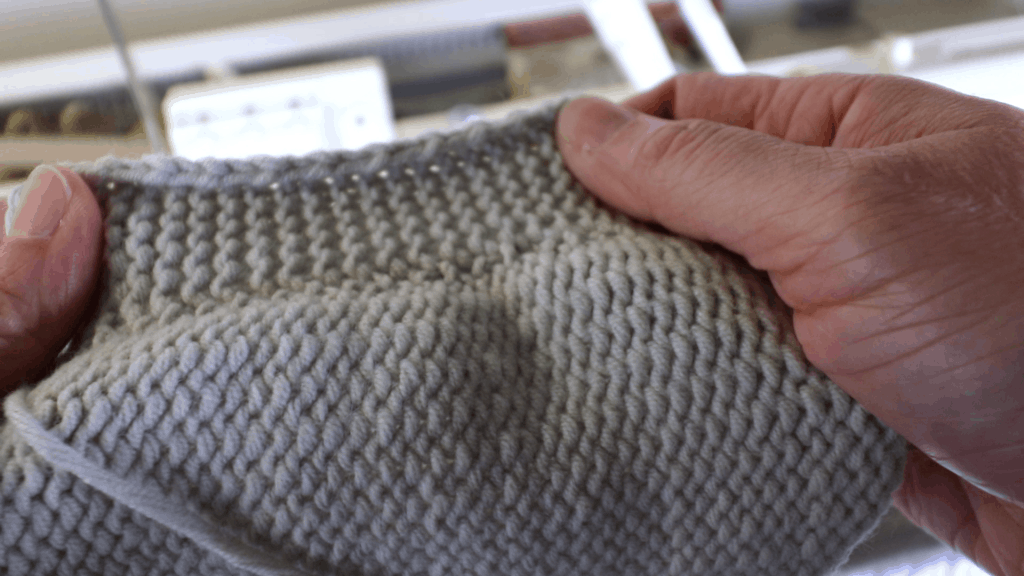
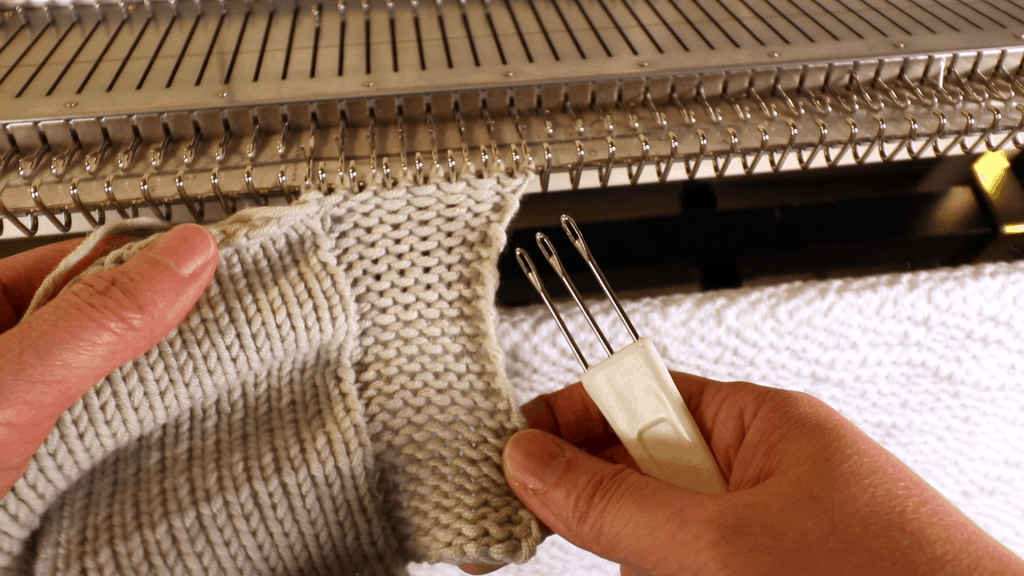
After a few rows, you will see the knitted panel on the right side. You can reform the stitches into ribbing or cable by hand-manipulation (dropping off stitches and latch back up).
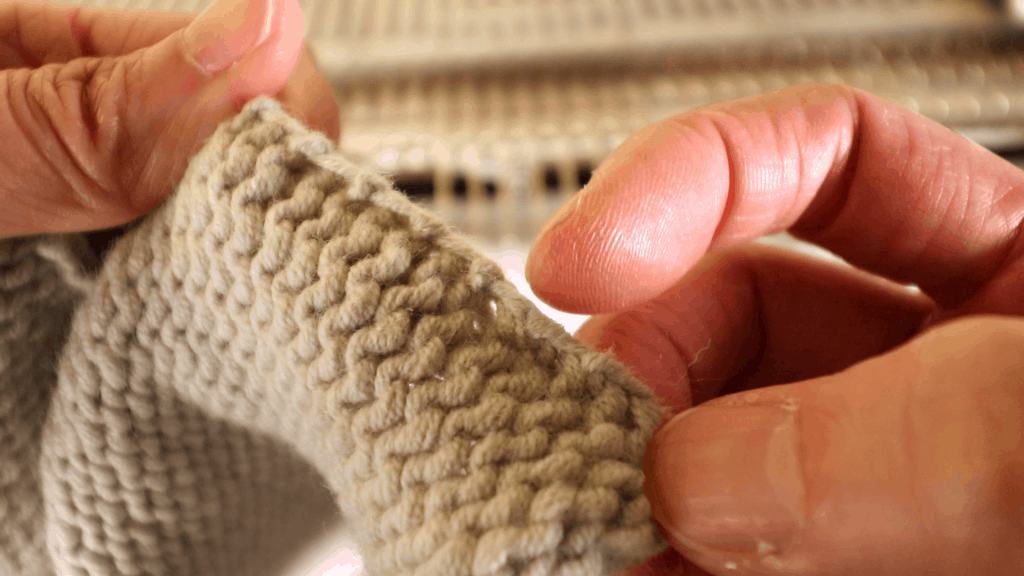
The reformed ribbing stitches will keep the edges flat.
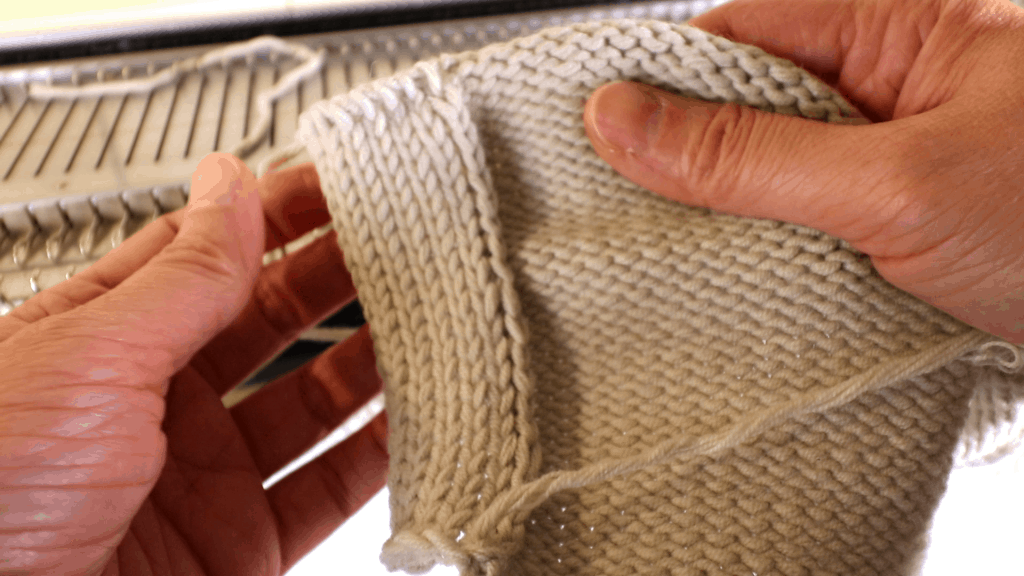
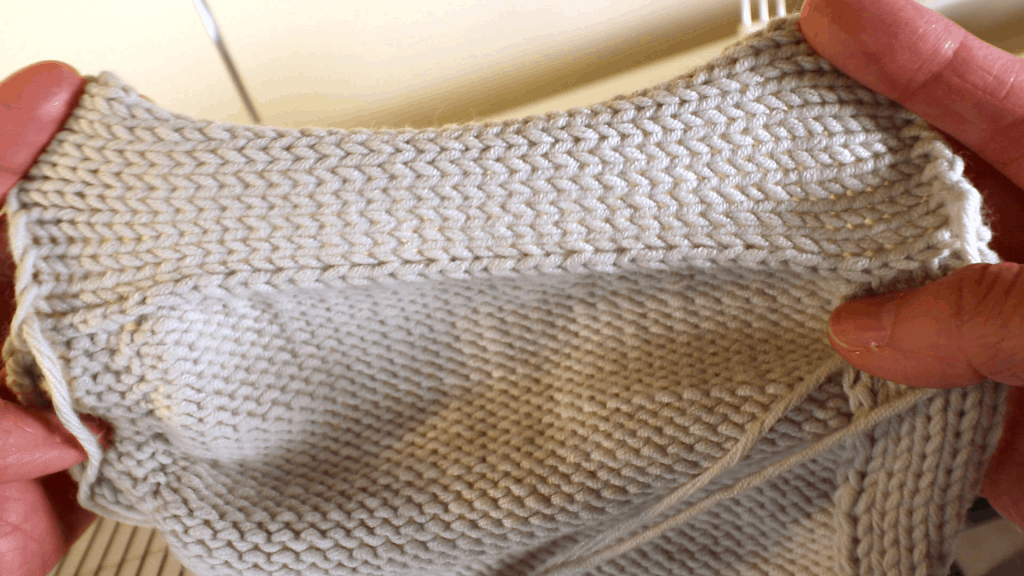
The front side view — the front of the trim is next to the front of the main knitting piece (see the little V shapes).
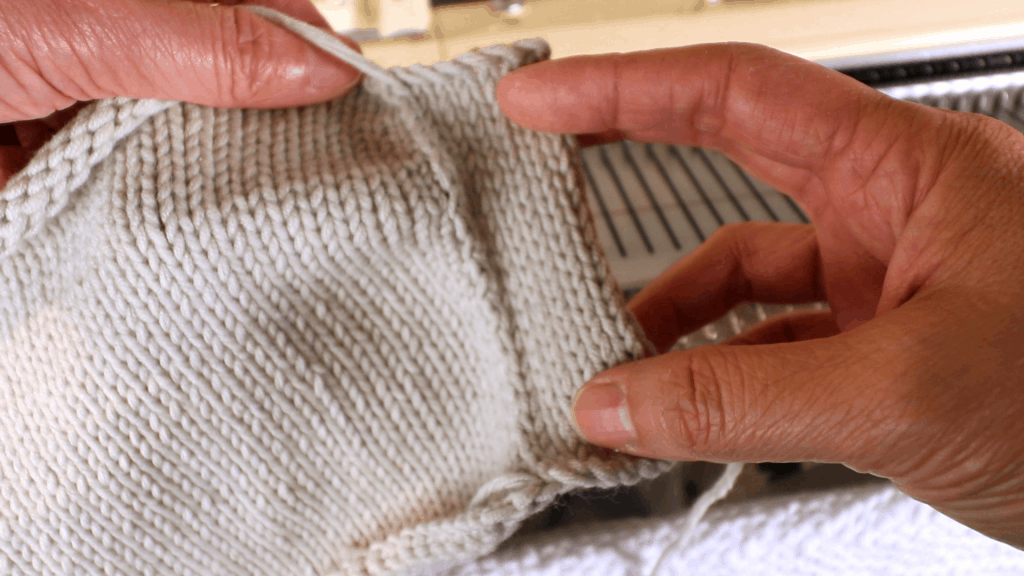
The back side view — both are the back sides of the stockinette stitches.
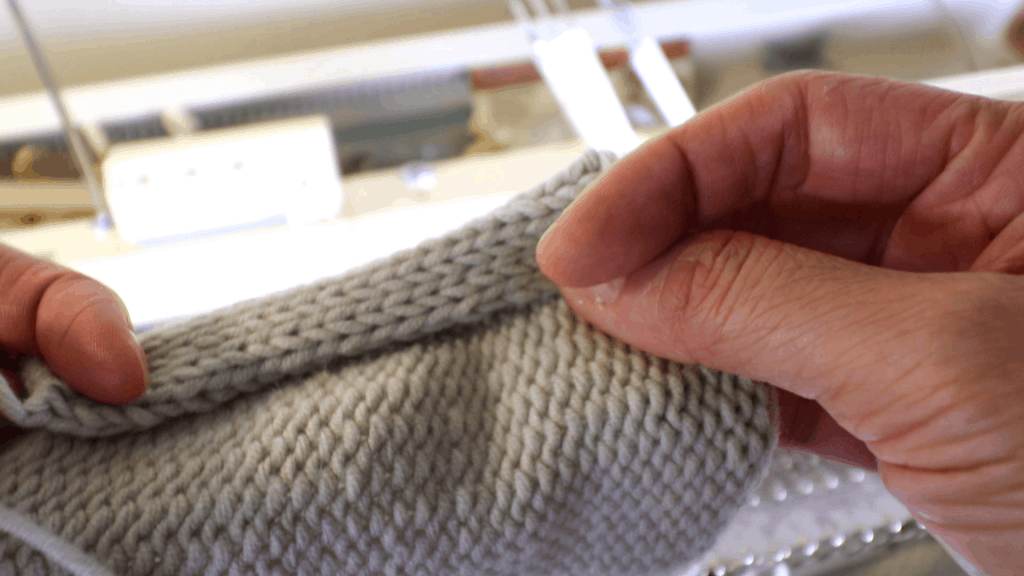
The trim looks tight because I use a smaller tension. It is a good idea to knit a sample and test different tension or number of pick-up stitches. Sometimes we need to skip or add a stitch in a regular interval.
You can also fold in half and stitch down by hand to create a flat edge.
(2) Front side next to the back side
To have the front side of the knitting next to the backside of the trim, the process is almost the same, except the piece is positioned with the right side (V shape side) facing us when knitting.
So we start with the bottom right corner when the front side is facing us.
Pick up the loop near the bottom corner. The right side is now on the top.

The set up is the same as before. Cast on 8 stitches, hang the first loop on the left, knit across. Add weight.
Keep picking up stitches, hang on to the left needle, and knit across.

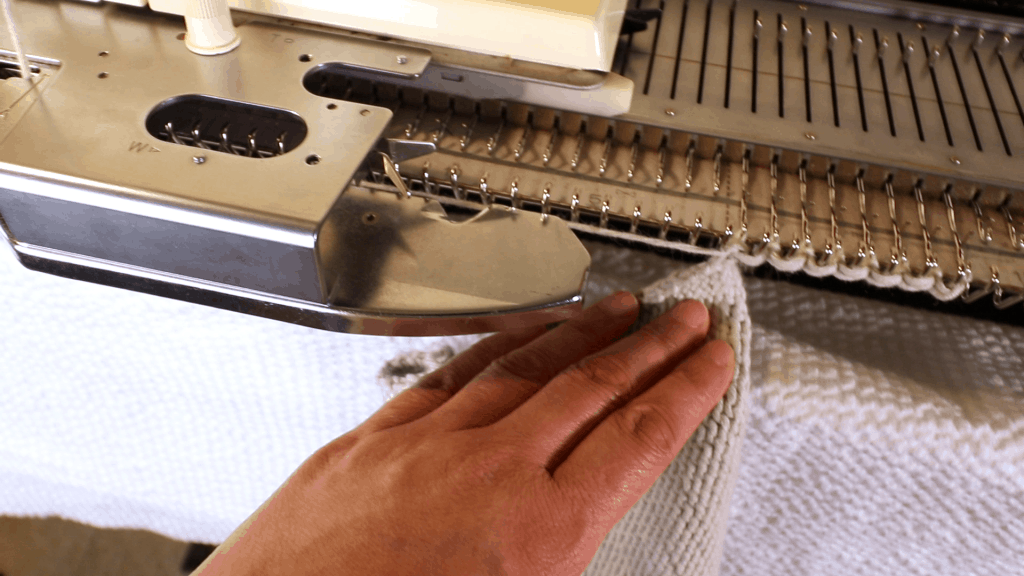
After the last row, cast off any method you like and take it off the machine.
Back side view.
(3) Folding over trim
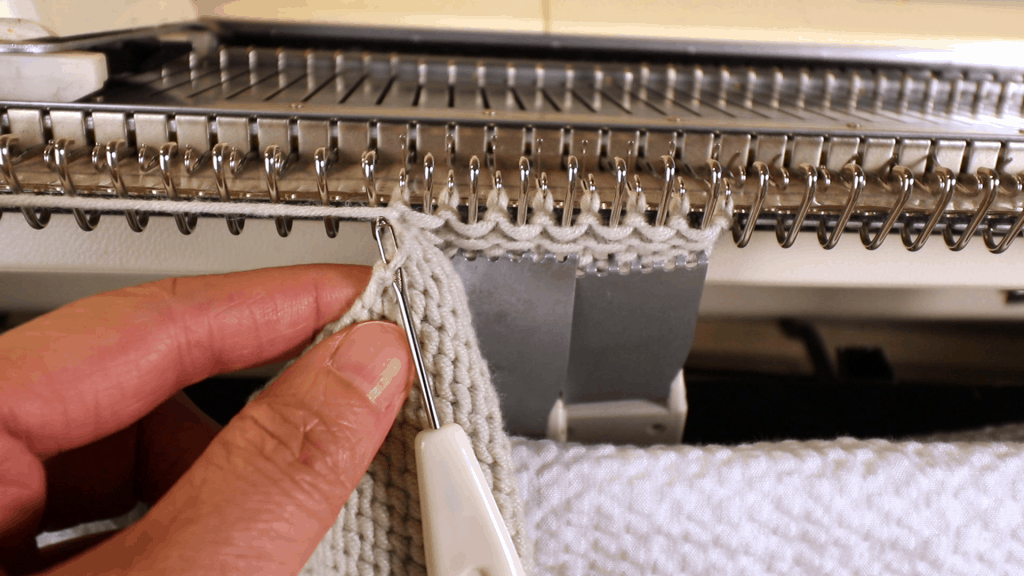
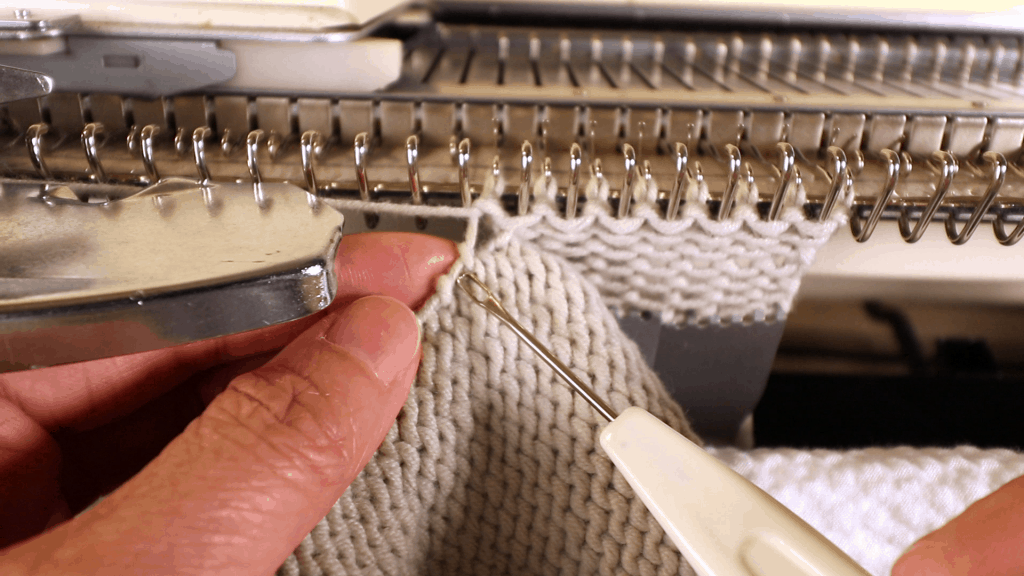
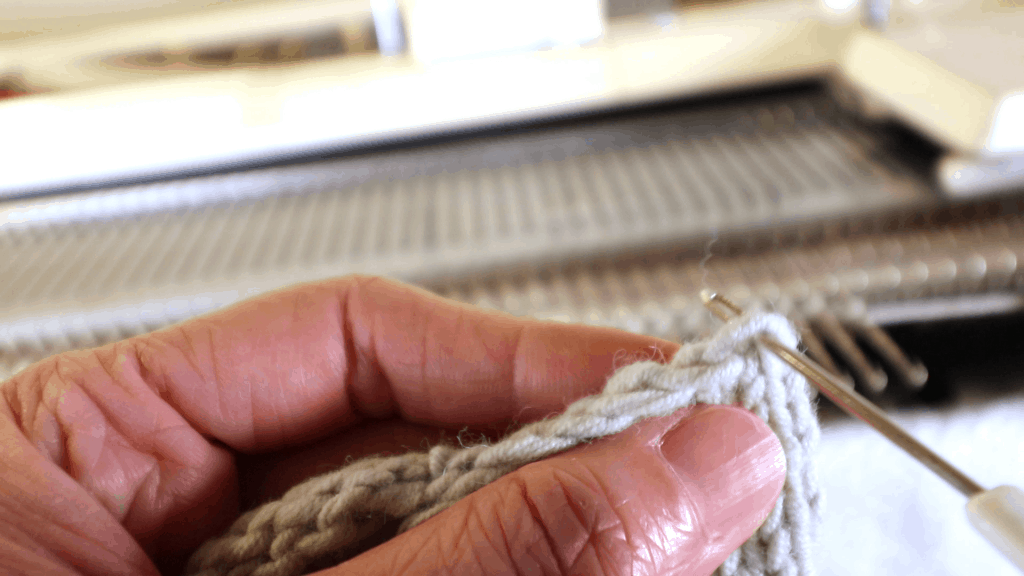
This time I want to make a wider trim and fold over. I am working on the e-wrap cast on edge now so you don’t see the loops and knots here. I will pick up the loops on the edge.
The process is the same as before. I have the front side facing me and pick up 10 stitches.
Find the bottom right corner and hang the first loop to the left needle. Knit across. Repeat until the last row.
Cast off after knitting the last row.
Back side view.
Front side view.
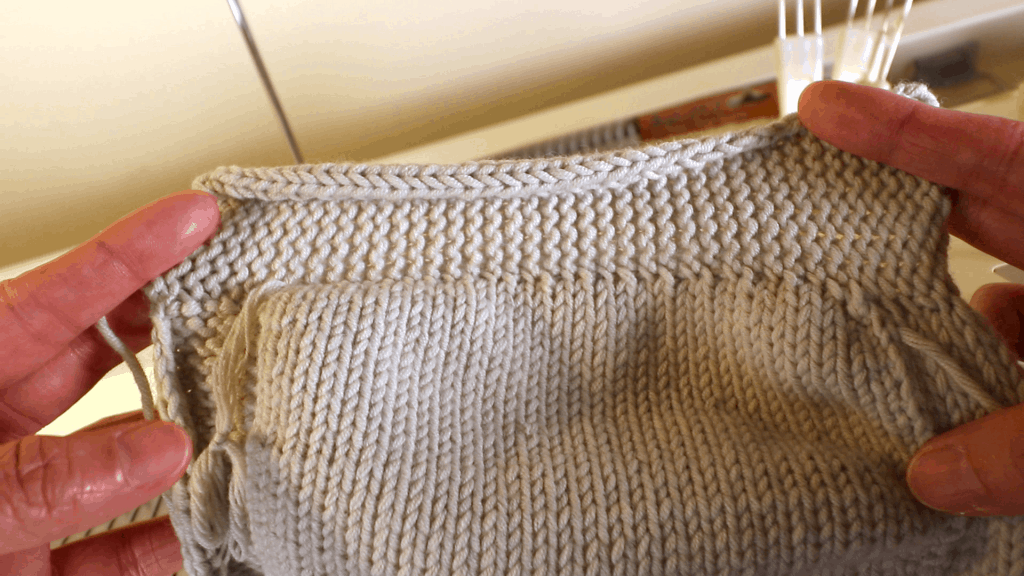
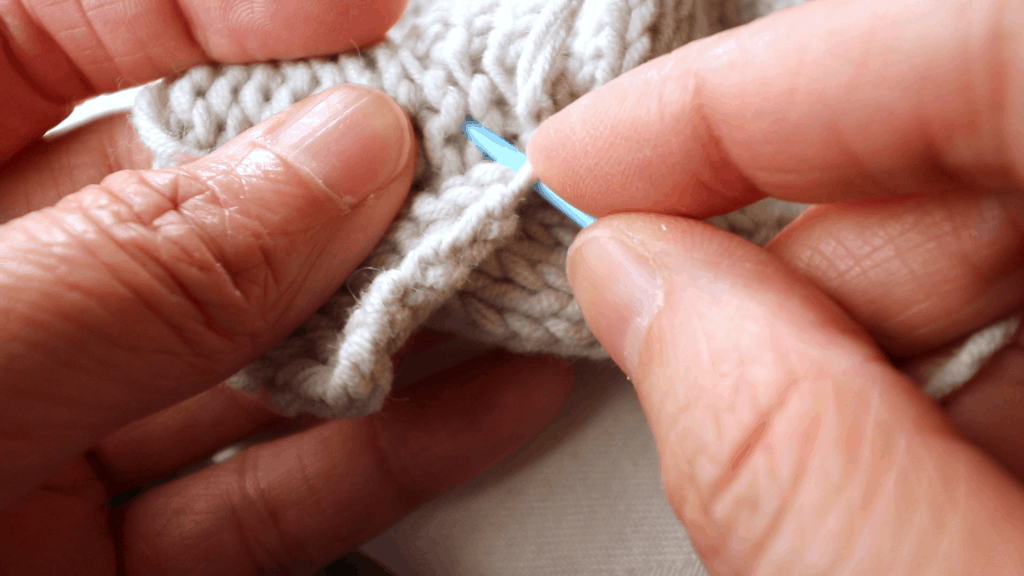
Fold over in half and sew close the edge with a yarn and a big needle.
Now you have a flat and sturdy edge.

You May Also Like
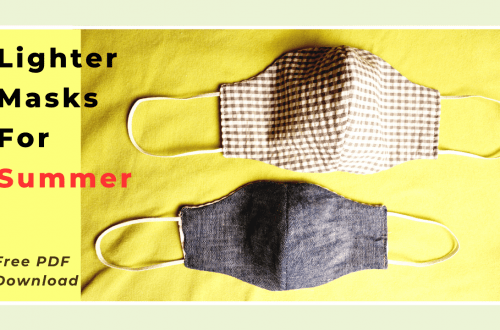
Lighter masks for summer with free pattern download (3 sizes)
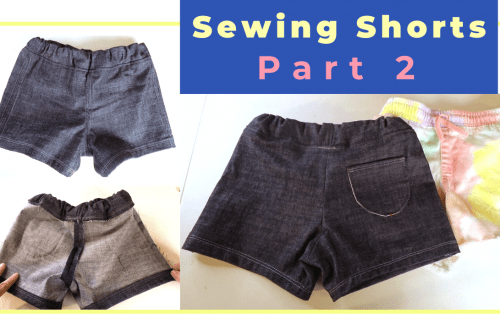
Part 2 – sewing a pair of shorts