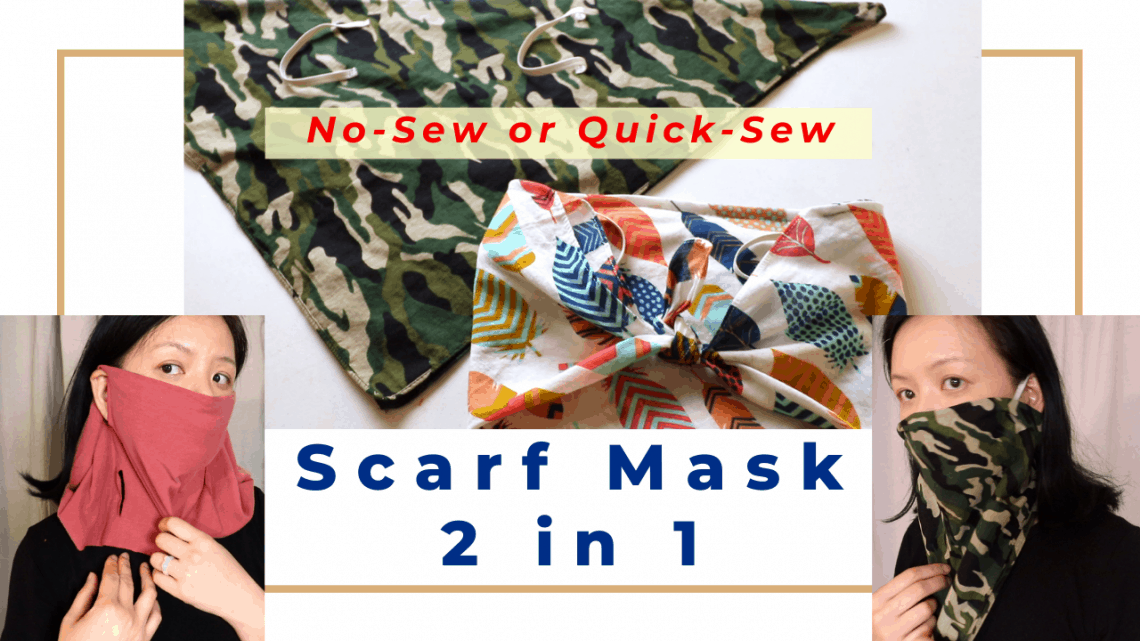
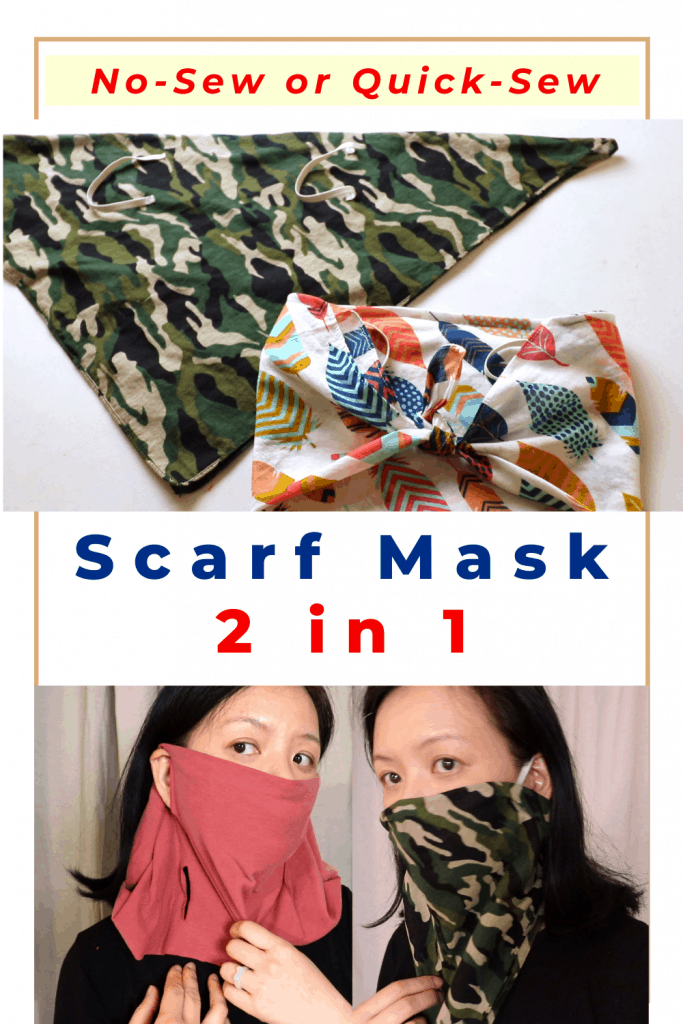
Scarf mask in one – Jersey fabric or woven bandana
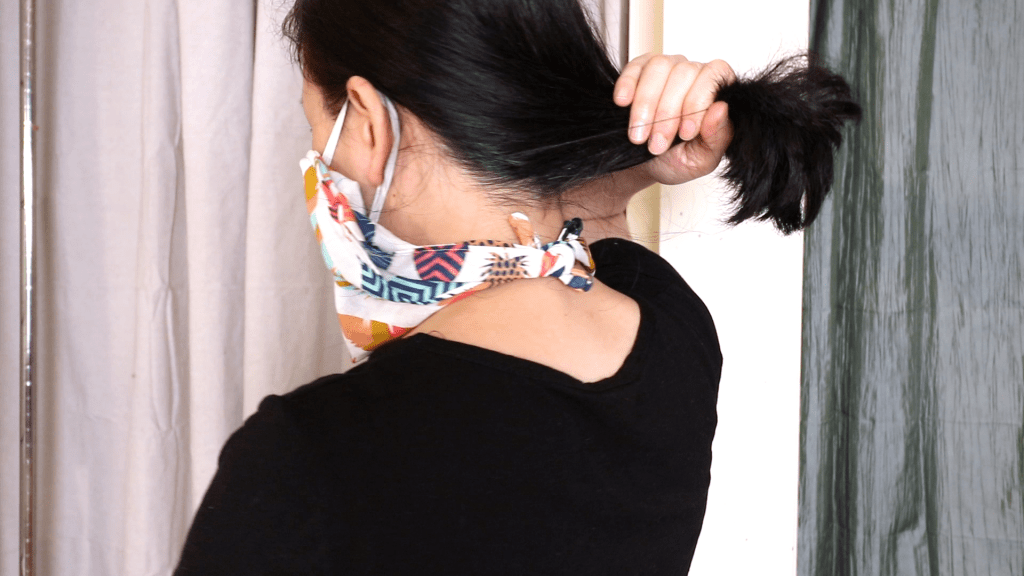
Sometimes we need the flexibility of wearing a scarf and convert it into a mask when necessary. With a maks-scarf in one, you always have a mask on you, and the ear loop design can help you wear the mask comfortably without sliding down over a longer period of time. When you don’t need the mask, you can just let it hang around your neck as a scarf.
There are several different versions here. You can have a simple no-sew cut out from a T-shirt, or use a bandana or woven fabric with elastic ear loop (quick sewing).
The video tutorial is at bottom of this post.
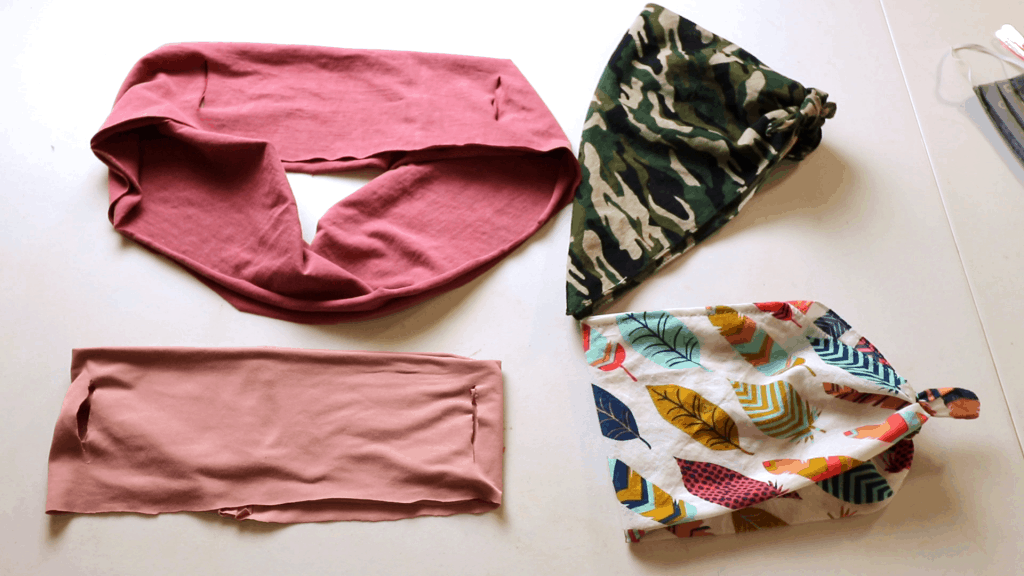
Jersey (T-shirt) fabric from a T-shirt
Style 1: Short tube
Double layer

Single layer

Style 2: Longer tube
Double layer

Single layer

How to make it
The style 1 (short tube): Cut a rectangle piece about 25 inches by 10 inches plus seam allowance (1/2 inch on each end), and sew up the ends to make a tube.
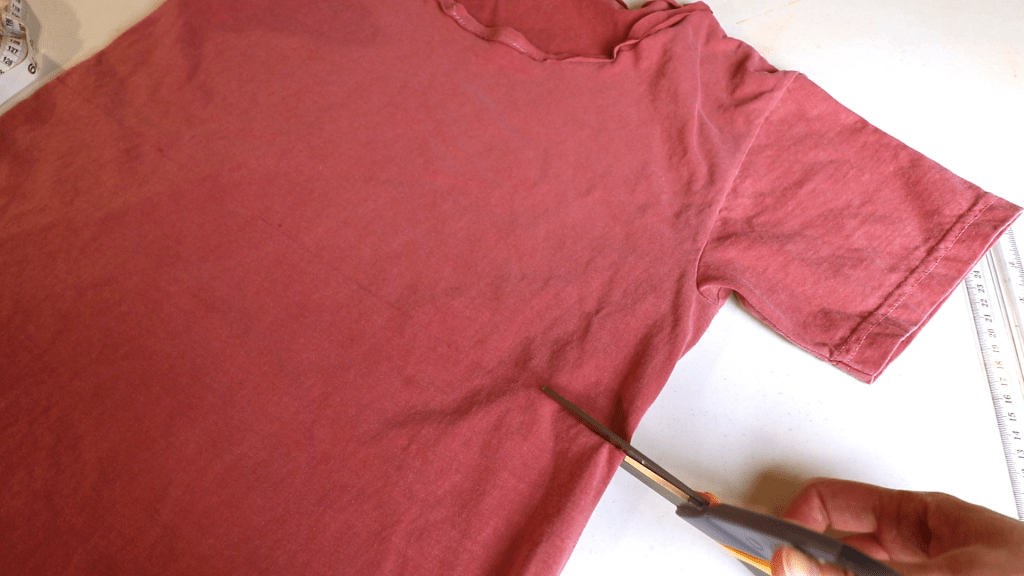
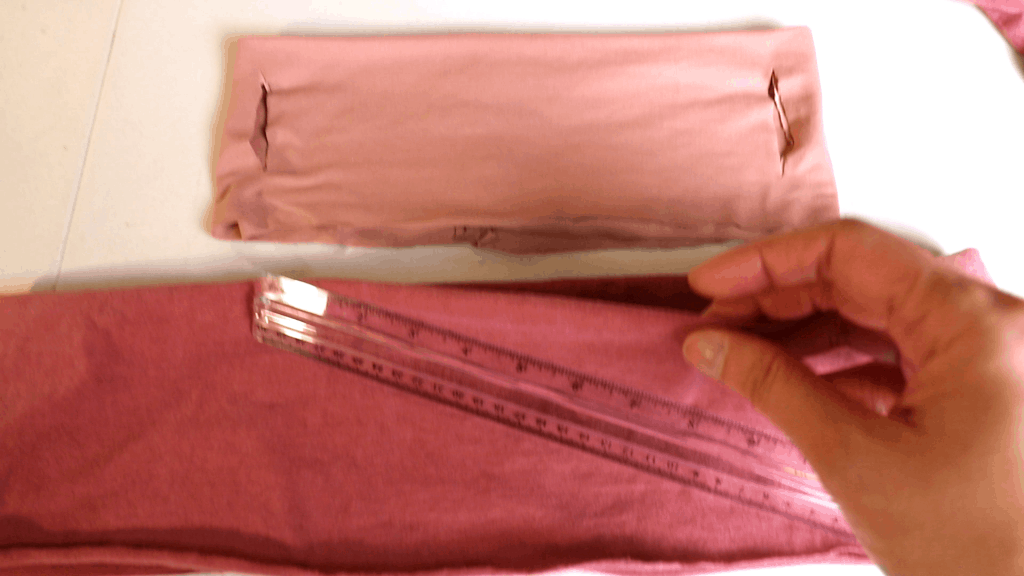
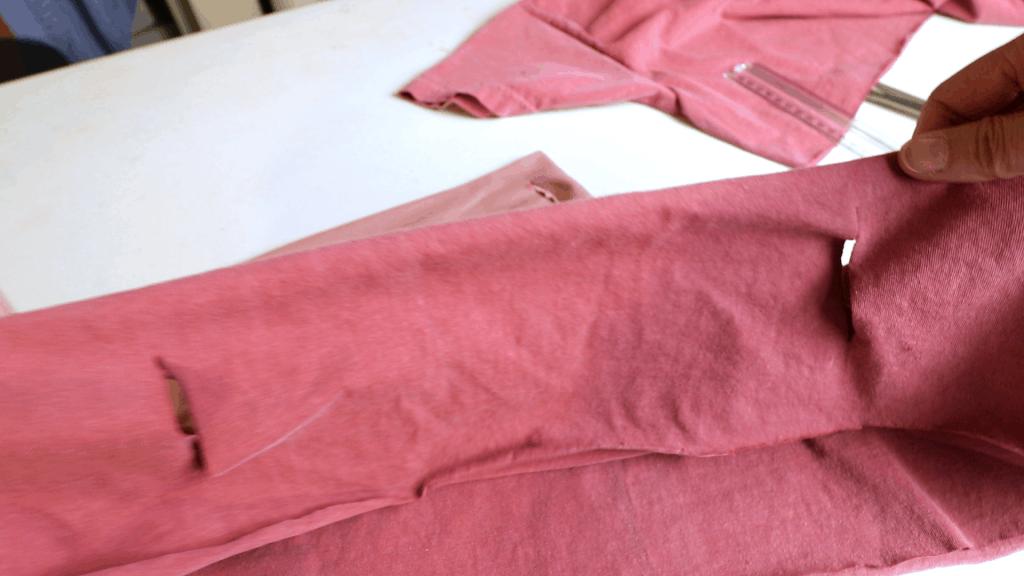
The style 2 (longer tube): Cut the bottom part of a T-shirt directly about 10 to 11 inches from the bottom to form a longer loop. (see pictures below) You can change the length. It does not matter because we will have ear loops to secure the mask.
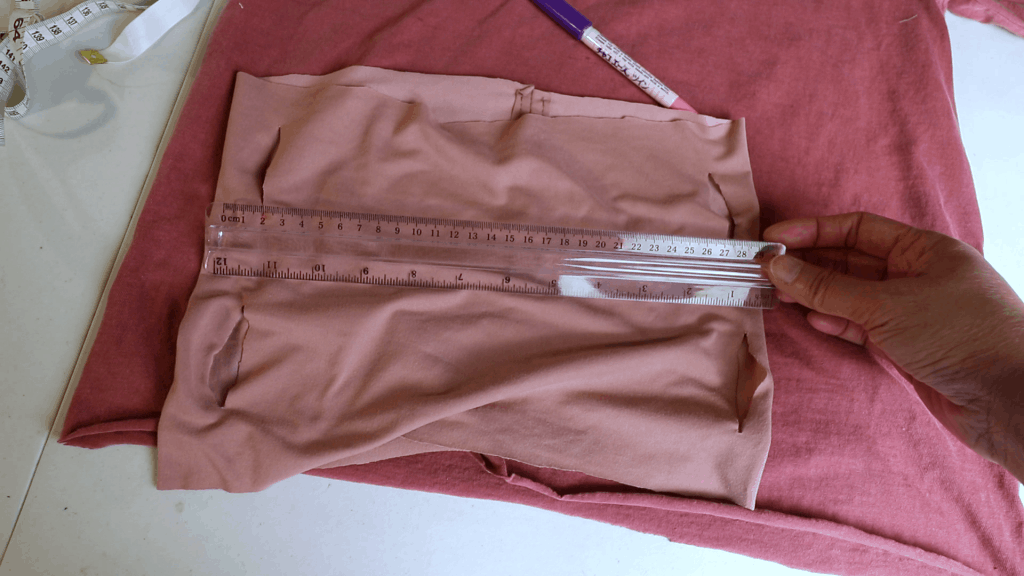
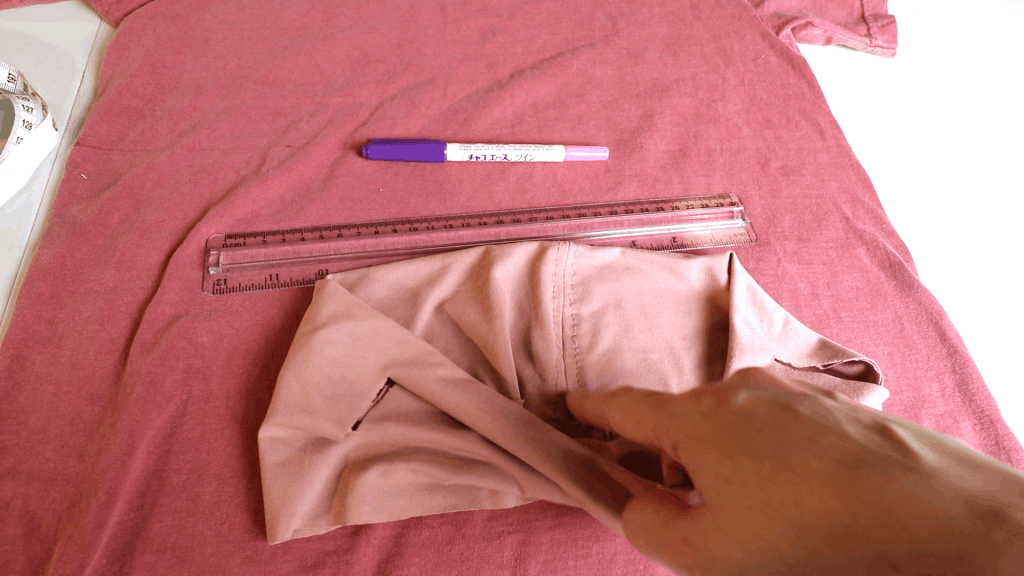
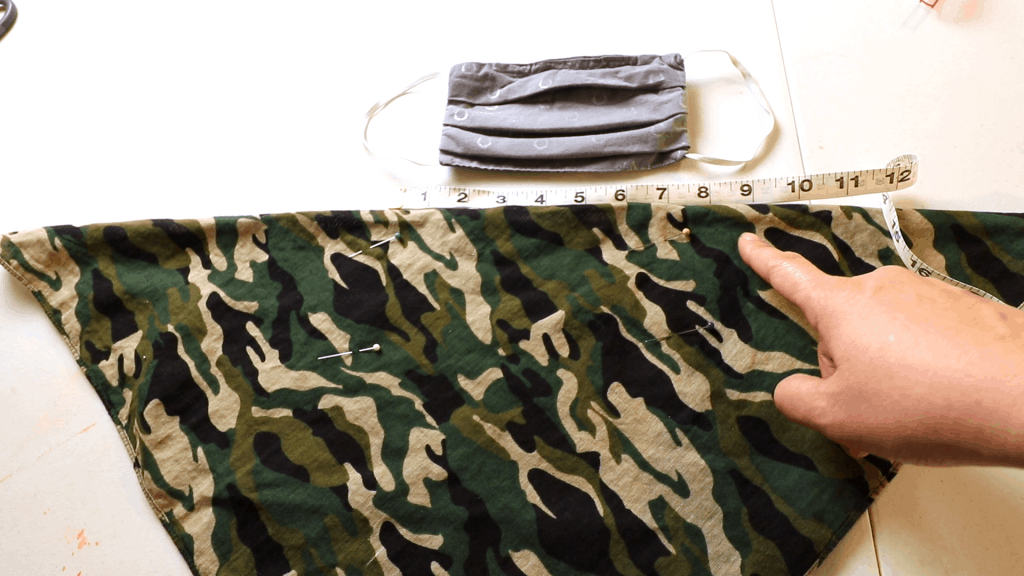
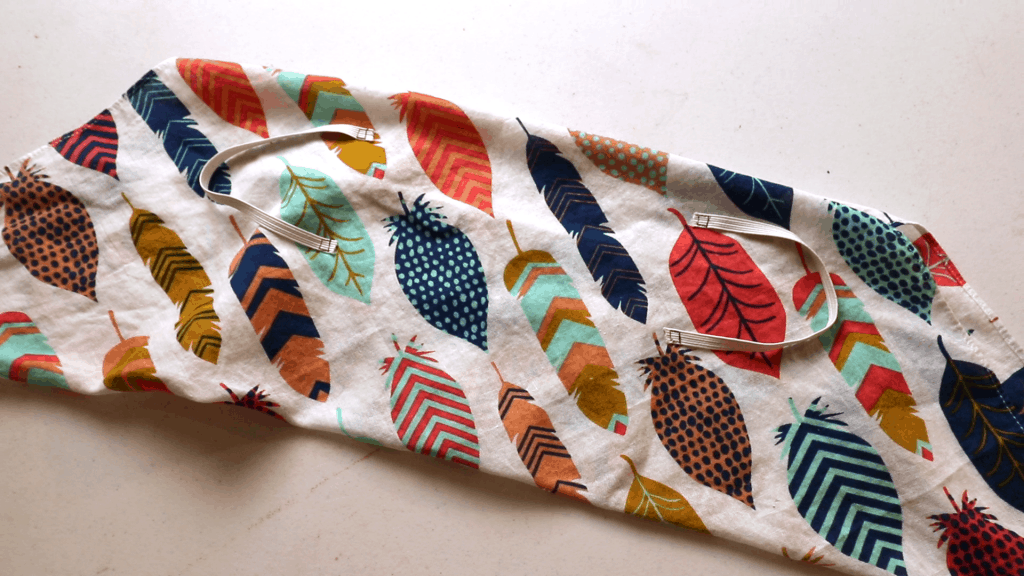
Fold in half lengthwise and decide the location of the earloops.
Find the center front first (the seam is at the backside of the neck). Measure the distance between the front of your ears when the fabric is slightly stretched. Mine is about 10.5 inches between the 2 ear loops.
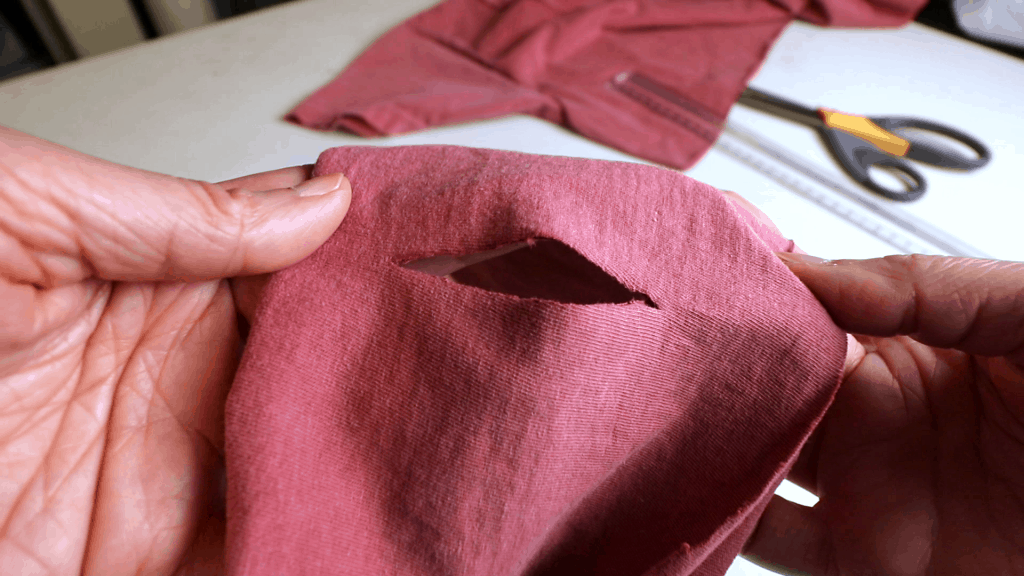
Mark the location to be cut. Starting from 1 inch (or 3/4″) below the top edge, and the line is about 2.5 inches long. Same on the other side.
Cut up the line when the fabric is folded in half lengthwise. So you cut 2 layers at the same time. You can wear the mask double or single-layered.
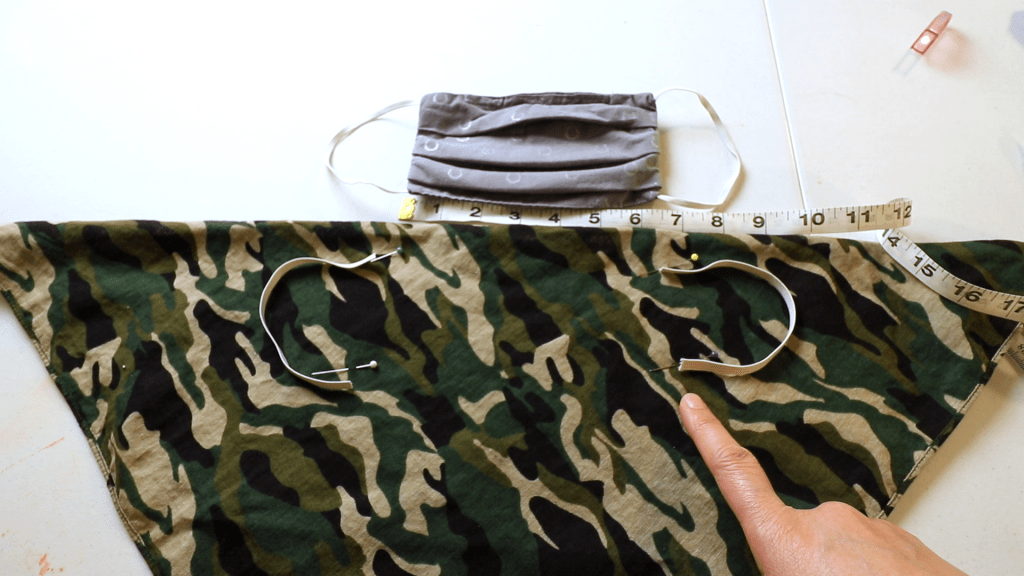
After cutting, it looks like this when open up the fabric.
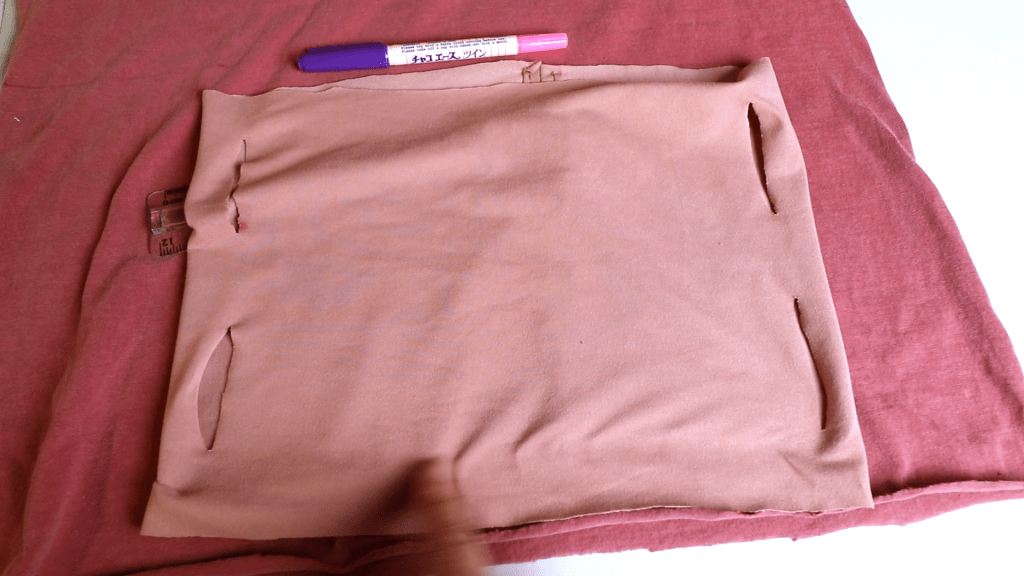
About 10.5 inches between the 2 ear loops.
Draw a 2.5-inch line starting about 1 inch down from the top, and same on the other side.

The seam is at the back of the neck.
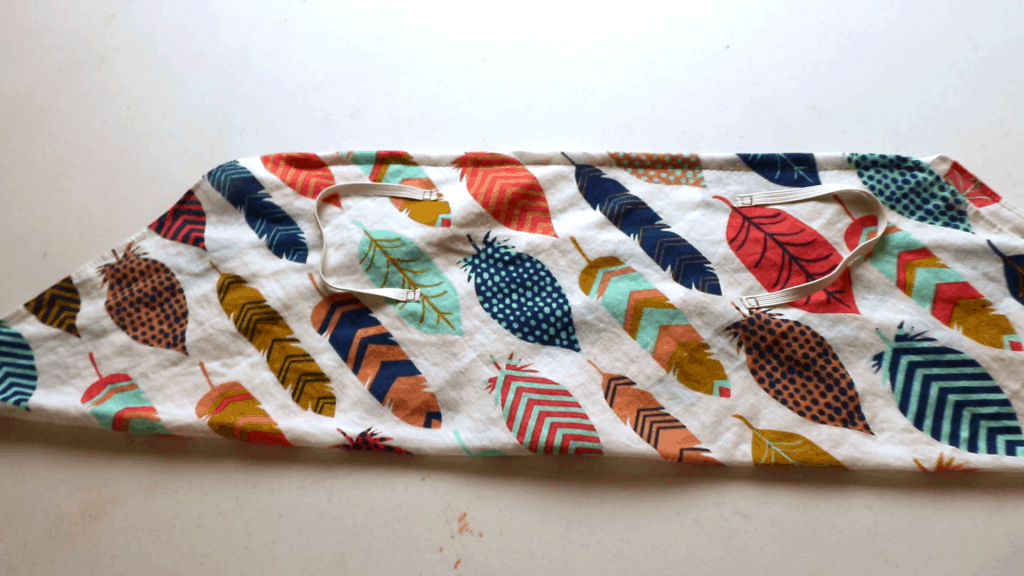
For style 2: longer tube –
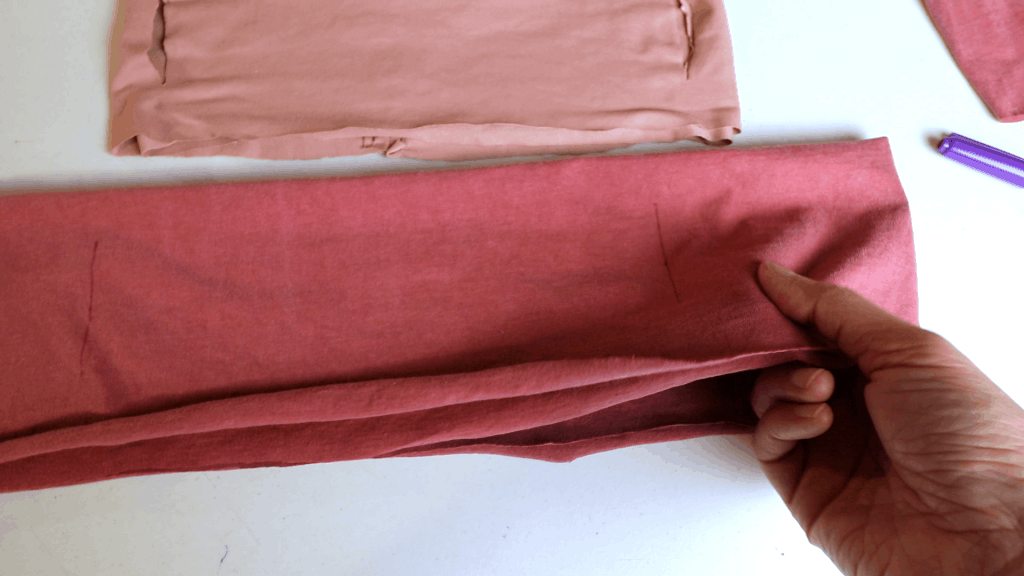
Just cut the bottom part of a T-shirt. Mine is medium size (about 19 inches on the front and back).
I cut 11 inches from the bottom hem. You can adjust the dimension. (The style 1 is about 10 inches).
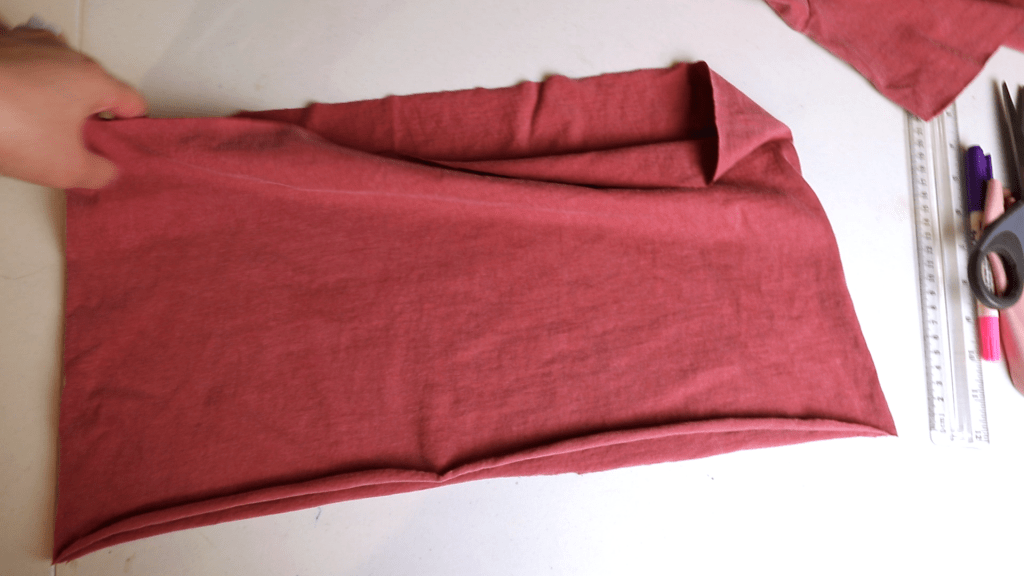
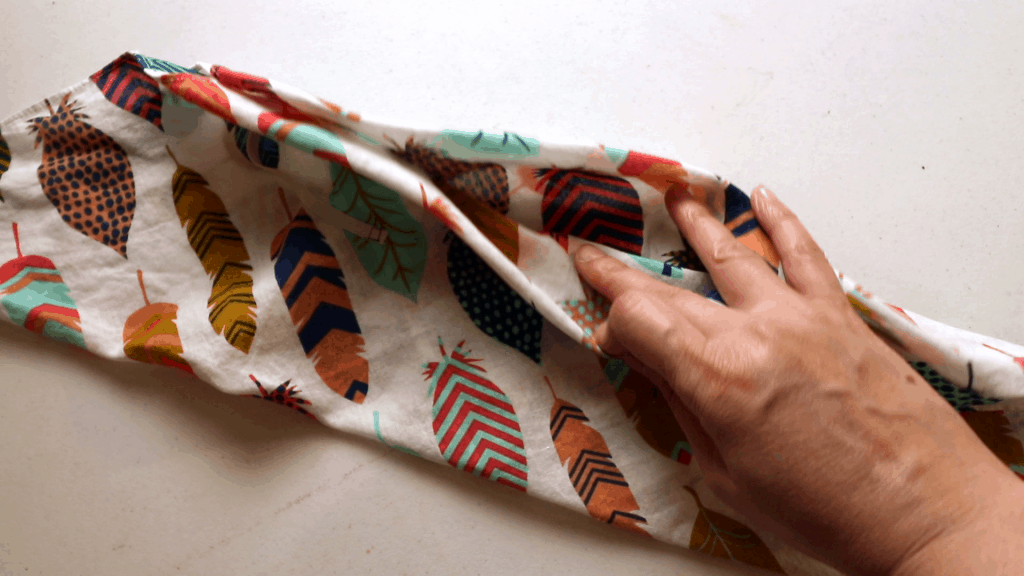
Fold in hlaf lengthwise so the wrong sides are facing each other.
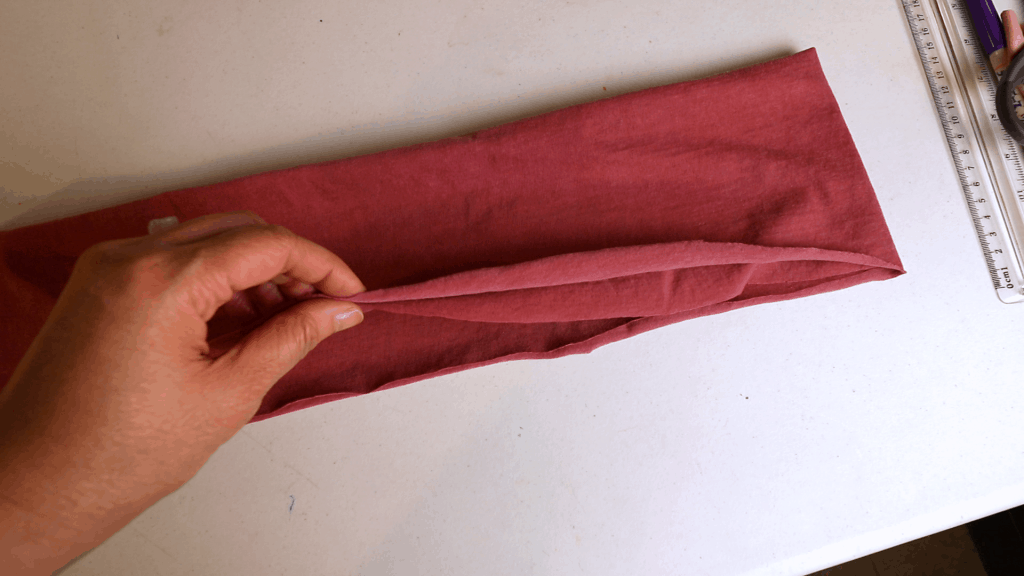
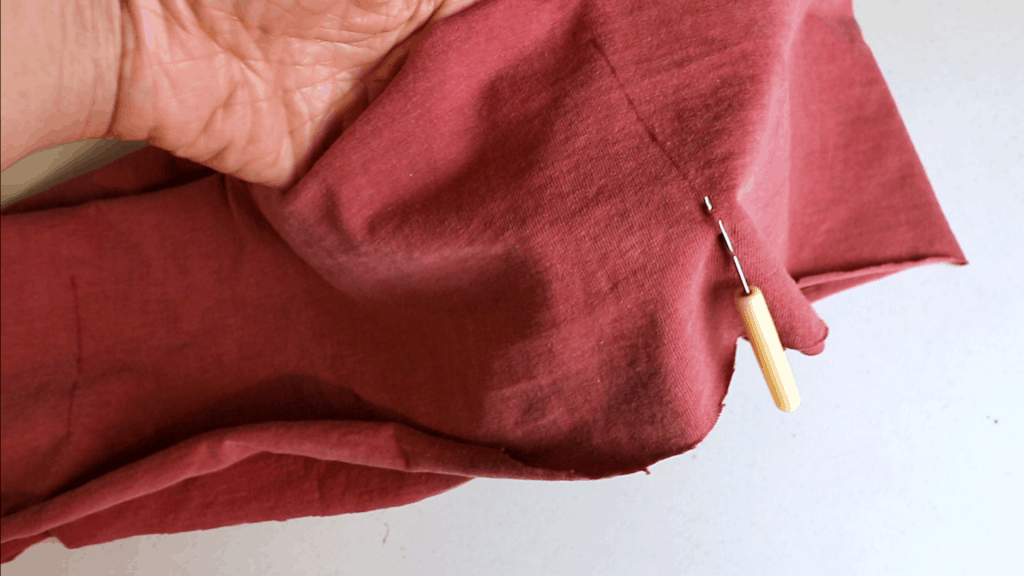
Cut the ear loops the same way as the style 1. It is about 10.5 inches apart, and 2.5 inches in height, and about 1 inch down from the top.
Mark the lines first.
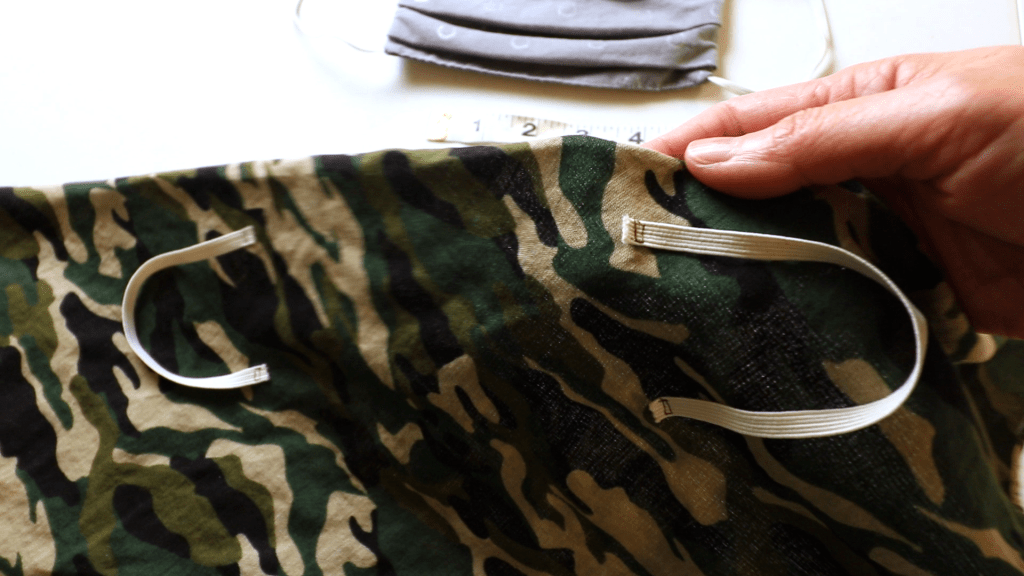
It is easier to use a seam ripper to cut a hole first.
Then use a smaller scissor. Or just use a rotary cutter.
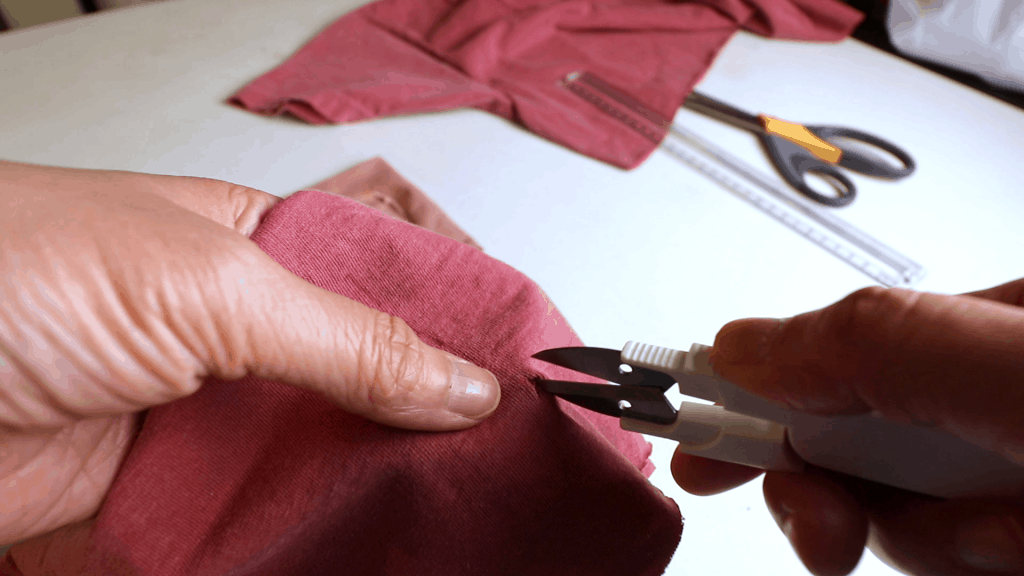
That is it. You don’t need to finish the raw edge because jersey fabric will not fray.
Style 3: Simple bandana with ear loops

The bandana I have is about 20 inches by 20 inches. You can make your own bandana too.
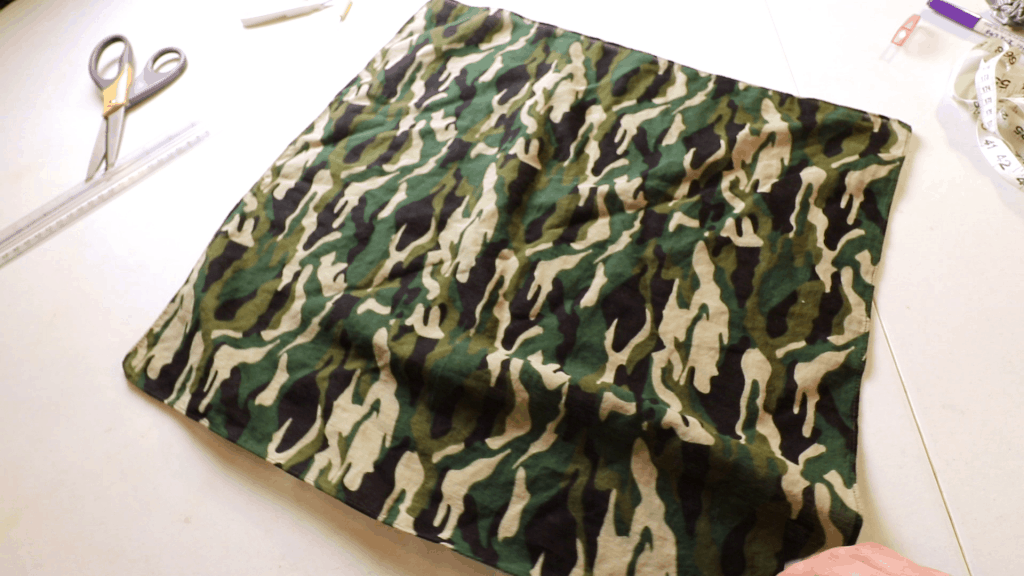
Fold the bandana in half into a triangle shape.
Use a mask as a guide, mark the location of the ear loops. I have 7 inches in between the 2 ear loops. About 1 inch from the top down, and 2.5 inches in height.
Cut 2 pieces of 7-inch elastics. Check a mask that fits you first for the right dimension of the elastic length.
Pin and sew the elastic through both layers.
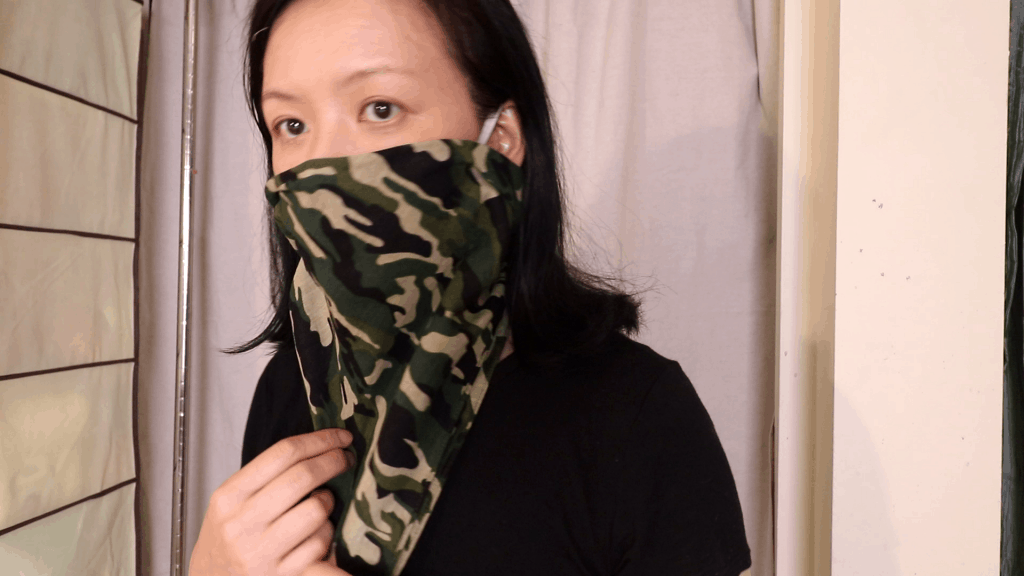
All you need to do is to tie the ends so it can act as a scarf.
Style 4: 4-layered mask bandana
As a 4 layered mask.

Tie the double knots at the backside. I keep it loose. You can make it tight too.
As a bandana scarf.

How to make it:
First, fold the bandana to the center line like the picture below.
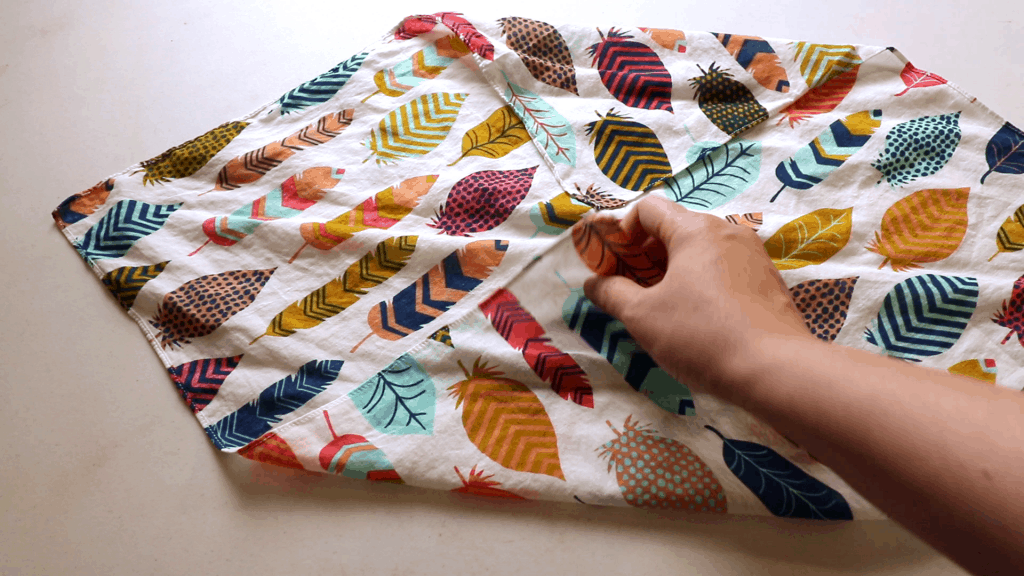
Fold again to create a 4 layered triangle inside.
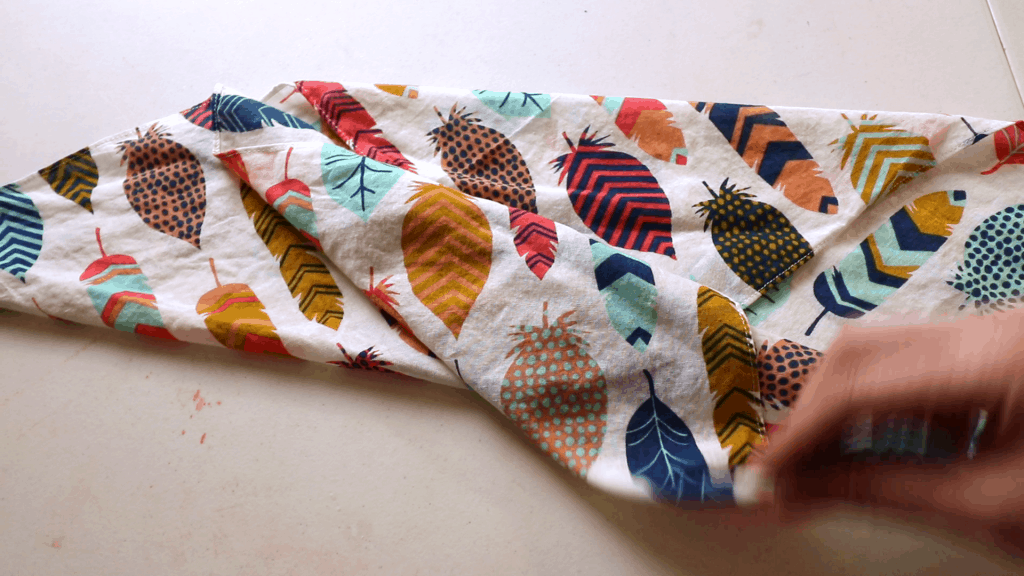
Find the center line.
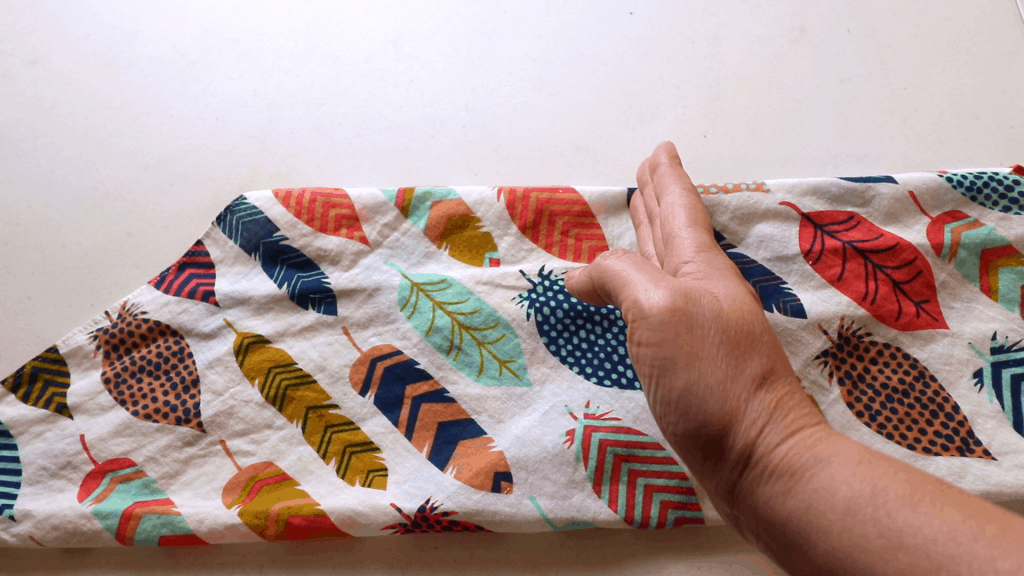
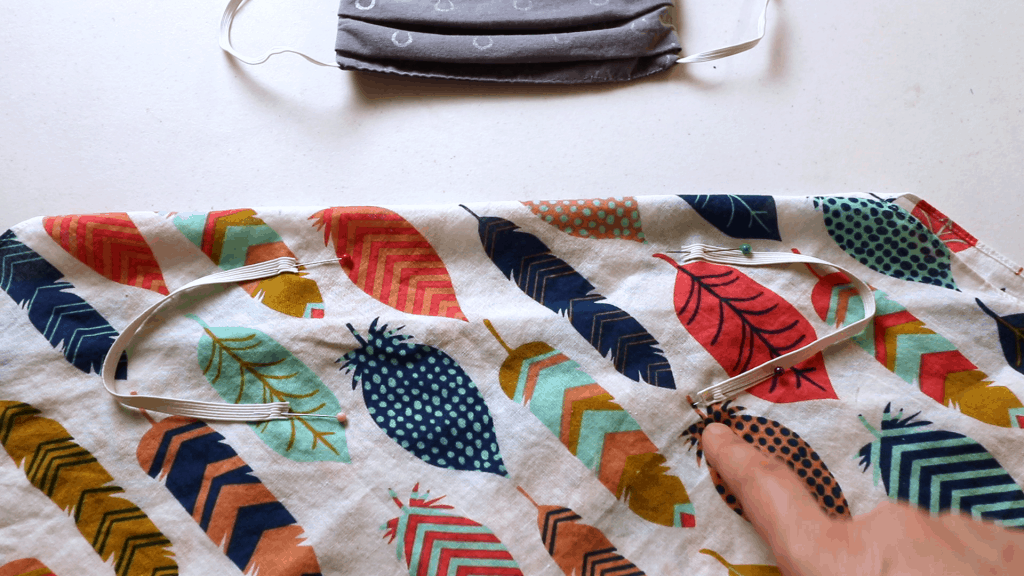
Same as style 3, I have 7 inches between the elastic loops starting one inch below the top edge, and mark 2.5 inches down.
Cut the elastics about 7 inches and sew thorugh all 4 layers of fabric.
The top can be opend slightly but will not fall apart.
You can sew a line along the top edge to close the opening. This is optional.
All done. Just tie the ends when wearing as a scarf.
Style 3 and 4.
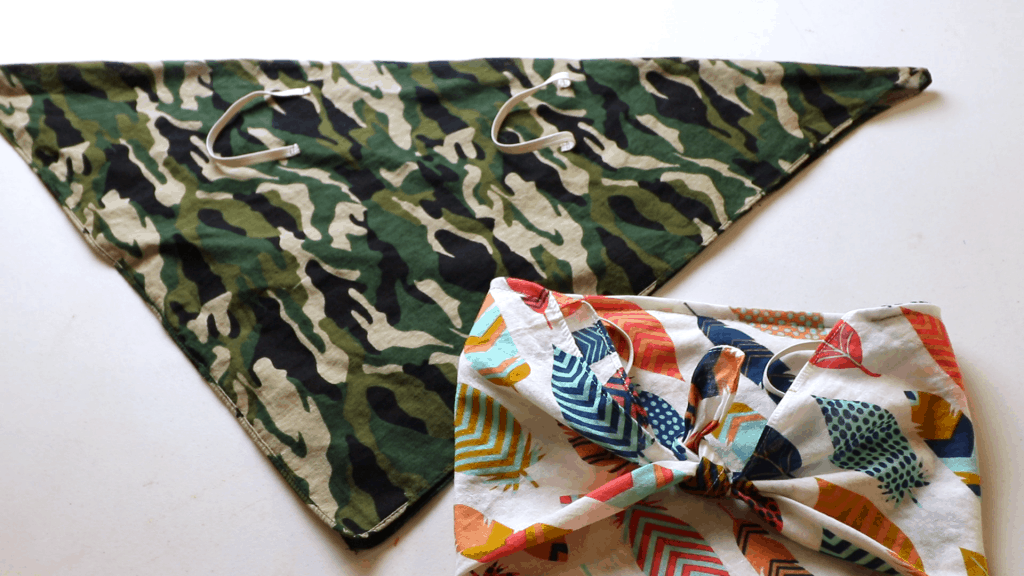
4 styles.
Watch our tutorial at CreativeTien YouTube channel


You May Also Like

Simple triangle shawl on an LK150 knitting machine

Stash-busting knit and crochet project ideas