
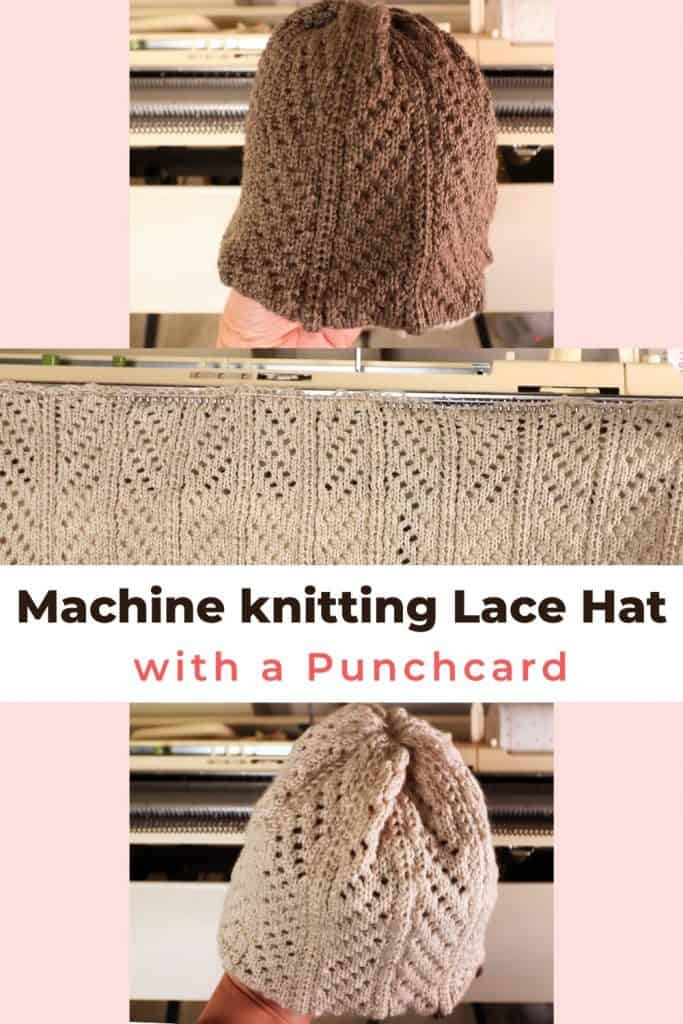
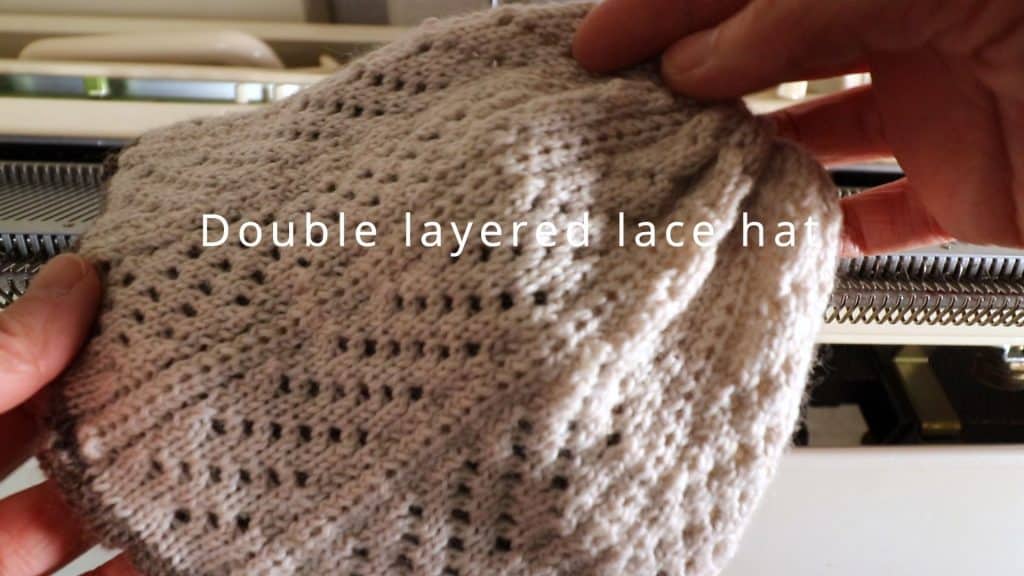
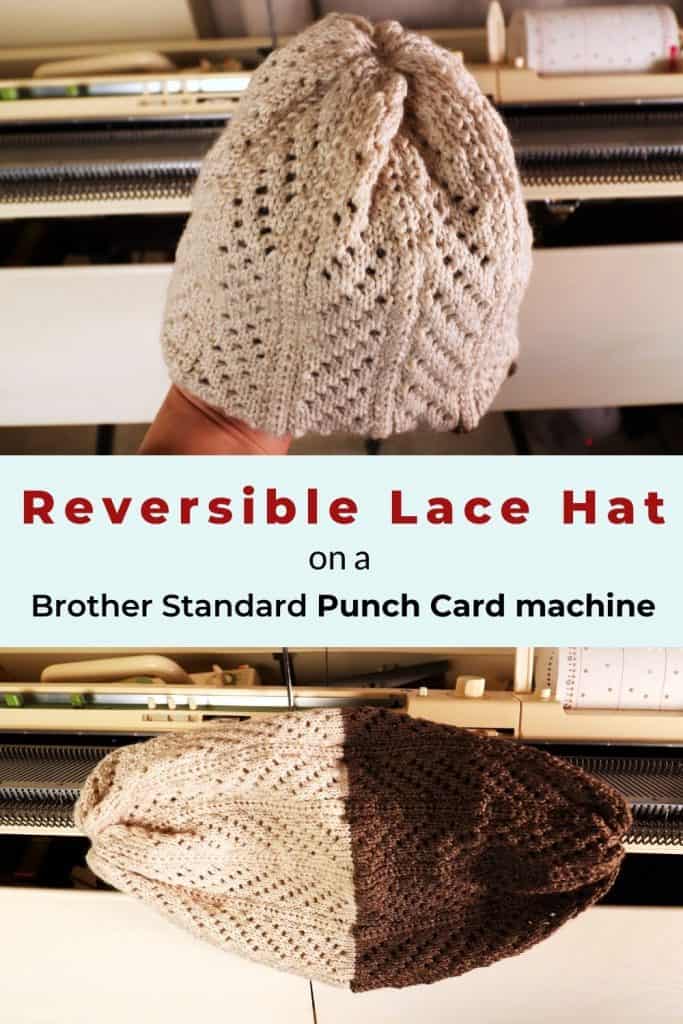
How to machine knit a reversible lace hat with a Brother punch card knitting machine

It is faster to knit lace with a punch card knitting machine compared to hand knitting. I use a Brother KH881 standard gauge knitting machine to knit the reversible, double-layered hat. It looks complicated, but the construction is very straightforward. Any standard gauge Brother punch card knitting machine can use the same technique. No ribber is used in this project.
If you are looking for hand-knit lace hat tutorial, click here for the post.
If you like to see more about using a Brother lace punch card, click here for the post.

The construction of the reversible lace hat on a Brother knitting machine with a punch card
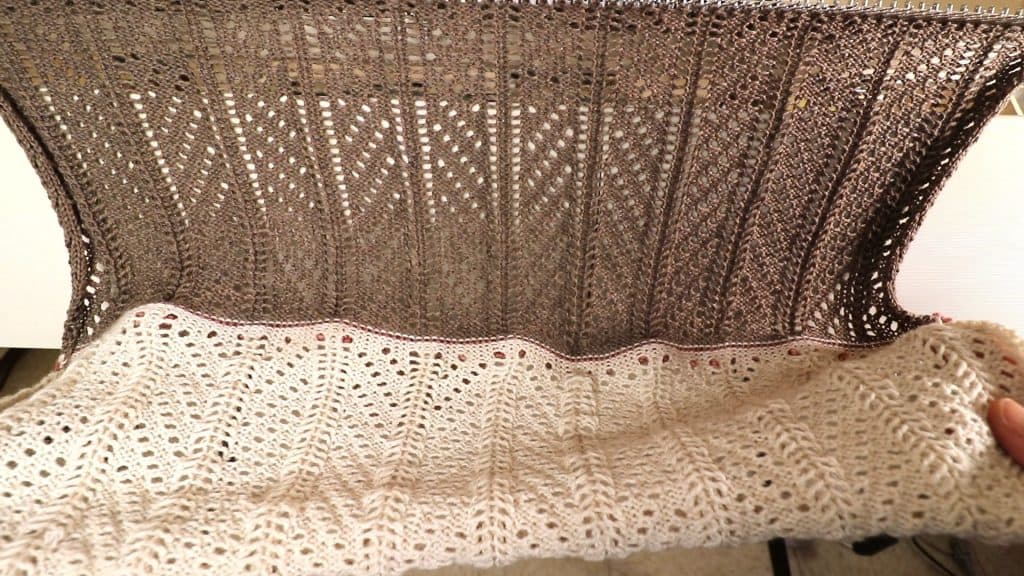
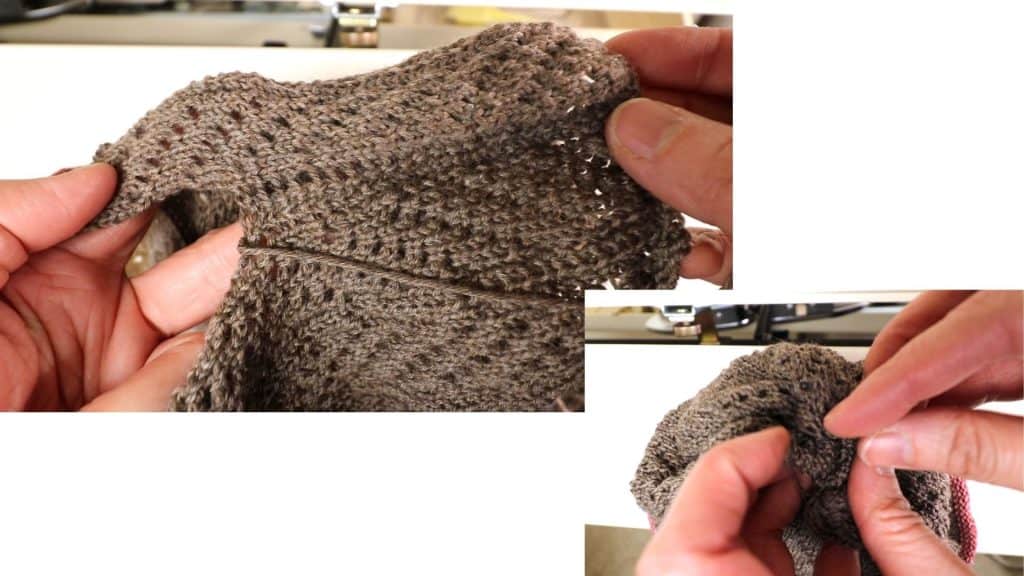
This project is basically just knitting 2 pieces of the lace pattern, then sew up the side seam and the top. After knitting the first side of the lace pattern (color 1), we can hang the cast on stitches back to the knitting machine, and use a second color to knit the reverse side.
For machine knitting, it is always more trouble than it supposed to be. Most of the machines are second-hand, so they can get rusty and dusty easily unless you maintain it all the time. Some knitting machines are “sensitive” to certain yarns. Some yarns can split or get caught easily. It is frustrating, but once we start knitting a swatch and take our time in every step, everything becomes easier.
Watch the video tutorial for how to machine knit the reversible lace hat
How to knit a double-layered, reversible lace hat on a Brother knitting machine
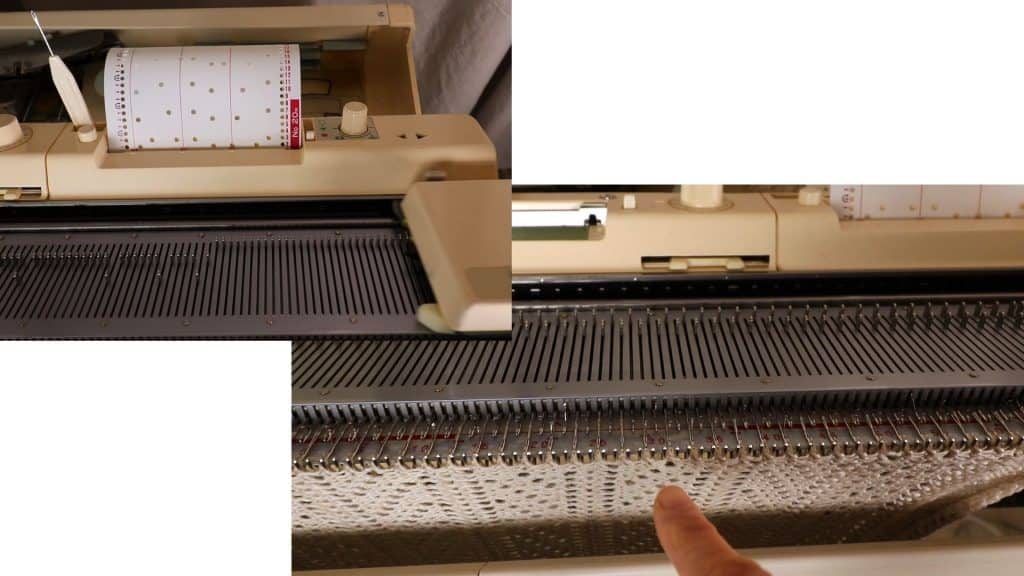
I use 2 colors of the fingering weight (socks weight) yarn here. The knitting machine is Brother standard gauge knitter with a punch card device.
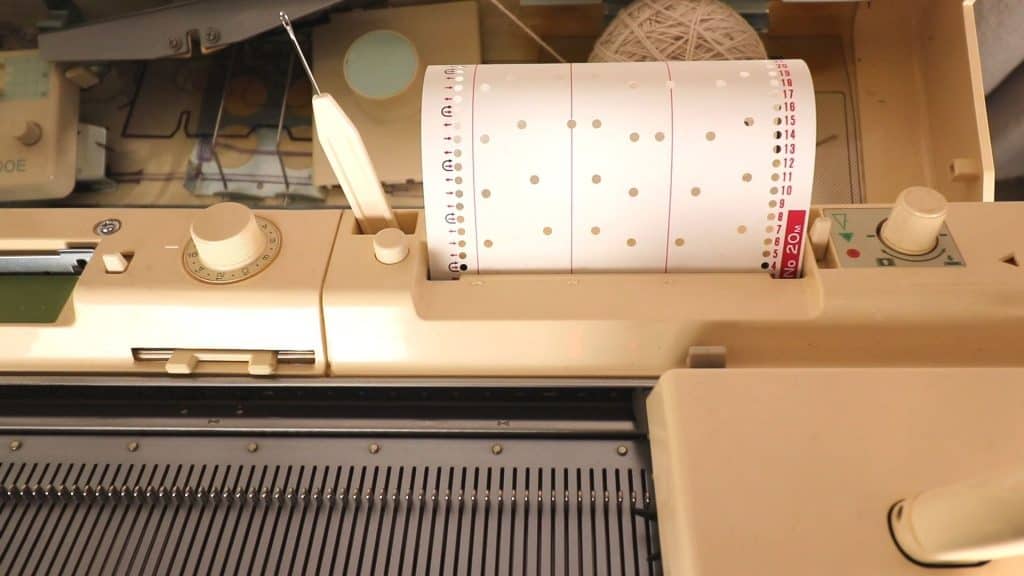
The lace punch card I use is number 20M by Brother. Number 16M-20M punch cards are designed for lace knitting. Most punch cards can be found on eBay. Or, you can punch your own card based on many free patterns on the internet.
I use tension 6 on my K carriage. Check your swatch for the best tension.
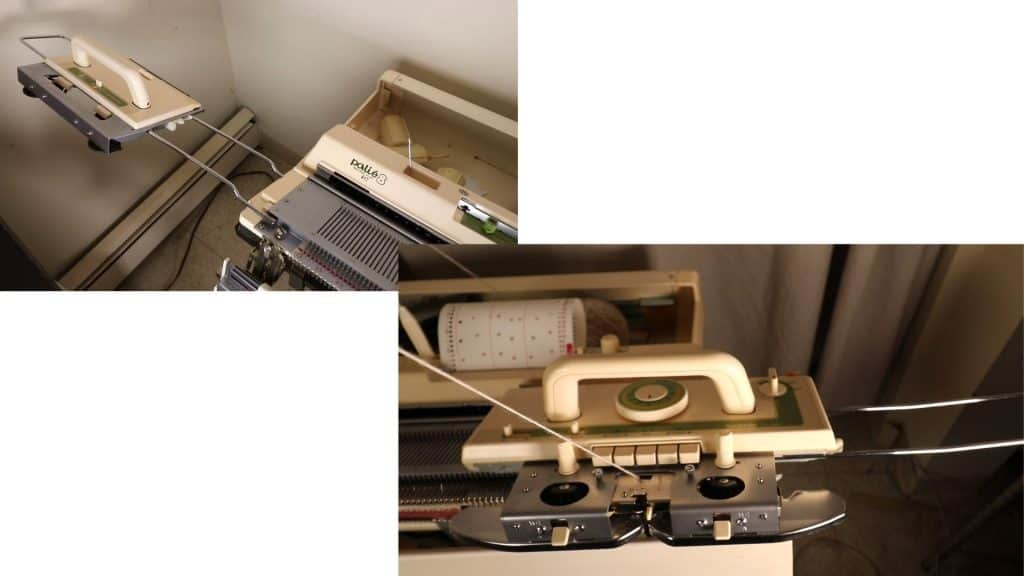
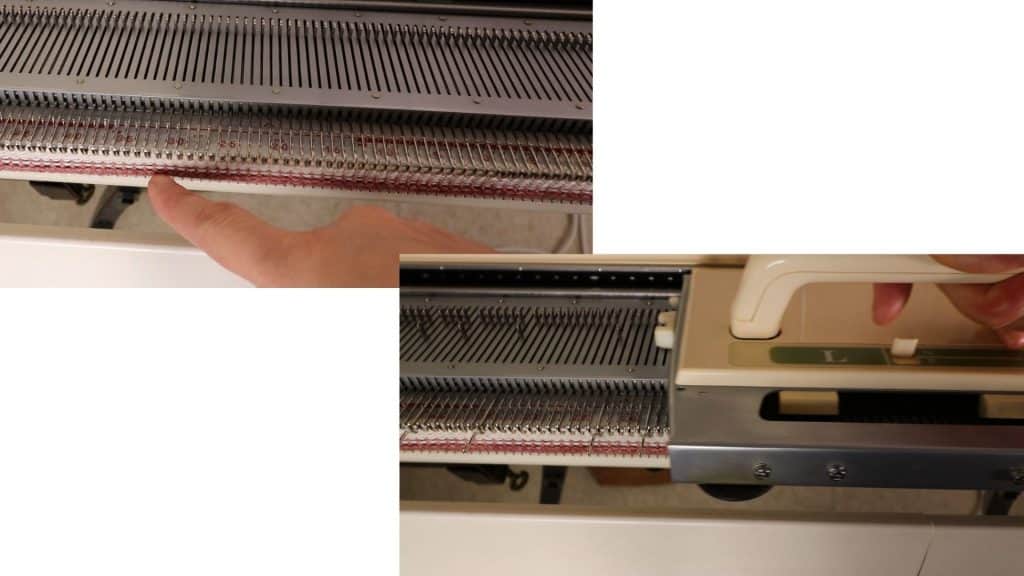
Install extension rails, so we can park the carriages on top, leaving more space in the center.
This lace punch card has a repeat of 12 stitches. So I pick multiple of 12 stitches to cast on. If you use a different punch card, knit a swatch first and calculate the pattern repeat from that.
Cast on from L72 to R72 for average adult size hat. It is always best to knit a sample first to calculate your stitch and row numbers.
Knit a few rows of waste yarn, then knit a few rows (about 4) of the main yarn before starting the lace pattern. Park your K-carriage on the right. Hang proper weight.

Lace Pattern
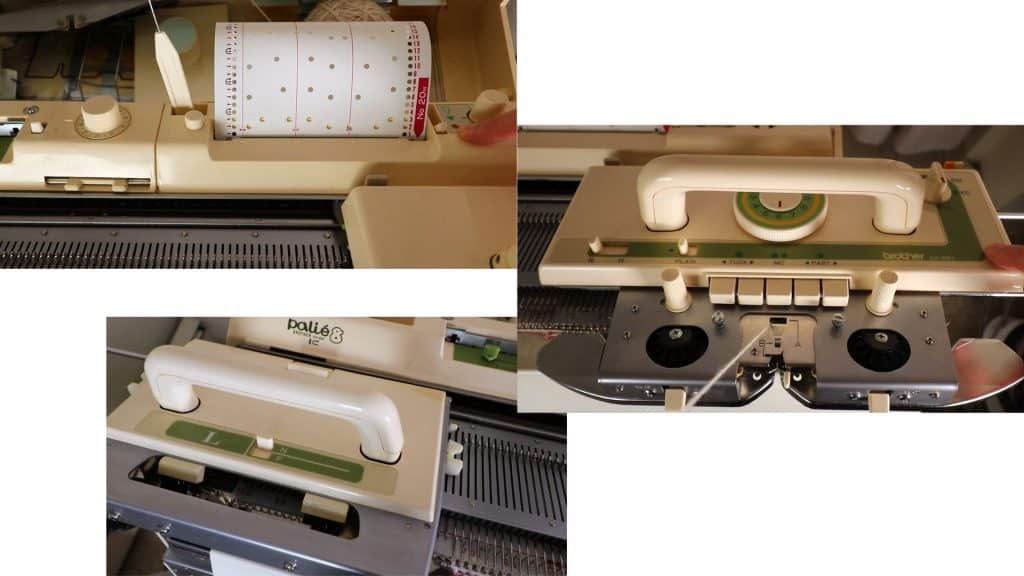
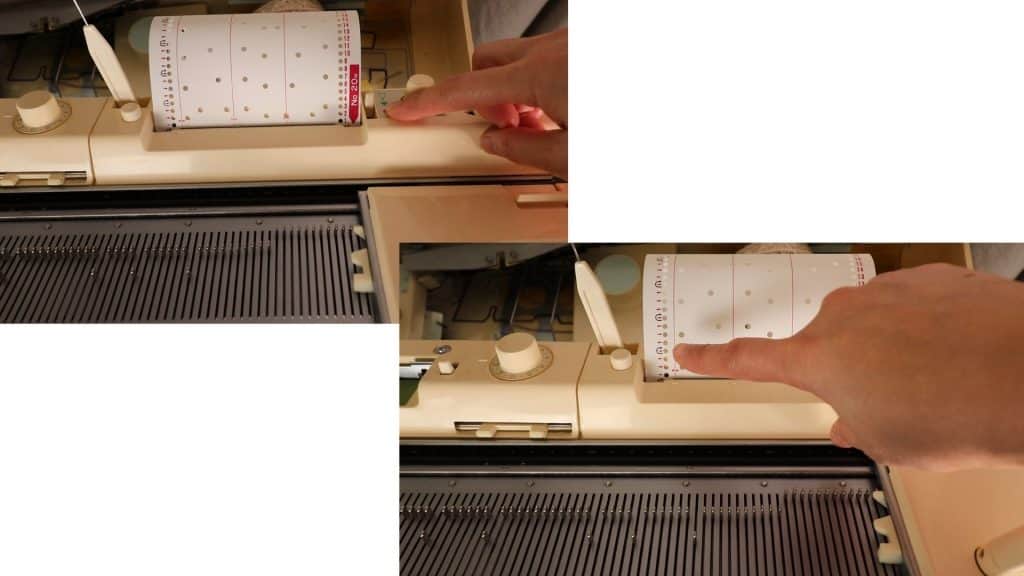
Turn the lace punch card to row 1, lock the card by dialing to the red dot.
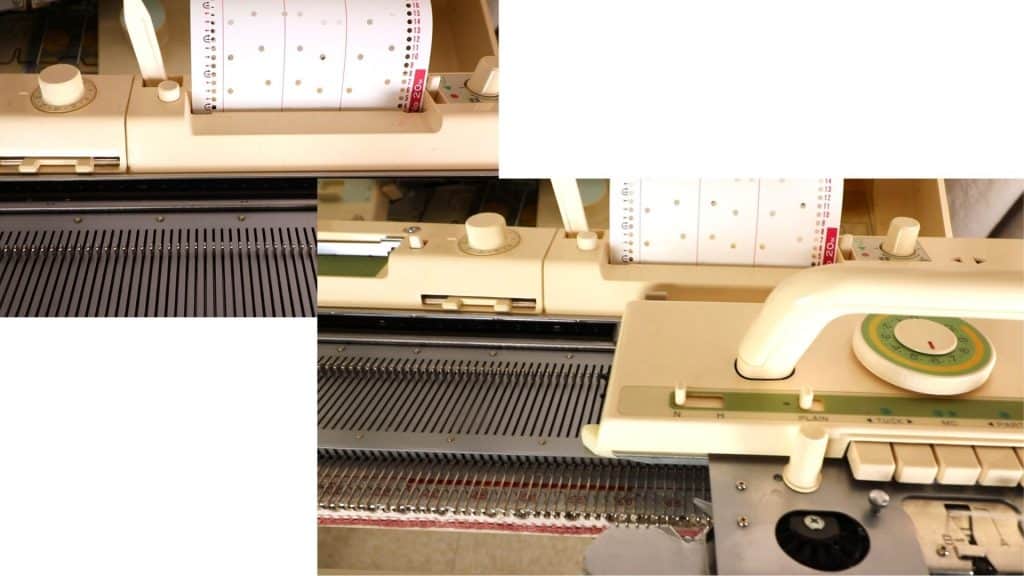
The lace carriage is set to N.
The K-carriage is set for plain knitting. Set your tension (I use 6).
Place the lace carriage to the left, and the K carriage to the right.
Set counter to 0,0,0.
Move the lace carriage from left to the right.
Unlock the punch card by turning the dial from the red dot to the green triangle in the center.
Follow the direction of the arrow to move your carriage.
The red arrow is for the direction of the lace carriage, and the black return arrow is for the K-carriage.
When we are at the black return arrow with the red arrow inside, we move the K-carriage from the right to the left, and back to the right. Then move the lace carriage to the right. Now, this row is done.
Keep following the direction of the arrow on the punch card, until the length we need.
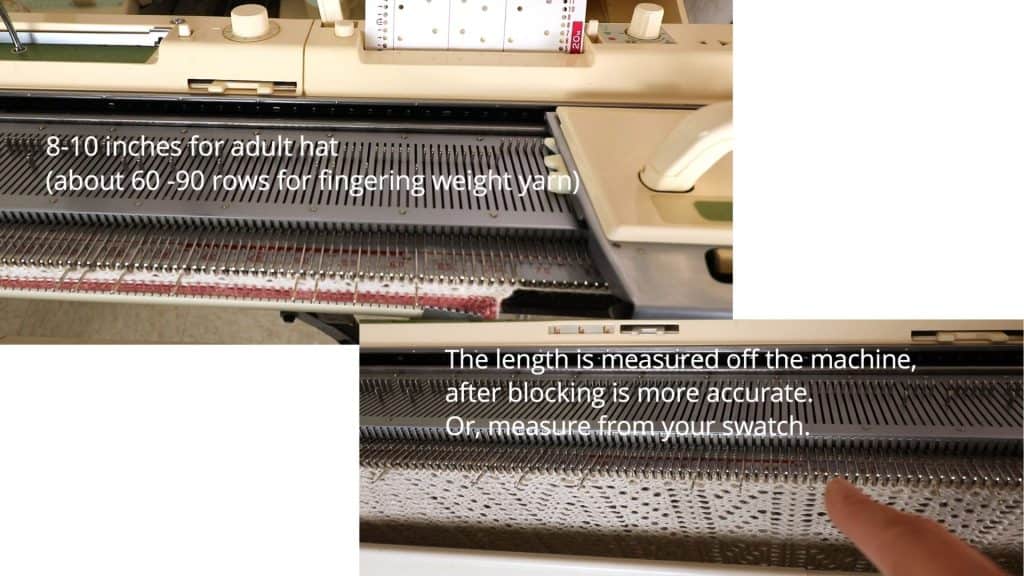
For an average adult hat, it is about 8-10 inches long (total height of the hat). This should be measured off the machine, and not directly on the machine when stretched out. Add more rows if you like a slouchy hat.

When the length is long enough, lock the punch card by dialing to the red dot (bottom).
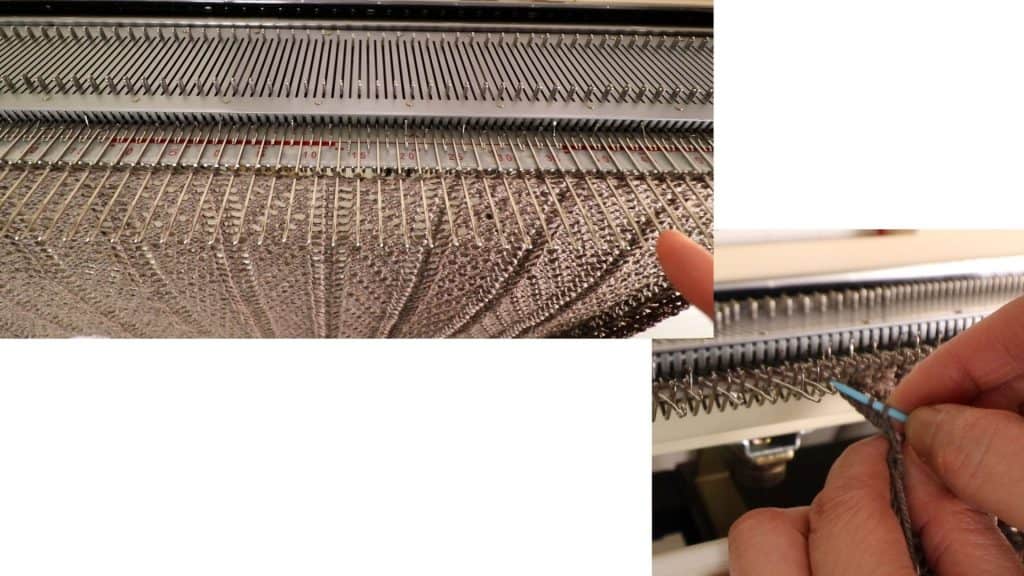
We can start reducing stitches by transferring every other stitch to the adjacent stitches.
Knit one row. Cut the yarn and thread through all live stitches. Take it off the machine.
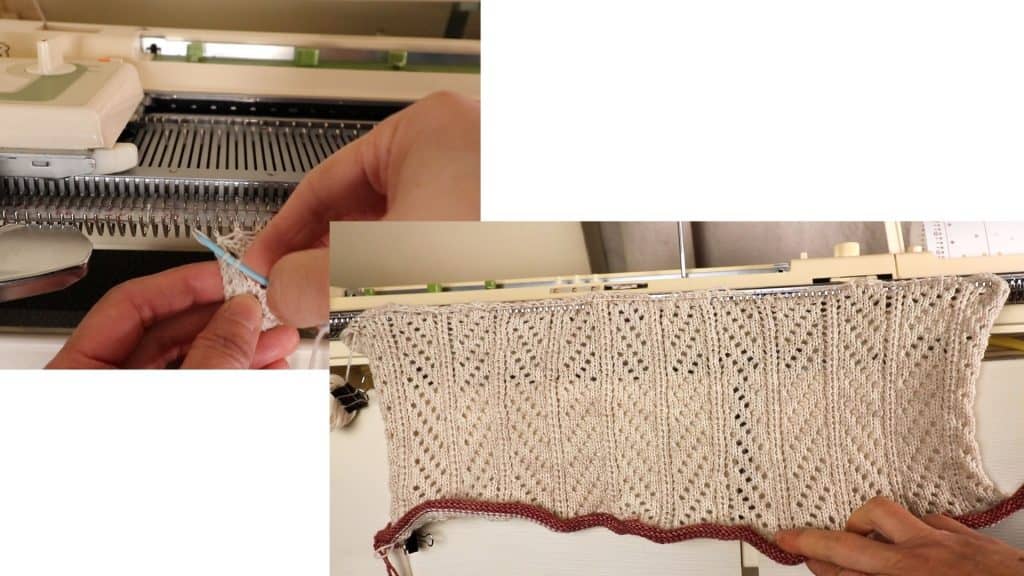
Now we are going to knit the other half.
Pick up the cast on stitches and hang them back to the machine.
Repeat the same steps as the first part. Knit a few rows of plain knitting and park the K-carriage to the right.


Continue knitting the lace pattern just like the first part.

Knit until the same length as the first part.
Transfer every other stitch to the adjacent needle, knit one row.
Thread the needle through all stitches and take the knitting off the machine.

Seam up the sides.
Pull the yarn tight on the top of the hat. Sew a few stitches to secure the top.
Now we just finished the double-layered, reversible lace hat. Time to steam block and try on. Happy knitting!

🛒 Visit our Amazon affiliated page (We get a small commission without extra cost to you.): https://www.amazon.com/shop/picturehealer
Reversible Lace Hat machine knitting tutorial
Featured Posts
- How to machine knit a heart shape on an LK150

- Machine knitting a loop stitch for big texture

- Machine knitting a corner-to-corner, diagonal dishcloth

- Machine knitting a buttonhole band on an LK150

- Tuck stitch blanket on an LK150 – Part 1
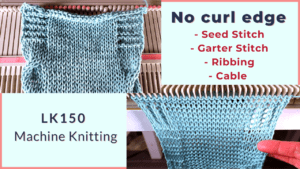
- No curl edge with seed, garter, ribbing, or cable stitches
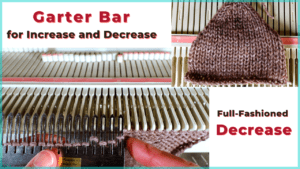
- Full-fashioned decrease, Garter Bar increases or decreases in the middle of a row
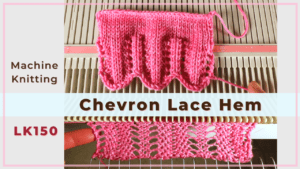
- How to machine knit a Chevron Lace Hem
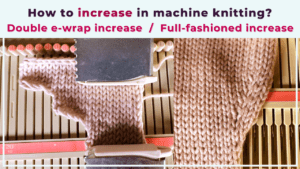
- Machine knitting increases – the full-fashioned increase and double e-wrap
- Picot hem with a scalloped edge and eyelets on an LK150 knitting machine

- The loop through loop bind-off and the sewing bind-off

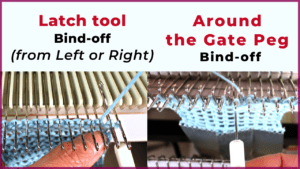
- The latch tool bind-off and around the gate peg cast-off
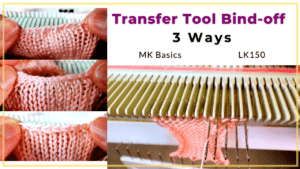
- Transfer tool cast off and variations- Simple, No hole, and Even-tension
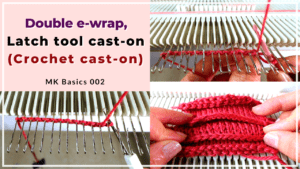
- Double e-wrap, latch tool, and crochet hook cast on
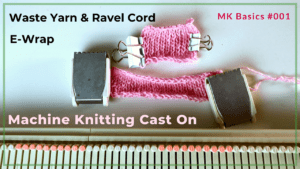
- Machine Knitting basics – Cast on with waste yarn, ravel cord, and e-wrap


You May Also Like
Simple glove sewing from a T-shirt with custom pattern

Tunisian crochet in the round (Magic Loop)
