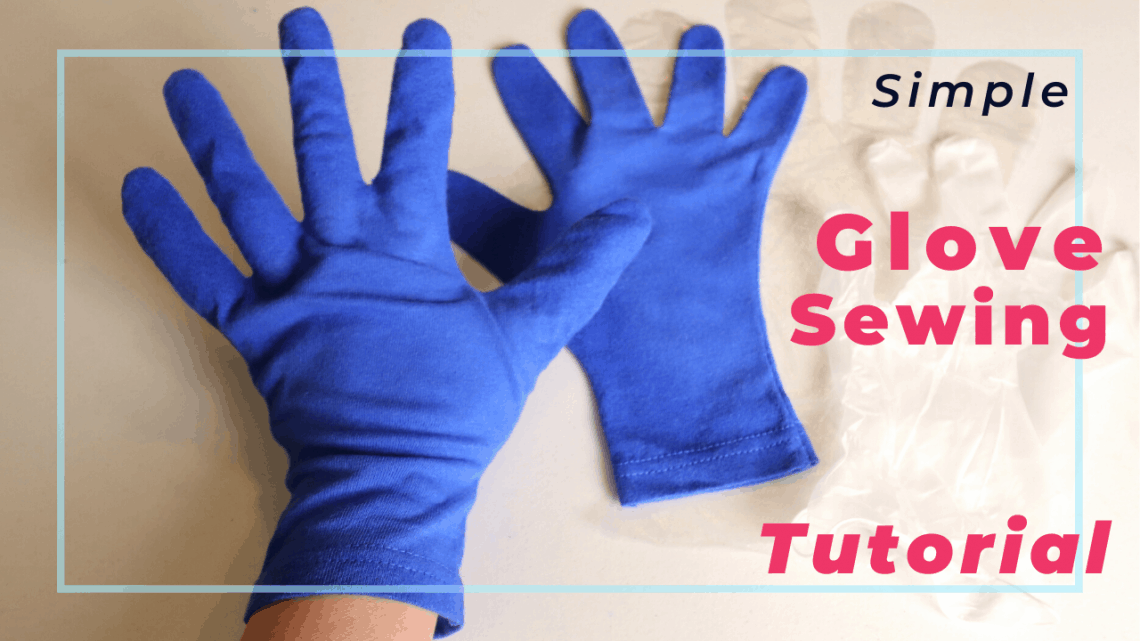
Simple glove sewing from a T-shirt with custom pattern
Sewing a pair of gloves seems like a lot of work. Here we are using Jersey fabric (T-shirt) and hand-drawn pattern based on your own hand-print. It can be a very quick and simple sewing project. Because the fabric is stretchy, it can fit different hand sizes easily.
There are many reasons to sew a pair of gloves. Maybe you need custom gloves to match your costume for a special occasion or just want some extra protection during the flu season. Maybe your job requires handling different food or products and you like to keep your hands clean. The fabric gloves are machine washable and reusable. So you can make several pairs to have extra handy.
The video tutorial link is at the bottom of this article. Read on for the picture tutorial.
Glove sewing picture tutorial
Pick your stretchy knit fabric. The most T-shirt will work. I use a 100% cotton T-shirt. 100% cotton is less stretchy and gets wrinkle easily. A little bit of Lycra content will make gloves stretch nicely and wrinkle less.
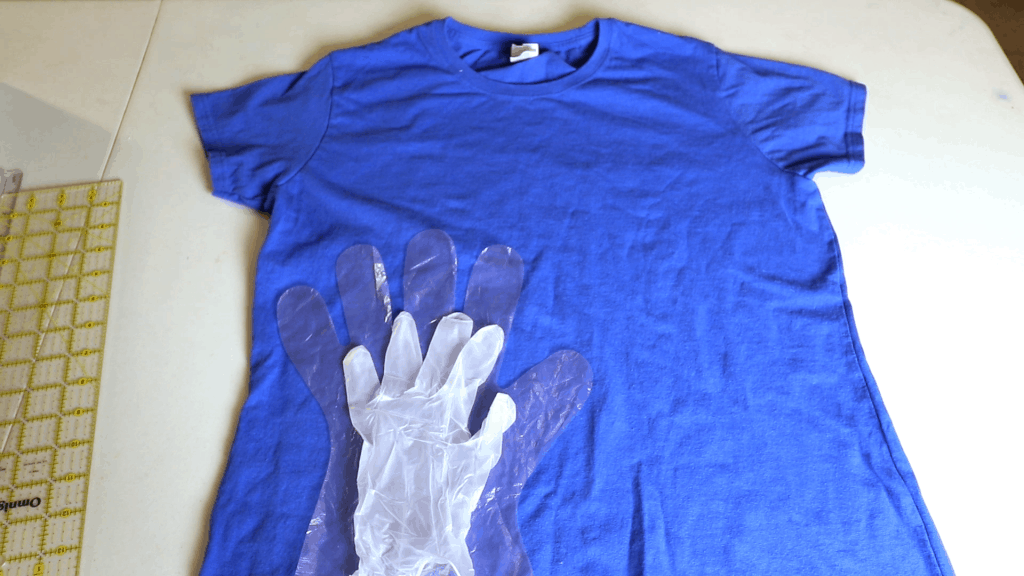
We are going to draw a pattern from the bottom hem of the T-shirt. We will reuse the hem because most home sewing machines might have problem sewing stretchy hem.
If you don’t want to trace your hand to draw patterns, you can copy standard gloves. The size will be between the stretchy rubber glove and the non-stretchy glove.
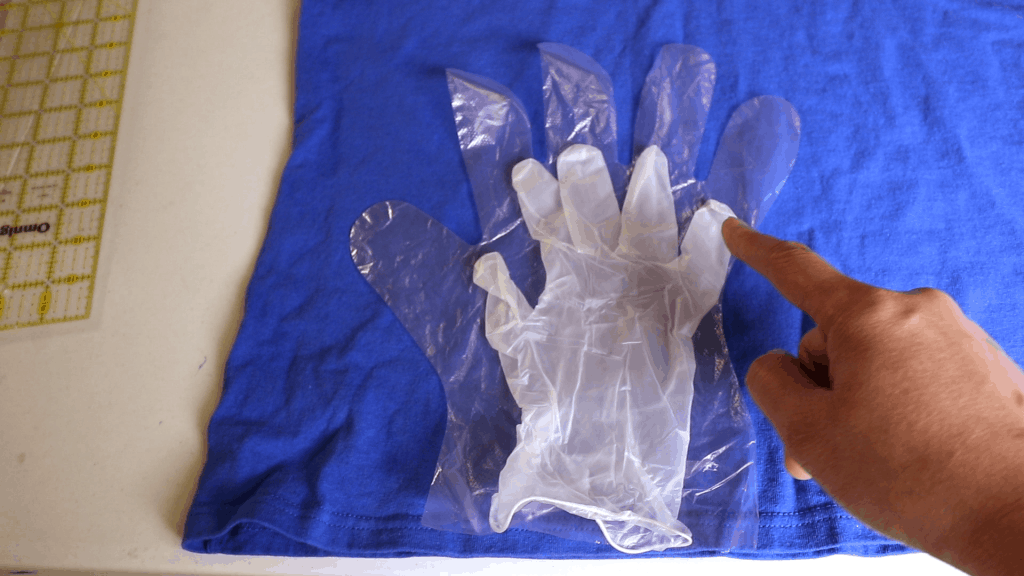
Turn the T-shirt inside out so the wrong side of the seam is facing out before we draw the glove pattern.
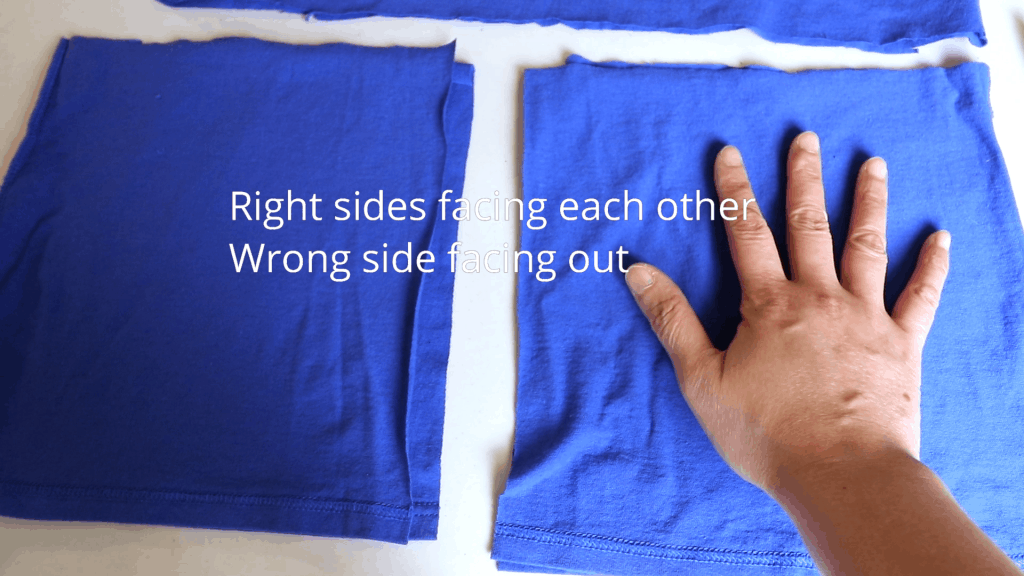
Cut 2 pieces of rectangles (double-layer, right sides are facing each other and the wrong sides facing out) that are big enough for our glove pattern.
Sewing knits with a home sewing machine
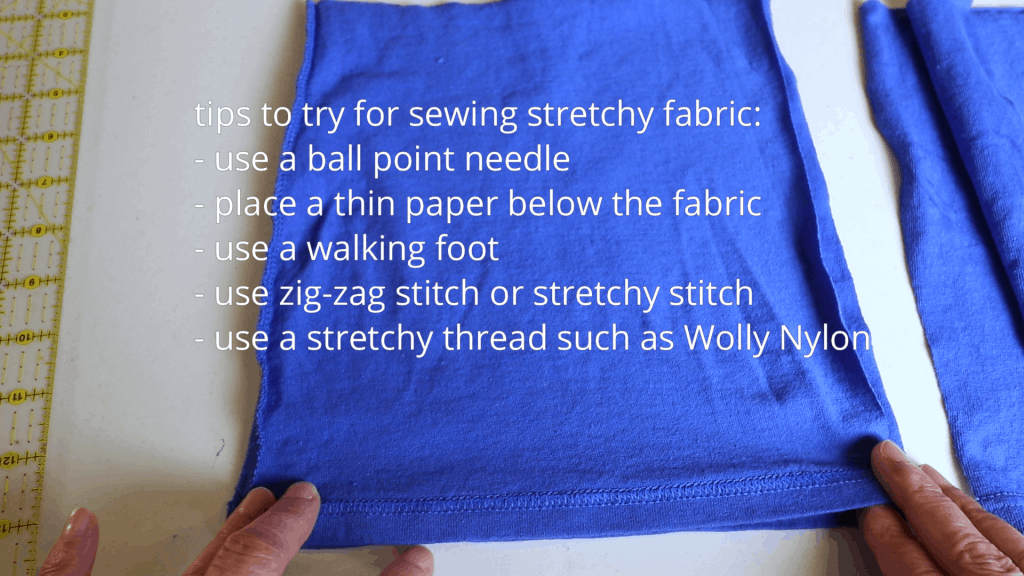
If your sewing machine has problem sewing stretchy fabric, here are some tips to try. I use my Singer 201 sewing machine and straight stitches without a problem if I go slowly.
- use a ball-point needle or stretchy needle.
- place a thin paper below the fabric when sewing. You can use newspaper, tissue paper, or thin interfacing. Tear off the paper after sewing.
- use a walking foot for the sewing machine.
- use a zig-zag stitch or try different stretchy stitches if your machine has the choices.
- use a stretchy thread such as Wooly Nylon. I heard winding up the bobbin with stretchy thread can work for some people.
Do a test first. Every fabric and machine works a little differently. It might take some trial and error.
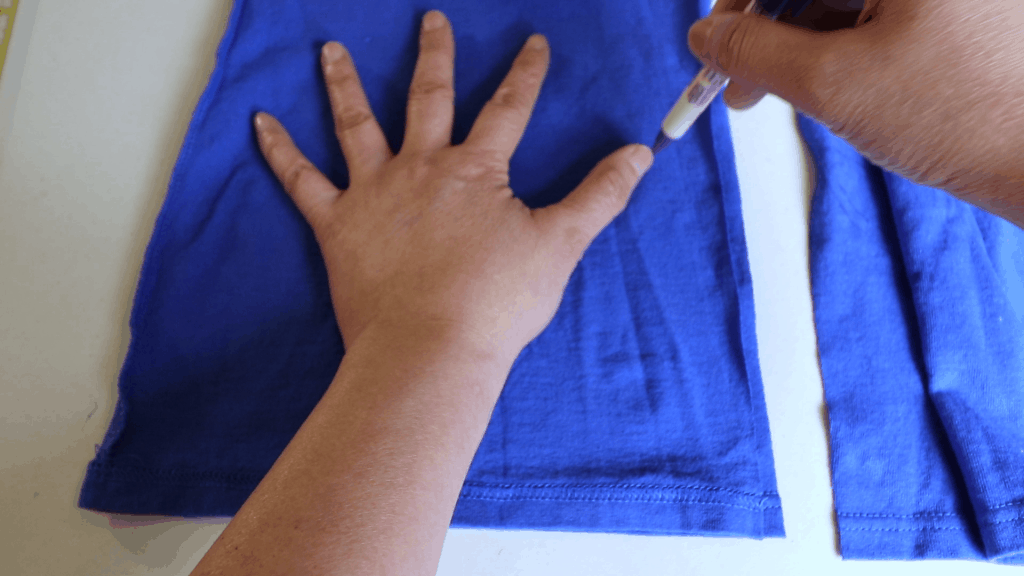
Decide how long you want your “sleeve” to be. Move the hand higher (longer sleeve below the wrist) or lower before tracing.
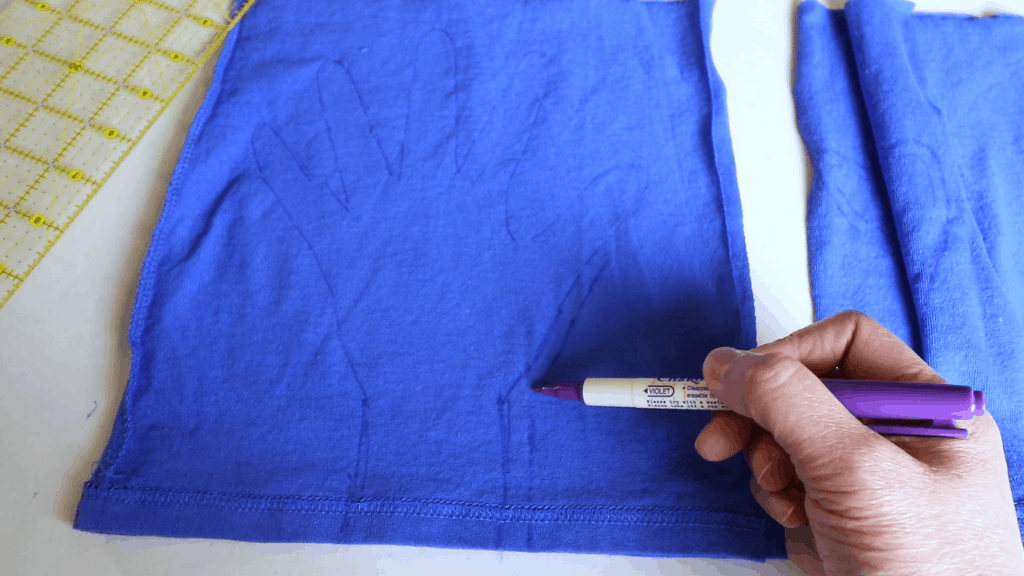
Trace the hand print with a fabric marker or chalk.
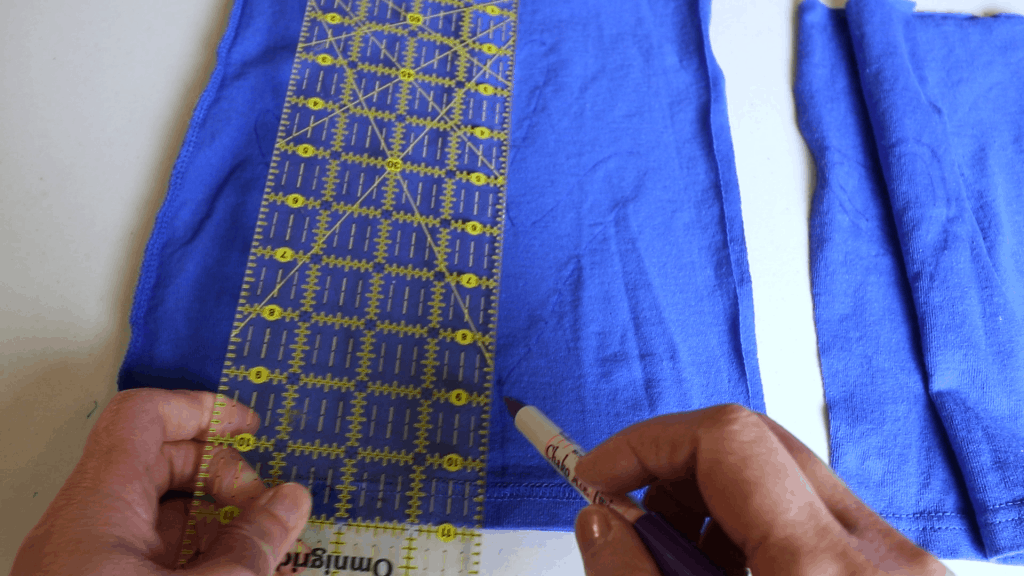
After tracing, draw the lines straight below the wrist (sleeve) so the lines are perpendicular to the hemline. The 90-degree angle will make sewing easier.
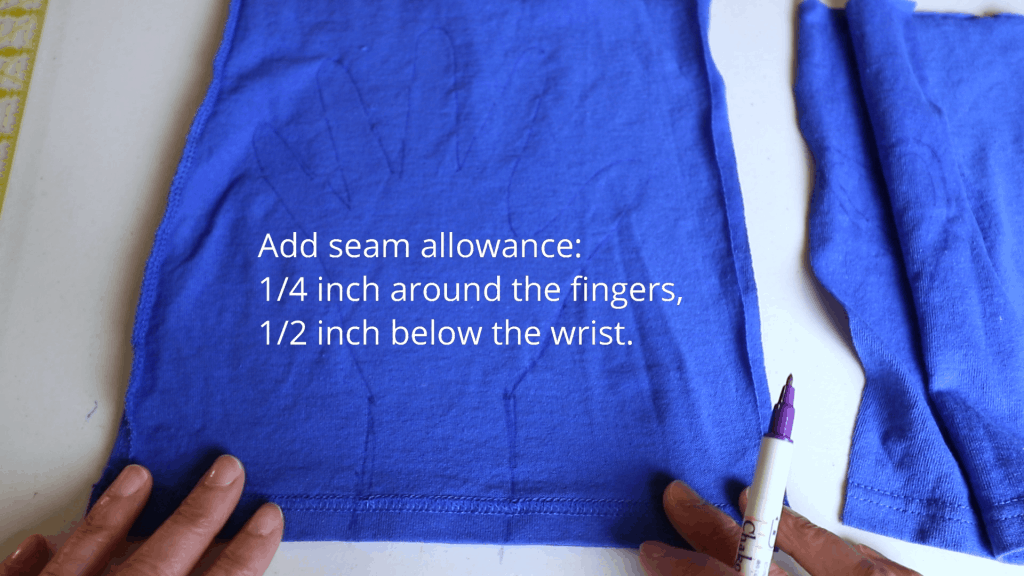
Draw seam allowance outside the handprint outline. I use 1/2 inch for “below the wrist” area and 1/4″ seam around the fingers. If you want a tighter fit, use a smaller seam allowance. For kids’ gloves, use a smaller seam allowance. Maybe 1/4″ and 1/8″.
For the tip of the fingers and the narrow area between fingers, you can draw a tighter seam so it fits better.
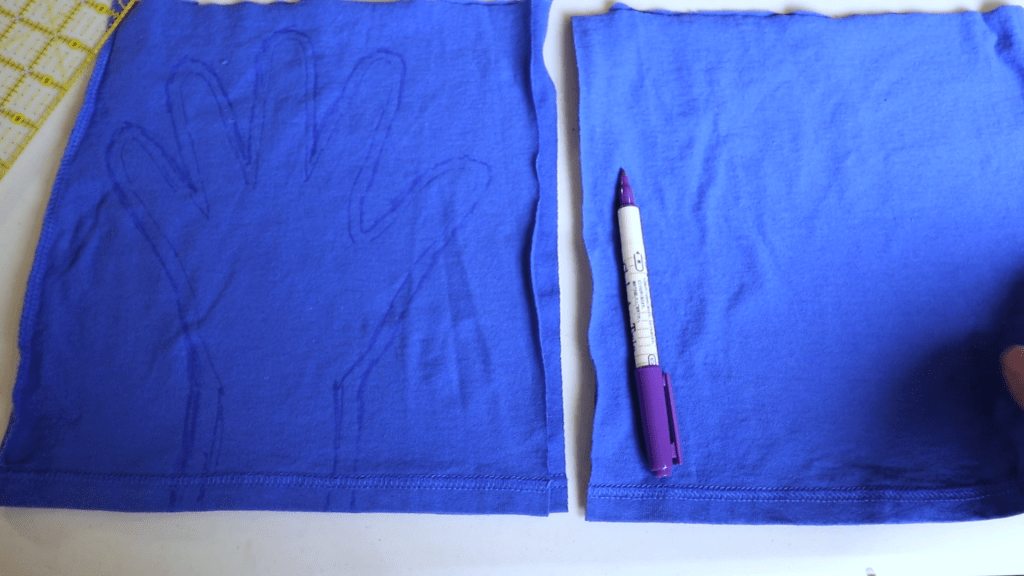
Draw the same pattern on the other fabric. If you want to match a patterned fabric or 2 sides of different fabric, make sure you draw the left and right hand in a mirror image (symmetrically). If you use one solid color without an obvious pattern, symmetry is not important.
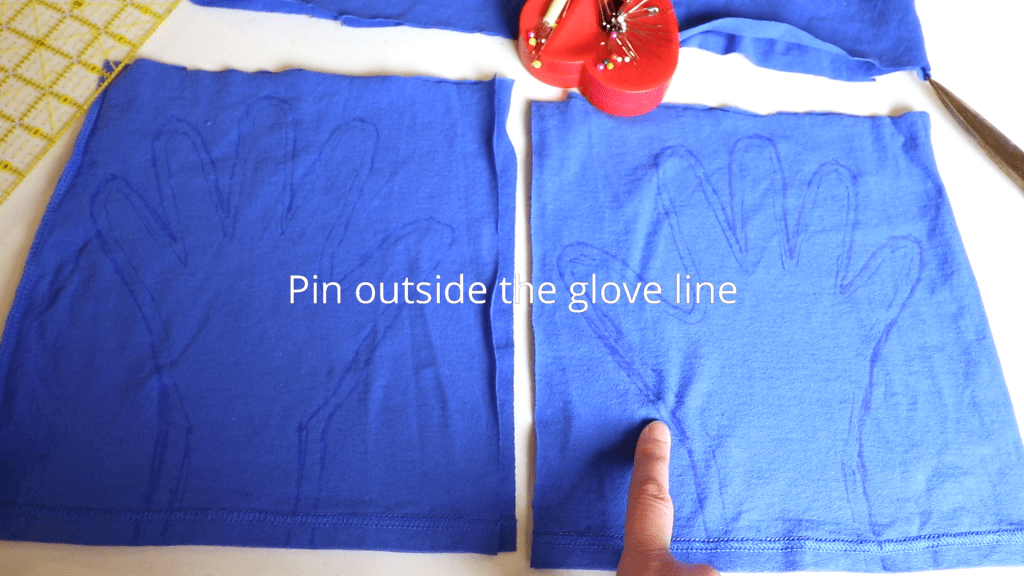
Pin outside the gloves and ready to sew.
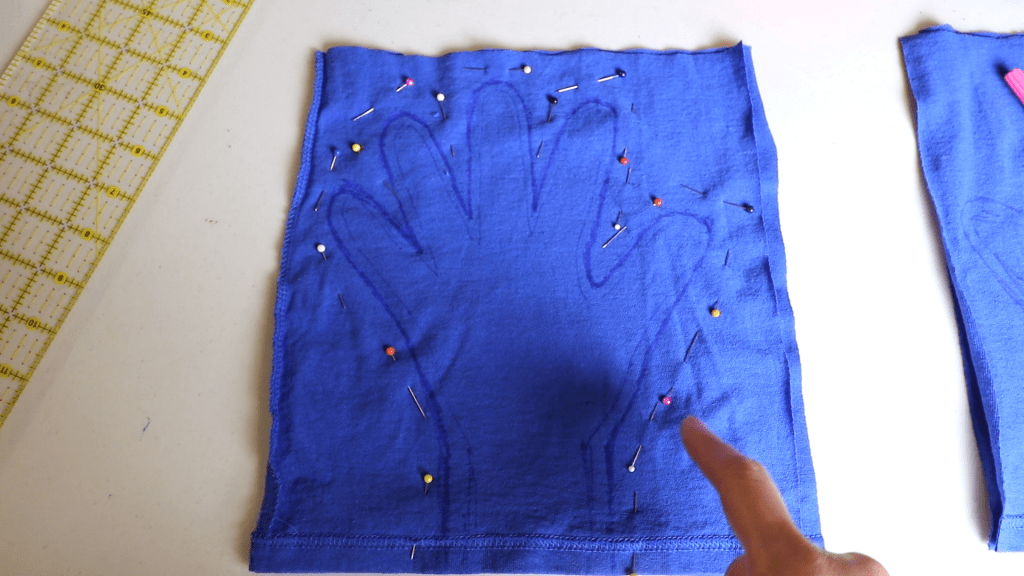
Back-stitch at the beginning and end, sew a straight line following the seam allowance line.
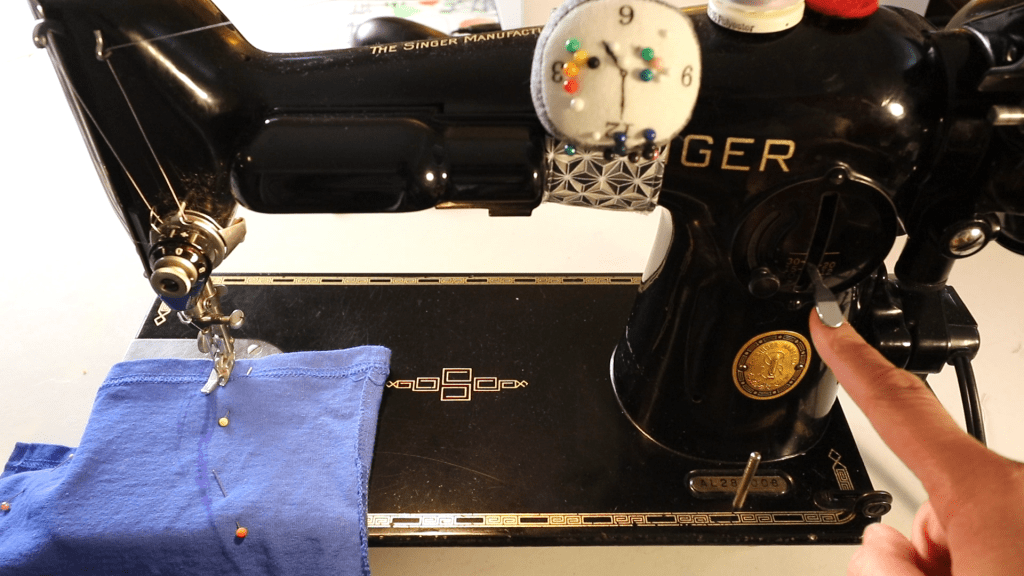
For the curved or tight area, use smaller (shorter) stitches to have better control. It also creates a stronger seam.
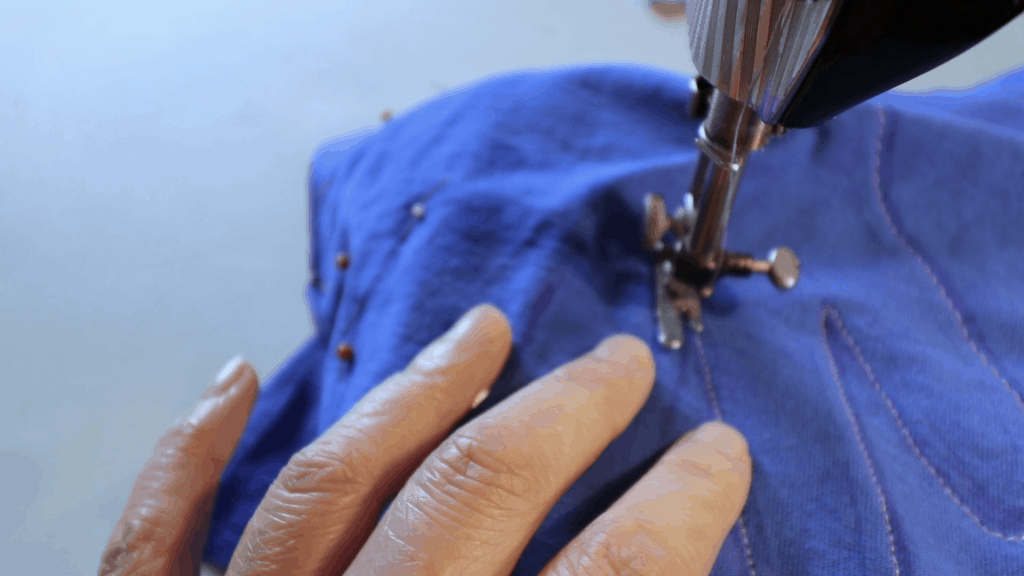
In between the fingers, the sewing line looks like a U shape.
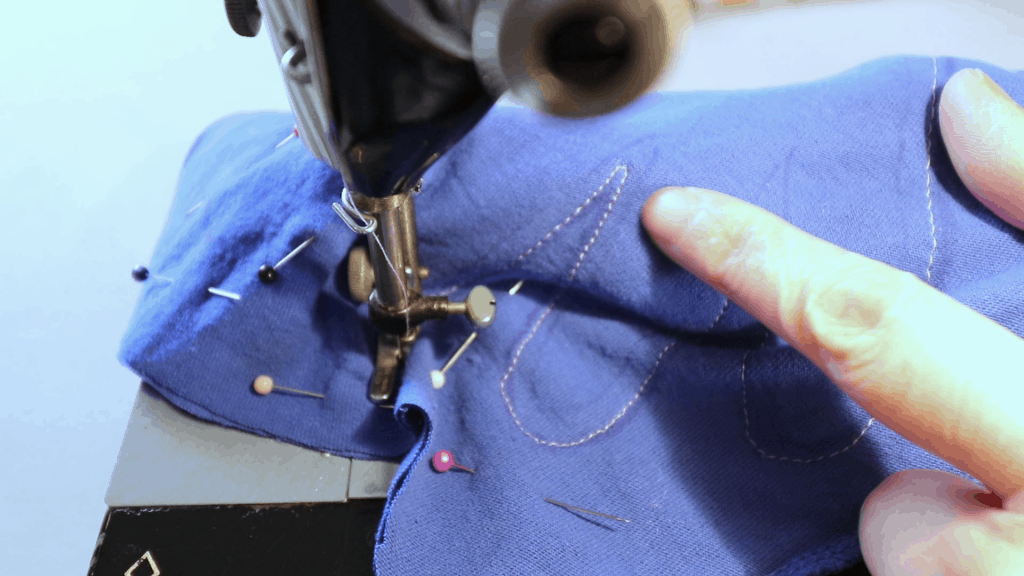
You can try it on to see the fit. If the fit is too loose, you can sew a tighter seam before you cut.
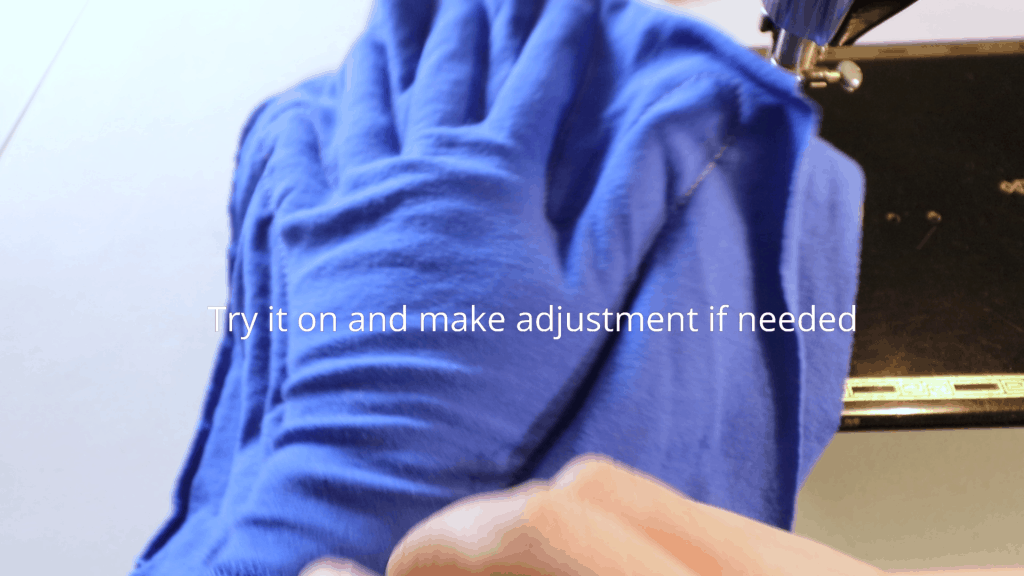
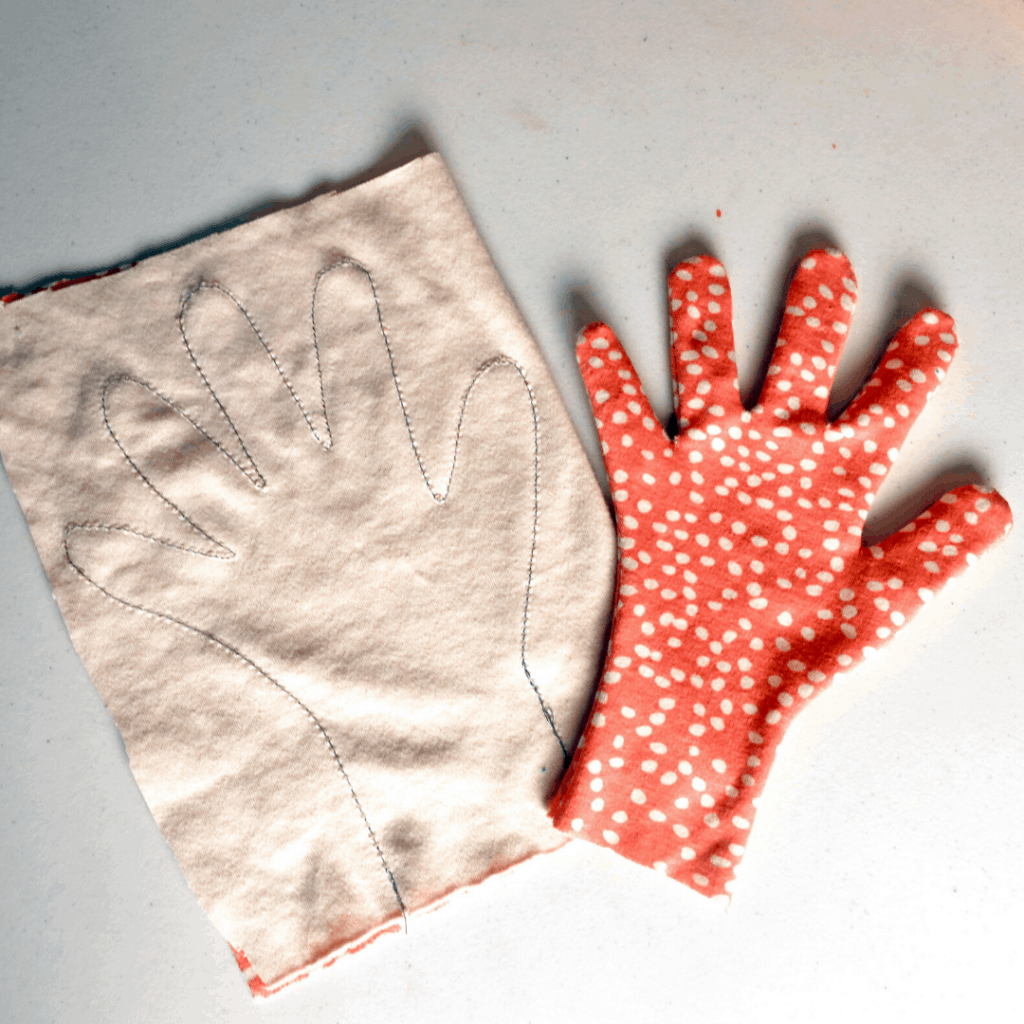
What it looks like after sewing.
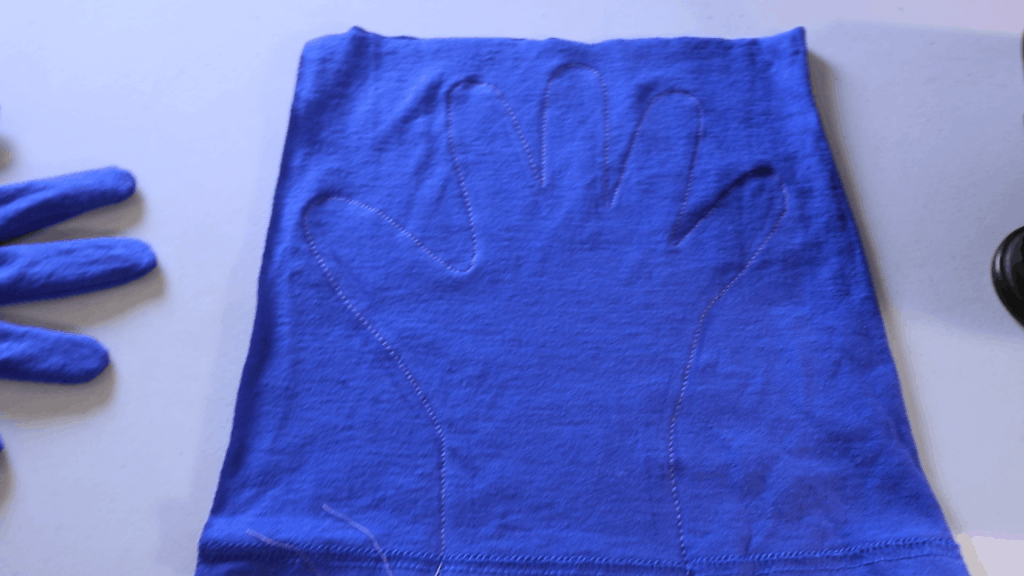
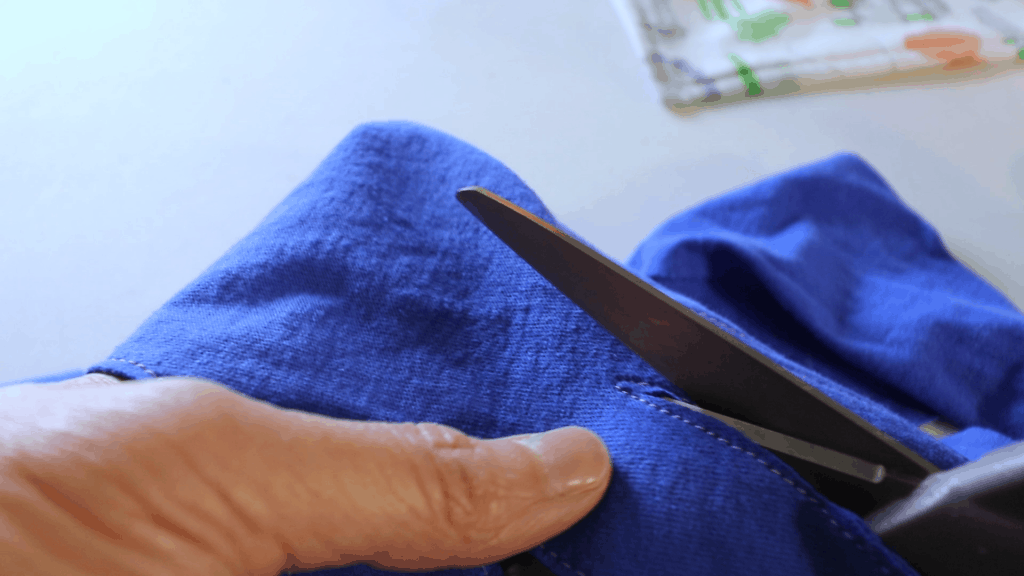
Cut the fabric close to the seam (about 1/8 inch).
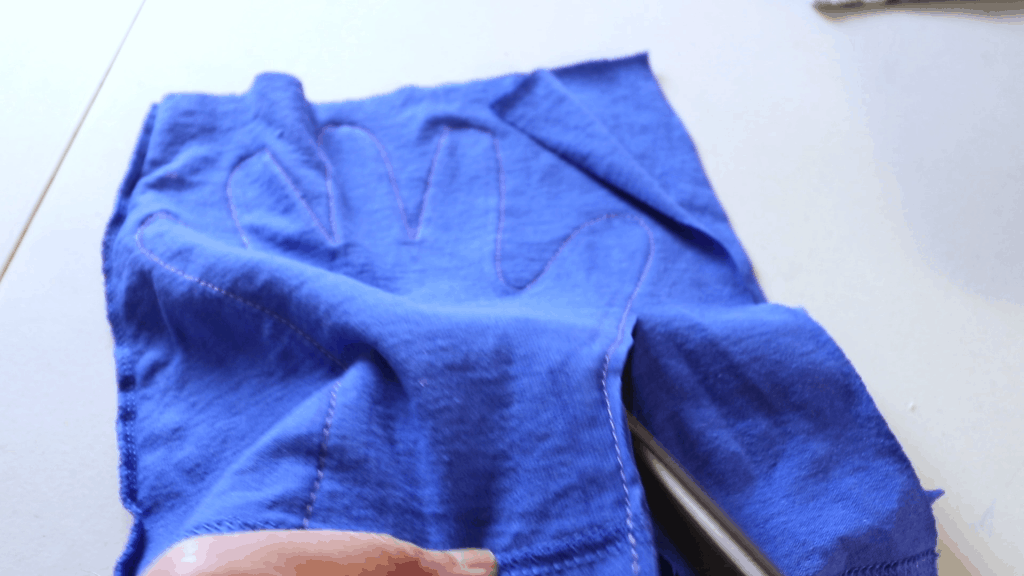
Cut closer to the line between fingers so it does not create bulk when turning over. Make sure you don’t cut the sewing line.
After cutting out the extra fabric.
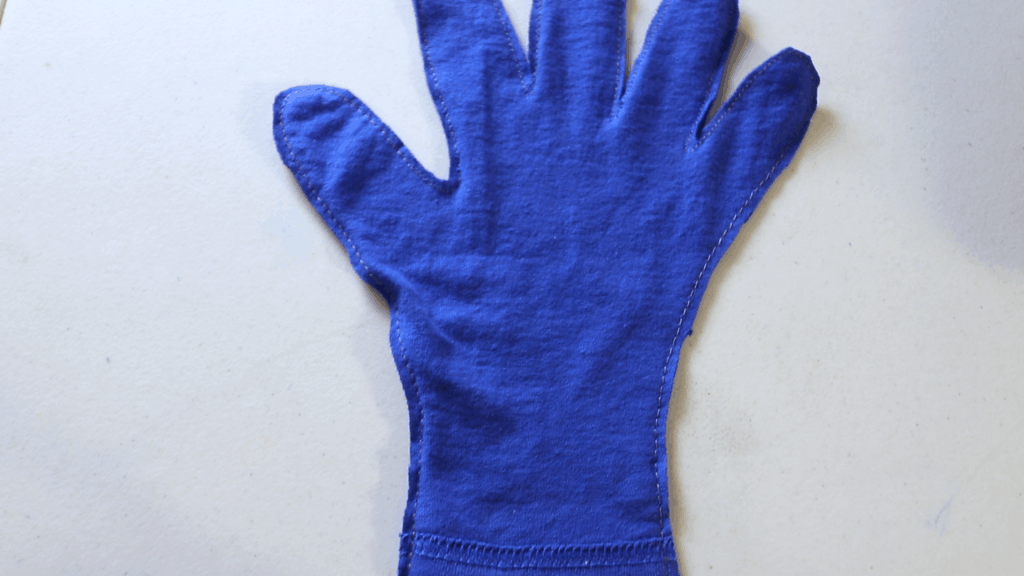
The reused hem – If you don’t reuse the T-shirt hem, you can just leave it raw. The T-shirt (jersey) fabric will not fray or unravel.
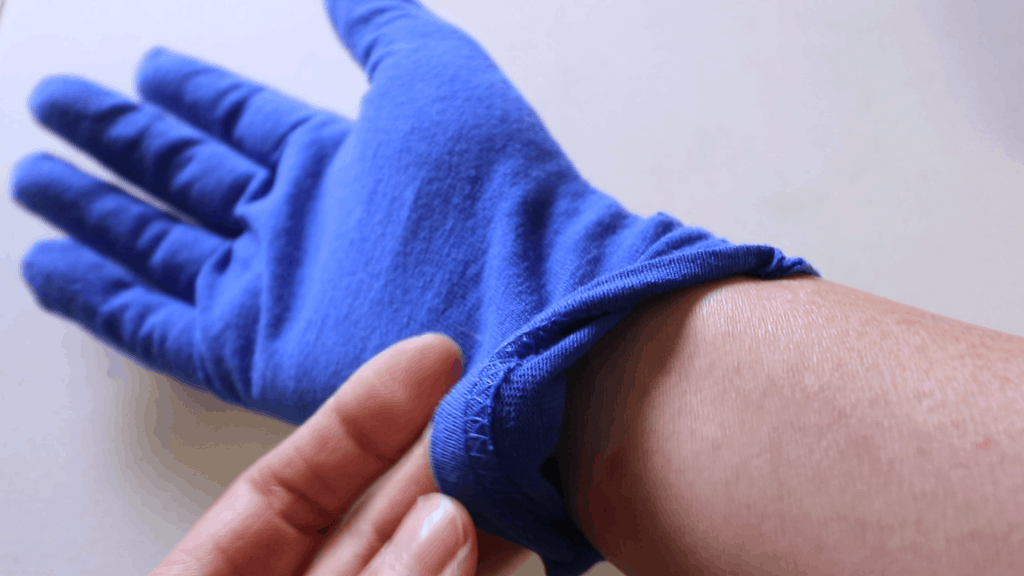
Make another one, wash and iron to give a nice finish.
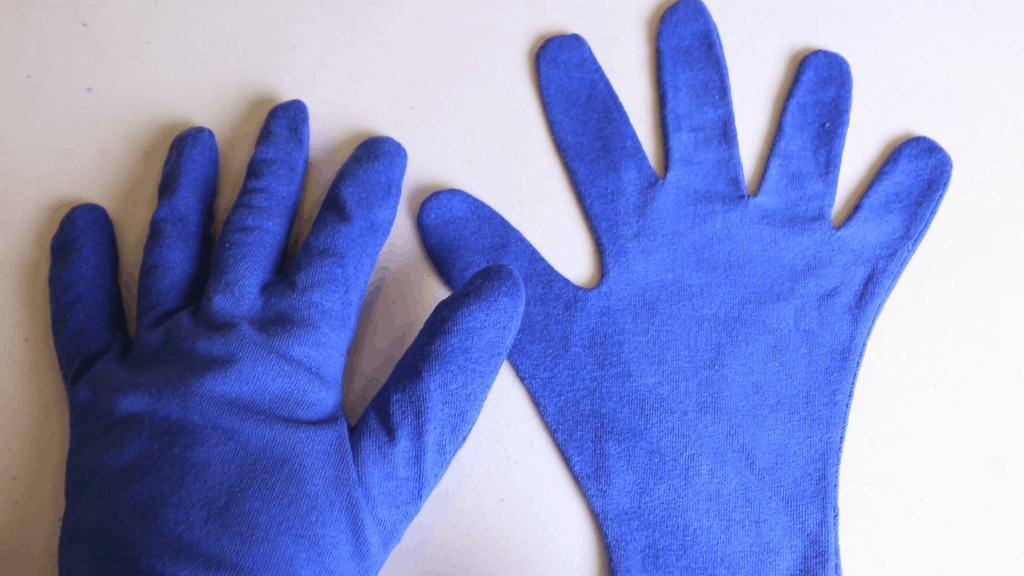
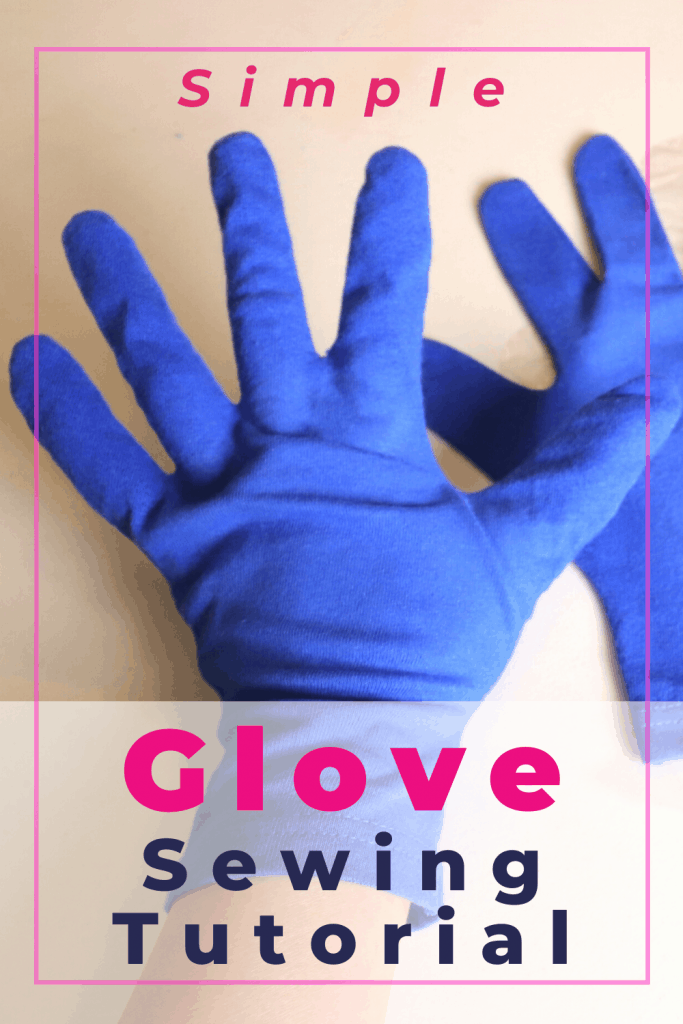
A perfect fit.
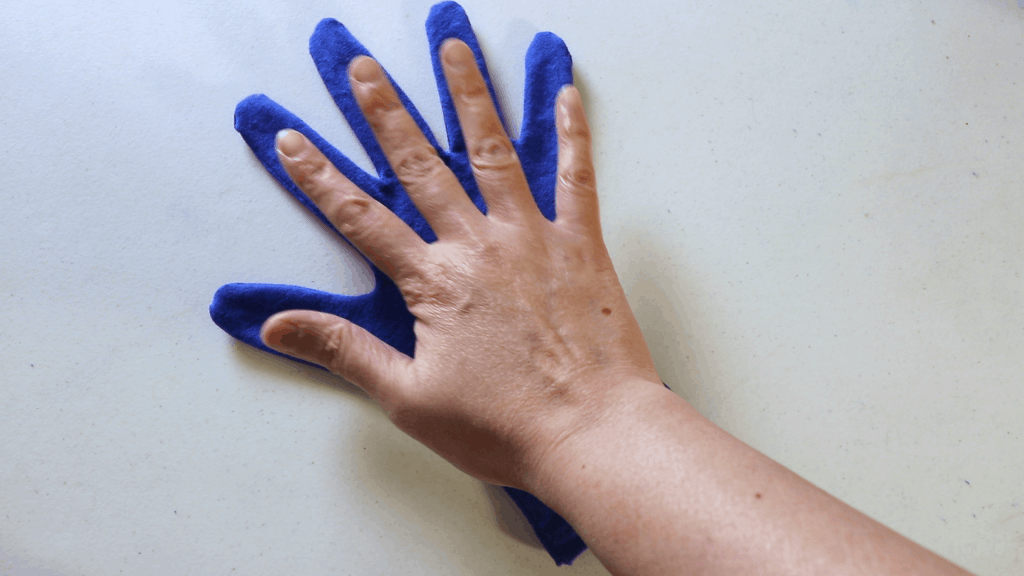
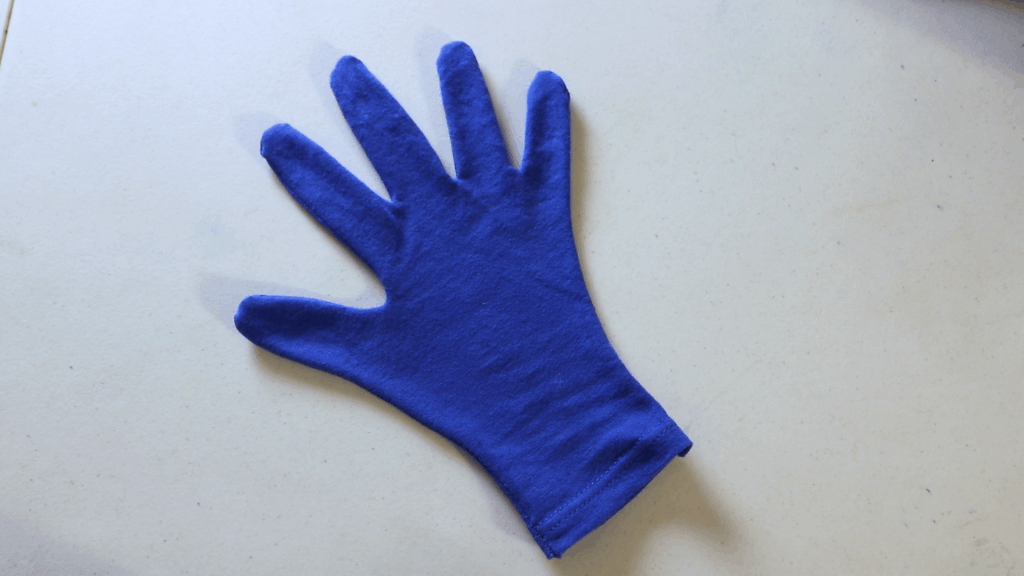
I also made a pair for my little kid. Next time, I should make mom-and-son matching pairs.

Watch our YouTube tutorial for sewing gloves


One Comment
3M 9542V
Thanks for sharing such a good blog!
King regards,
Thomassen Dencker