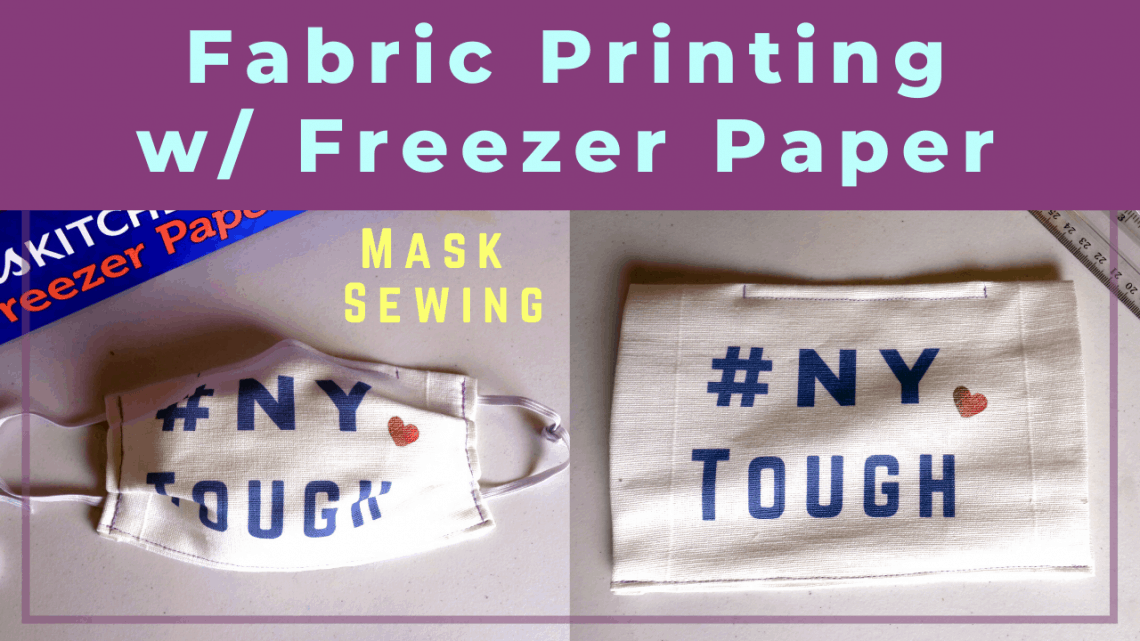
Fabric printing with a freezer paper and home printer – for mask sewing
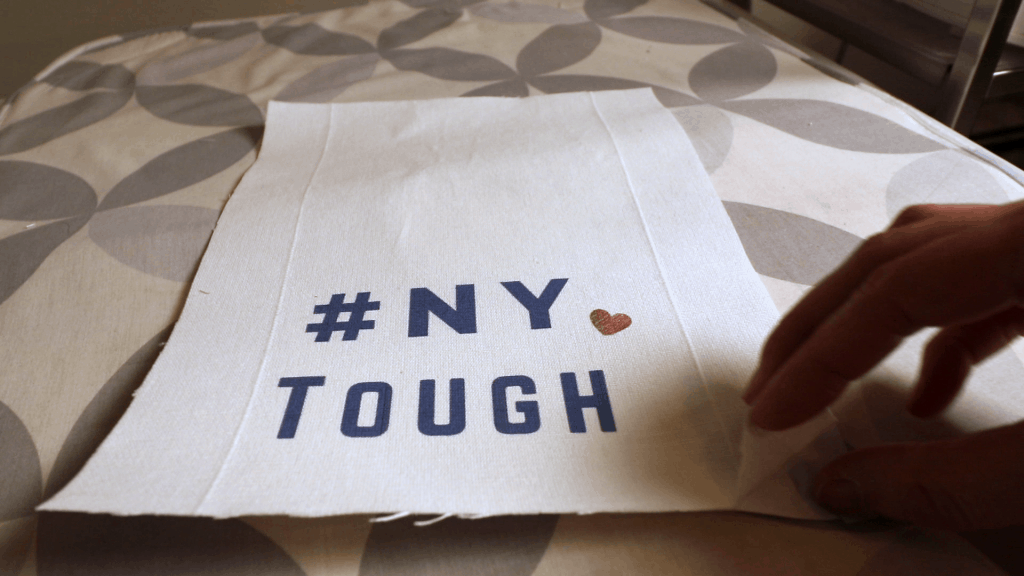
I want to add some simple graphics to my homemade mask. Since we are in New York, the #NY tough is just a phrase that resonates with me recently. There are many ways to print your own design onto fabrics. You can send out to an online fabric printer such as spoonflower.com, create your own silkscreen, make a stamp, or using your home printer and freezer paper.
I like the idea of print at home with a piece of freezer paper for smaller fabric. It costs much less than commercial printing, less labor-intensive than silk screen printing, and you can change design quickly on the computer.
Below is my simple process for printing your own fabric and sewing the mask. For a video tutorial, see the bottom of the article.
Printing custom fabric with an inkjet printer
Material
You need a home inkjet printer. The laser printer will not work well for this project.
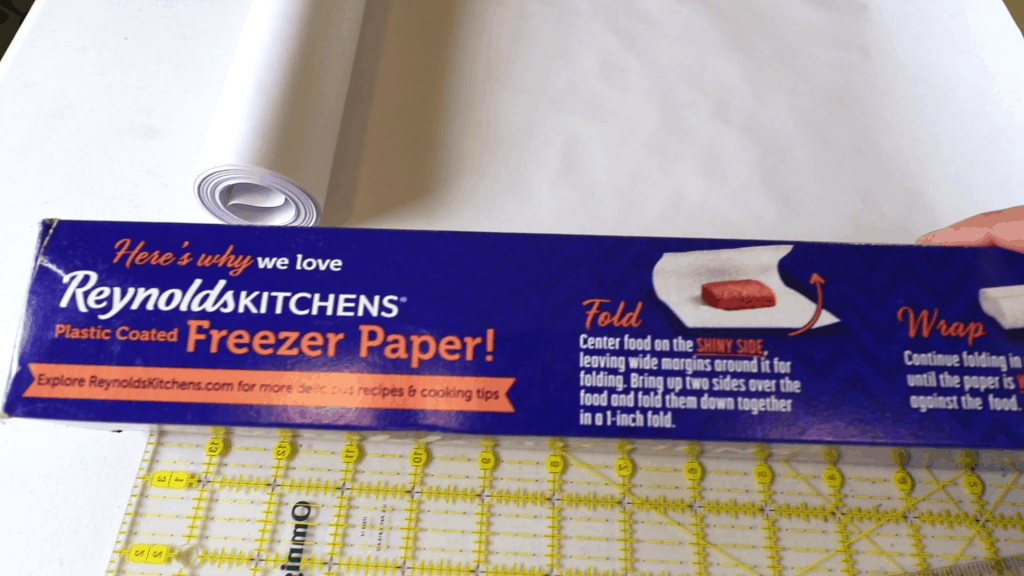
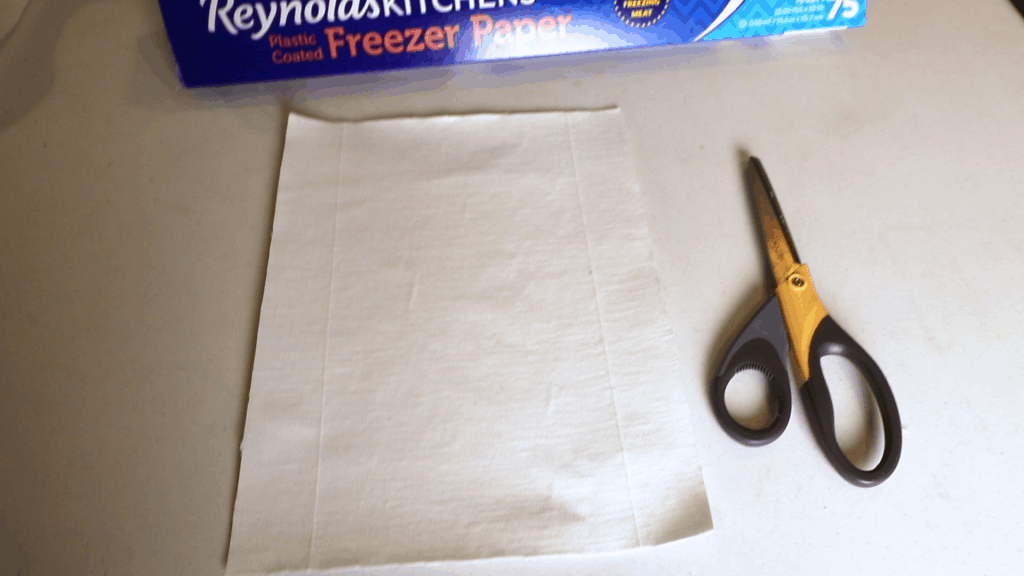
Freezer paper is available in most American supermarkets. It might be harder to find outside the US. The purpose of the freezer paper is to glue to the wrong side of the fabric so the fabric can run through the printer. Don’t confuse it with a wax paper. A wax paper does not have a shiny side to glue to the fabric so it will not work here.
A possible substitute is a temporary fabric glue spray and any thin paper such as a tissue paper or tracing paper. If they can bond to a piece of fabric and run through a printer, it should work the same way. Test first before starting any big project.
A cotton or cotton blend fabric will work the best. You can experiment with other fabric content. Lighter color fabric will show the image better, but it does not have to be white.
Other materials needed if you are going to sew the mask with the fabric you created: an iron, sewing machine, and elastic band.
The step by step fabric printing
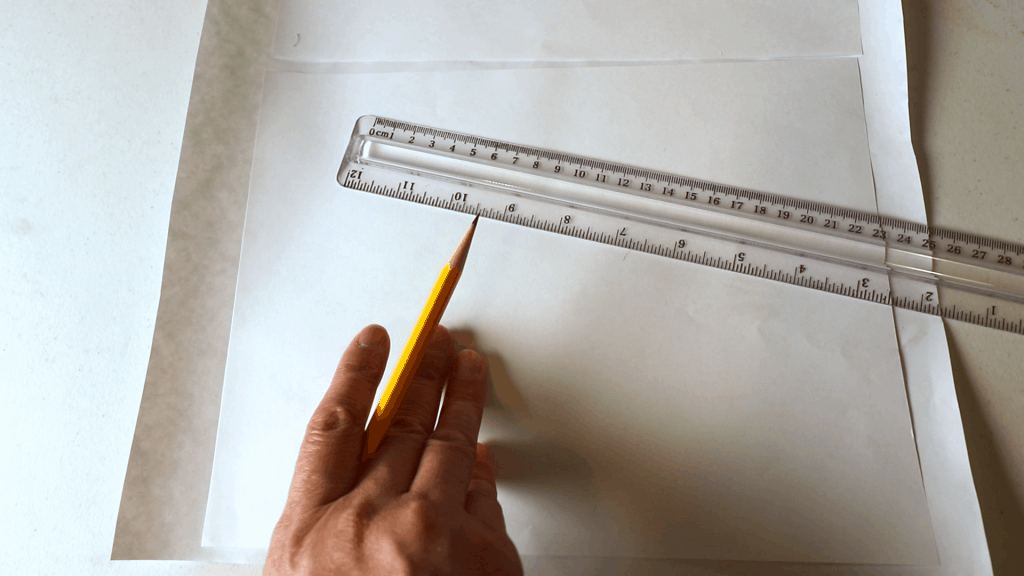
Cut the freezer paper to the size you can fit through the printer. The common sizes are US letter, A4, and legal. I use US letter size here (8.5 inches by 11 inches). Both letter and A4 size will work for the following adult mask. Adjust the elastic ear-loop for the best fit.
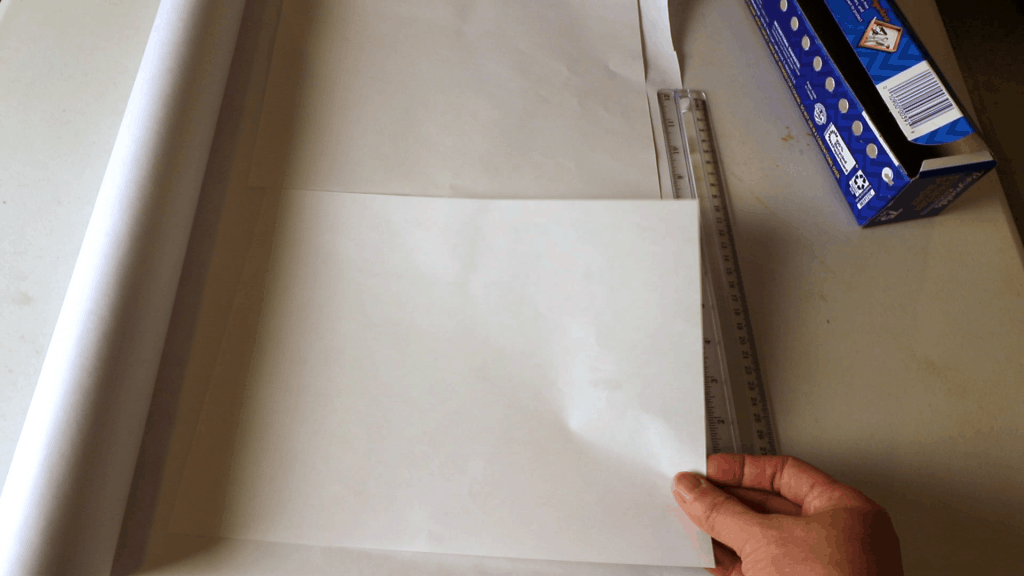
Trace the regular printer paper (letter or A4) and cut the freezer paper.
Iron the freezer paper with the shiny side (glue side) facing the wrong side of the fabric. It should glue together temporarily.
If your fabric has pattern, make sure it is the section you want to see before ironing.

Cut the fabric to the same size as the freezer paper.
Design the graphics
You can use any graphic software or app to design your graphic. “Word” document will be the easy one. I use Canva.com to set the paper size and type in the words. You can play with different shapes, lines, and icons under “Elements” on the left panel. Resize and change color as needed.
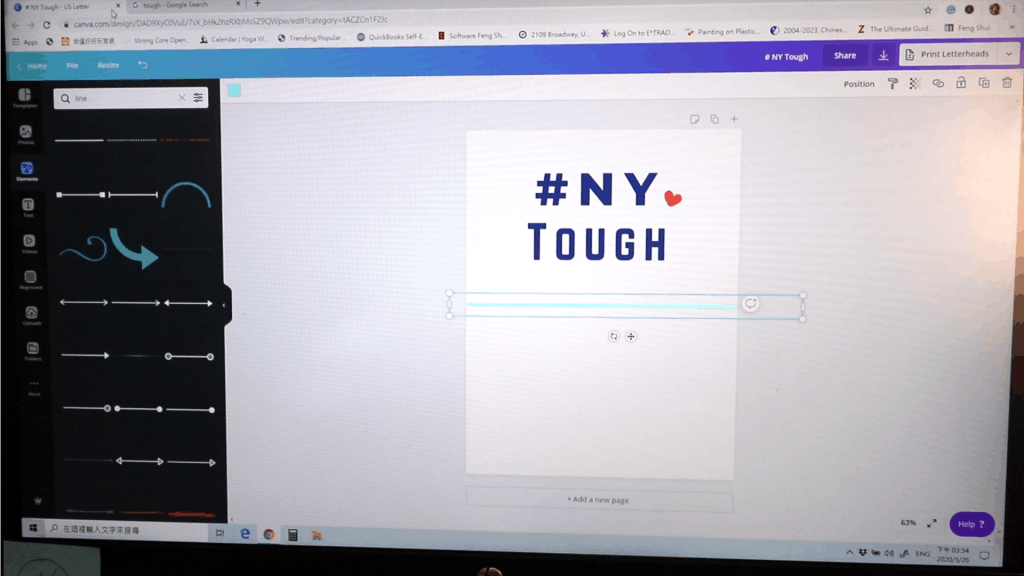
I moved the words to the bottom half and take out the blue line in the center (for guides only). Try to keep the image close to the center so it will not distort too much.
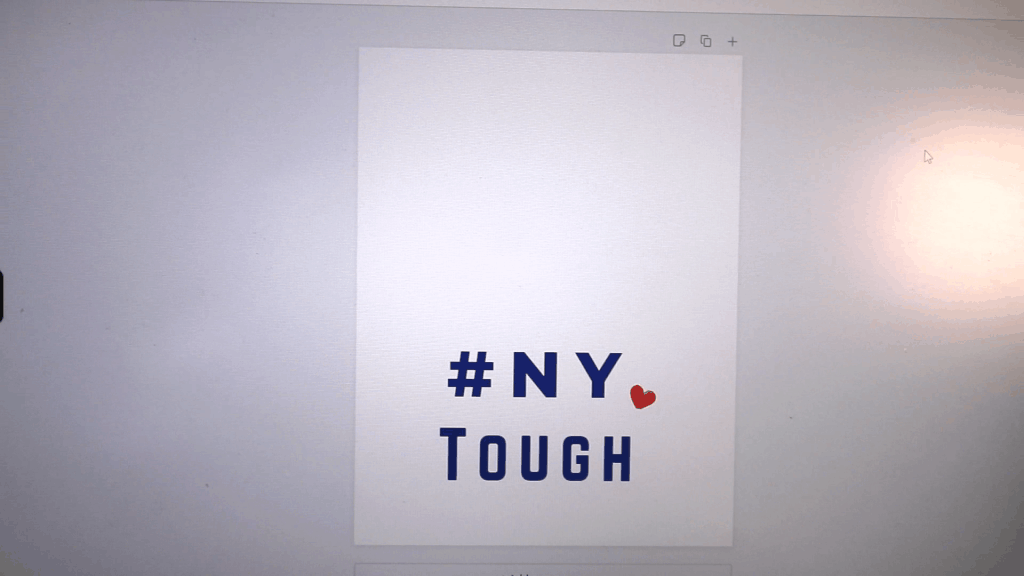
After you are done with the design, download the file from the upper right corner. Use either png or pdf files for a high-quality image.
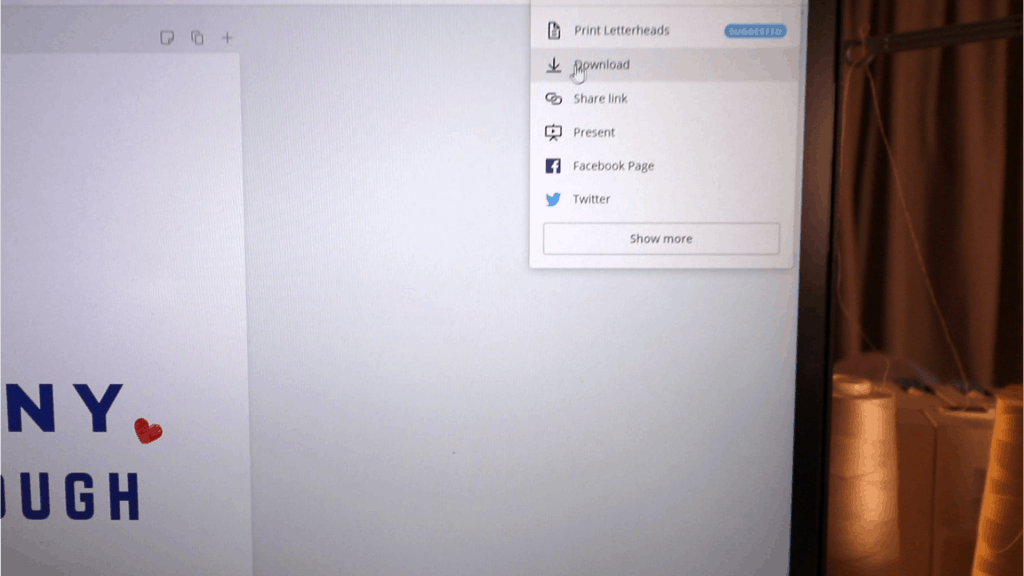
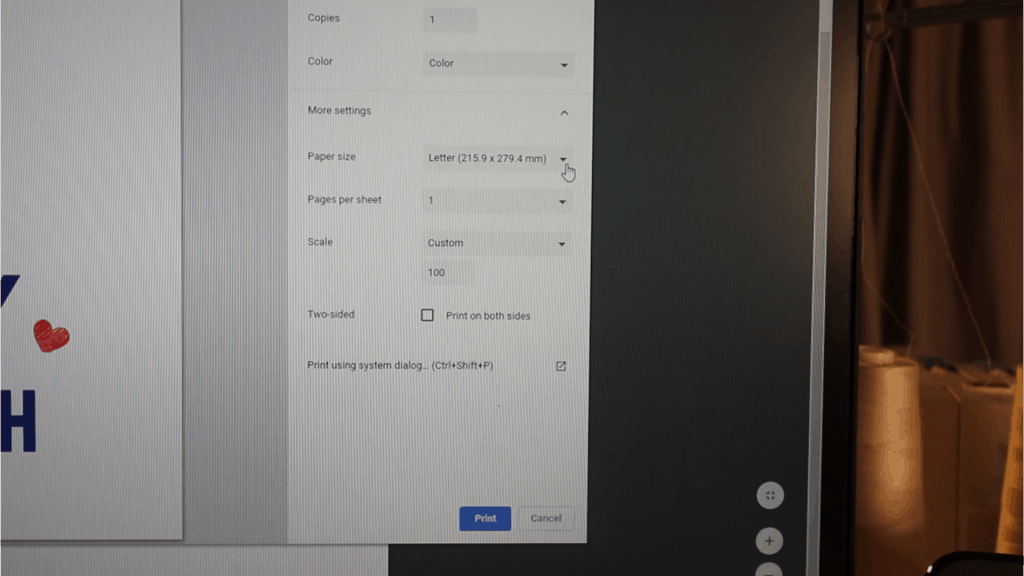
I saved the file as “pdf print” and then open the image on my computer. Adjust the printer setting to color, custom 100% (no shrinking), and high-quality image. You might need to test a few times to find the best combination.
Some people suggest choosing “envelop paper” for better results. You can try different paper choices. I just pick plain paper.
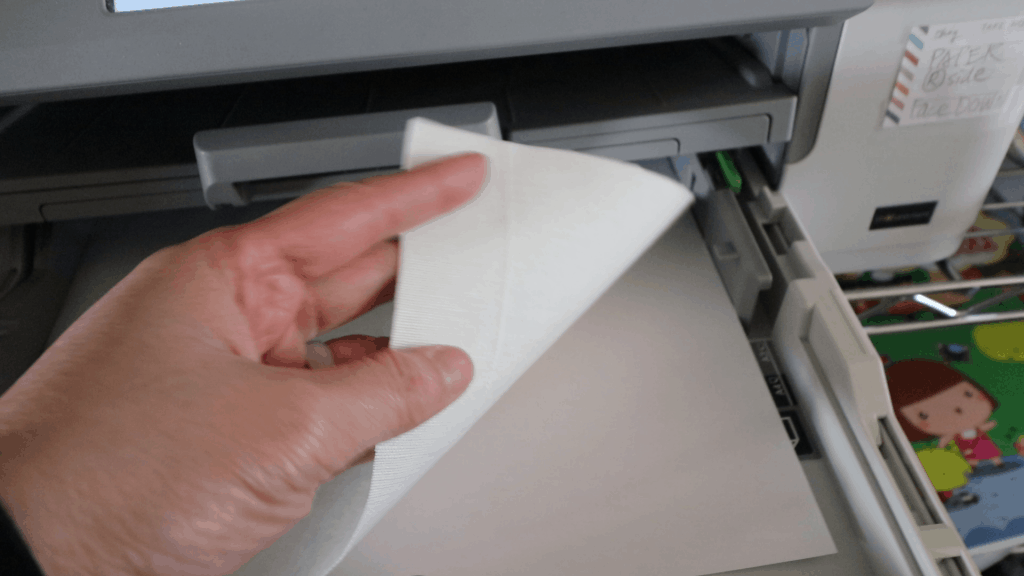
Place the fabric paper into the correct tray of your printer. My printer prints the bottom side of the paper so I make sure placing the fabric side down and paper side up. We want to print on the fabric side. Each printer is different. Test first if you are not sure.
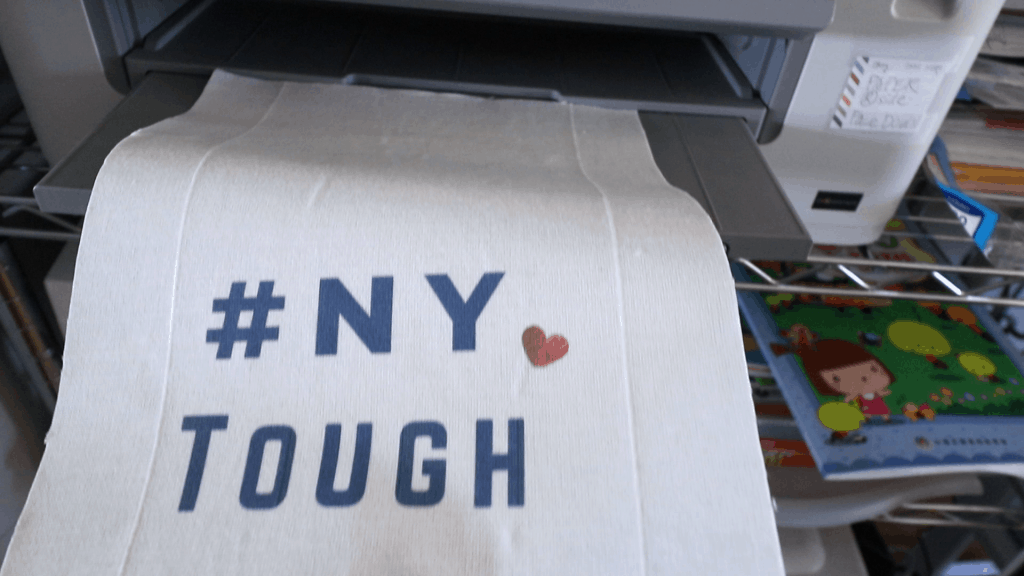
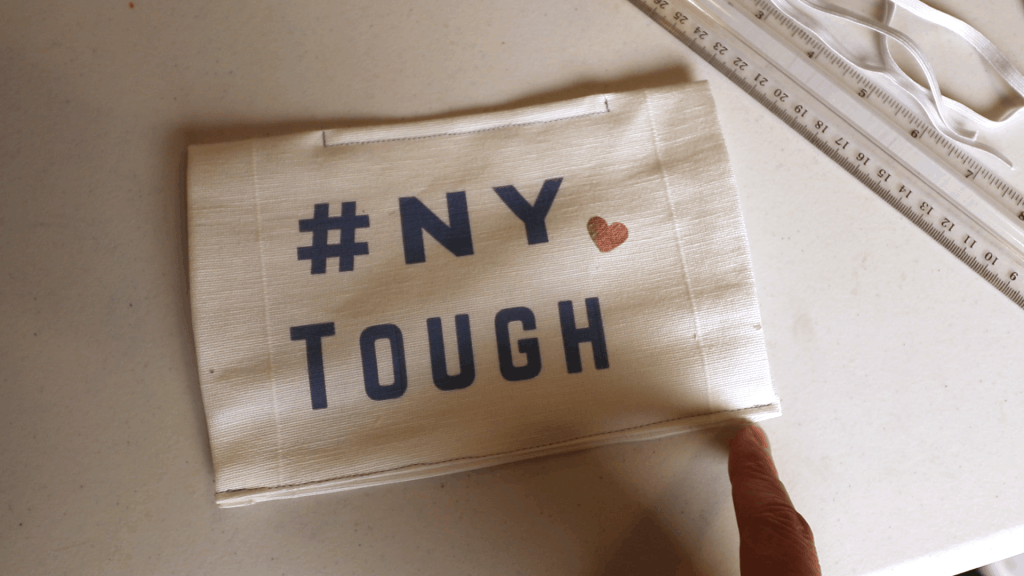
Press print. The printed image colors look lighter than my screen. I will try the highest quality in the printer setting next time for more concentrated colors.
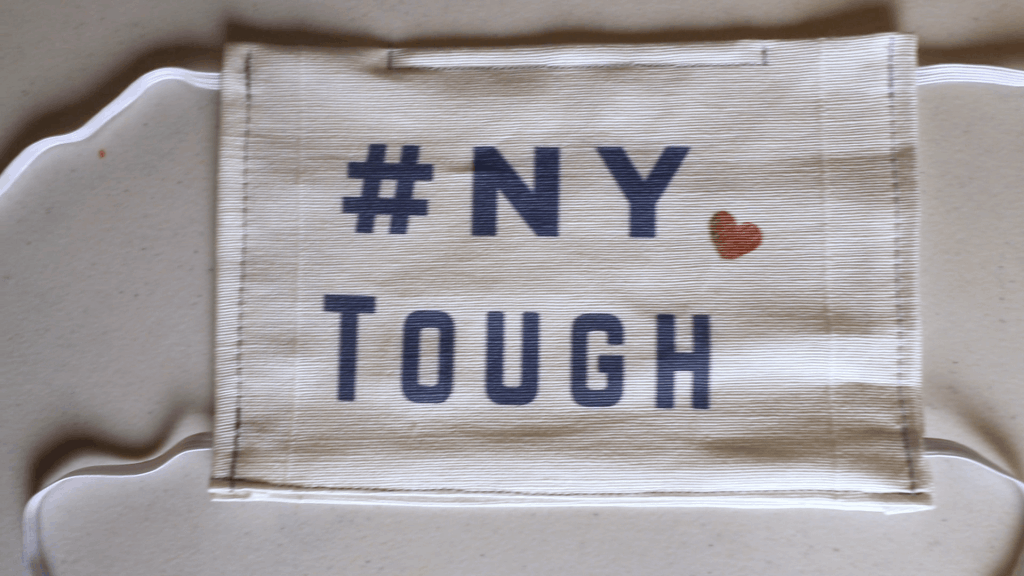
Iron it from the backside for a few minutes to heat set. Or run it in the dryer for a few minutes to heat set the graphic. It is supposed to be machine washable after that, but it is safer to hand wash to minimize fading.

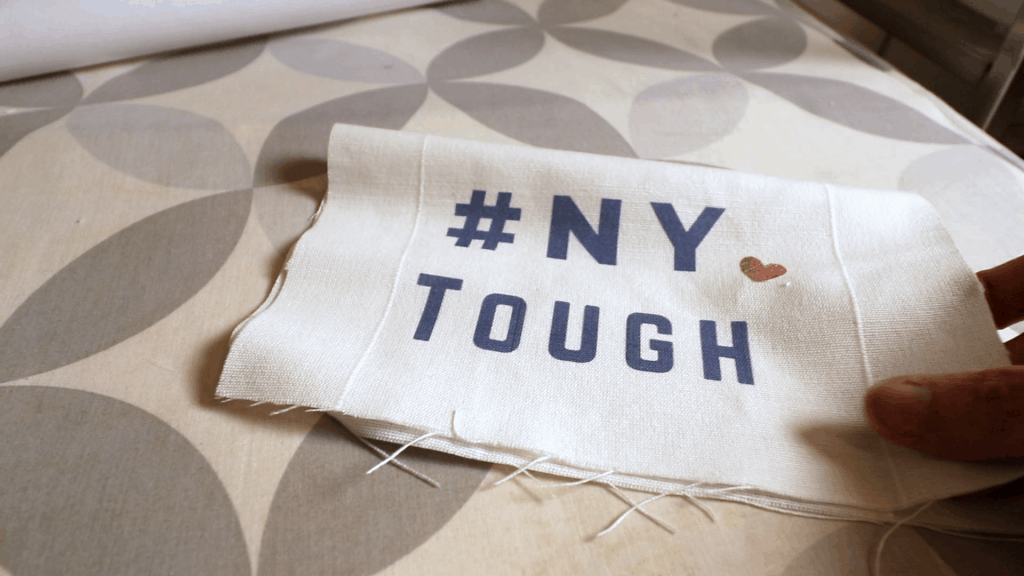
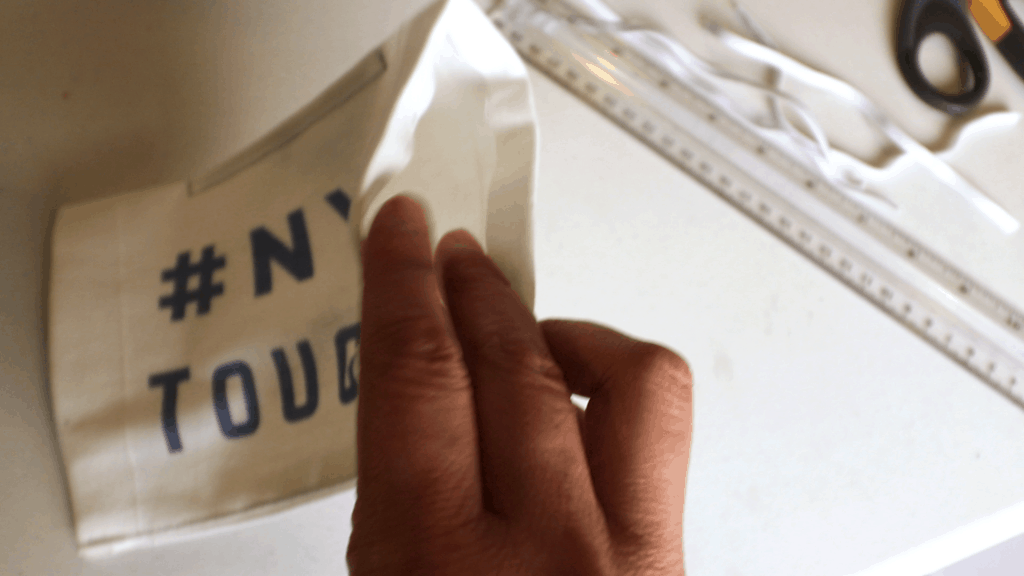
Peel off the freezer paper from the fabric. We don’t need the freezer paper anymore.
Sewing the mask
Now we can start the mask sewing process. There are many different ways to sew masks. Here is one that will work with the printer paper size fabric.
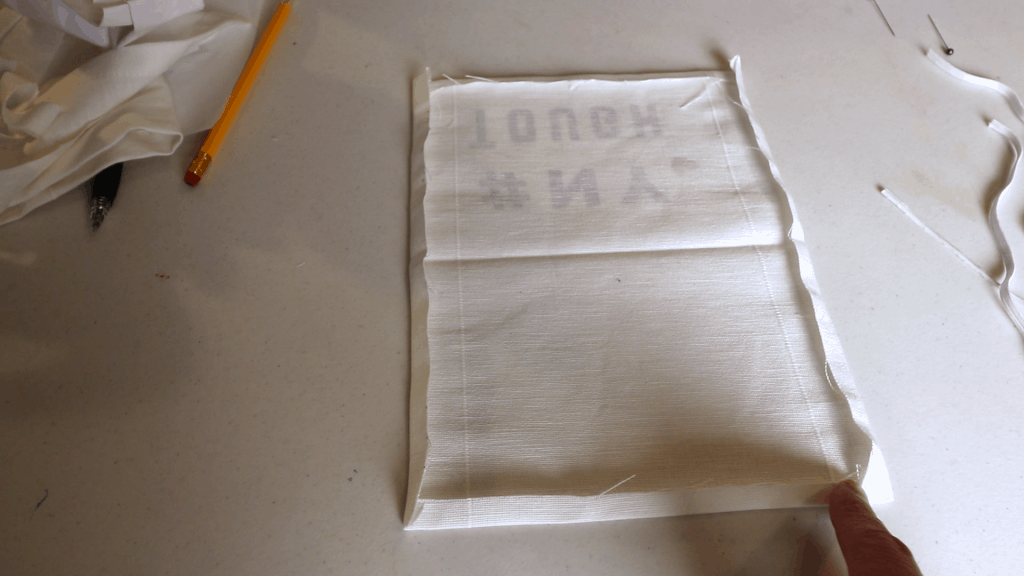
Fold the fabric in half, and fold the seam allowance in from all 4 sides (about 3/8 inch or 1 cm). Iron to set the folding lines.
For the elastics, cut (2) pieces of 7 inches for average adult size, or cut (4) pieces of about 7 inches so they can be tied to any length later.
If you want to tie up the ear loop later, you can use 4 pieces of bias tape, twill tape, or other alternatives.
Sew the wire insert on the top center (optional) and sew the bottom seam.
Now it looks like a tube with openings on both sides.
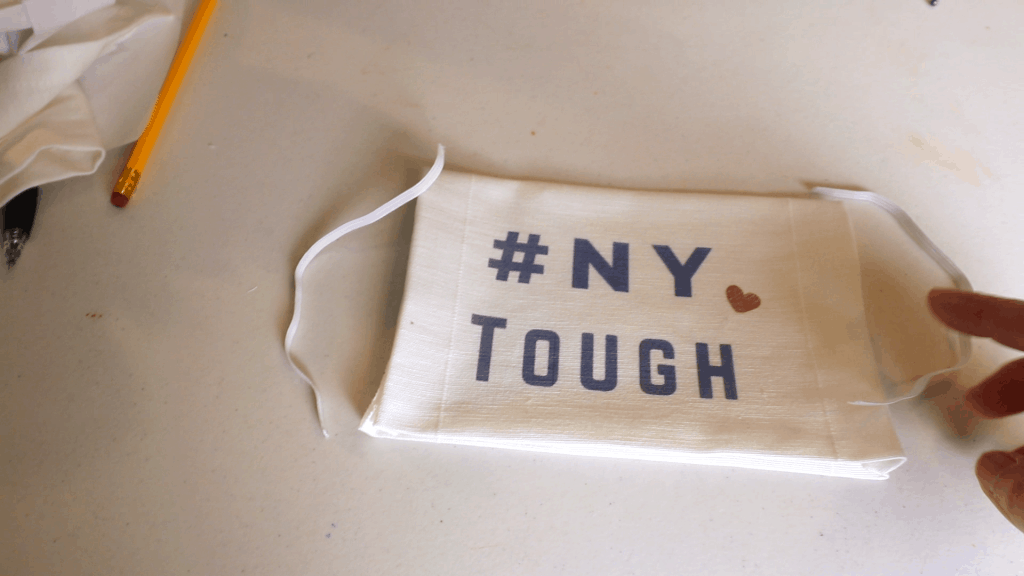
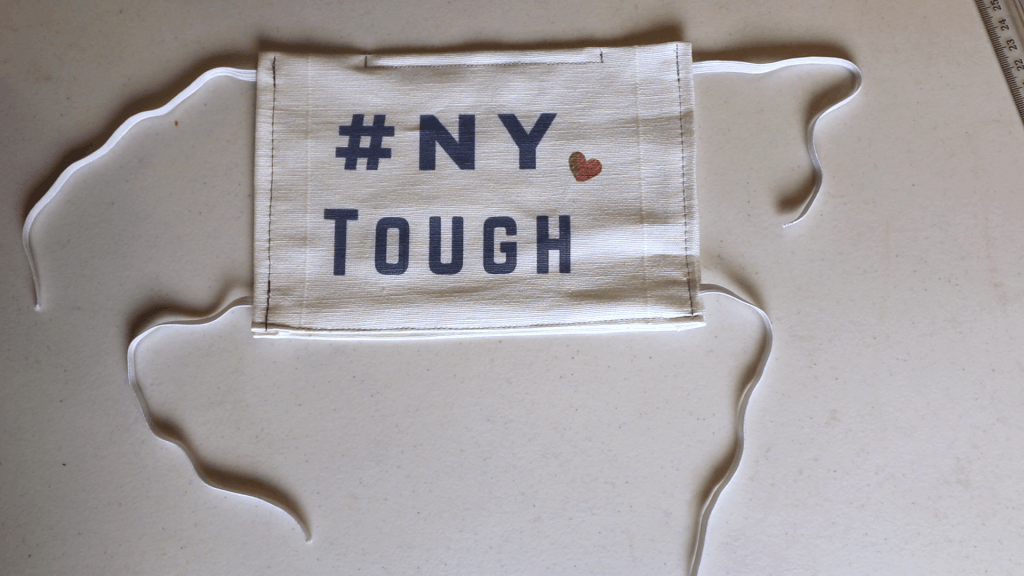
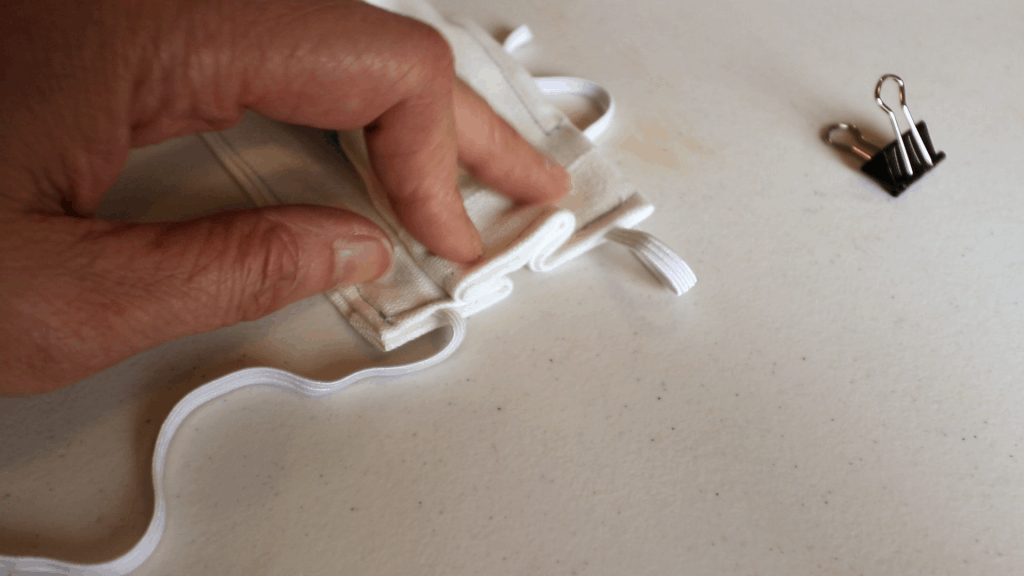
Place the elastics near the 4 corners and sew up the 2 sides.
I use (4) pieces of 7 inch elastics.
Almost done.
Make 2 folds so the center section is about 1.5 inches wide. Adjust the size as needed. Pin or clip before sewing.
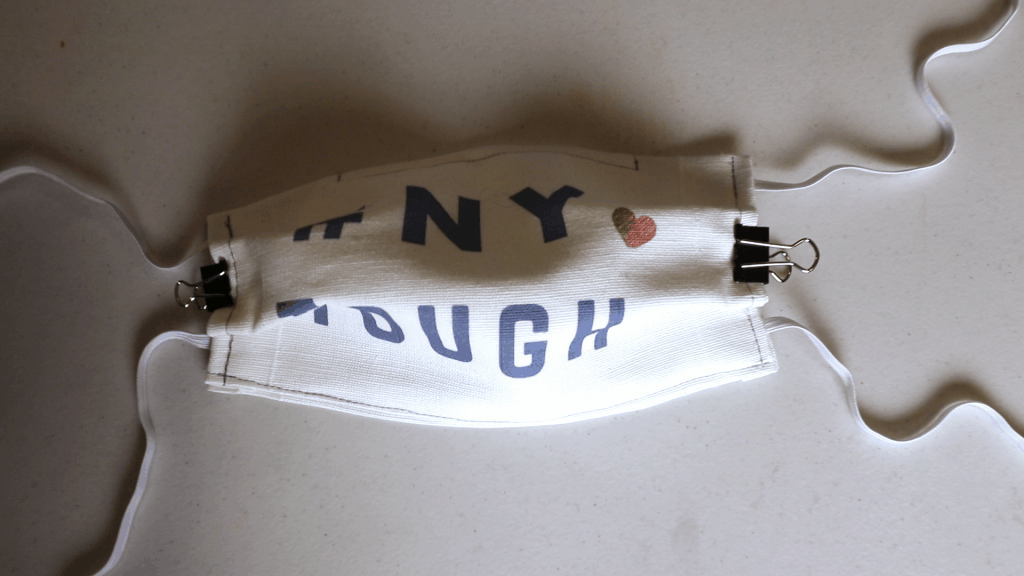
About 1.5 inches in the center section.
Sew one or two straight lines directly on top of the precious sewing lines on both sides.

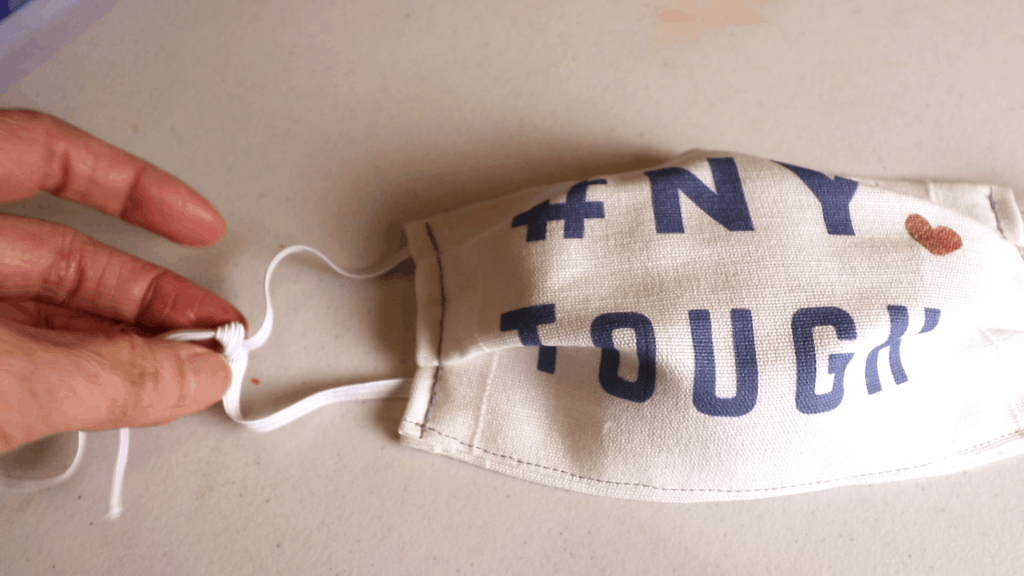
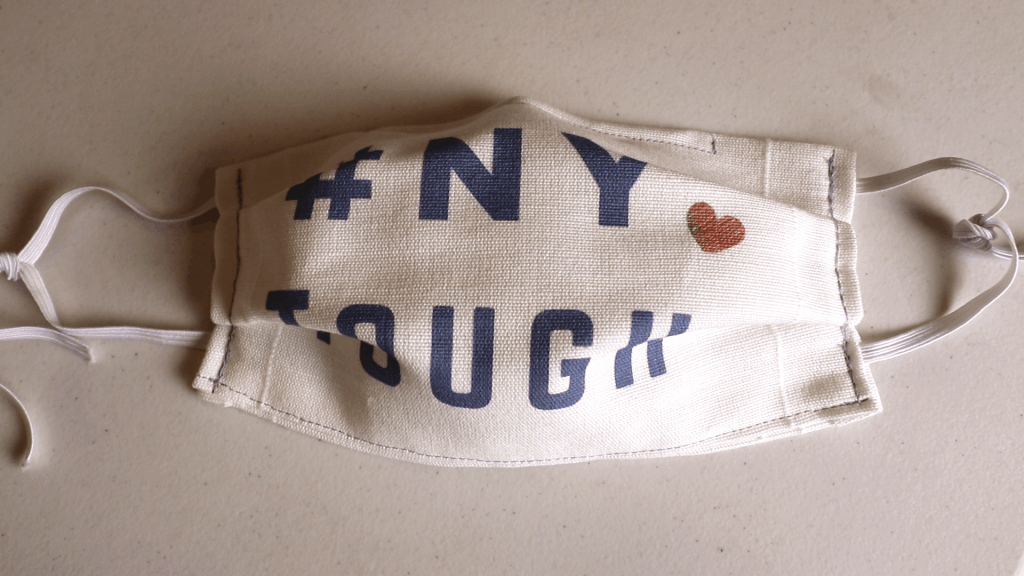
Tie the elastics for the ear loops. Done.
Watch our video tutorial for custom fabric printing and mask sewing
You can use this freezer paper fabric-printing technique on many different projects. Have fun designing your own fabric!


You May Also Like
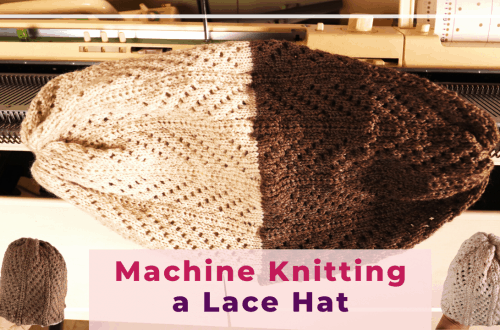
How to machine knit a reversible lace hat with a Brother punch card knitting machine
January 29, 2021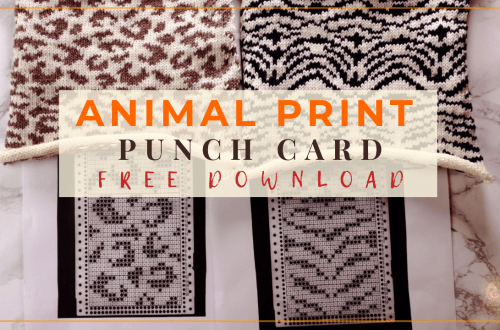
Animal print punch card design and free download for machine knitters
September 14, 2020