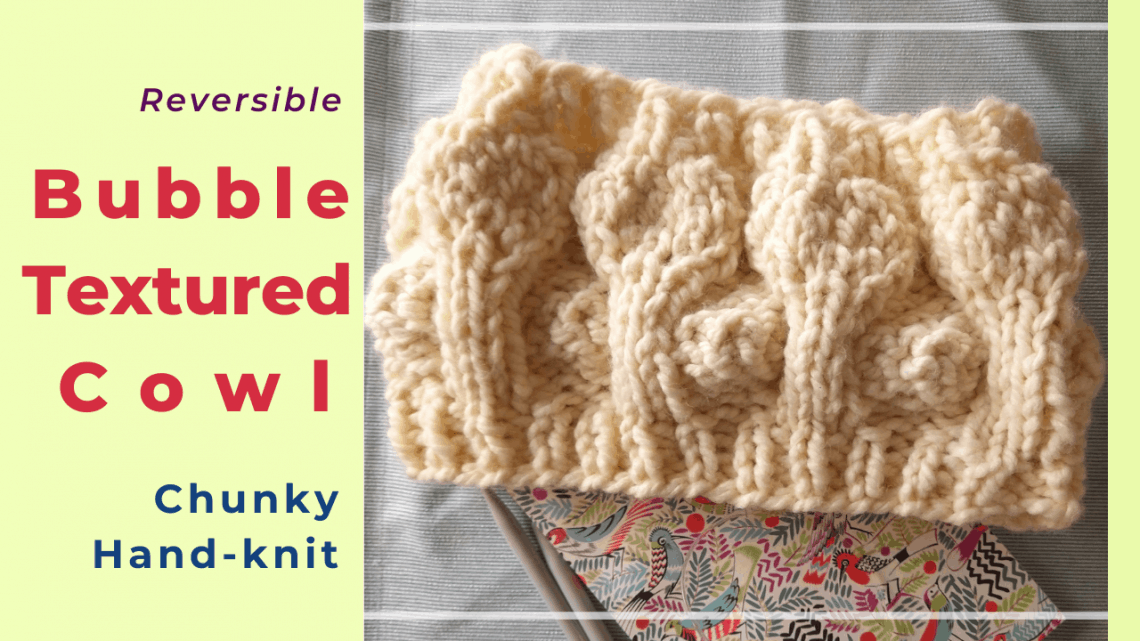
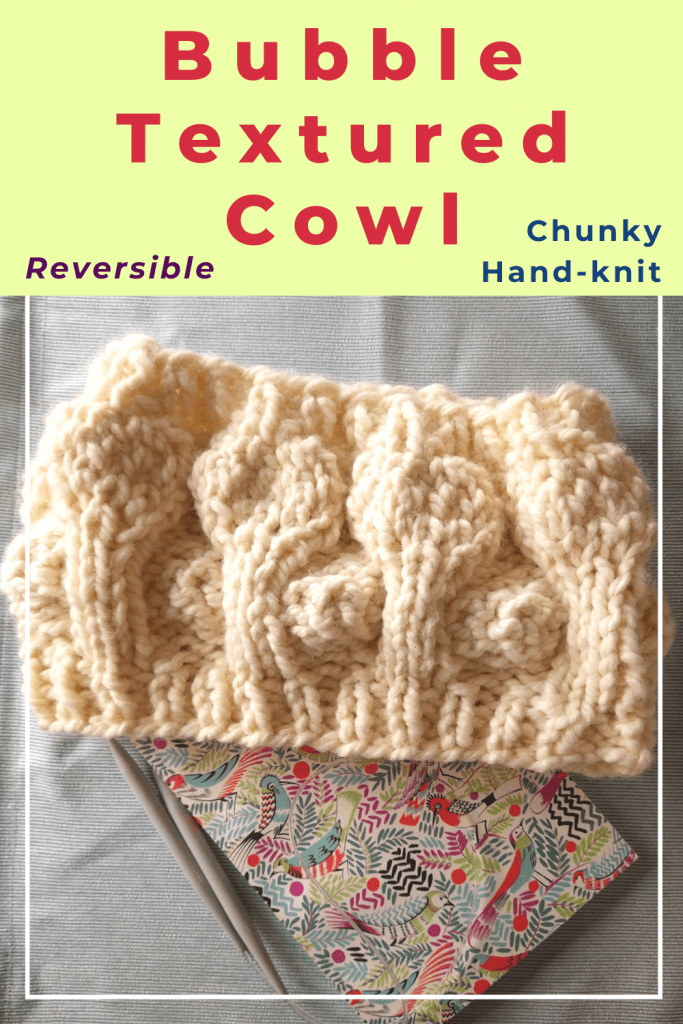
Easy reversible bubble stitch cowl knitting pattern with chunky yarns

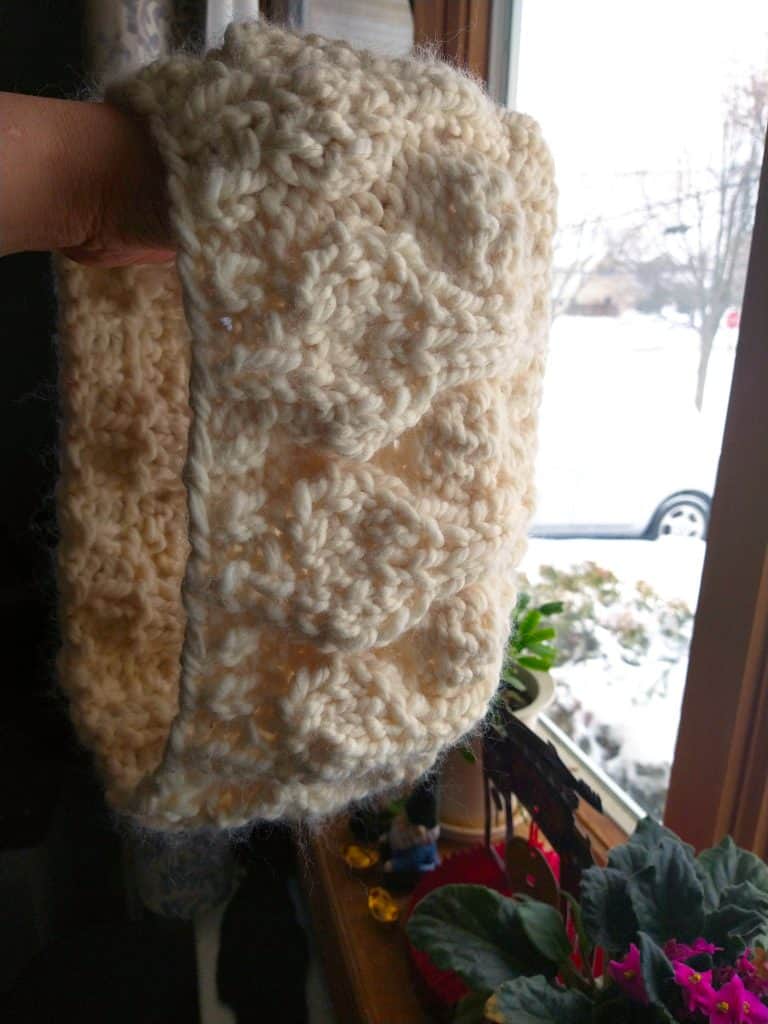
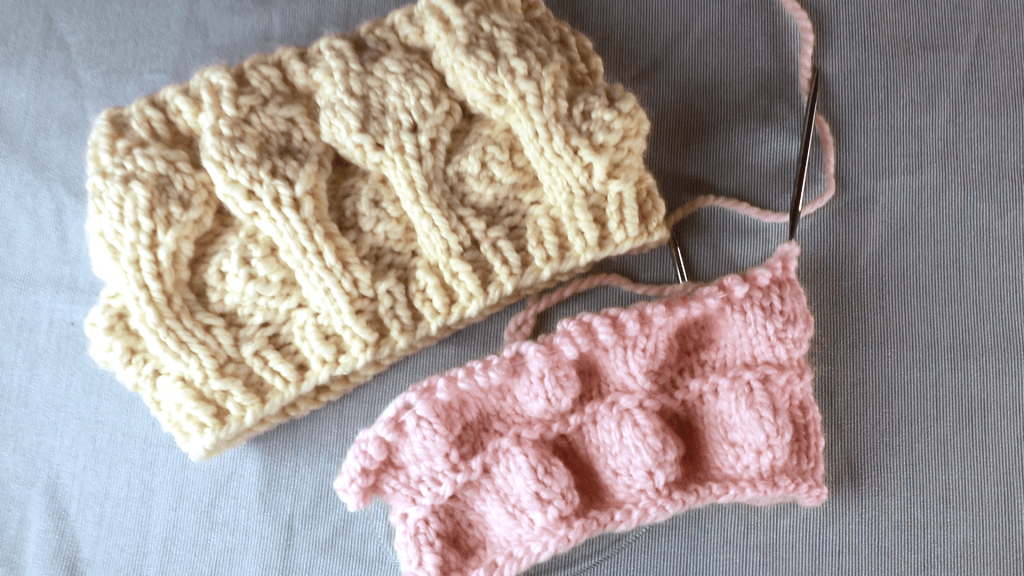
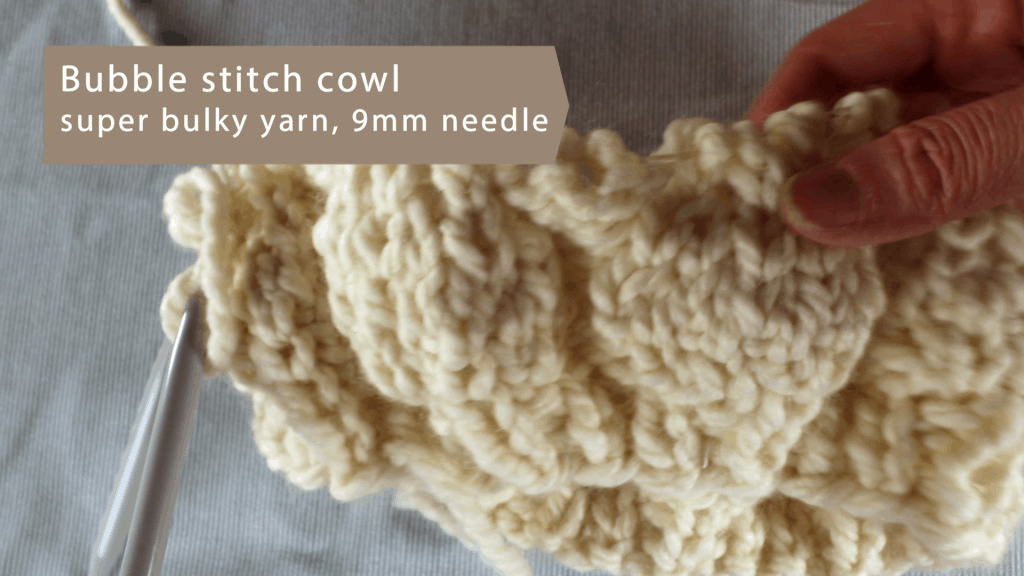
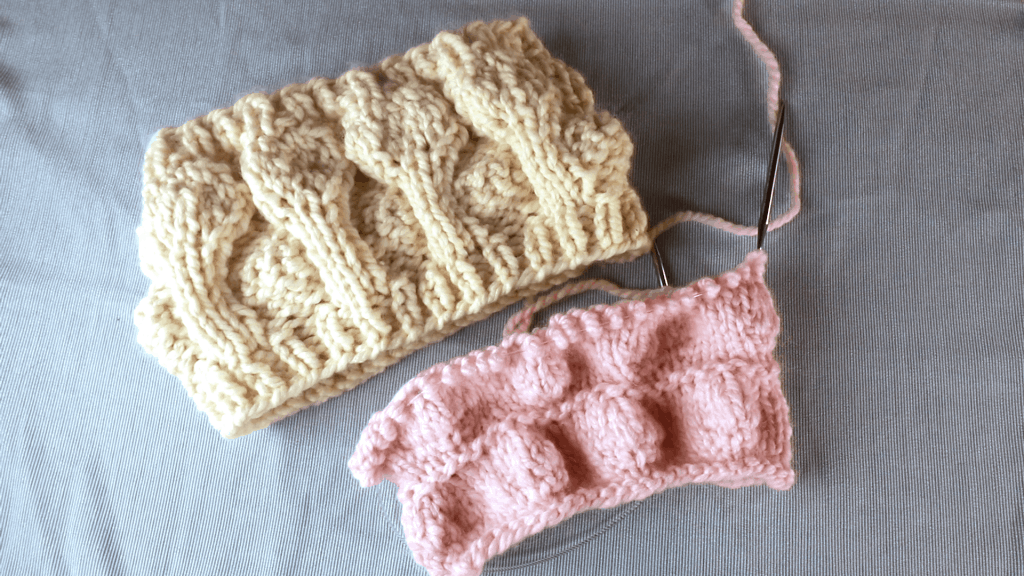
Here is a simple hand-knit cowl or neck warmer with super chunky yarns and a 9 mm knitting needle. It has a reversible bubble texture, super warm to wear, and very quick to knit.
We will show you how to knit it flat (back and forth) and in the round (the cowl knitting pattern). Watch the video tutorial below for more details.
Watch the video for an easy bubble stitch cowl pattern
The reversible bubble textured stitch
Knit in the flat (back and forth)
Here is the basic bubble-stitch pattern when knitted flat, and with the stockinette stitch.
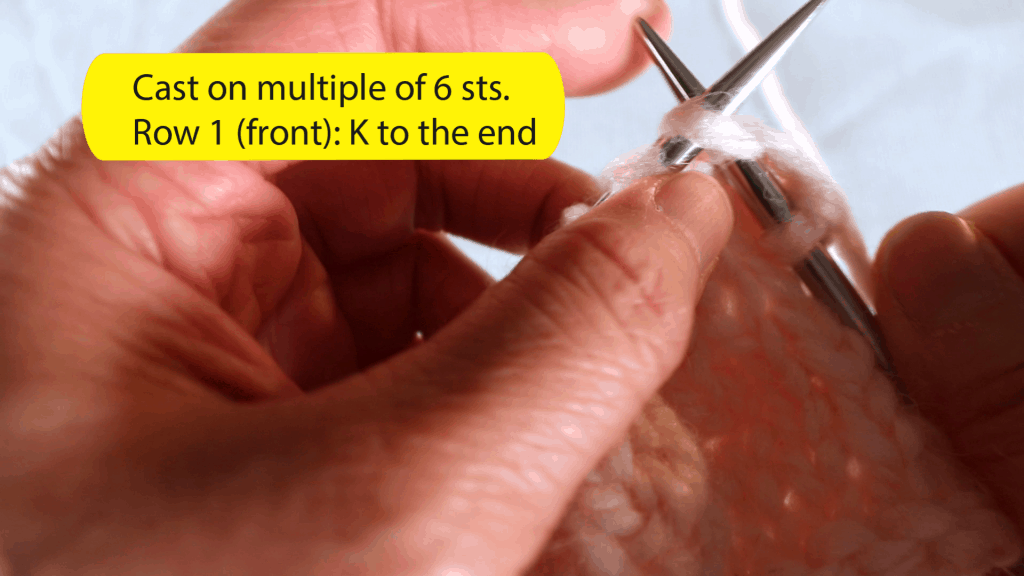
Cast on: any multiple of 6 stitches, or multiple of 6 plus 3 stitches if you want it symmetrical. I have 24 stitches here.
Bubble layer 1
Row 1 (front): K to the end.
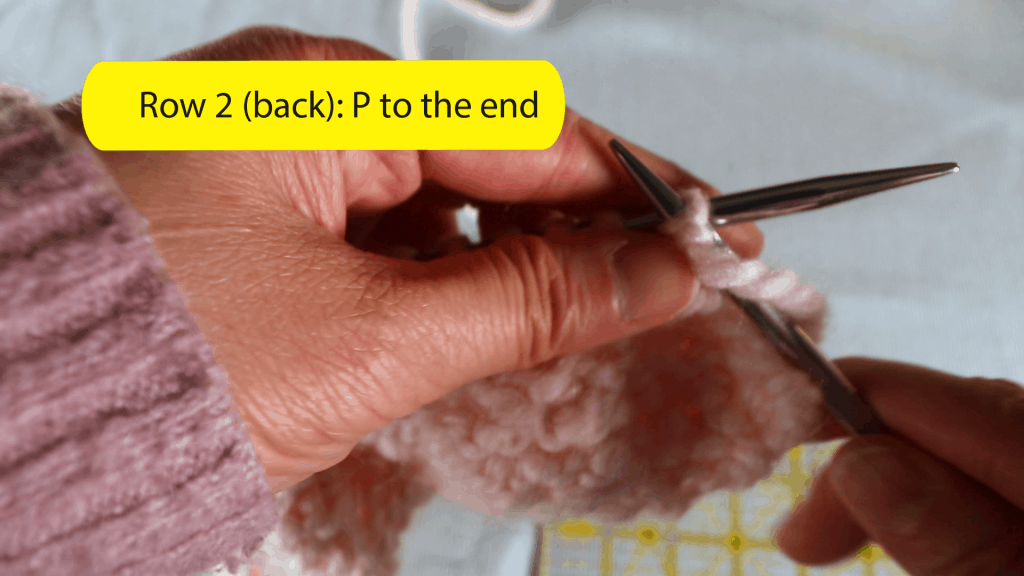
Row 2 (back): P to the end.
Row 3 (start increasing): *(K3, Kfb x 3), repeat * to the end.
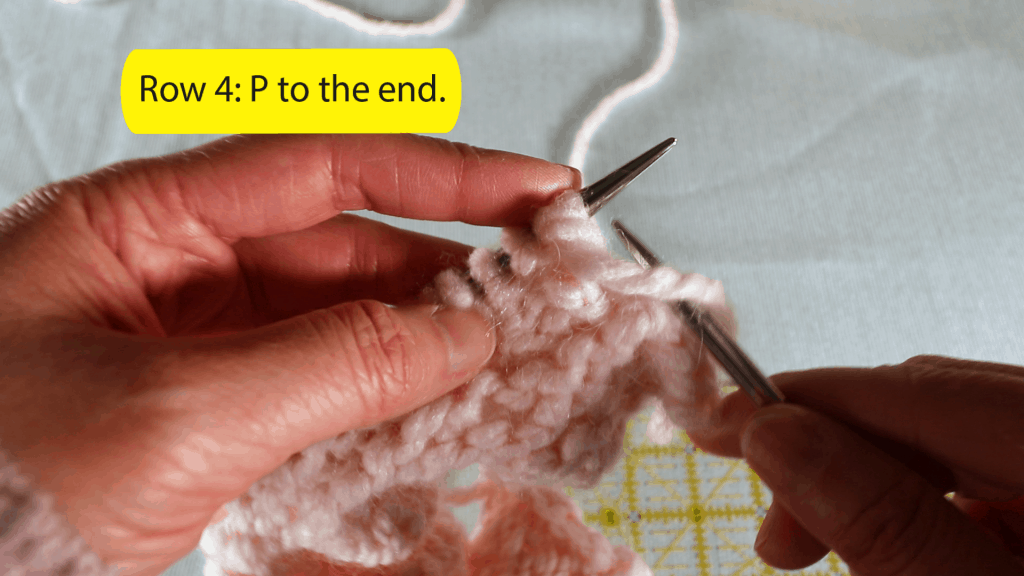
Row 4: P to the end.
Row 5 (increasing row): *(K3, Kfb x 3), repeat * to the end.
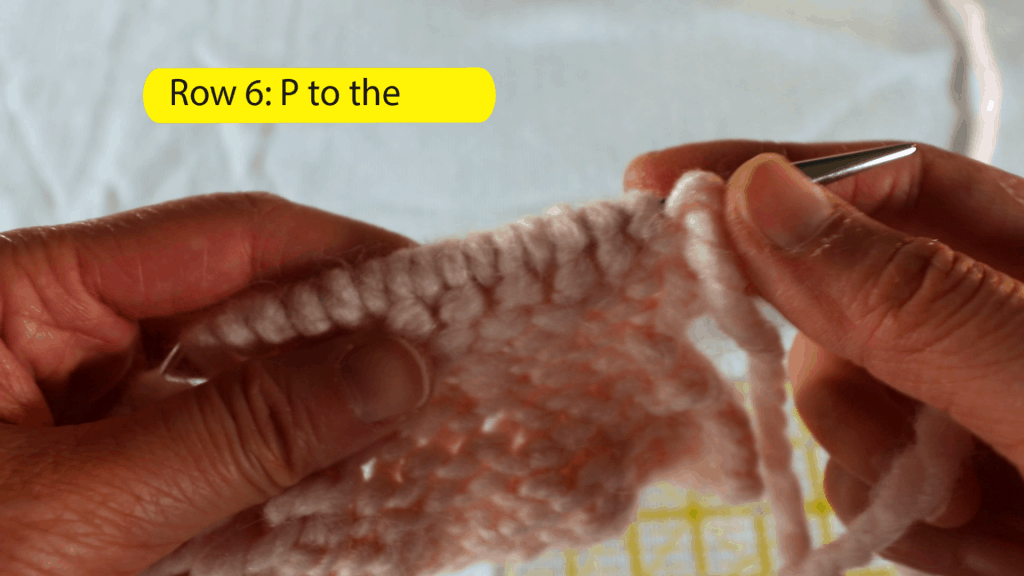
Row 6: P to the end.
Row 7 (decreasing row): *(K3, K2tog x 6), repeat * to the end.
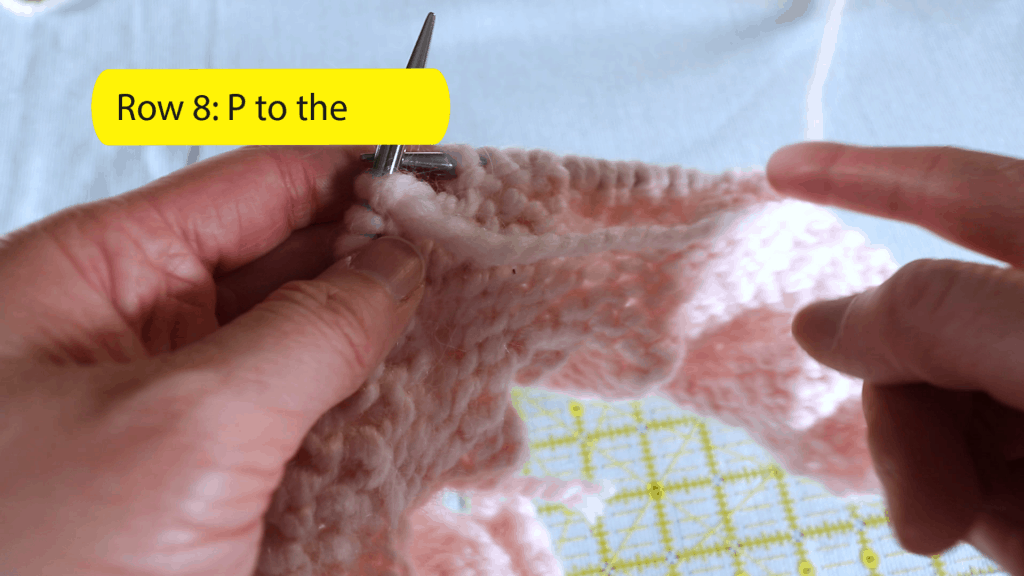
Row 8: P to the end.
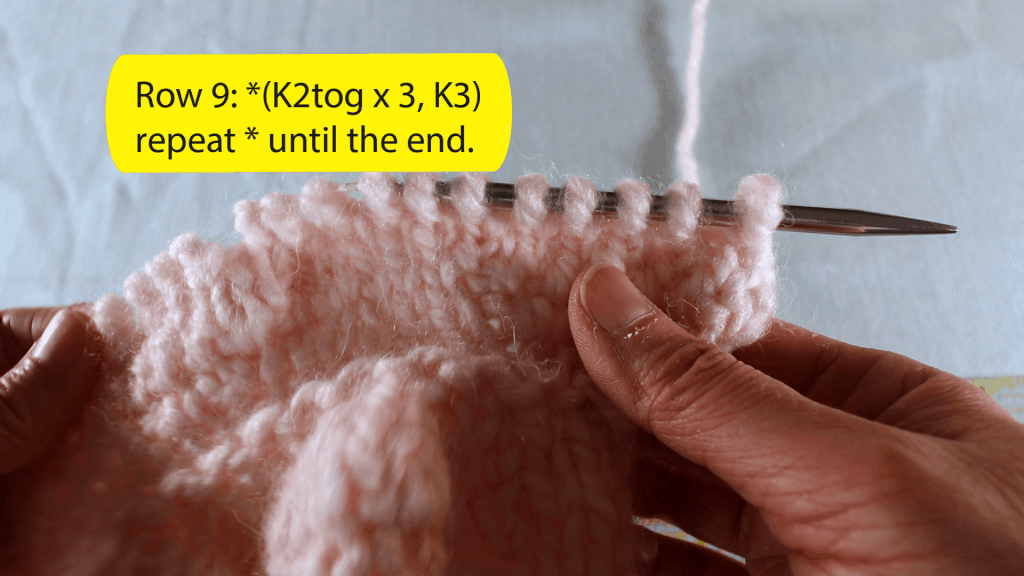
Row 9 (decreasing row): *(K3, K2tog x 3), repeat * to the end.
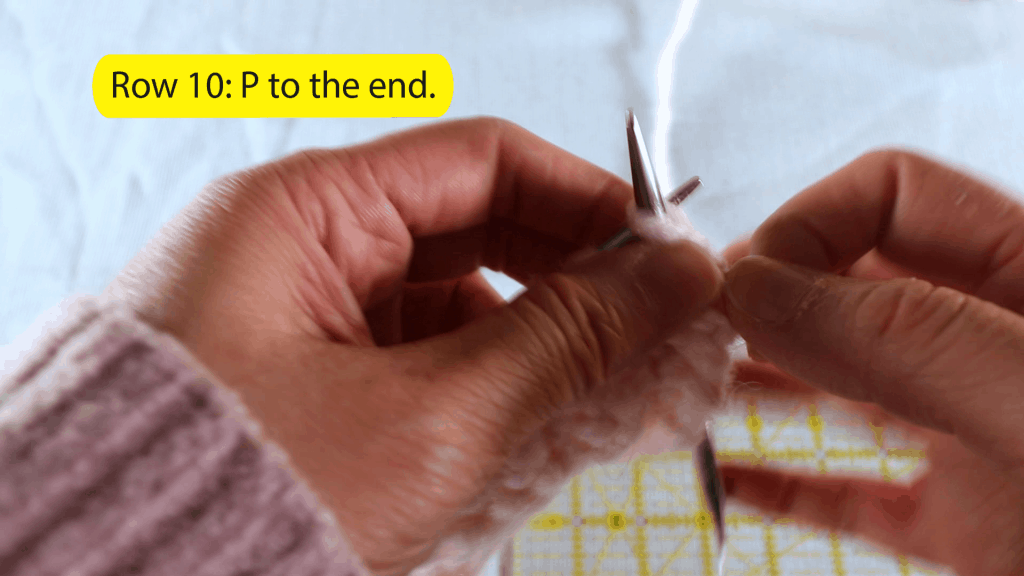
Row 10: P to the end.
Bubble layer 2 (offsetting)
Row 1 (front): K to the end.
Row 2 (back): P to the end.
Row 3 (start increasing): *(Kfb x 3, K3), repeat * to the end.
Row 4 (back): P to the end.
Row 5 (increasing row): *(Kfb x 6, K3), repeat * to the end.
Row 6: P to the end.
Row 7 (decreasing row): *(K2tog x 6, K3), repeat * to the end.
Row 8: P to the end.
Row 9 (decreasing row): *(K2tog x 3, K3), repeat * to the end.
Row 10: P to the end.
Keep alternating Bubble layer 1 and 2 until the length you like, and then bind off.
These pictures below are for bubble layer 2.


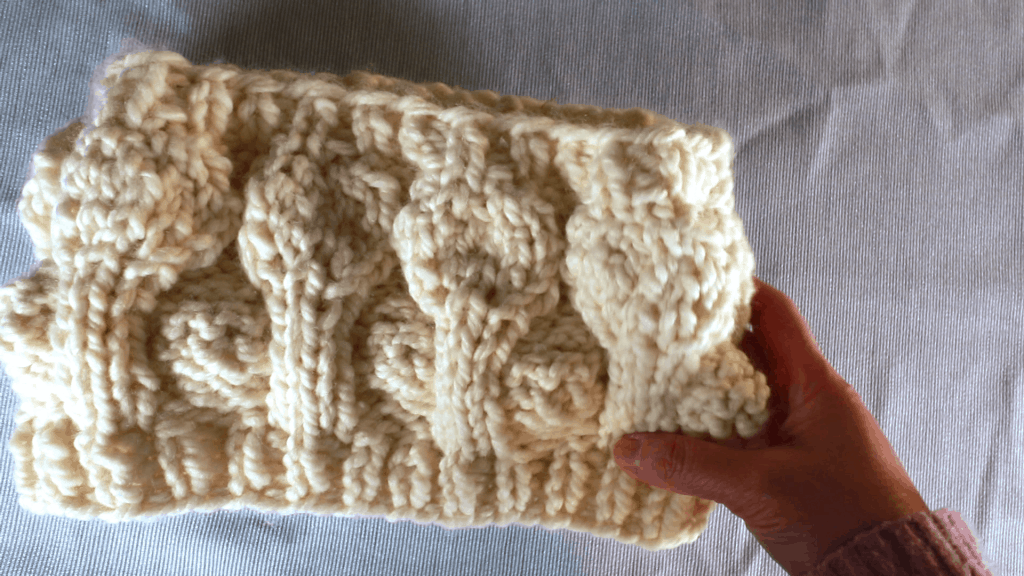
Bubble textured cowl pattern
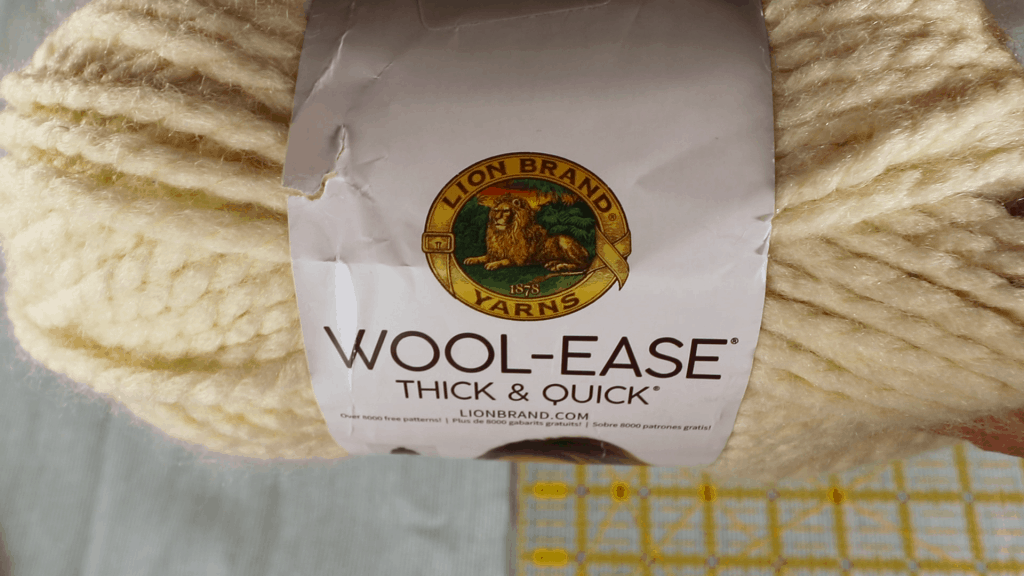
Yarn: Wool-ease thick & quick or any super chunky yarn
Needle: size 9 mm circular knitting needle.
Cast on
Cast on 54 stitches (or 48 stitches if you prefer a tighter fit) for the average adult size cowl. You can modify by adding or subtracting multiples of 6 stitches.
1 x 1 Ribbing
Round 1-3: *(K1, P1), repeat * to the end for the 1 x 1 ribbing.

Bubble layer 1 (knit in the round, background stitches are purl)
R1: *(K3, P3), repeat * to the end.
R2: *(Kfb x 3, P3), repeat * to the end.
R3: *(K6, P3), repeat * to the end.
R4: *(Kfb x 6, P3), repeat * to the end.
R5: *(K12, P3), repeat * to the end.
R6: *(K2tog x 6, P3), repeat * to the end.
R7: *(K6, P3), repeat * to the end.
R8: *(K2tog x 3, P3), repeat * to the end.
R9: *(K3, P3), repeat * to the end.
End of the first bubble layer.


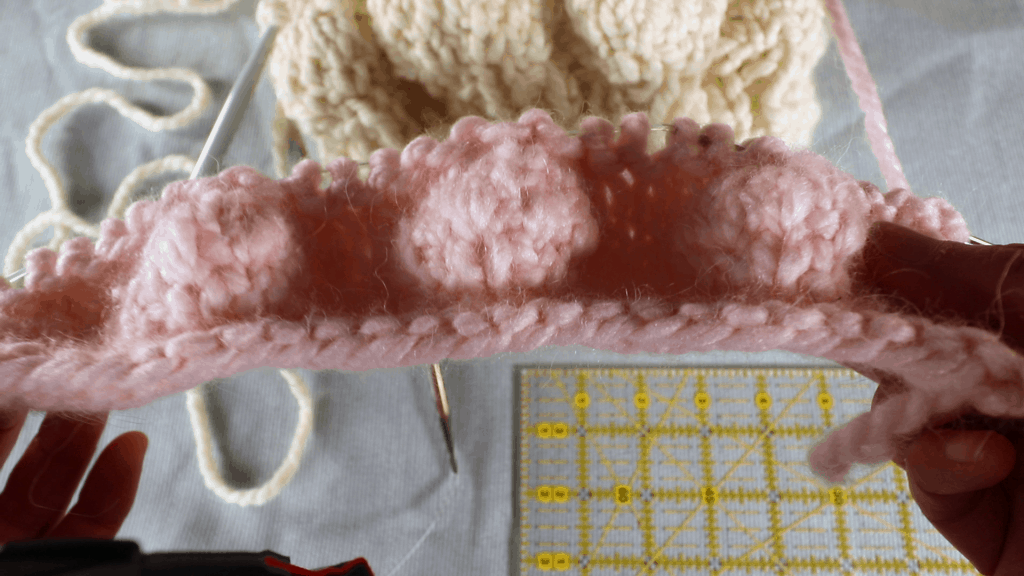
Bubble layer 2
Bubble layer 2 has the purl stitches as the bubble. They are located in between the first layer of bubbles. So the pattern is still very similar to the bubble layer 1. We use purl front and back (Pfb) for the increase, and purl 2 together (P2tog) for decreasing. The knit stitches become the background of the bubbles.
**Note: “Knit 3 stitches first” so the beginning of the round starts with the 3 purl stitches. The following pattern starts with purl instead of the knit. Sorry about the confusion.
R1(Increase round): *(Pfb x 3, K3), repeat * to the end.
R2: *(P6, K3), repeat * to the end.
R3: *(Pfb x 6, K3), repeat * to the end.
R4: *(P12, K3), repeat * to the end.
R5: *(P2tog x 6, K3), repeat * to the end.
R6: *(P6, K3), repeat * to the end.
R7: *(P2tog x 3, K3), repeat * to the end.
R8: *(P3, K3), repeat * to the end.
This ends the bubble layer 2. We can continue alternating bubble layers 1 and 2 until the height you like.
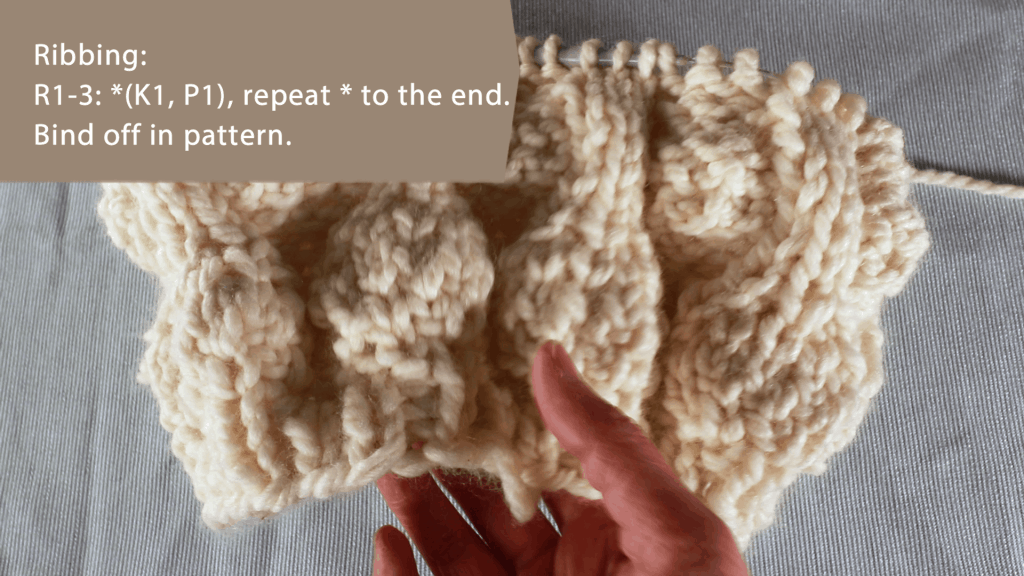
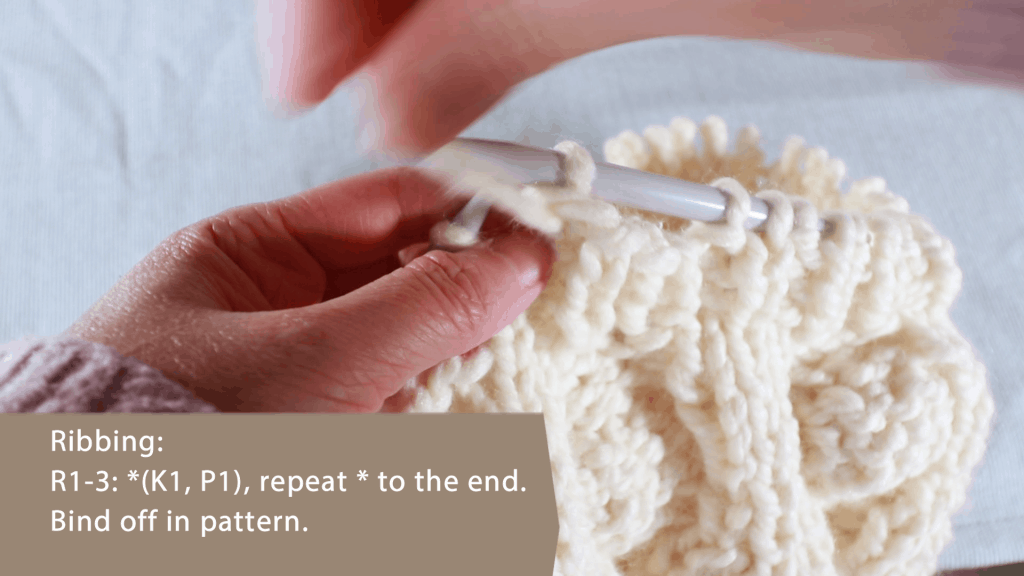
1 x 1 Ribbing
Row 1-3: *(K1, P1), repeat * to the end. Add more rows if you prefer.
Then just bind off in pattern.


🛒 Visit our Amazon affiliated page (We get a small commission without extra cost to you.): https://www.amazon.com/shop/picturehealer
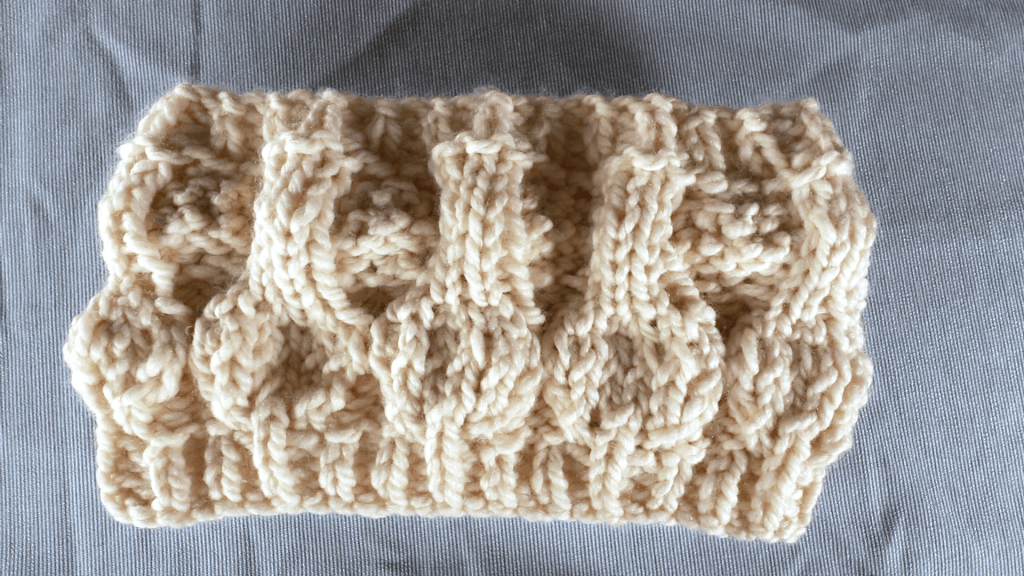
Bubble Stitch Neck Warmer or Cowl (free knitting pattern)
Featured Posts
- How to machine knit a heart shape on an LK150

- Machine knitting a loop stitch for big texture

- Machine knitting a corner-to-corner, diagonal dishcloth

- Machine knitting a buttonhole band on an LK150

- Tuck stitch blanket on an LK150 – Part 1
- No curl edge with seed, garter, ribbing, or cable stitches
- Full-fashioned decrease, Garter Bar increases or decreases in the middle of a row
- How to machine knit a Chevron Lace Hem
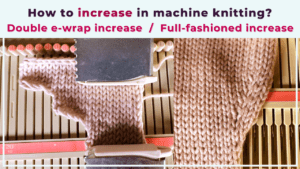
- Machine knitting increases – the full-fashioned increase and double e-wrap
- Picot hem with a scalloped edge and eyelets on an LK150 knitting machine

- The loop through loop bind-off and the sewing bind-off

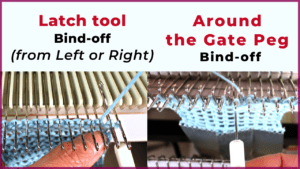
- The latch tool bind-off and around the gate peg cast-off
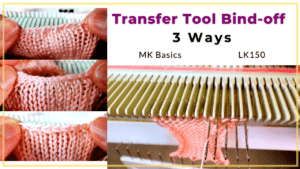
- Transfer tool cast off and variations- Simple, No hole, and Even-tension
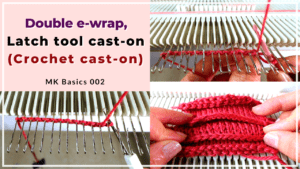
- Double e-wrap, latch tool, and crochet hook cast on
- Machine Knitting basics – Cast on with waste yarn, ravel cord, and e-wrap


You May Also Like
Simple machine knitted fingerless mitten on an LK150
Simple bookbinding with PVA or Elmer’s school glue