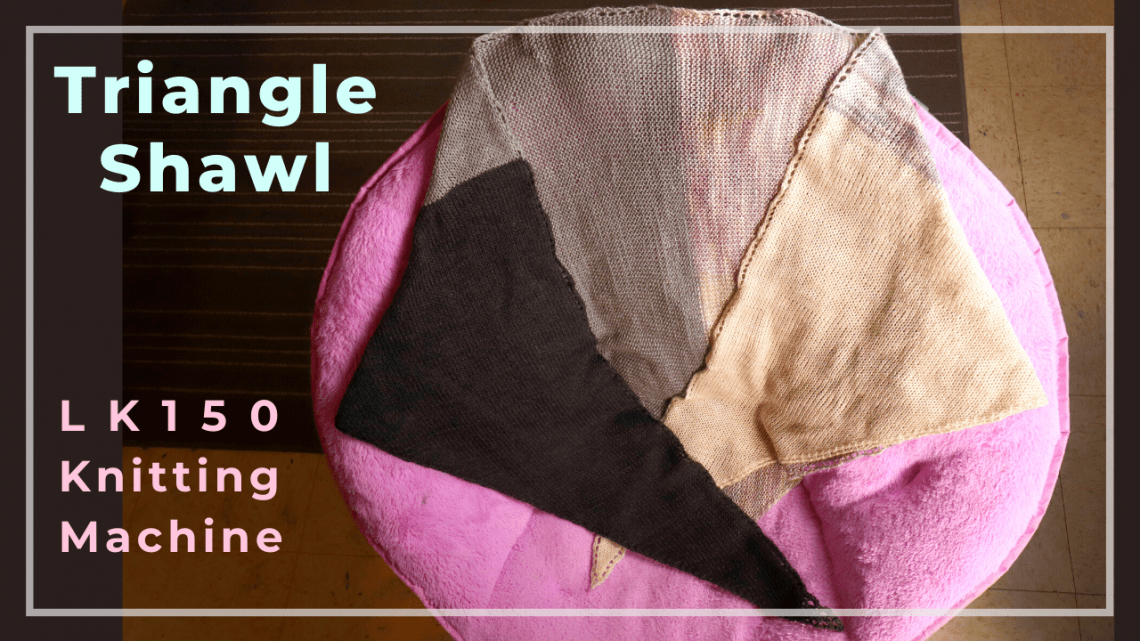
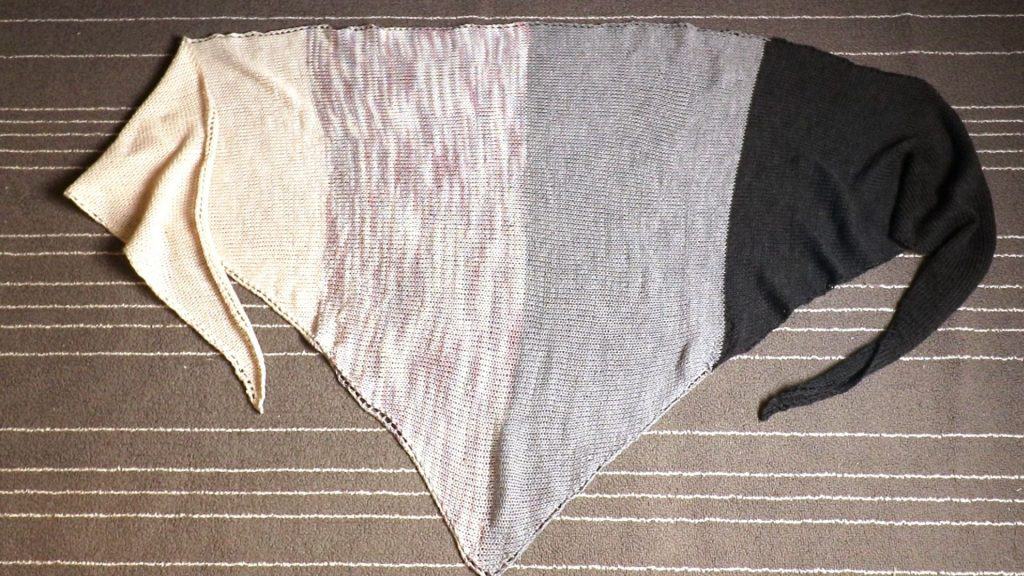
Simple triangle shawl on an LK150 knitting machine

This is a very simple method to machine knit a triangle shawl. The pattern is straightforward. Start knitting from a few stitches, increase one stitch each row until the length you like, then decrease one stitch at a time until the original cast on stitches. At the same time, create eyelets on the 2 sides. It is a fun way to practice and make something useful.
The same technique can be applied to any knitting machine. A ribber or punch card is not required. This is a beginner-friendly project.

Watch our video tutorial for the triangle shawl technique on an LK150
Picture tutorial for the triangle shawl on LK150
Yarn
I use the fingering (socks) weight yarn on my LK150 mid-gauge knitting machine.
Tension
I have tension 5.5 on the carriage and mast tension 5.
Adjust the tension based on your swatch. It is easier to lay flat when the tension is looser.
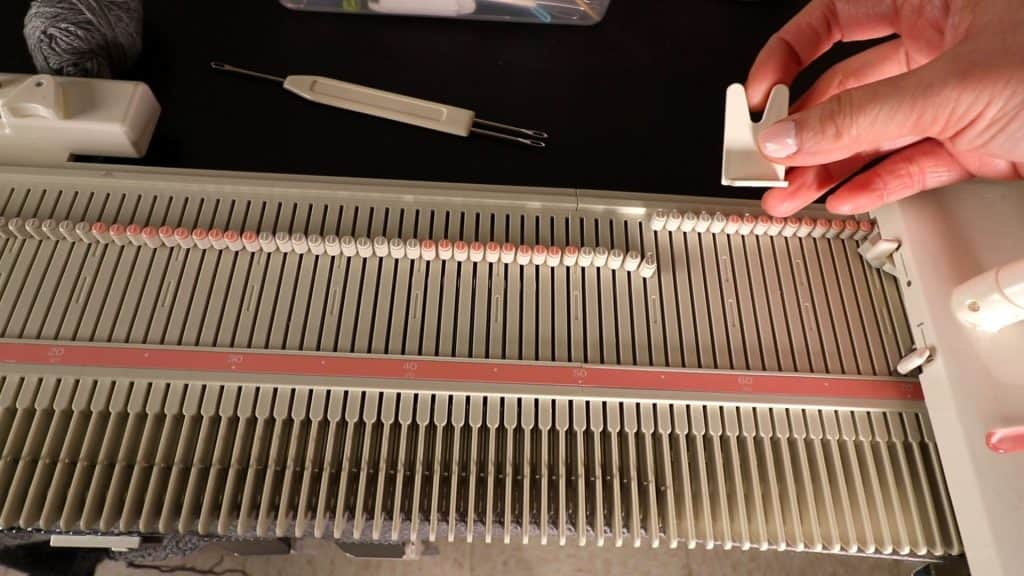
Setting up
If you like to use a full bed of needles, you have to extend the end pieces on the LK150 machine so there is enough room to park your carriage.
The LK150 knitting machine has built-in end-piece extenders. To pull out the extender piece, simply turn over the knitting machine, and press the round button and slide it out. Repeat on the other side of the machine.

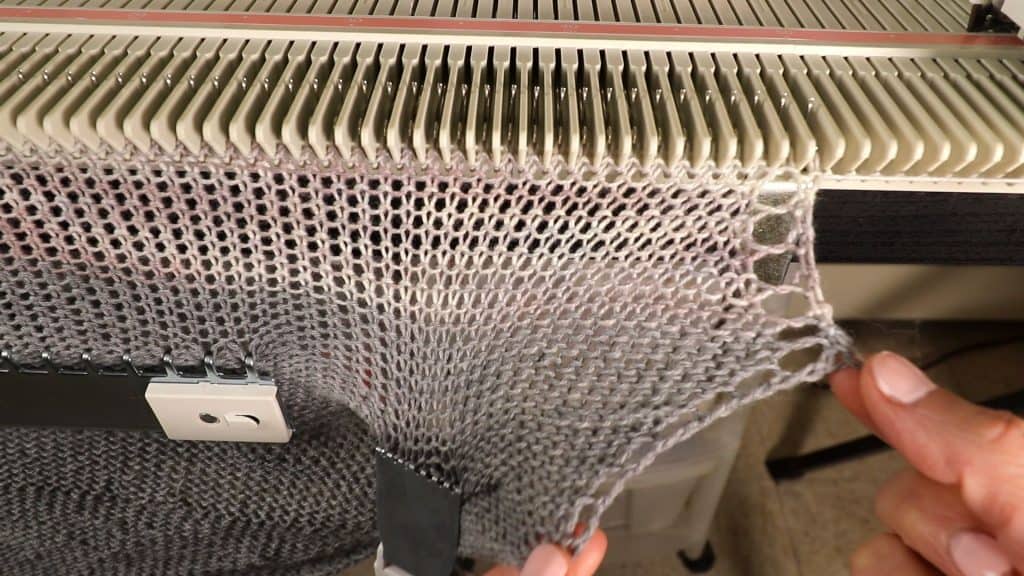
However, you do not need to use the full bed, I use the needles from the Left 70 to the Right 55 and the shawl is big enough for me.
I did not start with the last needle on the bed because I find it harder to move the carriage even with the end piece extender. The carriage can sometimes get caught if not careful.
Another thing is to take the “Yarn Parking” pieces out from the back of the machine. There is one on each side of the machine. Again, the carriage can get caught there.
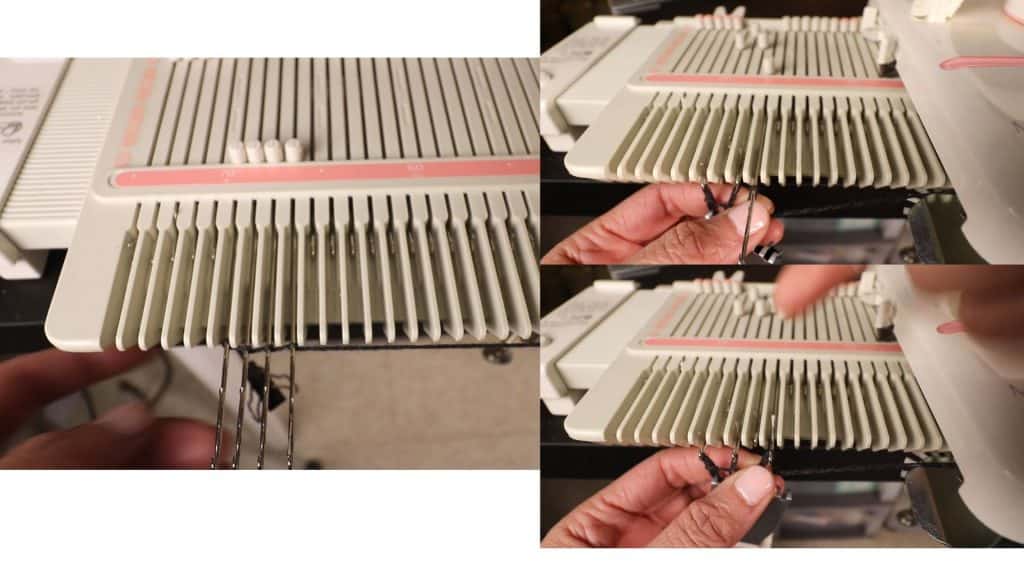
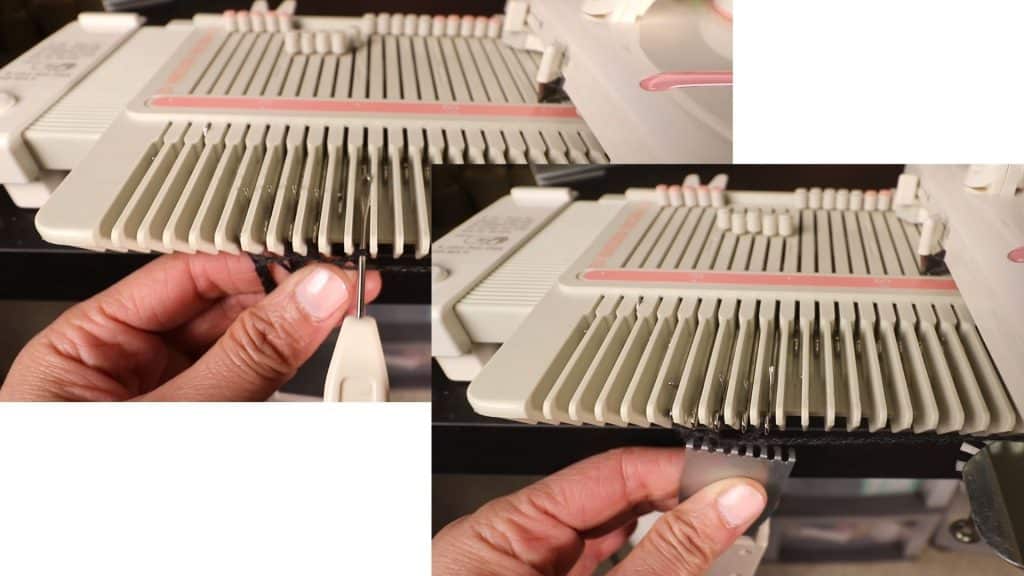
Cast on
Pull out 4 stitches on the left side of the bed. I started from L70.
Leave enough room on the right side for increasing stitches.
E-wrap those 4 stitches.
Knit 2 rows (to the left, back to the right).
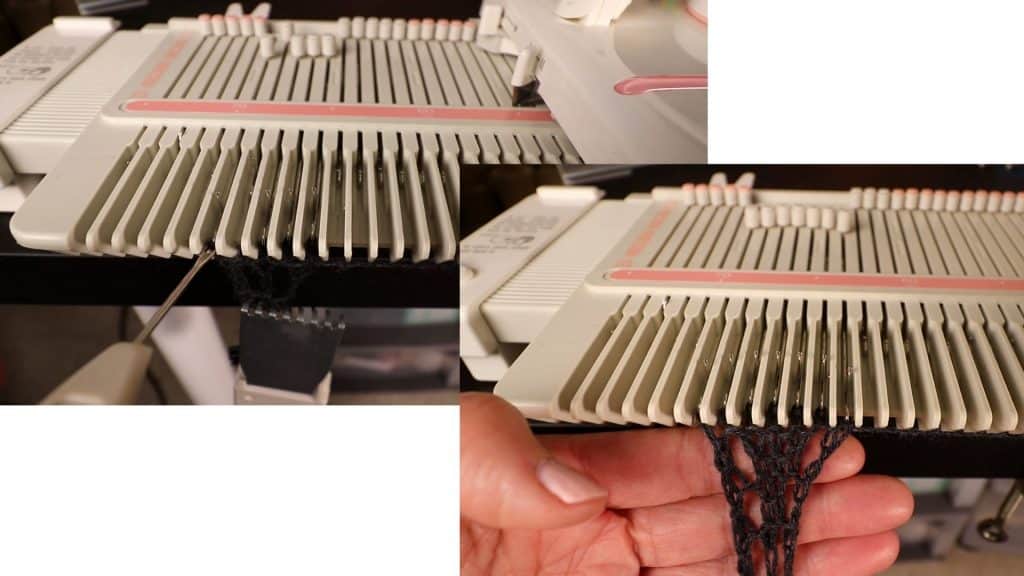
Increase repeat
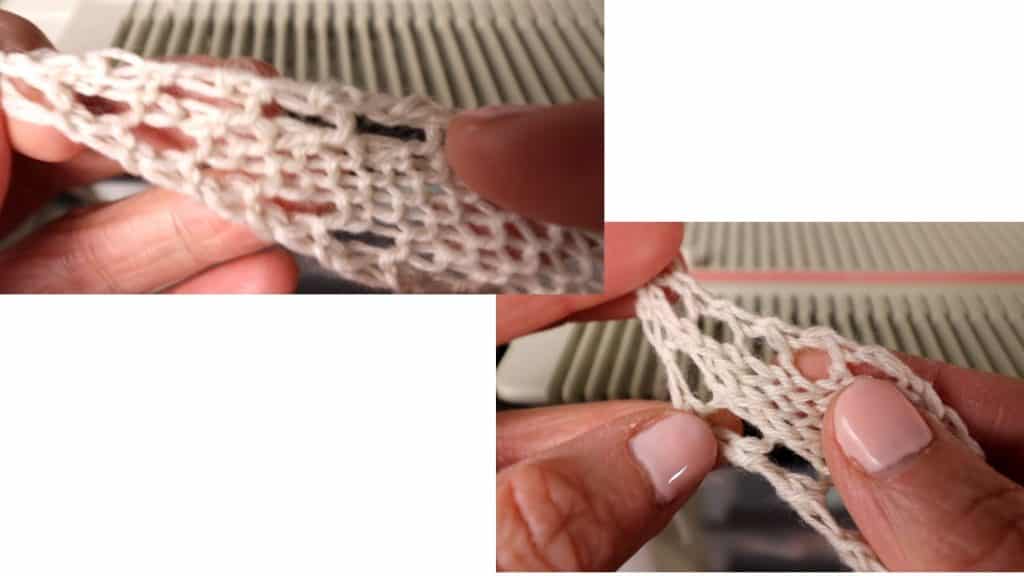
To create the eyelets when increasing,
*(move the right most needle one stitch to the right.
Transfer the second to the left needle to the left most needle.
Knit 2 rows.)
One eyelet is created on each side (the second stitch from the end stitch).
Keep repeating the *( ) until the length you like. Change colors if you like.
I knit until reaching R55.
Remember to add proper weight and move up every couple of rows.
I changed the yarn color when knitted to R20.

I stopped increasing at R55. Changed to a different color yarn and started decreasing.

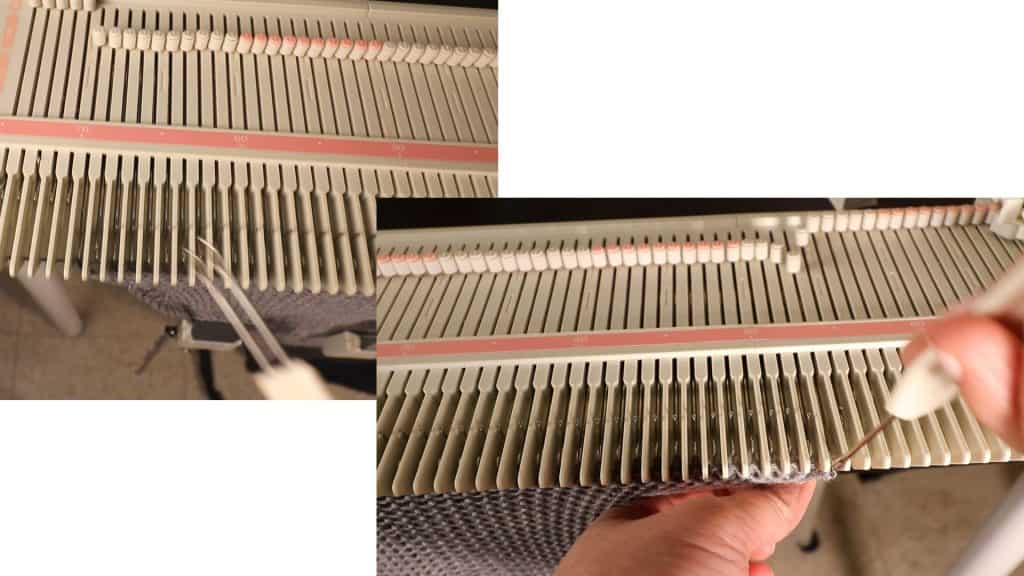
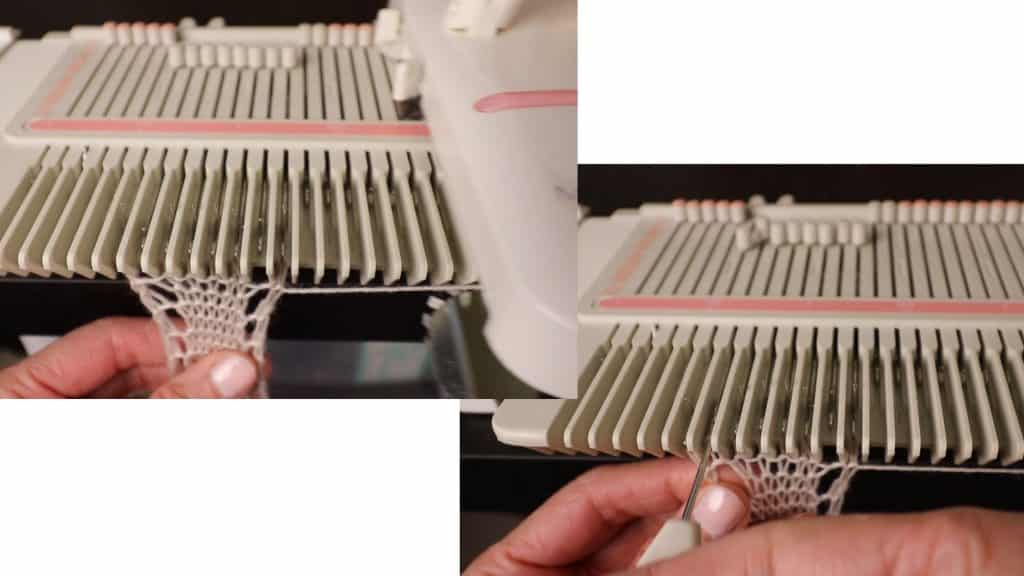
Decreasing repeat
To decrease, we keep the left side the same.
*(Transfer the “second from the left” needle to the left most needle.
Transfer the right most needle to the “second from the right” needle.
Move the empty needle to the non-working position (A).
Now transfer the “second to the right” needle to the “third to the right” needle.
Knit 2 rows.)
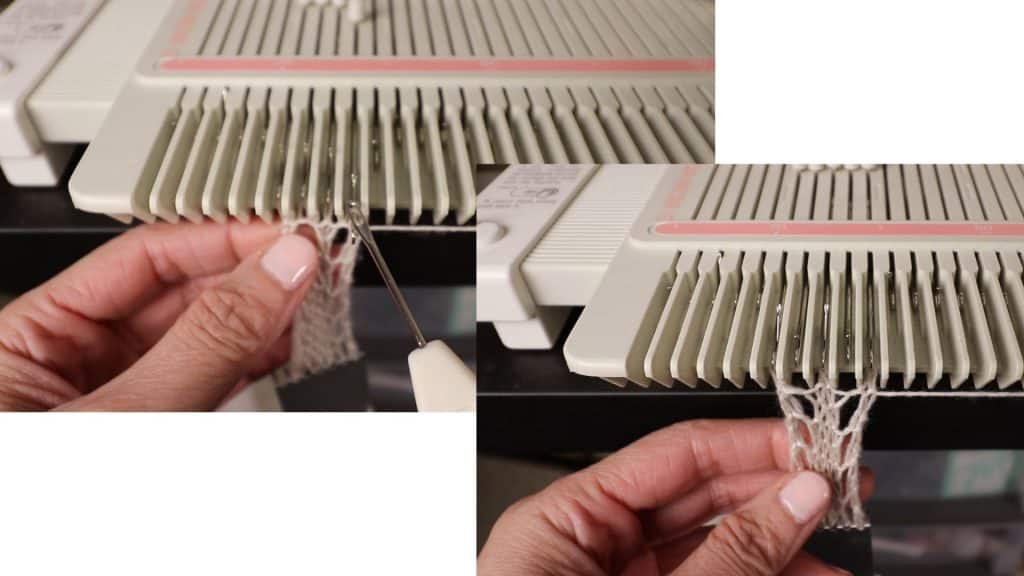
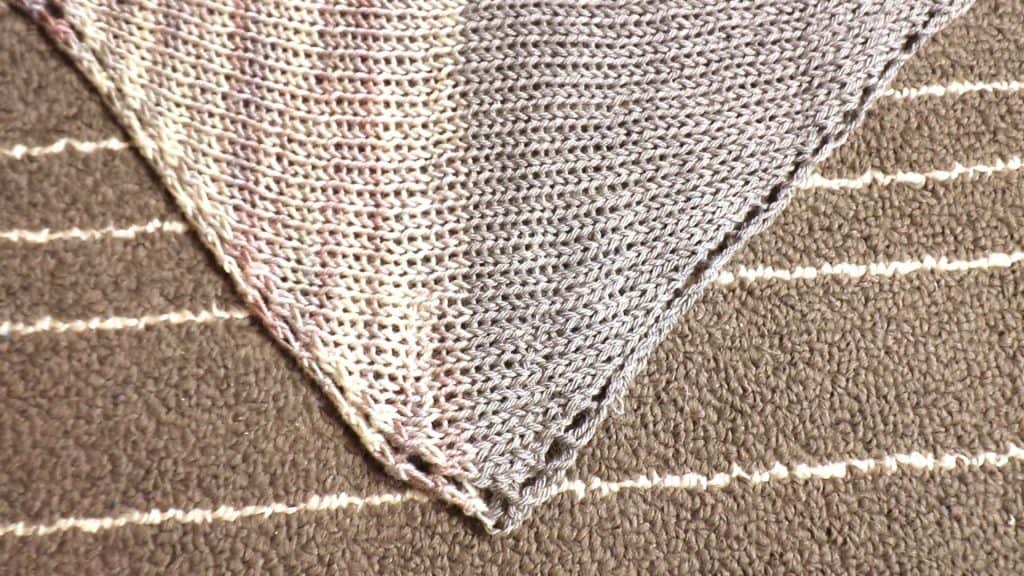
This created one eyelet on each side, and one stitch is decreased on the right.
Keep repeating the above decreasing repeat *( ) until 4 stitches left.

On the right side, after transferring, you can see there are 2 stitches on the first needle, the second to the right stitch is empty, and the 2 stitches on the third needle. Then, knit 2 rows.
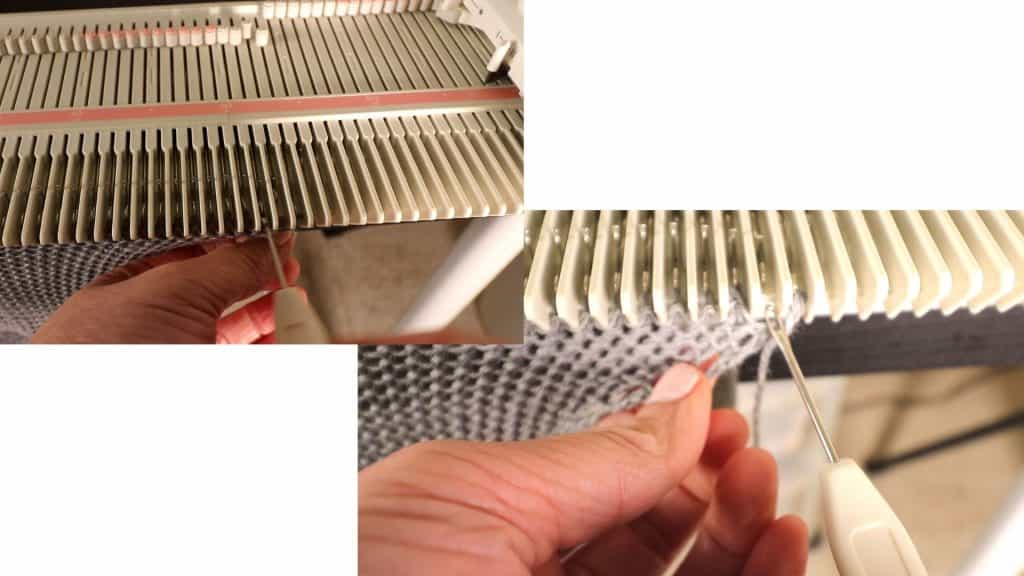
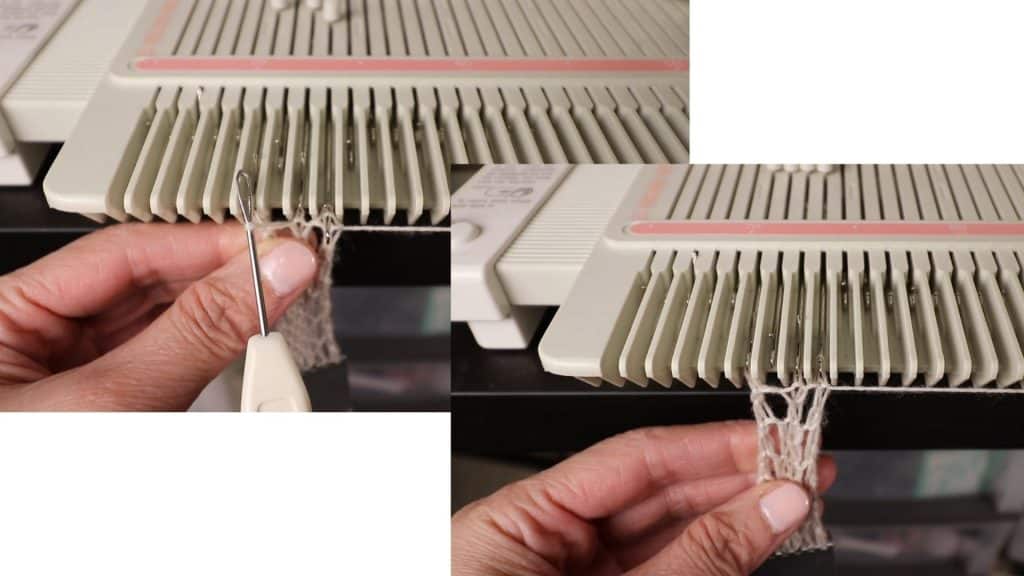
After a few rows of decrease, you can see the eyelets on the right side.
Now it is back to R20 stitch, so I changed the color again to match the first section (black). This is optional. You can decide the location of color changes.


Finishing up
Keep repeating the same until 4 stitches left. Bind off with any method. Take off the machine.
Weave in the yarn ends.
Steam block to make the piece flat.

Eyelets on both sides.
All done!

🛒 Visit our Amazon affiliated page (We get a small commission without extra cost to you.): https://www.amazon.com/shop/picturehealer
Machine knitting a triangle shawl with eyelets on an LK150
Featured Posts
- How to machine knit a heart shape on an LK150

- Machine knitting a loop stitch for big texture

- Machine knitting a corner-to-corner, diagonal dishcloth

- Machine knitting a buttonhole band on an LK150

- Tuck stitch blanket on an LK150 – Part 1
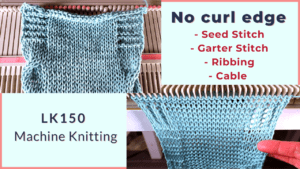
- No curl edge with seed, garter, ribbing, or cable stitches
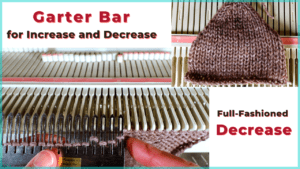
- Full-fashioned decrease, Garter Bar increases or decreases in the middle of a row
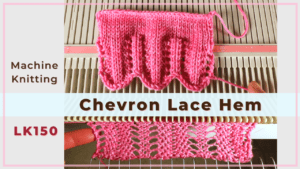
- How to machine knit a Chevron Lace Hem
- Machine knitting increases – the full-fashioned increase and double e-wrap

- Picot hem with a scalloped edge and eyelets on an LK150 knitting machine

- The loop through loop bind-off and the sewing bind-off

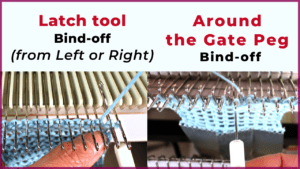
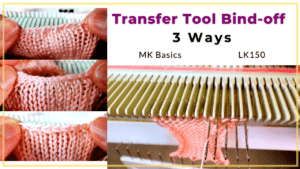
- The latch tool bind-off and around the gate peg cast-off
- Transfer tool cast off and variations- Simple, No hole, and Even-tension
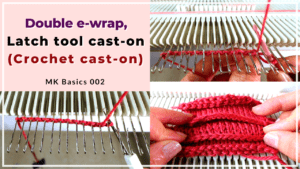
- Double e-wrap, latch tool, and crochet hook cast on
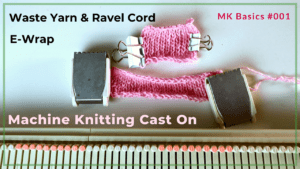
- Machine Knitting basics – Cast on with waste yarn, ravel cord, and e-wrap


You May Also Like
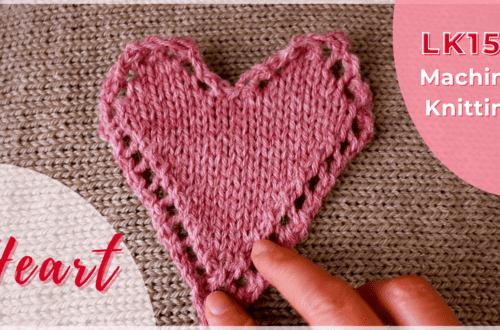
How to machine knit a heart shape on an LK150
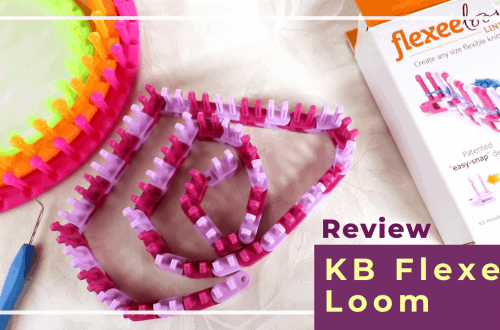
Review of the KB Flexee loom — a flexible knitting loom for various sizes and shapes