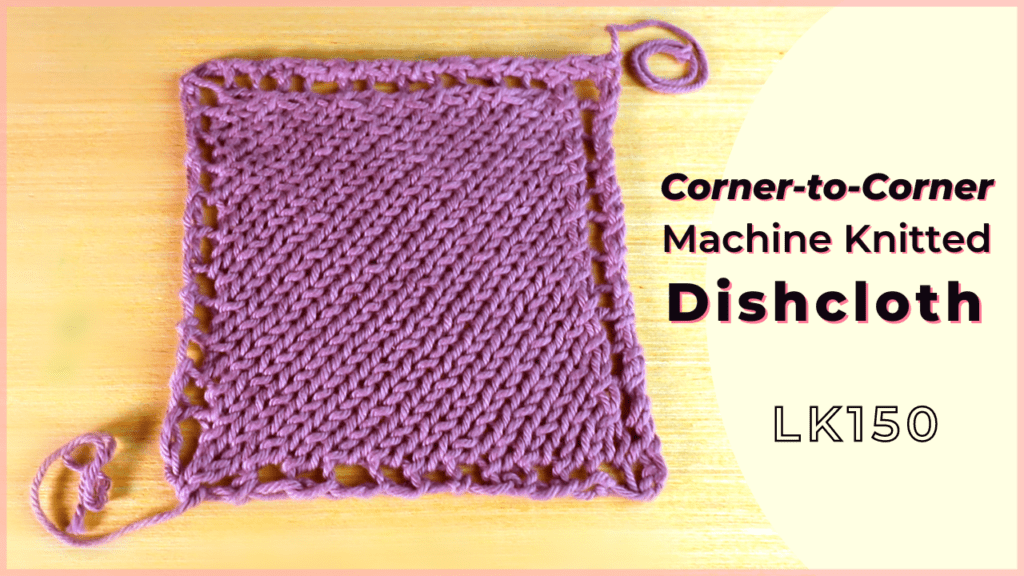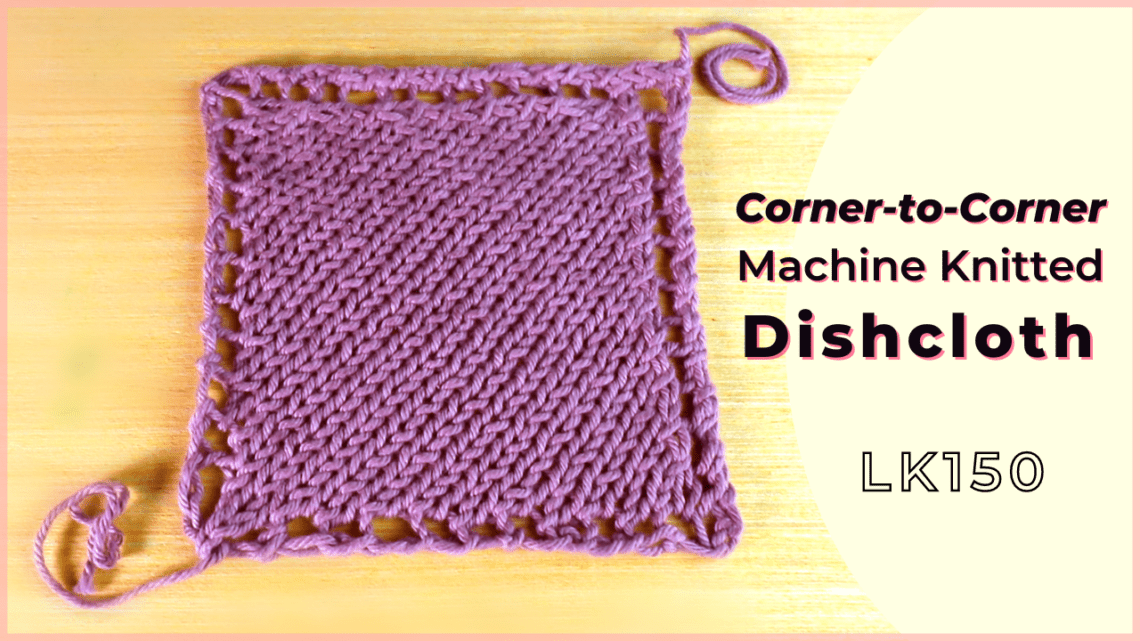
Machine knitting a corner-to-corner, diagonal dishcloth
Diagonal knitting, or corner-to-corner knitting, is a simple way to create fabrics that do not curl much and look finished without extra edging. You can knit as big (depending on the stitch numbers of your knitting machine) or as small as you like. Depending on different sizes, it can be a dishcloth, washcloth, towel, headscarf, or a baby blanket.
I am using an LK150 knitting machine for this project. Most other knitting machines will work the same way. No fancy equipment is required.
It is not hard to do hand-knitting, but machine knitting speeds up and saves time.
To knit a dishcloth or washcloth, it is best to use 100% cotton yarn. I use the biggest tension (Tension 9) for the Knitpicks Dishie worsted weight yarn.
Here is the link to the yarn used in the video below: Knitpicks Dishie (Lilac Mist): https://amzn.to/3AdPDAR
(This is an affiliated link. We might earn a small fee for a qualified purchase.)
Watch our video tutorial for corner-to-corner dishcloth knitting
Picture tutorial for knitting the diagonal dishcloth on an LK150 knitting machine
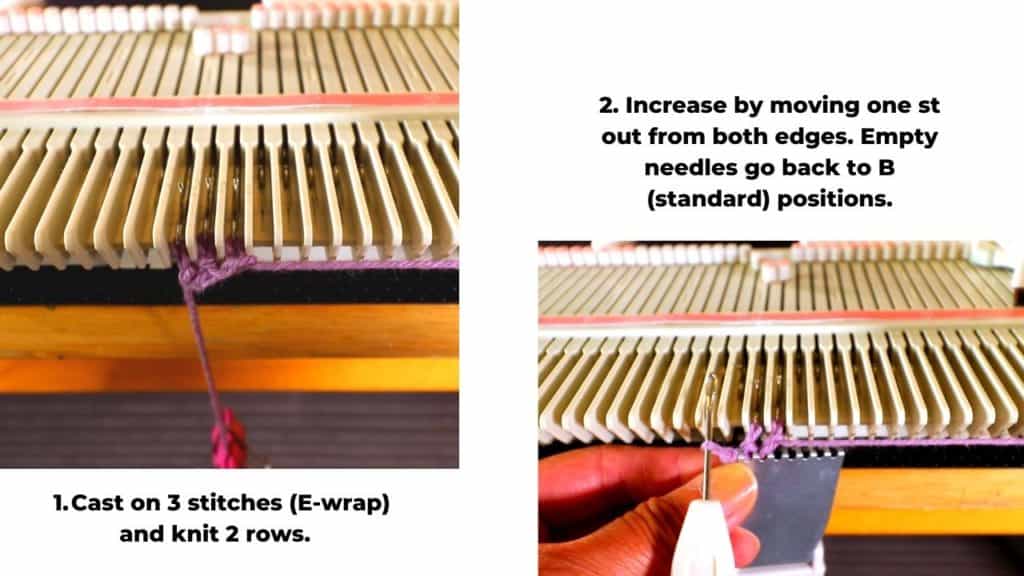
There are many variations of knitting the corner to corner / diagonal dishcloth. I started with casting on 3 stitches (E-wrap), knit 2 rows, and start increasing.
Increasing
To increase, I simply move the outermost stitches 1 stitch out, so it creates empty stitches.
All stitches (including the empty ones) should be back to the B (working) position.
Next, knit 1 or 2 rows. We are going to alternate knit 1 row and 2 rows after each increase. This creates an approximately 45-degree angle, so the whole dishcloth will be square.
Here is a written pattern:
- Cast on 3 stitches,
2. Knit 2 rows.
3. Increase by moving 1 stitch out from both sides. All needles back to B position.
4. Knit 1 row. (or knit 2 rows, then the next time will be knit 1 row. Keep alternating 1 and 2 rows).
5. Increase by moving 1 stitch out from both sides, All needles back to B position.
6. Knit 2 rows. (or knit 1 row, then the next time will be knit 2 rows. Keep alternating 1 and 2 rows).
Keep repeating steps 3-6 above until the width you like. End it with 2 plain knitting rows.
Now we are ready to decrease.


Decreasing
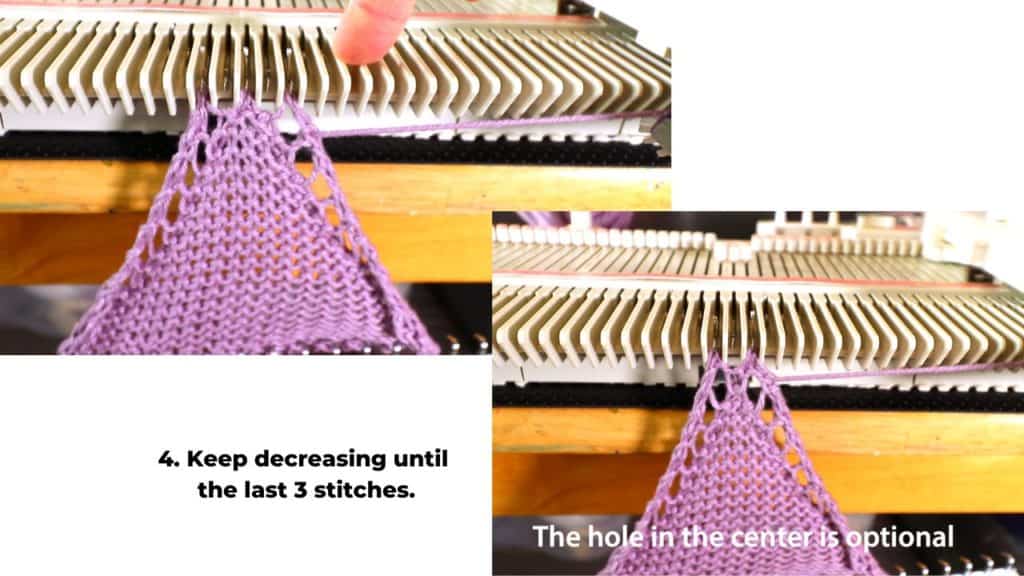
To decrease, we do the opposite of the increase. We move the outermost stitches in from both sides. Now 2 stitches decreased. Move the empty stitch to A (non-working) positions.
To make the holes match the increase section before, transfer the second stitch to the third from both edges. Move the empty needles to the B position.
Knit 1 or 2 rows. We are still alternating between 1 and 2 rows to keep the slope close to 45 degrees.
A written pattern will look like the below:
- Move the outermost stitches 1 stitch in. Move the empty needles to the A or non-working positions.
- Move the second stitches to the third from both sides. Move the empty needles to B positions.
- Knit 1 row.
- Repeat 1.
- Repeat 2
- Knit 2 rows.
We just keep repeating the increase and knit 1 or 2 rows, until only 3 stitches are left.
Bind off.
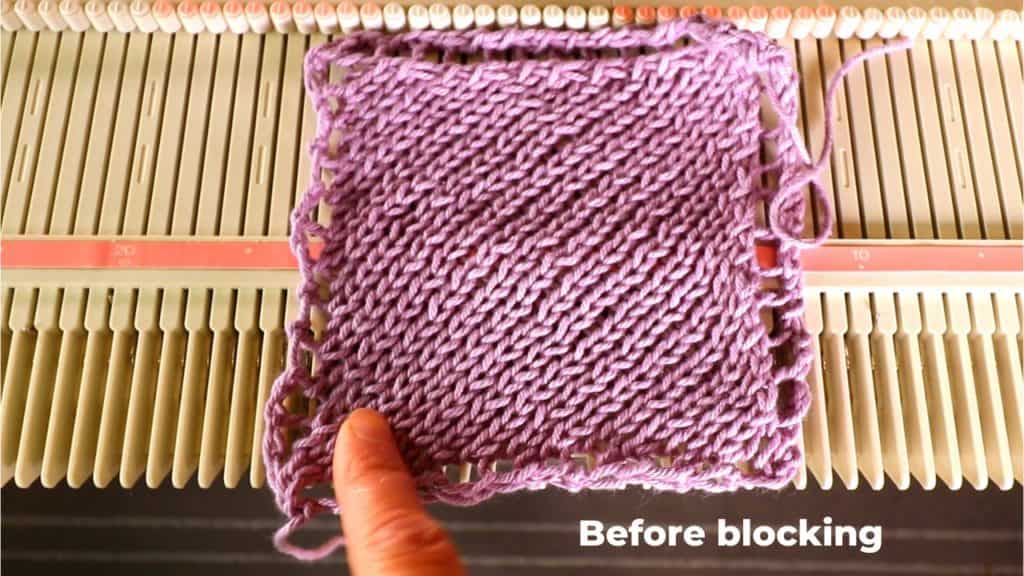
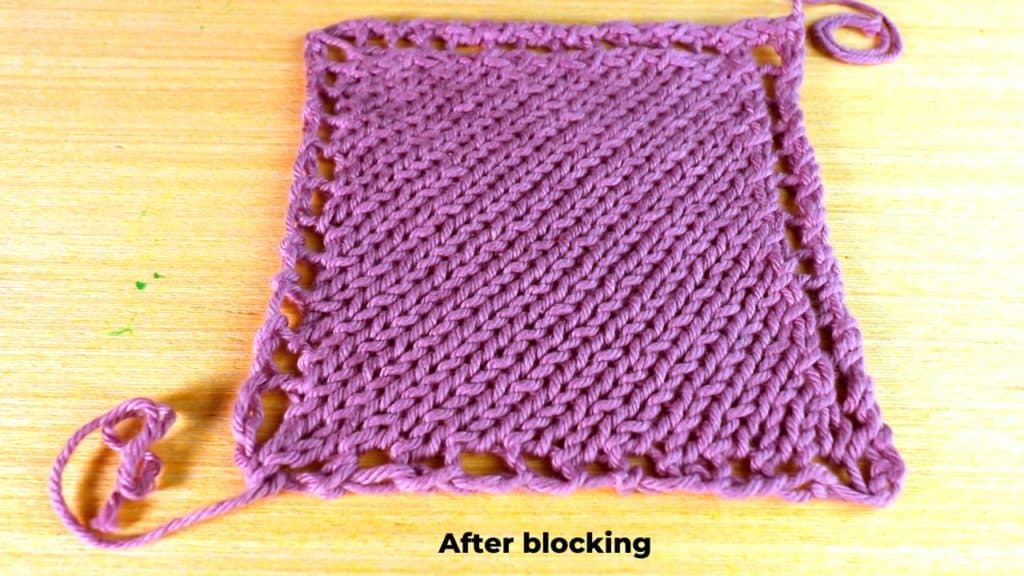
Steam block.
Weaving yarn ends.
Now you have a square dishcloth, ready for use in the kitchen.



Featured Posts


