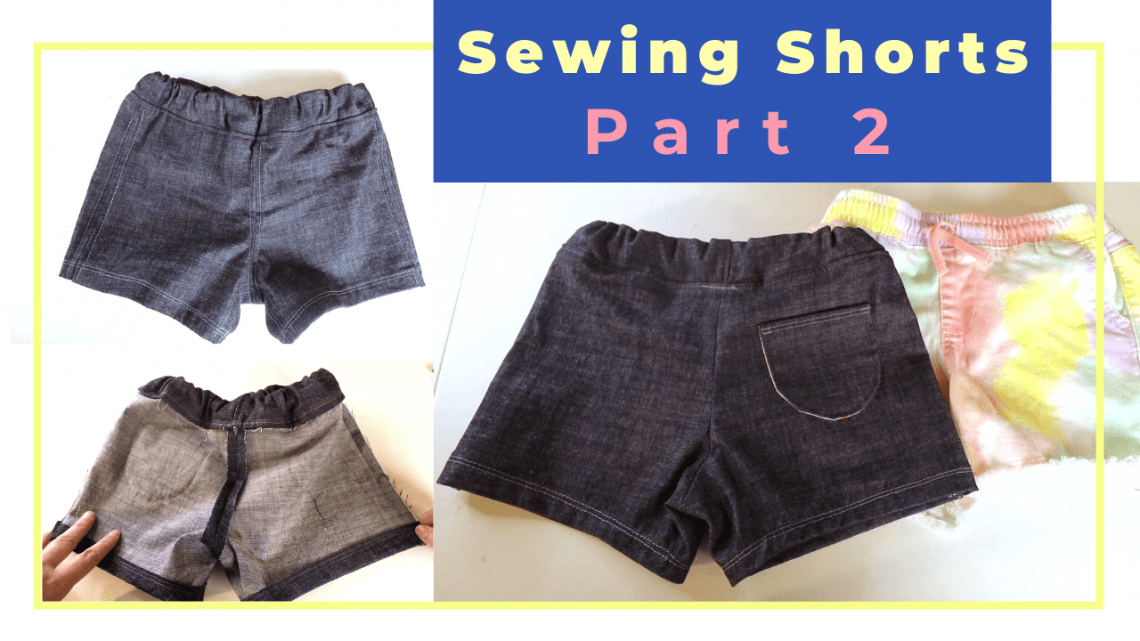
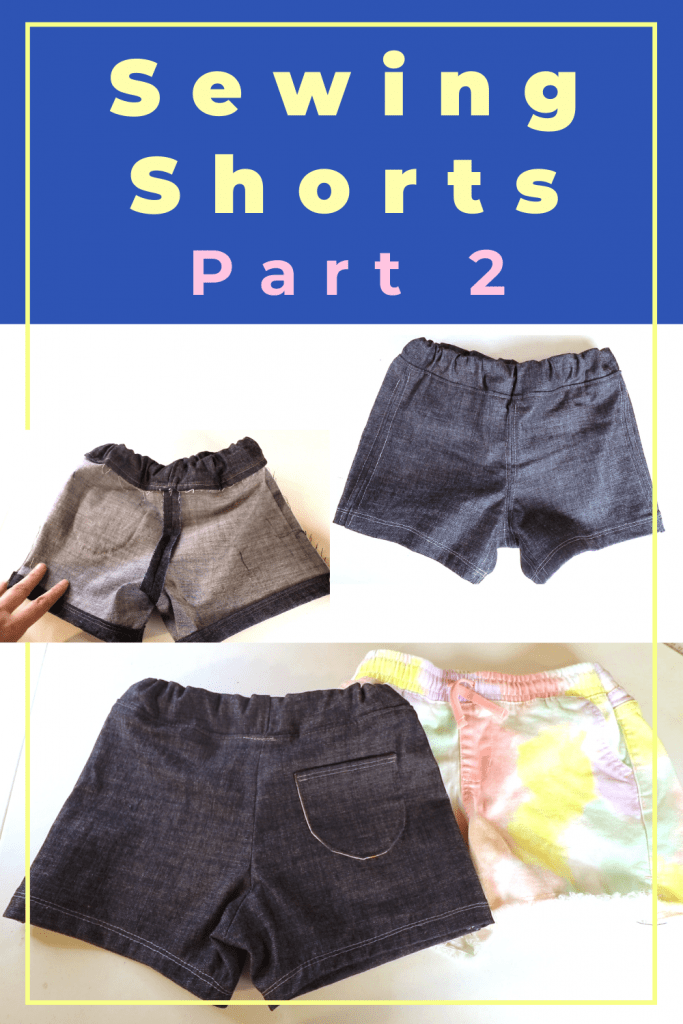
Part 2 – sewing a pair of shorts
Continue from Part 1 of pattern drafting, we are going to sew a new pair of shorts based on the pattern copied from your existing clothes.
Here is the part 1 link for pattern tracing. Video tutorial is at the bottom of this blog.
Step by step tutorial
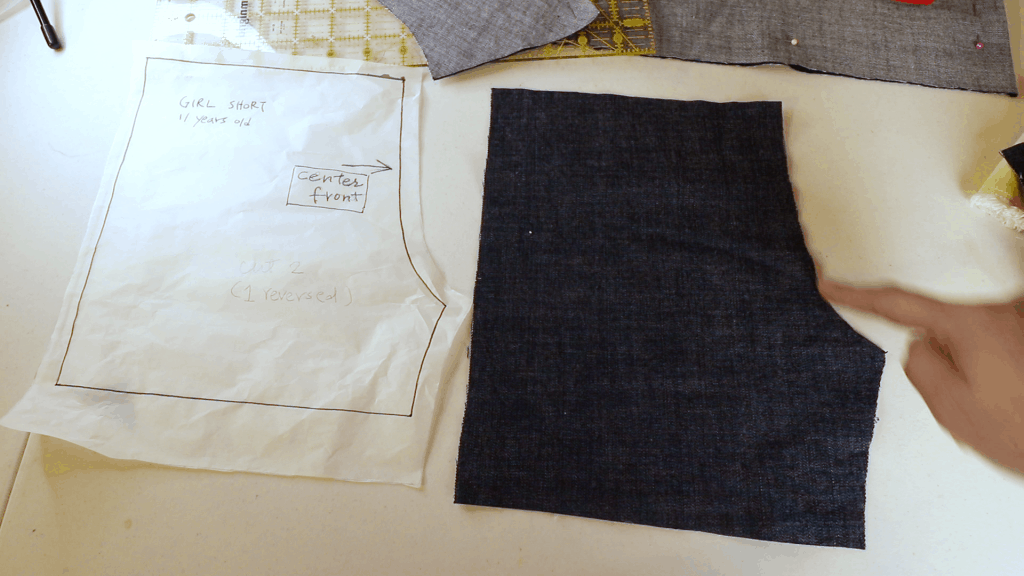
Pick your fabric. I use a denim fabric. Choose a bottom weight fabric for skirt or pants.
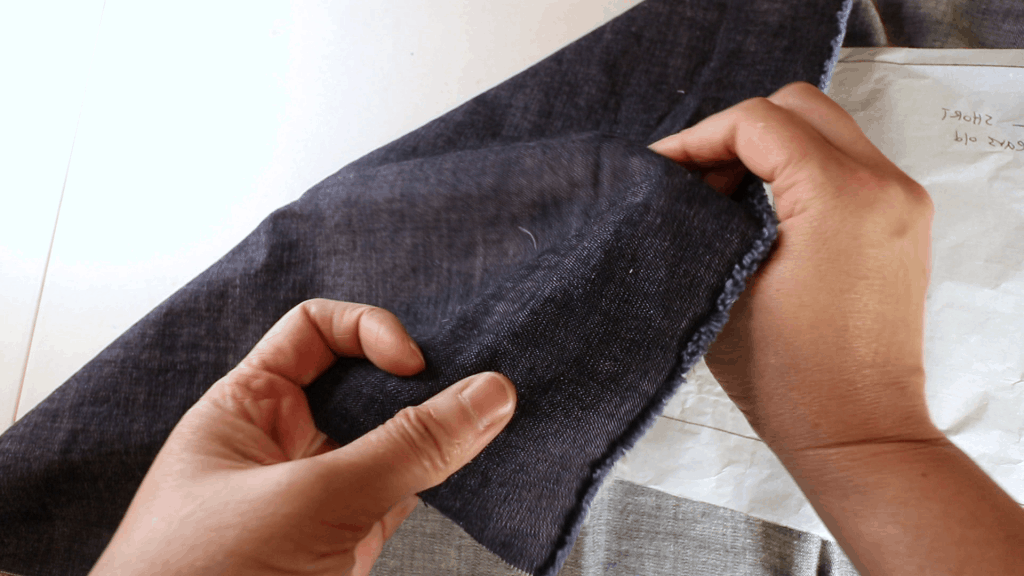
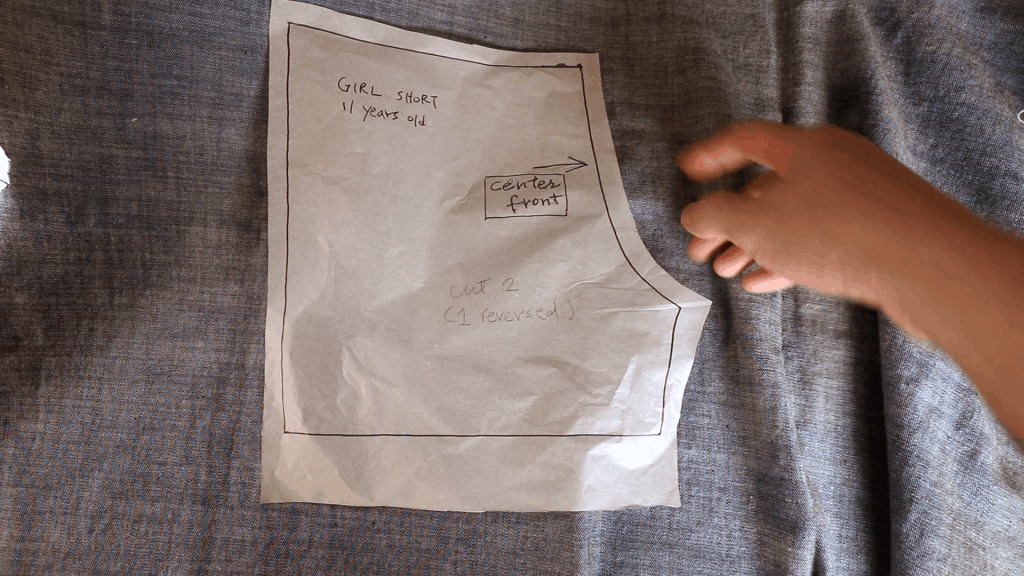
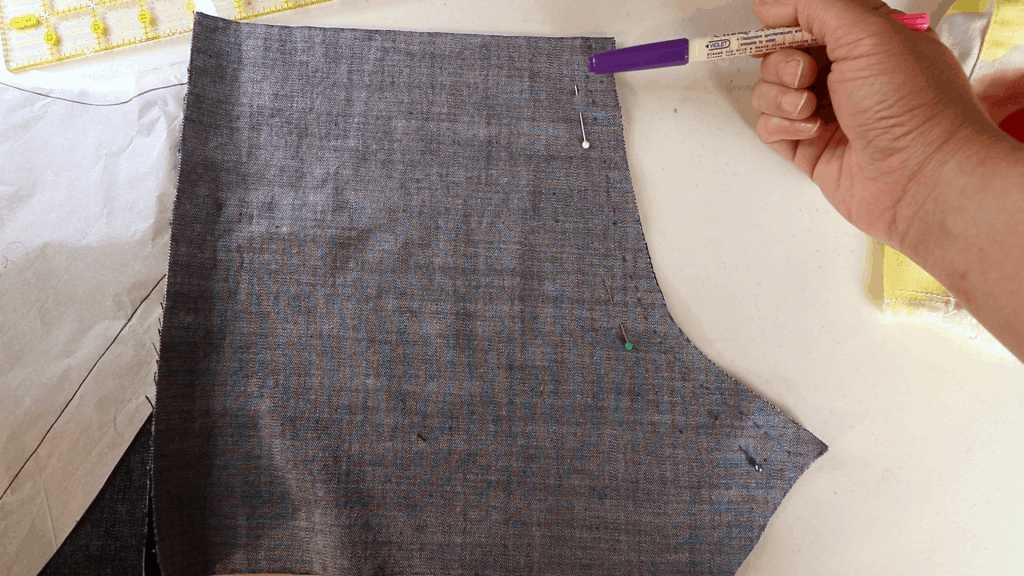
Cut the fabric. The elastic casing should be cut on-fold. Fold the fabric in half where the arrow points.
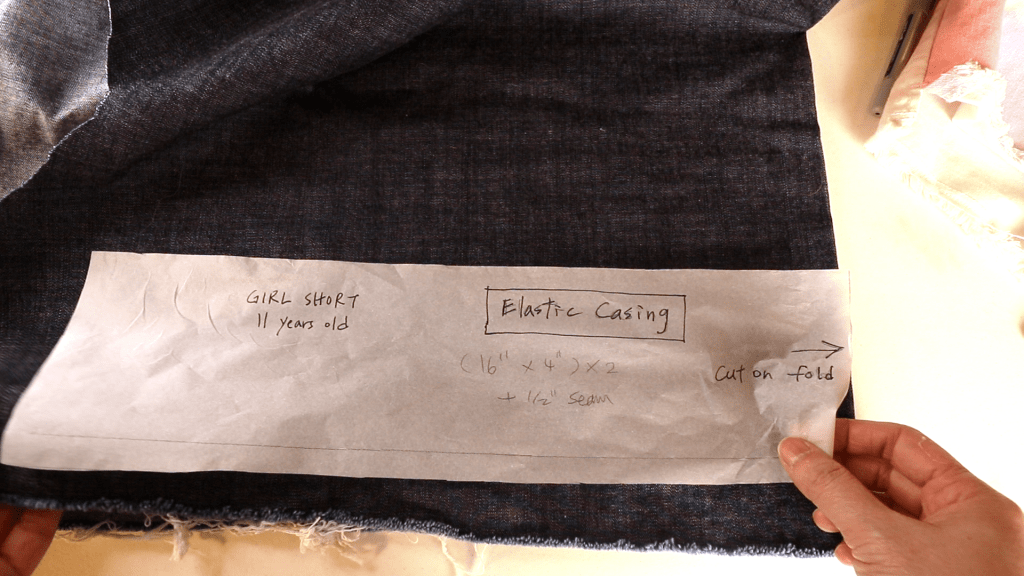
Fold the fabric with right sides facing and place pattern on top. When the fabric is cut, the 2 pieces will be mirror image.
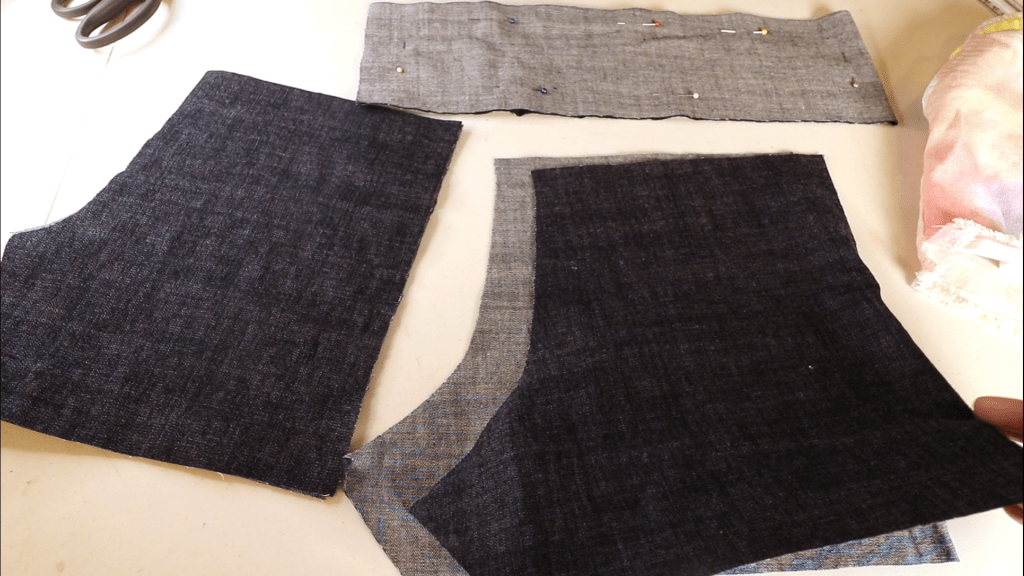
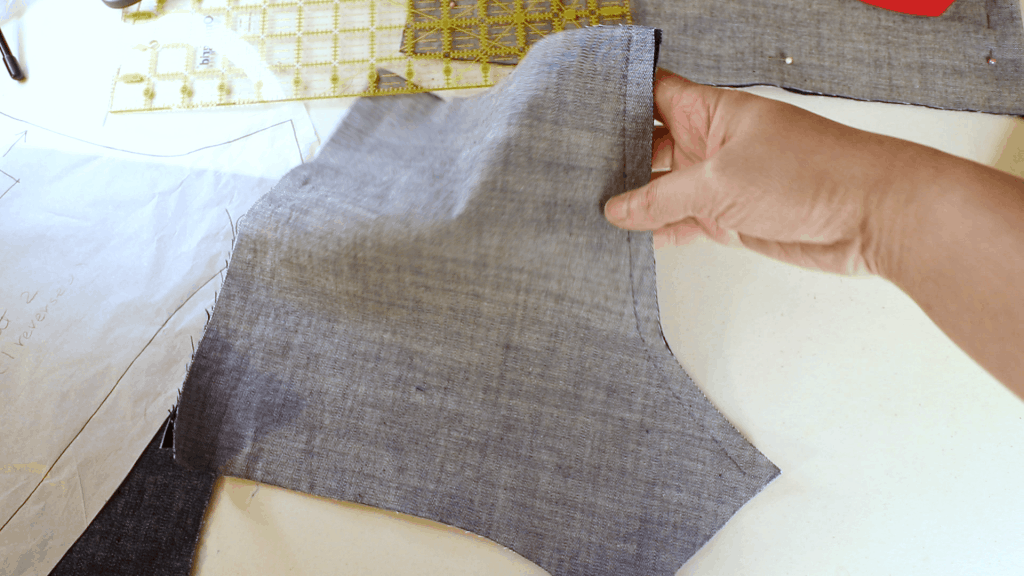
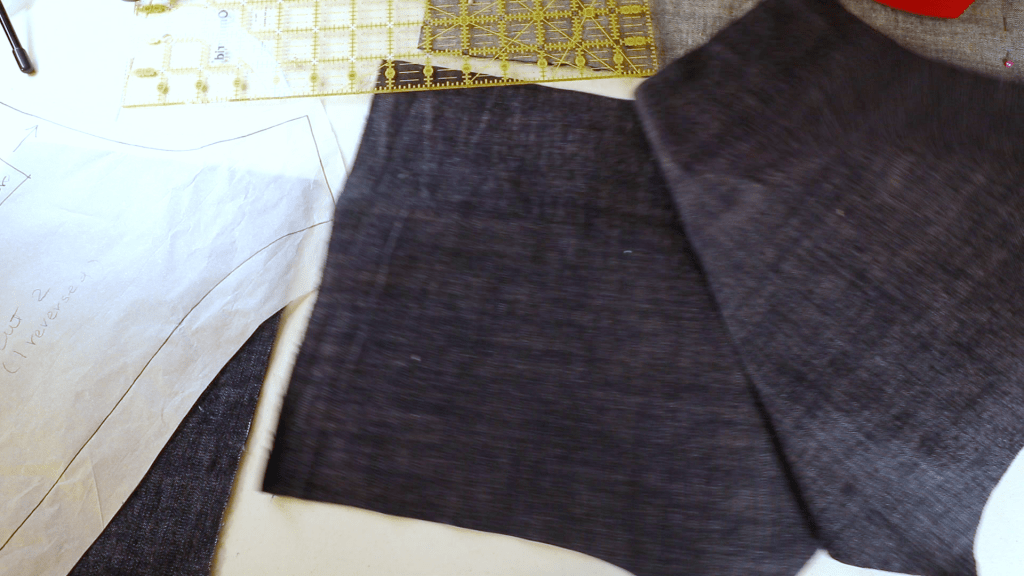
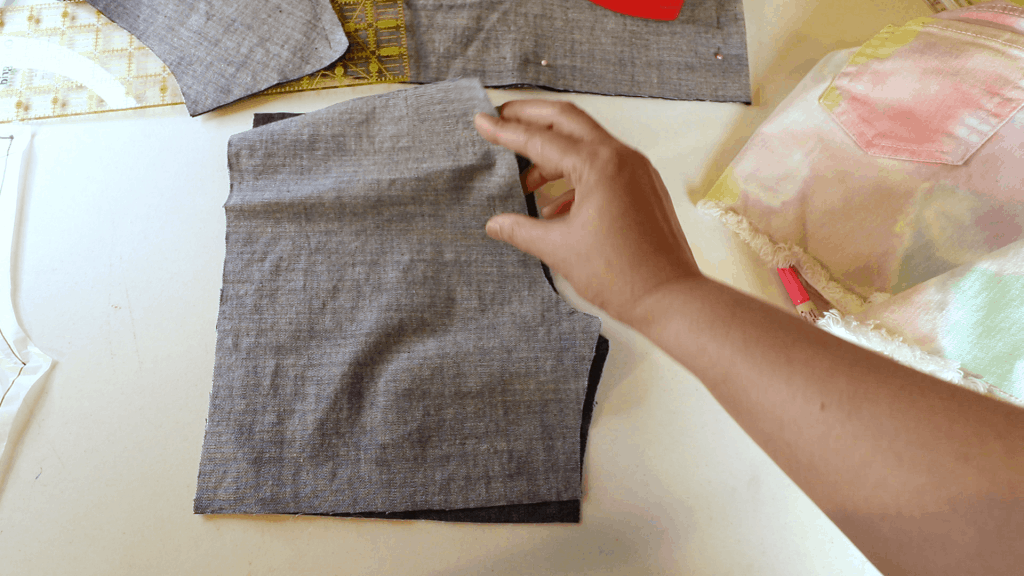
After cutting the fabric.
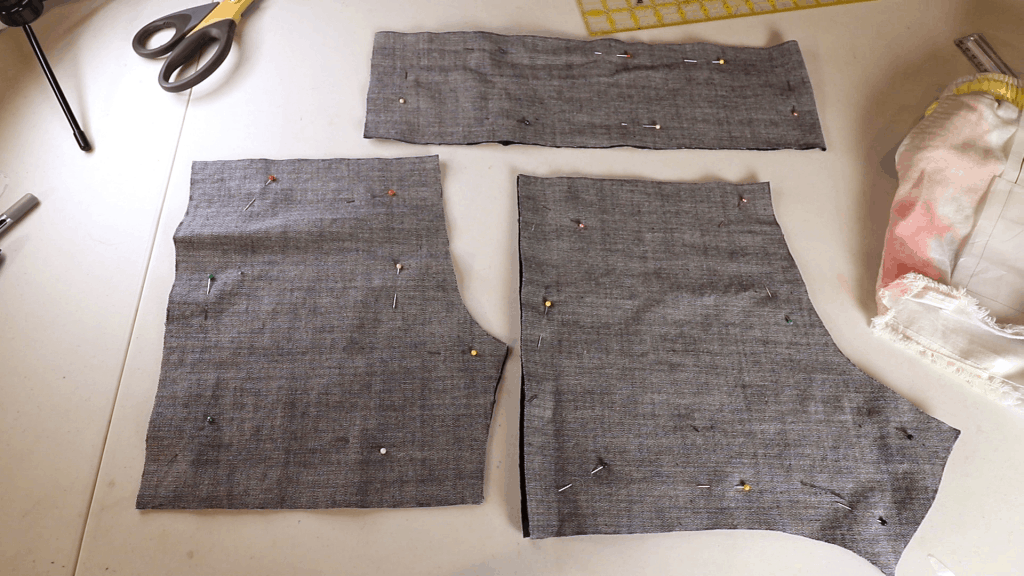
We have 2 sets of mirror-image pieces.
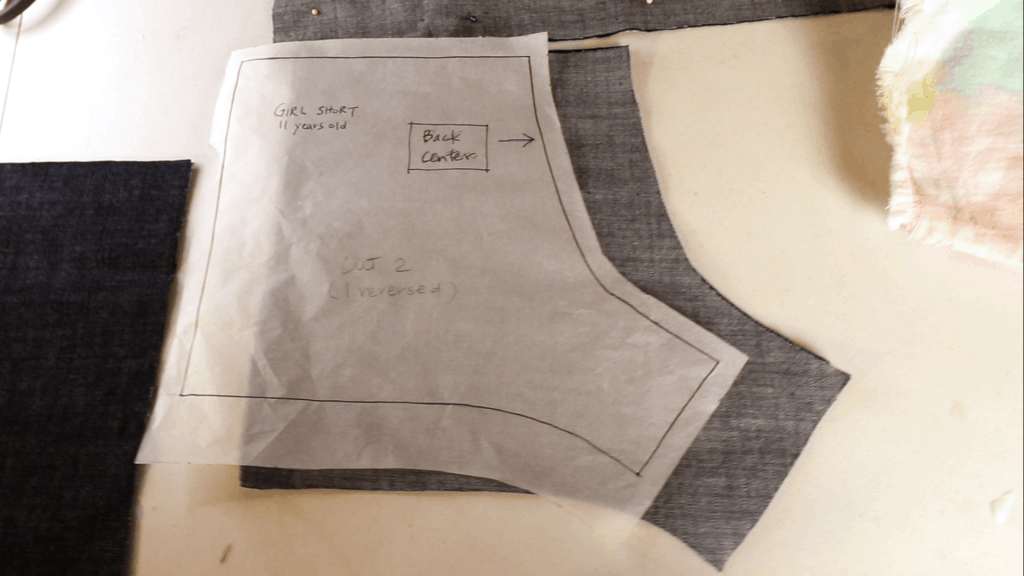
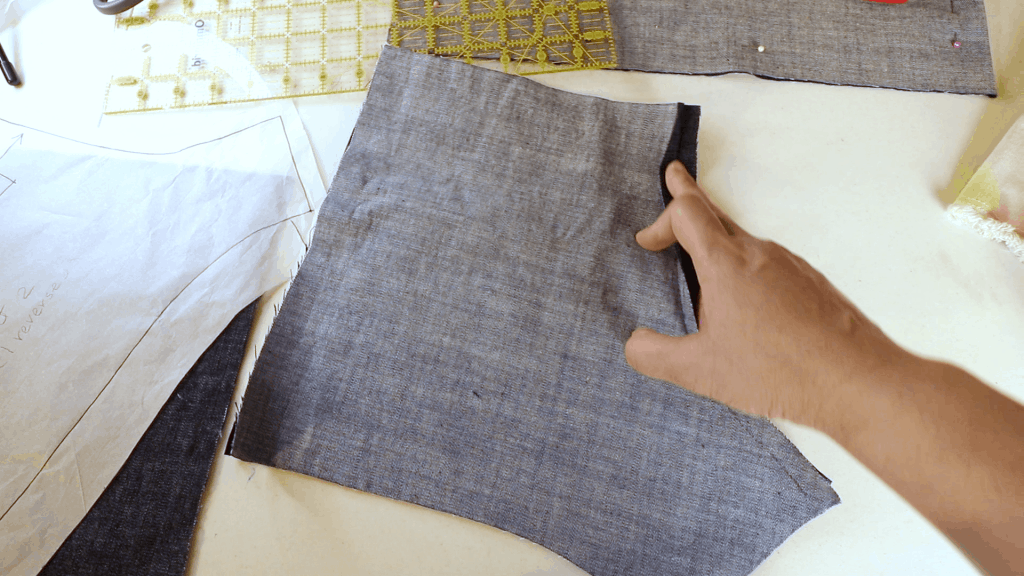
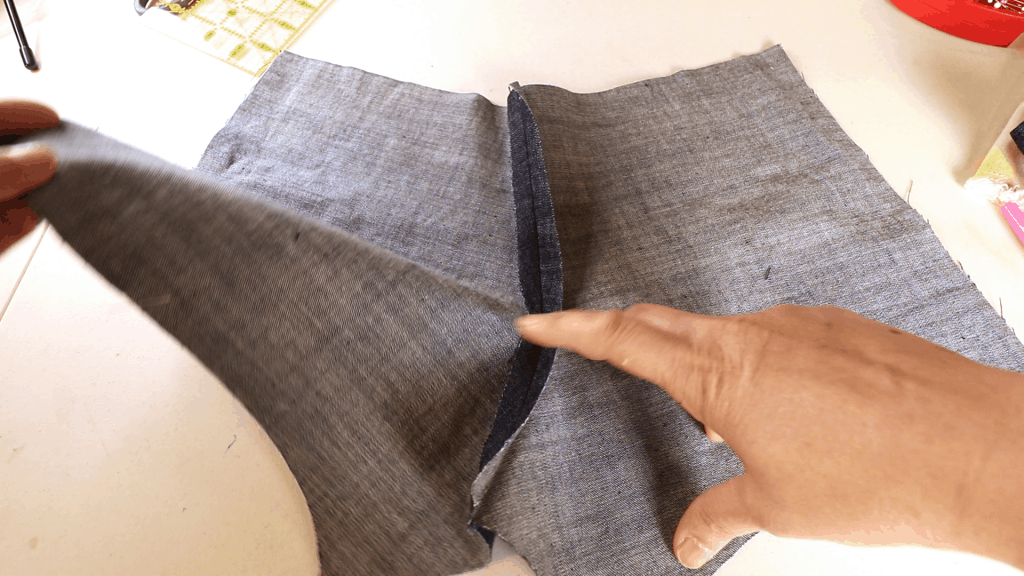
Find out the “back center” by referring to the pattern.
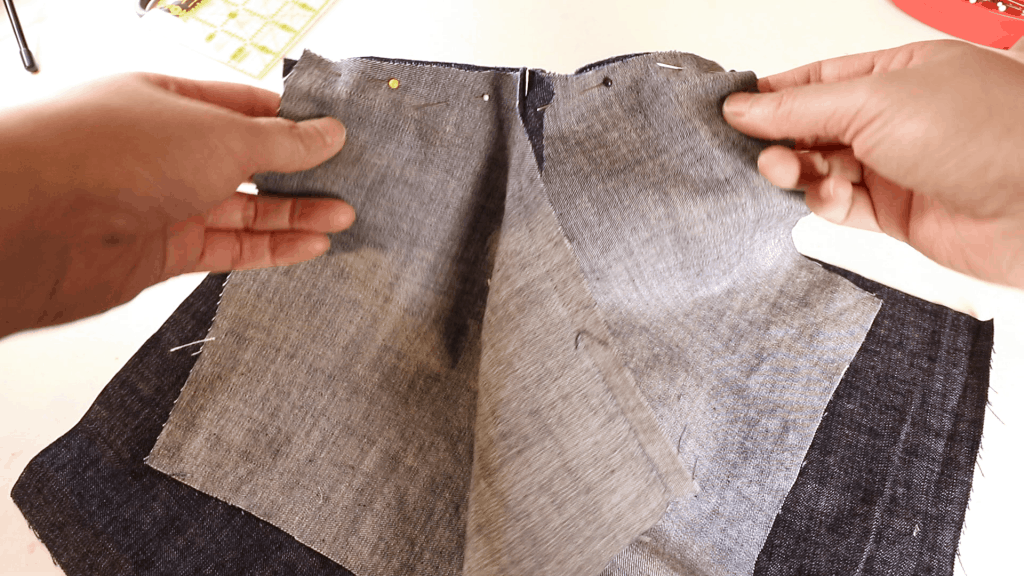
Pin and sew the seam of the back center. You can mark the seam allowance first (1/2 inch). I leave the last (bottom) 1/2 inch seam allowance not sewn.
After sewing the first line.
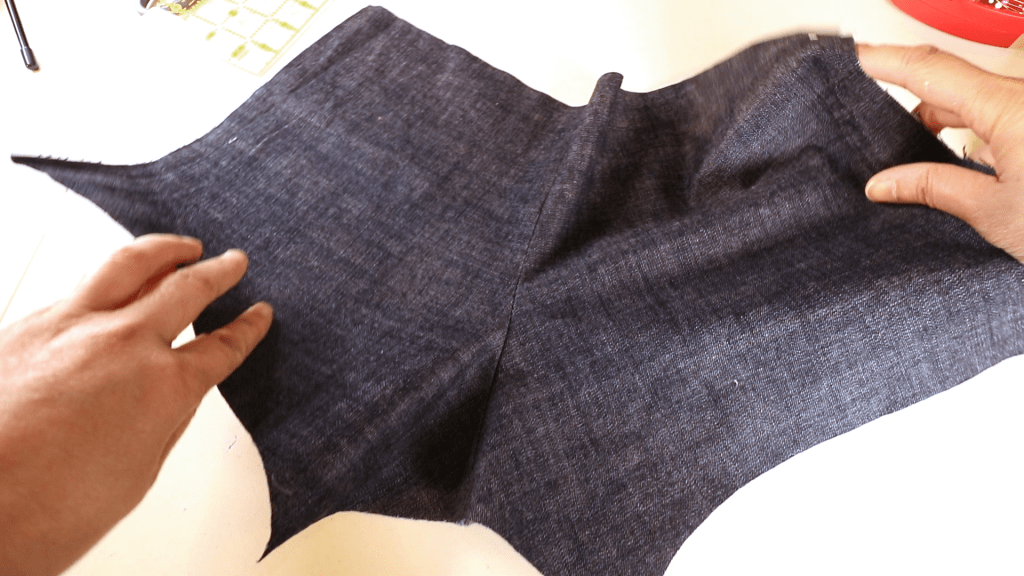
Open up and that is the look from the right side.
Iron open the seam allowance.
Do the same with the front piece. Sew up the center front line.
With the right side facing each other.
Iron open the seam allowance.
The right side.
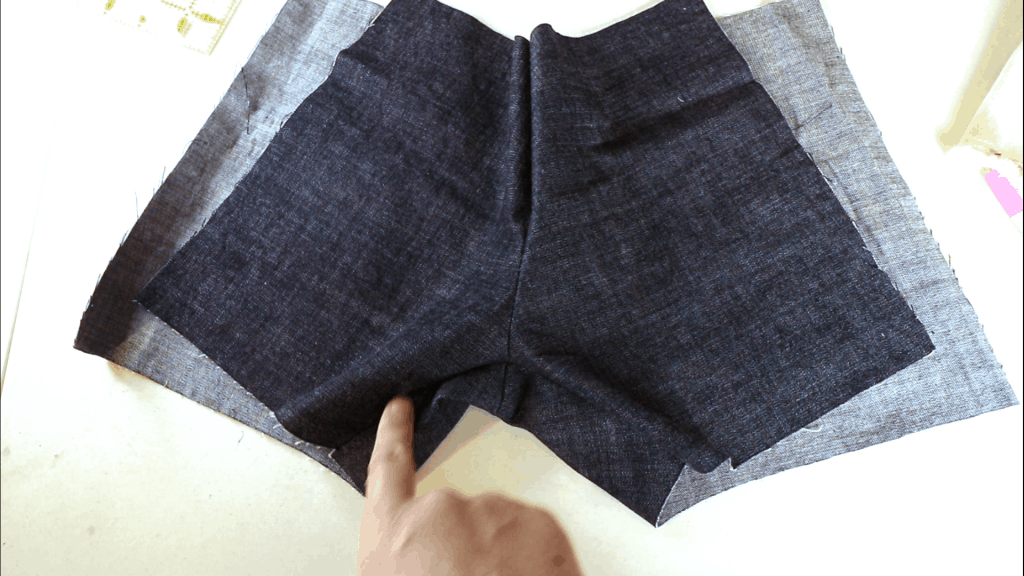
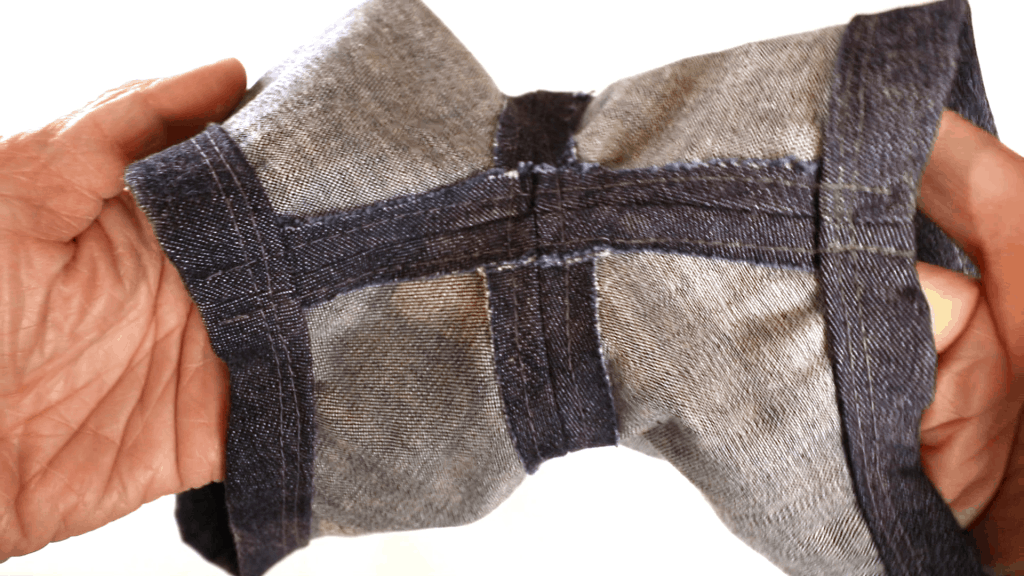
Put the front and back pieces together. We are going to sew the bottom.
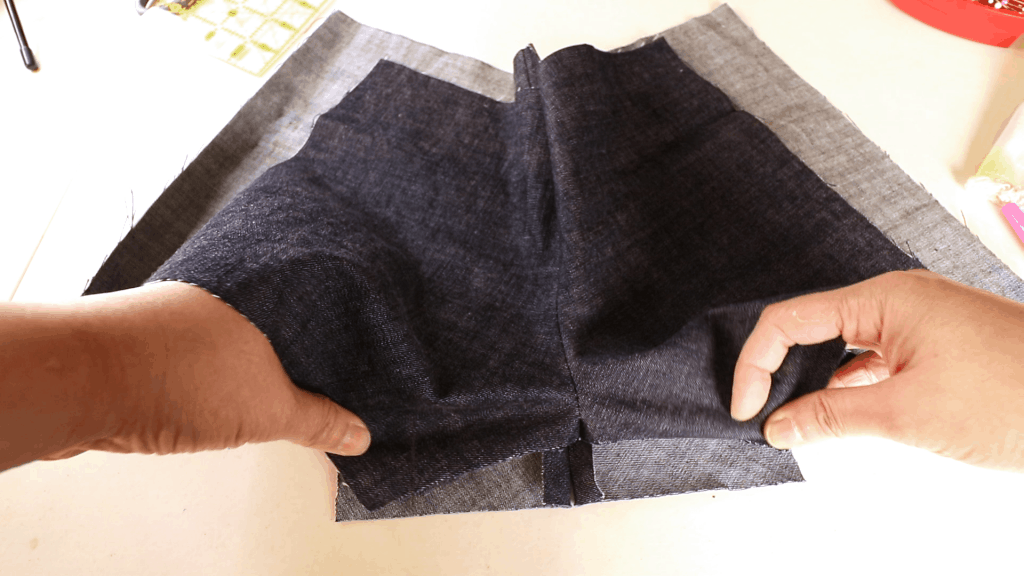
First, place the fabric so the right sides are facing each other.
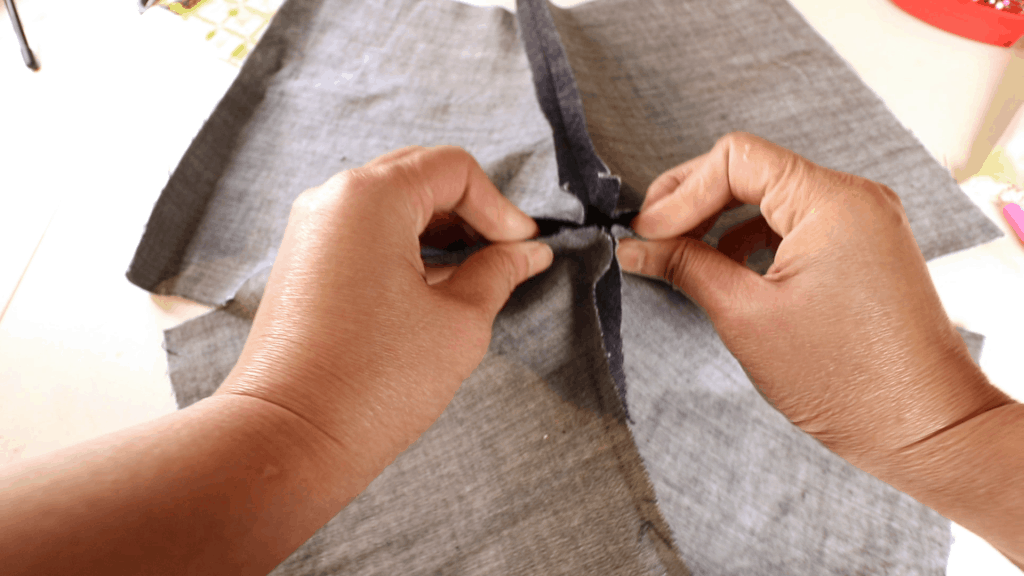
Pin and sew a line (1/2 inch seam). You can go over the center area 2 or 3 times to make it stronger.
After sewing, iron open all the seams.
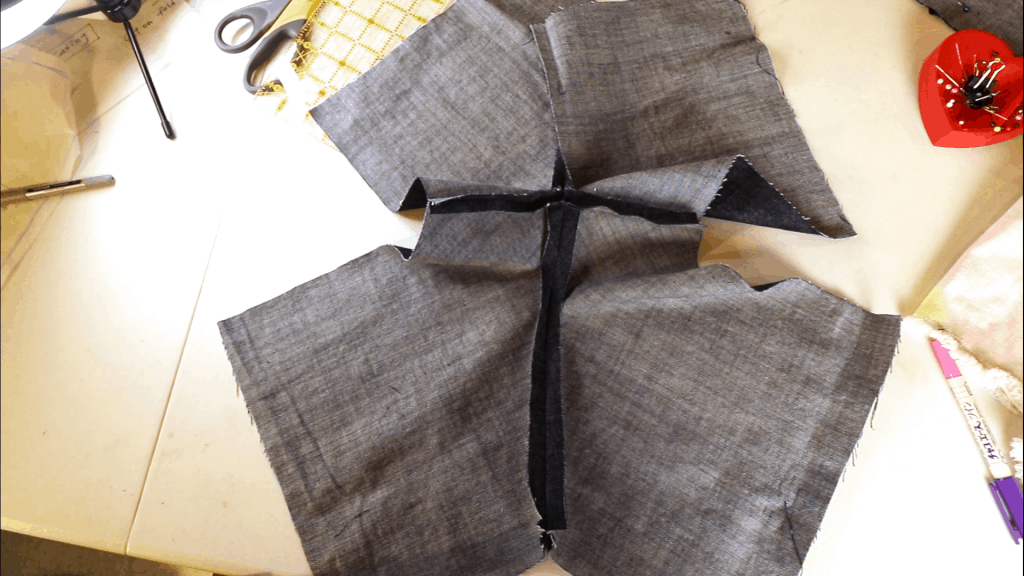
That is the look from the right side.
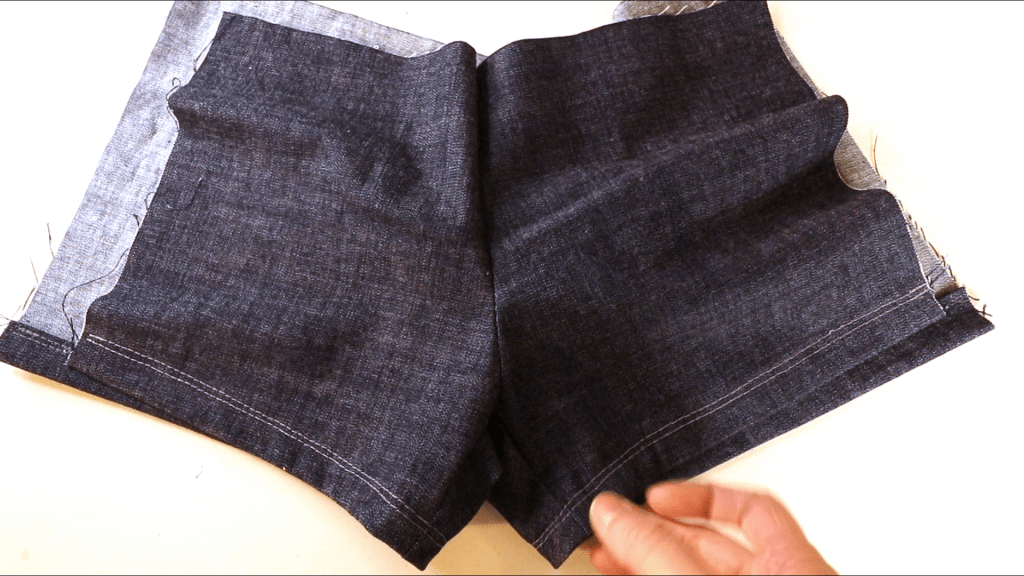
We are going to sew the bottom hem. Fold about 3/8 inch first and then about 3/4 inch up. Iron to show the folding lines.
Pin and sew.
You can sew double lines.
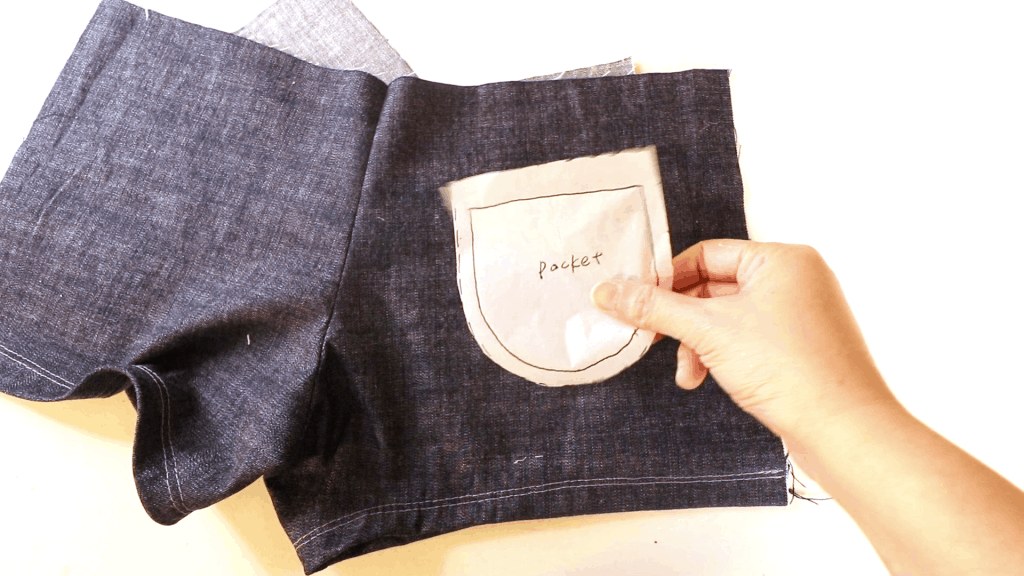
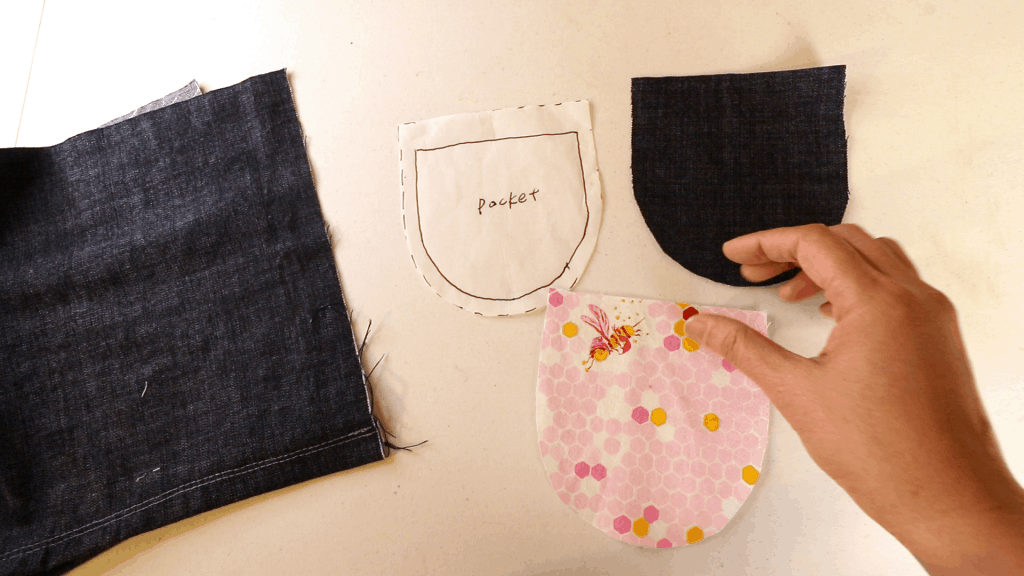
I draw a quick shape for the pocket, leaving a bigger seam allowance on the top.
Cut 2 pieces of fabrics. One is for lining.
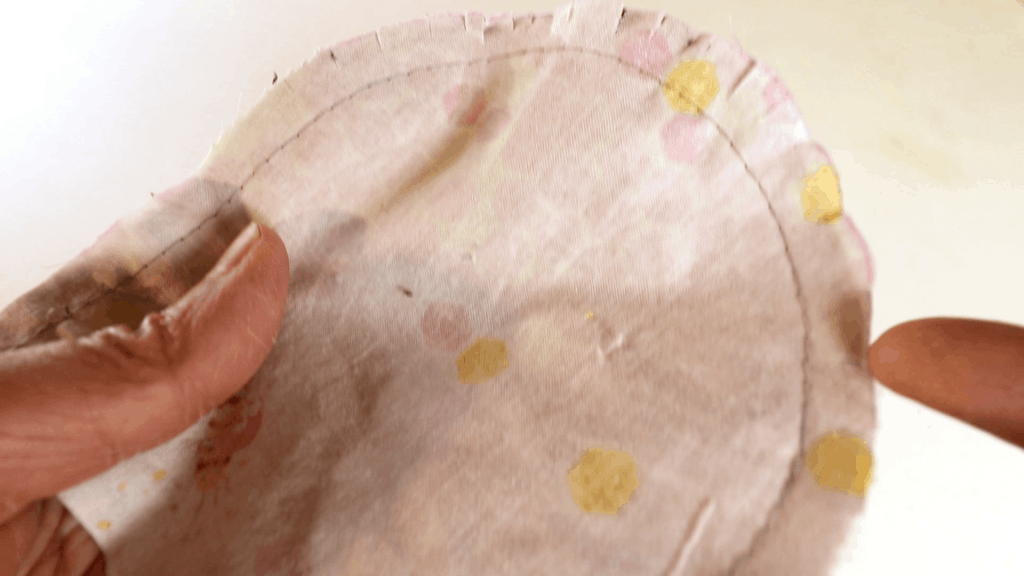
Place the right side facing each other, sew 3 sides. Leave the top open.

Sew 3 sides.

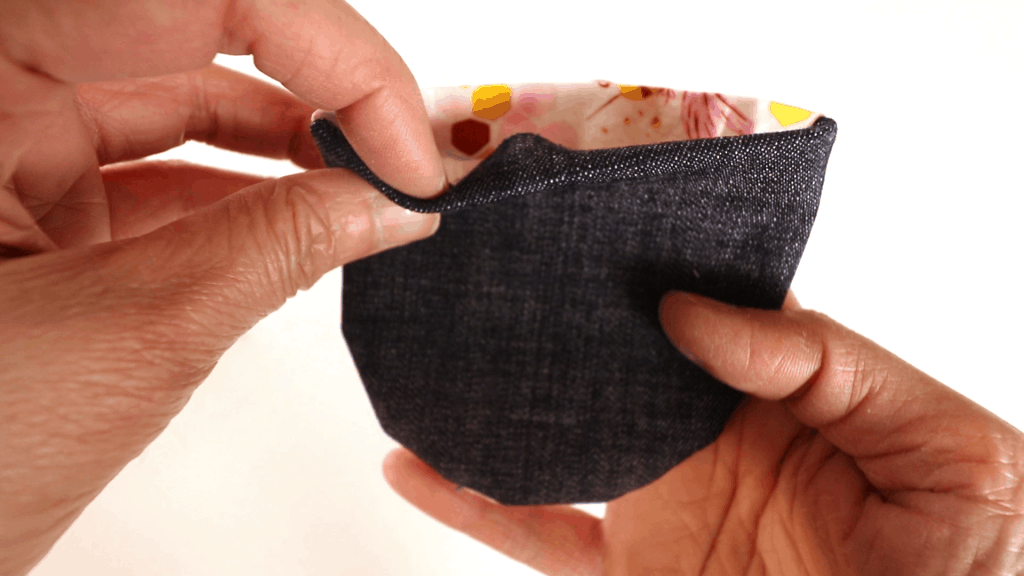
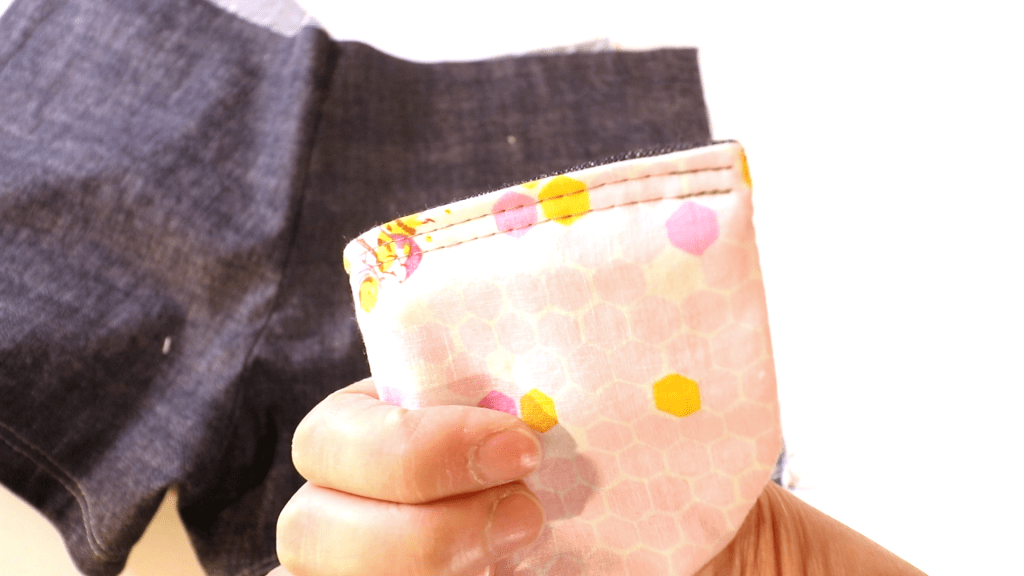
Clip around the curve area and turn inside out.
Fold down the opening and sew a line or 2 lines to close the top.

Use the seam allowance you draw on the pattern (about 3/4″).
After sewing double lines.
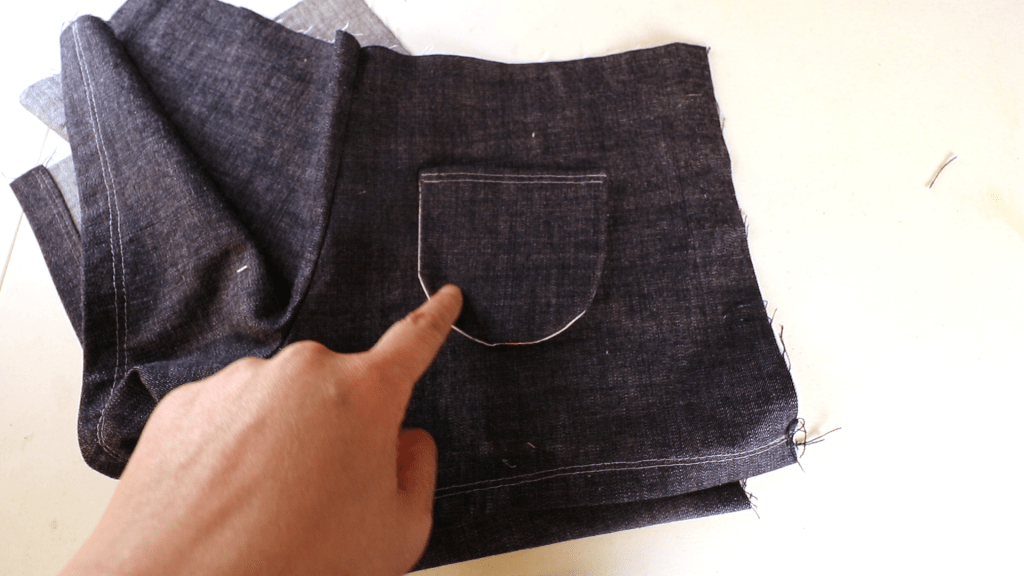
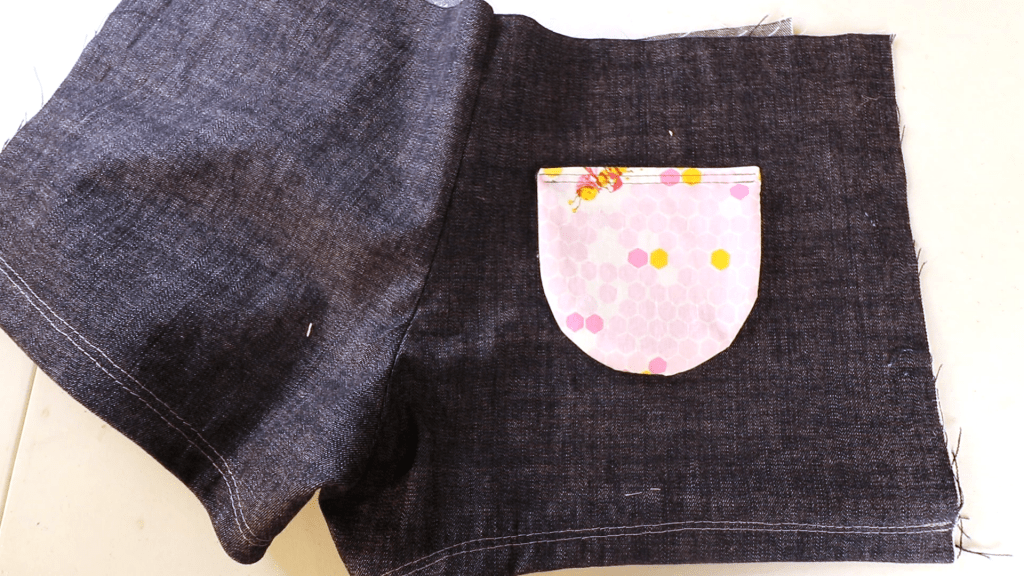
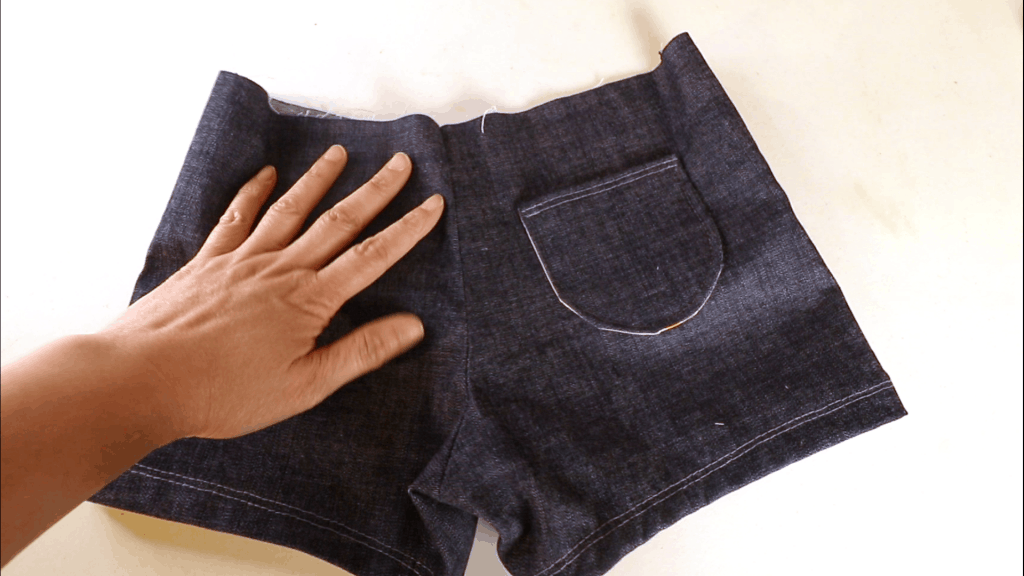
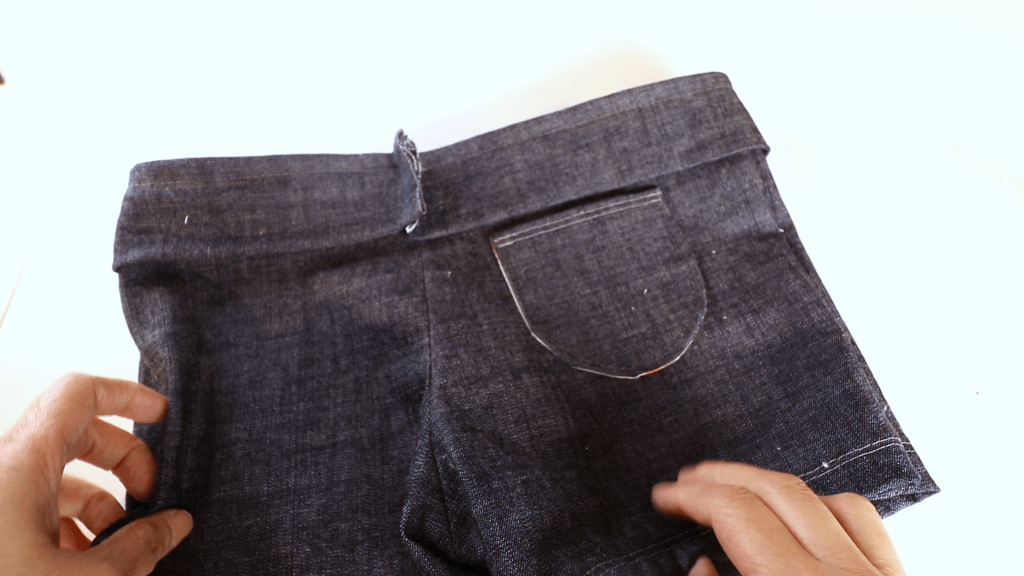
Place it on the back side. Remember to leave the seam allowance for the side seams of the shorts. So the pocket should be closer to the center for now.
You can use the other side as the right side too. Sew the 3 sides of the pocket and leave the top open.
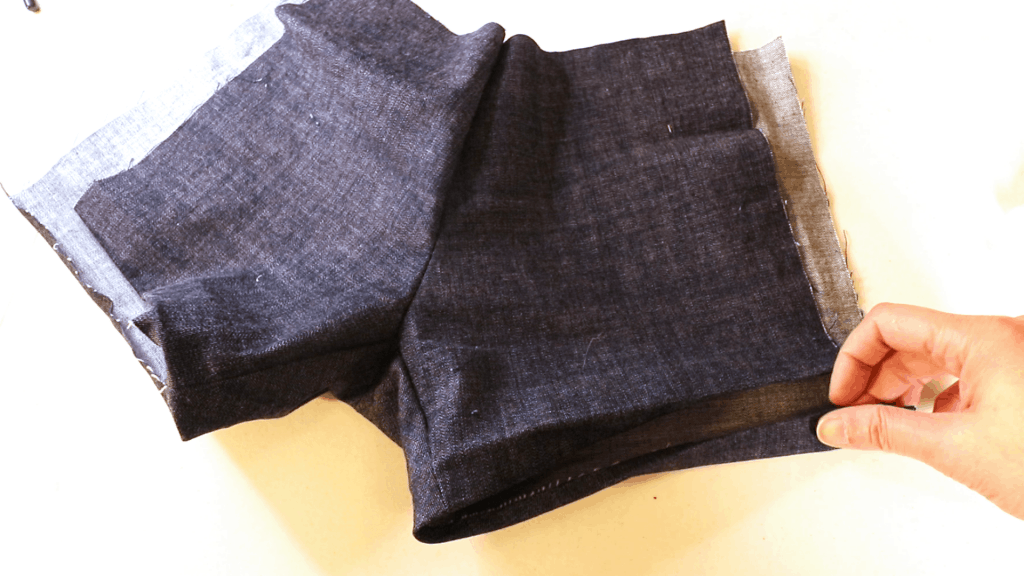
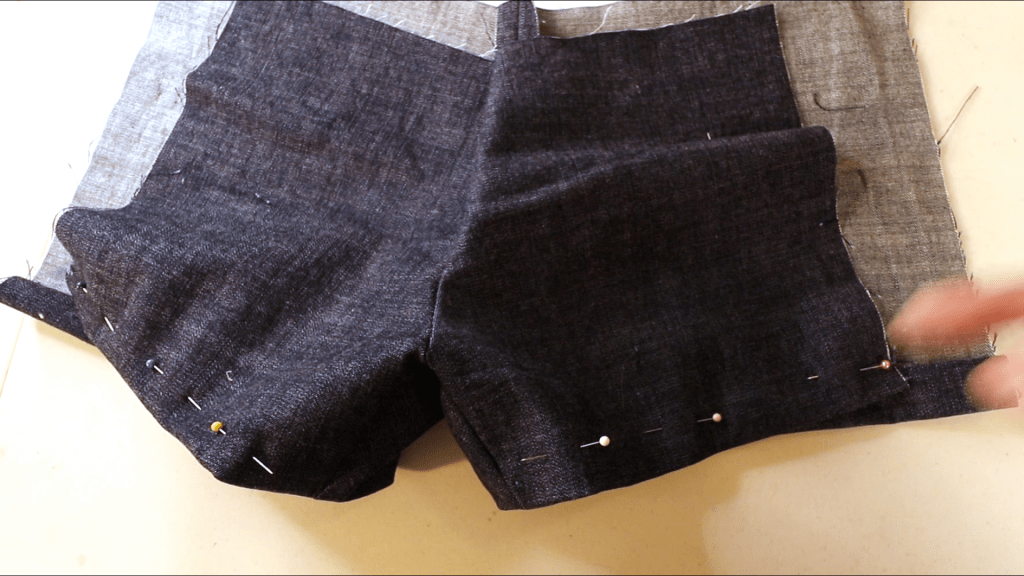
Ready to sew the side seams. Place the fabric right side facing each other.
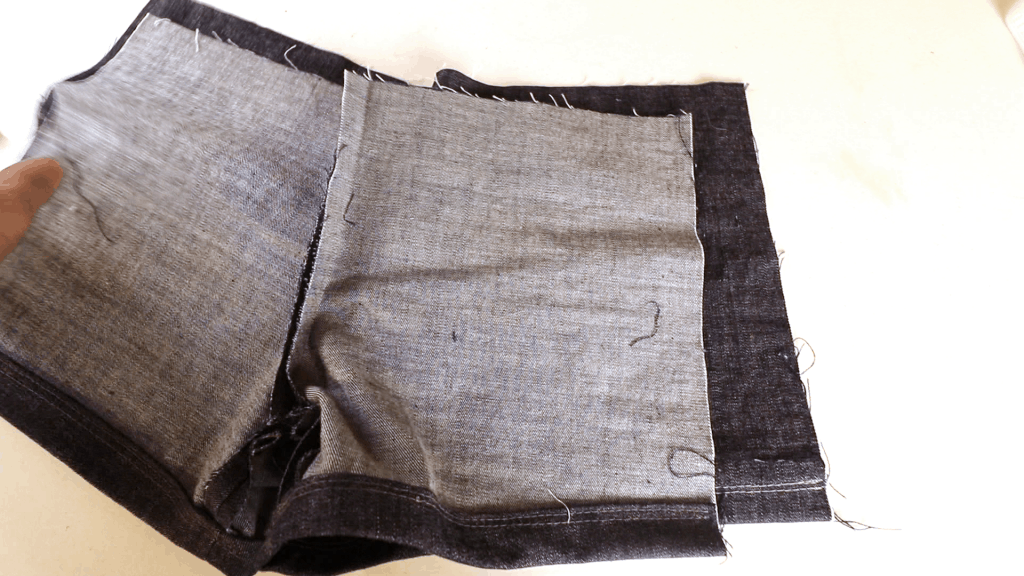
Pin and sew on both side seams.

Side seams are done.
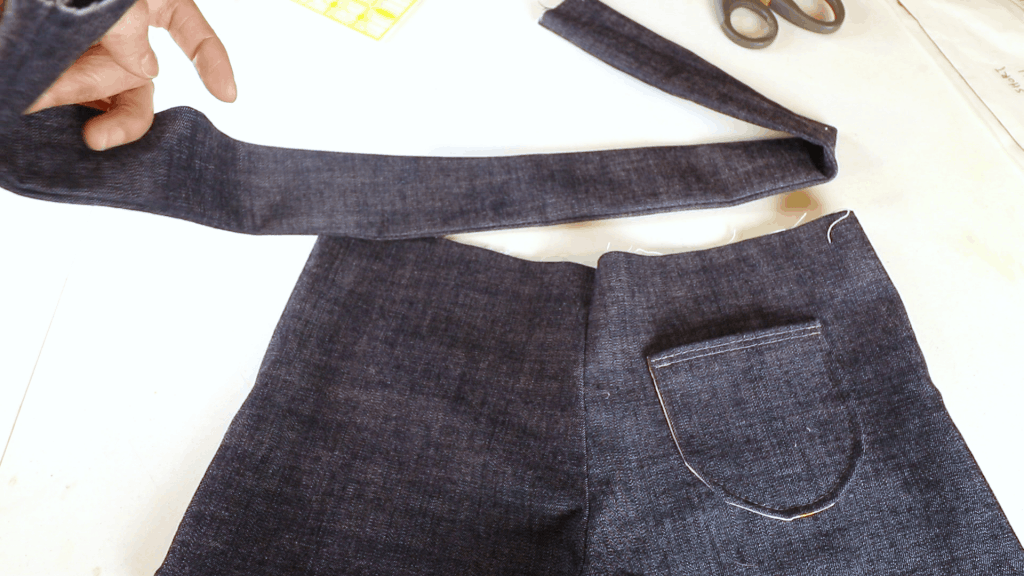
Next is the elastic casing. Fold in half lengthwise and sew a straight line near the bottom to create a pocket.
After sewing, turn the piece inside out.
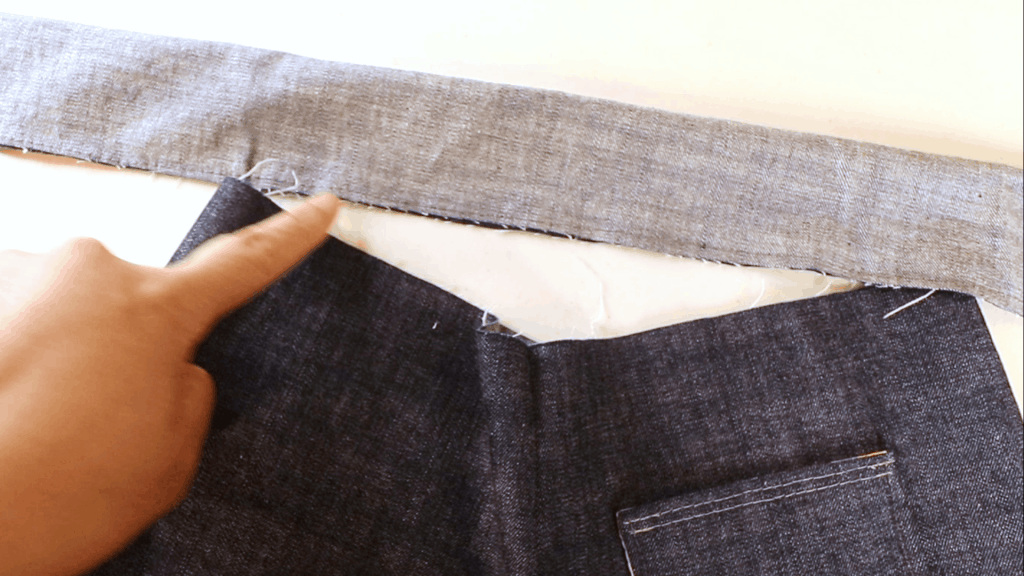
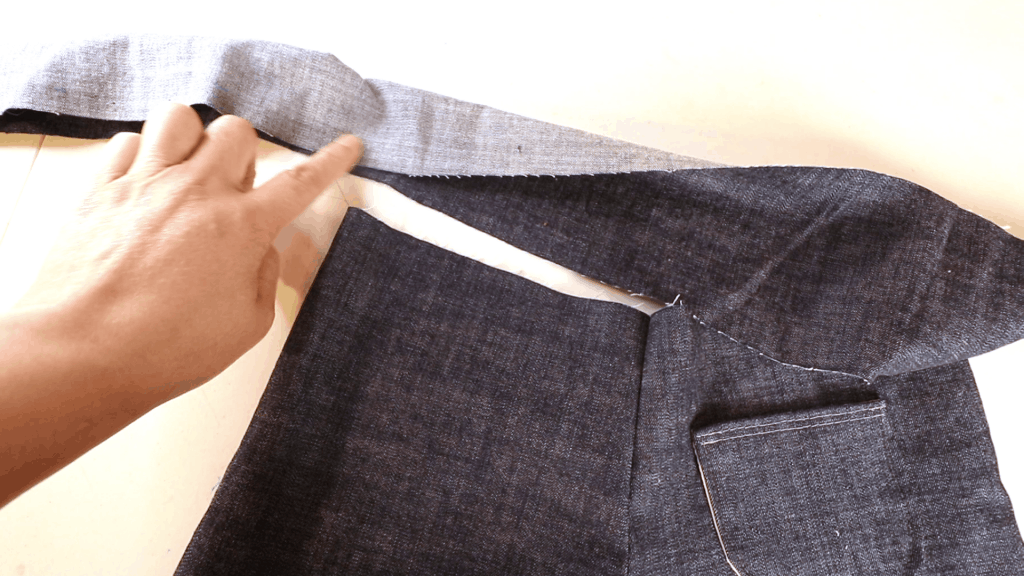
Place the opening near the back center. Align the top of the shorts to the top of the elastic casing. Pin and sew. Remember to leave extra at the ends for overlapping.
Cut off extra length if needed.
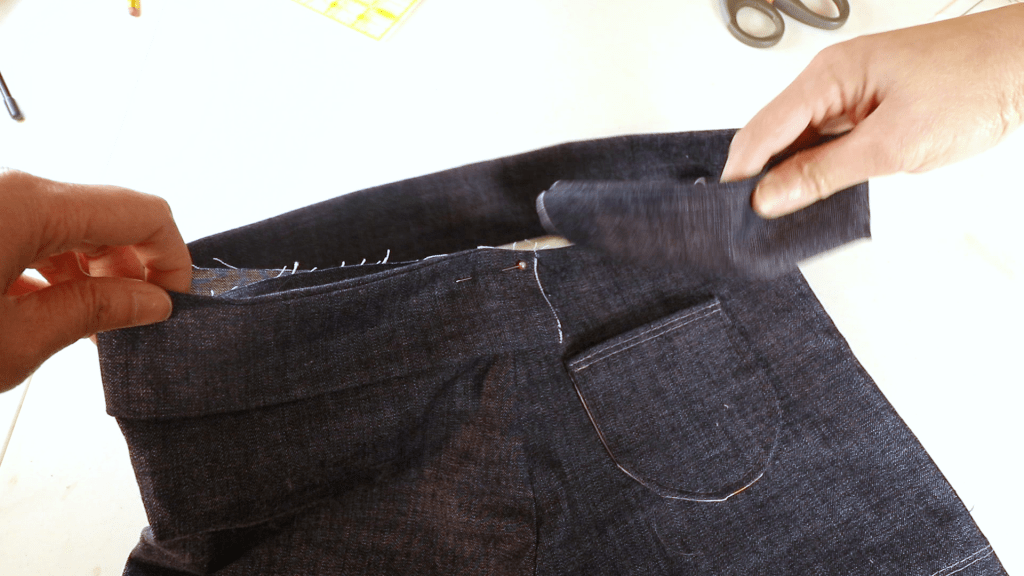
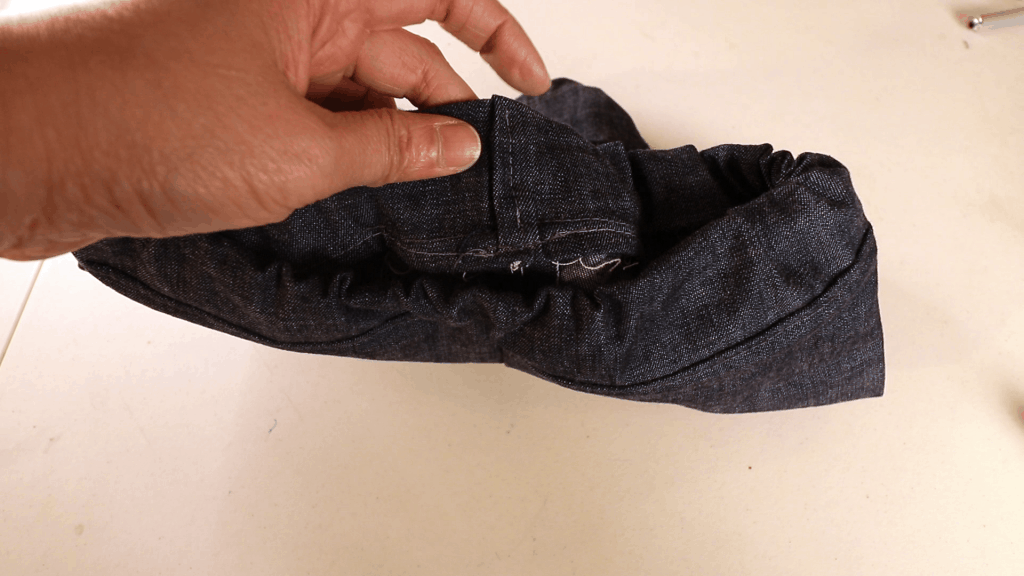
Fold the elastic casing up. It will need an ironing to flatten the fabric.

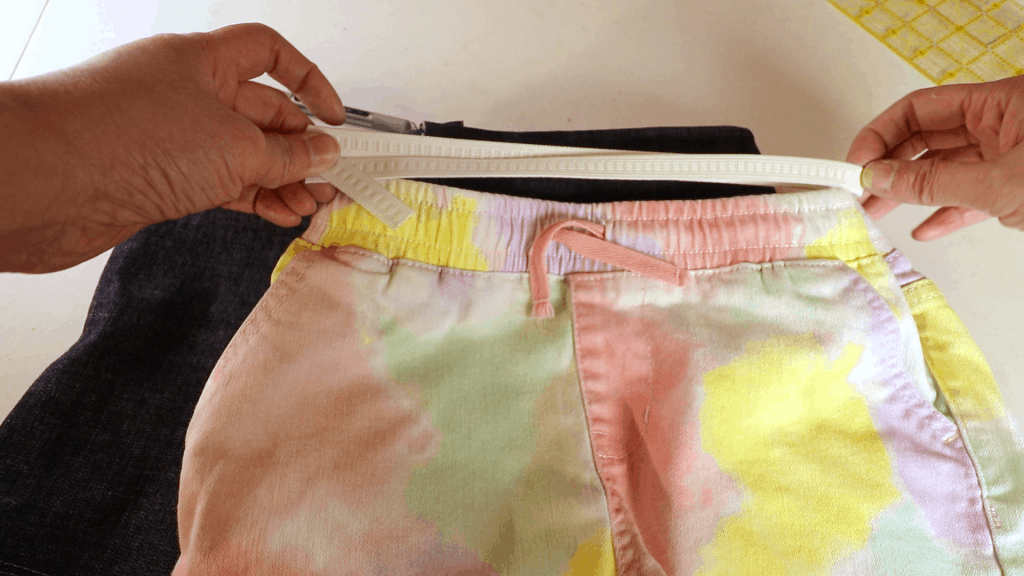
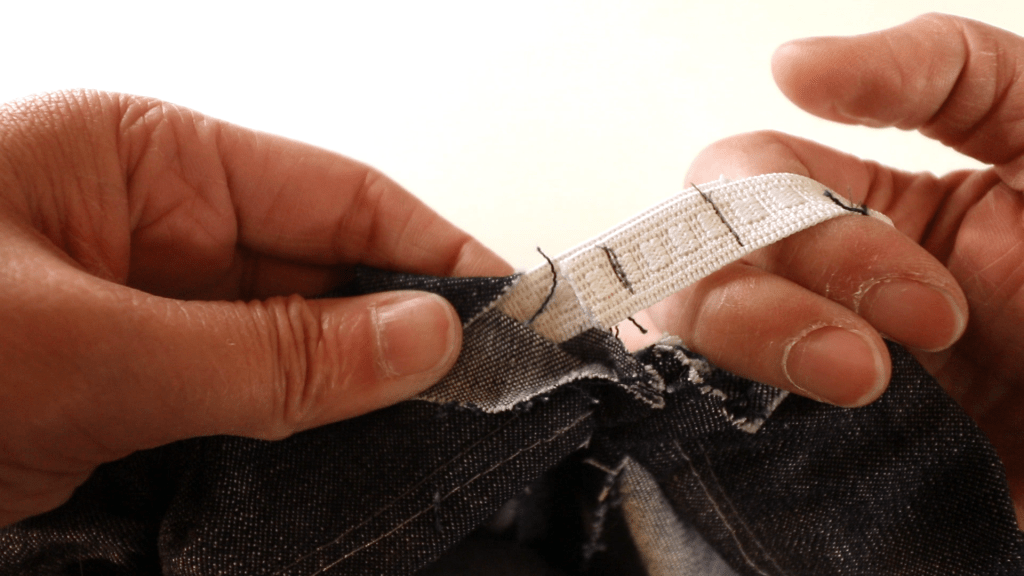
Time for the elastic. The length should match the shorts that fits you plus a little extra for overlapping.
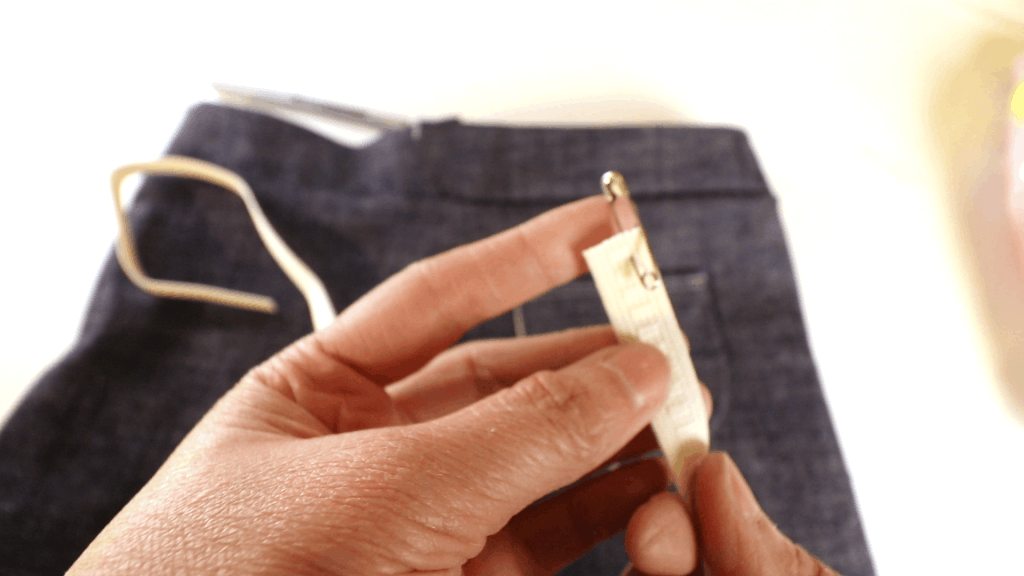
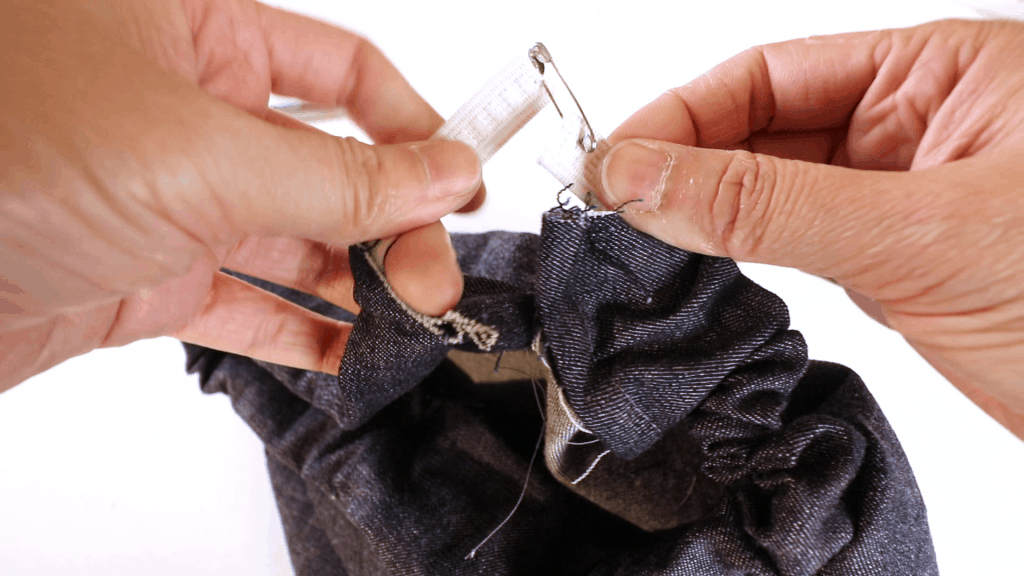
Use a safety pin and thread the elastic through the casing.
I pin both ends together for now.
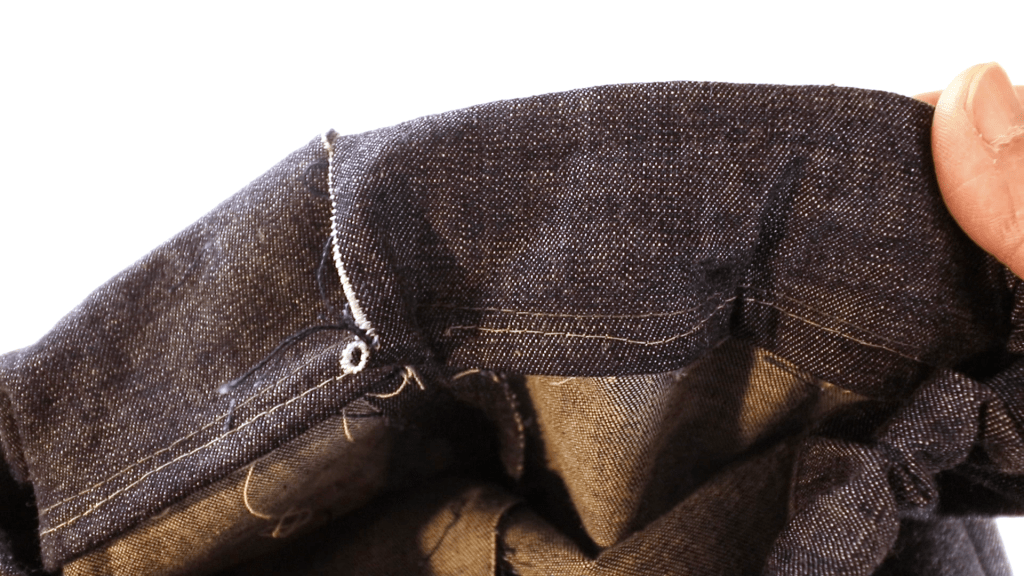
We are going to sew a line below the seam so the fabric stays flat.
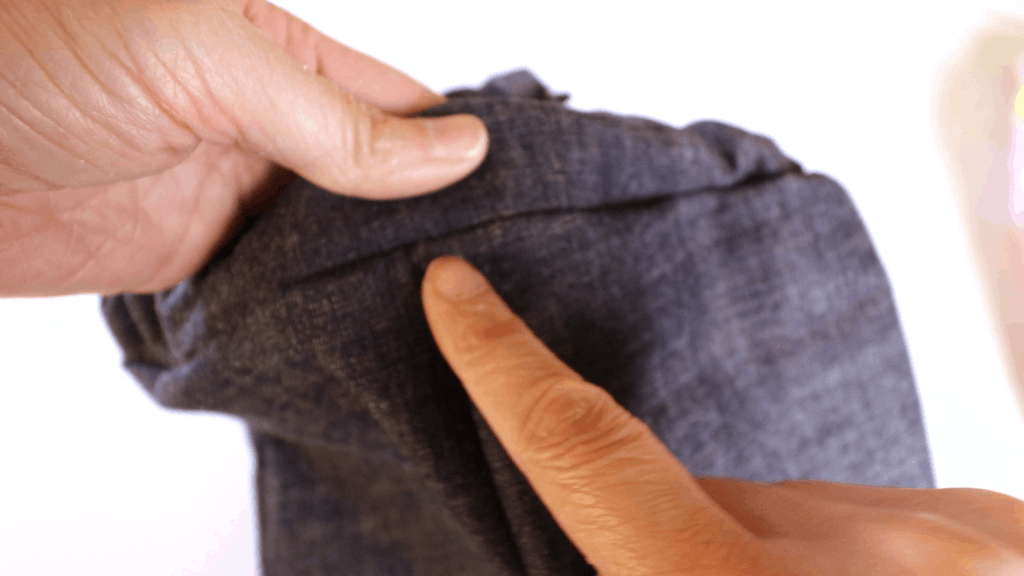
It will keep the inside seam flat.
See the sewing line below the seam line.
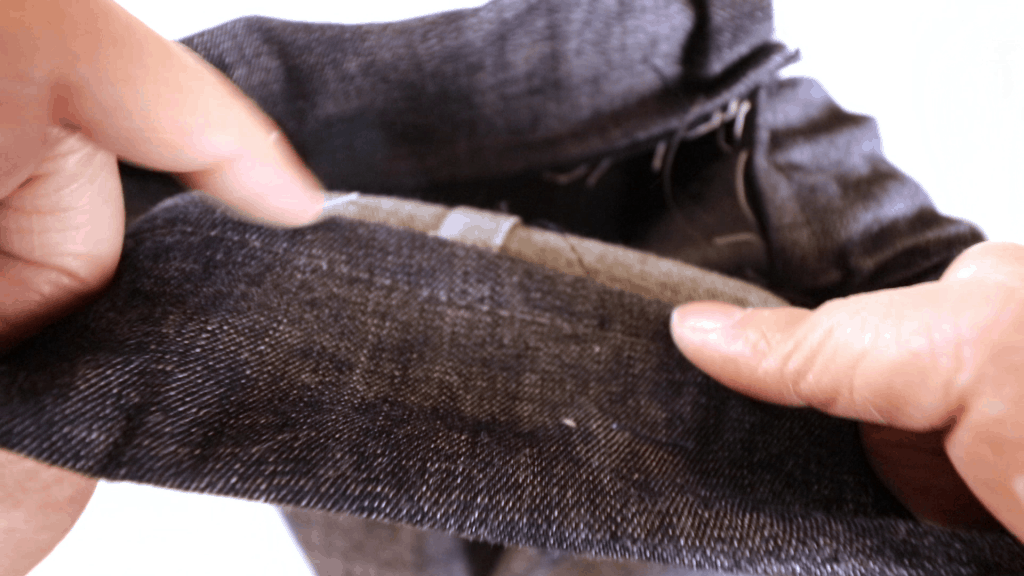
Now we can overlap the elastic ends and sew them together.
To close the opening of the casing, insert one end into the other. Fold the raw edge in and sew up a straight line.
It will look like this.
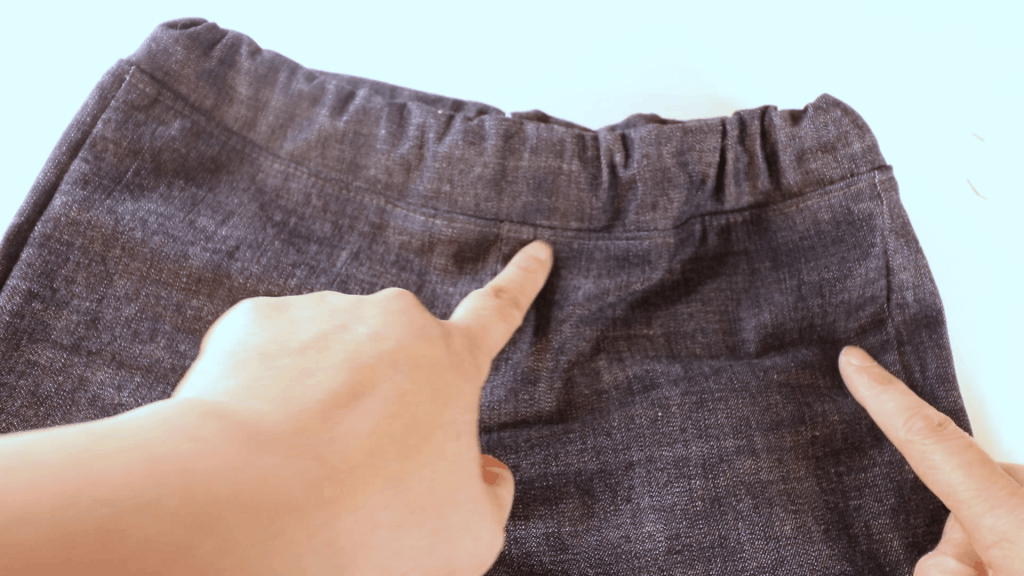
The next step is optional. Turn the shorts inside out. We can sew a line on each seam allowance to keep the seam flat and secure.
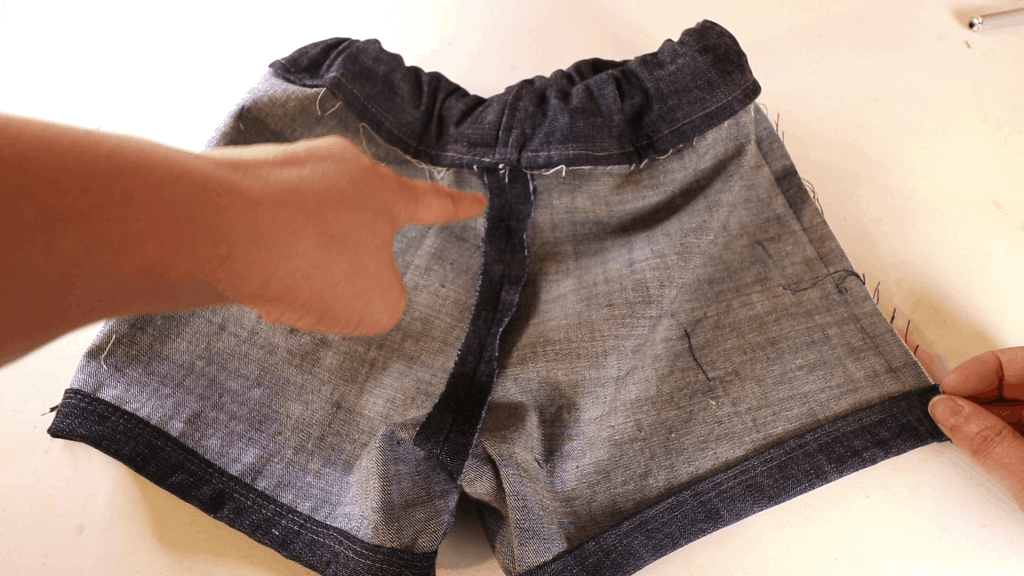
See the 2 lines on the seam.
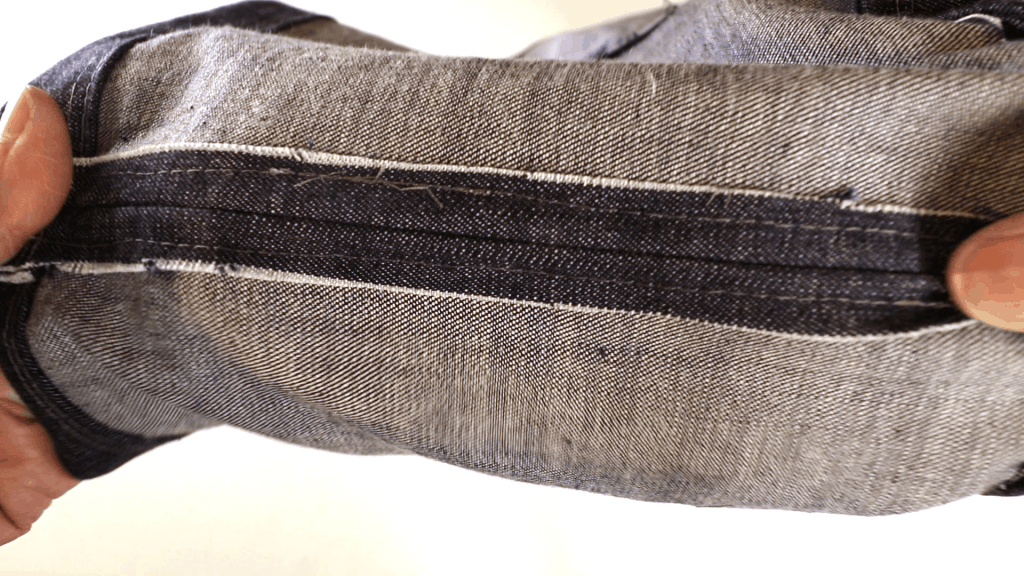
The same on the crotch area. Top stitch to secure the seams.
All done!


Watch our sewing video tutorial
Link to the part 1– pattern drafting from existing garment.


You May Also Like

How to knit a lace hat with a magic loop method — free pattern

Simple bookbinding with PVA or Elmer’s school glue
