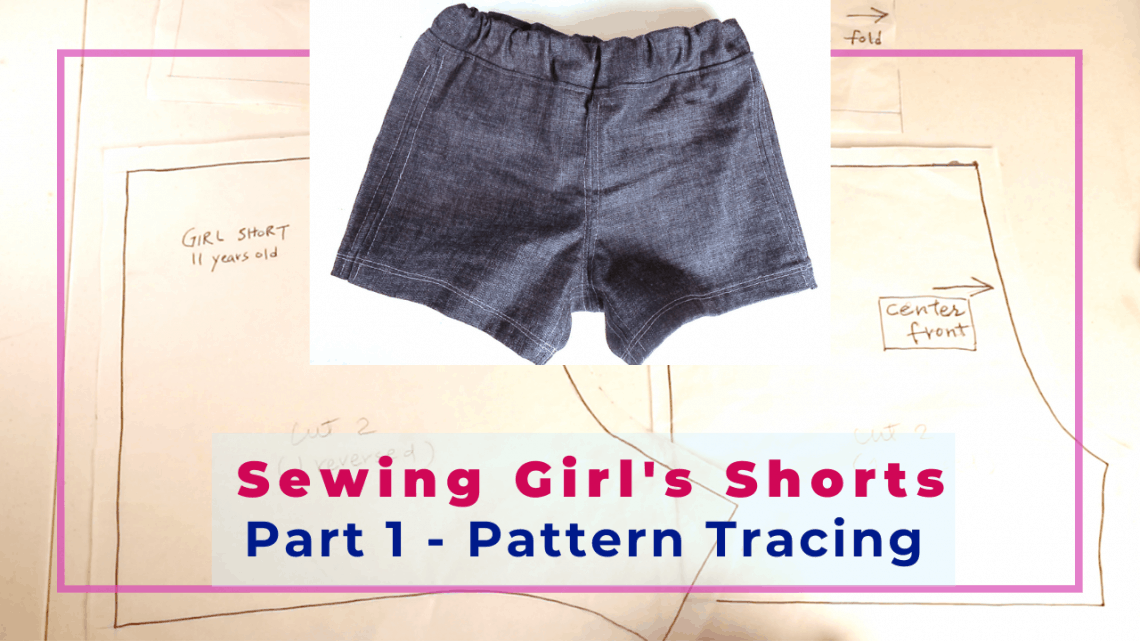
Sewing kid’s shorts Part 1 – pattern tracing from your favorite garment
Here is part 1 of sewing your own garment based on what you have. We can draw our sewing pattern from most existing clothes in your wardrobe. All you need is some type of tracing paper, a pen, and a ruler. If you don’t have any tracing paper, you can use any type of paper that is a little bit thinner and translucent. A tracing wheel is optional. It punches small holes on the tracing paper so you can draw over the line.
Part 2 will be the actual fabric cutting and sewing.
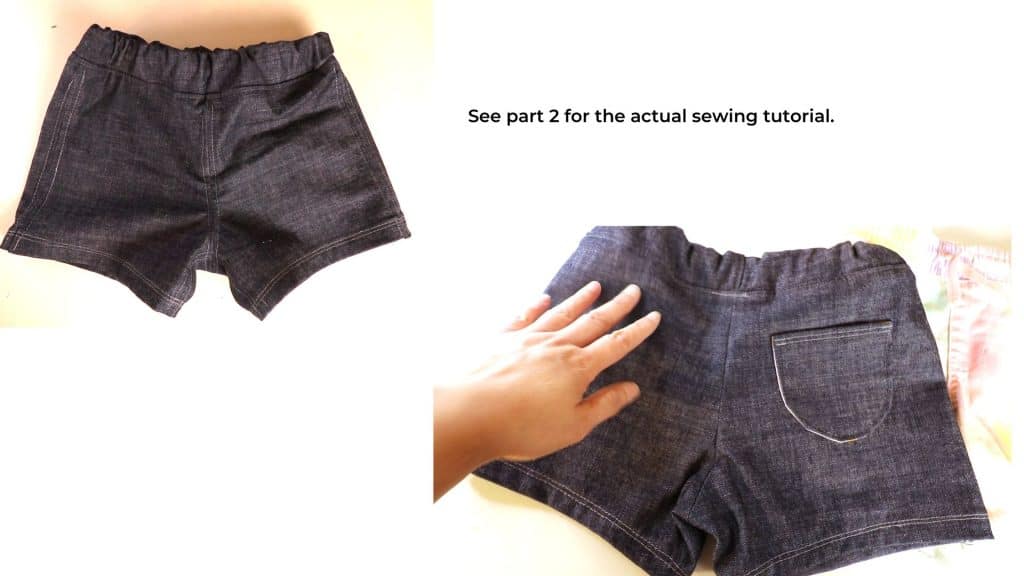
I draw the pattern based on my daughter’s shorts. It will have an elastic casing at the waist so it is comfortable to wear and easy to fit. You can use the same technique on any garment that fits you. Change the fabric for different looks.
The video tutorial will be at the bottom of this blog.
Step by step tutorial for recreating your sewing pattern
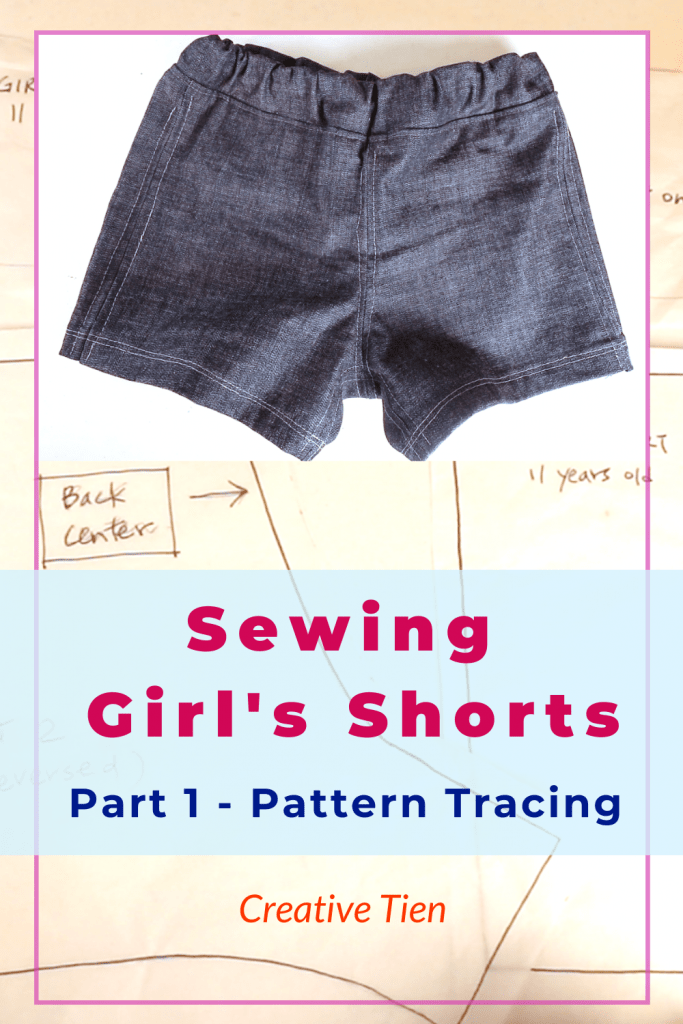
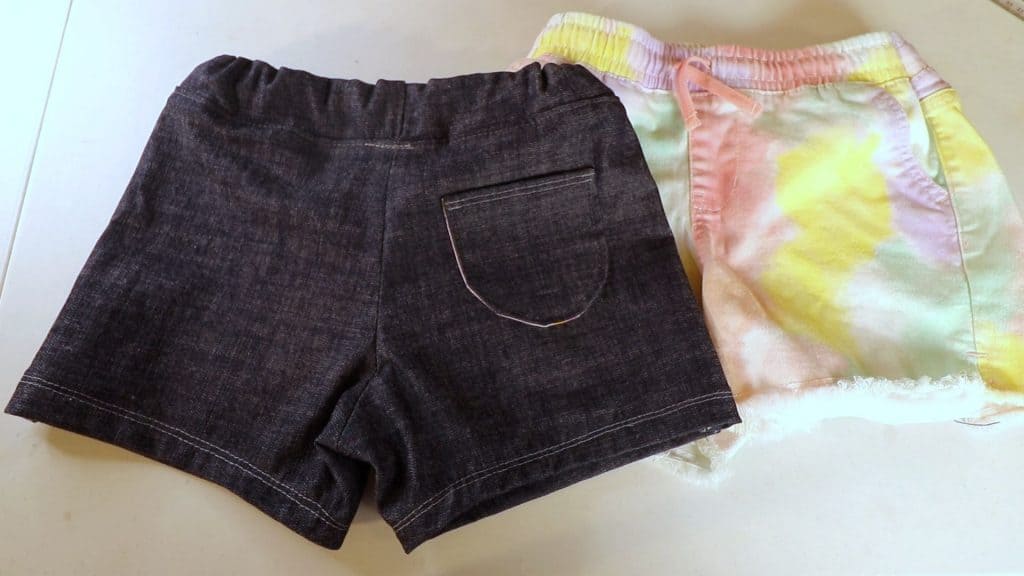
The right side is the old shorts and the left one (denim) is the copy based on the right. You can change the details. It does not have to be exactly the same.
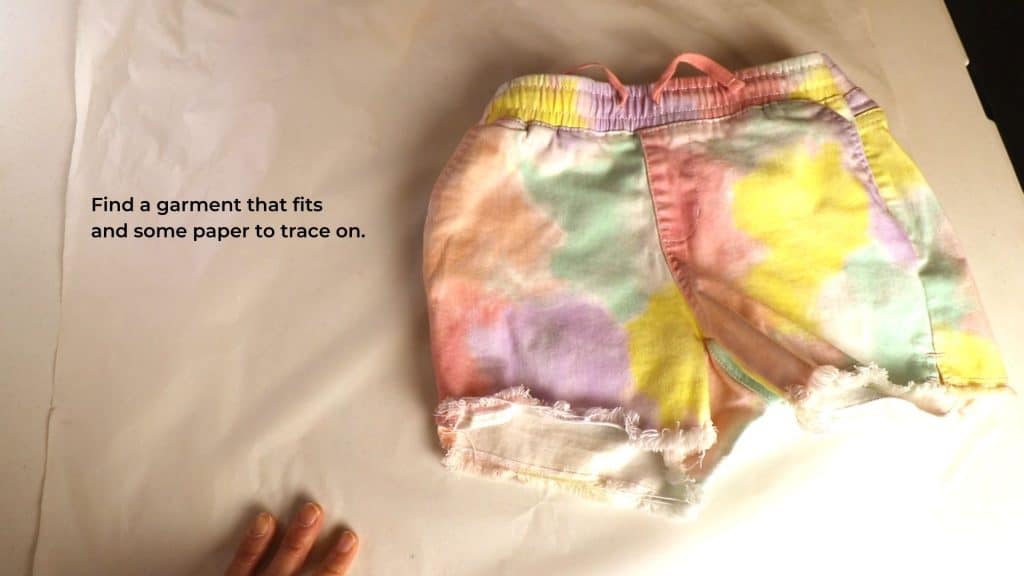
Get the tracing paper or tissue paper. I use the paper roll for the clinic exam table. You can buy them online cheaply.
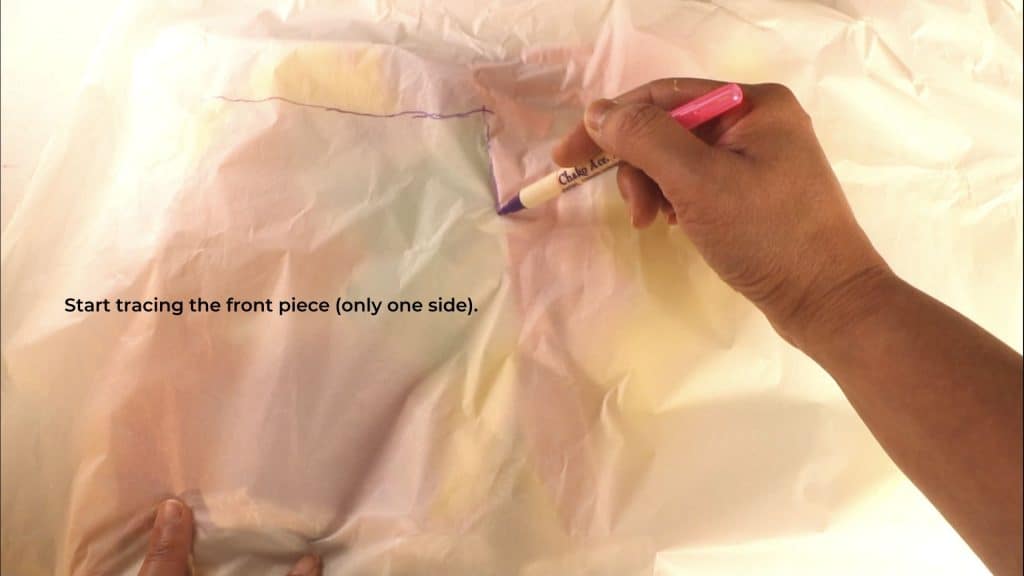
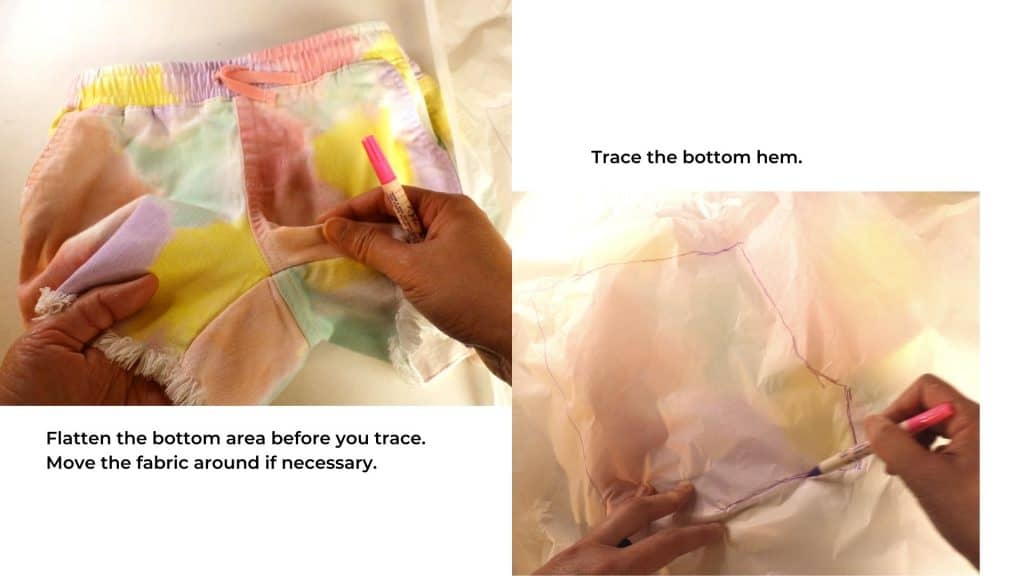
Trace the front piece (one side only, the other side is the mirror image so we can just flip the pattern to the backside.)
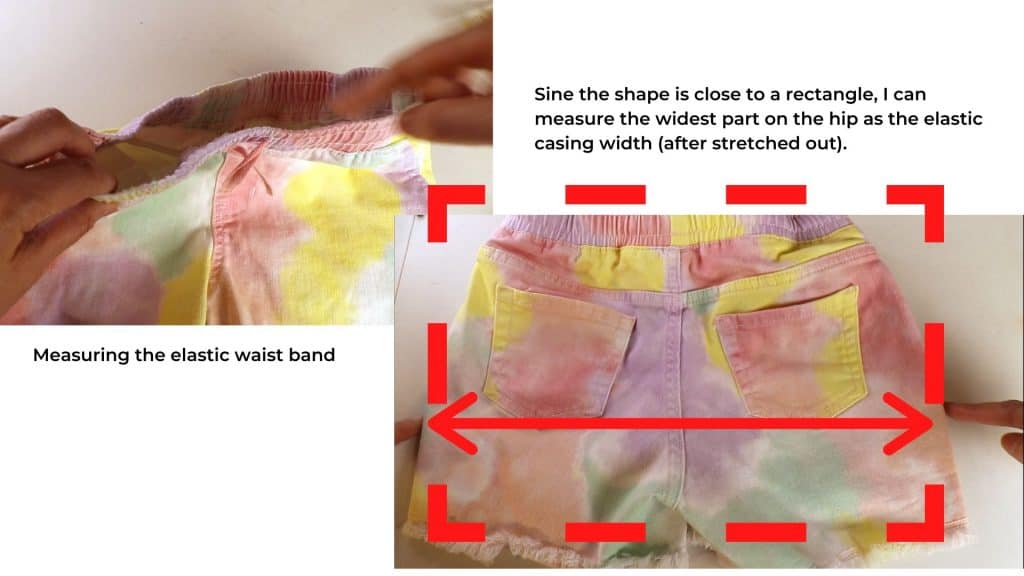
Stretch out the elastic waist band to see the true shape (rectangle).
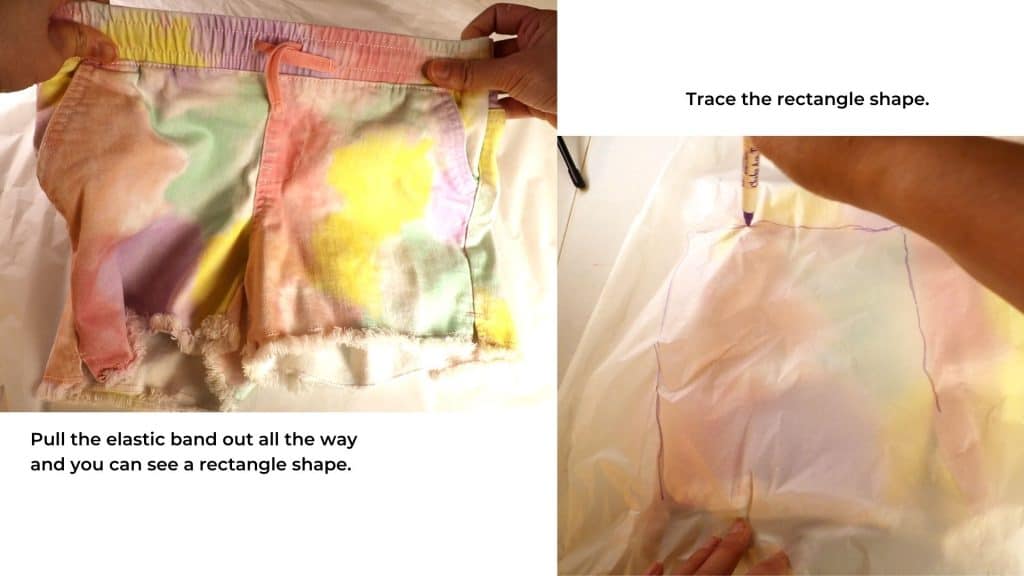
Move the fabric around to flatten the part you want to trace.
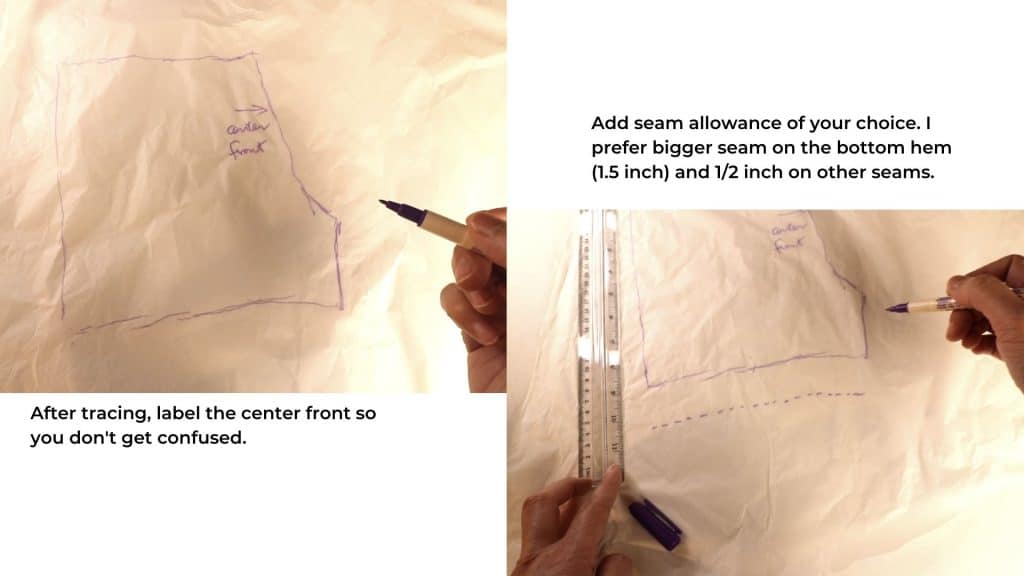
Label the center front with an arrow, and add preferred seam allowance.
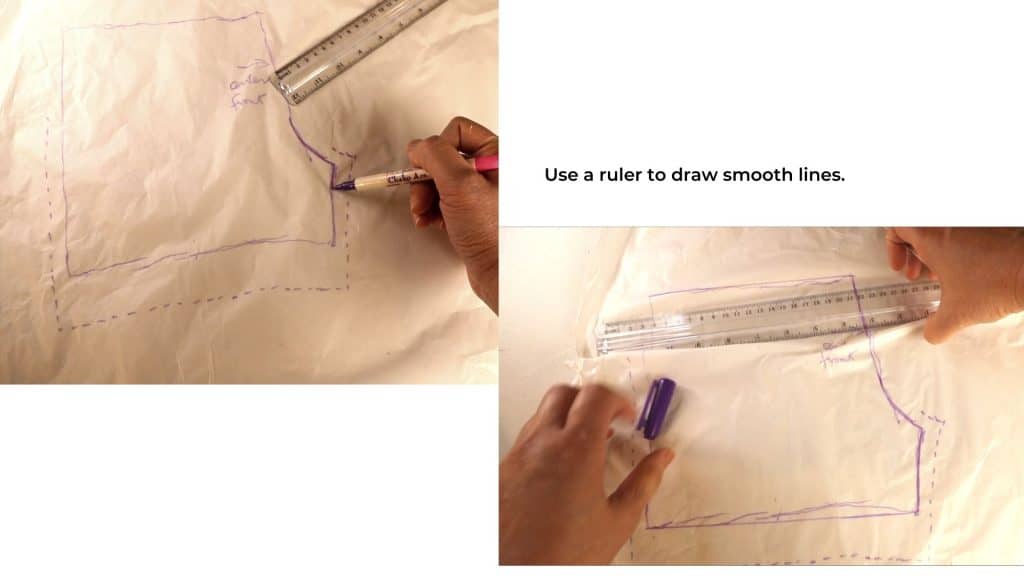
Use a ruler and/or french curve to make the line smooth and neat.
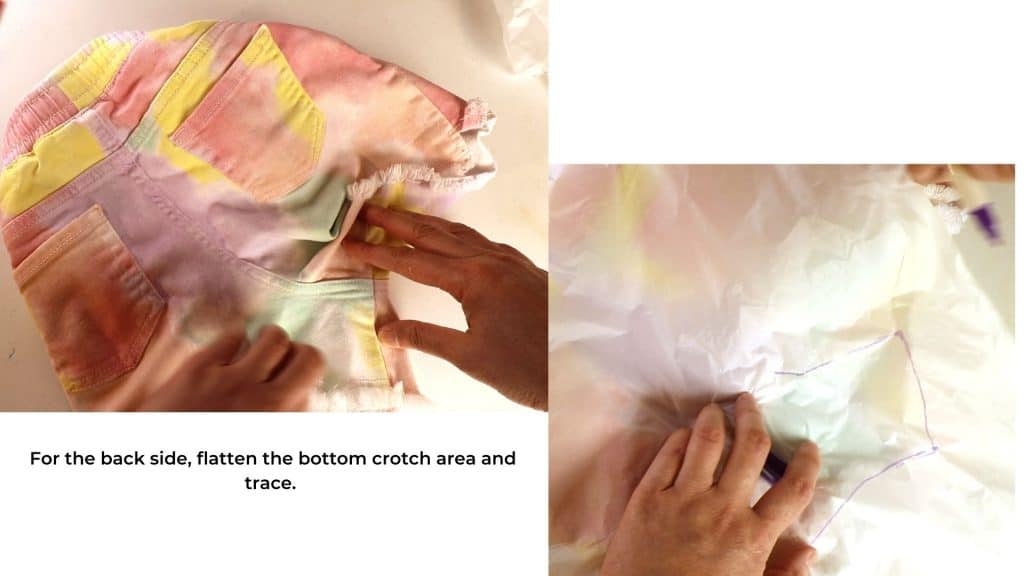
Do the same on the back side. Start by flattening the crotch area and trace the shape.
Trace below the elastic band. Move the fabric around to flatten the side seam before tracing. We know it is a rectangle shape after the elastic expended. So draw the rectangle shape (90 degrees) around the side seam.
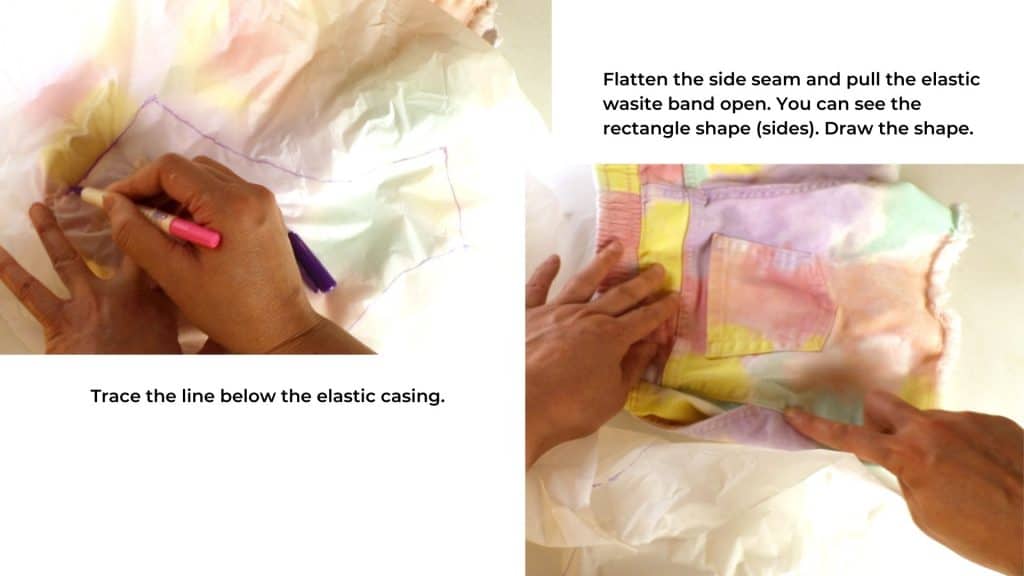
Add seam allowance, mark the back center location, and draft with a ruler to smooth the line. I also cut out the pattern paper with the seam included.
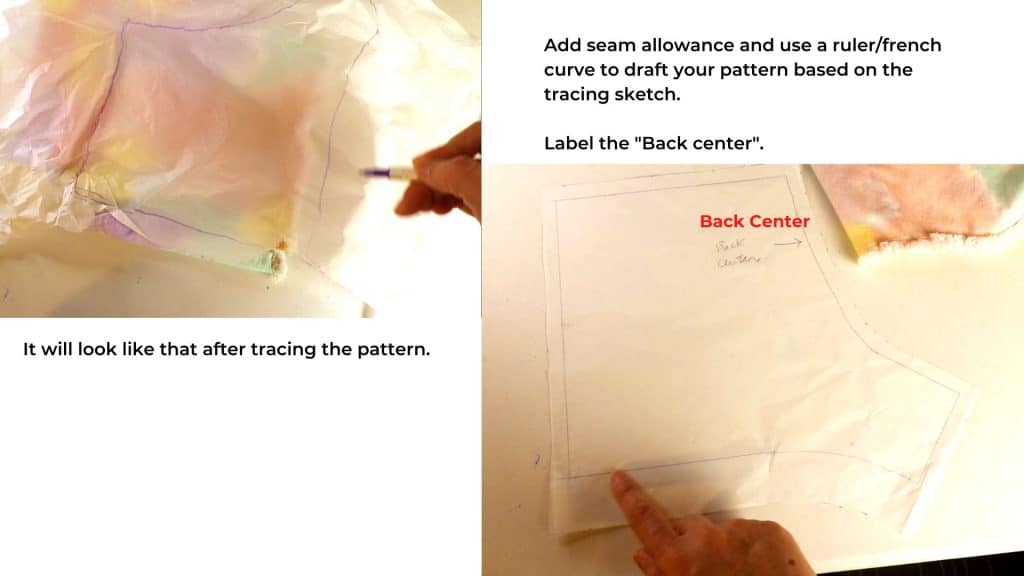
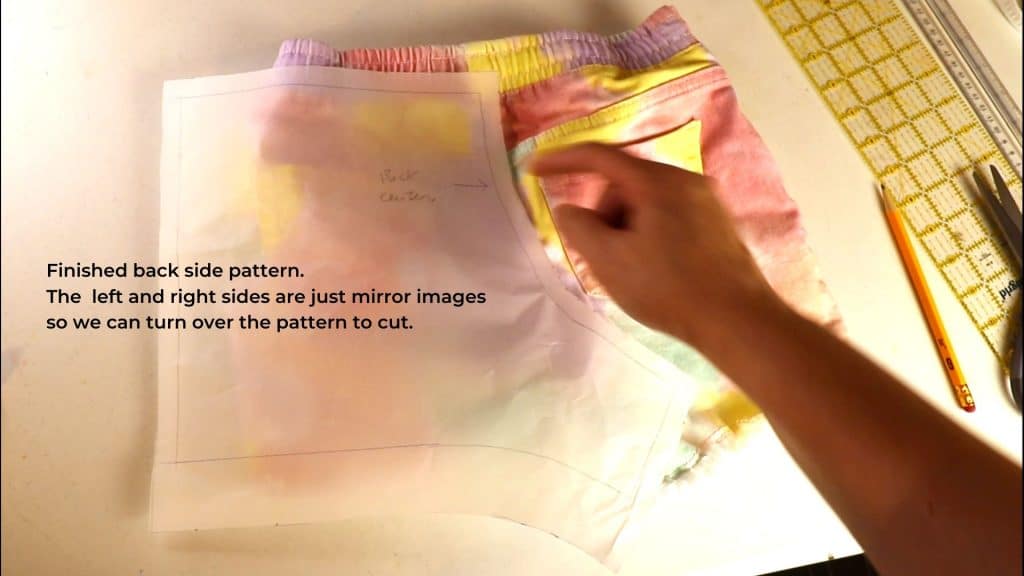
That is what it looks like for one back piece.
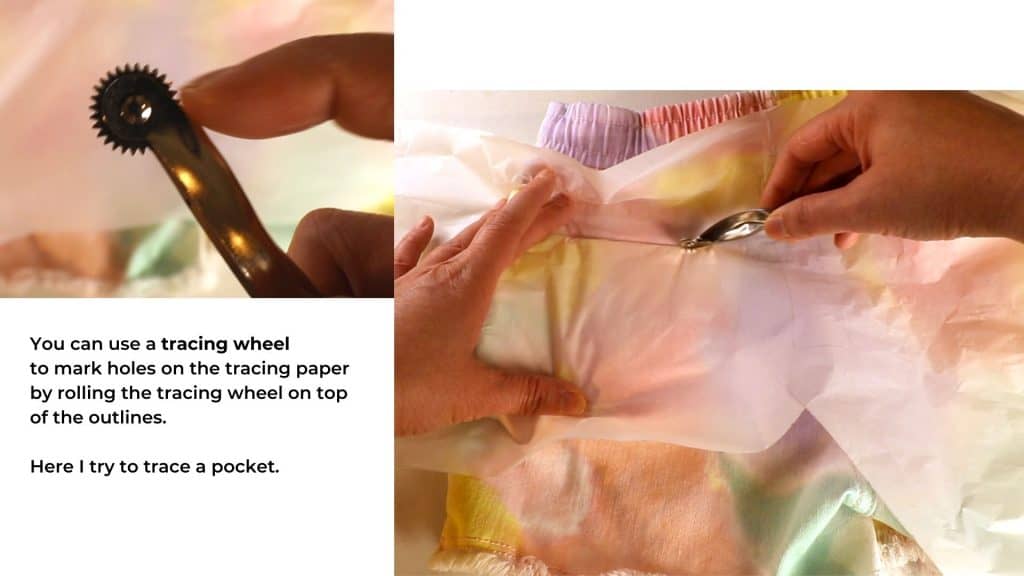
You can also use a tracing wheel to roll along the seam lines. It will punch a line of small holes so you can draw over it later. Here I try to trace the pocket.
Since the overall shape is close to a rectangle, I can measure the waist by the widest distance of the hip.
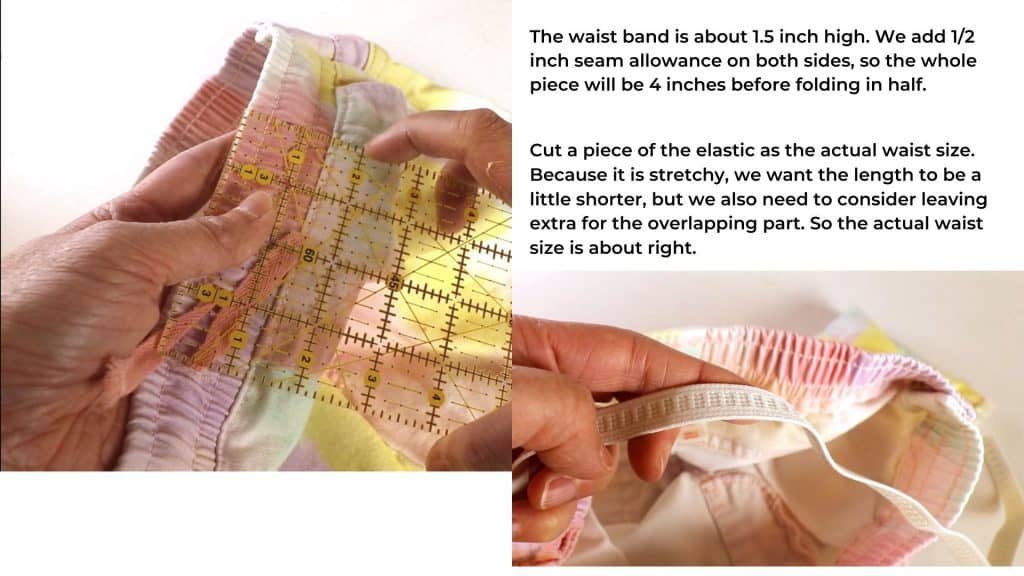
The height of the waistband is about 1.5 inches. I add 1/2 inch seam on both sides so the total height is 4 inches.
Cut a piece of elastic that is about the actual waist measurement. Check the fit first before sewing. I use a 1/2 inch wide x 24 inches long elastic here.
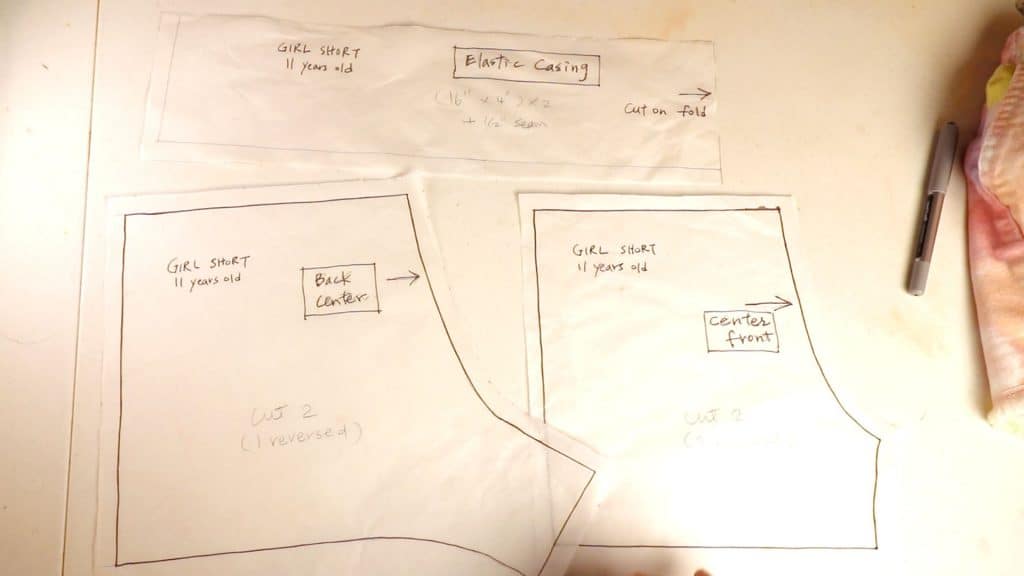
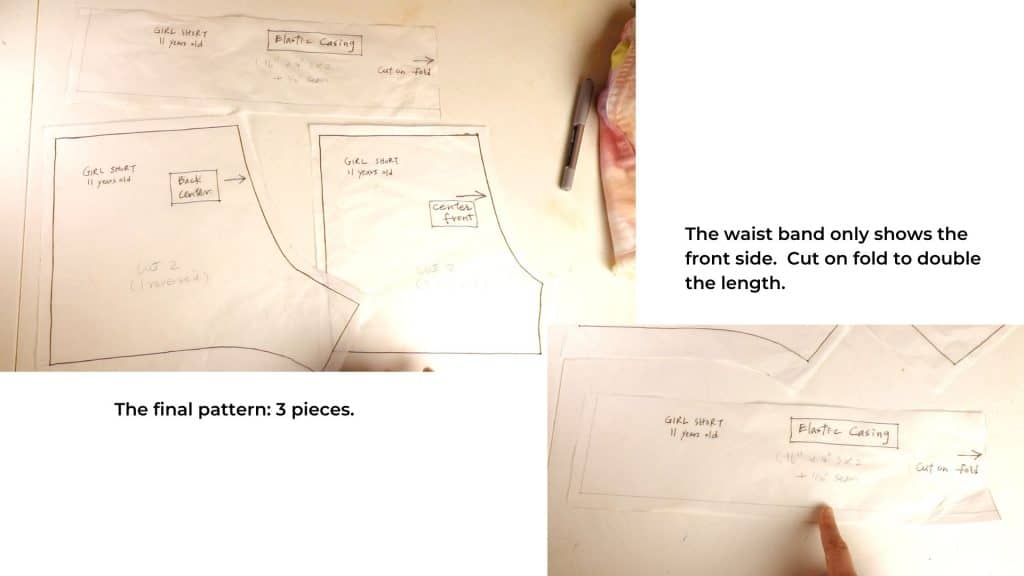
Final drafted pattern: 1 front, 1 back, and 1 elastic casing/waistband. The pocket is optional.
The waistband is only the front side. Cut it on-fold to double the length. Don’t forget to add the seam allowance on the sides.
Part 2 will show you how to use the pattern to sew up a pair of shorts.
Watch our video tutorial at CrativeTien youtube channel
See the part 2 video here.


