Sewing simple elastic cotton pants for kids
This is a simple and beginner-friendly sewing project for the little kid in your life. I use cotton fabric, elastic, and a basic sewing machine to sew this pair of pants for my 7 years old boy in a few hours.
The same technique can be used for boys, girls, or even adults by drafting your pattern from a pair of old pants first. It can be easily adjusted for shorts, adding pockets, or use a thicker fabric for colder weather.
For a similar project with elastic skirt sewing, click here for the tutorial link.

Watch the video tutorial for elastic pants sewing for kids
Drafting your own simple pattern
There are many ways to draft a pattern. The easy way I like is to copy an old pair of pants that fits you. Because we are using an elastic waistband, the exact dimension is not critical. The elastic makes it easy to fit and comfortable to wear.
Since I am using cotton fabric instead of stretchy fabric, make sure to cut the fabric a little bigger, so it is not too tight.
You can use tracing paper or any paper to draft your pattern. Parchment paper or wrapping paper (tissues) can be a good choice. I start by marking with a pencil first and then ink the final lines later.
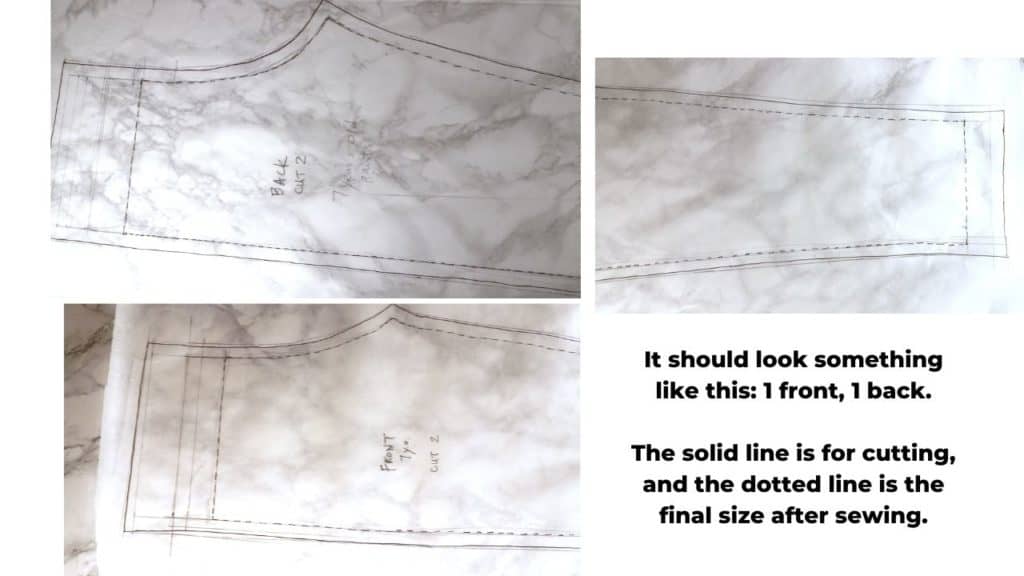
There will be 4 pieces of fabric, including 2 front and 2 back pieces. The 2 front pieces are mirror images, so are the 2 back pieces. So we only need to draw 1 front and 1 back pattern piece.
Fold the garment and trace the seam line. You will see the back piece has a deeper curve than the front piece.

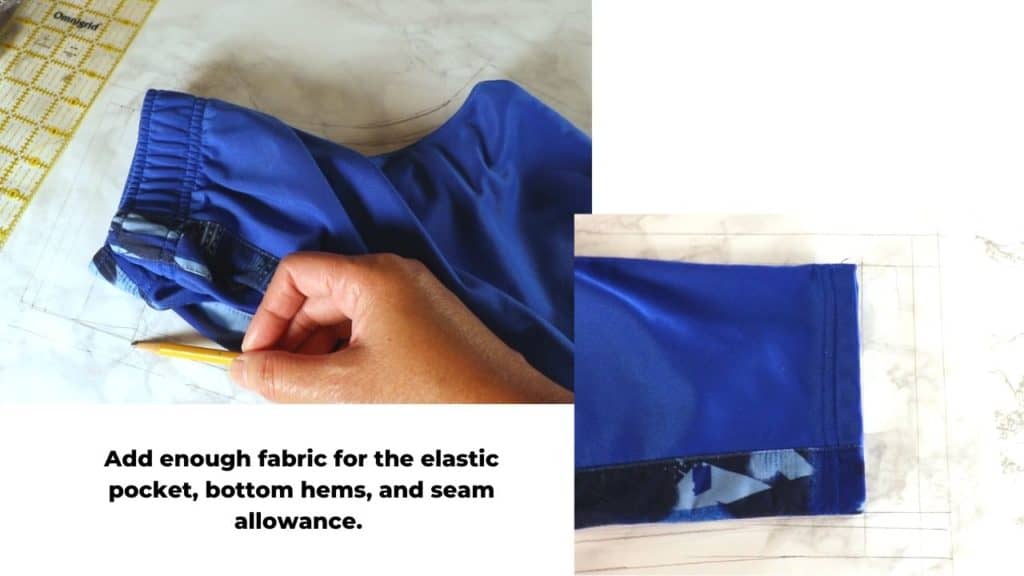
For the waist area, double the size of your elastic height plus seam allowance. Make sure to leave a little extra, so it is easier to insert the elastic. I have about 3 inches total for my 3/4″ elastic.
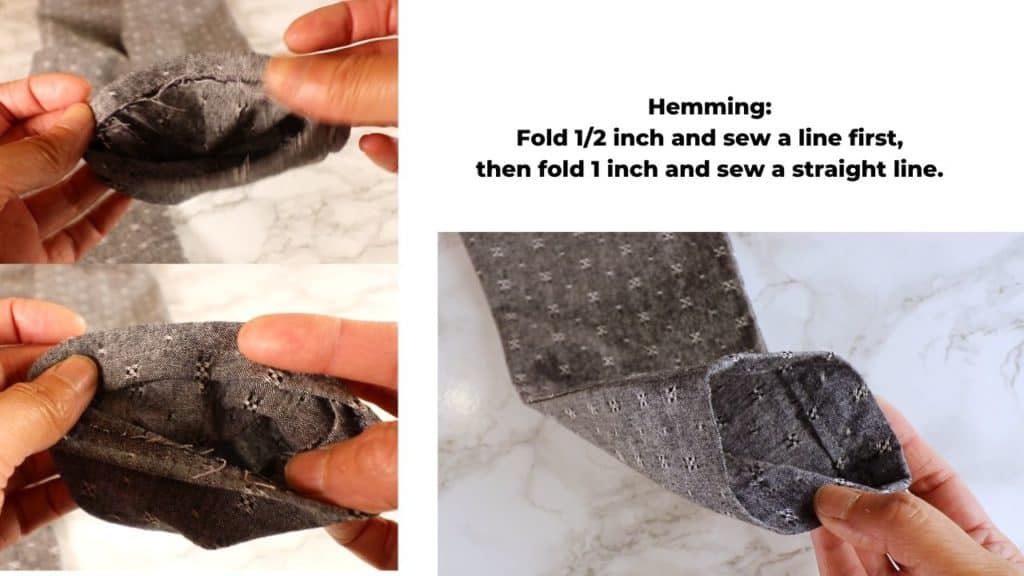
I will fold about 1/2 inch in, and then fold 1 inch for the hemming. So I leave about 1.5 inches extra. You can adjust your dimension depending on the height of the hem you like.
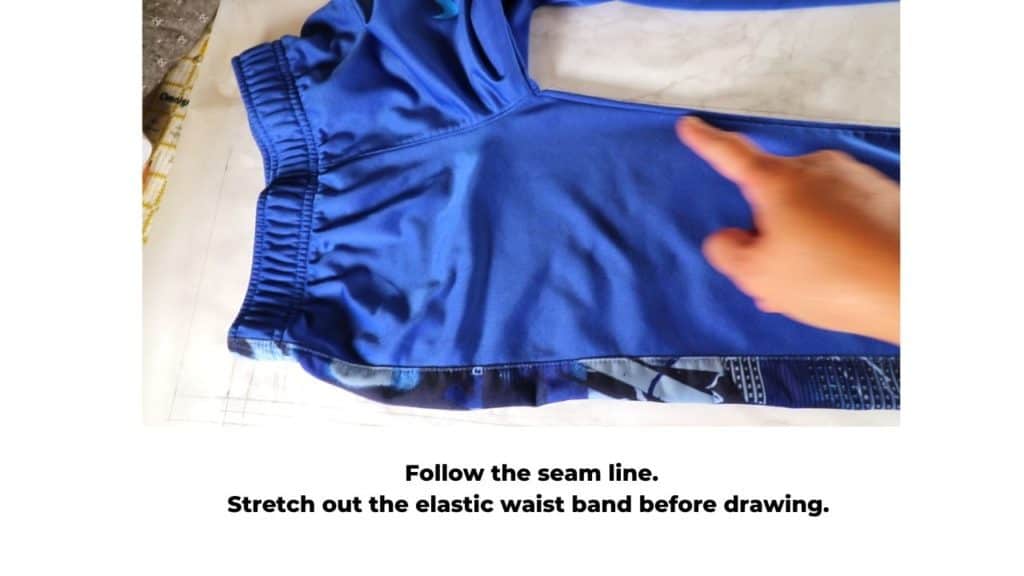
Stretch out the elastic waistband before drawing. It should be close to a rectangle before elastic.
When all the tracing is done, it should look something like below. The solid line is the cutting line, and the dotted line is the final size.
Cutting the fabric
Since we want to cut 2 mirror images, cut one with the pattern flipped upside down. Same for both front and back sides. So we will have 4 pieces.

Sewing the pants together
To prepare the fabric from fraying, I sew a zigzag line around the perimeter of all 4 fabrics. This step is optional but will make the garment more durable in the future. If you use a serger (an overlocker), it will be faster to finish edges. Now we can start sewing pieces together.
First, I will sew the front 2 pieces together. And then the back 2 pieces together.
Place the front 2 pieces with the right side facing each other, pin and sew a line with your seam allowance (mine is 1/2 inch). Iron the seam open. Do the same on the 2 back pieces.

Second, we will sew the inseam along the inside of the legs.
Place the front and back pieces together with the right sides facing each other, pin and sew a line with your seam allowance. Iron the seam open.
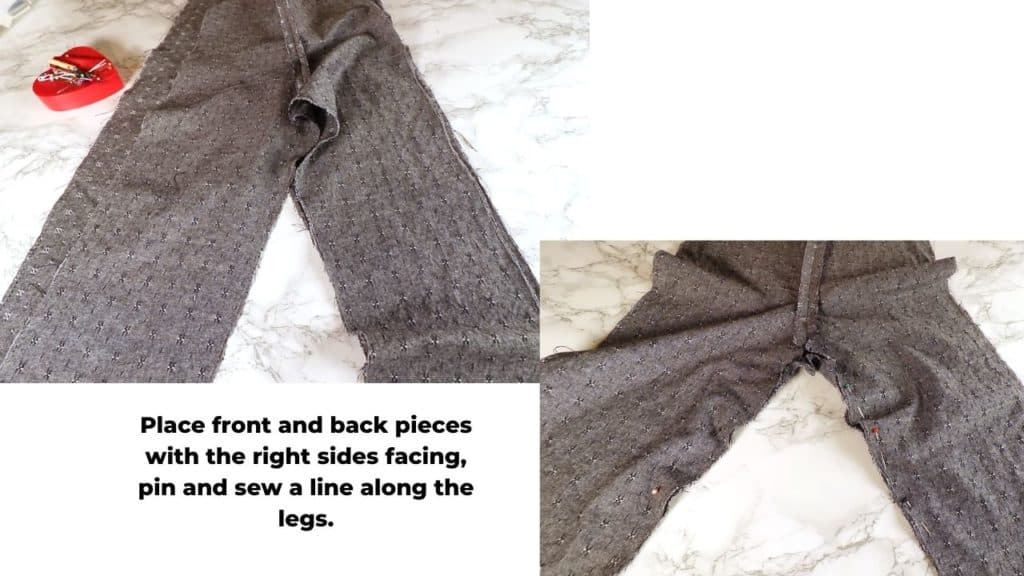
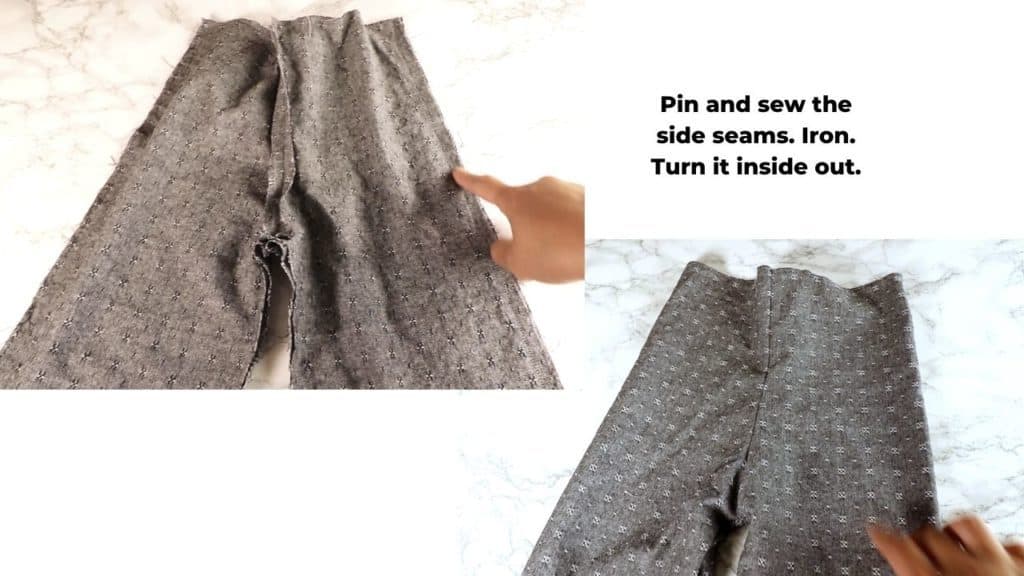
Third, we will sew the side seams. While the right sides are still facing, pin and sew the 2 side seams. Iron as needed.
Turn it inside out. Now the right side is facing you.
Waist elastic pocket
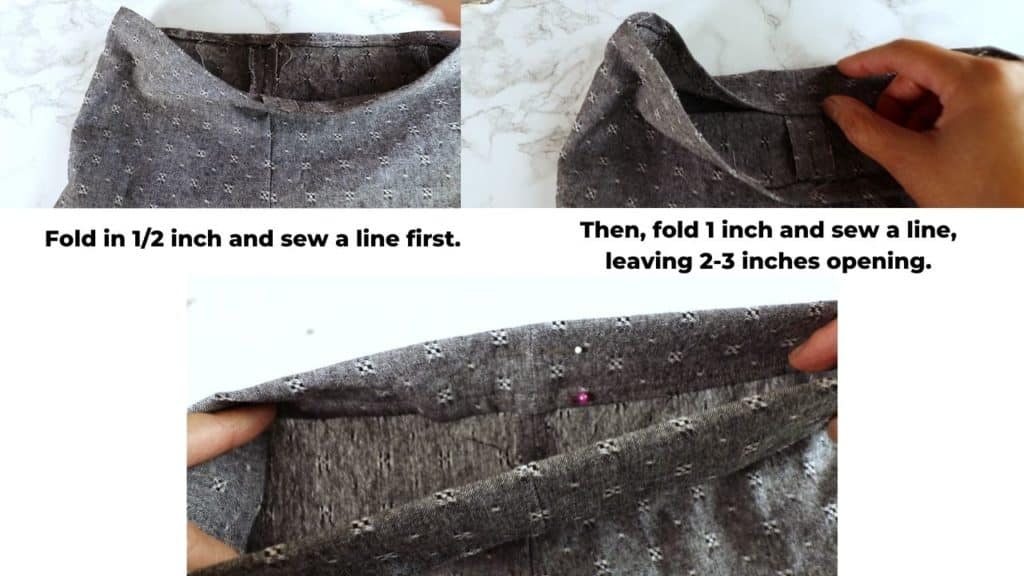
Fold 1/2 inch down and sew a line first.
Then, fold 1 inch down and sew a line, leaving 2-3 inches opening for inserting elastic later.
Inserting elastic
I cut a piece of elastic about the size of my child’s waist (21 inches for 7 years old). After overlapping 1-1.5 inches, it will be just the right fit.
I use a safety pin to pin one end of the elastic and pull it out from the other end.
Overlay 1 to 1.5 inches and sew the ends together. Make sure the elastic is not twisted in the casing.

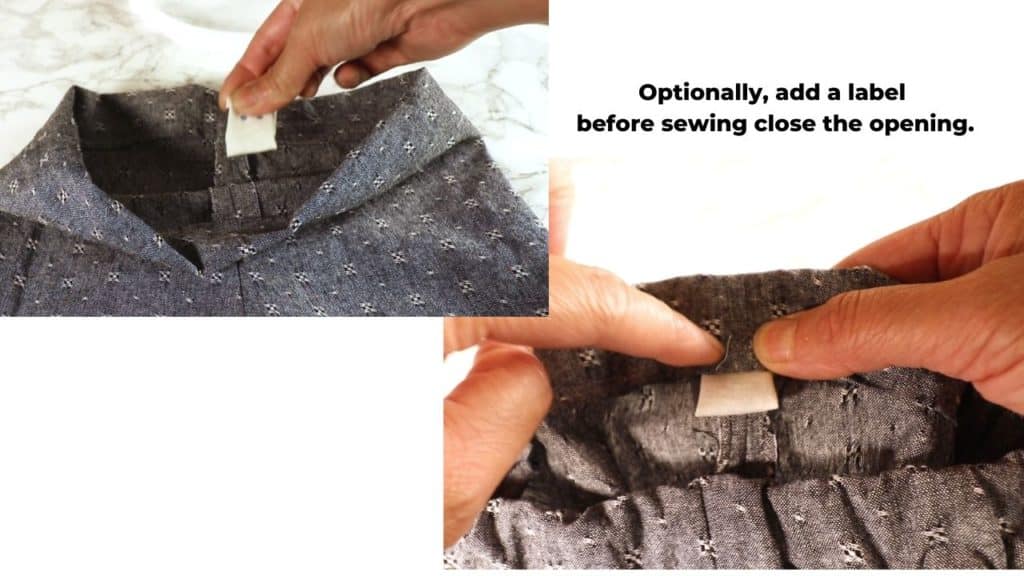
This is a good time to add a label. Just so kids can easily identify the front and back sides. It can be a ribbon or a piece of fabric. I folded a piece of cotton fabric and hide all raw edges inside.
Place the label under the opening and sew a line to close the opening.
Optionally, sew a vertical line over the elastic to secure it. This will reduce the chance of elastic twisting in the future.
Hemming
First, I fold down about 1/2 inch and sew a line.
Then, fold 1 inch down and sew all the way around.
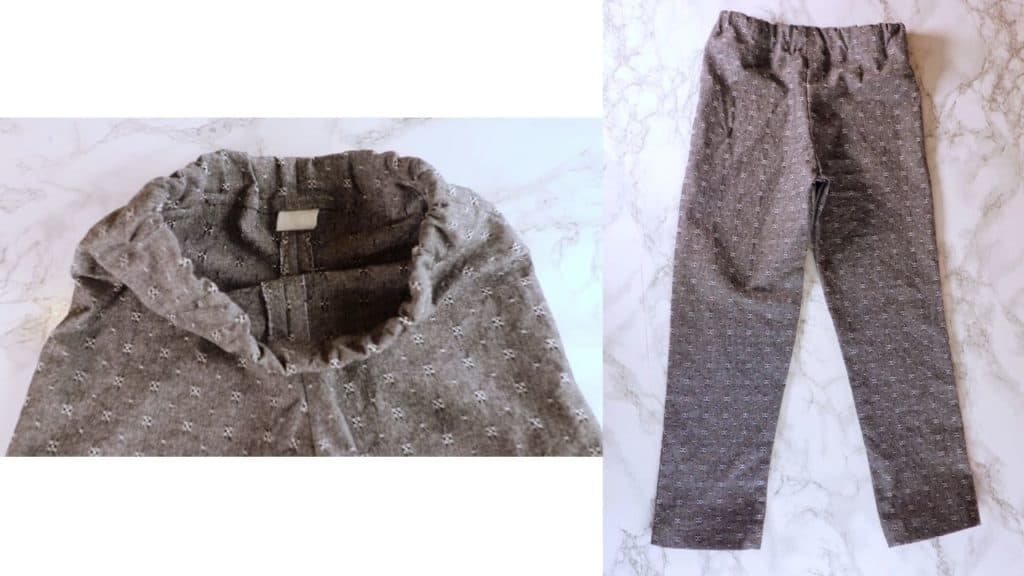
Iron and done.
Time to try it on. If it does not fit perfectly, you know what to adjust the next time. Happy sewing!

Sewing simple elastic pants for boys
Recent Posts
- How to machine knit a heart shape on an LK150

- Machine knitting a loop stitch for big texture

- Machine knitting a corner-to-corner, diagonal dishcloth
- Machine knitting a buttonhole band on an LK150

- Tuck stitch blanket on an LK150 – Part 1

- No curl edge with seed, garter, ribbing, or cable stitches

- Full-fashioned decrease, Garter Bar increases or decreases in the middle of a row

- How to machine knit a Chevron Lace Hem
- Machine knitting increases – the full-fashioned increase and double e-wrap

- Picot hem with a scalloped edge and eyelets on an LK150 knitting machine

- The loop through loop bind-off and the sewing bind-off

- The latch tool bind-off and around the gate peg cast-off


