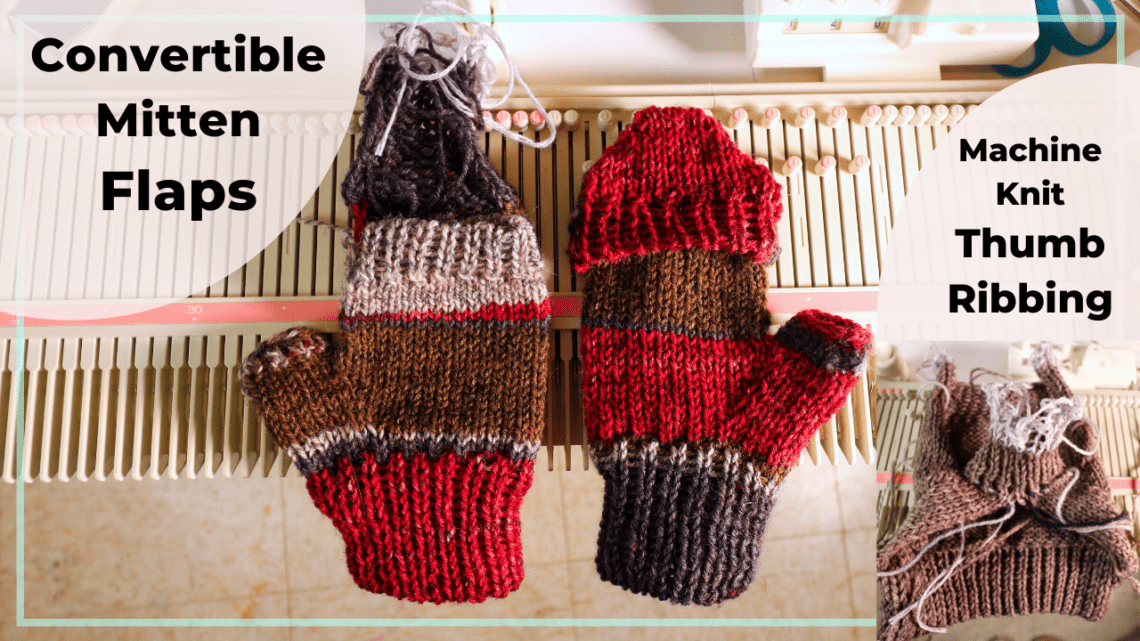
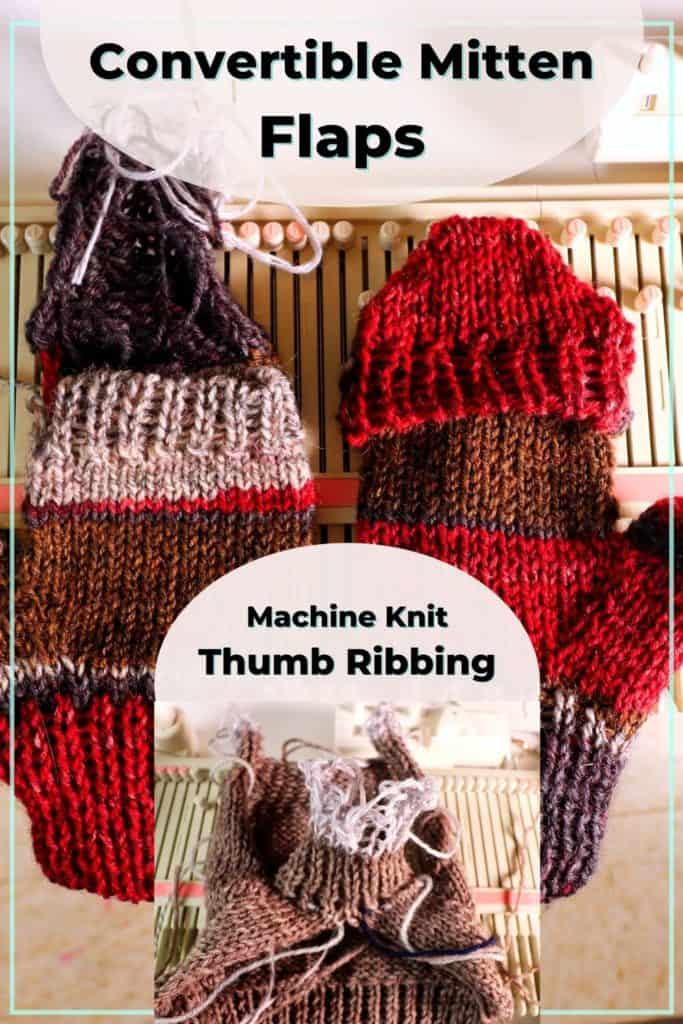
Convertible mitten with a flap, thumb mock ribbing, kid-size fingerless mitten
We knitted a pair of fingerless mittens on an LK150 in the previous video (link here: https://youtu.be/WswYE3ch6CY). Now we can knit a flap over the top and turn the fingerless mittens into convertible mittens.
Watch how I knit the mitten flaps, mock ribbing for the thumbs, and kid-size fingerless mitten here: https://youtu.be/pIN2m0mB1sI
Basic knitting process for the mitten flaps and thumb mock-ribbing
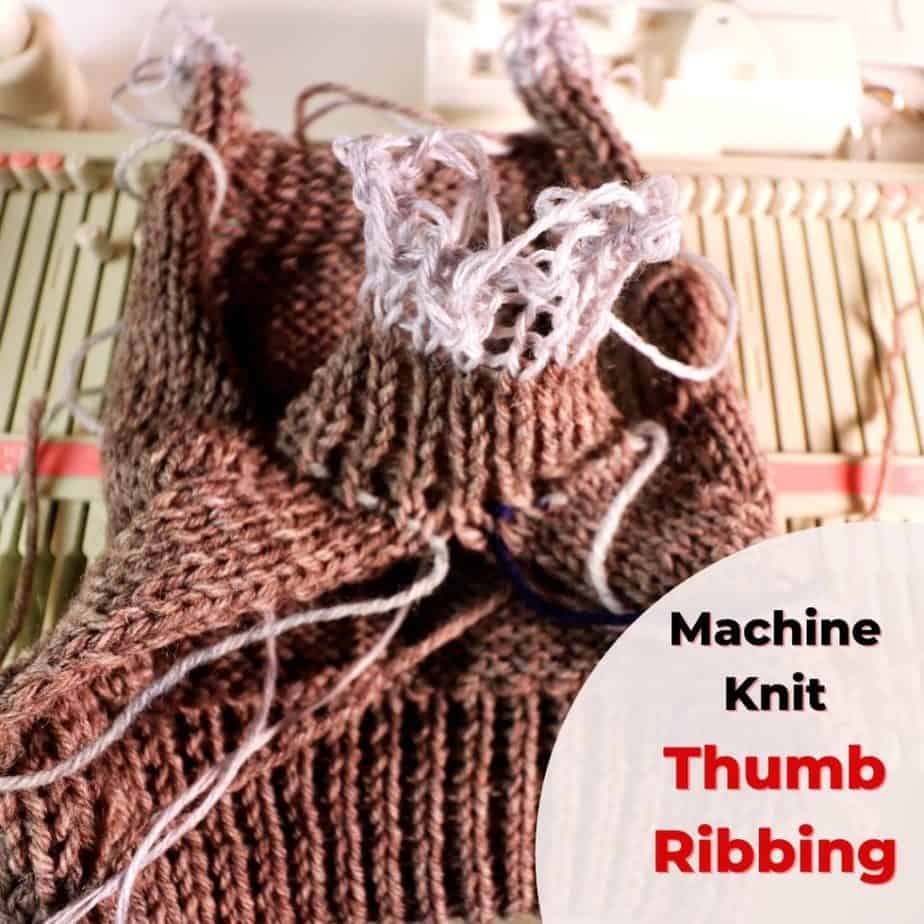
Basically, we hang the stitches on the backside of the mitten to the knitting machine, start the short row and reverse short row to create a triangular pocket, and then move stitches to every other needle and knit the mock ribbing.
For the thumb mock ribbing, we hang all the thumb stitches back to the needles. Knit one plain row, and arrange the stitches, so they are every other needle. Start mock ribbing rows.
After the knitting is done on the machine, we can sew up the mock ribbing, and the side seams to complete the mitten.
The left and right mittens are mirror images. So when picking up stitches to hang on the machine, make sure they are on the correct side.
You can add a button and loop to keep the flap in place when open. This can be a practical gift for your loved ones.
Kid size mitten
For the kid-size mitten, we can just reduce the cast-on stitches. I use Left 16 to Right 17, every other needle for the mock ribbing cast on. This fits my 7-year-old son perfectly. For teenagers, you might want to add a few stitches, maybe from Left 18 to Right 19 (every other needle) as cast on stitches.
For the increase of the thumb stitches, I repeated 5 times instead of 6 times.
The final mock ribbing row number can be reduced to 10-12 rows. After folding over for mock ribbing, it is about 5-6 rows.
Latest Posts


You May Also Like
How to machine knit a Chevron Lace Hem
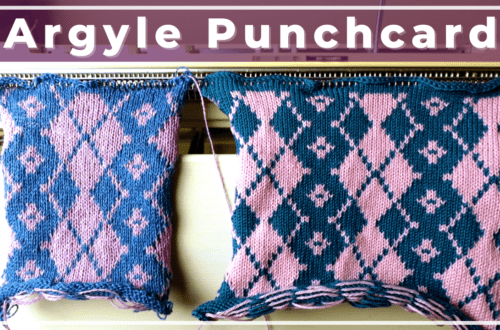
Argyle punch card knitting and free download