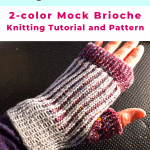
Mock brioche knitting fingerless mitten tutorial on an LK150 knitting machine
We had a tutorial about knitting a mock Brioche stitch on a knitting machine in a previous video. See the link here: https://creativetien.com/2020/12/02/machine-knit-a-2-color-mock-brioche-stitch-without-a-ribber/
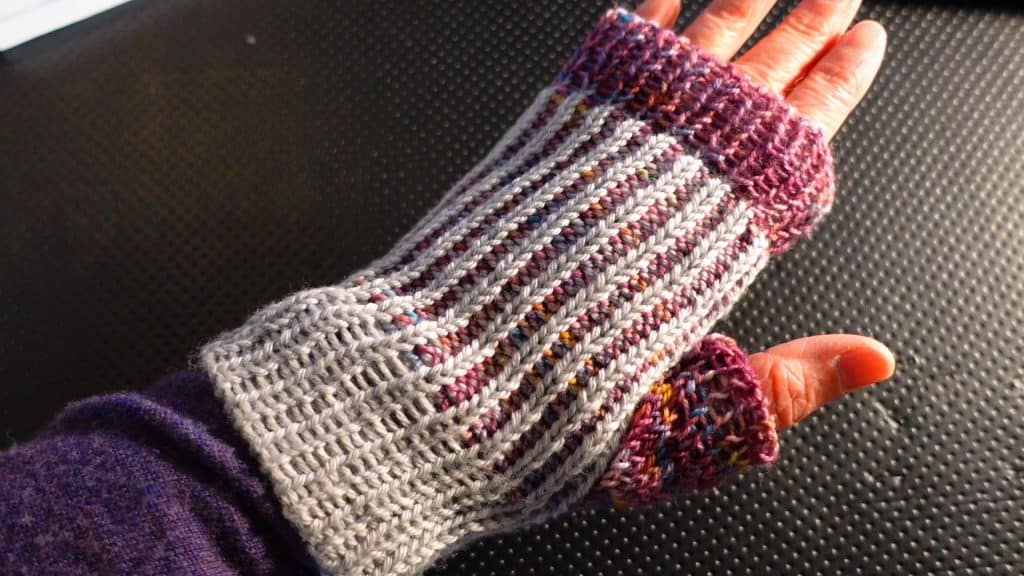
In this project, we are going to use the technique to make a fingerless mitten or glove. It still has a contrasting color and texture, but without too much shaping.
This one is done on an LK150 mid-gauge knitting machine. You can do it with any flatbed knitting machine. You just need to adjust the tension, experiment with the right size yarn and stitch numbers. A Ribber is not required for this project.
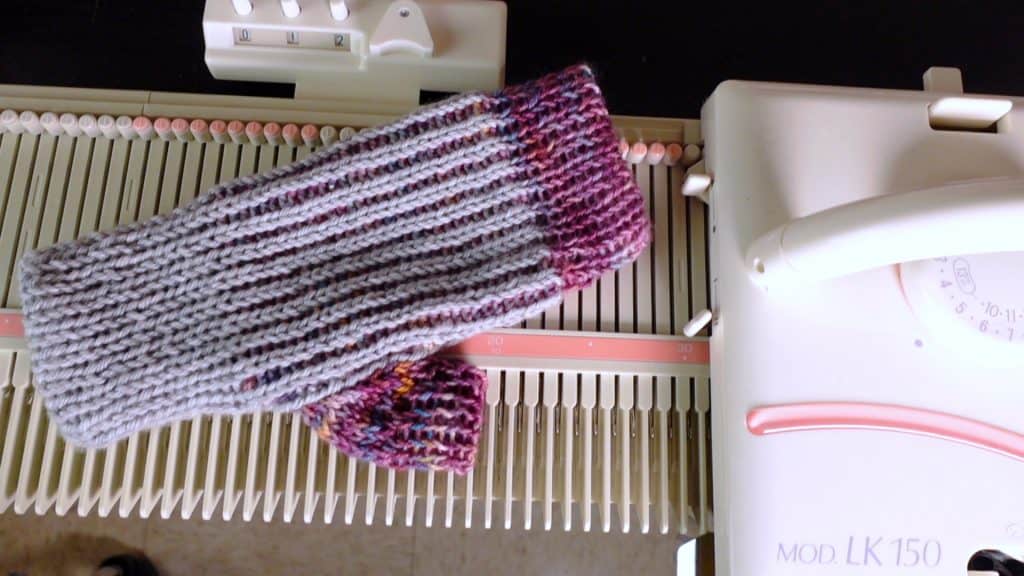
Material
I use 2 contrasting colors of Sports weight yarn. A thicker sock yarn or lighter DK yarn should work too. I use sports weight because the stitches will be worked twice so it tends to get tight.
Watch our video tutorial on the Mock Brioche stitch fingerless mitten below
Step-by-step picture tutorial for the Mock Brioche fingerless mitten
We knit from the cuff up. The top and bottom are mock ribbing and the center will be the mock Brioche stitches.
Basically, we are knitting a rectangle and a separate triangle piece for the thumb. Then, we sew them up with a mattress stitch.
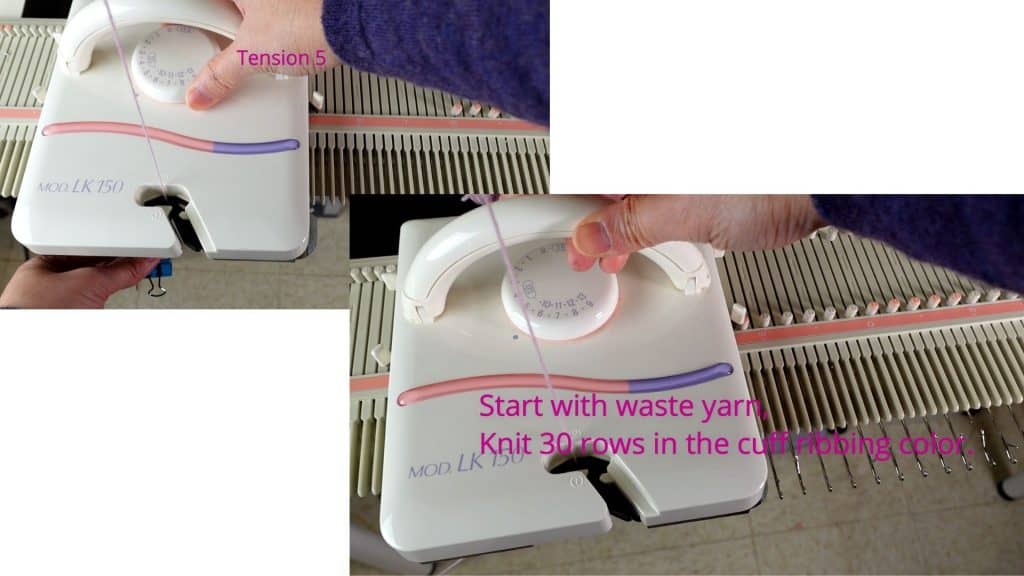
Tension: 5
Machine : LK150
Yarn: 2 different colors of sports weight yarn
Cast on
Set up every other needle from left 20 to right 21. Knit a few rows of the waste yarn.
Wrist cuff — mock ribbing
Change to the yarn for the cuff color. Knit 30 rows.
Since this is for mock ribbing, it will be 15 rows after folding in half later.

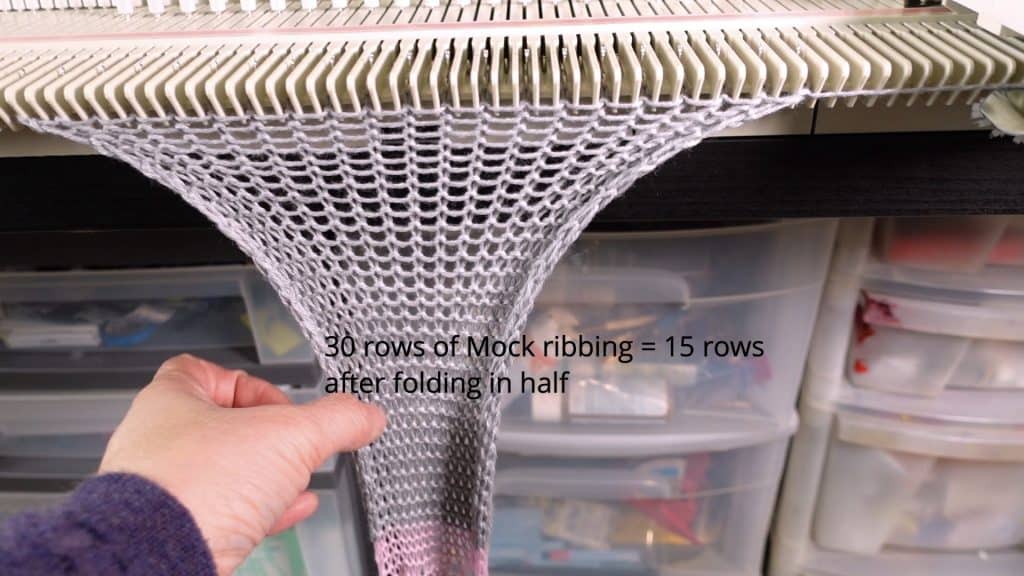
Mark the end of the cuff by placing a piece of yarn on each end (or add a stitch marker). I will use the same color first for the main part (mock Brioche). If you are changing the color, you do not need to place the markers.
Main part (center) of the fingerless glove
With the main color for the glove, knit 30 rows (Plain knitting) for the center part of the fingerless mitten.
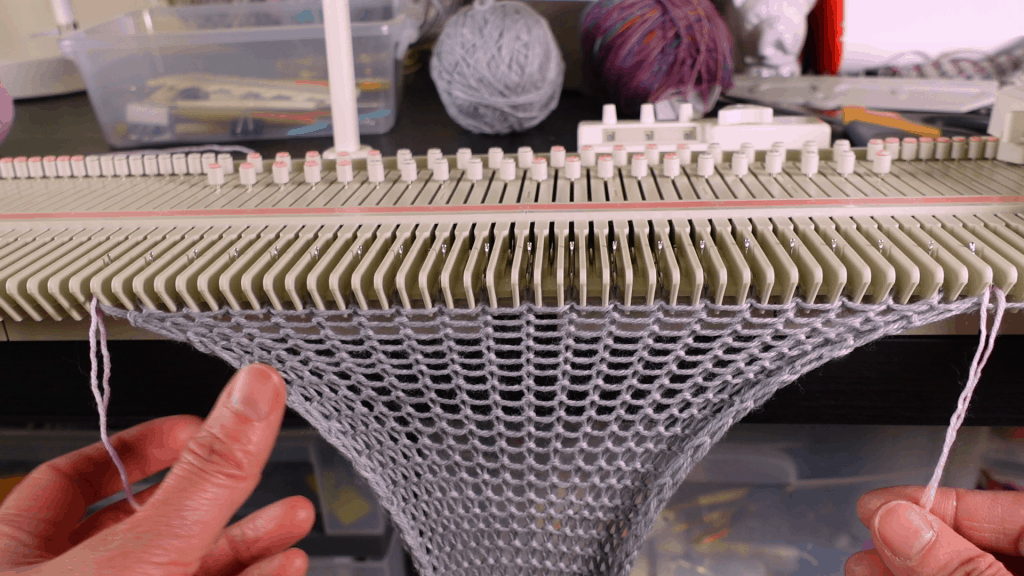
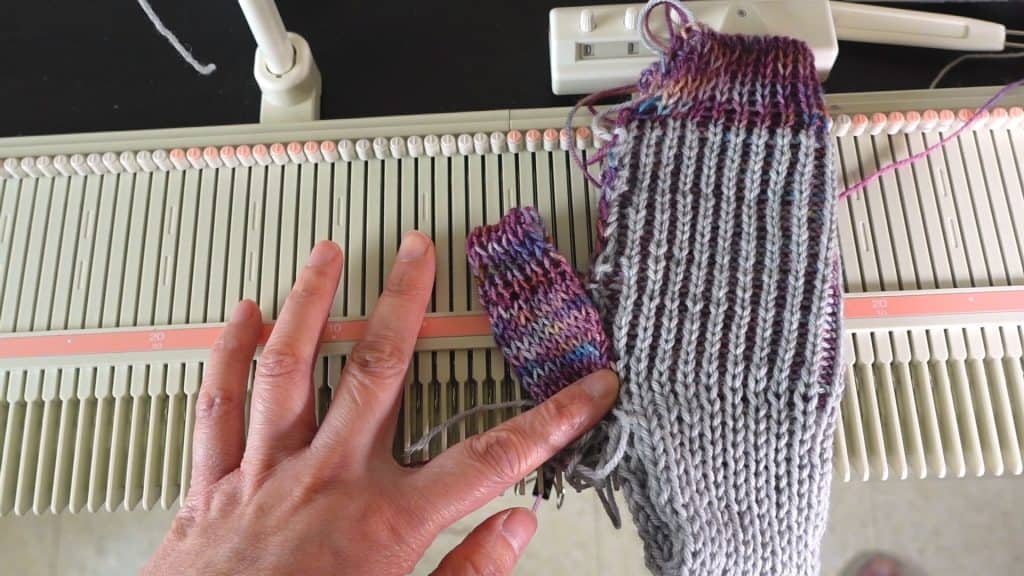
I use the gray color yarn for the center part (see the picture below). After that, we can knit 20 rows of mock ribbing with the cuff color yarn.
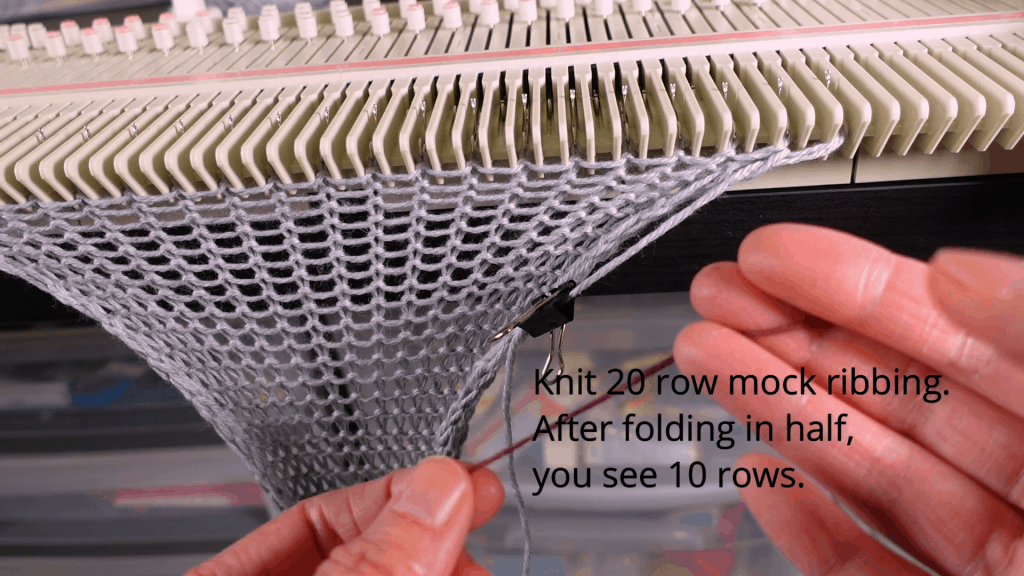

Mock ribbing on the top (finger side)
With the color of the top ribbing (finger side of the cuff), knit 20 rows. After folding in half, it will be 10 rows.
If you are not changing color, place a marker on each end before you knit the mock ribbing. It will be easier to pick up stitches later.
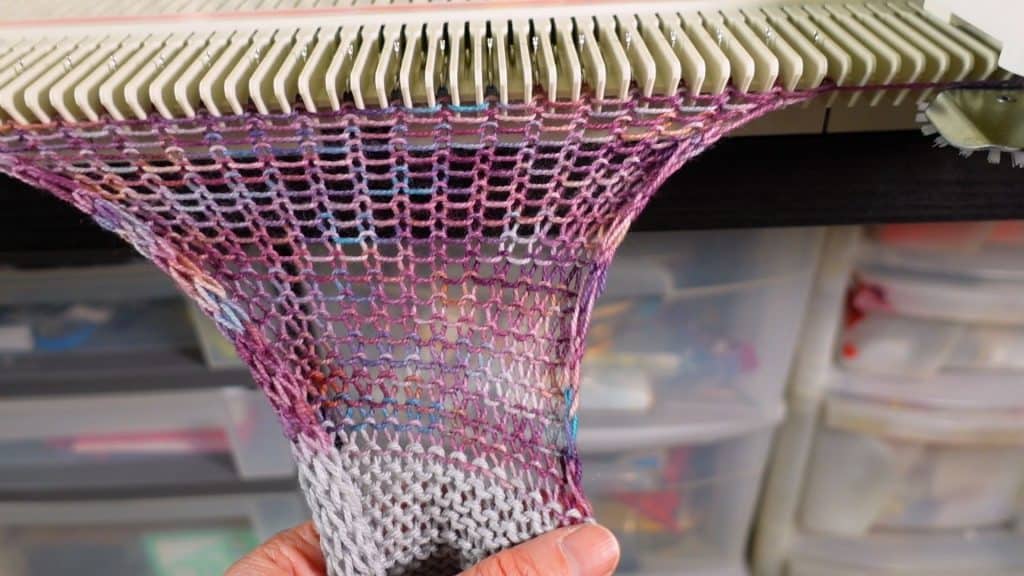
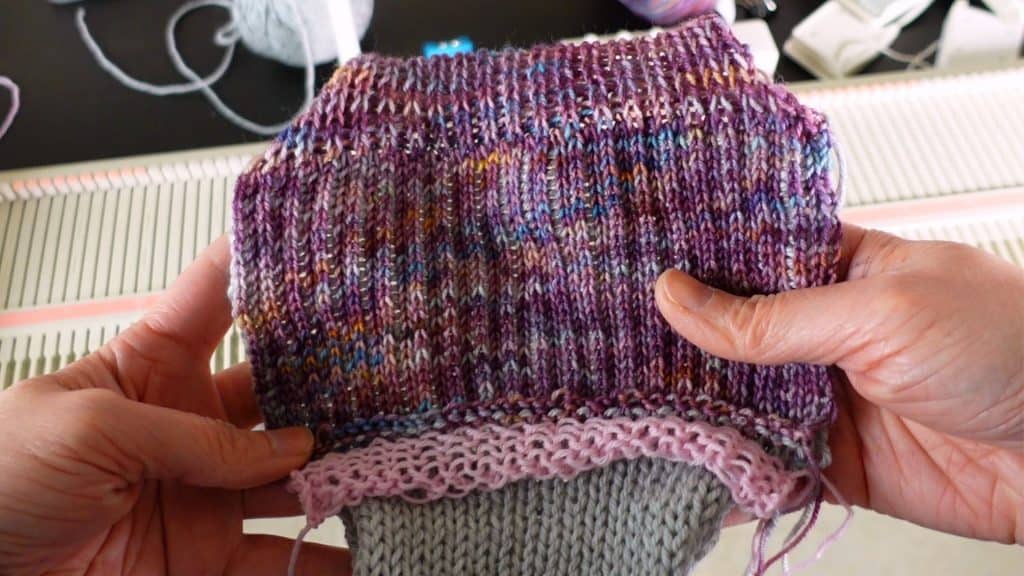
Fold these 20 rows in half. Pick up the last row of the center part (the main part of the mitten), and hang the stitches back to the empty needles.
Now the mock ribbing is finished.

After hanging back stitches. Now there is a stitch on every needle.
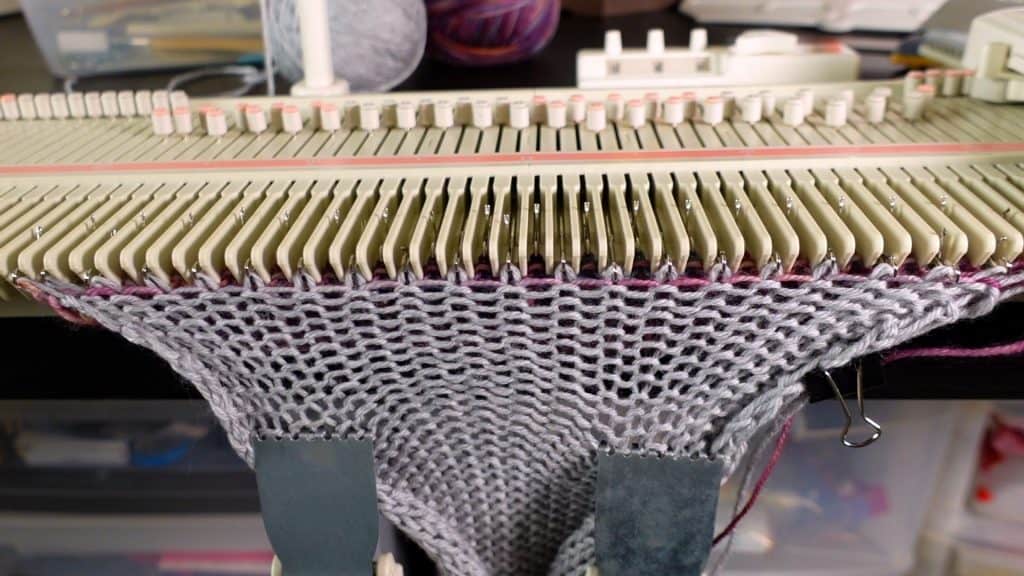
Mock brioche stitches
Make sure the yarn is the contrasting color of the previous knitted center part (if you want the 2-color brioche stitch look).
For the mock brioche stitch, we knit one row with the contrasting color, then start picking up stitches from below.
For the first row, pick up the 2 horizontal bars below and hang back to the needle. It should be 2 different colors.
Repeat for every other stitch of the row. See the pictures below.

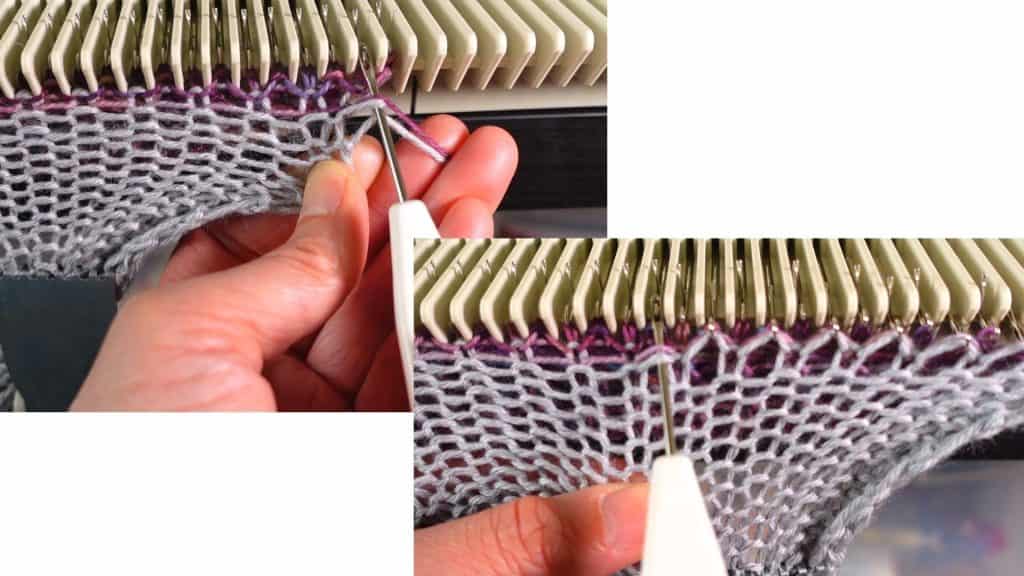
After the first row, knit one row, and pick up just one bar from below. See pictures below.
Keep repeating this row until the wrist cuff ribbing.

Just pick up one bar from below and hang it back to the needle. It should be every other needle.
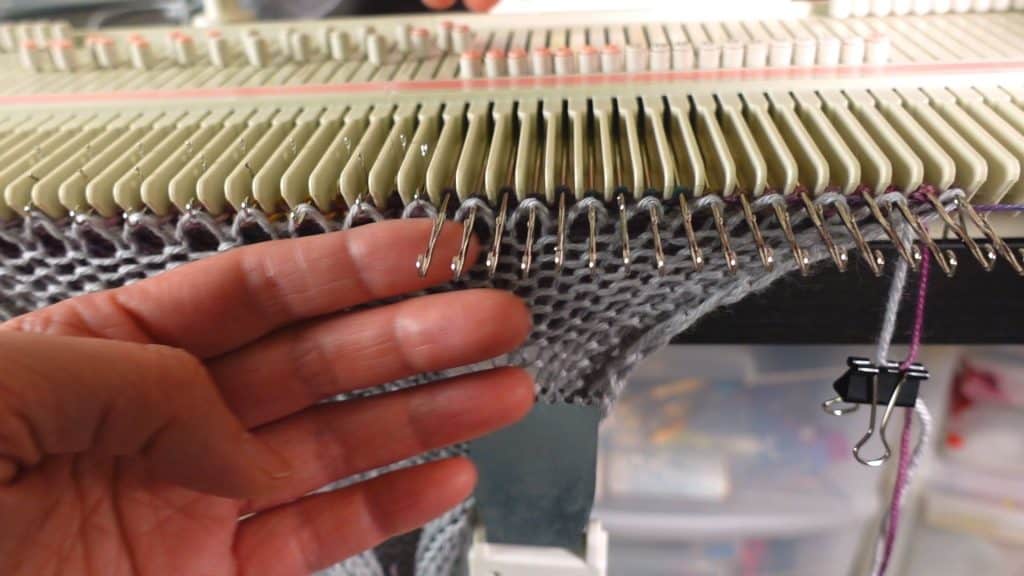
Now back to the wrist ribbing.
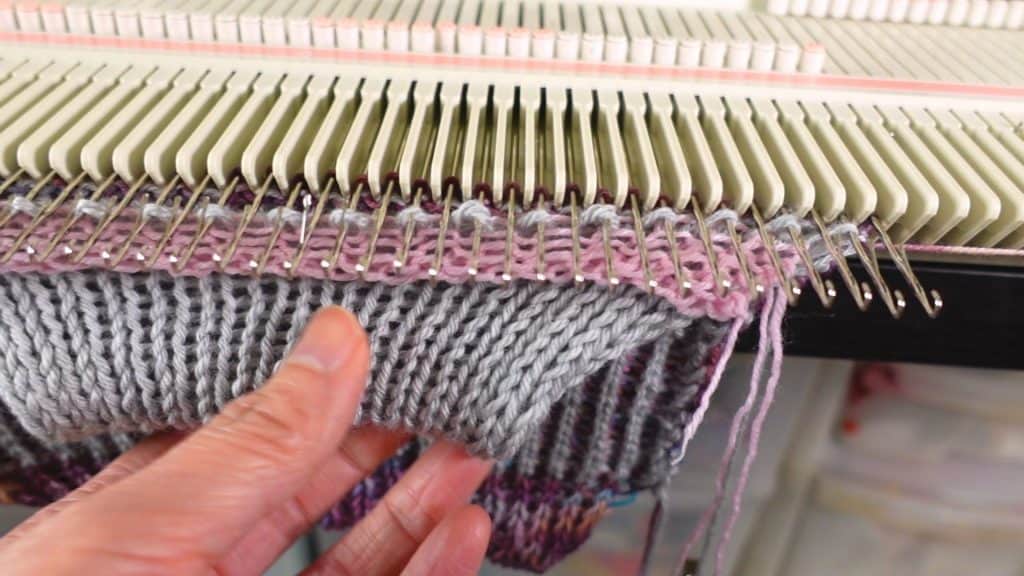
Fold the mock ribbing in half, pick up stitches, and hang back to every other needle.
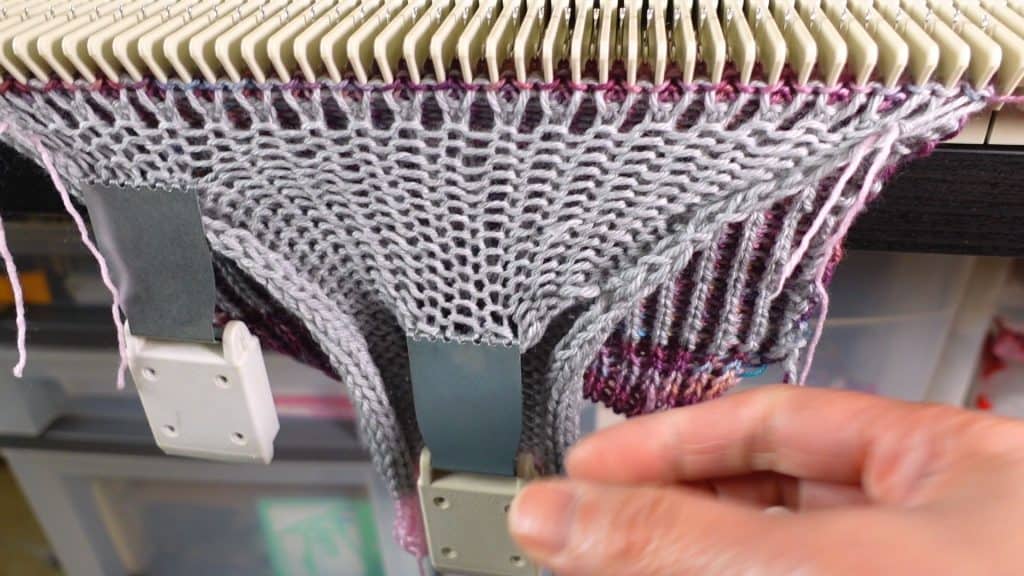
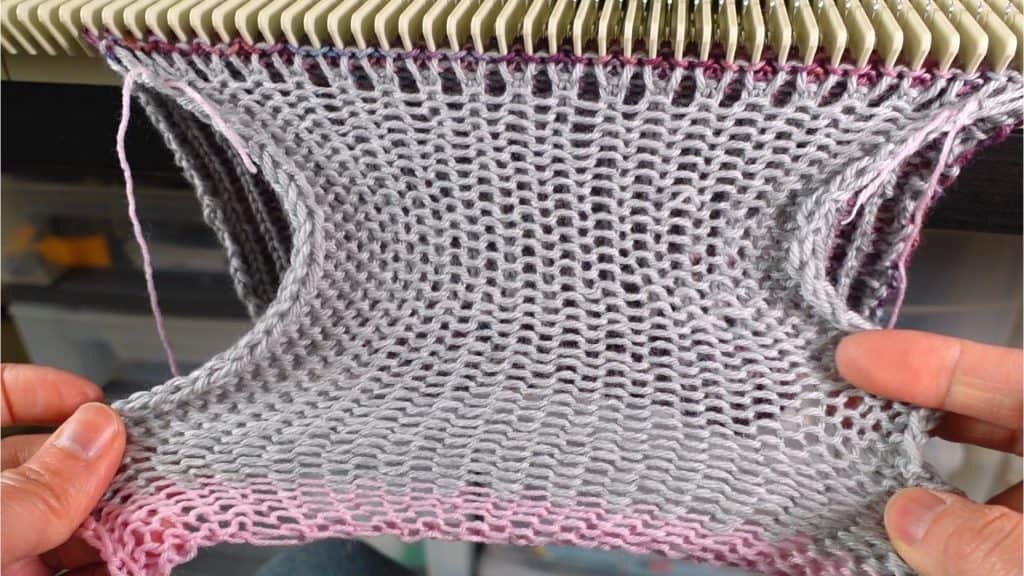
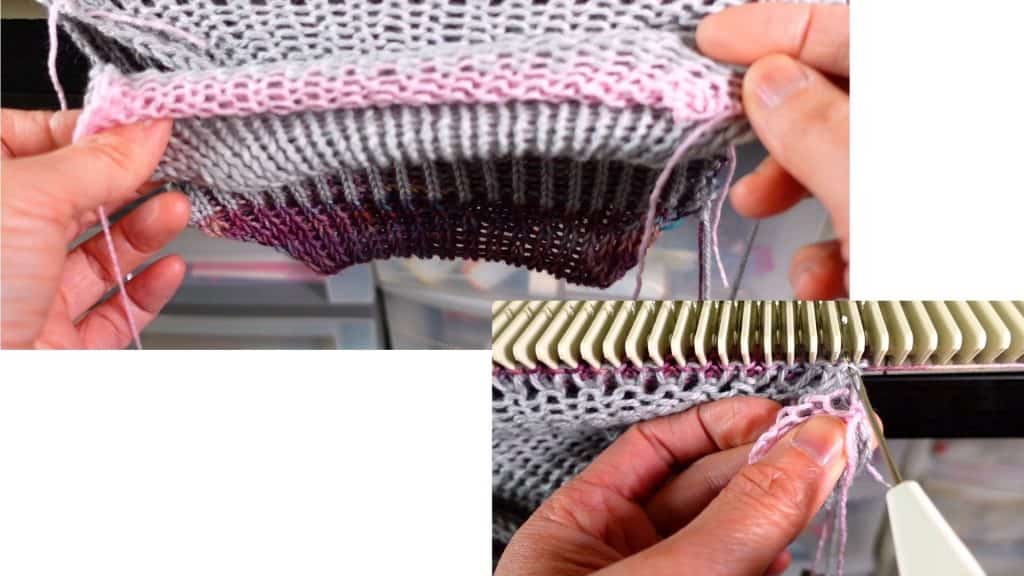
Hang back to every other needle. The light pink is the wast yarn from the beginning.
Knit one last row.
Bind off
I use the sewn bind-off to make sure it will be stretchy.
Cut the yarn leaving a long yarn tail about 3 times the length of the knitting piece. Thread through a yarn needle.
I started from the left side. You can start from the right side too.
Thread the yarn through the second stitch from the back to the front.
Thread the yarn through the first stitch from the front to the back. (Take the first stitch off the machine.)
Thread the yarn through the third stitch from the back to the front.
Thread the yarn through the second stitch from the front to the back.
Take the second stitch off the machine.
Keep repeating the above. Every stitch should be worked twice except for the first stitch.

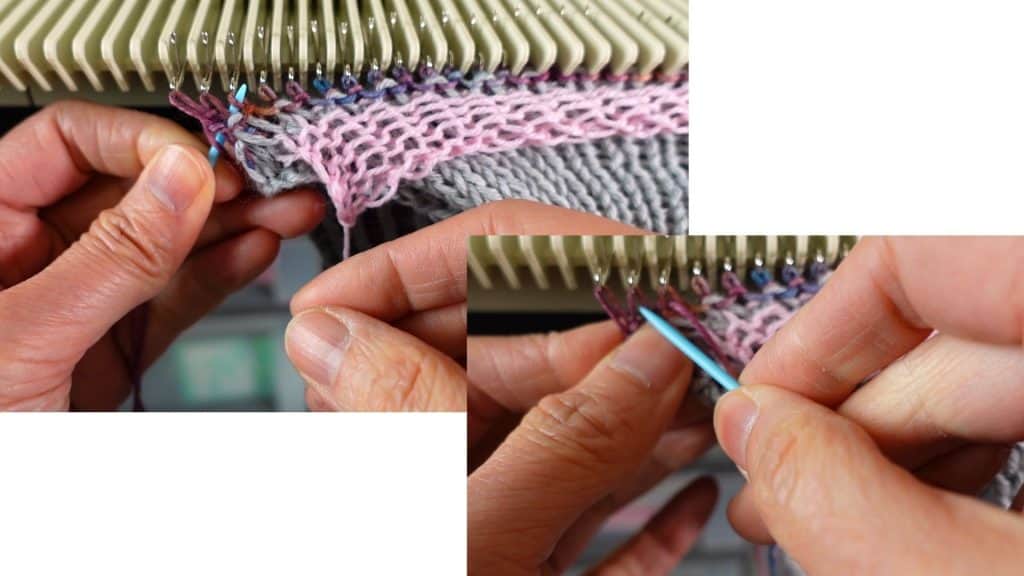
After binding off, take the project off the machine and remove the waste yarn.
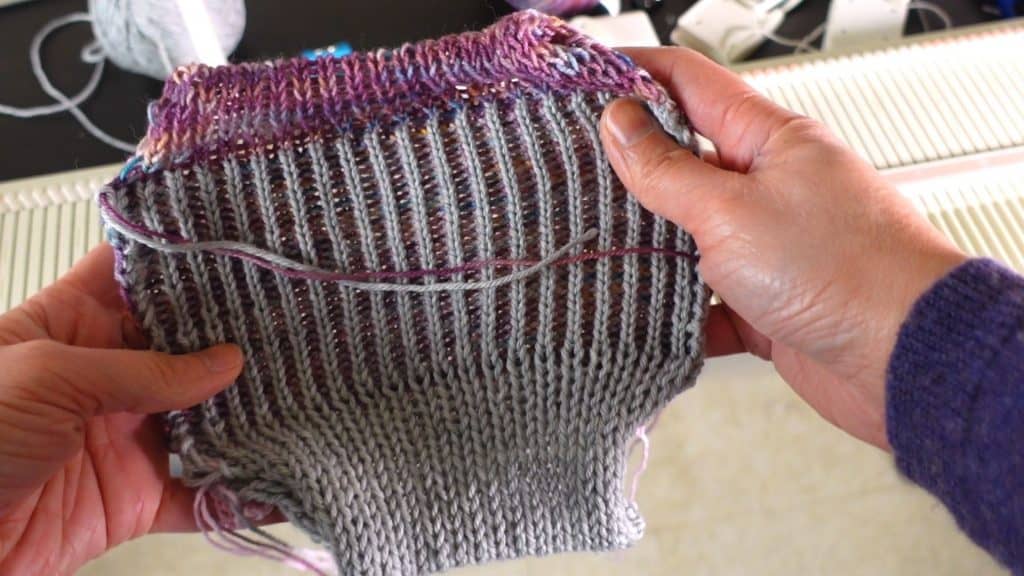
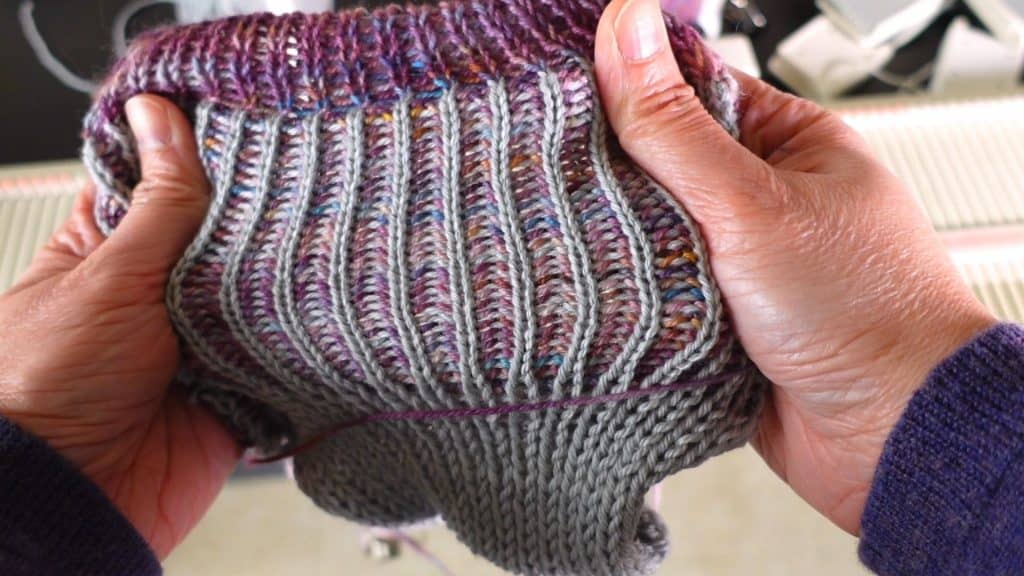
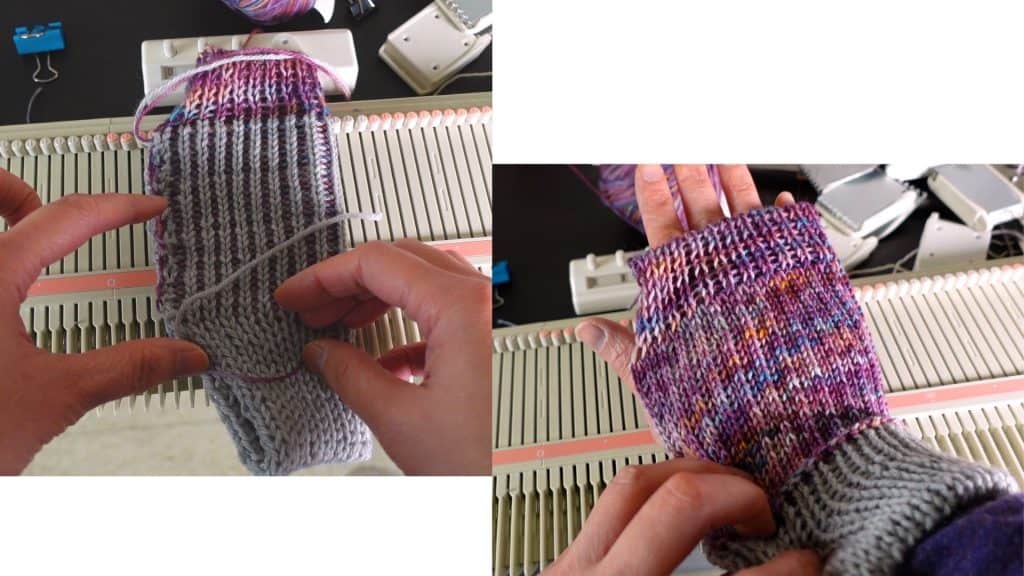
The front and back look very different. You can decide which side to be the right side (outer side). You can do the opposite color on each fingerless glove too. It will have an interesting effect.
Thumb knitting
The thumb is basically a triangle piece knitted from the top down. So it will have decrease stitches. I think decreasing is easier than increasing on the knitting machine.
We started with the mock ribbing and then plain knitting with decrease. There is no mock brioche stitch for the thumb. It can get tricky to decrease the mock brioche stitch.
To decide the stitch numbers, you can check the mock ribbing we just made. Try to cover your thumb with the mock ribbing and get an idea of how many stitches are needed.

Start with the mock ribbing. Set up 11 stitches for every other needle.

Knit 20 rows. Fold in half and hang the cast on stitches back to the empty needles (every other needle).
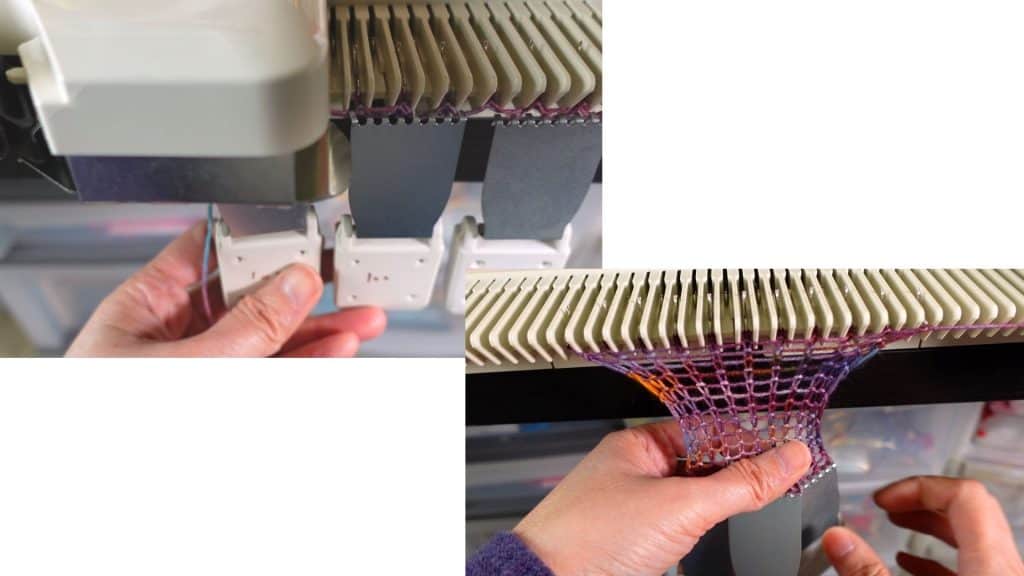
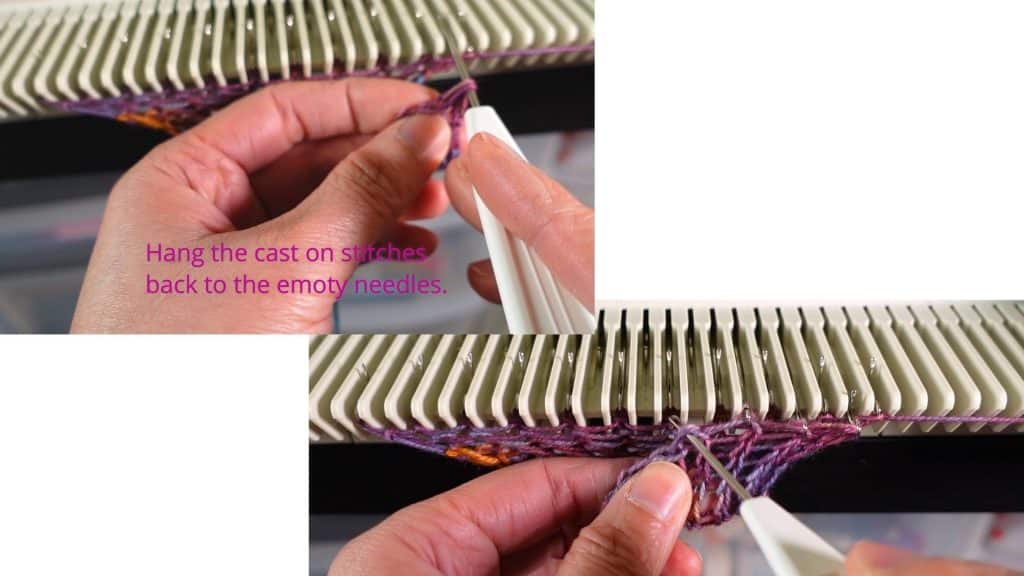
After hanging back the stitches, we can knit 1 row. Now we have stitches on every needle.
Chang to the thumb color yarn (optional).
Knit 2 or 3 plain rows, then we start decreasing.
Decrease row: Use the 2 (or 3) prong transferring tool, move the left 2 stitches one stitch in and the right 2 stitches one stitch in. 2 stitches decreased.
Knit 1 plain row.
Repeat the decrease row and 1 plain knitting row until about 3 stitches left.
Knit a few rows of waste yarn and take it off the machine.
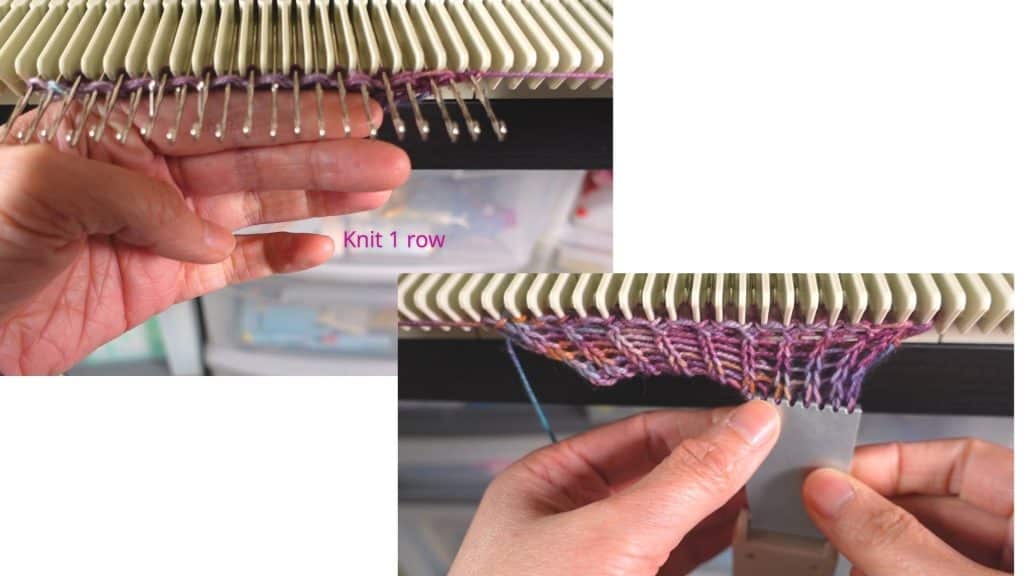
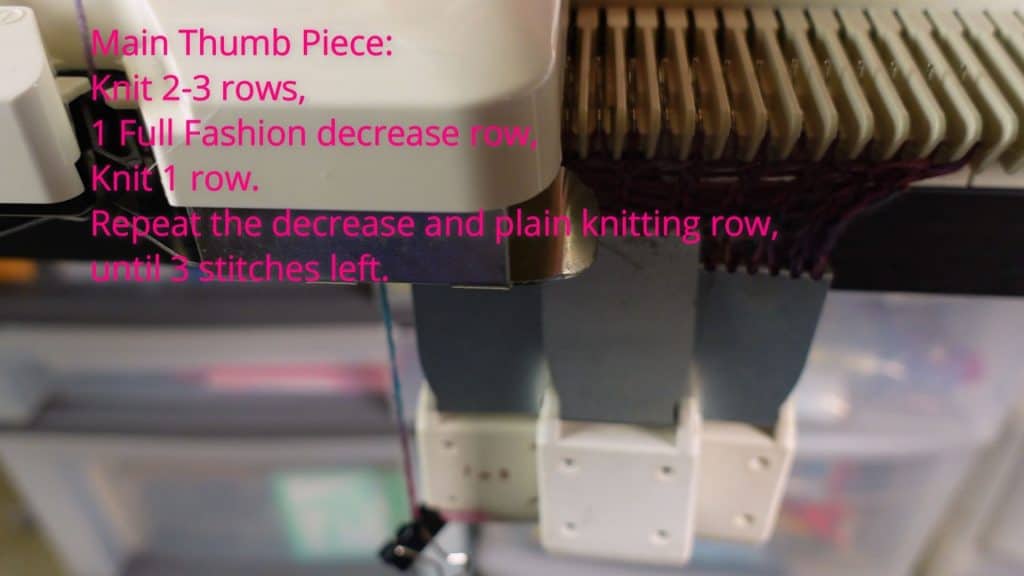

The front and back side of the thumb piece.
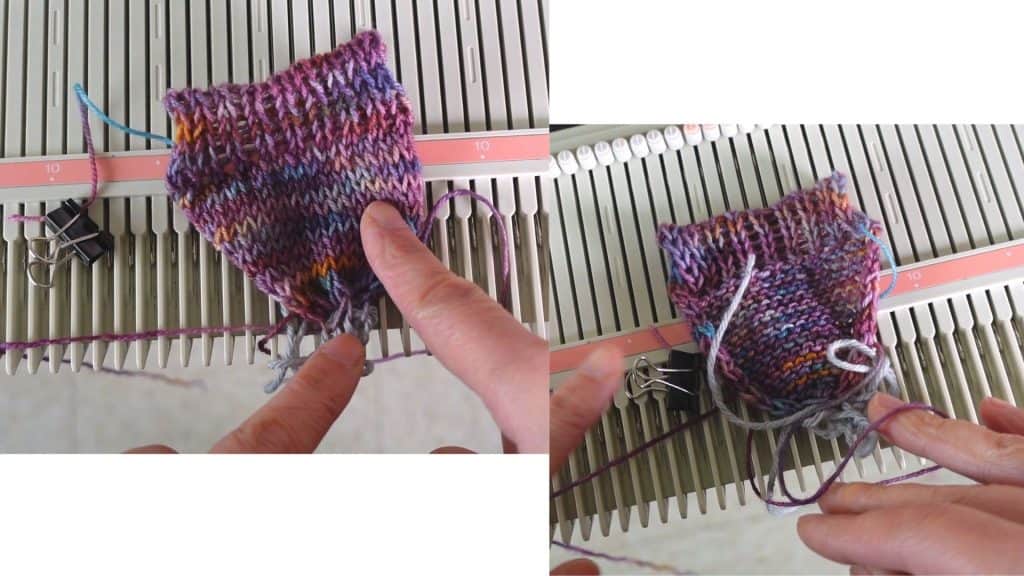
Sew up the side seams with a mattress stitch. Weave in yarn ends. Close any hole around the thumb joint.
Give it a steam blocking and your fingerless glove is done. Time to make another one the same way.

🛒 Visit our Amazon page (this contains affiliated links, and we get a small percentage without extra cost to you): https://www.amazon.com/shop/picturehealer
Machine knitted mock brioche stitch fingerless mitten
Featured Posts
- How to machine knit a heart shape on an LK150
- Machine knitting a loop stitch for big texture
- Machine knitting a corner-to-corner, diagonal dishcloth
- Machine knitting a buttonhole band on an LK150
- Tuck stitch blanket on an LK150 – Part 1
- No curl edge with seed, garter, ribbing, or cable stitches
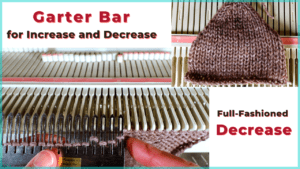
- Full-fashioned decrease, Garter Bar increases or decreases in the middle of a row
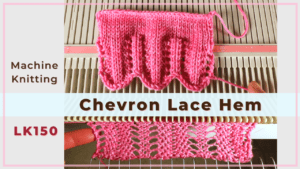
- How to machine knit a Chevron Lace Hem
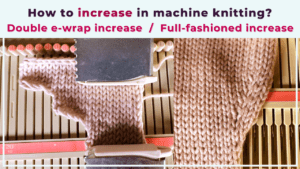
- Machine knitting increases – the full-fashioned increase and double e-wrap
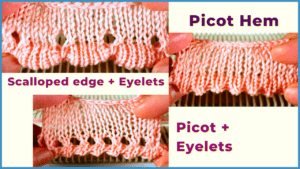
- Picot hem with a scalloped edge and eyelets on an LK150 knitting machine
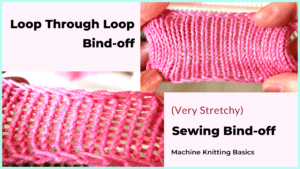
- The loop through loop bind-off and the sewing bind-off
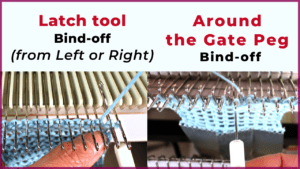
- The latch tool bind-off and around the gate peg cast-off
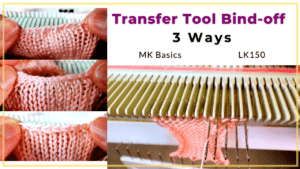
- Transfer tool cast off and variations- Simple, No hole, and Even-tension
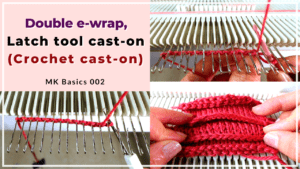
- Double e-wrap, latch tool, and crochet hook cast on
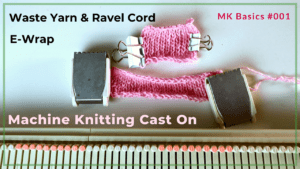
- Machine Knitting basics – Cast on with waste yarn, ravel cord, and e-wrap
