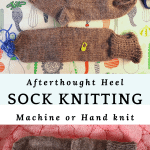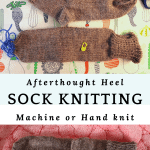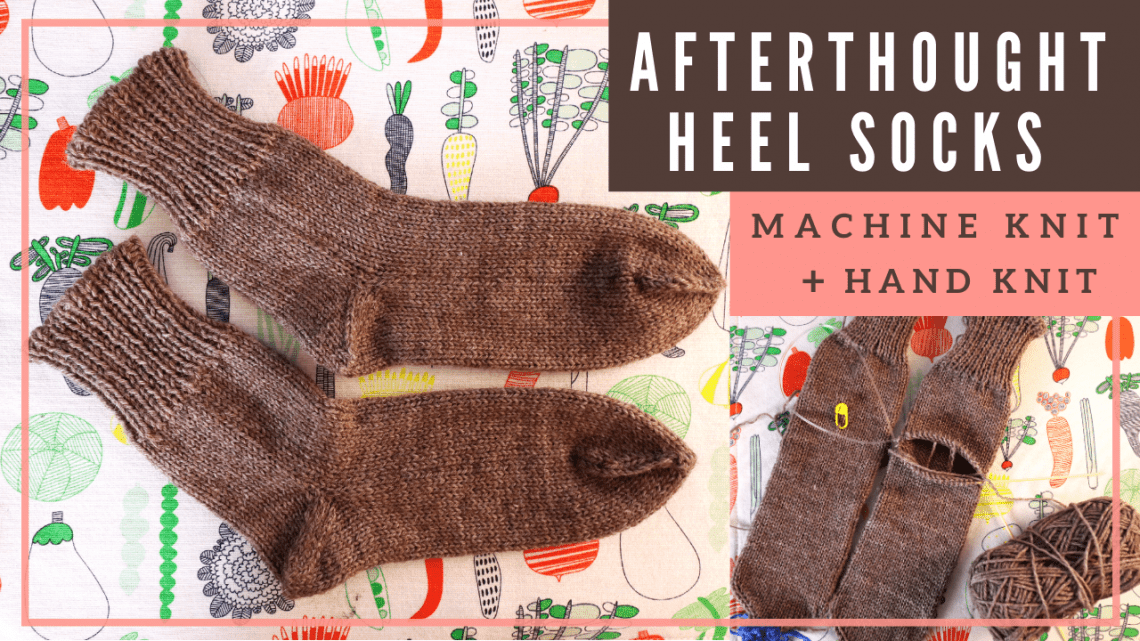
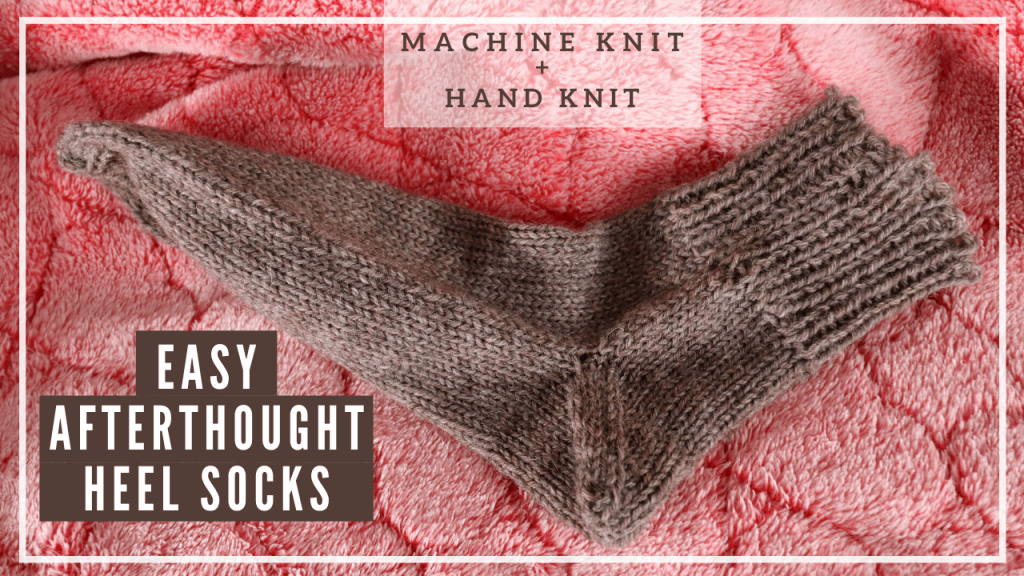
Afterthought heel machine knitting socks with hand-knit heel tutorial
Knitting socks can be complicated and time-consuming. With machine knitting, it can be done faster, but the different techniques of short-rowing and heel techniques can be tricky sometimes. I was very frustrated when I started learning to machine knit socks a few years ago. Any little mistake can mean starting over.
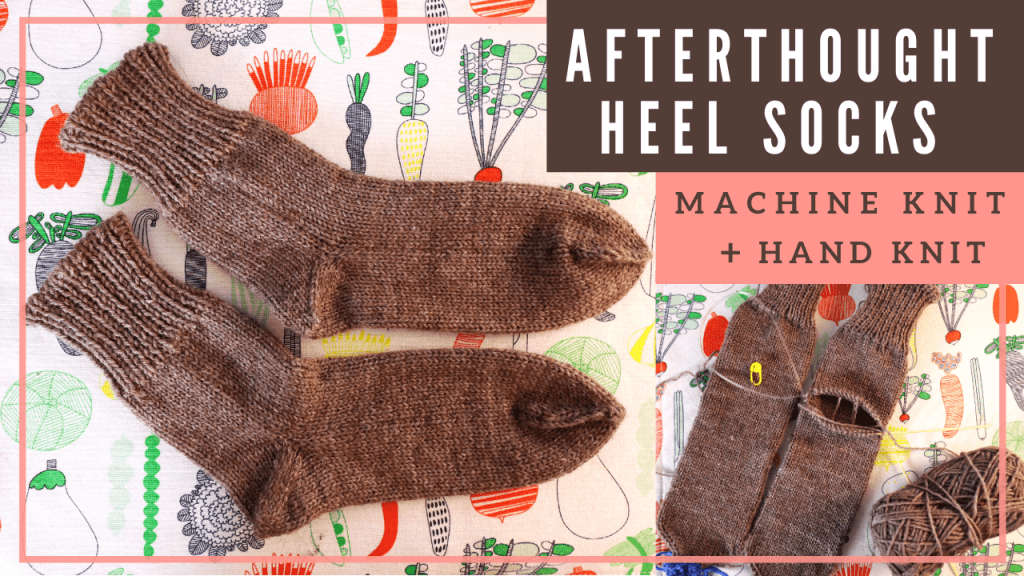
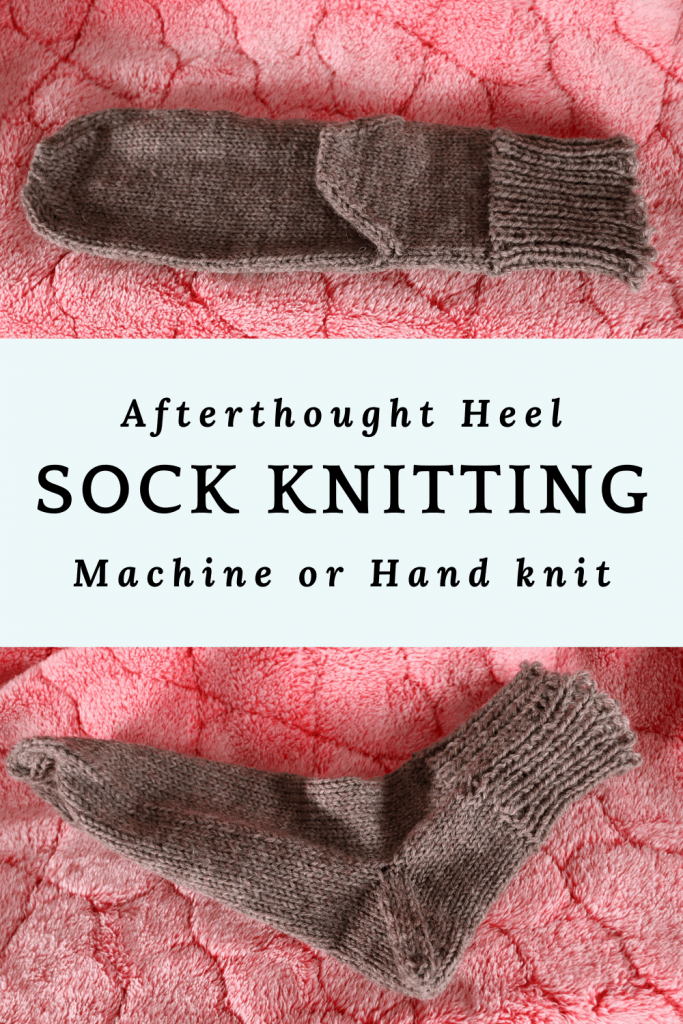
The afterthought heel socks can be the answer. Either you hand-knit or machine knit, you just knit tubes with ribbing on one side and toe on the other side. After that, find the best location for the heel, cut the yarn, and knit the heel. The socks will fit well because we know exactly where the heels start. It also saves time for complicated calculations. If you know your total stitches in the round, you can knit the socks easily.
In this project, I use a Brother 260 bulky knitting machine with a ribber for circular knitting and 1 by 1 ribbing. If you don’t have a ribber, just knit it flat and sew up the seam later. The toe can be hand knit easily with a simple decrease on the sides.
For the machine without a ribber, you can also use the mock ribbing or hand-knit the ribbing.
You can easily adapt the hand knitting patterns to the afterthought heel socks. Or even batter, make a sample swatch with your particular yarn and machine/needle to find out the best stitch numbers.
The afterthought heel method simplifies the sock knitting process. It might not have the classic-looking heel, but it is still practical and keep the feet warm. It is also easy to modify the size to fit every member of the family.
Video tutorial for the afterthought heel socks on a Brother 260 knitting machine
Step-by-Step tutorial for the afterthought heel sock knitting
We are starting from the cuff ribbing, then knit the tube in the round, and finish the toe with decreasing. We have another post about knitting socks in the round with short rows on a Brother 260 bulky knitting machine. Click LINK HERE for the post.
Yarn: Patons Kroy socks yarn. Any sports weight yarn should work too.
Machine: Brother 260 bulky with a Ribber.
Tension: the mast tension can be set to the smallest, and the carriage tension is around zero. See the following for more details.
1 x 1 Ribbing
To knit the 1 x 1 ribbing, we set up 41 stitches. Half on the knitter and the other half on the ribber. It will be every other needle. The end stitches should be on the knitter.
Select pitch 3 for full pitch.
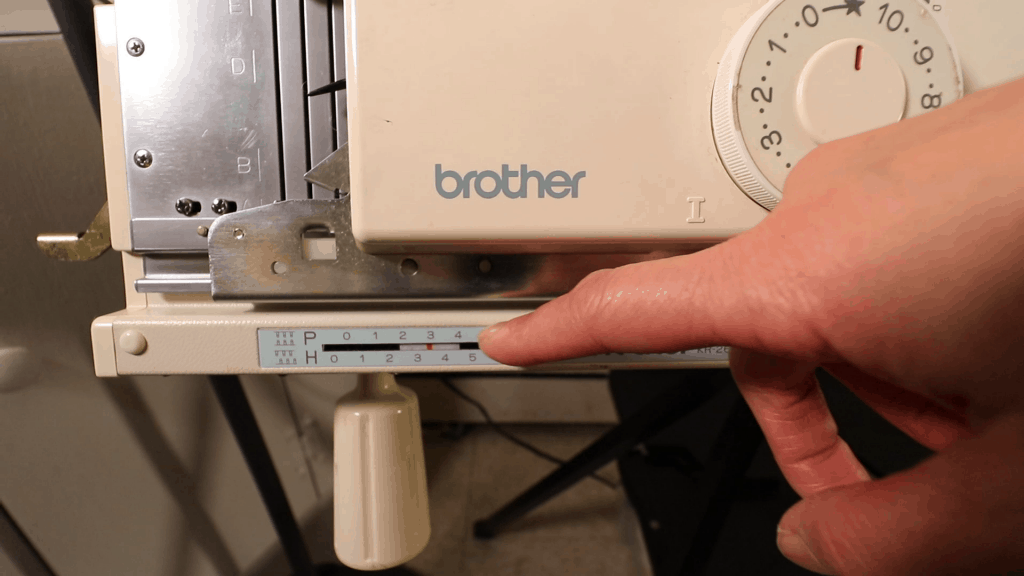
Set up carriage as below for the zigzag row:
Both knitter and ribber tension set to the lowest or 2 clicks below zero.
Set the side lever to II for a tighter stitch.
Other buttons are set for plain stockinette knitting.

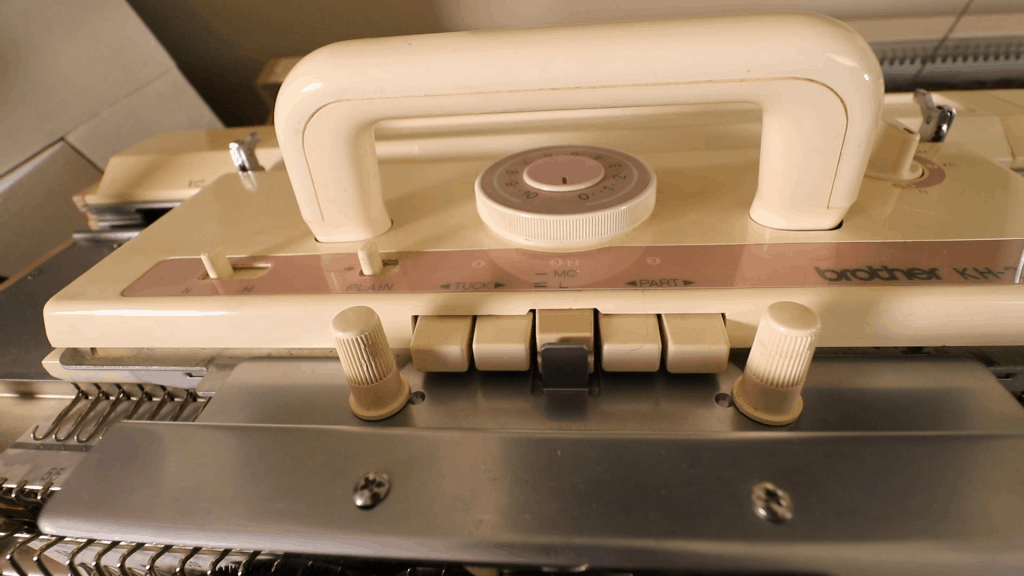
Knit 1 row (zigzag row). Hang cast on comb and weight.
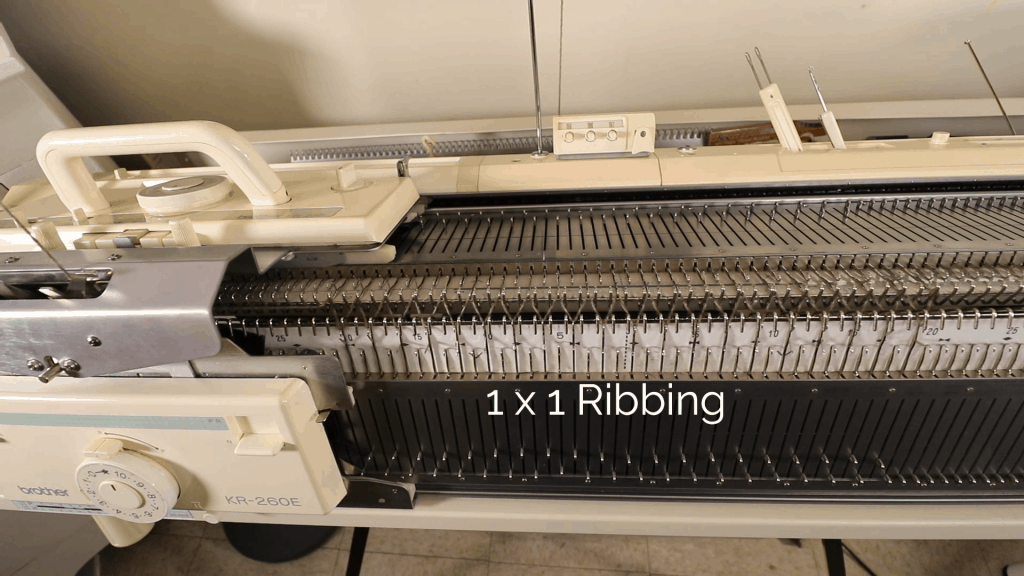
3 Selvage rows
Set up the carriage for 3 selvage rows:
Knitter: press left Part button.
Ribber: push the right Part button (PR).
Tension: For both carriages, set the same tension as before (2 clicks below zero) or tension zero.
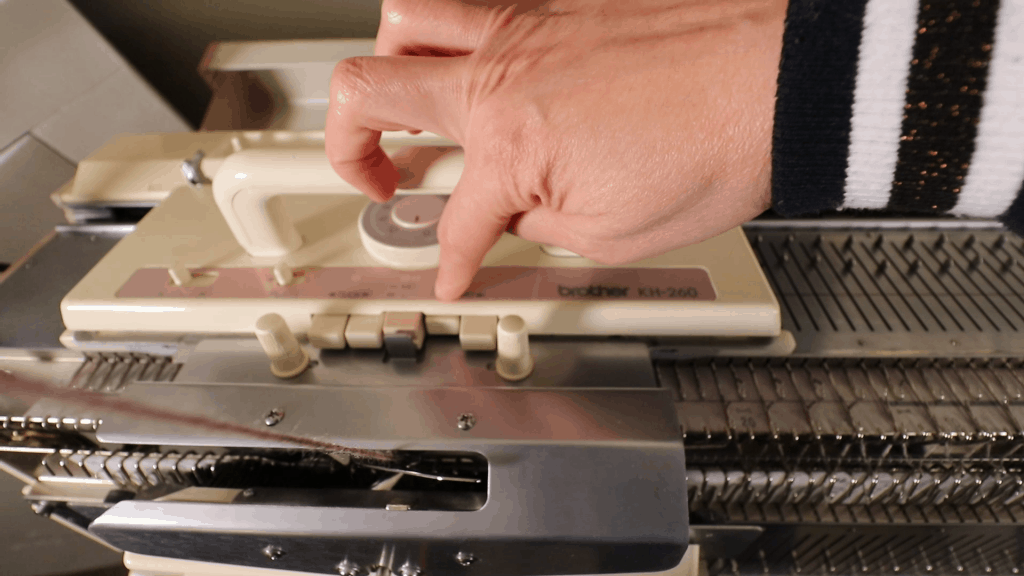
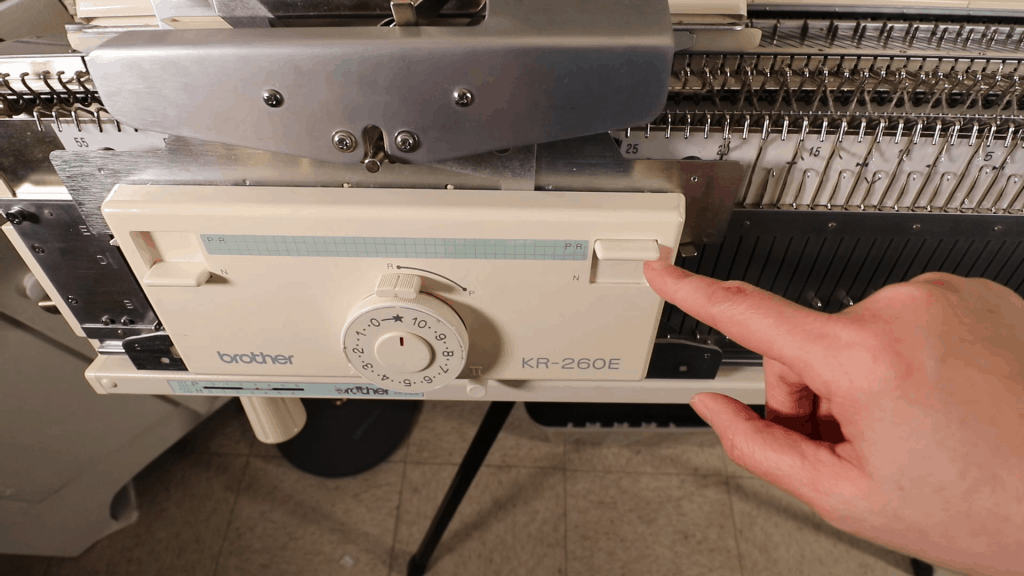
Knit 3 rows. Now the setup rows are done.
Knit 20 rows of ribbing or as many rows as you like.

After the ribbing is done. Use a double eye needle, transfer all stitches to the knitter. It should fill up the empty needles (every other needle).

Transfer half of the stitches back to the ribber. You can transfer either the left or right half of the stitches.
You can use a garter bar, long circular needle, or knit a few rows of waste yarn and then transfer them to the ribber. I use a long circular needle here.
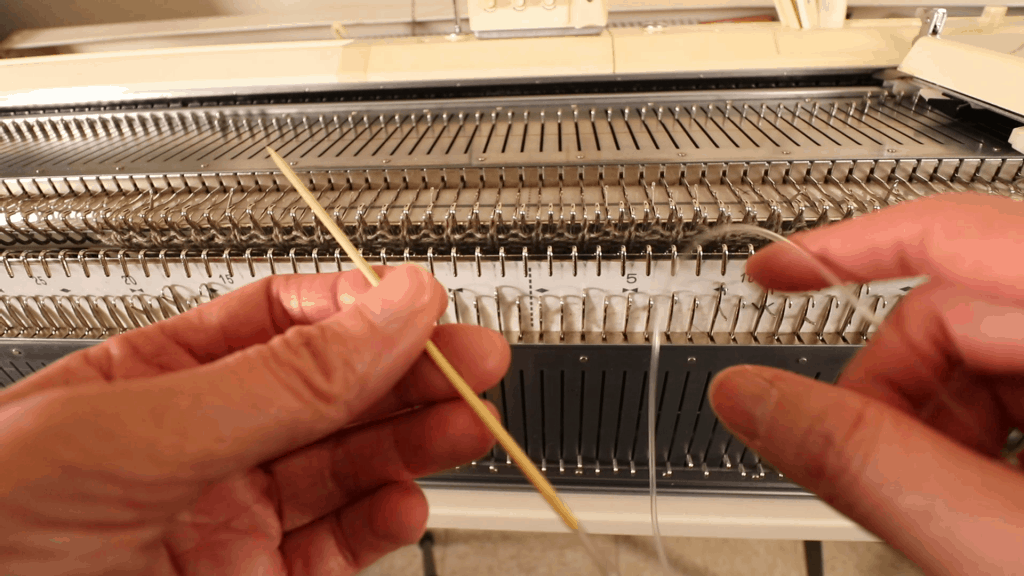
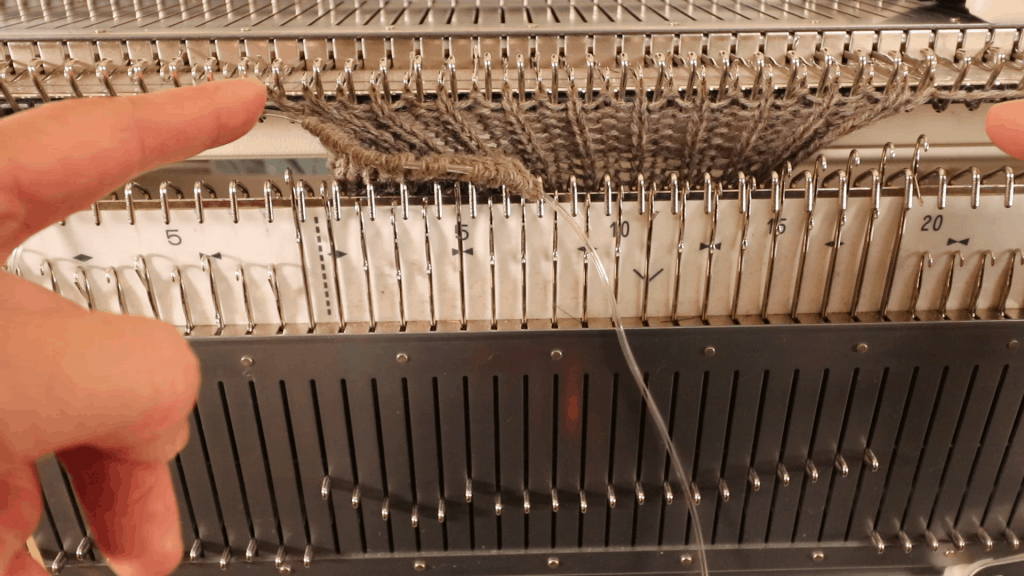
I use a double eye needle to transfer the stitches from the circular needle to the ribber. Now I have 20 stitches on the ribber and 21 stitches on the knitter. The end stitches will on the knitter.
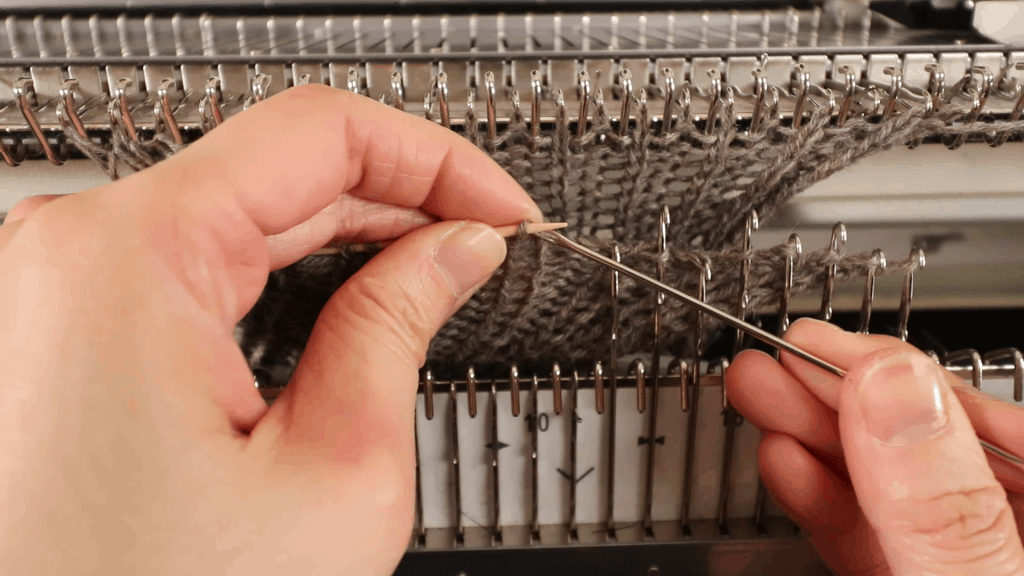
Circular knitting
Now we are going to knit the main part of the socks by circular knitting.
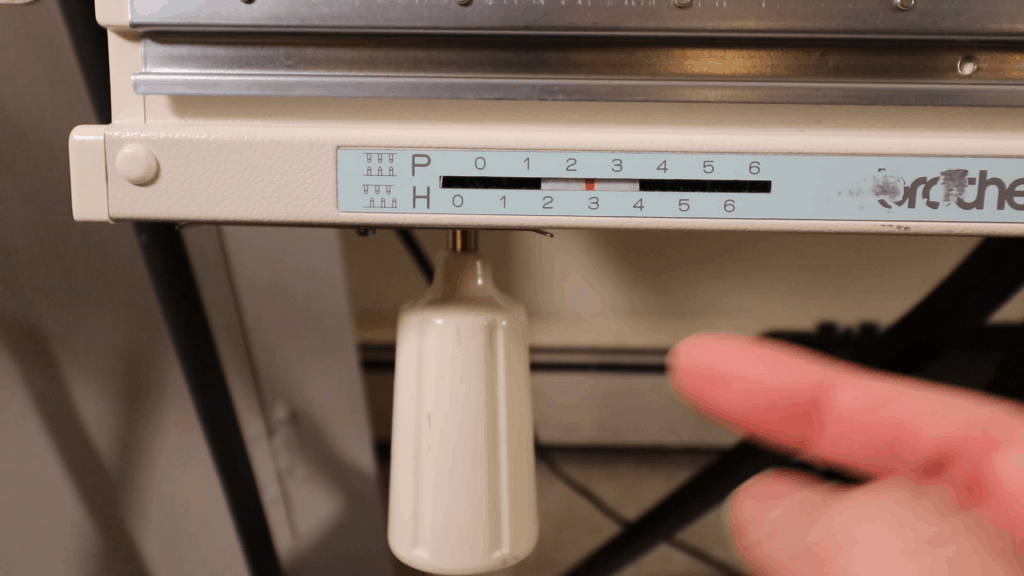
Set up the pitch to H3 (half pitch).
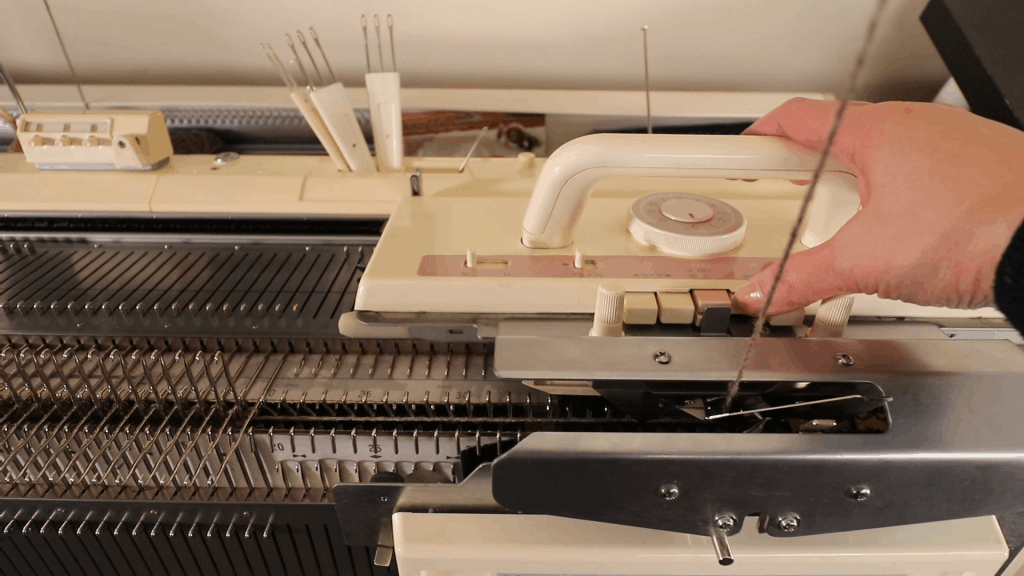
Knitter carriage: Press the left Part button.
Tension zero (or any tension you choose).
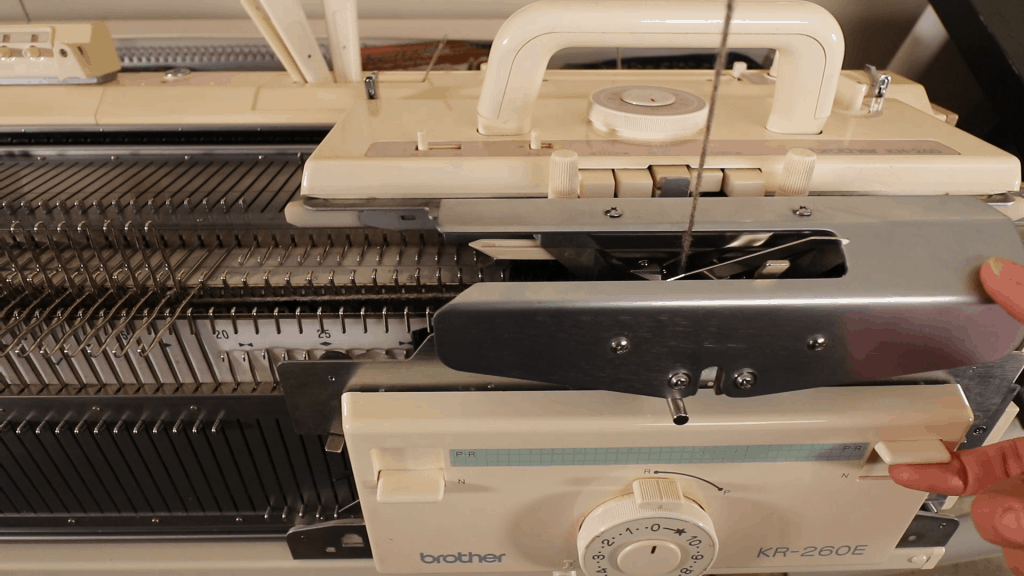
Ribber carriage: Push the right Part button up.
Tension zero (or tension of your choice for the main part of the sock).
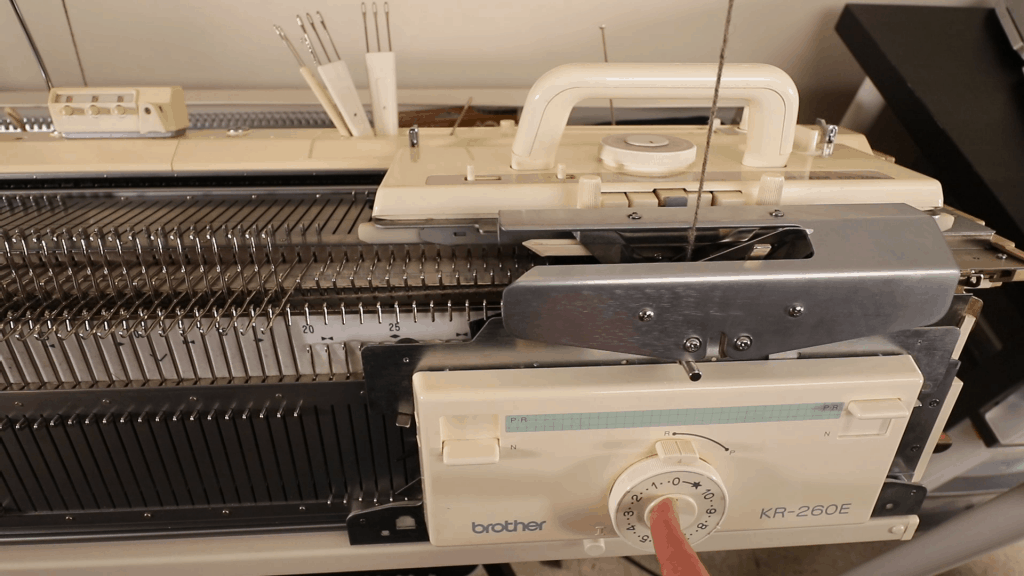
You can move the side lever (at bottom) from II to I, or just leave it at II for a tighter tension.
Before knitting the first row, you can pull the needles all the way out to prevent dropped stitches.
Make sure you have proper weight on the knitting.
Change the counter back to 0, 0, 0.
My row count is based on my previous project (Click the link to see that post). Since each round consists of 2 passes, you need to double the row numbers. It can be about 140 rows or more. You can knit longer for warmer socks.
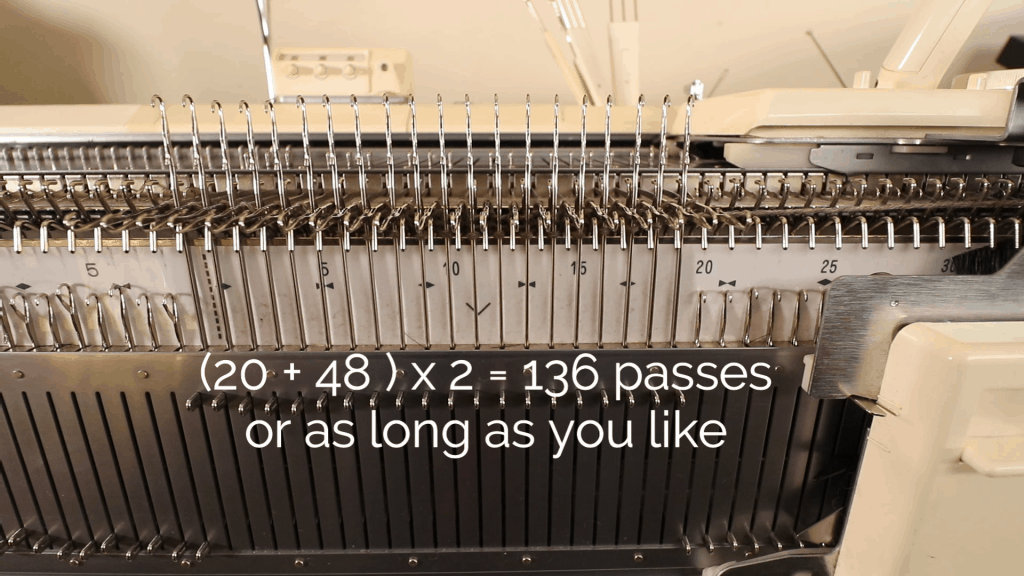
Toe decrease
After about 140 passes (the counter number), we can start toe shaping.
One easy way is to decrease on the ends. I use a 3-prong tool for the full fashion decrease on the 4 corners. But it creates some bulk on the sides of the toe. I find the 2-prong transferring tool will have less bulkiness for the toe shaping. Or, just move the outer stitches in (not full fashion decrease).
Alternate one decrease round and one plain knitting round, until there are only about 7 to 10 stitches on each side.
The final stitch count depends on how sharp the triangle you like. For a more rounded look, leave more stitches at the end.
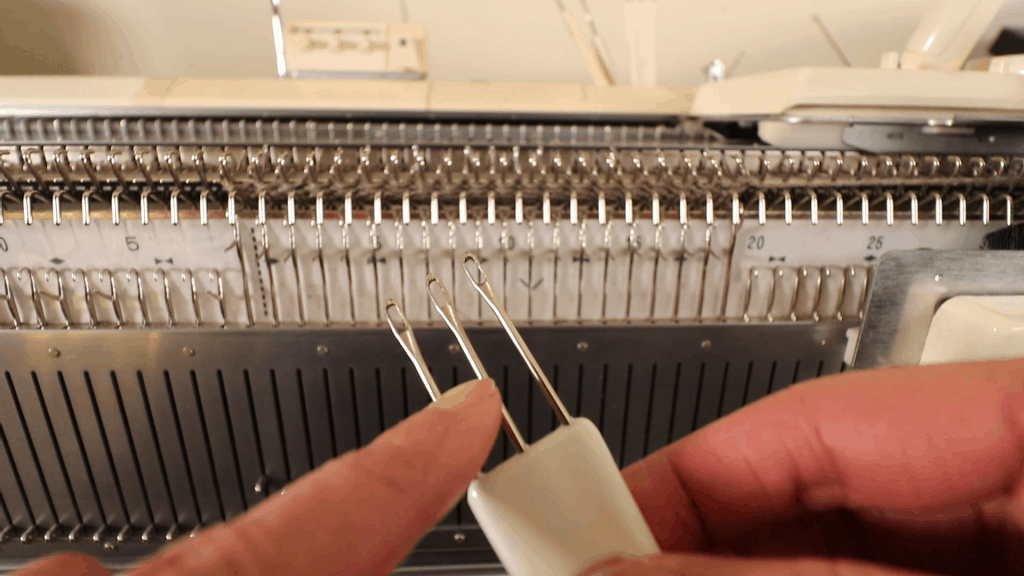
Move one stitch in with the transferring tools on all 4 corners.
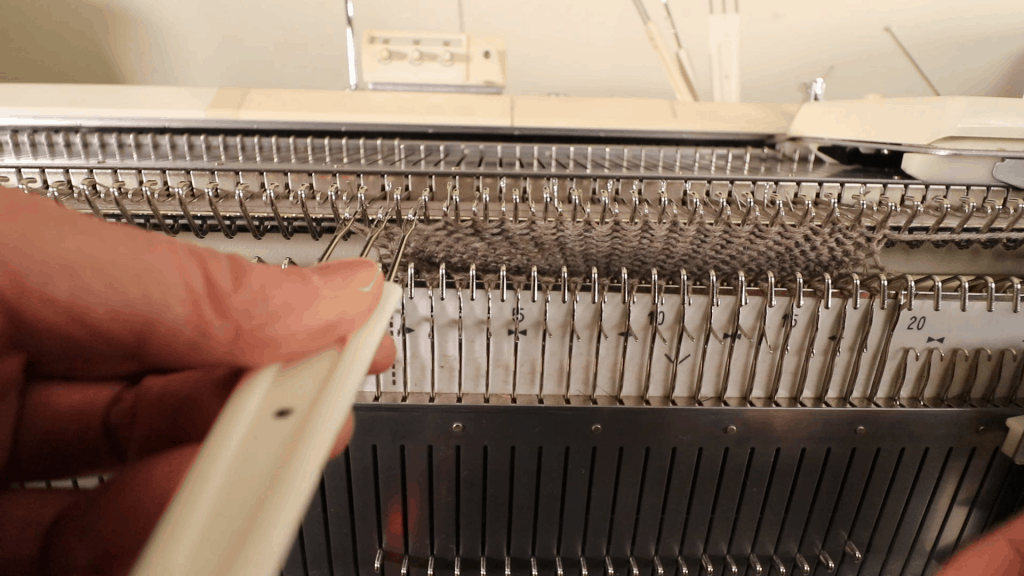

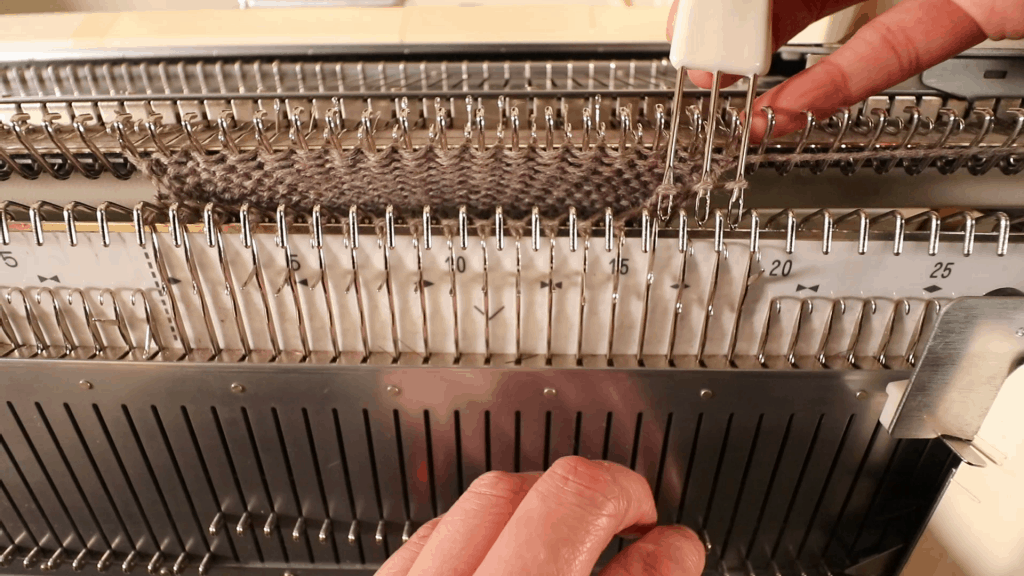
It is a good idea to pull all stitches out before knitting a plain round to prevent dropped stitches.

After the decrease is done. Knit a few rows of waste yarn. Take off the machine.
Pick up stitches with a circular needle or 2 double point needles. We are ready to do the Kitchener stitch.
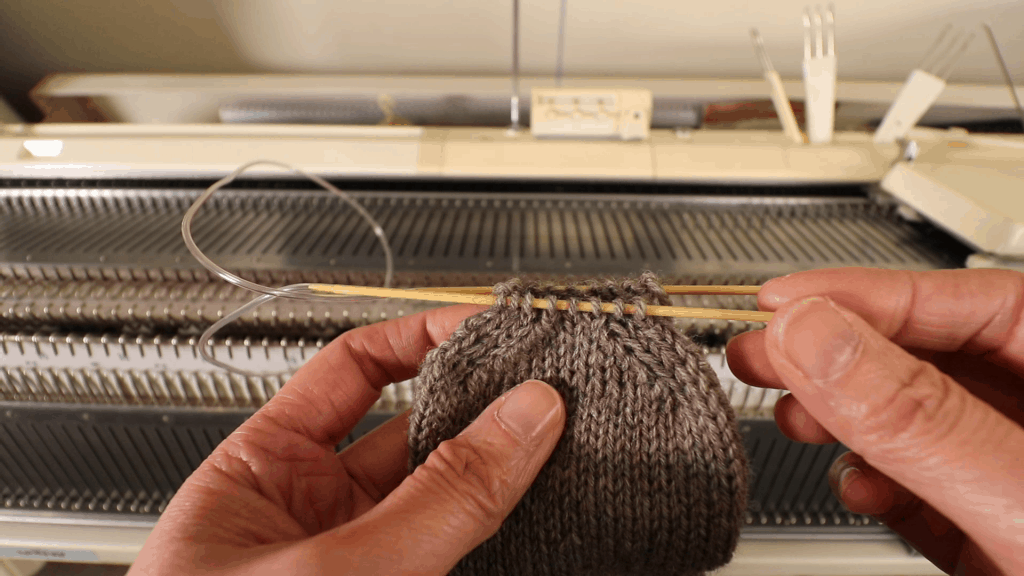
No dog ear Kitchener stitch for closing the toe
To reduce the “dog-ear” like bulk at each end of the Kitchener stitch, we can skip the setup row, and only work the last 2 stitches once.
Kitchener stitch
For the front needle, we start by taking off the first stitch knitwise and thread the second stitch purlwise, leaving it on the needle.
For the back needle, we take off the first stitch purlwise, and thread the second stitch knitwise, leaving it on the needle.
Repeat the above until the end. Remember to work the last 2 stitches once only.
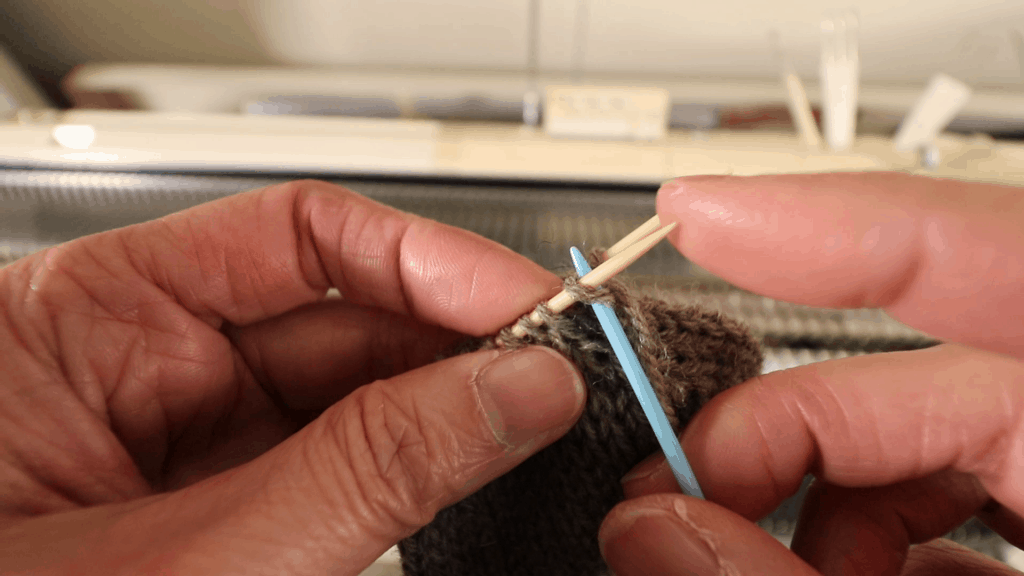

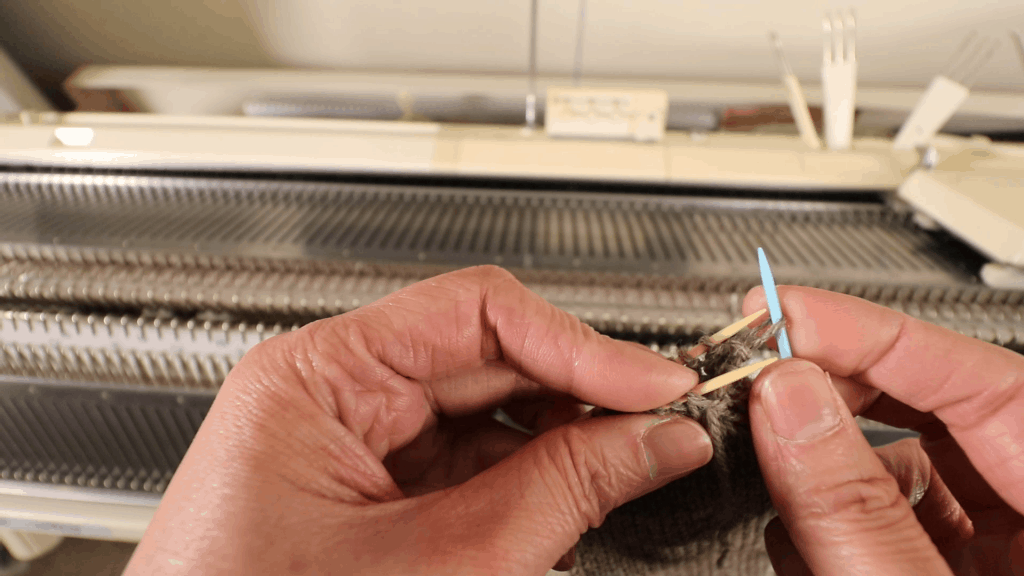
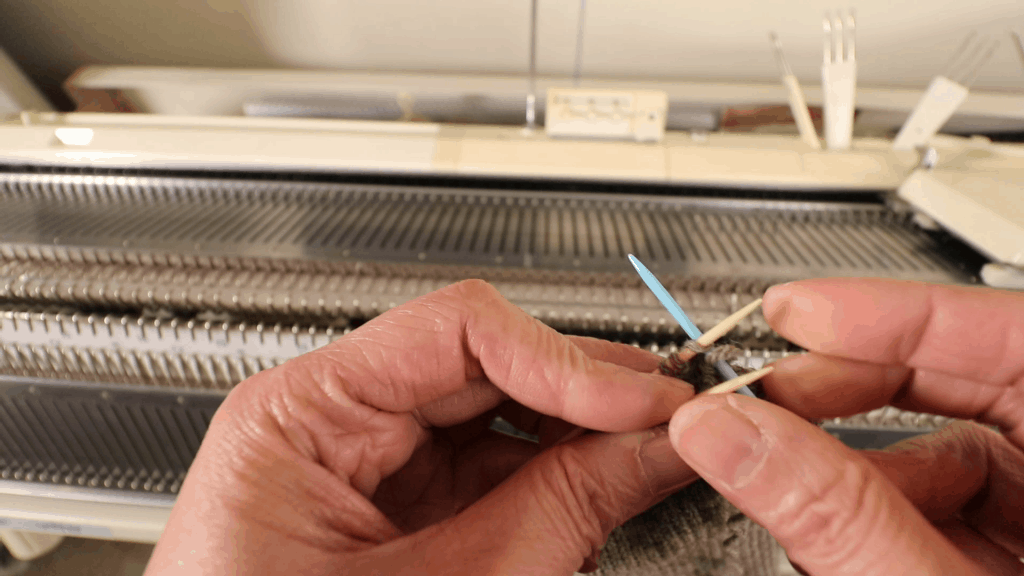
Work the last 2 stitches once only and take the needle off.
Cut the yarn and thread through the last loop. Weave in yarn tail from the backside.
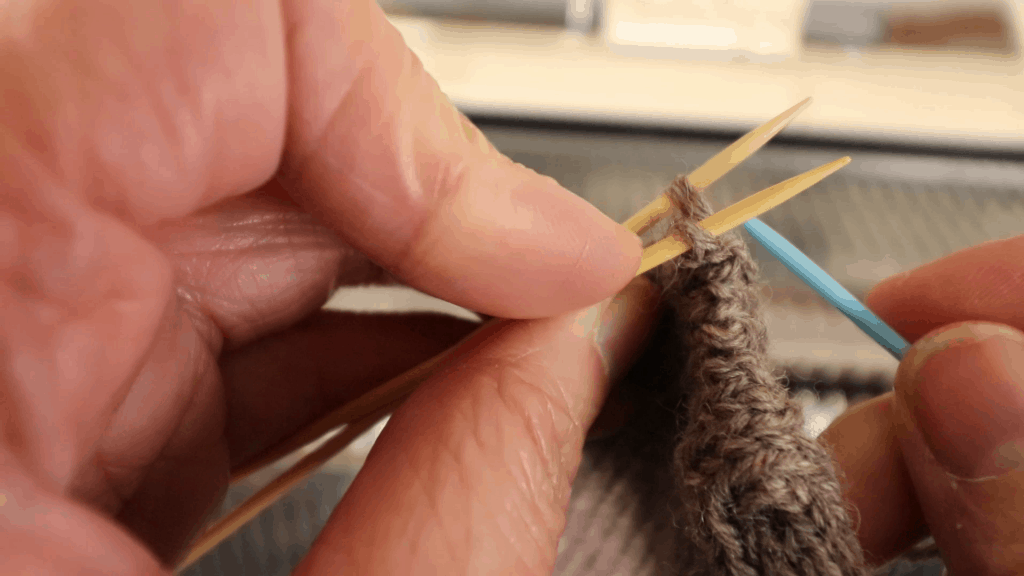
No “dog ear” bulkiness showing on the ends.
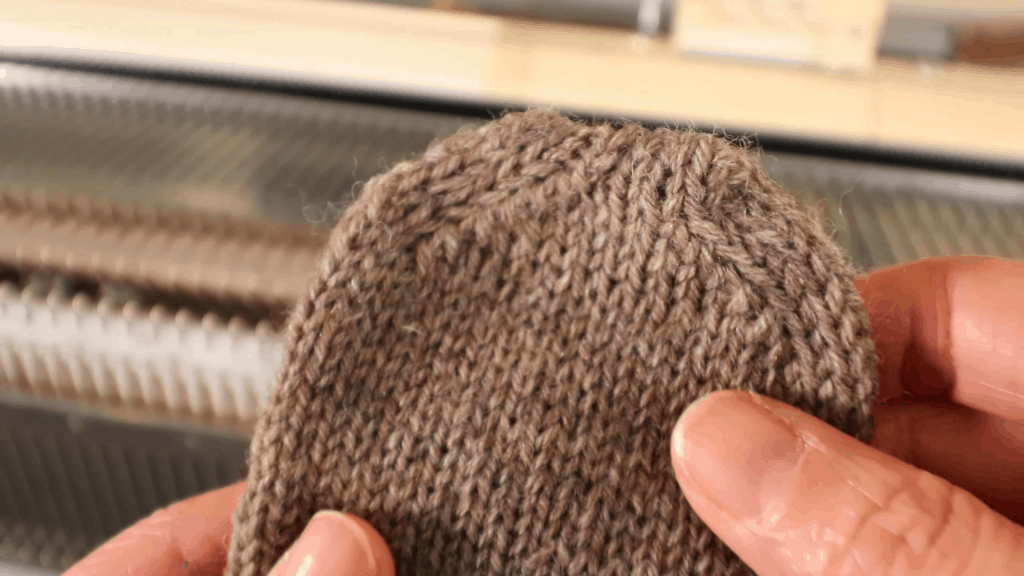
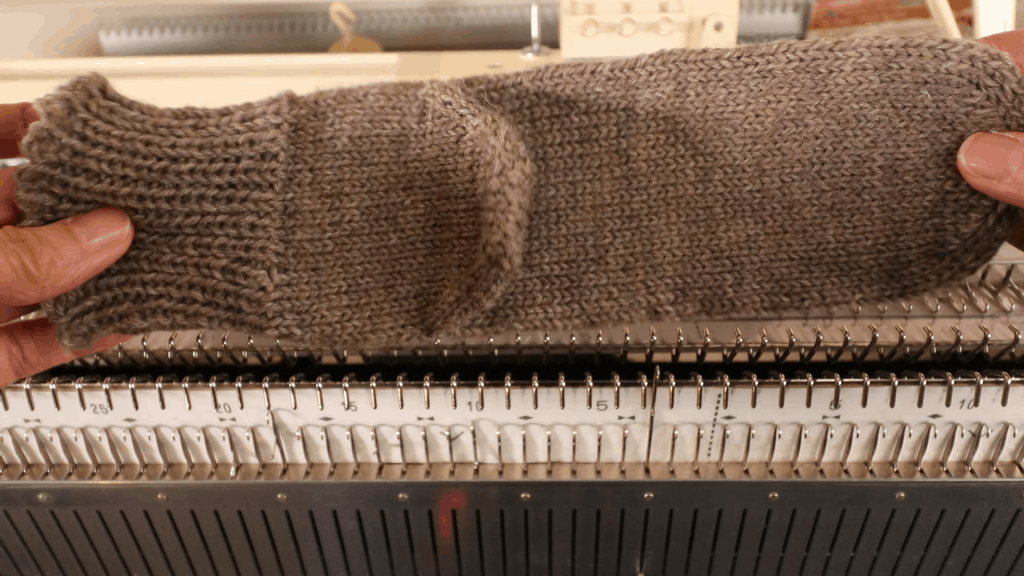
Deciding the location of the heel
Now we have to find the location of the heel to place a marker.
You can measure your foot or use an old knitted sock for reference. The toe shaping is about 1.5 inches. The heel shaping will be about the same.
I have about 7 inches before the heel starts. So I will place the marker 7 inches from the toe.
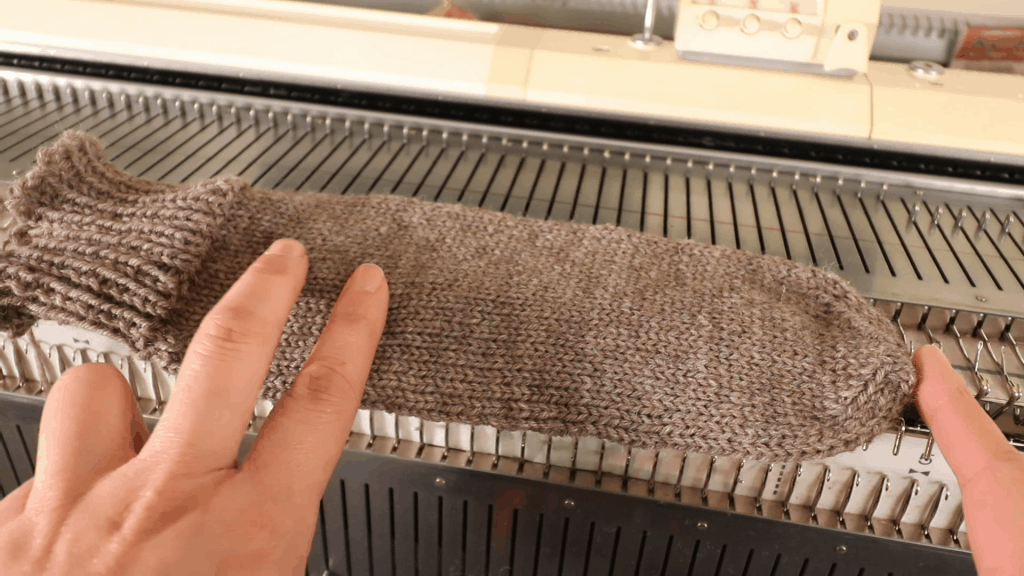

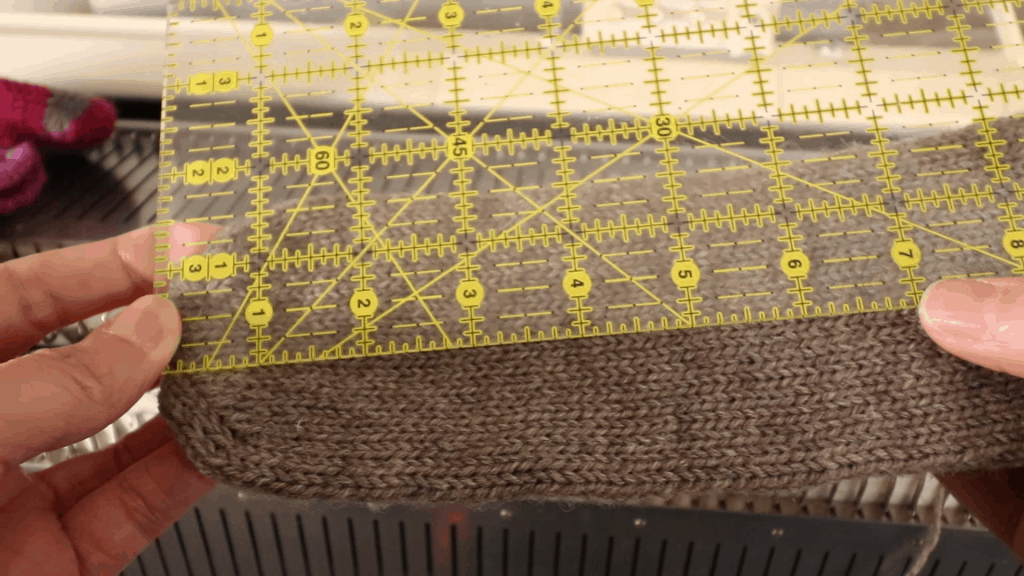
Place the marker 7 inches from the toe. Use a circular needle or 2 double point needles to pick up stitches one row below and one row above the marker row.
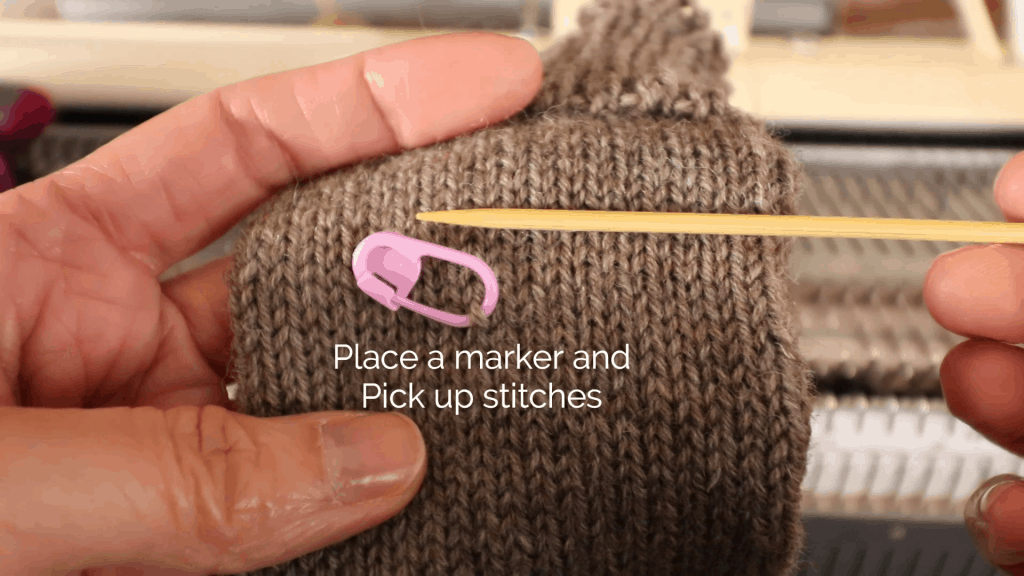
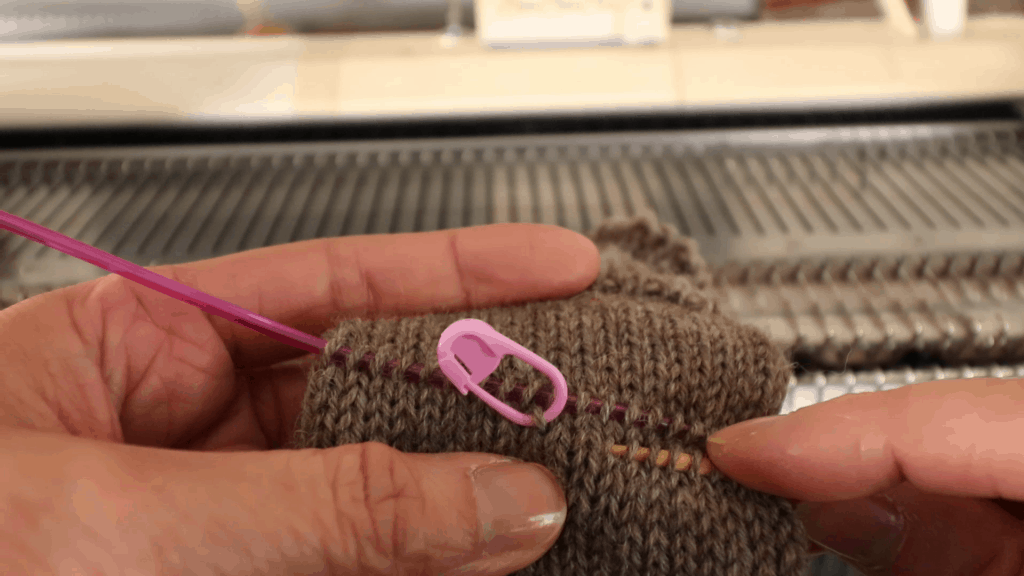
Cut the marked stitch. Pick the yarn out of that row. Leave the last stitches (both sides) on to reduce the hole.
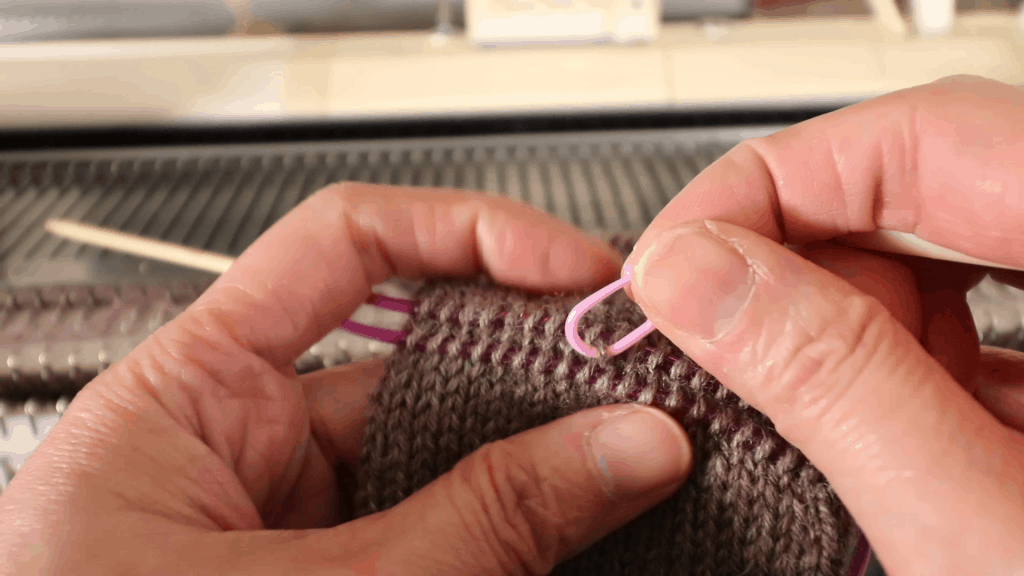
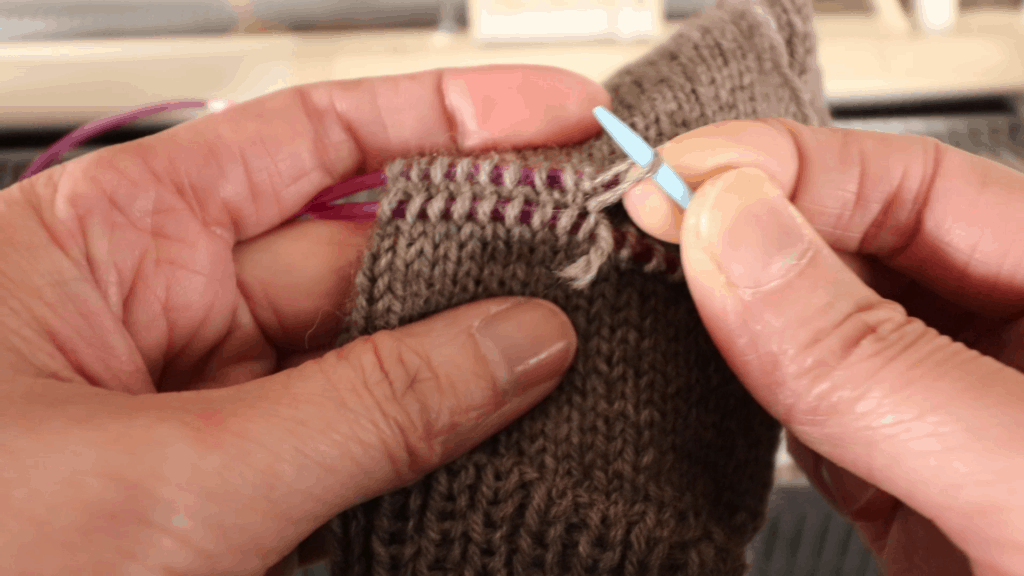
Leave the last stitches on for both sides to prevent holes.
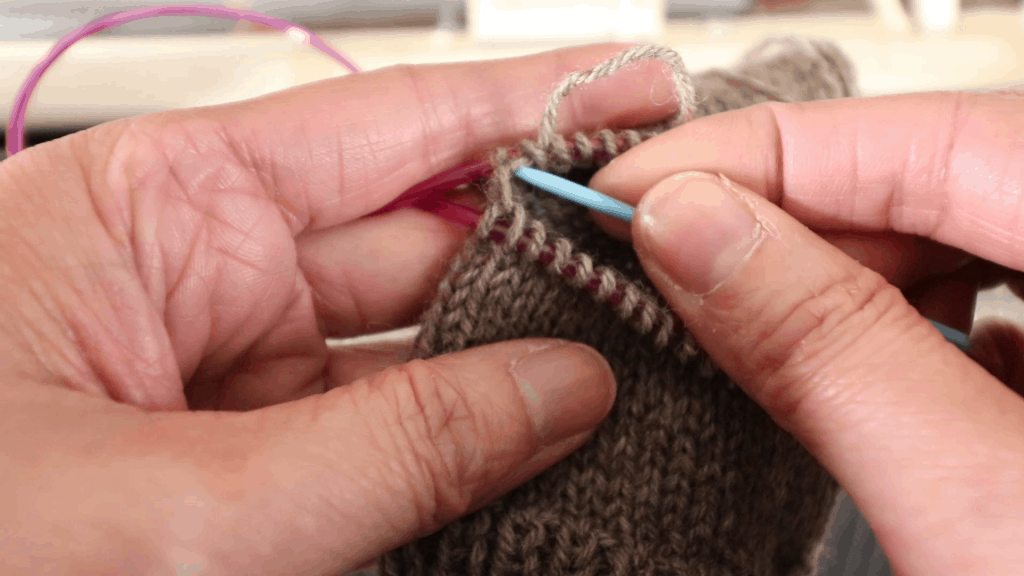
Reattach yarn to hand-knit the heel. Alternatively, you can hang the stitches back to the machine and decrease the same way as the toe.
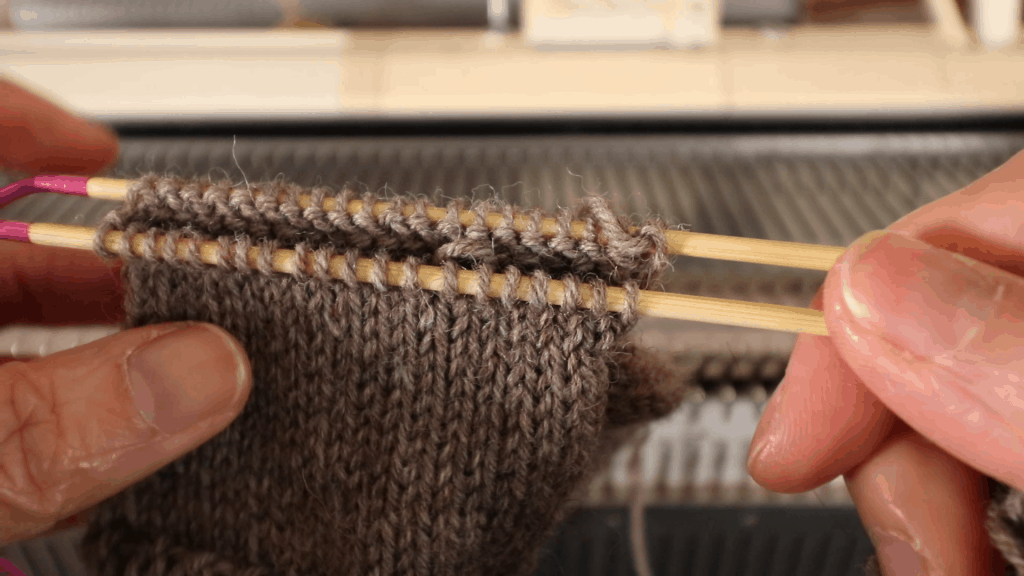
To hand knit the afterthought heel, start by knitting a few rounds of plain stitches. I knit 3 rounds here.
Start alternate the following decrease round and plain knitting round until the desired stitch numbers. I knit until 10 stitches on each needle because you do not need a sharp angle for the heel.
Decrease round:
K1, SSK (slip, slip, knit), k until the last 3 stitches, K2tog, K.
Repeat the same on the other needle.
When you have about 10 stitches on each needle, do the Kitchener stitch the same way as the toe to close the heel.
Sew up the seam on the side of the ribbing. Weave in yarn ends and close any hole around the heel.
Give it a steam iron and try it on.
Time to make a matching sock. Happy knitting!


🛒 Visit our Amazon page (this contains affiliated links, and we get a small percentage without extra cost to you): https://www.amazon.com/shop/picturehealer
Afterthought heel sock knitting on a knitting machine
Featured Posts
- How to machine knit a heart shape on an LK150
- Machine knitting a loop stitch for big texture
- Machine knitting a corner-to-corner, diagonal dishcloth
- Machine knitting a buttonhole band on an LK150
- Tuck stitch blanket on an LK150 – Part 1
- No curl edge with seed, garter, ribbing, or cable stitches
- Full-fashioned decrease, Garter Bar increases or decreases in the middle of a row
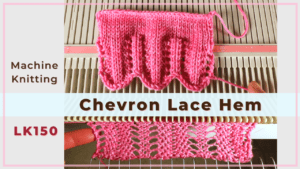
- How to machine knit a Chevron Lace Hem
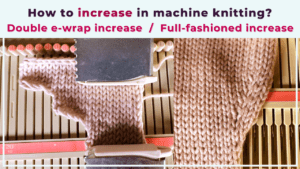
- Machine knitting increases – the full-fashioned increase and double e-wrap
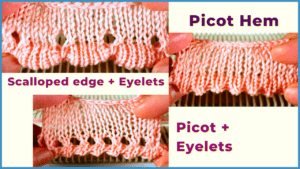
- Picot hem with a scalloped edge and eyelets on an LK150 knitting machine
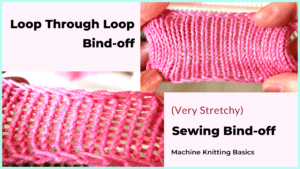
- The loop through loop bind-off and the sewing bind-off
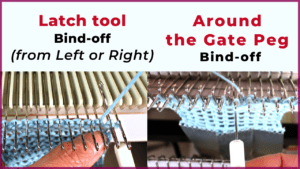
- The latch tool bind-off and around the gate peg cast-off
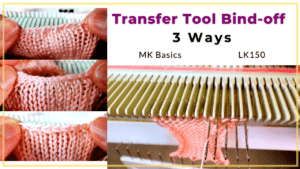
- Transfer tool cast off and variations- Simple, No hole, and Even-tension
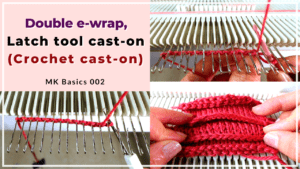
- Double e-wrap, latch tool, and crochet hook cast on
- Machine Knitting basics – Cast on with waste yarn, ravel cord, and e-wrap
