Square knitting from the center out — Modular knitting
Here is a relaxing and meditative knitting project you can carry everywhere. It is modular square knitting from the center out. Similar to granny square crocheting, there are many possibilities of combining different squares, from baby blanket, throw blanket, bedspread, or even garment.
You just need a circular knitting needle and a few stitch markers. The pattern is super easy once you get it. We start to cast on from the center and alternate one round of increase and one round of plain stockinette (knit only).
You can make one square a day, and even bring it on trips. Once you have enough pieces done, just seam up sides for a bigger project, and add borders to keep it flat.
It is a mindless and relaxing knitting project. You can listen to a podcast or watch a show when you knit. Because you are knitting one square at a time, it does not feel overwhelming. It is perfect for lazy summer days or vacation knits.
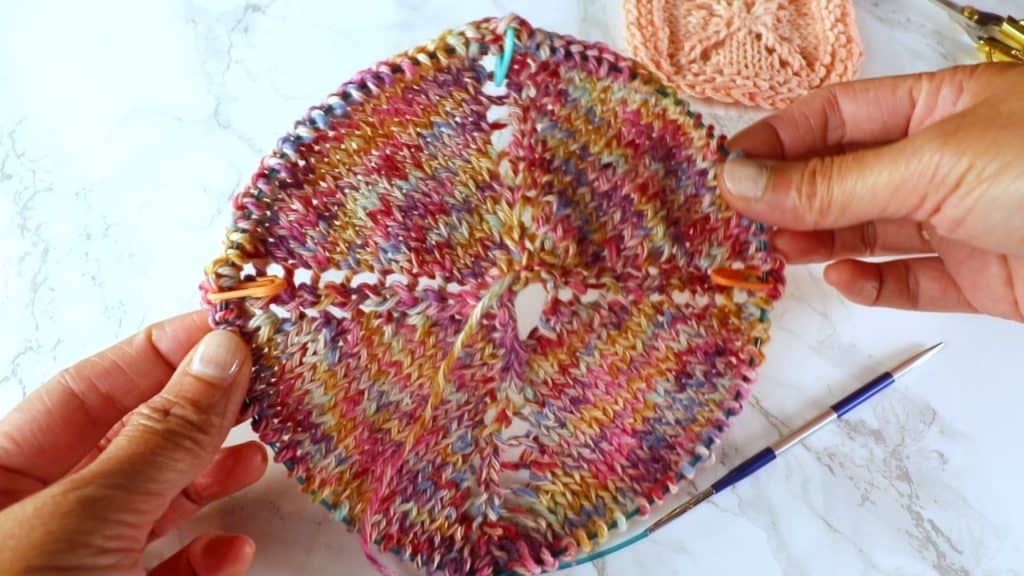
Watch the video tutorial for knitting from the center out
Planning and designing your square knitting
Material
Depending on the size of your square, you can use a circular knitting needle or a set of 4 double-point needles.
Choose any yarn you prefer. I have cotton blend yarn here for light and washable summer blanket.
Swatch and try different size knitting needles to decide which fabric you like best. The exact gauge is not as important.
I use 3 stitch markers to mark 4 different sections.

Design variations
There are many variations of this technique.
Cast on method: You can find circular knitting cast-on online, or just use a long-tail cast-on for 8 stitches, and sew the hole close later.
Stitches: I use stockinette stitch for the main part. You can switch around and mix different stitches such as garter or even lace stitches.
Increase method: Different increase methods create different looks. I use yarn-over increase to create a “hole” for each increase. You can also use knit front and back increase, or make 1 increase. There is no limit on that.
Borders: You can create any type of border using any stitches. Just remember you will need to seam them up later, so keep them simple for the sewing-up process later.
Popular borders include garter stitch, ribbing, or skip the border altogether. You can add a border after the whole project is assembled. That is what I do in this project.
Bind off: I use knit 2 together through the back loop method to bind off to add some stretch and flexibility. Depending on the intended project, the stretch might not be necessary. Again there is no limit on your bind-off technique.
Now you know what kind of project, yarn, and stitches you are going to use, time to get started.
Casting on
There are several ways of the circular cast-on. Some look really complicated and takes some time to learn. Or, you can keep it simple and use the standard long-tail cast-on or any type of cast-on, and just sew the center hole close later. The result is pretty much the same.
Place markers
I use the long tail cast on for 8 stitches. Divide them into 4 groups. Each section will have 2 stitches. Place marker to separate the 4 groups. If you are using a circular knitting needle, you only need 2 markers at this point. Add more later if needed.
Round 1
(Knit to the end.)
Round 2 (Increase round)

We are going to increase the first and last stitches of each section using any increasing method you choose.
For round 2, since we only have 2 stitches in each section, we will increase both stitches.
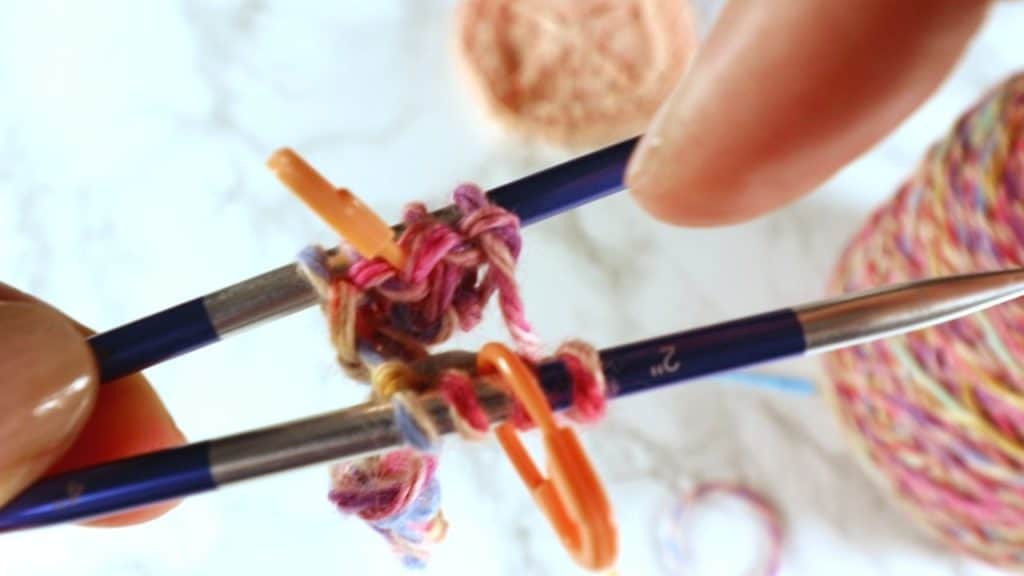
I use the yarn over increase here, so before the first stitch, just place the working yarn in the front, and start knitting the first stitch on the left needle, this creates a yarn-over before the stitch. One stitch is increased. See the picture above.
Place the working yarn in front of the needle again (Yarn over) and knit the next stitch, one more stitch is increased.
Here is the summary for all the increase round:
In each of the 4 sections: (Yo, K until the last stitch, Yo, K)
Since we have 4 sections, 8 stitches will be increased in each increasing round.
Round 3 (Knit round)
After the increase round, simple knit all stitches in this round.
(Knit to the end.)
Keep alternating Rounds 2 and 3 for the increase and plain knitting. The square shape will form with 4 diagonal lines of yarn over increases.
Bind off
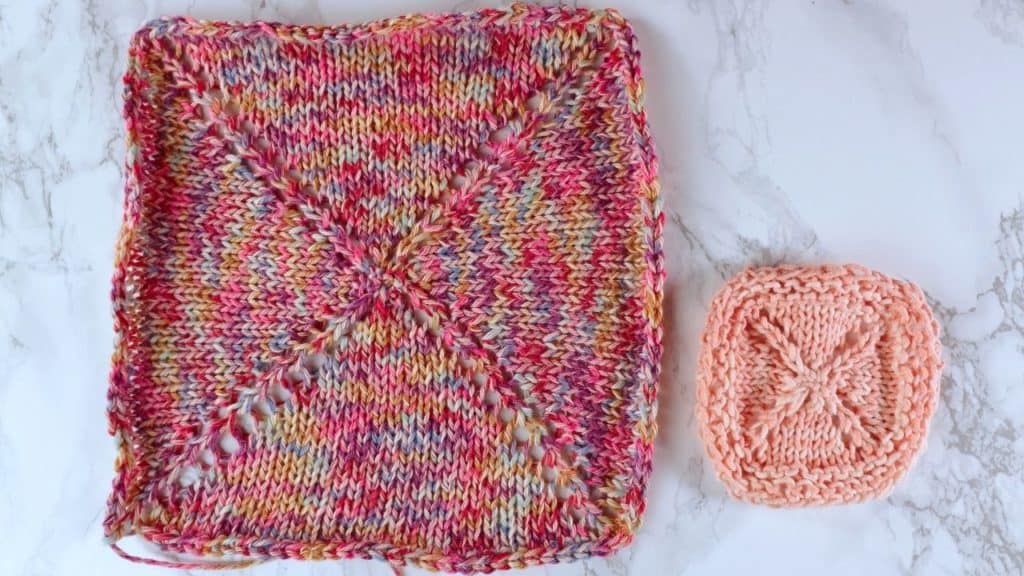
When the square is the size you like, you can start adding a border or just bind it off. I have 30 stitches in each section before binding off. And I bind off after plain knitting round using the “knit 2 together through the back loop” method. This bind-off also creates a nice chain for easy sewing later.
Close the hole in the center
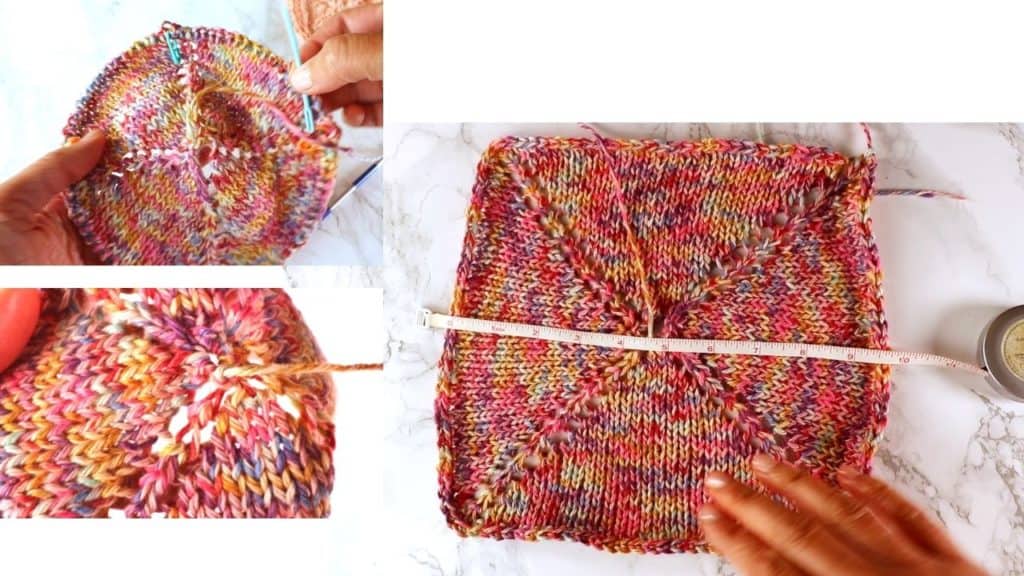
Use a yarn needle to pick up all 8 stitches we cast on, and pull tight to close the hole in the center. Weave in the yarn ends and we are finished.
Give a steam or wet blocking to see the final dimension. Everything looks great. Time to knit the next square!

Modular square knitting from the center out
Featured Posts
- How to machine knit a heart shape on an LK150
- Machine knitting a loop stitch for big texture
- Machine knitting a corner-to-corner, diagonal dishcloth
- Machine knitting a buttonhole band on an LK150
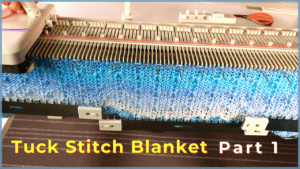
- Tuck stitch blanket on an LK150 – Part 1
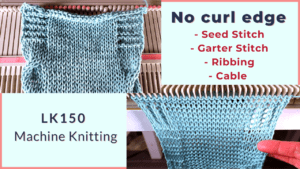
- No curl edge with seed, garter, ribbing, or cable stitches
- Full-fashioned decrease, Garter Bar increases or decreases in the middle of a row

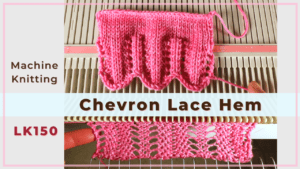
- How to machine knit a Chevron Lace Hem
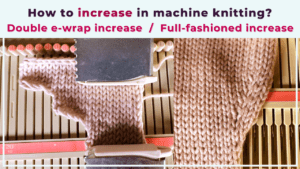
- Machine knitting increases – the full-fashioned increase and double e-wrap
- Picot hem with a scalloped edge and eyelets on an LK150 knitting machine
- The loop through loop bind-off and the sewing bind-off
- The latch tool bind-off and around the gate peg cast-off
- Transfer tool cast off and variations- Simple, No hole, and Even-tension
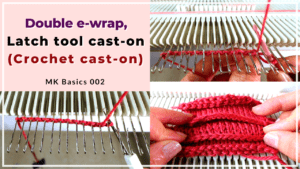
- Double e-wrap, latch tool, and crochet hook cast on
- Machine Knitting basics – Cast on with waste yarn, ravel cord, and e-wrap
