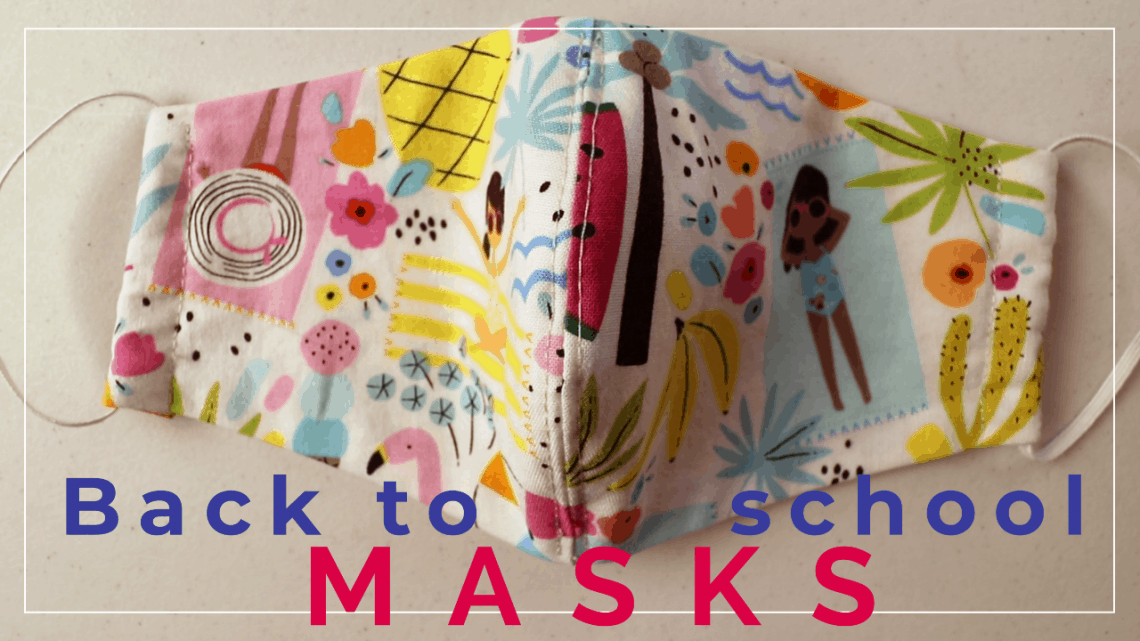
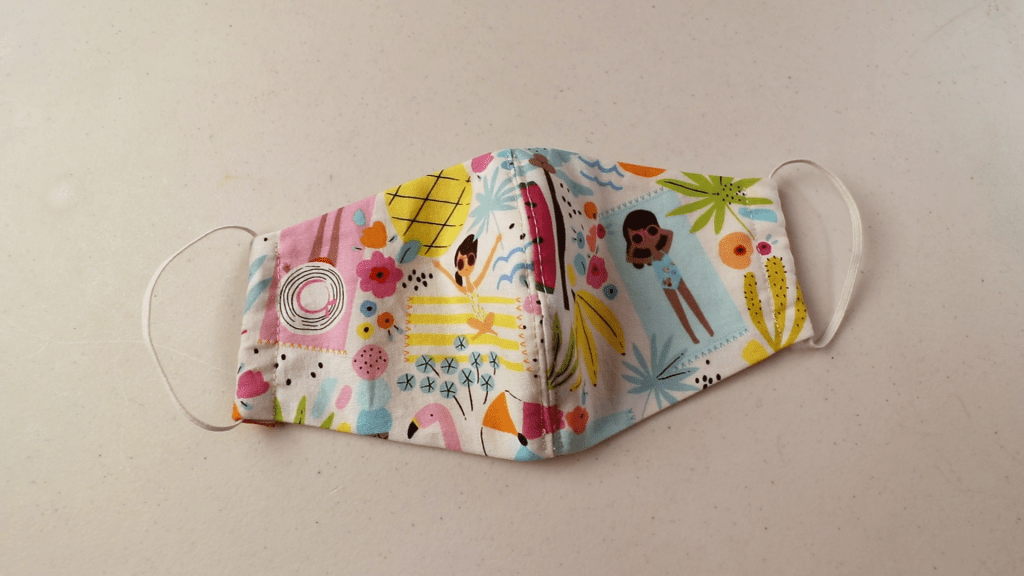
Masks for middle and elementary school kids – free pattern download
It is almost time for our kids to go back to school again. This year, we need to add masks to our supply list. A homemade mask is the best because the kids can pick the fabric, style, test the fit, and because it is made with love!
Since I have one 11-years-old going to the middle school, and a 6-year-old going to the first grade this year, I want to make comfortable masks for them. We choose remote learning for the first-grader but it never hurts to have extra masks around.
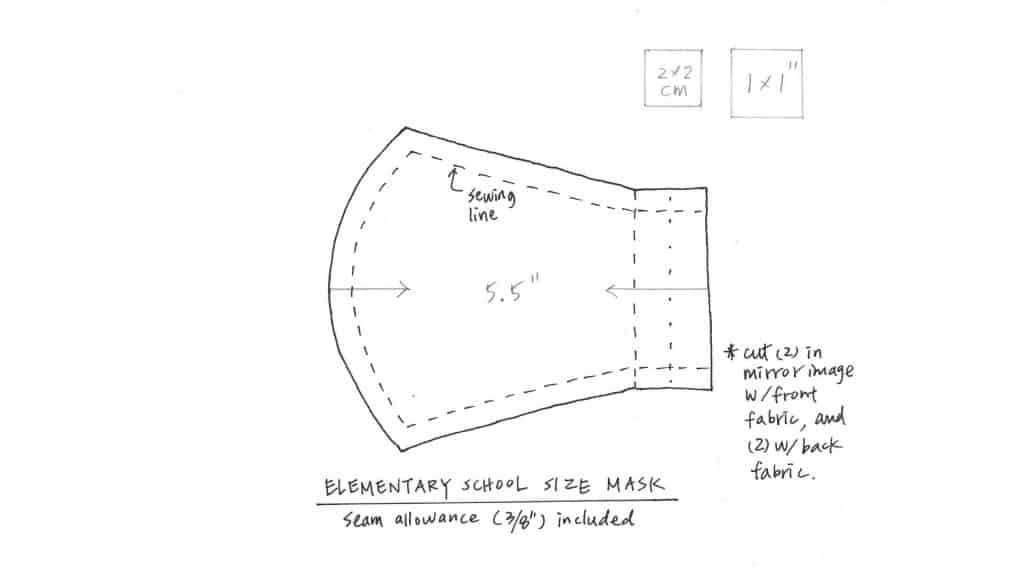
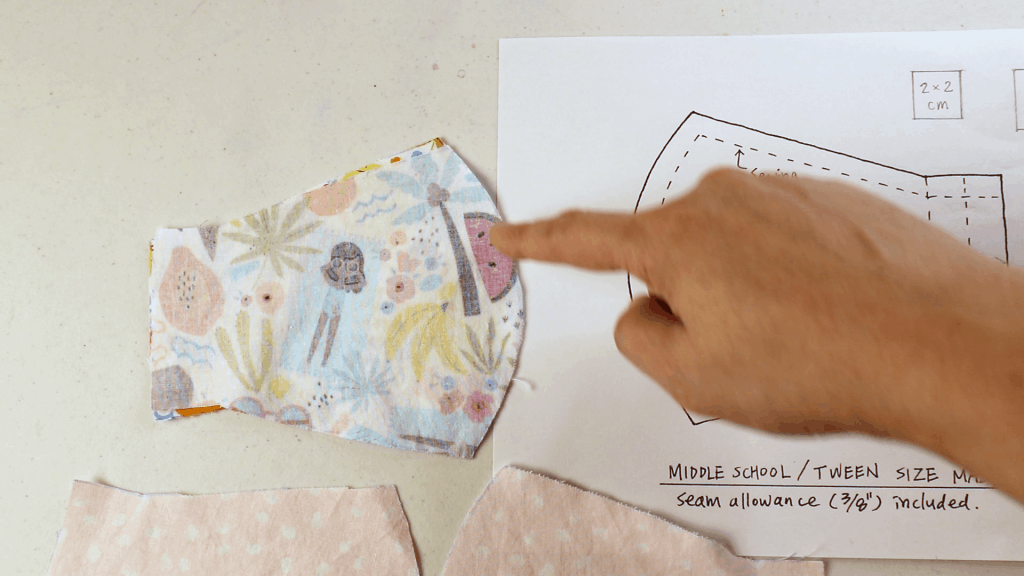
Free PDF pattern download for the middle and elementary school sizes LINK HERE.
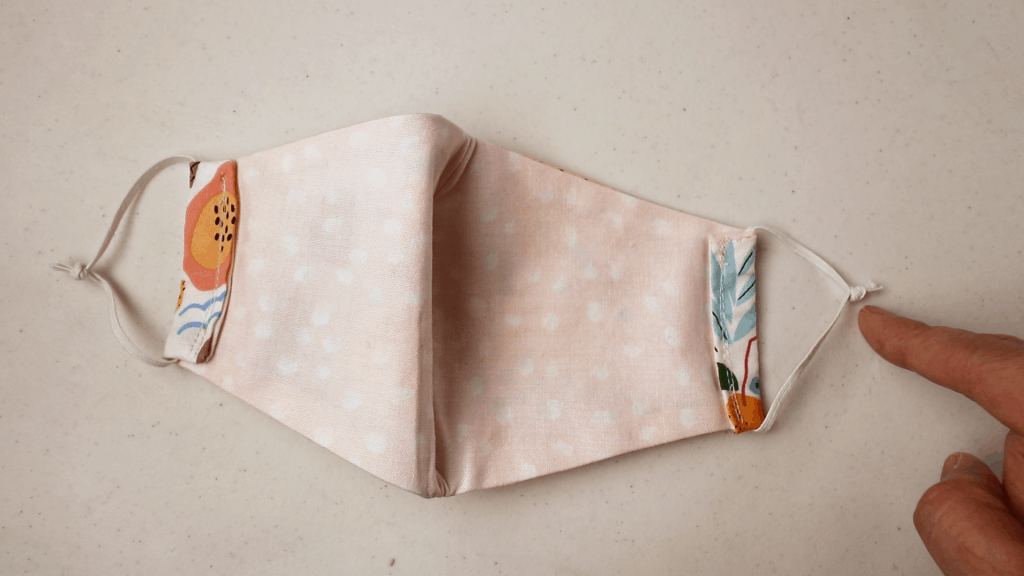
The elastic length can be adjusted by tying knots. I use (2) 8 inch long elastics for my 11 years old daughter. You can cut longer pieces and trim down later.
Watch our video tutorial for sewing masks for kids
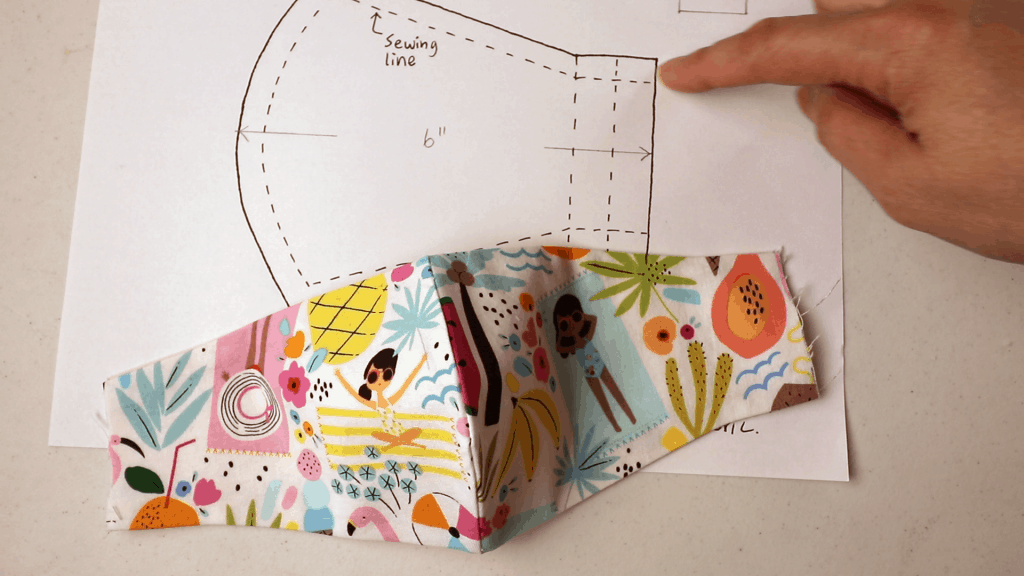
Mask patterns
Click for the PDF mask pattern download LINK HERE.
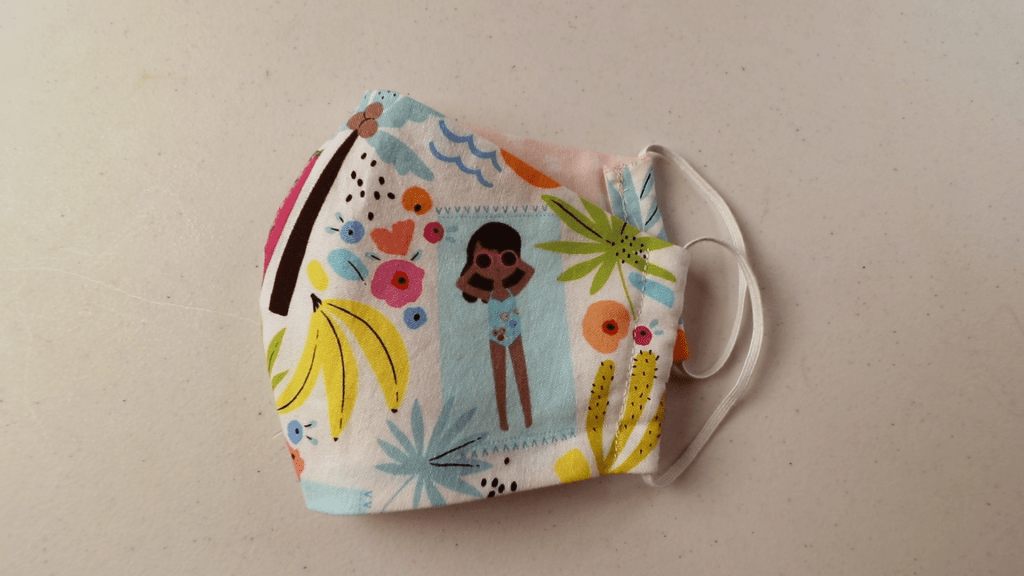
This style does not have a top or bottom side. Kids will not get confused and wear the wrong direction.
The length of the elastic can be adjusted by tying knots and trim extras. If the elastic bands wear out in the future, you can easily replace them.

Pictture Tutorial for kids mask sewing
- Cut 2 pairs of fabrics (front and back) according to the pattern. If you have patterned fabric, make sure the image is in the right direction.

2. Place the front side of the fabric facing each other and sew the curved line (3/8″ seam allowance).
3. After sewing, clip the curve so it will be easier to turn. Same on both front and back fabrics.
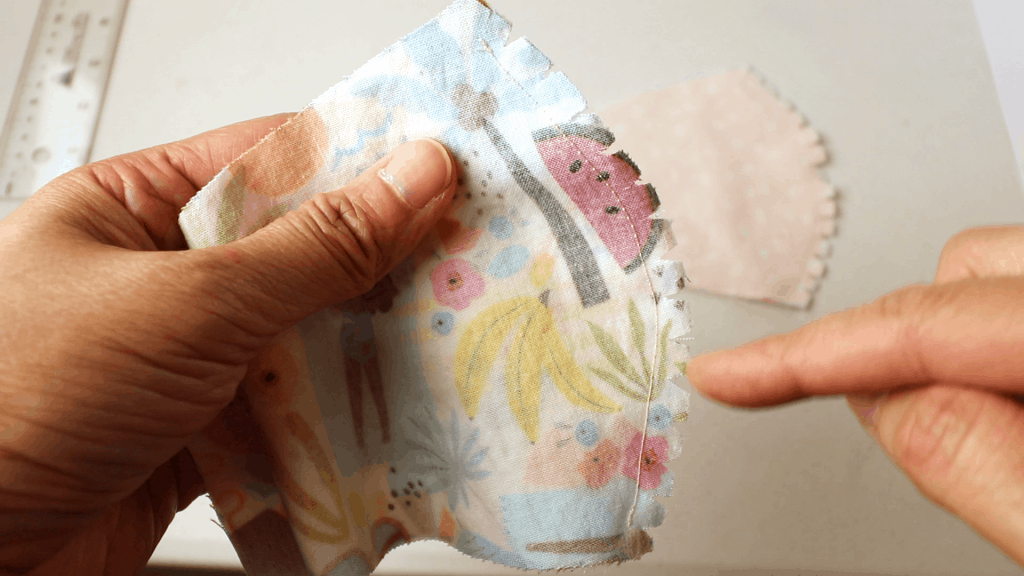
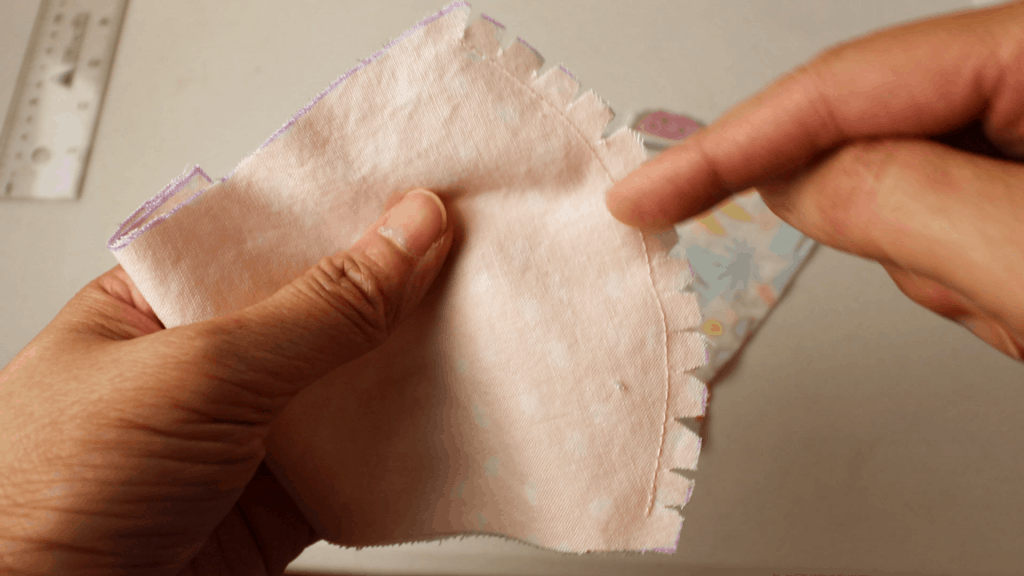
4. Turn the right side out and iron.
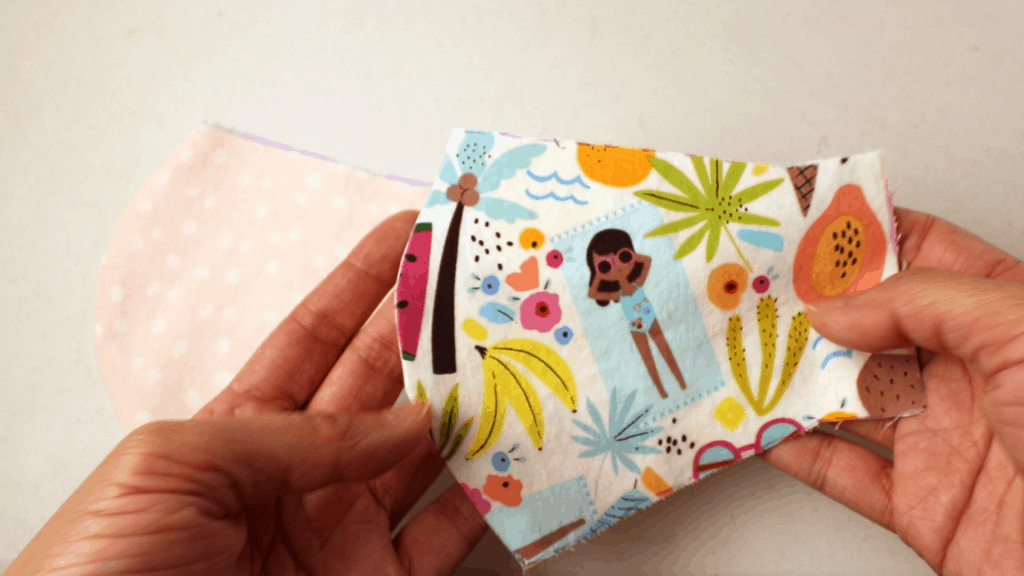

5. Place the 2 front sides together and sew the top and bottom edges (3/8″ seam allowance).

Keep the seams in the center to opposite directions so it is less bulky.
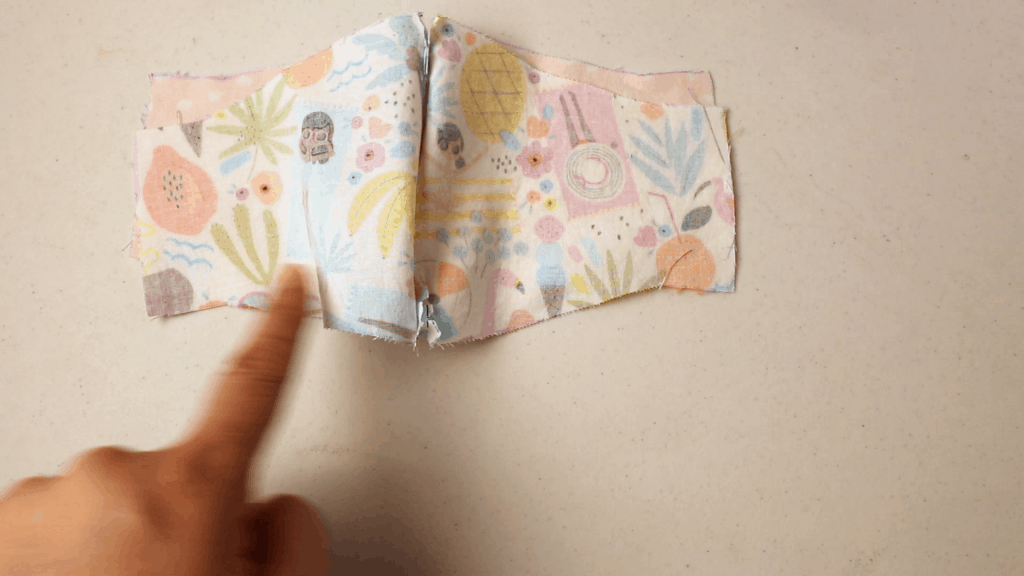
After sewing the top and bottom lines.

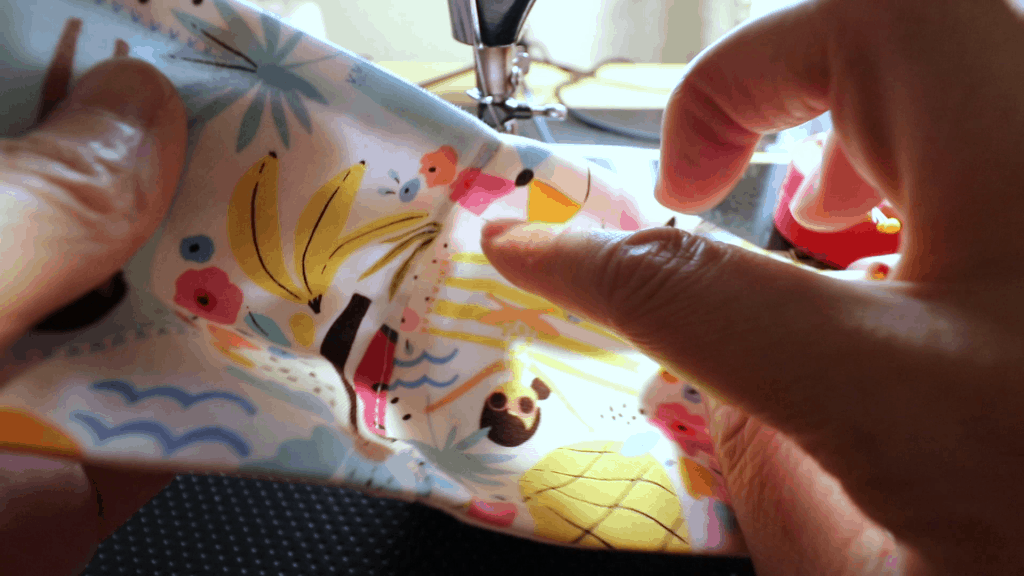
6. Turn the mask inside out and iron. We can start folding the sides in (about 1/2 inches).
7. Fold the sides in and sew to close the opening. Same on both sides.

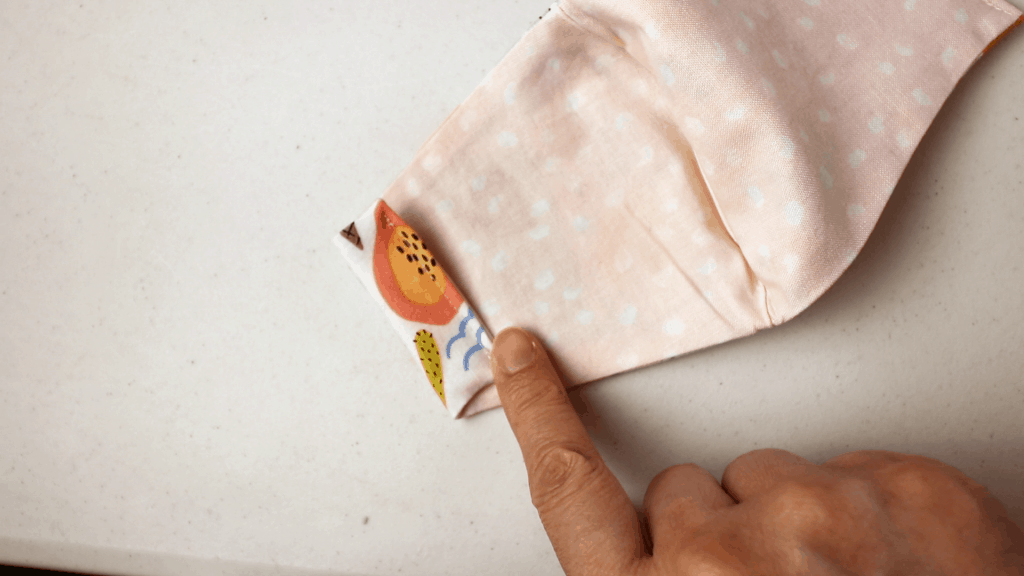
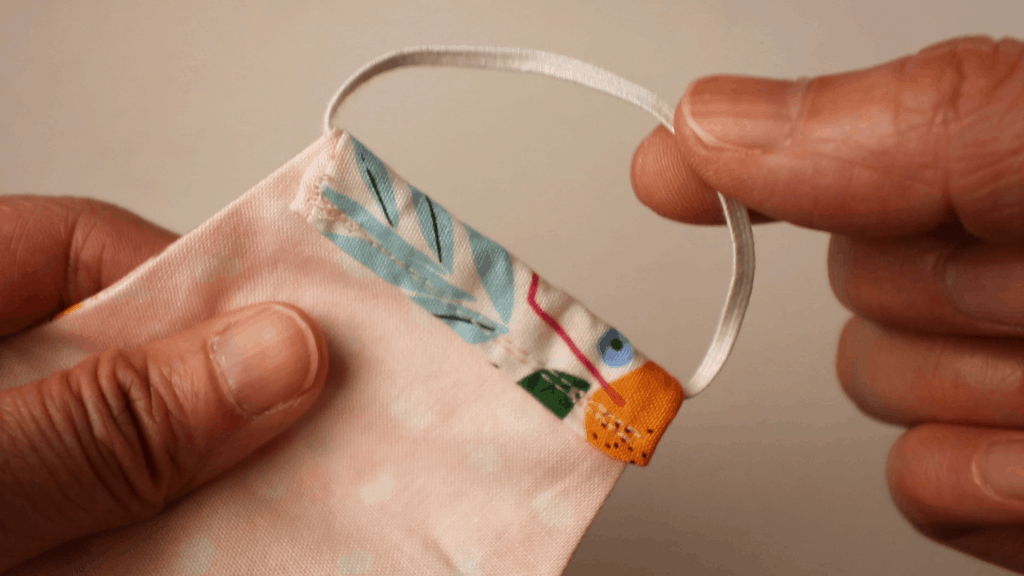
8. Fold the side edge to the back (about 1/2 inch) to create a channel for elastic.
9. Cut (2) 8-inch elastics (for my middle school girl). If not sure, you can always cut longer pieces and trim the extra later.

10. Place the elastic under the flap/channel as the picture below. Sew a line to create a channel. Same on the other side.

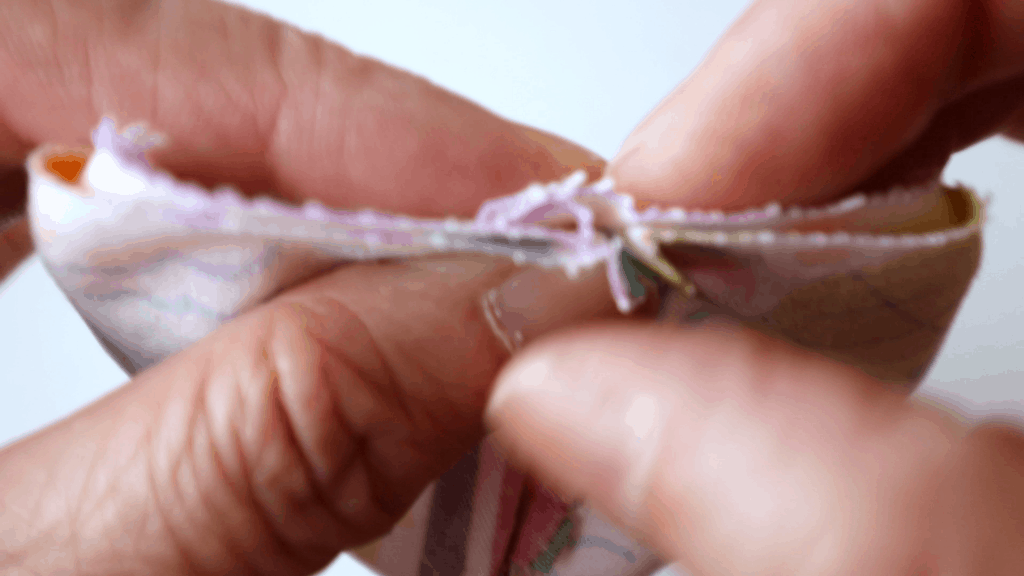
11. Tie knots and try on to adjust the fit. When it fits right, hide the knots inside the channels.
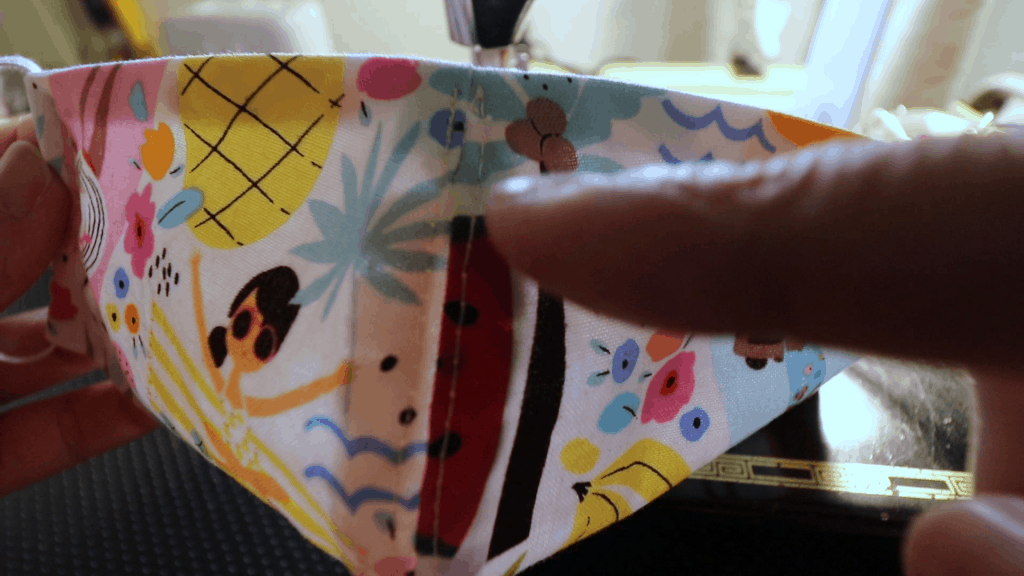
12. Sew 2 lines parallel to the center.

It is easier to keep the mask in a concave shape for sewing. Always backstitch at the beginning and the end.
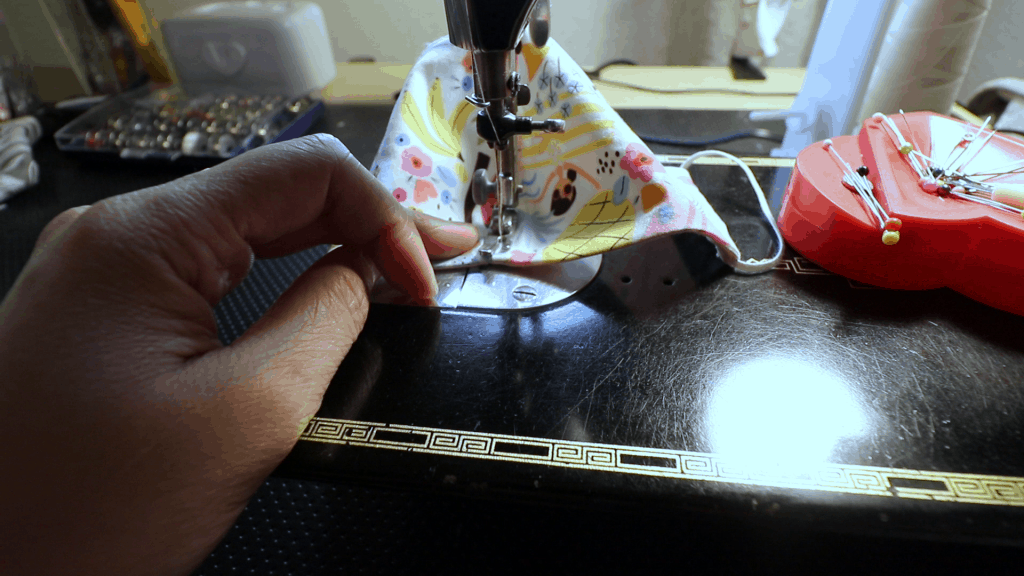
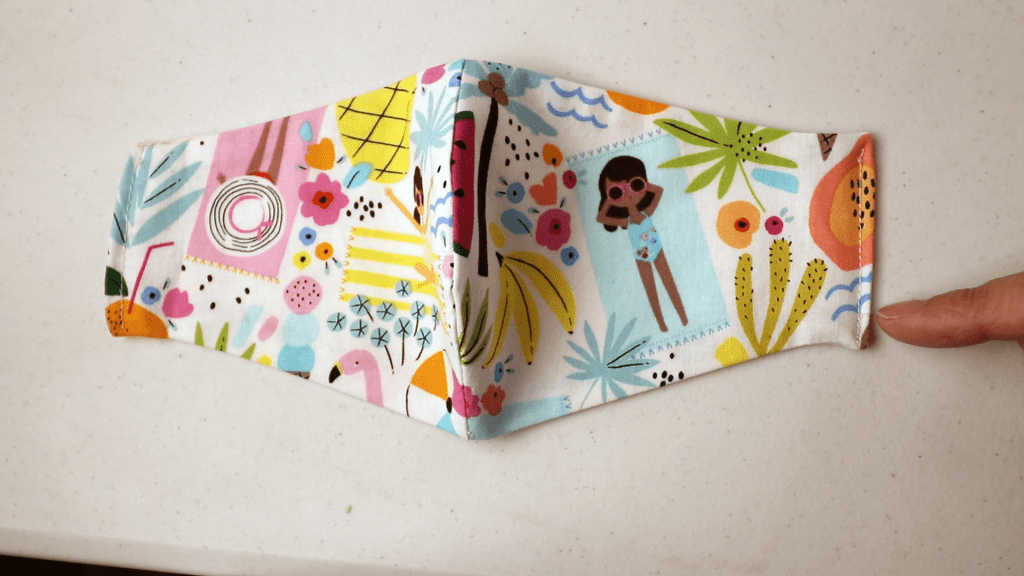
Done with the 2 parallel lines. Now the mask is finished.


You May Also Like
How to knit socks on a bulky knitting machine with a ribber

Sewing a Japanese style bento tote or lunch bag