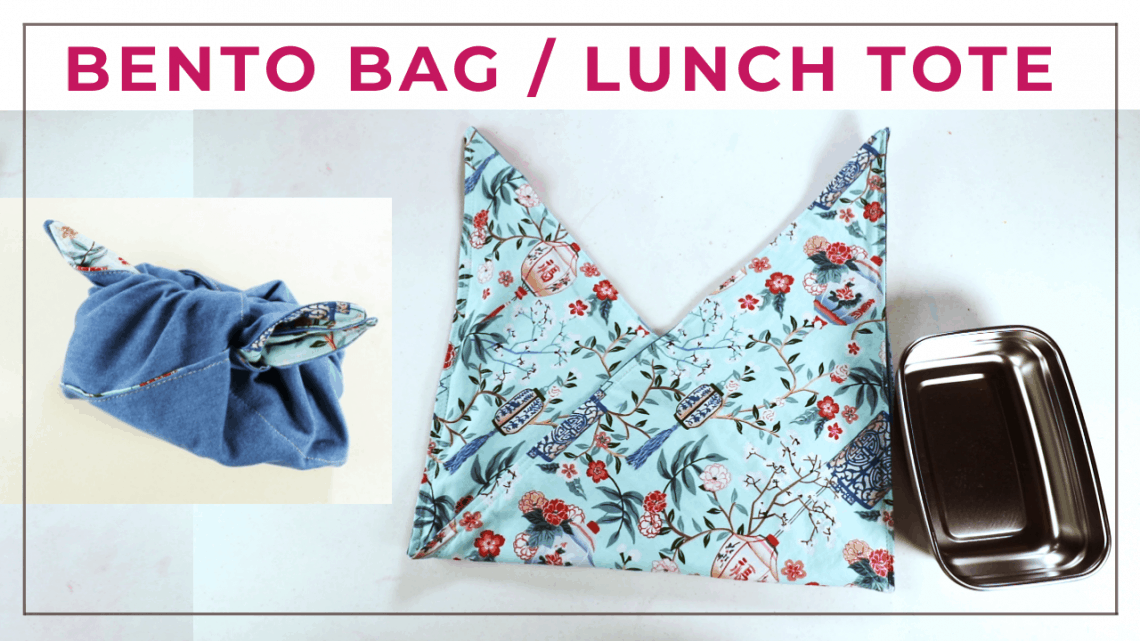
Sewing a Japanese style bento tote or lunch bag
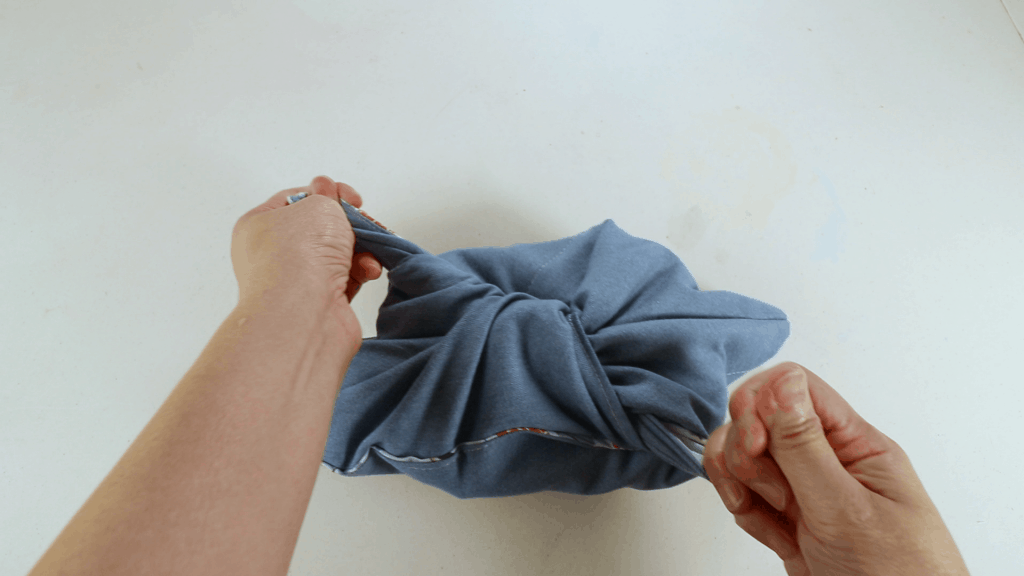
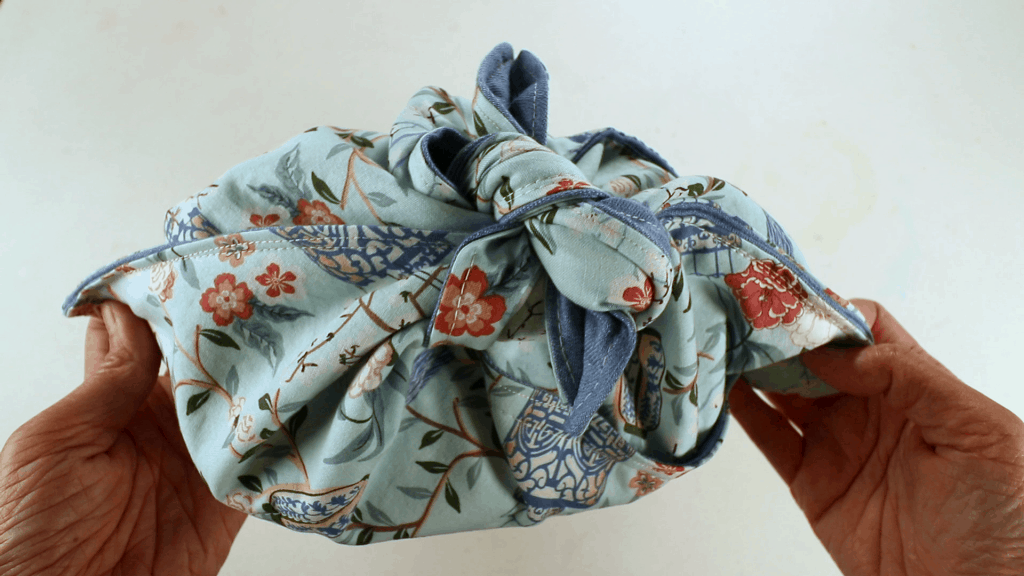
This bento bag design is simple and practical. It has 2 flaps or handles on the top. You can tie a knot and adjust the tightness so the items inside do not shift too much. When you untie the knot, the bag can be open wide for easy access. It is useful not only for the lunchbox, but any craft project or small items such as cosmetics or stationery.
This cotton bento tote can be washed and reused so it is better than disposable product. This is one way to minimize waste and support sustainable living.
Watch our video about how to sew the bento tote bag
Material and size
The traditional fabric is cotton or linen. Basic quilt cotton will work fine.
I use 2 layers (inner and exterior fabric), so I can hide the raw edges and make the bag more sturdy. It also creates some interesting contrast.
You can use just one layer of cotton. In that case, finish the raw edges after you cut the fabric into 2 triangles. See the tutorial below.
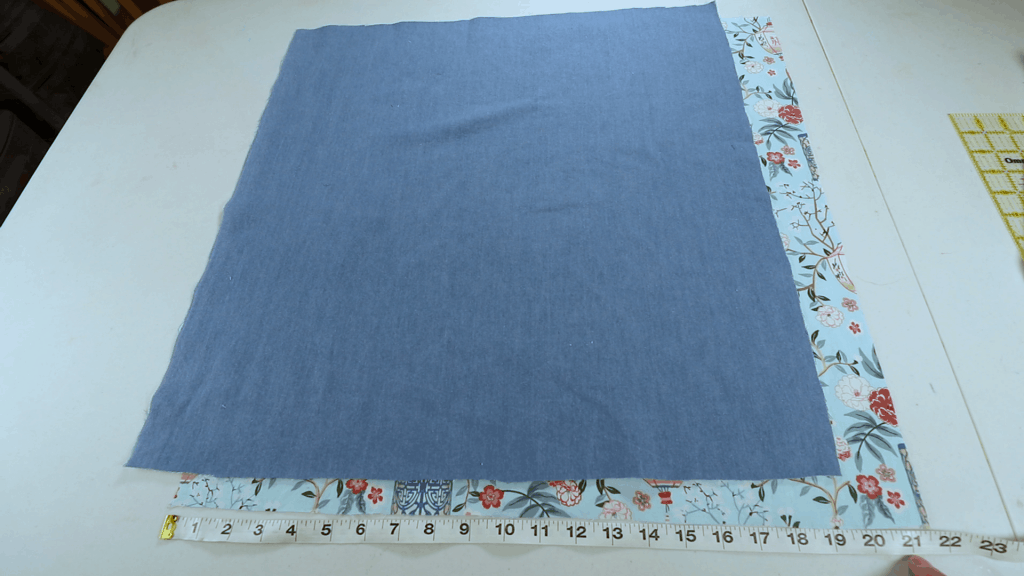
The size of the fabric depends on the size of the lunch box. I cut 21 x 21 inch (0.53 m) square for my 7 x 5 inch lunchbox.
Cut a bigger square if you want a bigger bag or smaller square for a smaller bag. It is totally up to you.
Sewing the bento bag step by step
- Cut 2 pieces of square fabric. I cut (2) 21 x 21 inches.
2. Fold in half and cut into triangles. There will be 4 triangle pieces.
- If you use one layer fabric instead of 2, finish the edges after cut the square into half. You can double fold the edges and stitch a line over the top.

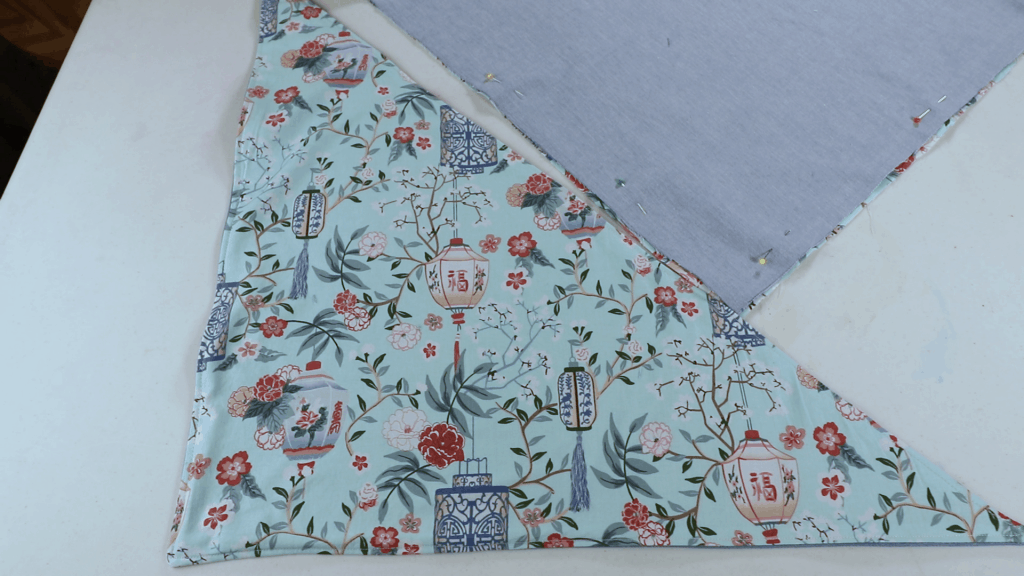
3. Place the front and back pieces together with the right side facing each other. Sew a line along the edges, leaving an opening about 2-3 inches wide.
The seam allowance can be 3/8″ (1 cm) or your choice.

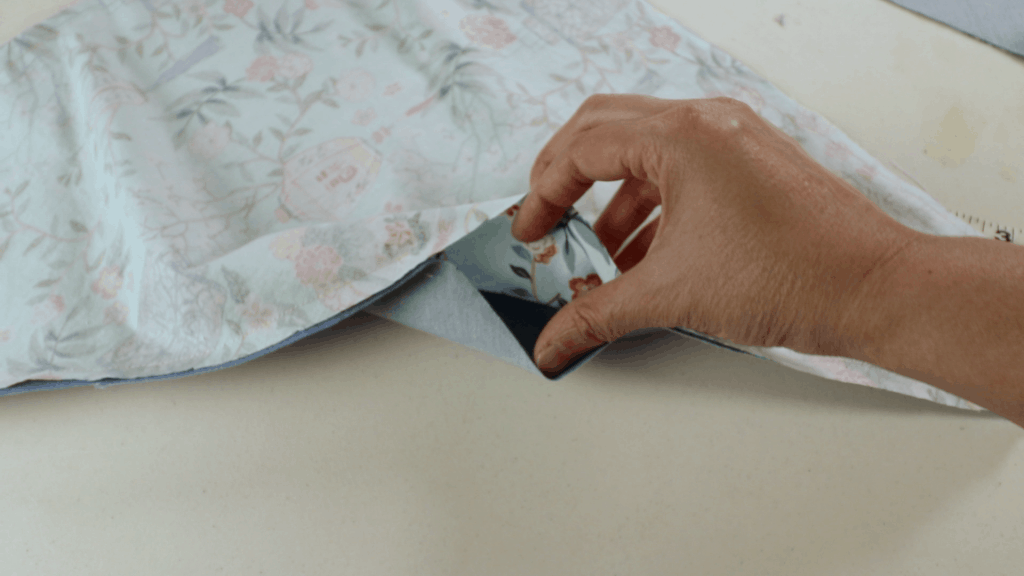
4. Cut the extra fabric around the sharp corners so it is easier to turn inside out.
5. Turn it inside out through the opening. Give an iron and sew a line along the edges to close the opening and flatten the edges.

6. Repeat the same steps on the other triangle.
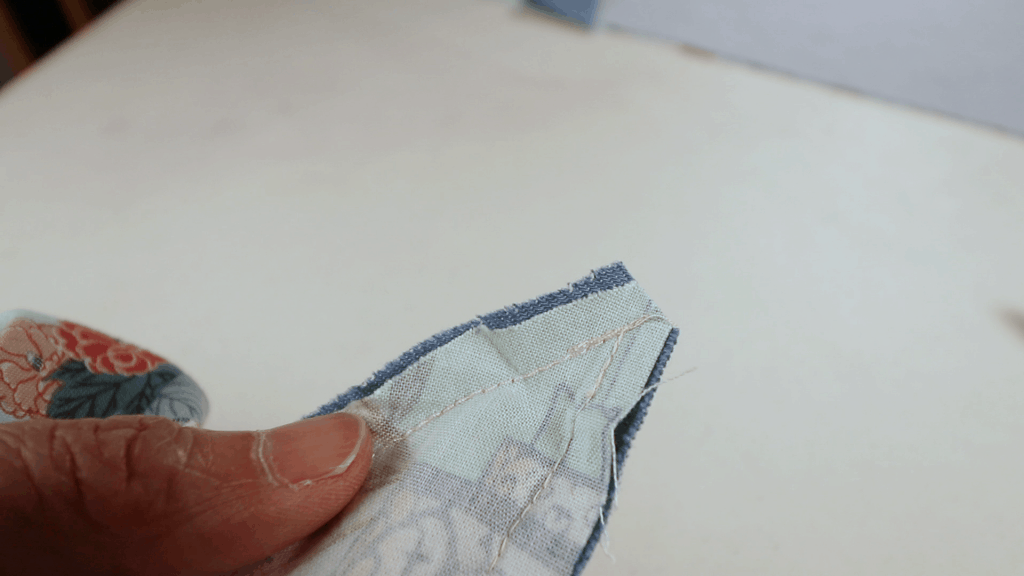
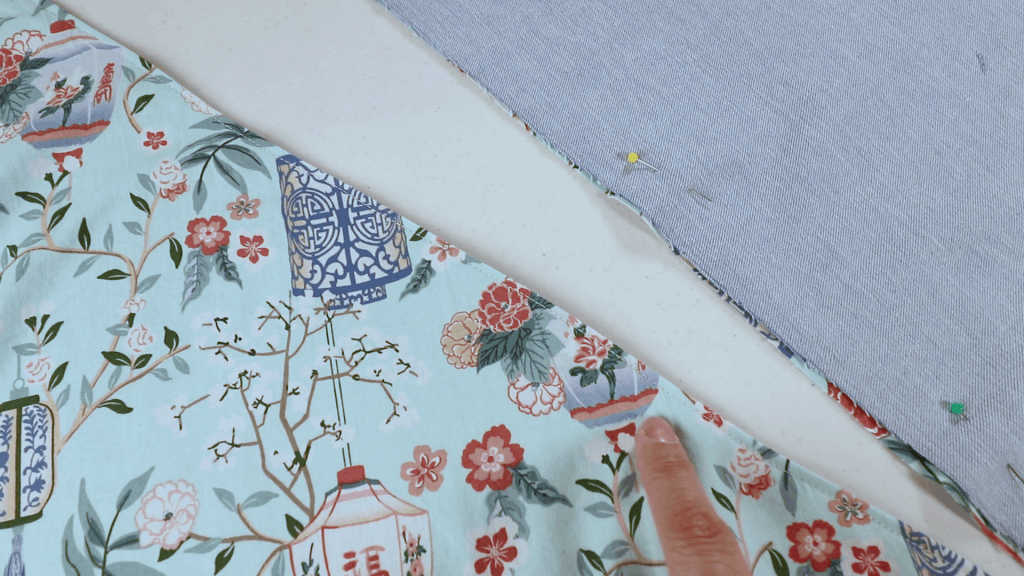
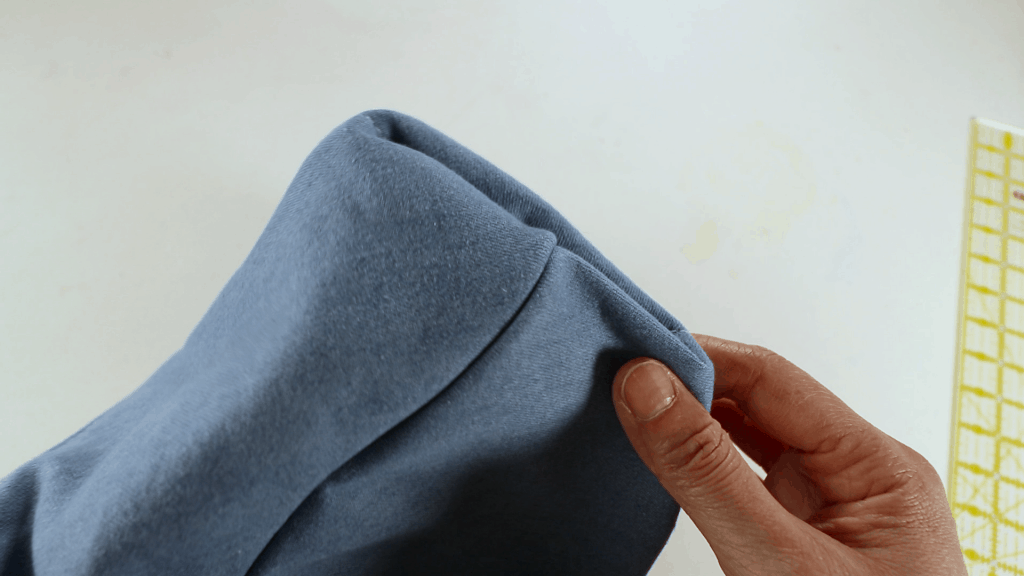
A closer view of the top stitch sewing line. I use about 1/4 inch seam allowance.
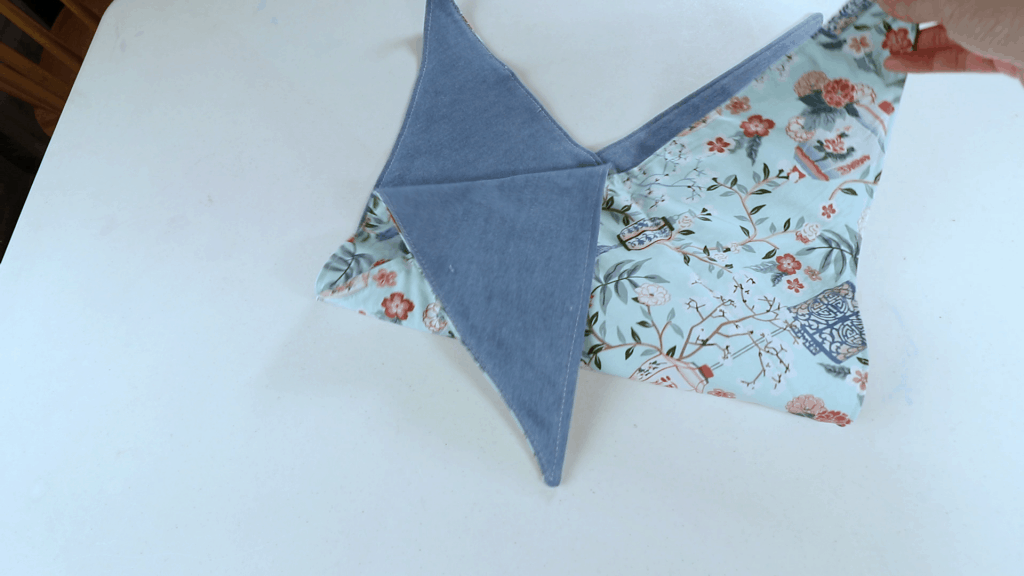
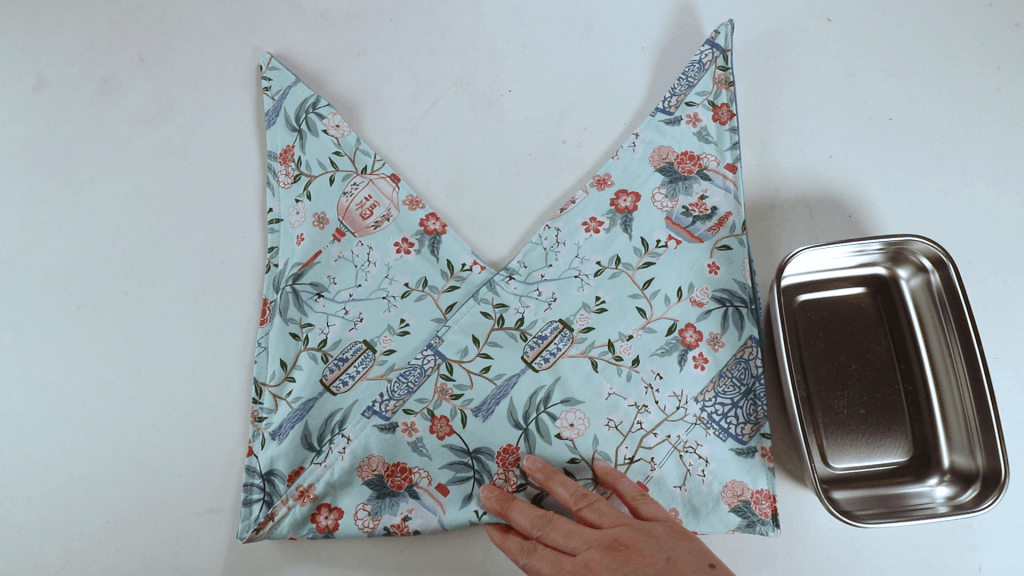
7. Place the 2 pieces as shown.
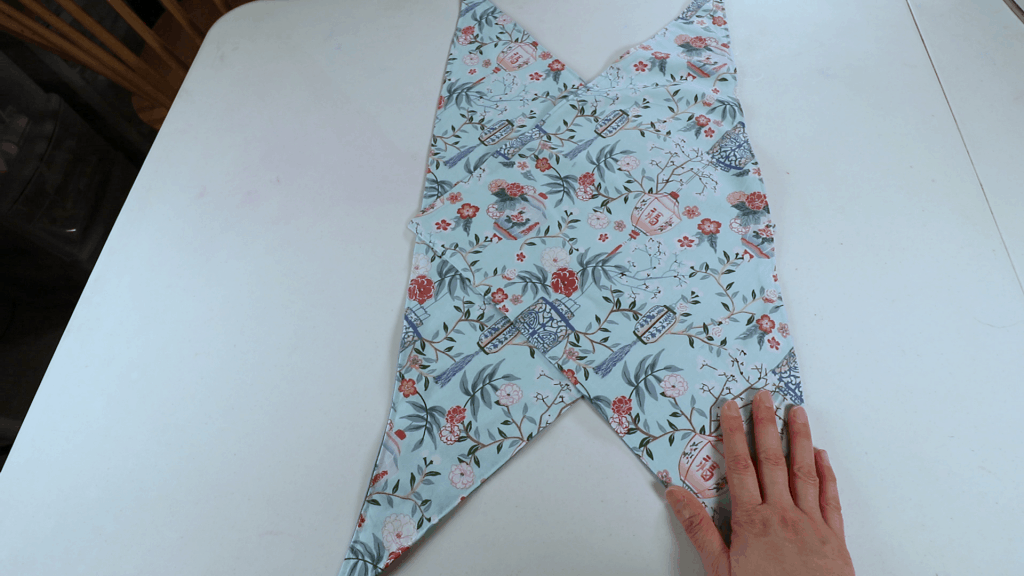
8. Sew a line near the outline of the center square (overlapped area).

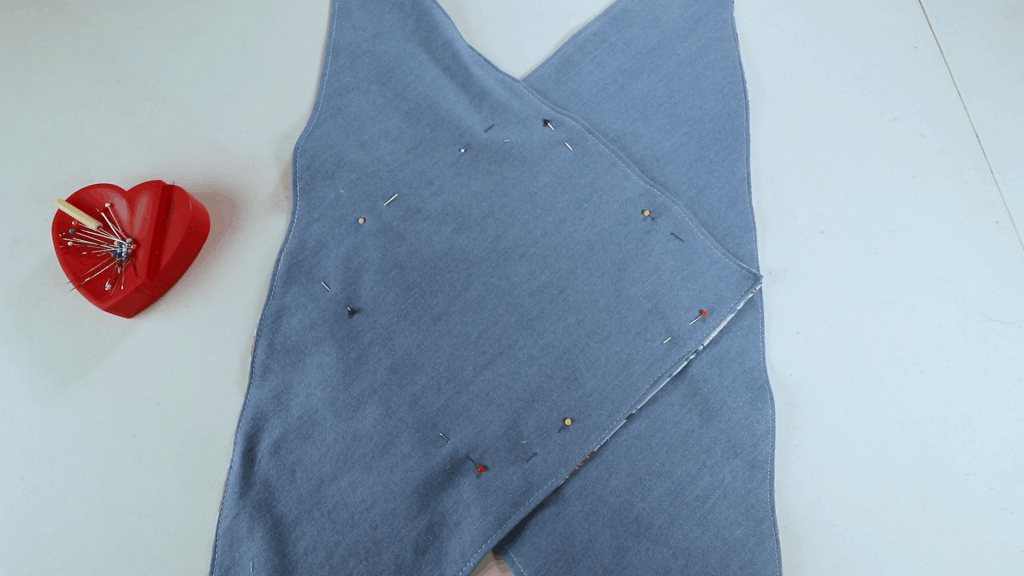

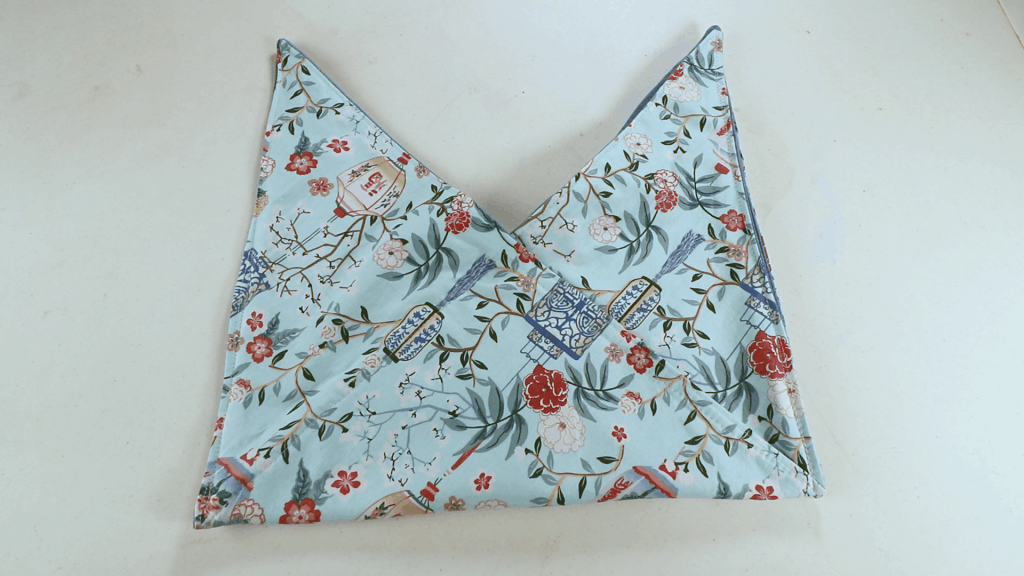
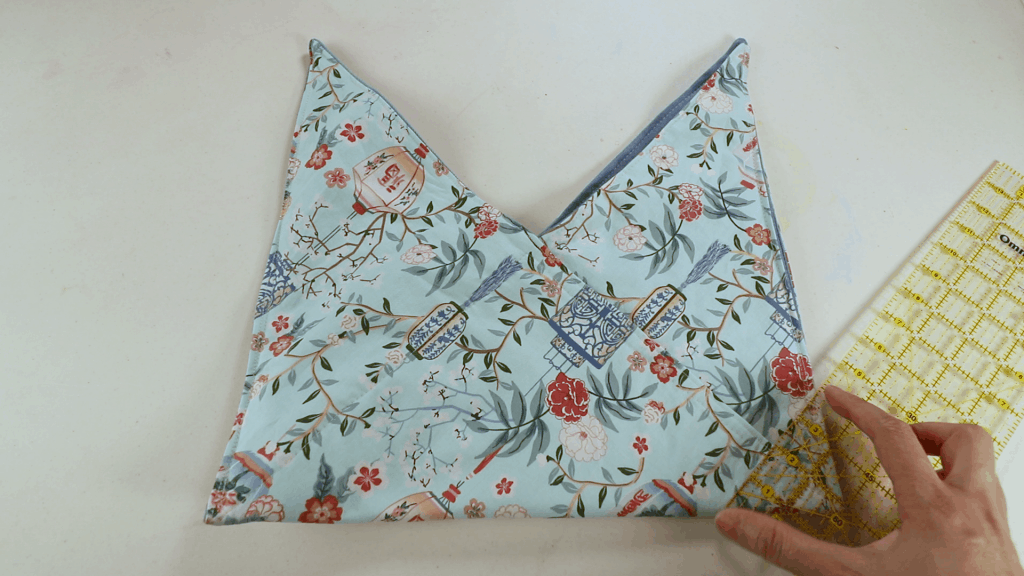
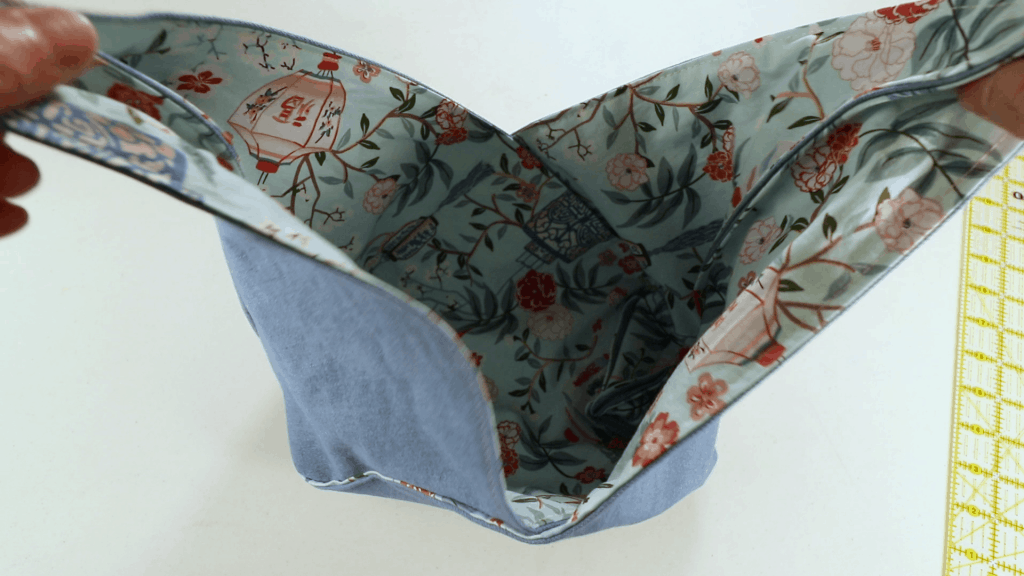
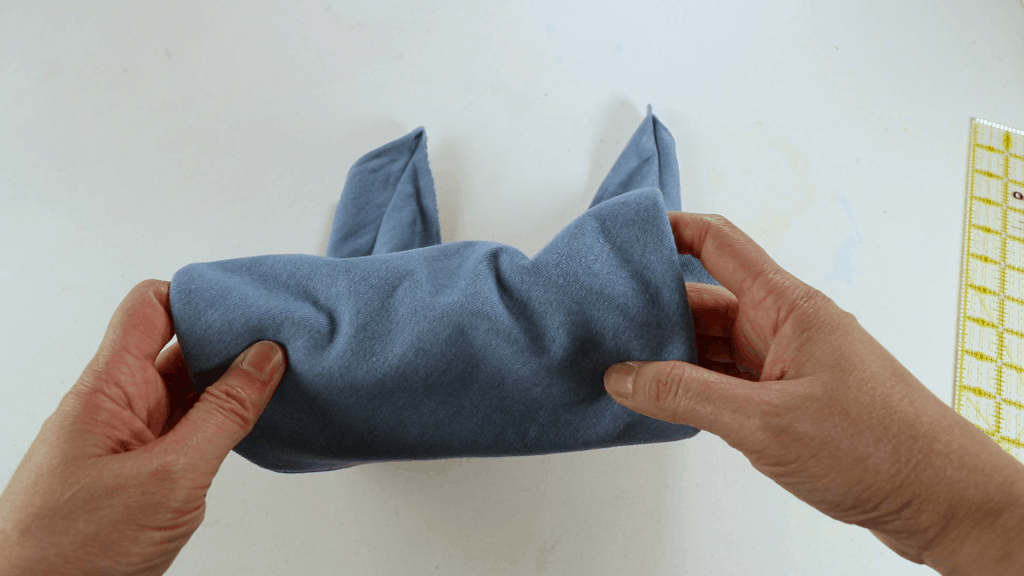
9. After sewing the center square, fold it in half as shown in the pictures below.
10. Sew a line on the right side edge, and a line on the left side.

After sewing the 2 lines, the project can be done. Or you can continue sewing the bottom corners.
Sewing bottom corners
To sew the bottom corners, simply measure about 4 inches (10 cm). Keep it 45 degrees from the bottom. Sew a diagonal line (4 inches (10 cm) wide). Repeat on the other corner.
The corner should look like that when you flip to the other side.
You can also sew it from the outside. It creates a different look.
You can see the triangle corners inside.
The corner sewing creates a flat bottom so the tote bag can kind of stand up.
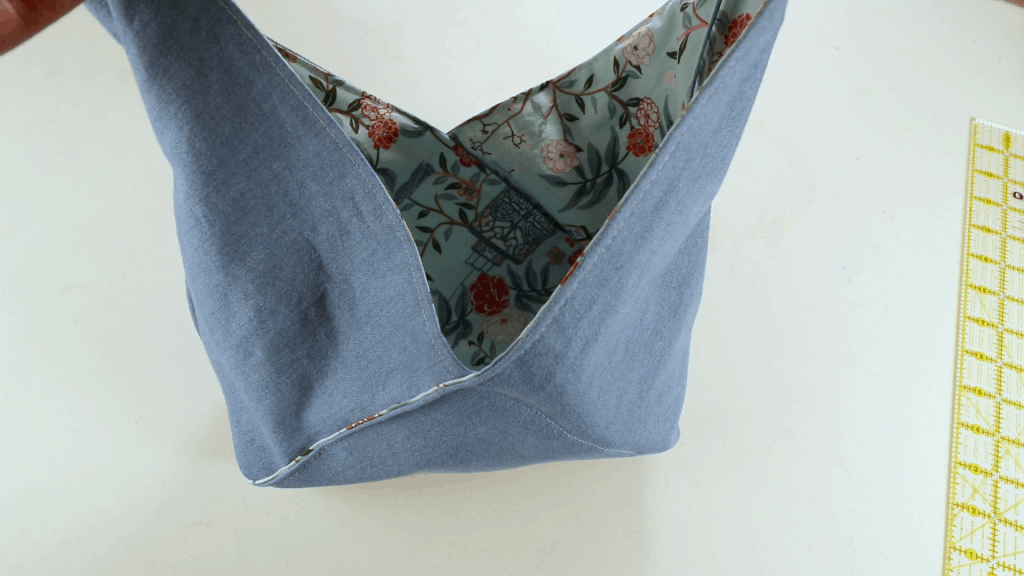
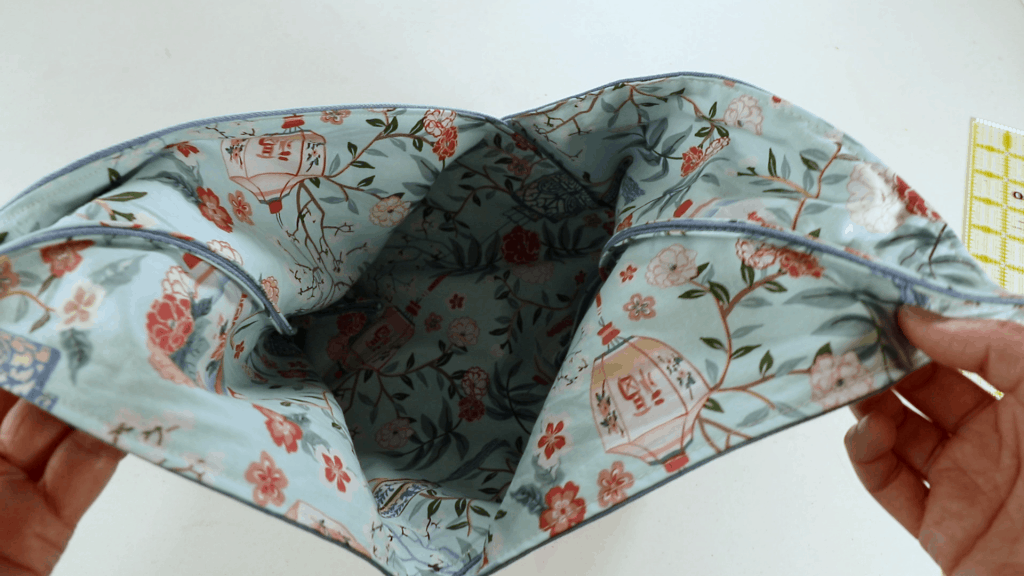
I did not sew the corners and the bag is reversible.
Happy sewing!


You May Also Like

Replacing sponge bar for LK150 and general maintenance
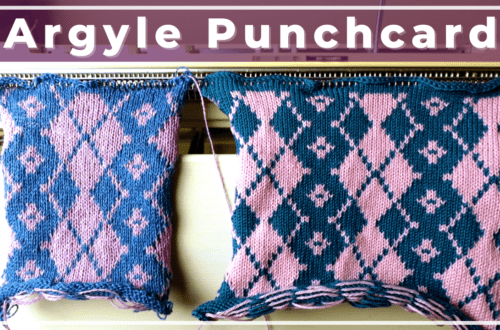
Argyle punch card knitting and free download
