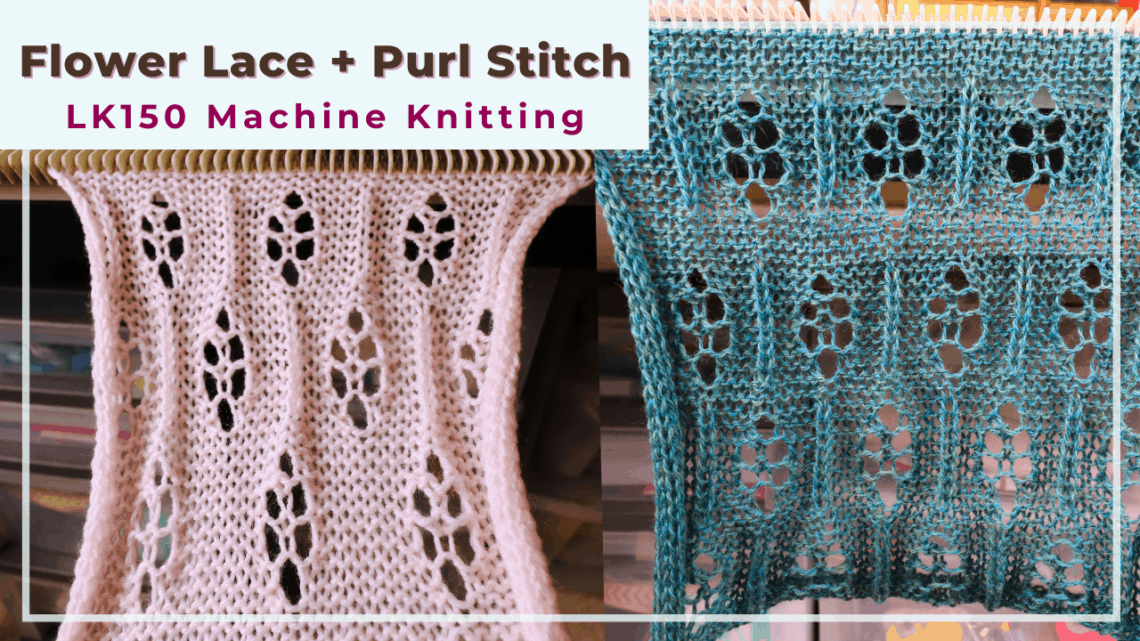
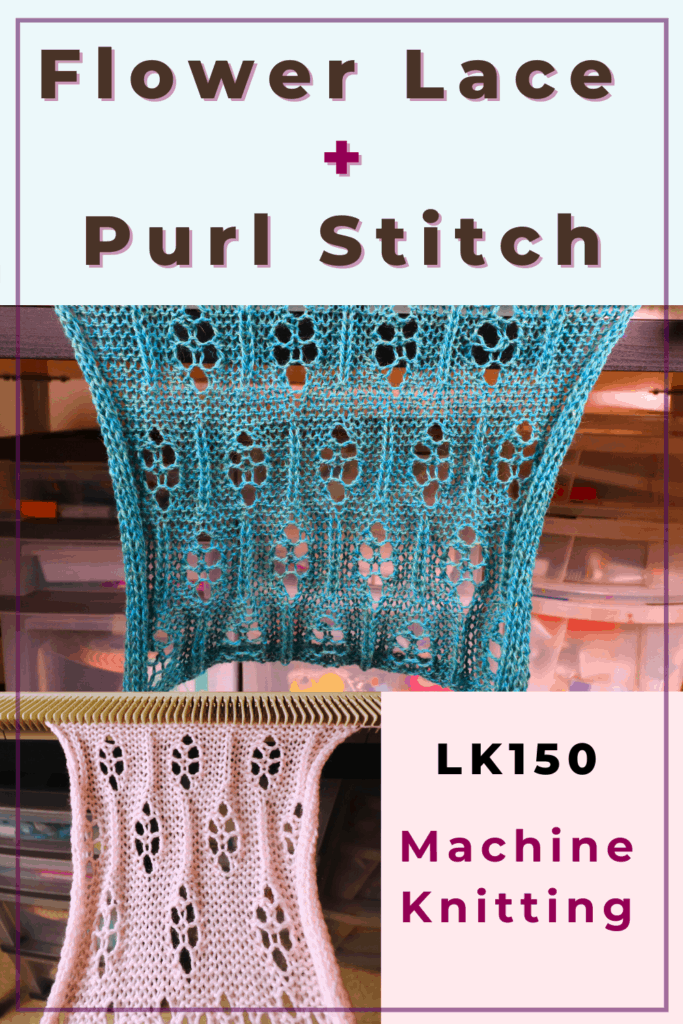
Flower lace and a reformed purl stitch on the LK150 knitting machine
Here is a simple hand-manipulated lace stitch pattern that can be done on an LK150 knitting machine. There is no need for a punch card or electronic patterning device. This lace stitch looks like flowers and stems, so I call it the flower lace stitch. Feel free to modify and change the size and spacing for a new look.
Check out my previous tutorial for a hand-manipulated “butterfly lace” on an LK150. Click here for the video link.
The video tutorial of the flower lace stitch on a knitting machine
Click the video below to CreativeTien YouTube channel for the butterfly lace stitch machine knitting tutorial.
Combining the purl stitch and lace
Since we are doing hand-manipulated stitches, why not add in some reformed purl stitches for some contrast of texture? The purl stitch is generally difficult to knit on a knitting machine even if you use a punch card or computerized design device. It is actually a very simple process of dropping stitches and latching back up when hand-manipulated. It might be a little tedious, but it goes quickly with practice.
If you want really fancy, you can reform 2 columns of purl stitches and cross them as cable stitches at regular intervals. The possibility is endless.
Setting up
Knitting machine
You can knit this stitch on any knitting machine since you do not need a ribber, punch card, or any patterning device.
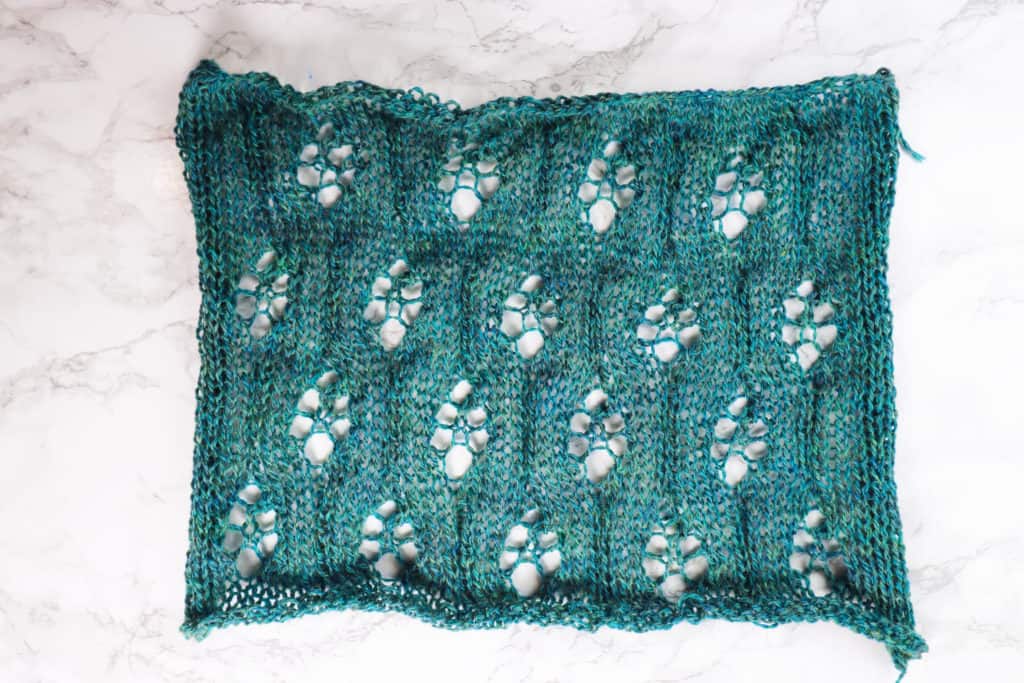
Yarn choice
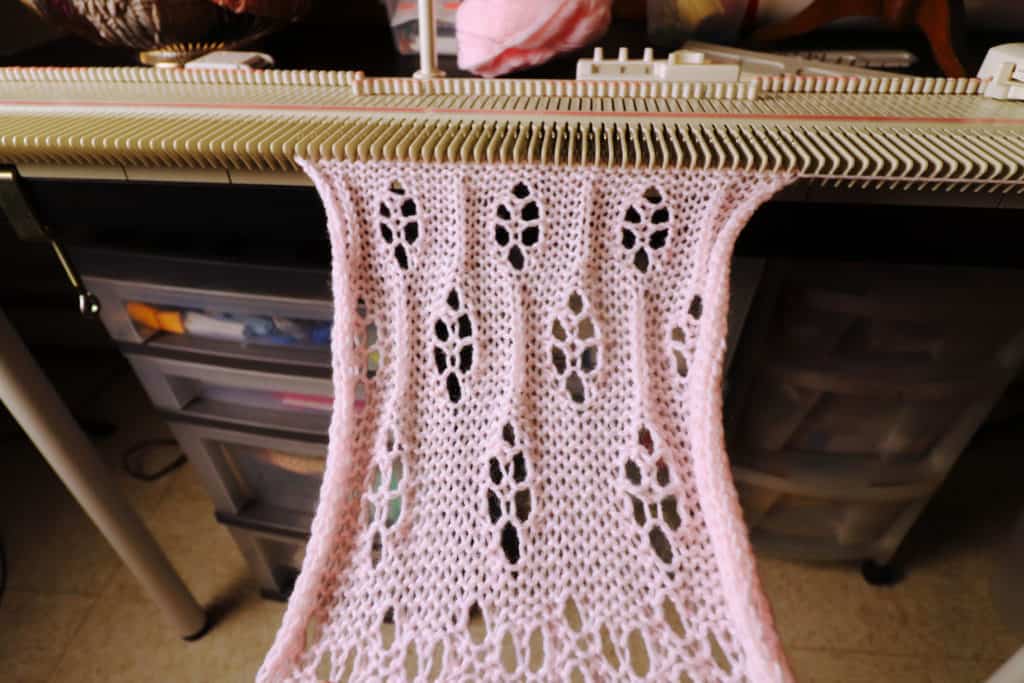
A thinner yarn tends to work better with lace, but a slightly thicker yarn creates a stronger texture contrast. The pink yarn I use is a little thicker than the green yarn which is fingering weight. They look very different even though the technique is exactly the same.
Tension
I use the highest tension (9) on my LK150 carriage, and tension 7 on the mast. Knit a sample and adjust from there since every machine is slightly different.
Knit a few rows of plain stockinette stitches
It is easier to start with a few rows of plain stockinette stitches. Later, you can experiment with starting lace in the first few rows. That tends to create a curved edge.
Cast on with your preferred method, then knit a few rows, and hang some weight. In my sample, I cast on from left 30 to right 30 stitches.
The flower lace stitch
First, decide where you want the flower lace to happen. I space them every 10 stitches, so I can easily read the stitch number on the machine. So the center of the lace flower will be on stitch 0, 10, and 20 on both left and right sides.
The purl stitch reform will be in between the flowers, so those will happen on stitches 5, 15, and 25.
The above position is for the first tier of the flower pattern. For the second tier, we are going to offset them so the position will be reversed.

First Tier
Row 1 (center bottom of the lace flower):
Transfer the stitches 0, 10, and 20 (both left and right) to the left needle. Return the needles to the B position.
Row 2-3: Knit
Row 4:
Find the center of the flower (align with the first hole below), count the second stitch from the center on both sides, and transfer one stitch out to the third stitch from the center.
Return the needles to the B position. (So they will knit back in the next row).

Row 5, 6: Knit
Row 7: Repeat Row 4
Row 8, 9: Knit
Row 10: Repeat Row 1
Row 11, 12: Knit
Now we just completed the first-tier flower lace stitch. We can start to work on the purl stitches.

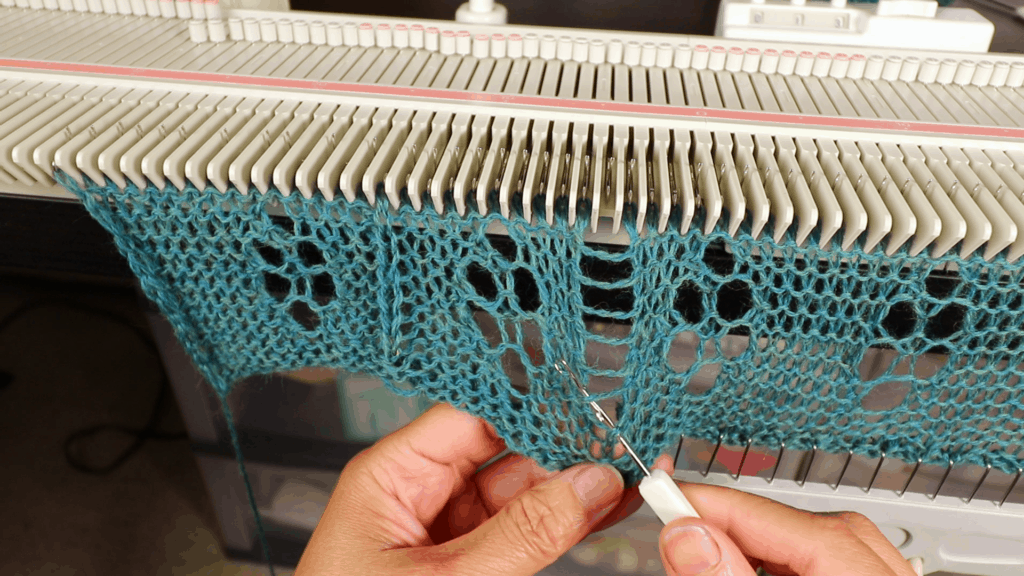
Purl stitch reform
Find the center stitch between any 2 flower stitches, drop the stitch 8 rows down (you can drop more or fewer rows).
After the first tier, the center (in between flowers) stitches include 5, 15, 25,… on both sides. After the second tier, the stitches will be 0, 10, 20,…
Use a latch tool to latch the stitches back up and hang them back to the needle. Now the purl stitch is reformed.
Tier 2 flower lace stitches
I knit 2 plain rows before starting the second-tier stitch pattern.
The second-tier flower lace is exactly like the first tier, except they are placed in between the flowers of the first tier. That means they are aligned with the purl stitches we just reformed.
After finishing the flower lace knitting for the second tier, we reform the purl stitches between the flowers again. That means the purl stitch column will align with the flower of the first tier.
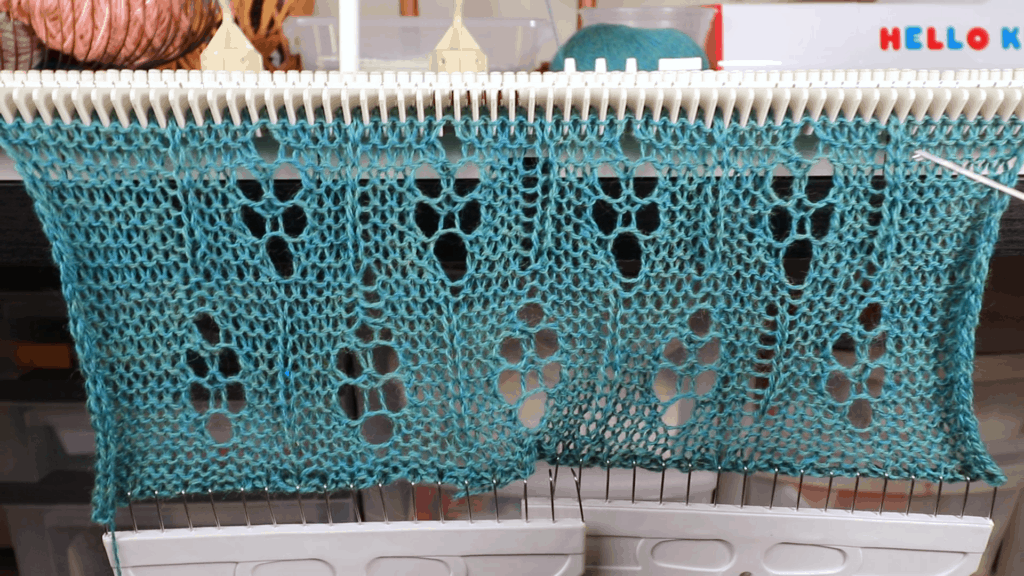
Alternating tier 1 and 2 for continuous pattern
Keep alternating tiers 1 and 2 so the pattern is offset, until the length you like. It is really not difficult, right?
To finish off, you can knit a few rows of plain knitting at the end and just bind off any method you like. Make sure it is not too tight because lace stitch has a tendency to “grow” after blocking.
You can steam block or wet block your finished piece.
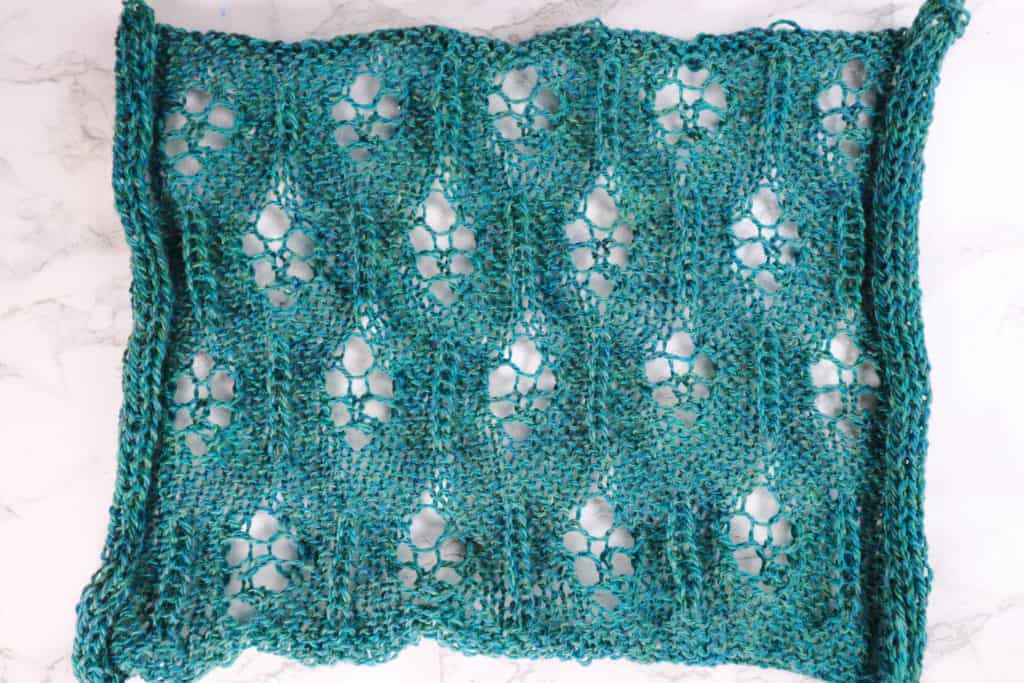
Applied use of the flower lace and purl stem stitch
You can use the stitch for a scarf, pillow, baby blanket, throw blanket, or part of your garment design.
You can seam them up for a bigger piece, add edges to prevent curling, or add a lining of a contrasting color.
Try different yarn weights and different knitting machines. Wash and block to stretch the lace pattern out, or leave it fluffy and textured.
Happy machine knitting!
Flower lace and purl stitch reform on an LK150 knitting machine
Recent Posts
- How to machine knit a heart shape on an LK150

- Machine knitting a loop stitch for big texture

- Machine knitting a corner-to-corner, diagonal dishcloth

- Machine knitting a buttonhole band on an LK150

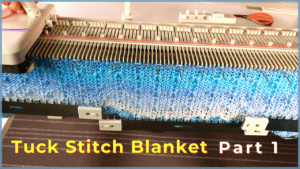
- Tuck stitch blanket on an LK150 – Part 1
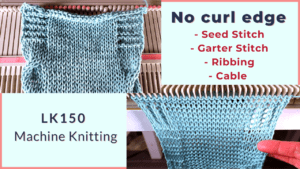
- No curl edge with seed, garter, ribbing, or cable stitches
- Full-fashioned decrease, Garter Bar increases or decreases in the middle of a row

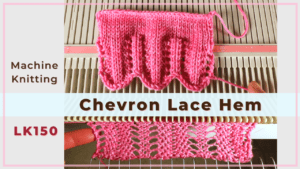
- How to machine knit a Chevron Lace Hem
- Machine knitting increases – the full-fashioned increase and double e-wrap

- Picot hem with a scalloped edge and eyelets on an LK150 knitting machine

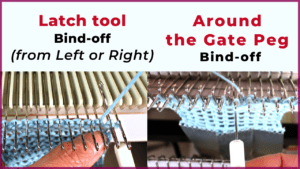
- The loop through loop bind-off and the sewing bind-off

- The latch tool bind-off and around the gate peg cast-off


You May Also Like
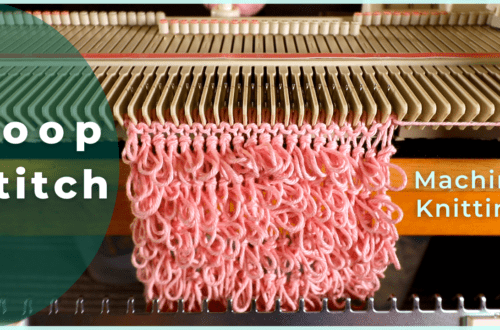
Machine knitting a loop stitch for big texture
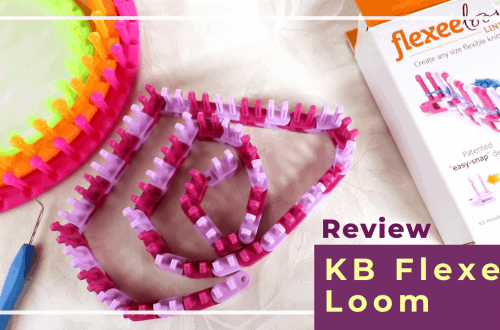
Review of the KB Flexee loom — a flexible knitting loom for various sizes and shapes