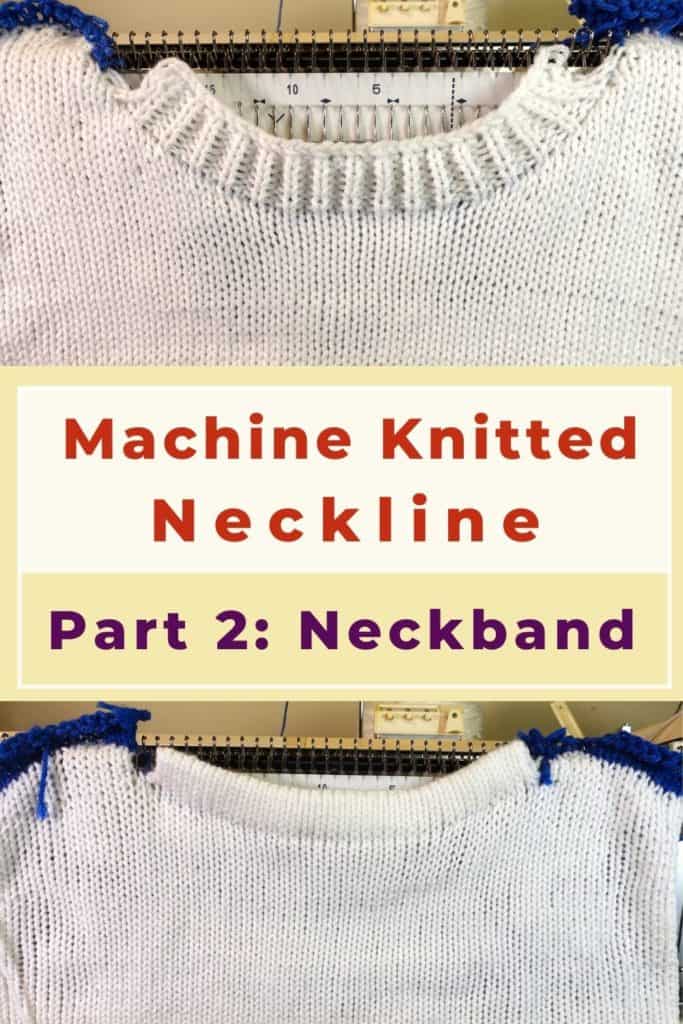
Machine knitting neckline — Part 2: fold over and ribbed neckbands

After knitting the neck shaping and shoulder decrease, we can continue to machine knit the neckband of the sweater. There are many ways to knit the neckband on a knitting machine or by hand-knitting. We are focusing on two common types in this article.
The first type is a fold-over neckband. It can be done with plain stockinette stitches or ribbing stitches. The second type is a neckband with ribbing. You can use a knitting machine with a ribber, or hand manipulates to reform the purl stitches.
Here is the post link to the part 1 of the machine knitted neckline shaping: https://creativetien.com/how-to-machine-knit-a-sweater-neckline-part-1/
Watch the video for part 2, machine knit the neckbands
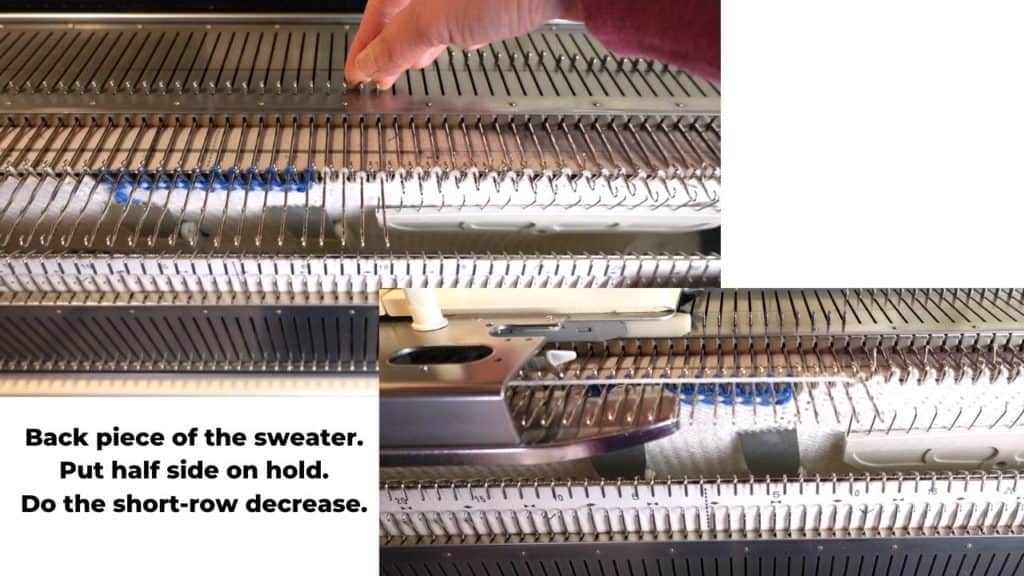
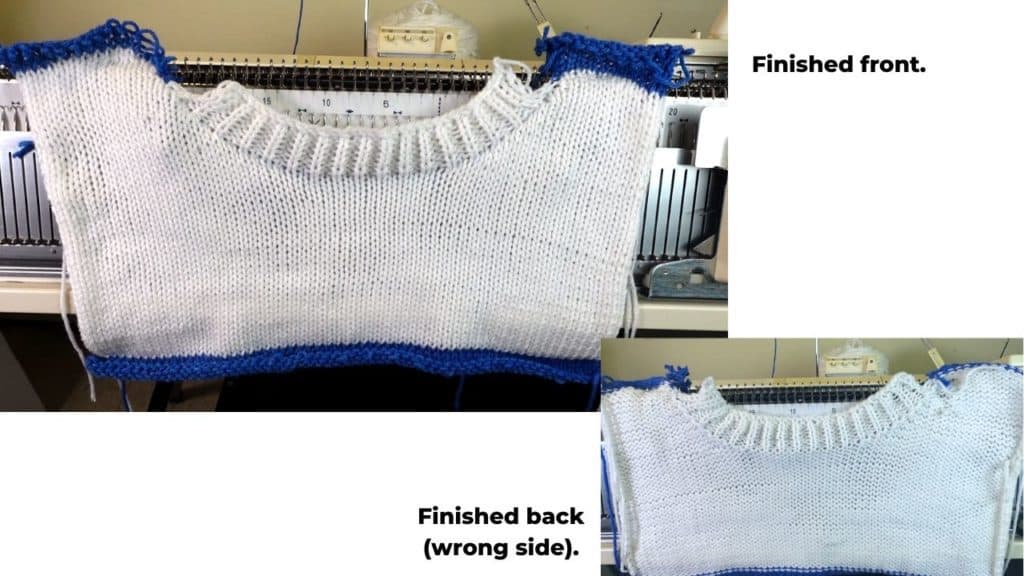
The back panel of the sweater

The chart above is the back panel of the sweater to match the front panel from the Part 1 post. It is basically the same as the front except the neckline is less deep. You can revise the chart any way you like to fit your preference.
I use the back piece for the fold-over neckband with plain stockinette stitch, and the front panel (from the last post) to knit the ribbing neckband.
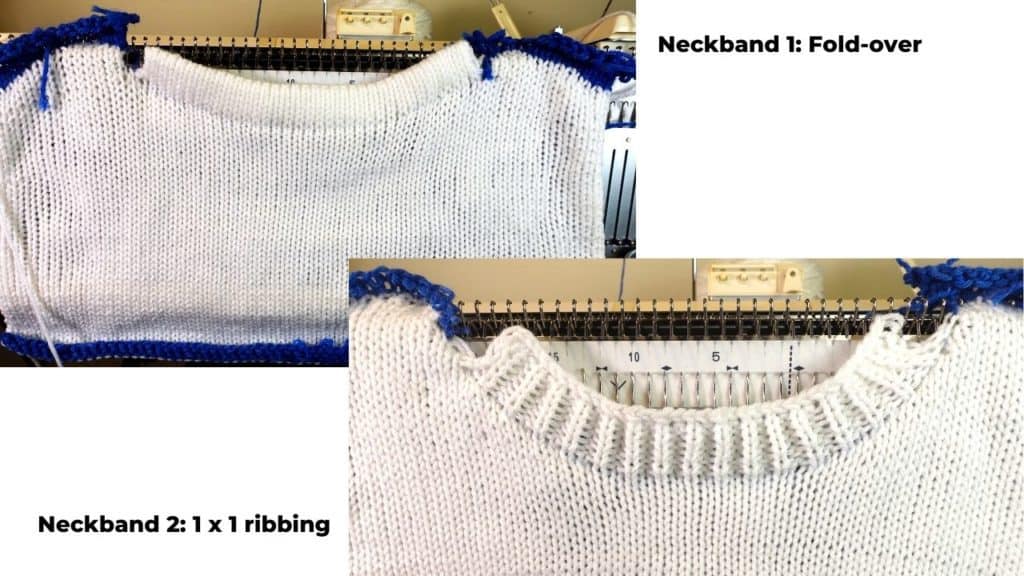
Two basic neckband types
The left image below shows the fold-over neckband and the right image below shows the neckband with 1 × 1 ribbing.
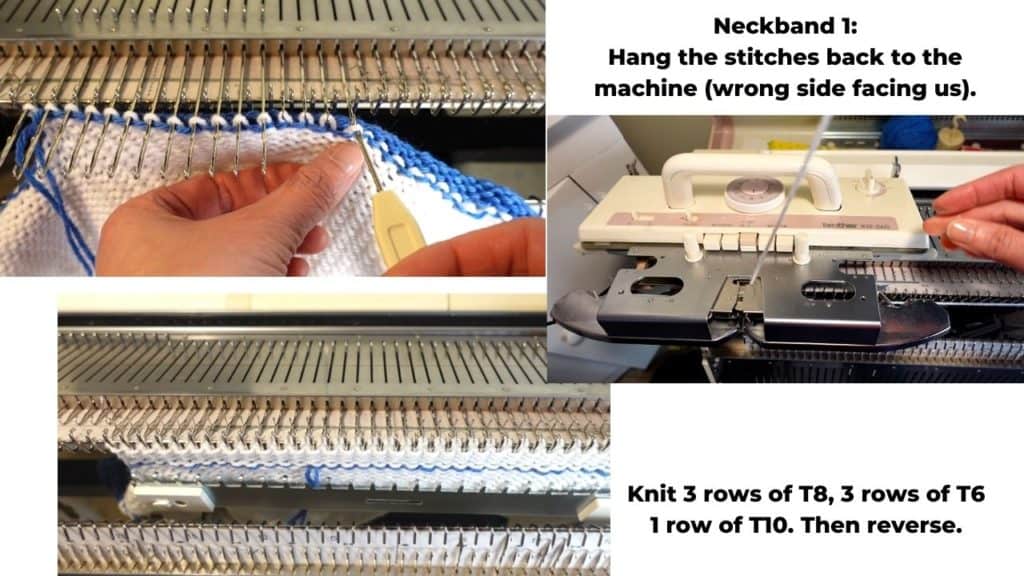
How to knit a fold-over neckband
First, we hang the knitted piece back to the machine with the wrong side of the garment facing us. It is easier to pick up the center stitches first because there is no shaping there. Hang all the neck stitches back. Don’t hang the shoulder stitches on each end. Add weight to the shoulder stitches, so they do not interfere when during knitting.
If the sweater is for little kids, you can seam one shoulder first and knit both front and back neckline together. Adult size sweater tends to be too big to fit this way on a machine.
Tension
We will gradually reduce the tension from the base of the neckline to the turning row, then reverse the tension and gradually increase the tension.
You can decide how to decrease the tension and how many rows to knit the neckband. My main tension is 9, so I start with tension 8 for 3 rows, change to tension 6, knit 3 rows. For the turning row, just increase the tension and knit one row. I use tension 9 for this row. This row makes folding over the neckband easier.
Then we can start decrease in the reverse order. Knit 3 rows of tension 6, then 3 rows of tension 8.

After knitting all the neckband rows, we can pick up the stitches on the waste yarn (base of the neckband), and hang them to the working needles. It is easier to start from the center out.
After hanging back to the needle, there should be 2 stitches on each needle.

Binding off
You can bind off in different ways. Just make sure it will be stretchy enough so the head can go through. Many people like to knit a looser row and bind off on the machine. Or, you can knit a few rows of waste yarn, take off the machine, and hand-knit to bind off.
One of my favorite stretchy bind off is the sewing bind-off (sewn bind-off). Cut a yarn tail about 3 times the width of the working needles. Thread through a yarn needle.
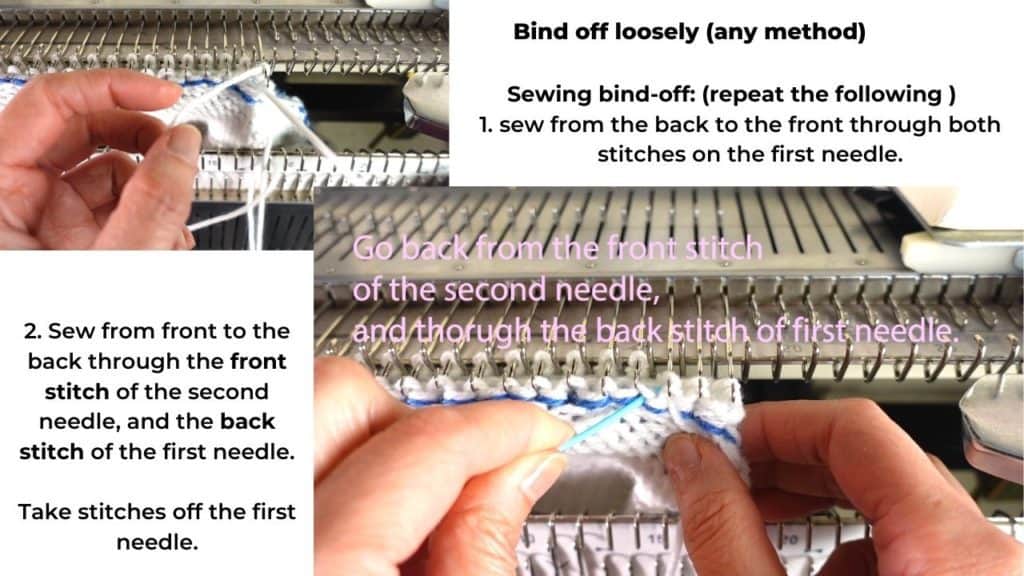
To do the sewn bind-off, every stitch (except the first and last needle stitches) should be worked twice before taking off the needle. Here is the 2 steps repeat:
Step 1: Sew from the back to the front on the first needle (through 2 stitches).
Step 2: sew from the front to the back of the “front stitch on the second needle”, then continue through “the back stitch of the first needle”. Now the stitches on the first needle are done. You can take them off the machine.
Continue repeating these 2 steps until the end.

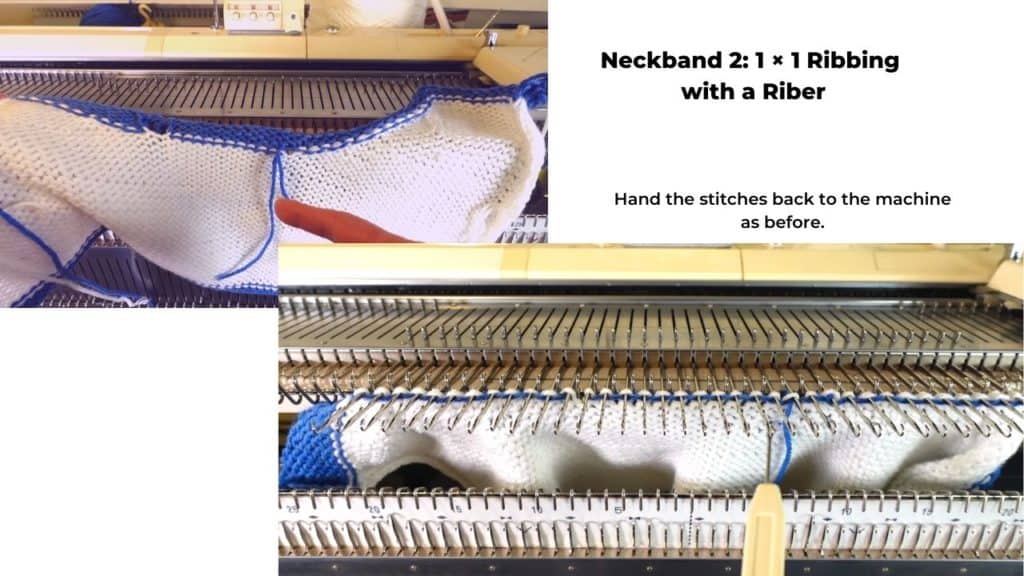
How to knit 1 × 1 ribbing neckband with a Ribber
The first step is the same as the fold-over neckband. Place the live neck stitches back to the machine. Do not hang the shoulder stitches. Place weight on the shoulder stitches.
We are setting up the ribber for ribbing on my Brother 260 bulky knitting machine. Set the pitch to P3 for full pitch.\
Change the connection arm and connect to the ribber carriage.

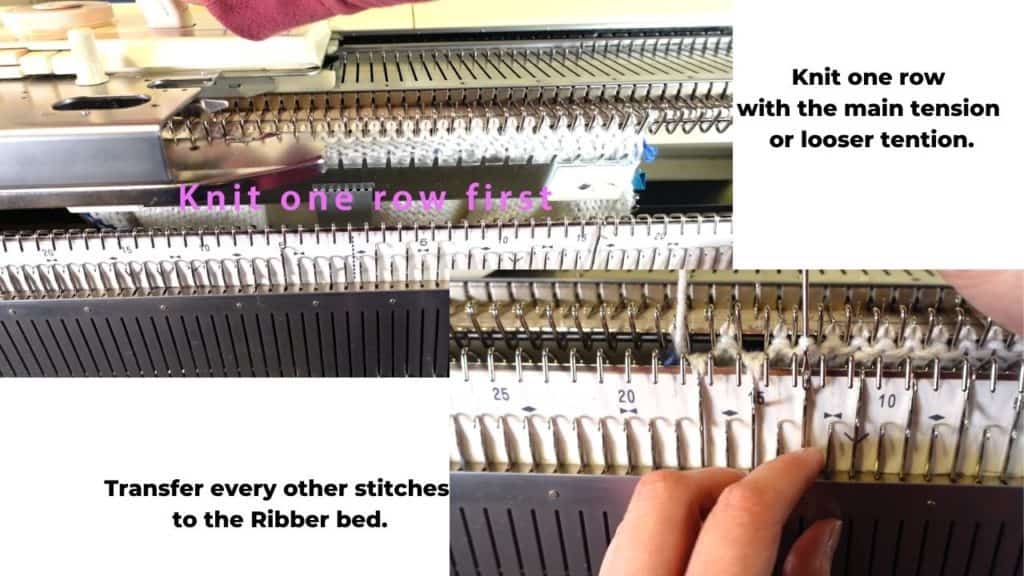
Knit one row in the main tension or a looser tension. This is optional, but it helps if you have double stitches in one needle because of the neckline shaping.
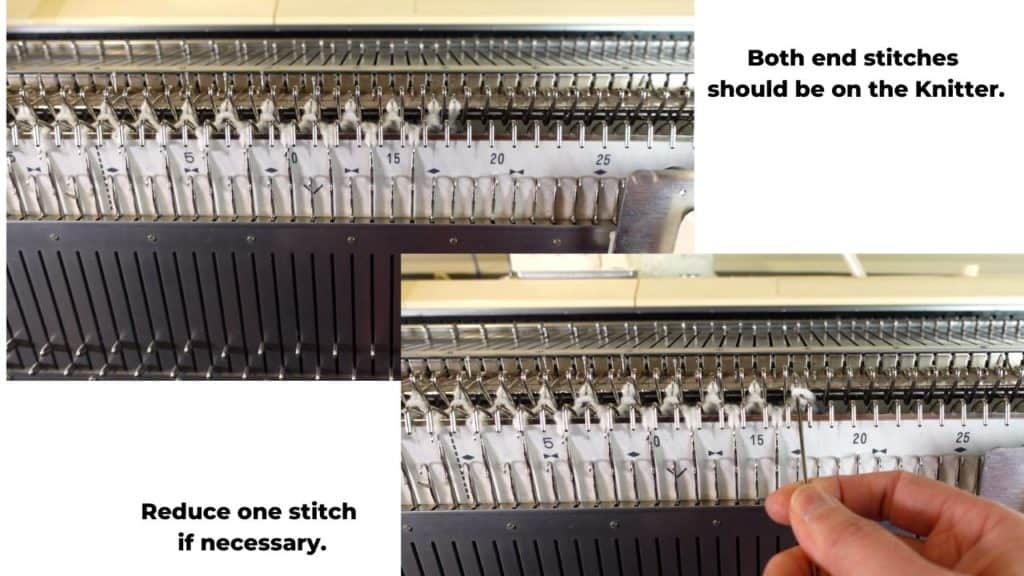
Transfer every other stitch to the ribber with a double eye transferring tool. Keep both end stitches on the Knitter.
If there is an extra stitch on the knitter, just reduce the stitch by transferring to the next stitch.
To set up the carriage for the 1 × 1 ribbing, you can refer to your manual. On my Brother 260 knitting machine, it is just plain knitting. We skipped the 3 setup rows by transferring the stitches from the knitter.
Set the tension a few numbers below your main tension. I use number 7.
Set the counter to 0, 0, 0, and knit 7 rows (or your preferred row numbers).

After done with knitting the ribbing, transfer all ribber stitches back to the knitter.
Now we just need to bind off. Again we just need to make sure the bind-off is not too tight for the head to go through.


Front and back view of the finished 1 × 1 ribbing neckline.

🛒 Visit our Amazon affiliated page (We get a small commission without extra cost to you.): https://www.amazon.com/shop/picturehealer
Machine knitted neckline – Part 2: Neckbands
Featured Posts
- How to machine knit a heart shape on an LK150

- Machine knitting a loop stitch for big texture

- Machine knitting a corner-to-corner, diagonal dishcloth

- Machine knitting a buttonhole band on an LK150

- Tuck stitch blanket on an LK150 – Part 1
- No curl edge with seed, garter, ribbing, or cable stitches
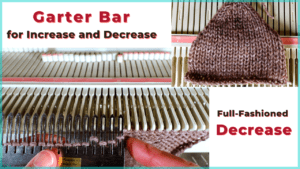
- Full-fashioned decrease, Garter Bar increases or decreases in the middle of a row
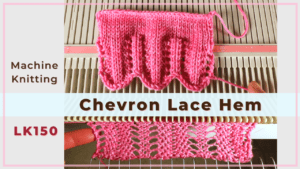
- How to machine knit a Chevron Lace Hem
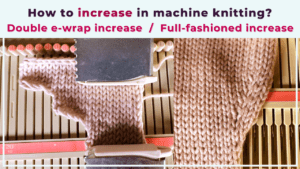
- Machine knitting increases – the full-fashioned increase and double e-wrap
- Picot hem with a scalloped edge and eyelets on an LK150 knitting machine

- The loop through loop bind-off and the sewing bind-off

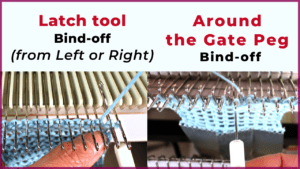
- The latch tool bind-off and around the gate peg cast-off
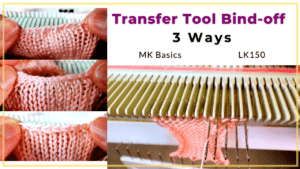
- Transfer tool cast off and variations- Simple, No hole, and Even-tension
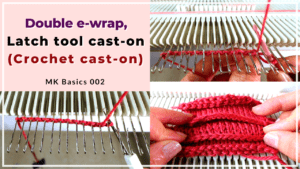
- Double e-wrap, latch tool, and crochet hook cast on
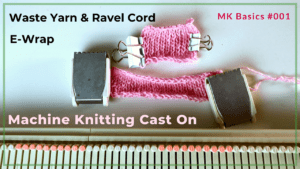
- Machine Knitting basics – Cast on with waste yarn, ravel cord, and e-wrap


You May Also Like
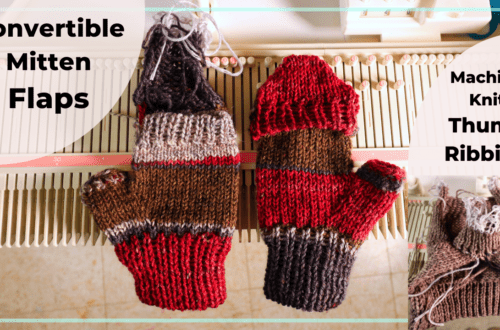
Convertible mitten with a flap, thumb mock ribbing, kid-size fingerless mitten

Neck warmer with ruffled edges