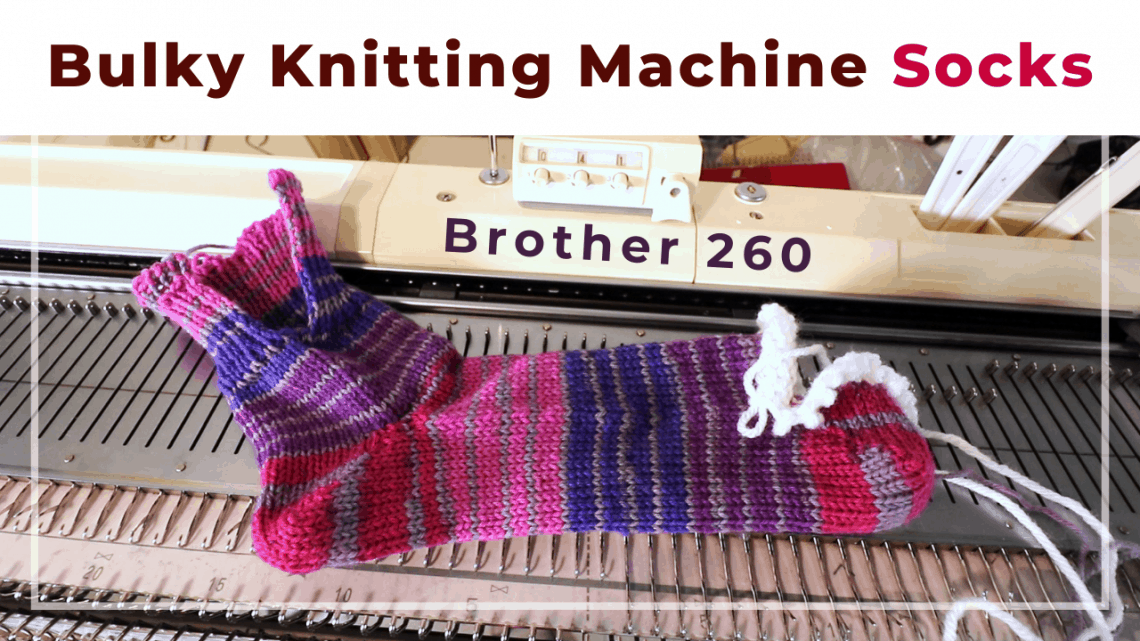
How to knit socks on a bulky knitting machine with a ribber
Most knitters will want to make socks at some point. You can personalize the size, material, color, and style. But it sounds complicated and hand-knit socks can take a long time to finish. That is why machine knitting can be a good choice. You can make a pair in a few hours.
For this project, I use a Brother KH620 bulky knitting machine and ribber. Most socks are knitted on a standard gauge knitting machine, but I find a bulky machine easier to manipulate stitches because of the bigger needle size and spacing. It is less frustrating for beginners.
If you want to learn basic sock knitting on an LK150 knitting machine or other plastic bed machines without a ribber, check out our old post here:
The purpose of this tutorial is to walk through the process of sock knitting with a ribber, so you can follow along and knit one pair quickly.
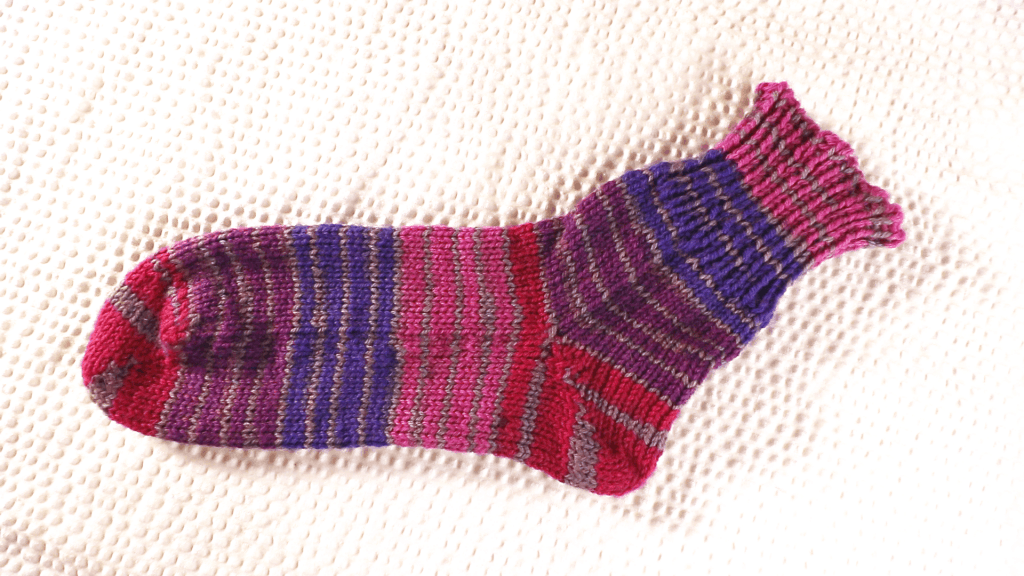
Watch CreativeTien’s sock knitting video tutorial on a Brother bulky machine (KH260/KR260)
Material and machine
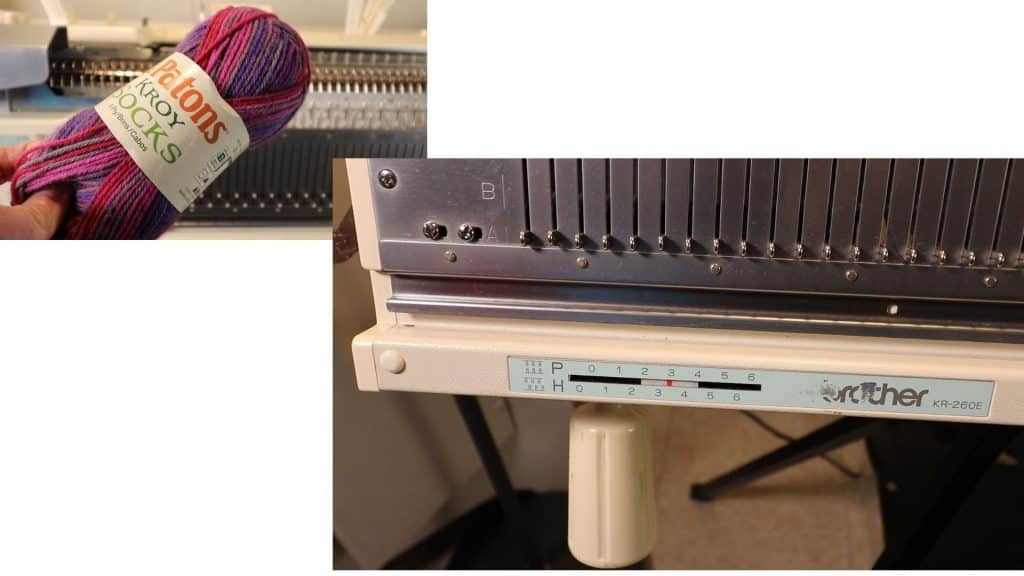
For this project, I am using a Brother 260 bulky knitting machine with a ribber.
I use a sock yarn that is on the thicker side because this is for a bulky machine. Sports weight yarn is another good choice.
Tension and swatch
I use tension 0 for both knitter and ribber. Mast tension is on the triangle mark (medium toward tighter). If you are using thinner sock yarn, you can go down the tension below zero.
Do a swatch first to calculate your gauge. The sample swatch should be knit in the round (circular knitting).
Construction
There are many ways of knitting socks on a machine. This one is cuff-down socks.
For this project, I start with the 1 × 1 ribbing with my Ribber. Then rearrange the stitches so half of the stitches are on the Knitter and the other half stitches are on the Ribber.
For the leg area, we start circular knitting from the cuff down until the short-row heel. We use only the knitter to do the short-row, then connect the ribber for circular knitting again.
We knit the length of the foot until the toe area, and knit the same short-row as the heel, reduce one stitch on each side, then knit a few rows of waste yarn and take it off the machine.
Sewing up
The next part is to do the Kitchener stitch to close the toe, and mattress stitch to seam the side of the cuff ribbing.
One area of attention is the hole in the heel from the short-row. Even though we try to cross stitches on both sides after the short-row, there might still be holes. Just sew up the holes from the backside and hide any yarn tails.
Step-by-step picture tutorial
1 × 1 Ribbing
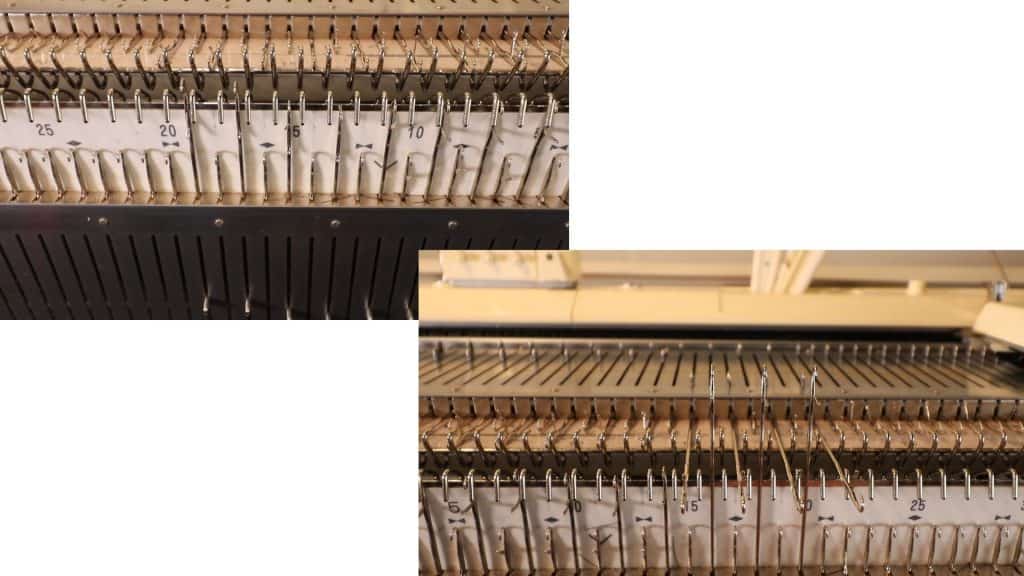
To do the 1 × 1 ribbing, we set the pitch to P3 first.
Needle arrangement for 1 × 1 ribbing
I have 21 needles on the Knitter (every other needle), and 20 needles on the Ribber (every other needle). This works for a woman’s medium sock. The total round is 41 stitches.
Adjust the number based on your calculation.
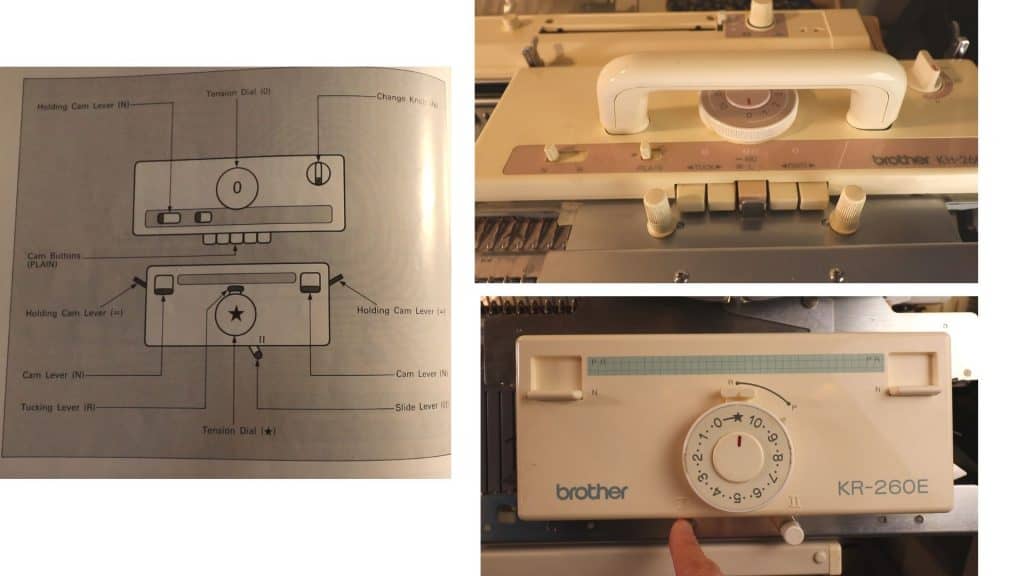
Carriage setting
Start with tension 0 or lower, plain knitting for the Knitter and Ribber.
Side lever to II (This one is optional).
Thread the yarn and knit one zigzag row.
Hang the cast on comb and weight.
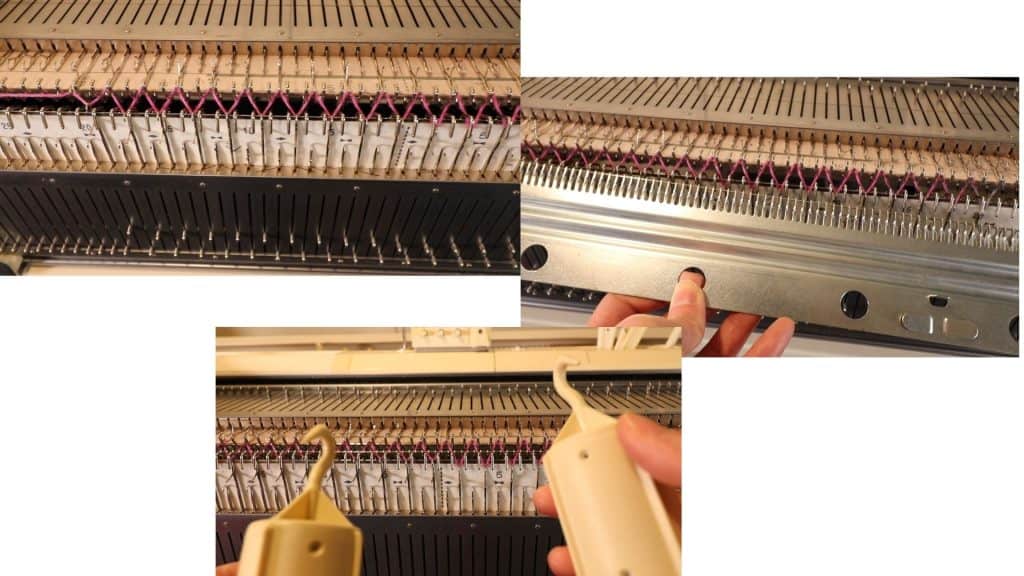
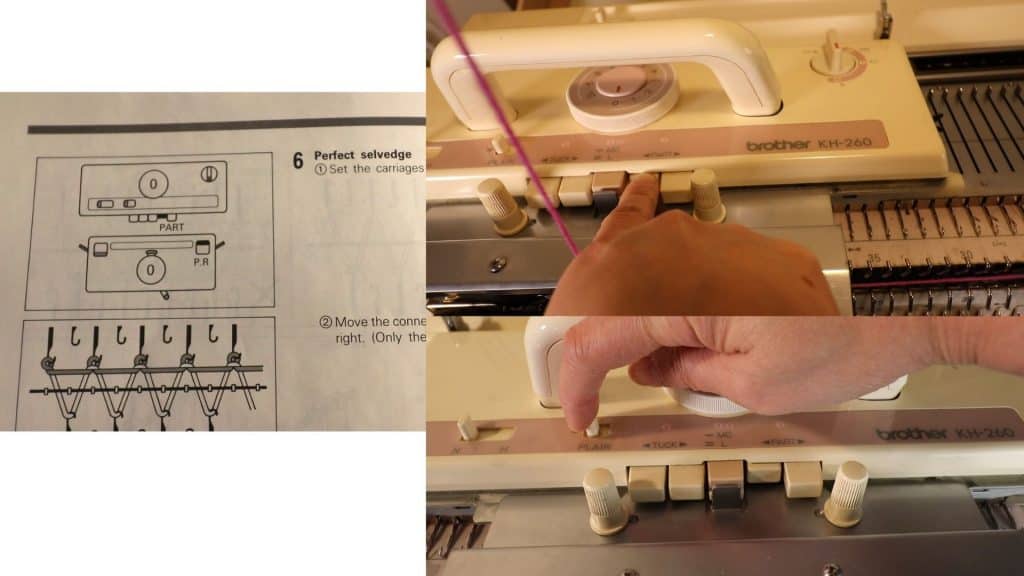
The 3 selvage rows
Set the Part button: left on the Knitter and right on the Ribber.
Knit 3 rows.
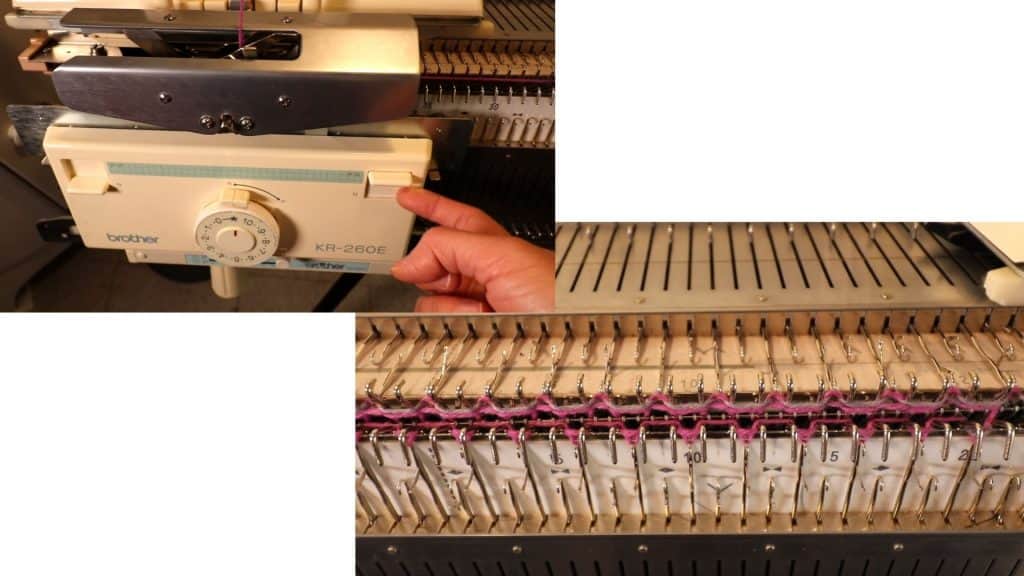
Now the set-up rows are done. We can set the main tension, cancel the part button on both Knitter and Ribber, and move the side lever to I (left).
My main tension for the 1 × 1 ribbing is 0.
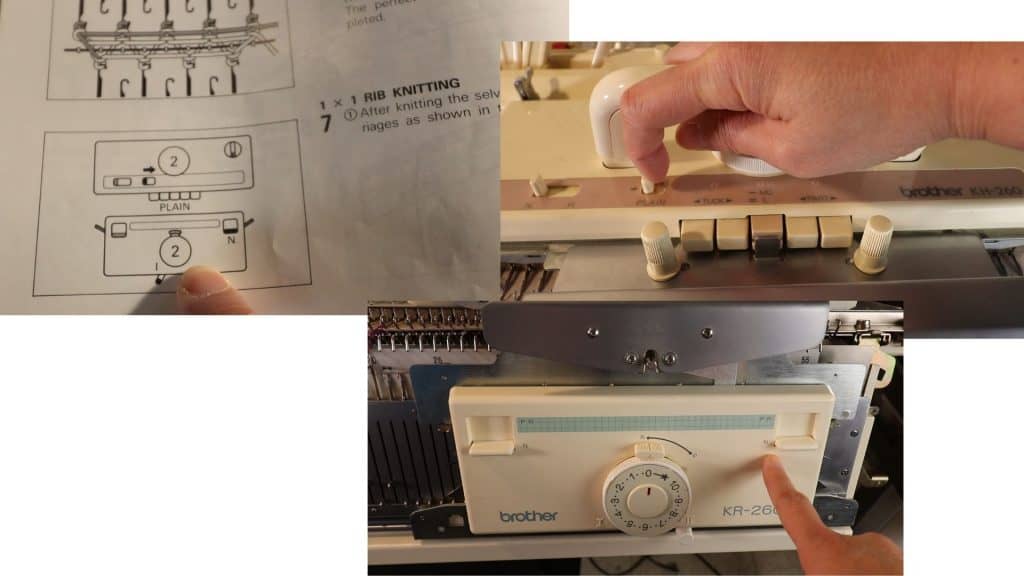
Start knitting the ribbing. Knit 20 rows or the length you like.
After knitting the desired length, transfer all stitches to the Knitter using a double eye needle.
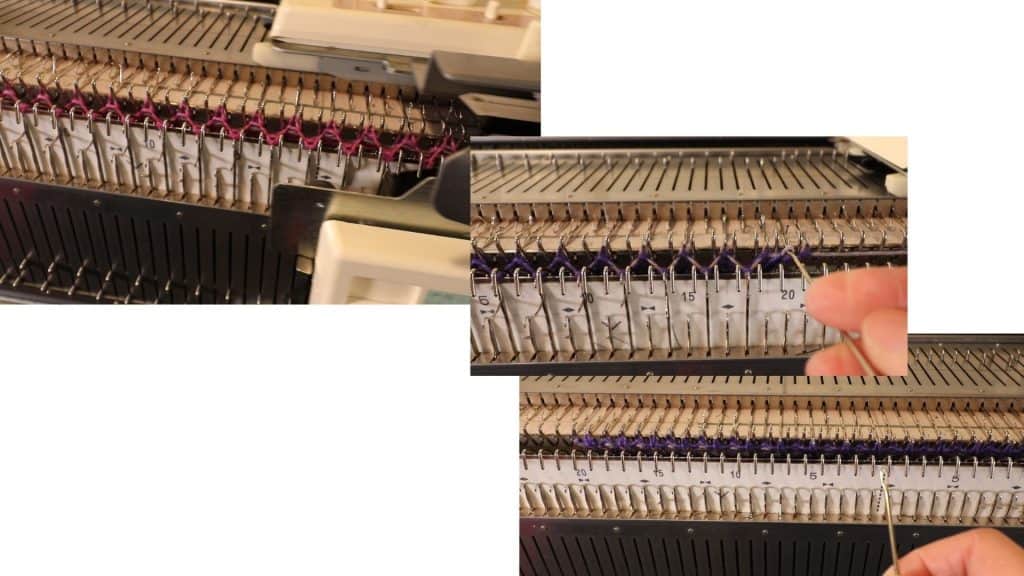
Arrange the stitches
Now the ribbing is done. We can drop the Ribber a few notches down. We want to move the left half of the stitches back to the Ribber.
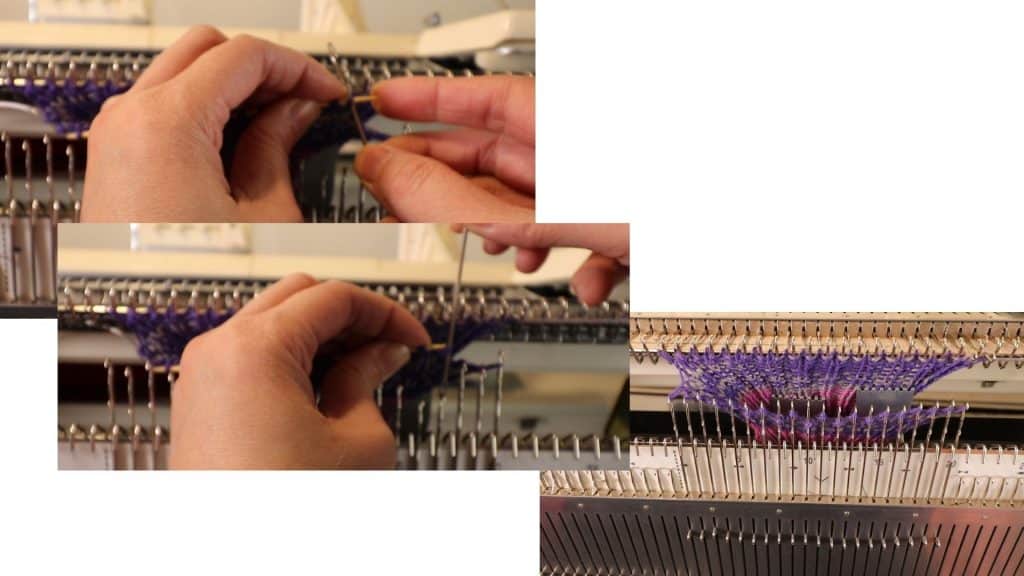
I use a circular knitting needle to take the left stitches off the Knitter, and use the double-eye needle to transfer to the Ribber.
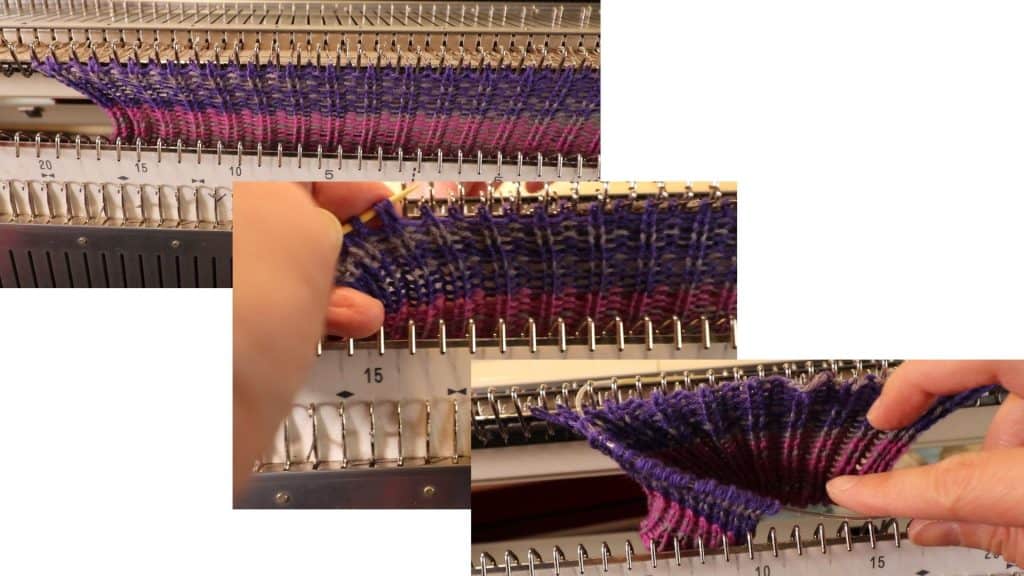
Now we have half of the stitches on the Ribber. The 2 end stitches are still on the knitter.
Circular knitting
To start the circular knitting, first we set the pitch to H3 for half pitch.
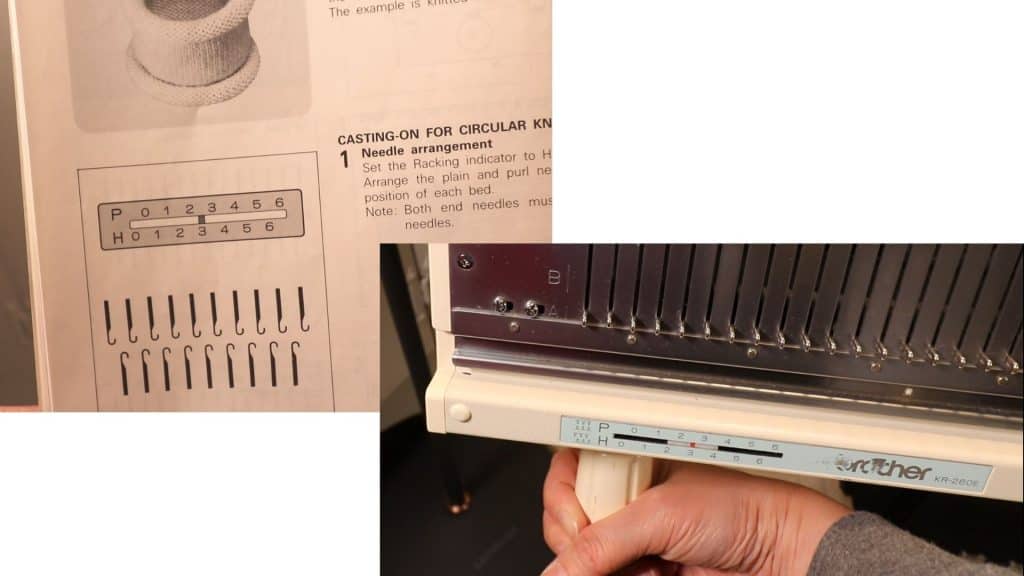
Set the part button in opposite directions. The Knitter has the “part” on the left, and the Ribber has the “part” on the right. The direction of the next row should be normal knitting, and the opposite direction is the “part”.
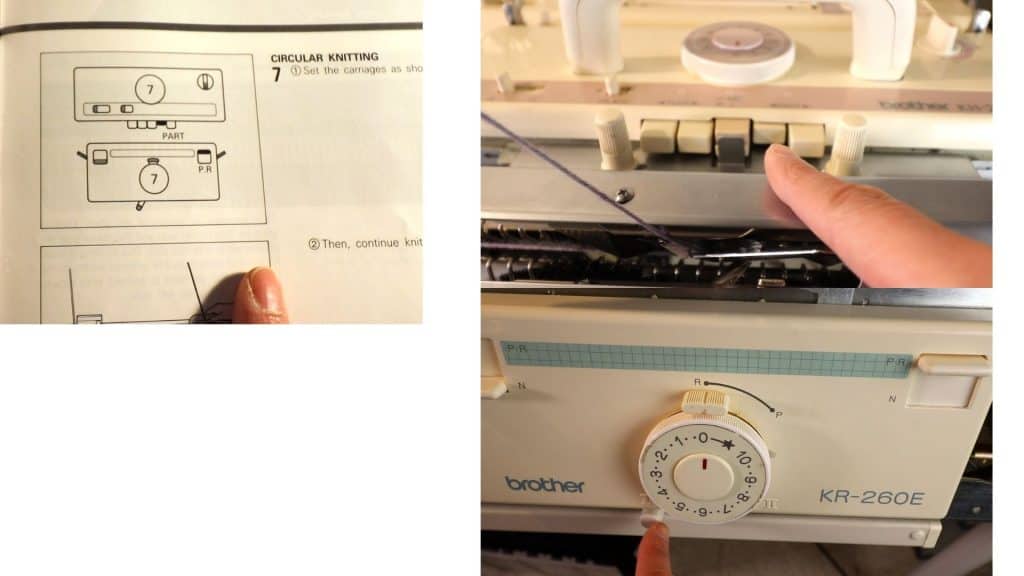
Set counter to 0, 0, 0 and start to knit in the round.
Pull out the stitches all the way to prevent dropped stitches (optional).
I want 20 rounds total. Each round consists of 2 passes so it will be 40 passes total.
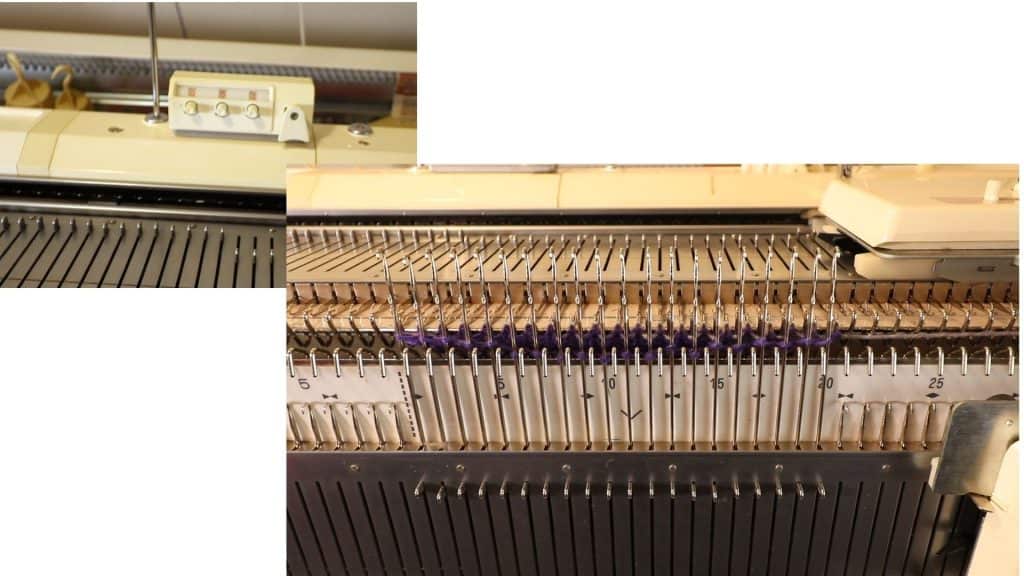
After knitting 40 passes or the leg length you like, we are going to change the connecting arm and start the short-row because we only need a Knitter for the short-row.
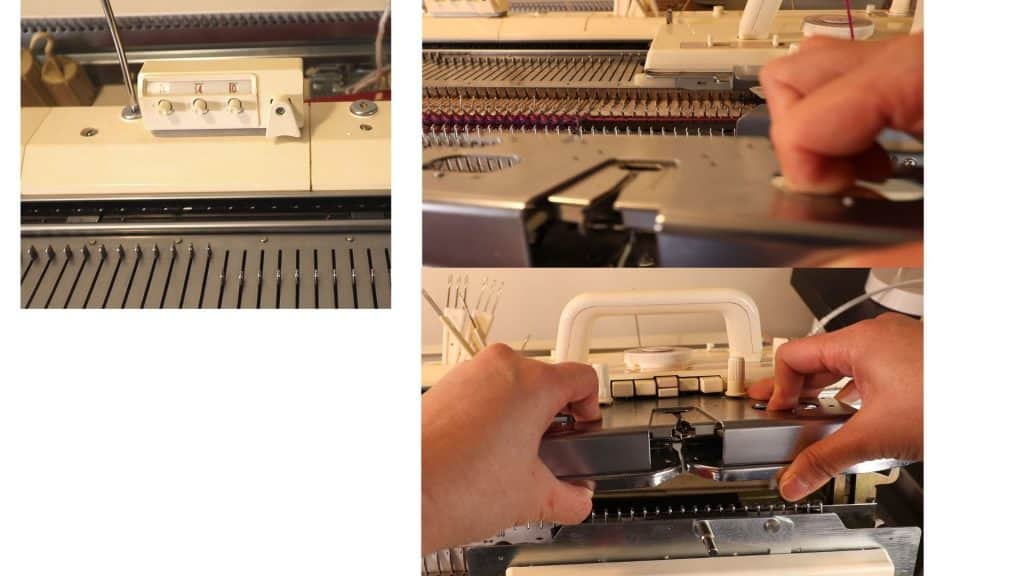
After switching the connector arm to the Knitter’s arm, we can cancel the part button (by pushing the plain button) and set the H button for holding position.
Drop the Ribber down a few notches. We are ready to short-row.
The rule of thumb is short-row until 1/3 of the stitches left. I have 21 stitches on the knitter so it will be 7 – 7 – 7 stitches.
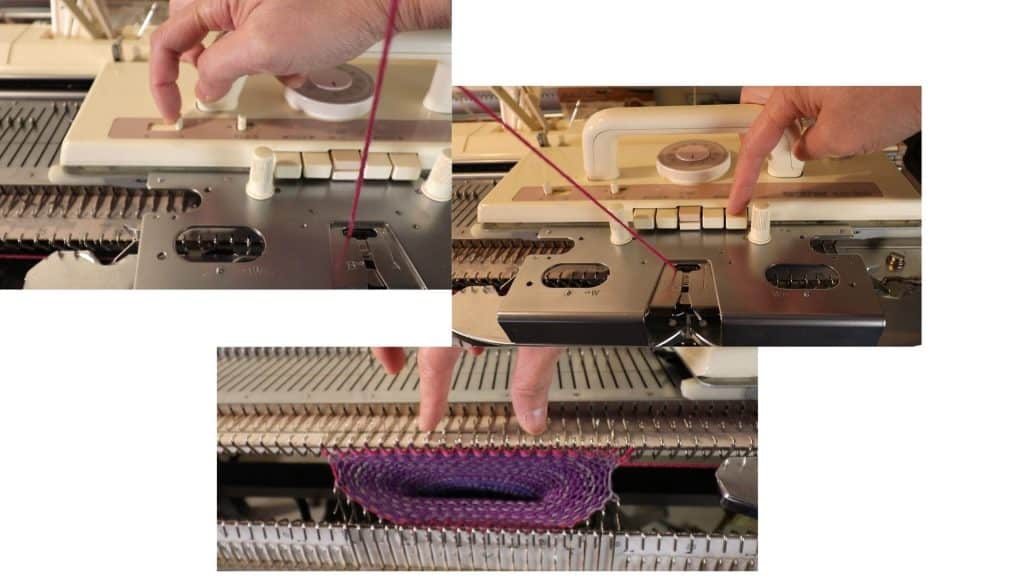
Short-row
Pull out the first needle that is on the carriage side to the holding position, knit one row.
Repeat that until each side have 1/3 of the needles pulled out (7 on each side for this project).
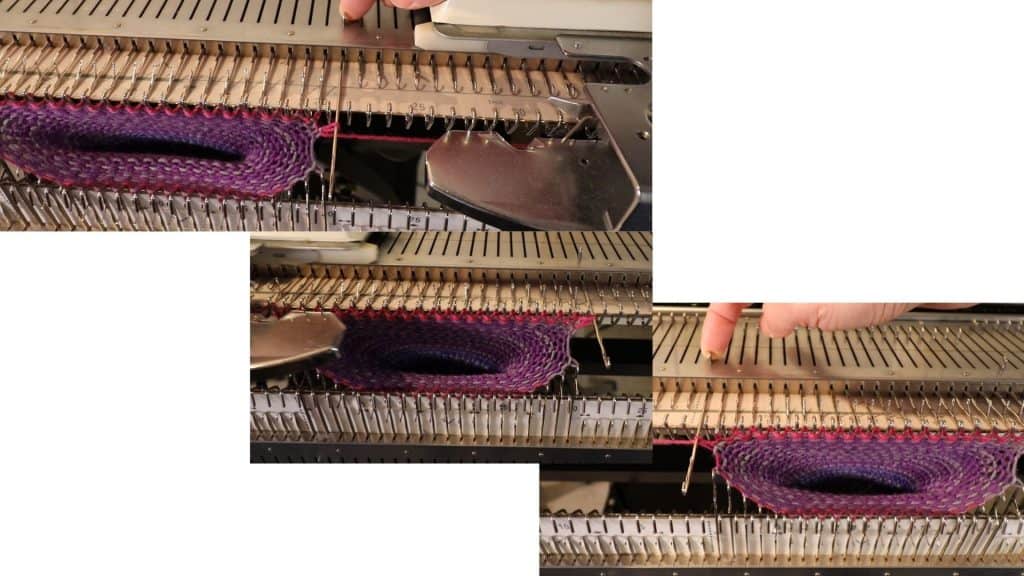
It is important to add weight in the center because it will get very loose. You can hold it down with your hand for more control.
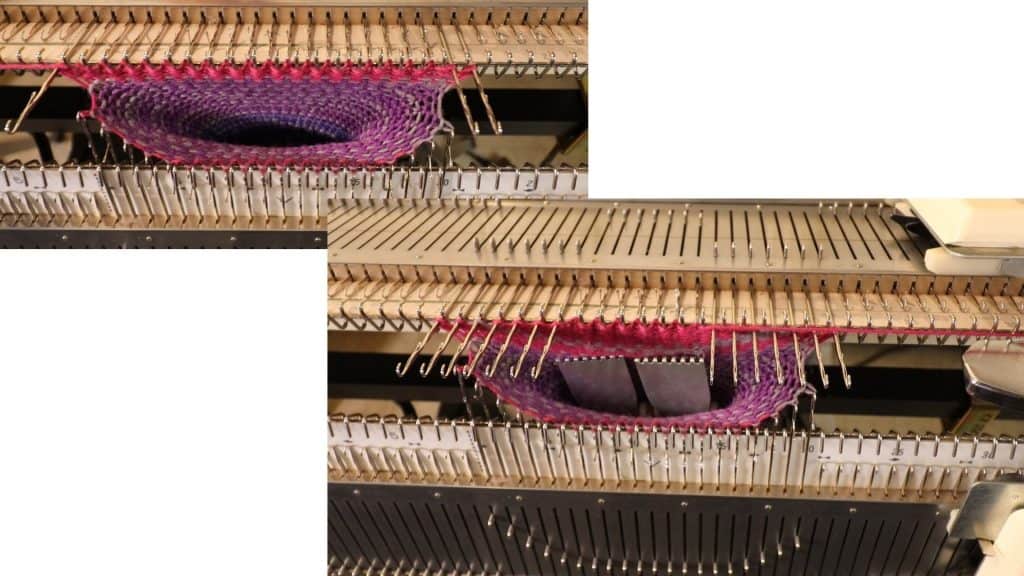
Reverse short-row
On the side of the carriage, move the first needle that is next to the center stitches to the D position (the latch will be slightly open), and wrap the yarn below the needle.
Knit one row.
Repeat that until all needles are back to working position.
Make sure there is enough weight in the center, or pull down the fabric with your hand to prevent dropped stitches.
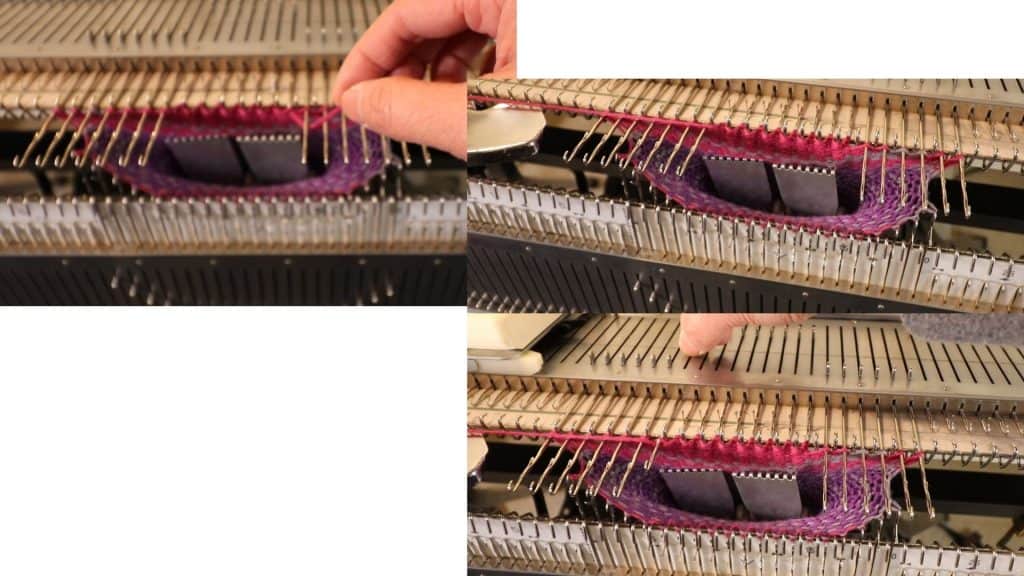
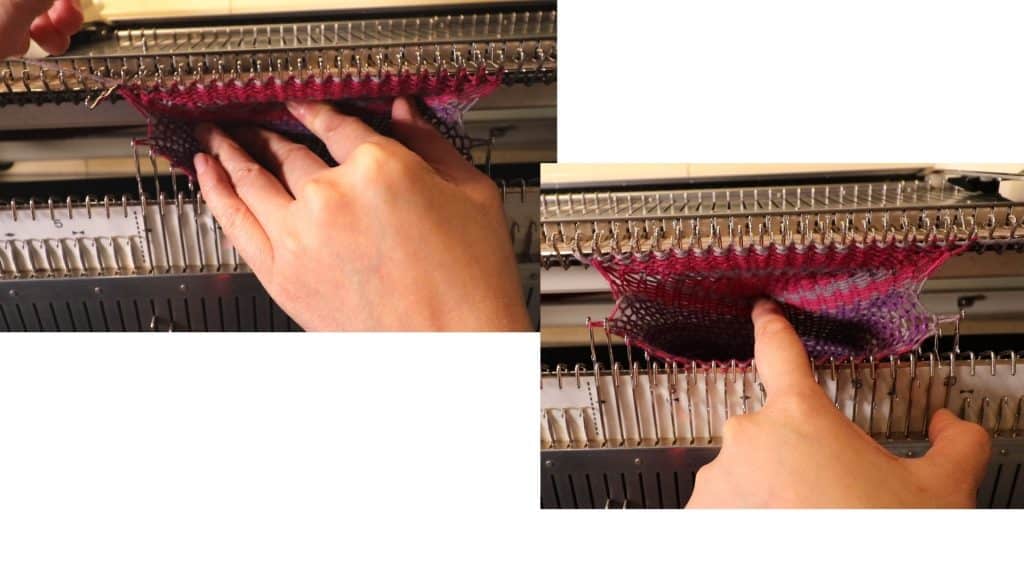
Before we start circular knitting again, pick up the purl bump on the first stitch and hang it to the first stitch of the opposite bed. Repeat on the 4 corners. Try not to overstretch the stitches.
This is to reduce the heel holes formed by the short-row.
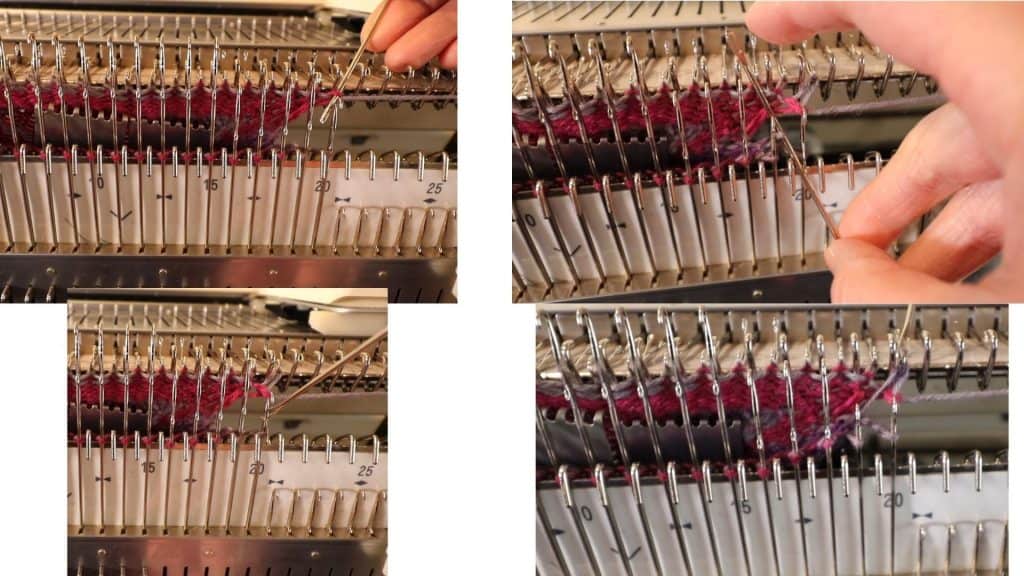
Circular knitting again
Now we are back to circular knitting for the foot section.
Set part buttons. Left part on the Knitter and right part on the Ribber.
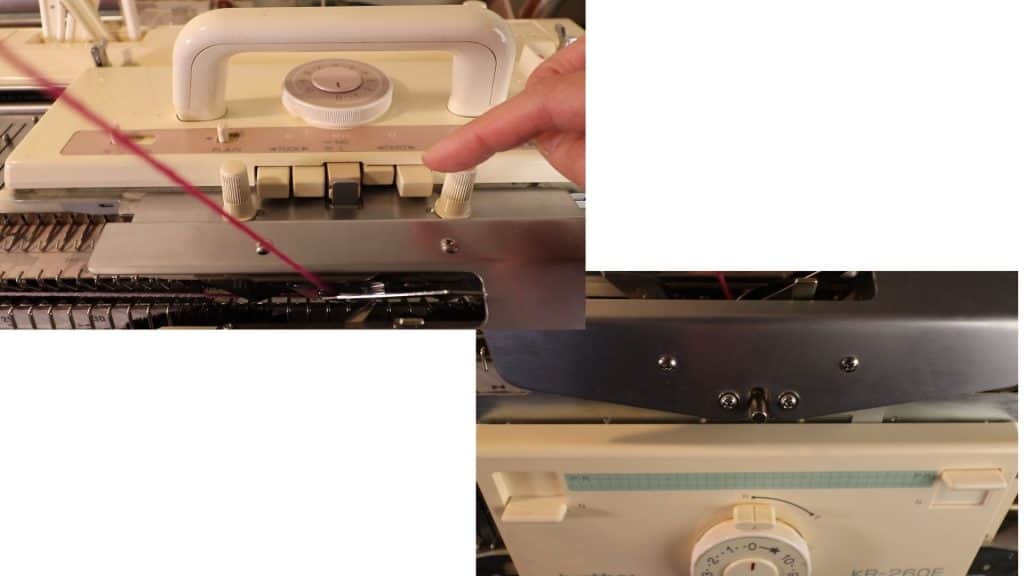
I want 6 inches long for the foot. I have 8 rows per inch according to my swatch, so it is 48 rows. But this is circular knitting and there are 2 passes for 1 round, so I need to knit 96 passes.
After the counter shows 96, we are ready to short-row again for the toe.
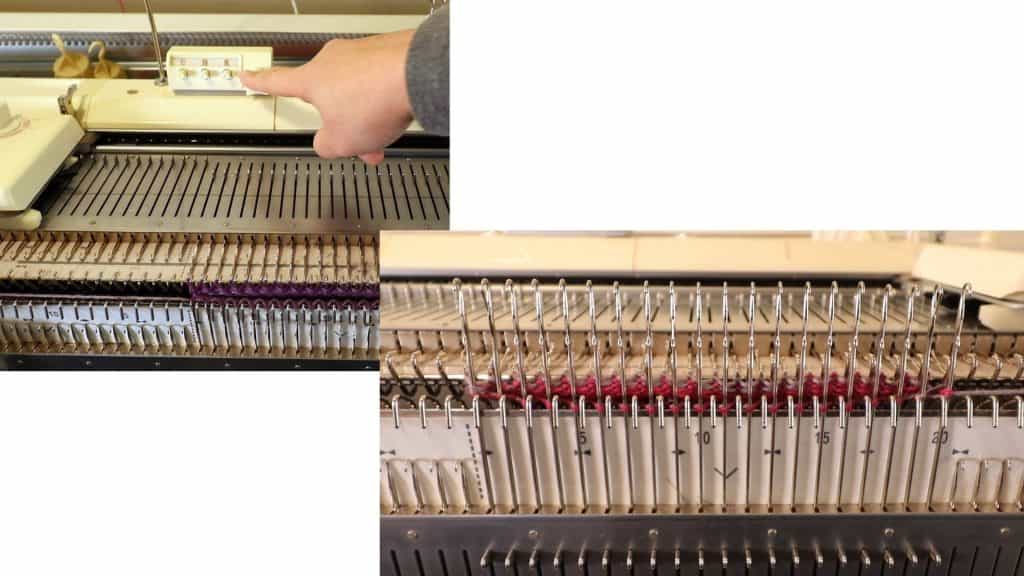
Change the connecting arm to the Knitter’s arm, drop the Ribber down a little.
Cancel the Part button, and set the H (hold) button.
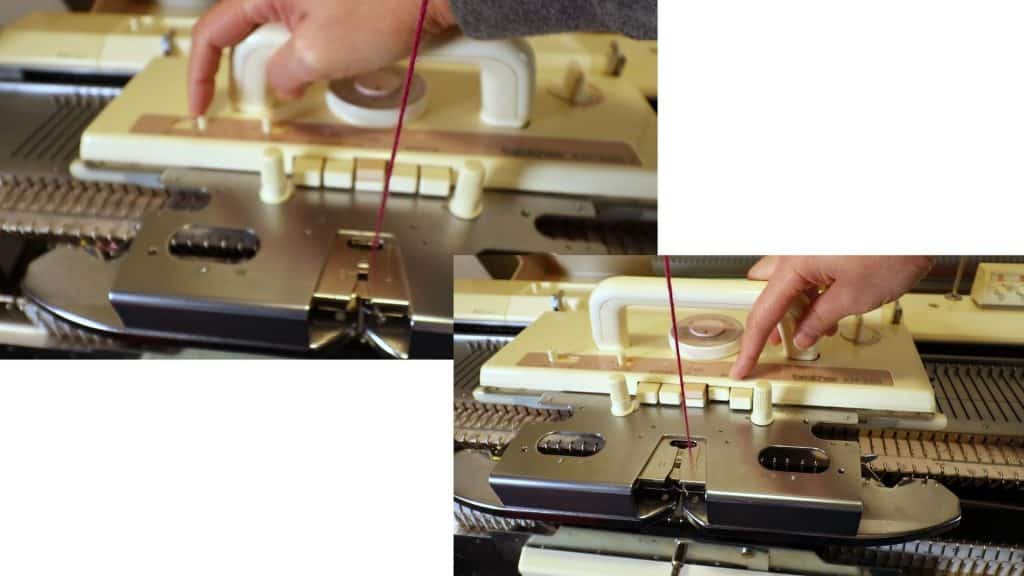
Short row and reverse short row the same way as the heel.
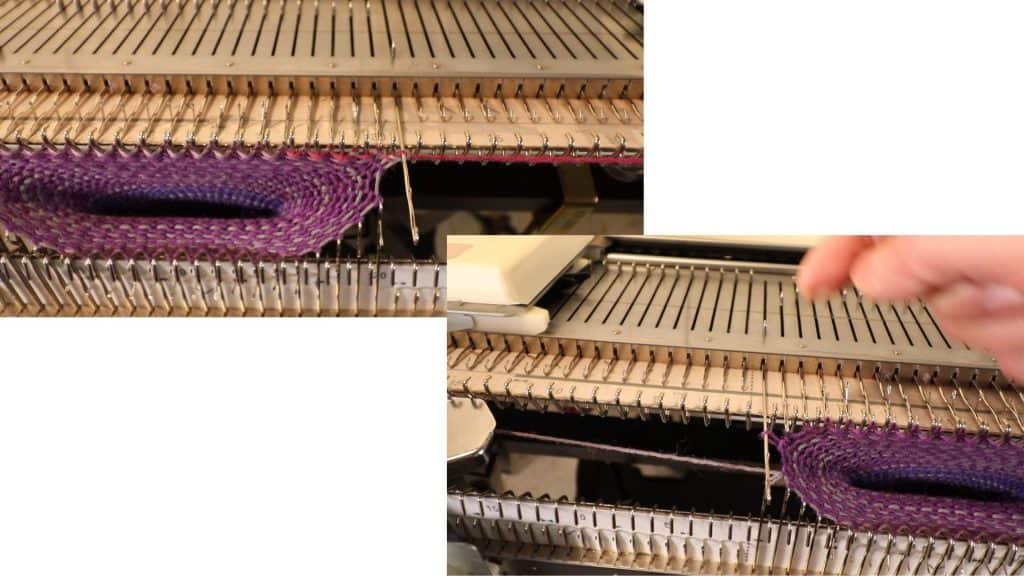
After the short-row, hang one stitch from each corner to the first stitch of the opposite bed. Same as before to reduce any hole.
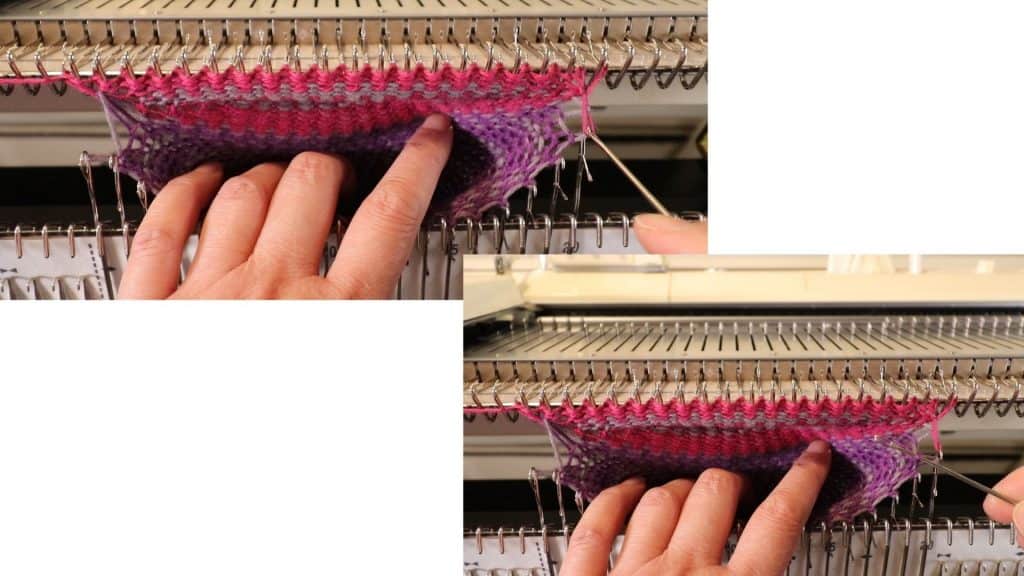
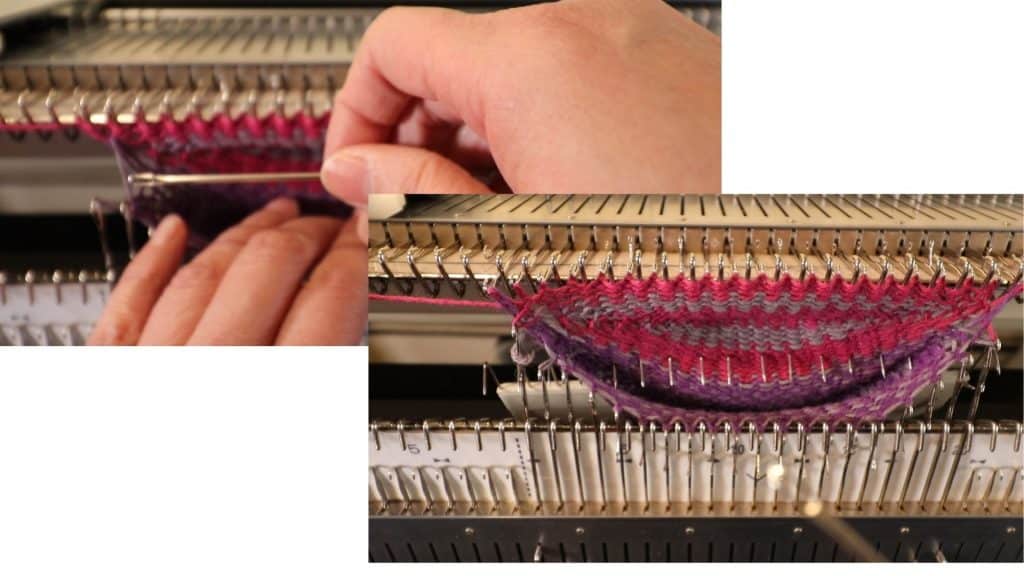
Change back to circular knitting.
Change the connecting arm, cancel the H (hold), and set up the part button.
The Knitter has the “part” button pushed on the right, and the Ribber has the “part” on the left. (My carriage is on the left, so I want the next row to be on the Ribber. That is why the Ribber has the “part” on the left).
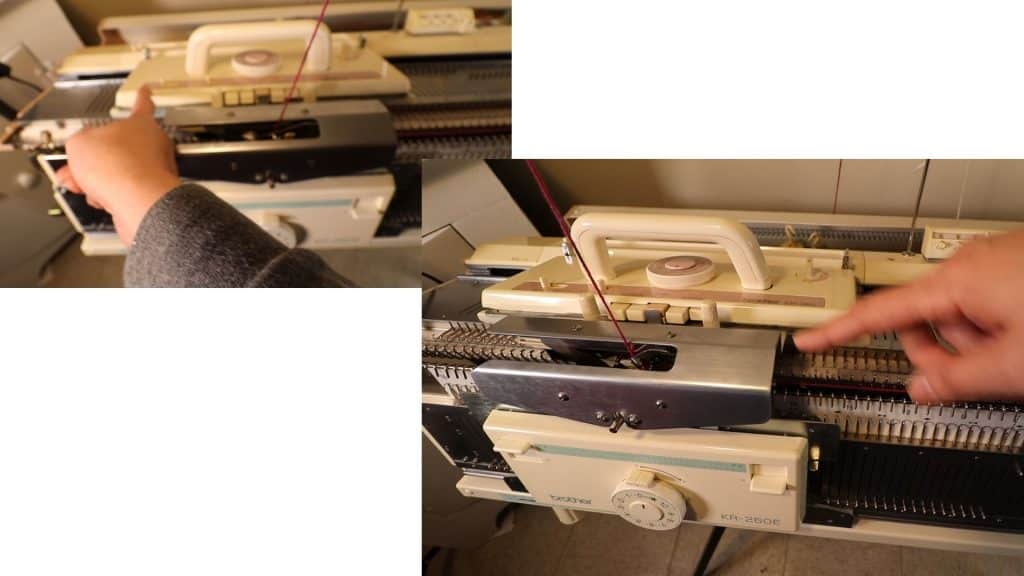
Decrease one stitch on each side.
Using a 2 or 3-prong transfer tool and move one stitch in from 4 corners. This creates a nicer finish for the toe short-row.
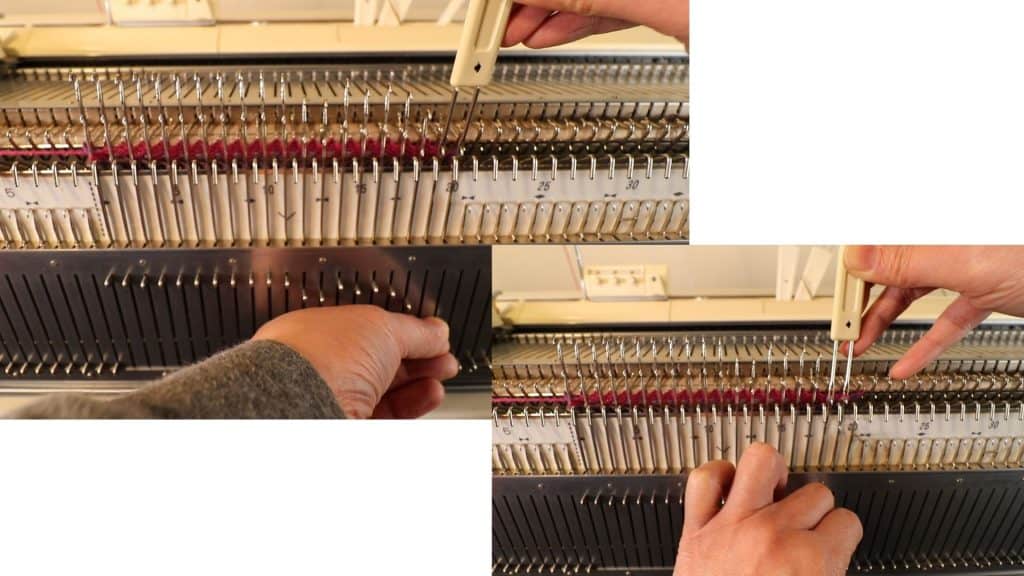
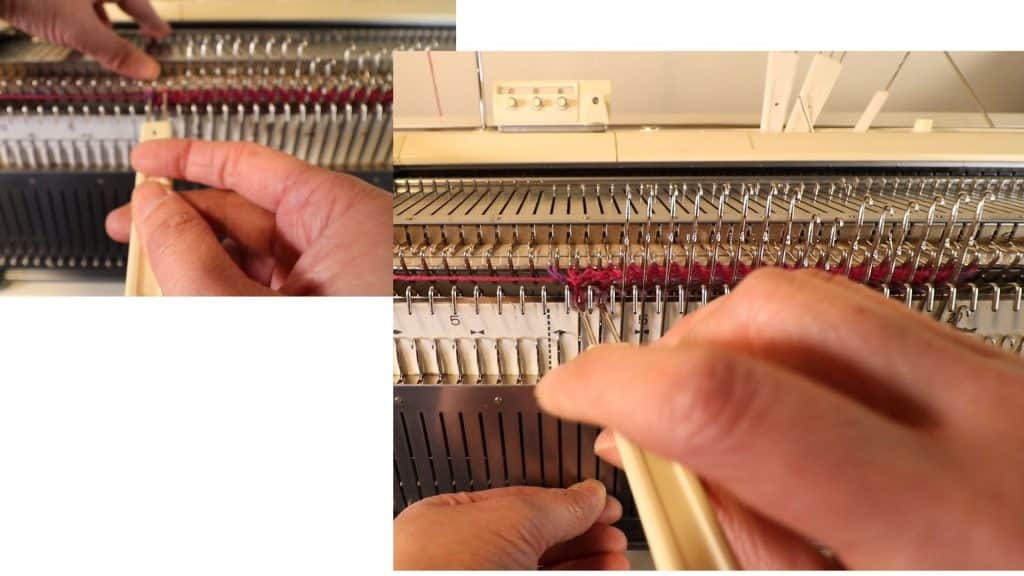
Make sure to move all empty needles back to the non-working position.
Knit 2 passes.
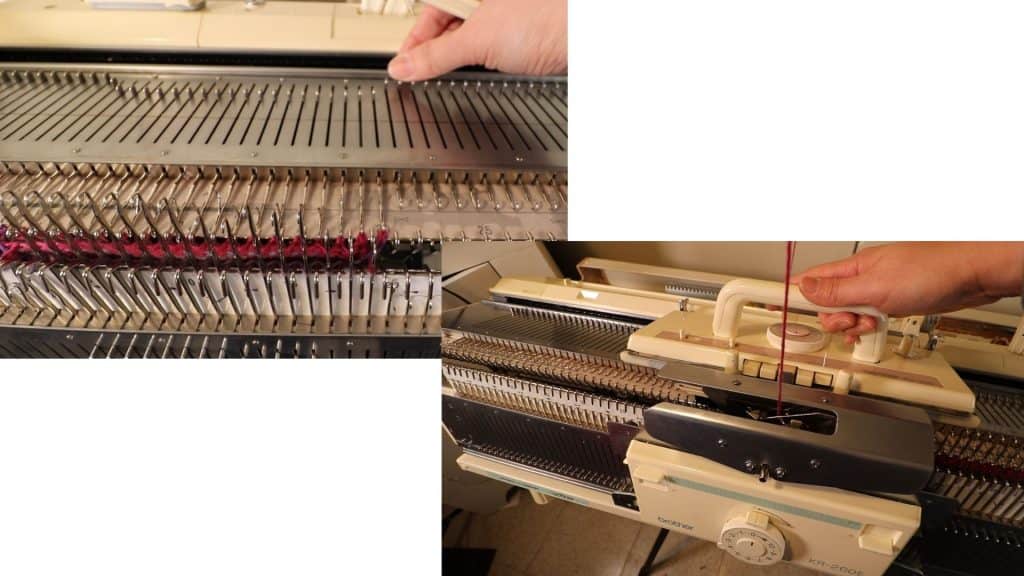
Cut the yarn and leave a long tail for the Kitchener stitch later.
Knit a few rows of waste yarn and take it off the machine.
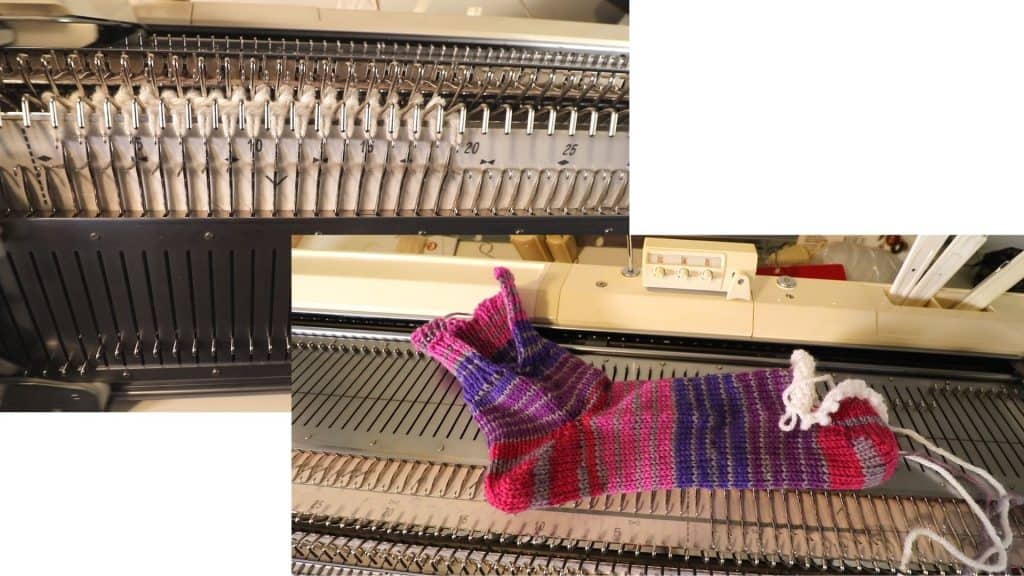
Seaming up
For the Kitchener stitch, we can sew from the backside directly, or doing it the traditional way. I transfer stitches to a circular needle and sew up with the Kitchener stitch.
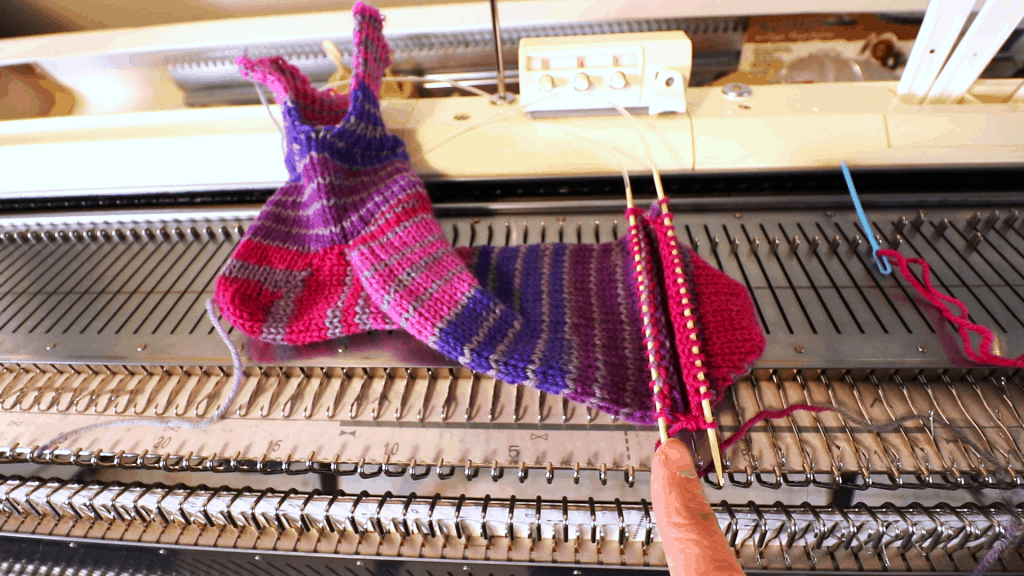
For the ribbing seam, we can use a mattress stitch to sew up.
Now we have one sock down. Try it on, steam block it, and time to make a matching sock.
Happy knitting.
🛒 Visit our Amazon page (this contains affiliated links, and we get a small percentage without extra cost to you): https://www.amazon.com/shop/picturehealer
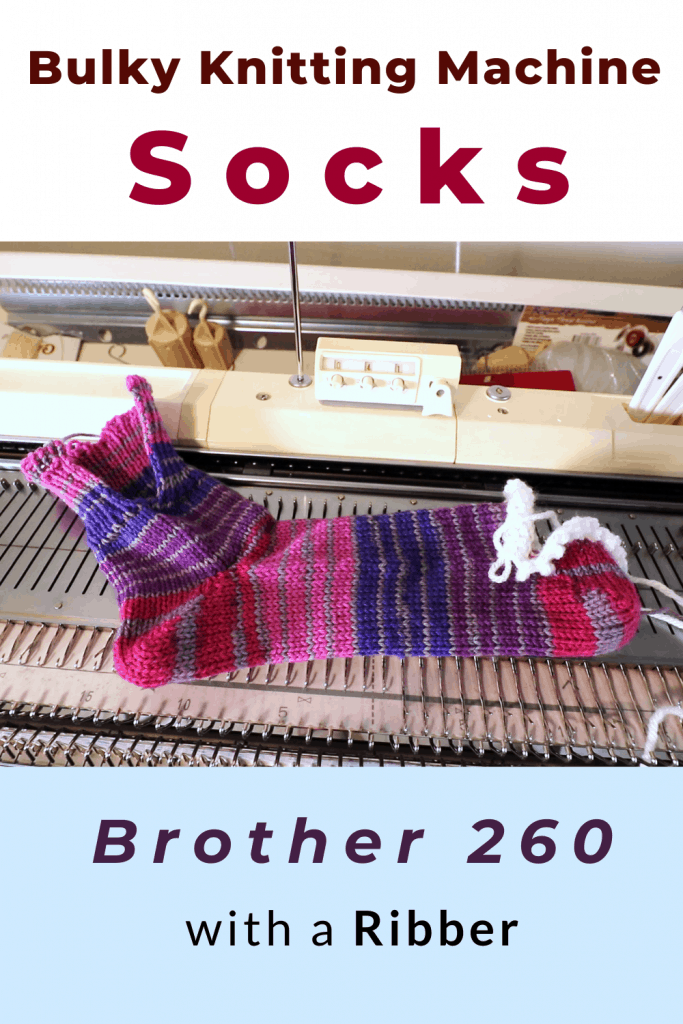
Machine knitting socks on Brother 260 with a Ribber
Featured Posts
- How to machine knit a heart shape on an LK150
- Machine knitting a loop stitch for big texture
- Machine knitting a corner-to-corner, diagonal dishcloth
- Machine knitting a buttonhole band on an LK150
- Tuck stitch blanket on an LK150 – Part 1
- No curl edge with seed, garter, ribbing, or cable stitches
- Full-fashioned decrease, Garter Bar increases or decreases in the middle of a row
- How to machine knit a Chevron Lace Hem
- Machine knitting increases – the full-fashioned increase and double e-wrap
- Picot hem with a scalloped edge and eyelets on an LK150 knitting machine
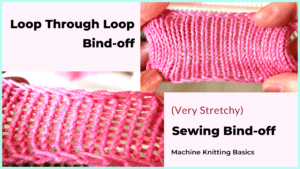
- The loop through loop bind-off and the sewing bind-off
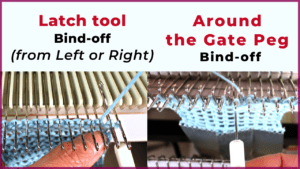
- The latch tool bind-off and around the gate peg cast-off
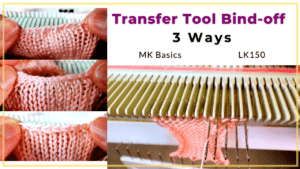
- Transfer tool cast off and variations- Simple, No hole, and Even-tension
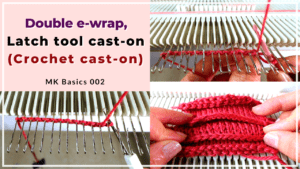
- Double e-wrap, latch tool, and crochet hook cast on
- Machine Knitting basics – Cast on with waste yarn, ravel cord, and e-wrap
