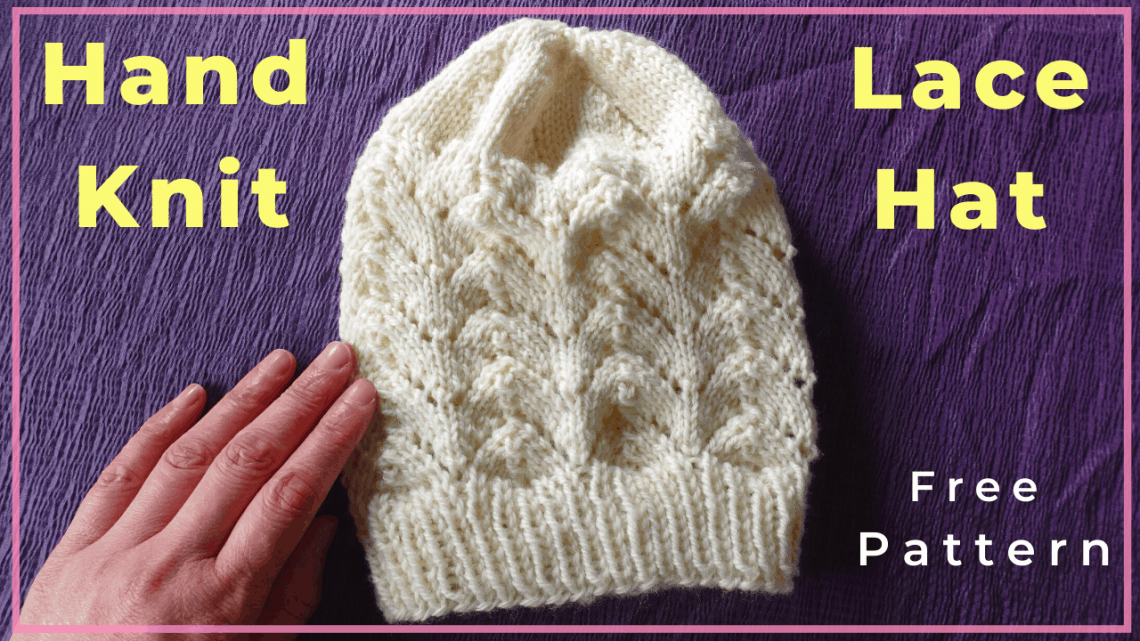
How to knit a lace hat with a magic loop method — free pattern
Lace knitting can be challenging for beginning hand knitters, but it does not have to be. Here is a lace hat pattern you can follow along. We use worsted (medium) weight yarn, one circular 4.5 mm needle, and the magic loop method for knitting in the round. Watch our video tutorial below.
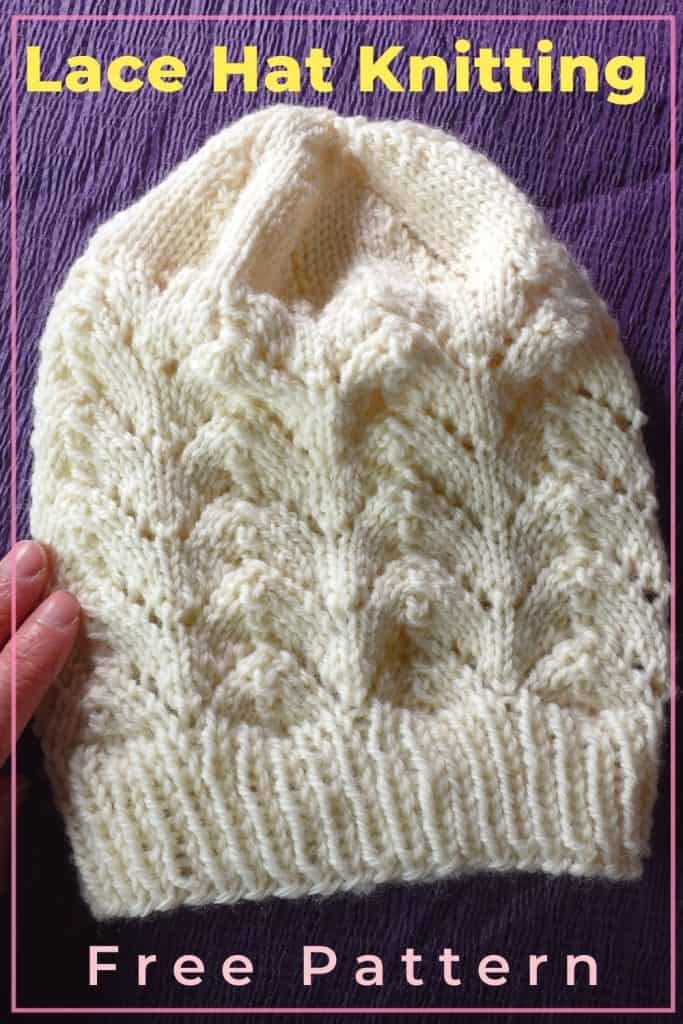
Video tutorial for knitting a lace hat
The yarn over (YO), YRN, and YFWD
Those knitting terms can be confusing. They all accomplish one thing — to create one new stitch. Depending on the way you hold the needle and yarn, the American or Continental method, the movement to make a new stitch will be different.
Another factor is the current stitch and the next stitch you want to knit or purl. Is it from Knit to Knit stitch? Knit to Purl? Purl to Knit? or Purl to Purl? Your current yarn can be either in the front or back of the needle. The yarn can be manipulated differently to create a new stitch.
For American style knitters, to create a new stitch, the most common way is to move the yarn to the front, and knit the next stitch so there is a yarn hanging on the needle. This is called YO (yarn over) or Yarn Forward (Yfwd). In the next round or row, that YO will be knitted into a stitch.
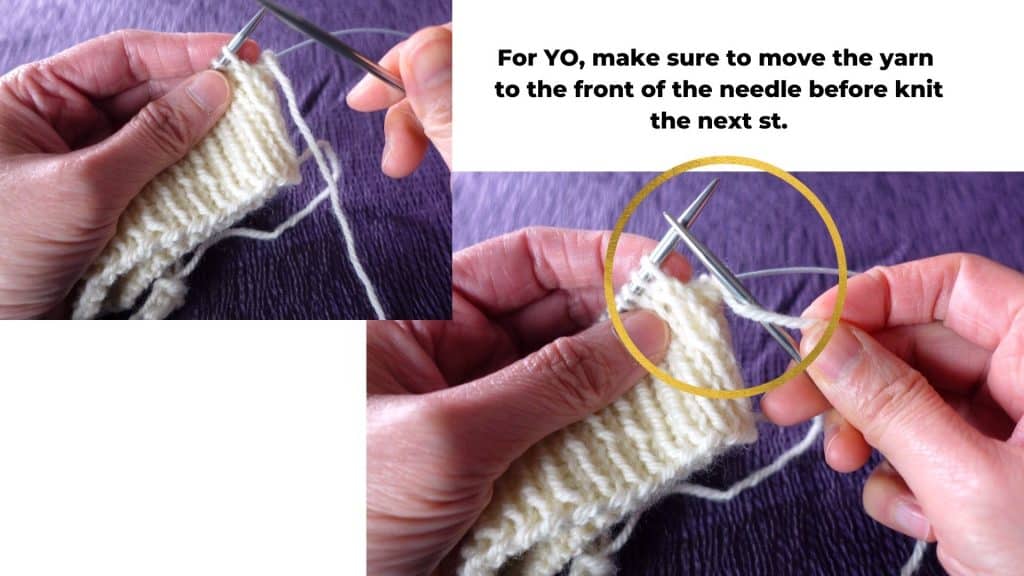
In another case, you might need to make a loop on the needle before continuing. That can be called Yarn round the needle (YRN). In many American knitting patterns, it can also be called Yarn Over (YO). So the YO can be a general term to create a new stitch by Yo, Yfwd, or Yrn.
In this pattern, the Yarn Over (YO) is very straightforward. It just means moving the yarn to the front before knitting the next stitch (for American style knitter).

Material and tool for the lace hat knitting
I use the worsted or medium weight yarn, 4.5 mm circular needle (16 or 24 inches long), and 8 stitch markers.
If you prefer closing the top by simply drawing the yarn through all the stitches and pull tight, you do not need the stitch markers. That is just for the crown shaping if we separate the hat into 8 sections.
The lace hat knitting pattern

For average adult size hat, cast on 80 stitches. Joint for circular knitting with the magic loop method.
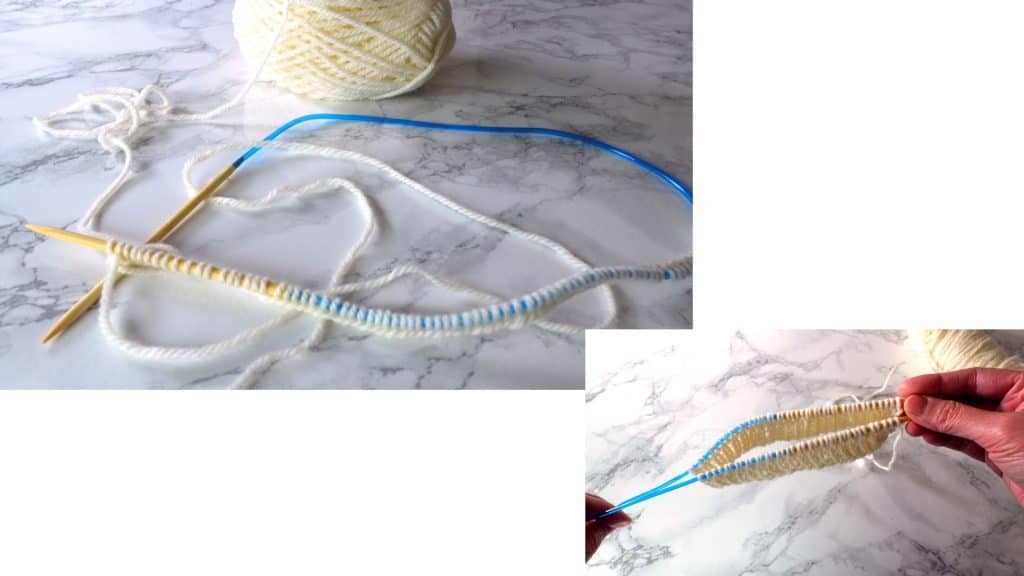
Knit 1 by 1 ribbing for 10 rounds. That is repeating 1 knit stitch and 1 purl stitch all the way around. Every round, the knit stitch should match the knit stitch below, and the purl stitch will match the purl below.
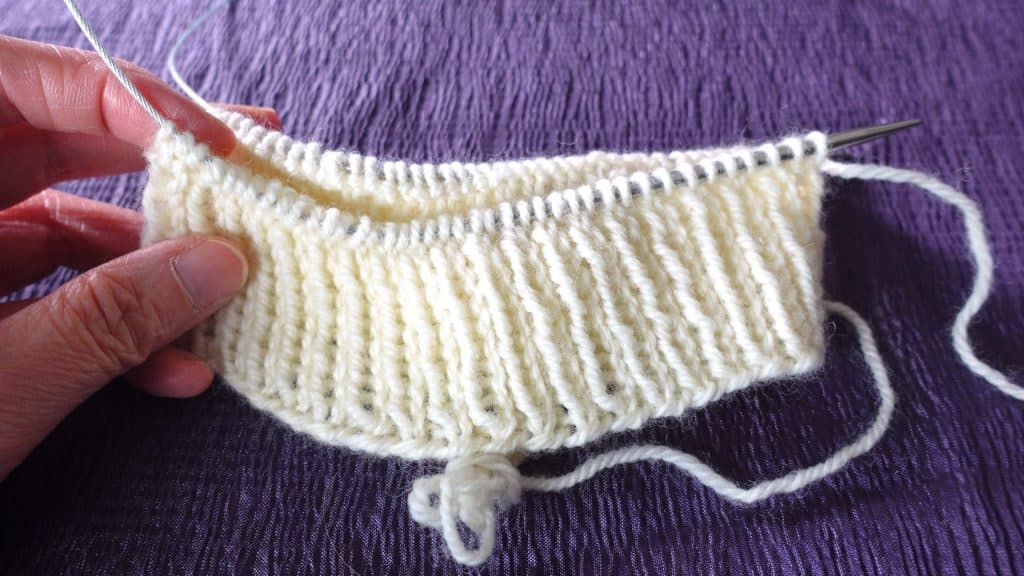
Knit 1 round plain stitch before the lace pattern.
The Lace Pattern
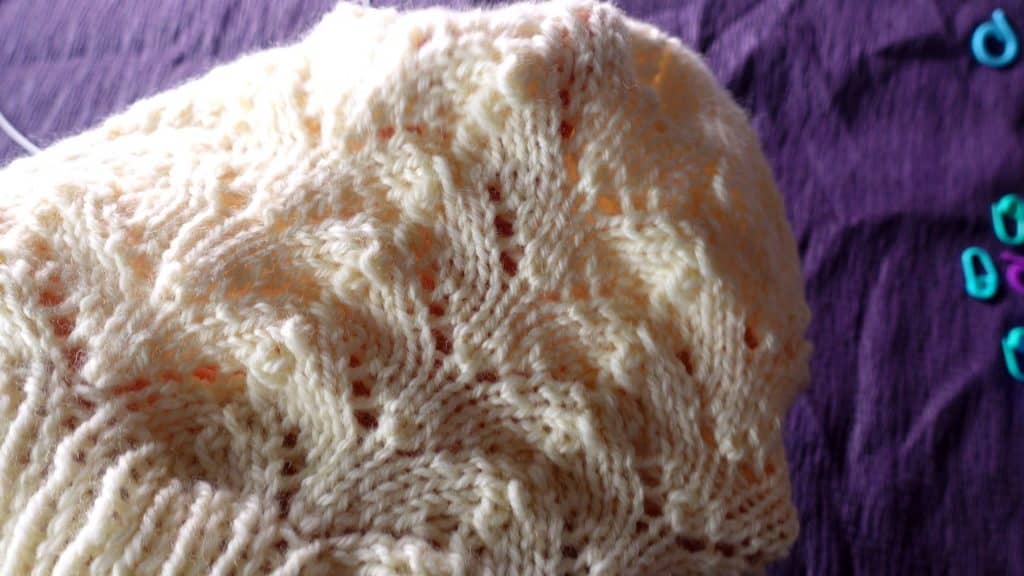
This lace pattern is a 10 stitch and 8 rows repeat. All even number rows will be knit stitch only.
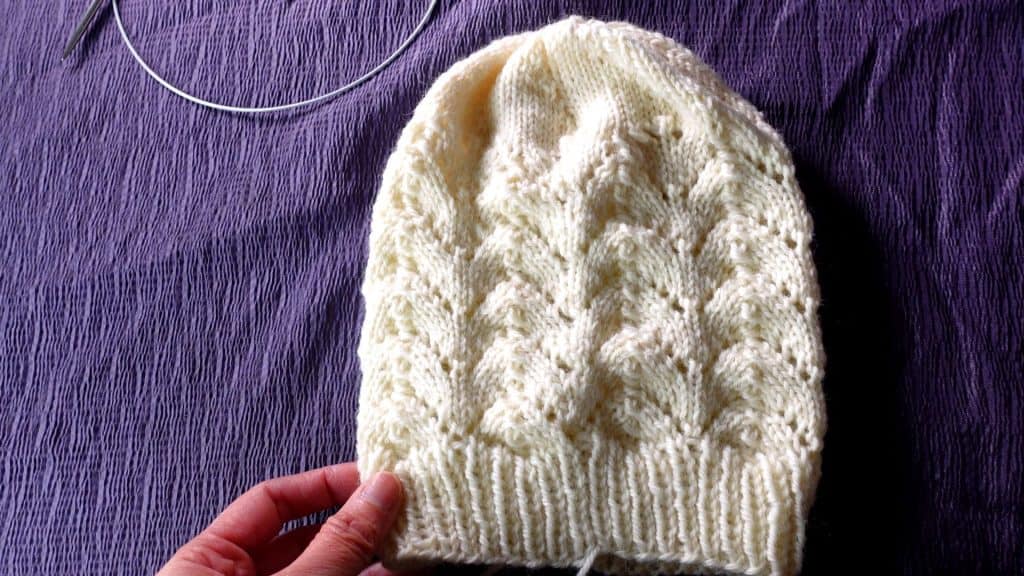
Round 1: *(YO, K3, SK2P, K33, YO, K1.), repeat * to the end.
Round 2: K to the end.
Round 3: * (K1, YO, K2, SK2P, K2, YO, K2), repeat * to the end.
Round 4: K to the end.
Round 5: *(K2, YO, K1, SK2P, K1, YO, K3), repeat * to the end.
Round 6: K to the end.
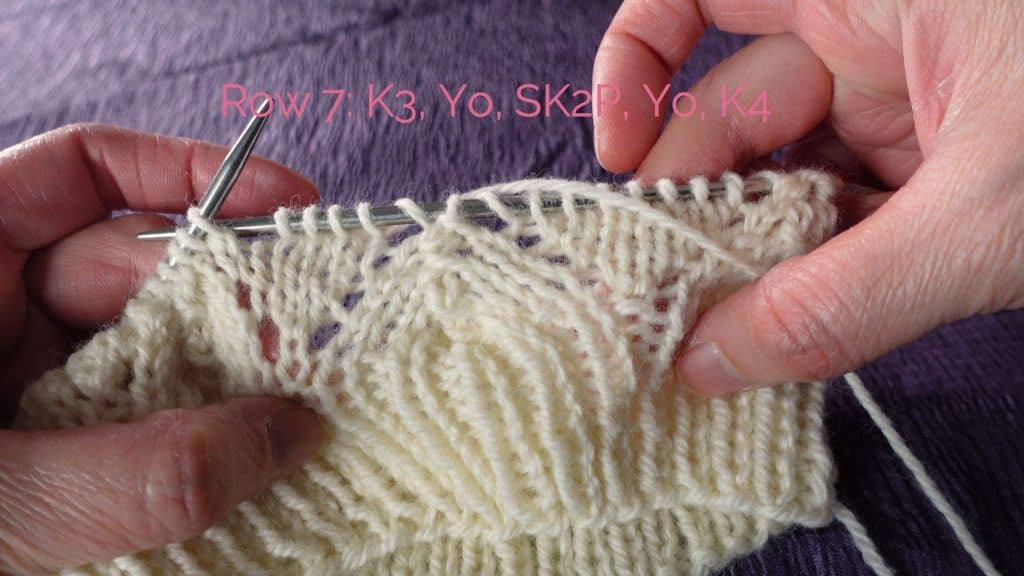
Round 7: *(K3, YO, SK2P, YO, K4), repeat * to the end.
Round 8: K to the end.
The SK2P stitch
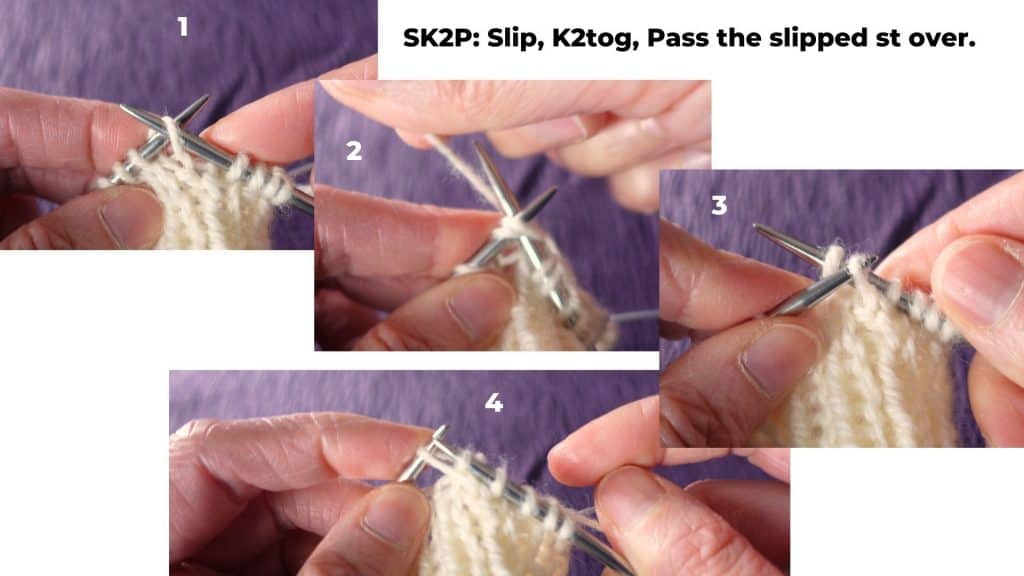
The SK2P means to Slip the next stitch purlwise, Knit the next 2 stitches together, then Pass the slipped stitch over. 3 stitches are decreased to 1 stitch. When you look at the pattern, you see the 2 YOs near the SK2P stitch, so 2 new stitches are created. Now stitch count remains the same.
The crown shaping
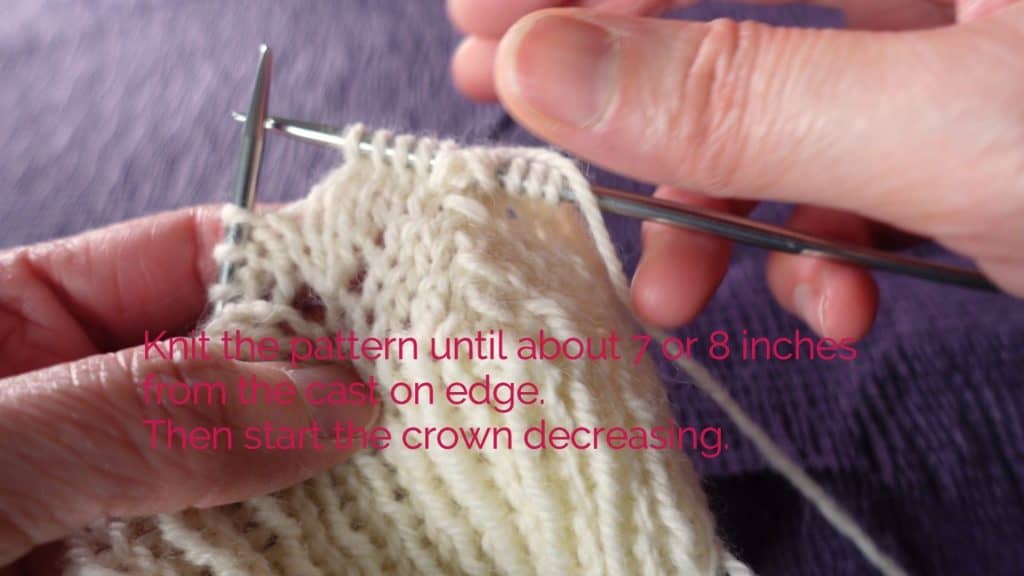
Continue knitting the 8-row repeat of the lace pattern until about 7 or 8 inches long from the cast-on edge. Then we can start the crown shaping.
Crown options
You can stop the pattern in the middle such as round 3, 4, or 5. It does not have to be round 8.
Another alternative for the crown is the bunched-up look. You can continue knitting the lace stitch until about 9 or 10 inches from the beginning cast-on row. Then, just thread the yarn through all stitches and pull tight. Knit a few stitches to close the hole and weave in the yarn end.
If you want a slouch look, knit even longer (maybe 10-12 inches) before closing the top. It is a personal preference and design choice.
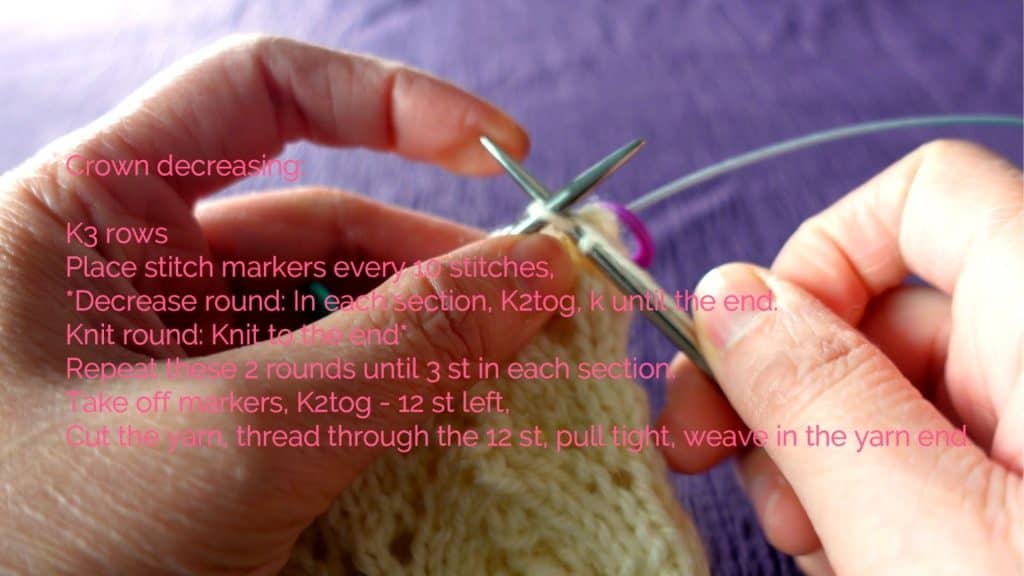
Start the crown shaping (decreasing)
Knit 1-3 plain knitting round before decreasing. This is optional.
Place 8 stitch markers to separate the 8 sections that match the lace pattern below. Each section has 10 stitches.
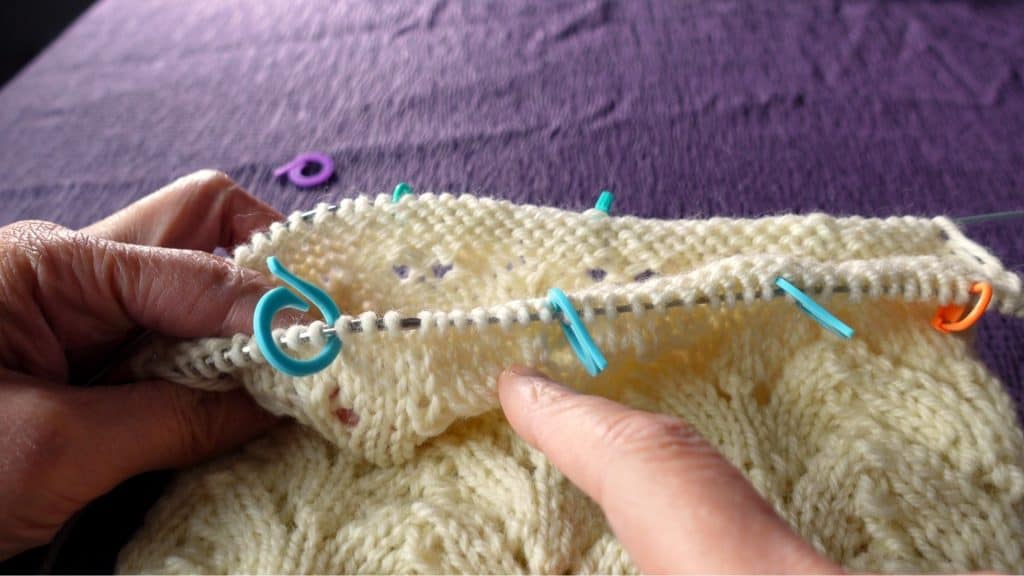
The decreasing round: in each section, K2tog, K to the end of the section (before the next marker). Repeat in each section until the end of the round.
The next round: K to the end.
Repeat the 2 rounds (Decreasing + Plain knitting round) above until 3 stitches left in each section.
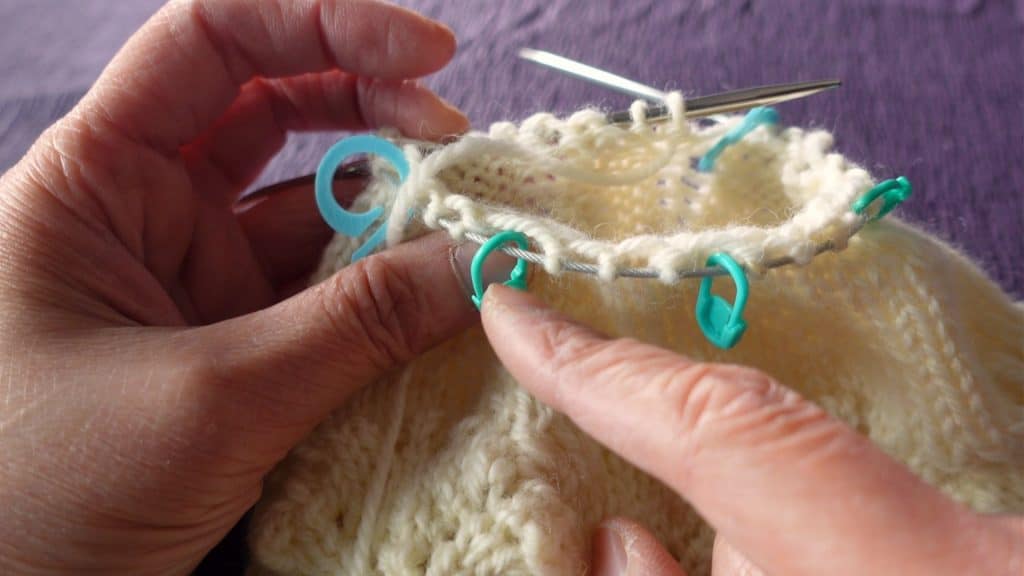
Take off the stitch markers. 24 stitches left.
Knit 2 together *(K2tog), repeat * until the end. 12 stitches left.

Cut the yarn leaving a tail. Thread the yarn with a tapestry needle and thread through all stitches. Pull the stitches tight to close the hole.
Sew a few stitches around the hole and weave in the yarn end. All done.
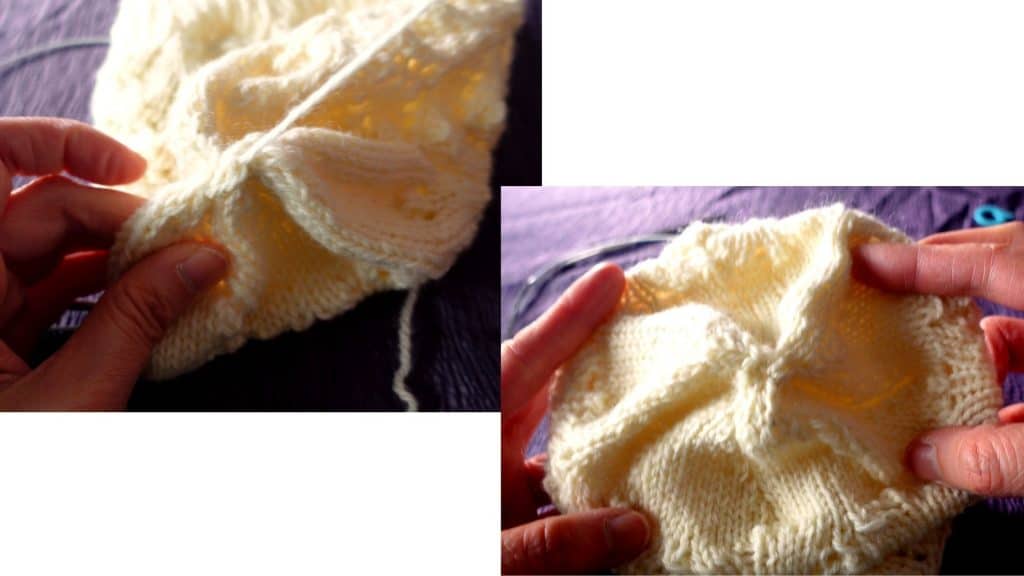
A pompom can be sewn on the top if you prefer.
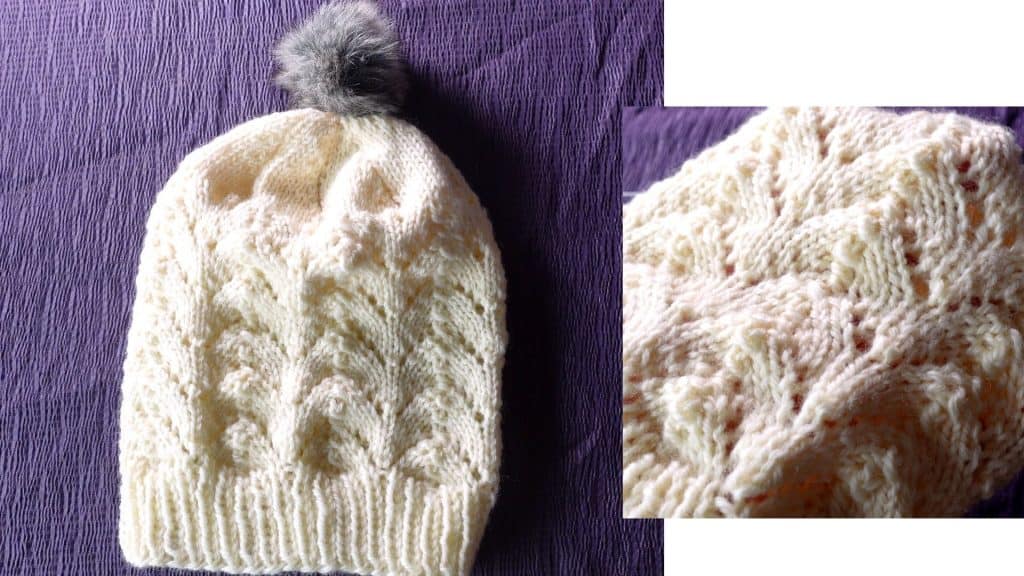
You can steam block or wash the hat to make the lace pattern more prominent.
Happy knitting!

🛒 Visit our Amazon affiliated page (We get a small commission without extra cost to you.): https://www.amazon.com/shop/picturehealer
Hand-knit lace hat with free pattern
- How to machine knit a heart shape on an LK150
- Machine knitting a loop stitch for big texture
- Machine knitting a corner-to-corner, diagonal dishcloth
- Machine knitting a buttonhole band on an LK150
- Tuck stitch blanket on an LK150 – Part 1
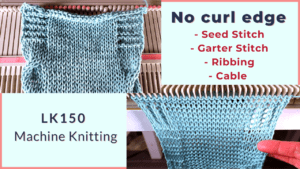
- No curl edge with seed, garter, ribbing, or cable stitches
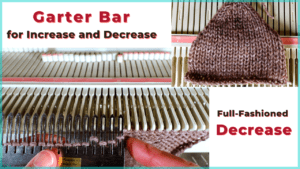
- Full-fashioned decrease, Garter Bar increases or decreases in the middle of a row
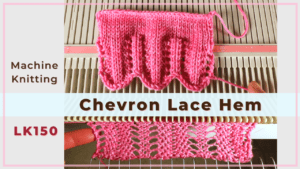
- How to machine knit a Chevron Lace Hem
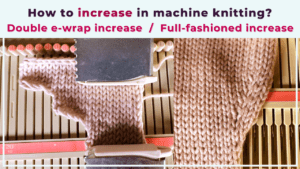
- Machine knitting increases – the full-fashioned increase and double e-wrap
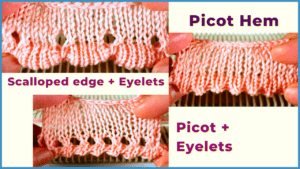
- Picot hem with a scalloped edge and eyelets on an LK150 knitting machine
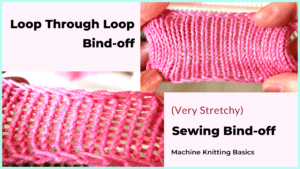
- The loop through loop bind-off and the sewing bind-off
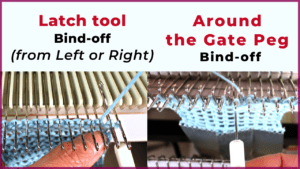
- The latch tool bind-off and around the gate peg cast-off
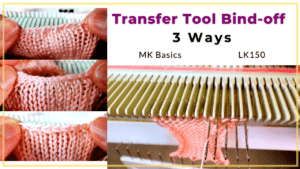
- Transfer tool cast off and variations- Simple, No hole, and Even-tension
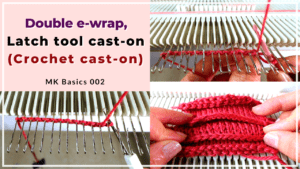
- Double e-wrap, latch tool, and crochet hook cast on
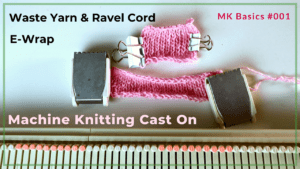
- Machine Knitting basics – Cast on with waste yarn, ravel cord, and e-wrap


2 Comments
Freya Shipley
I’m so excited to be trying this beautiful pattern! This will be my first-ever hat! Can you tell me how much worsted I’ll need to buy?
Tien
I am glad you like this hat. The final hat is about 60g (2.12 oz). It is roughly about 180 yards in the light worsted weight. You will need 2 balls of the 50 g (1.75 oz), or 1 100g (3.5 oz) worsted weight yarn.
A 100g ball of Cascade 220 (220 yards) is plenty for this hat. Happy knitting!