
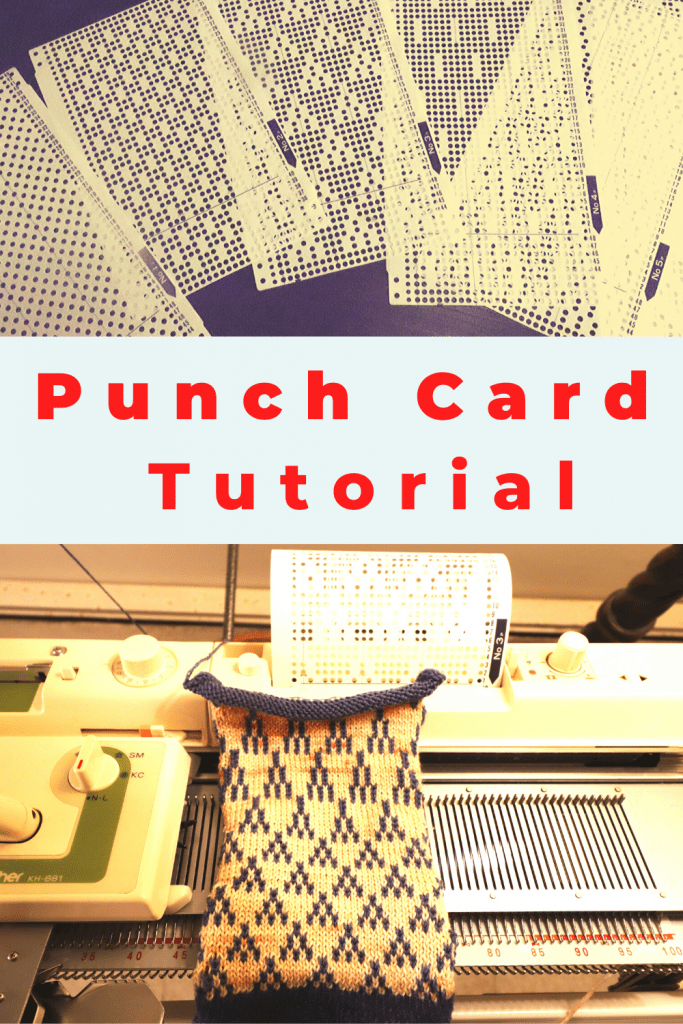
Machine Knitting with Punch card: Tuck and Fair Isle stitch pattern
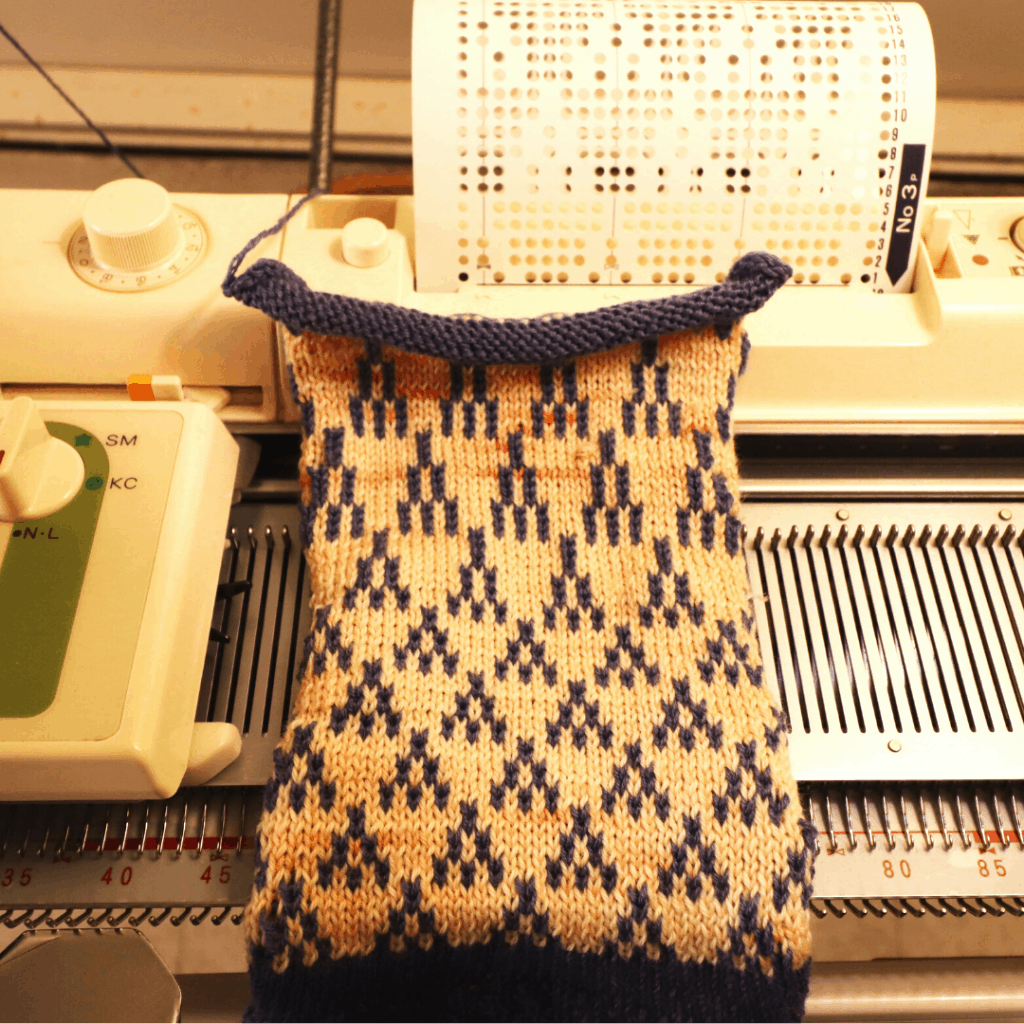
A punch card device is a powerful tool in the knitting machine world. It lets you knit a complicated design easily and quickly. It can be a single motif graphic or repeated geometric pattern. You can use Tuck, Fair-Isle, or Slip stitch together with the punch card patterning.
It is also a little challenging for beginners because you need to follow certain rules to operate correctly, and not a lot of information is available on the internet. Once you watch the video below, you know it is actually very simple.
There are other technologies that can do more complicated patterning such as a computerized knitting machine. But the learning curve is deeper too. Personally, I prefer a simple, mechanical device that is easier to understand and less chance to make mistakes.
Watch the video below for the punch card tutorial
The basics of the punch cards
The knitting machine punch cards come in a standard pack. I believe it is around 15-18 pages, and there are add-ons you can buy for more patterning groups such as lace, fair-isle, and so on. You can also punch your own card and make a custom pattern.
The most common cards are 24 stitches wide. Some machines use 12 stitches cards. You can convert the 12 stitch pattern to 24 stitches by punching a new card with 2 repeats.
The Brother and Singer machines also have different beginning row count before the first row. You can dial up and down the rows to find the first row.
The basic process to use a punch card for a Brother machine
1. Choose the appropriate card
Depending on which technique you want to knit such as Tuck, Fair Isle, Slip, or Lace, you should pick different card designs.
For example,
Tuck stitch can only hold 2-3 rows in the same stitch, so if the pattern has many rows in the same stitch vertically, it might cause dropped stitch.
Fair-Isle can create long floats if there are many plain stitches next to each other. So avoid that for Fair-Isle color knitting.
Lace stitch creates holes so if there are too many stitches side by side, it makes a large hole and might not knit properly.
The first few cards on the standard punch card pack are basic patterns with simple repeats. It is safer to use these cards for practice.
2. Insert the card
Insert the punch card to the card slot. Push down and turn the big dial on the right to advance the card.
3. Connect the beginning and end of the card
Use locking snaps to lock the beginning and end of the card to create a continuous loop so the pattern can keep repeating. There are 2 dots on each side of the card at both the beginning and end. Just snap the plastic accessories together.
4. Lock the card
There are 3 symbols next to the card slot. There is a red dot in the bottom, a green triangle in the middle, and an elongated triangle on the top. The red dot means locking the card so it does not advance to the next row.
The green triangle in the middle means normal knitting.
The long triangle on the top means elongated knitting. Every row will repeat twice.
5. Carriage dial set to KC
The KC on the carriage means engaging the belt to start the punch card patterning. The NL on the carriage means normal stockinette stitch knitting.
Turn the dial to KC for the punch card knitting.
6. Move the carriage to near the end of the bed
It can be to the far right or left. The carriage has to pass a certain point to engage with the belt.
7. Knit one row
Now the card is set to the red dot for locking, carriage set to KC. Move the carriage to the far side and we are ready to knit the first row.
After the first row, the needles will be selected as row 1.
8. Unlock the card
Unlock the card by switching from the red dot to the green triangle in the middle. Then you can choose your stitch by pushing the right button (see #9 below).
9. Choose your stitch
Set up your stitch by pushing the right button on the carriage. For the tuck stitch, push the left 2 buttons, for the Fair-Isle, push the center button (MC), for the slip stitch, push in the right 2 buttons. To cancel, simply move the “Plain” switch.
10. Back to normal knitting
When done with punch card patterning, you can change the carriage dial to NL for normal knitting. And continue to bind off.
It is also easier to start your knitting with a few rows of the plain knitting before starting punch card patterns.
So that is all the basics for punch card knitting. It looks intimidating but it is really not that difficult. The next step is to design our own punch cards and have fun playing with our own design.
Easy No-sew Face Mask with a T-shirt or Fleece (free pdf download)
Simple face mask sewing with wire and filter insert opening
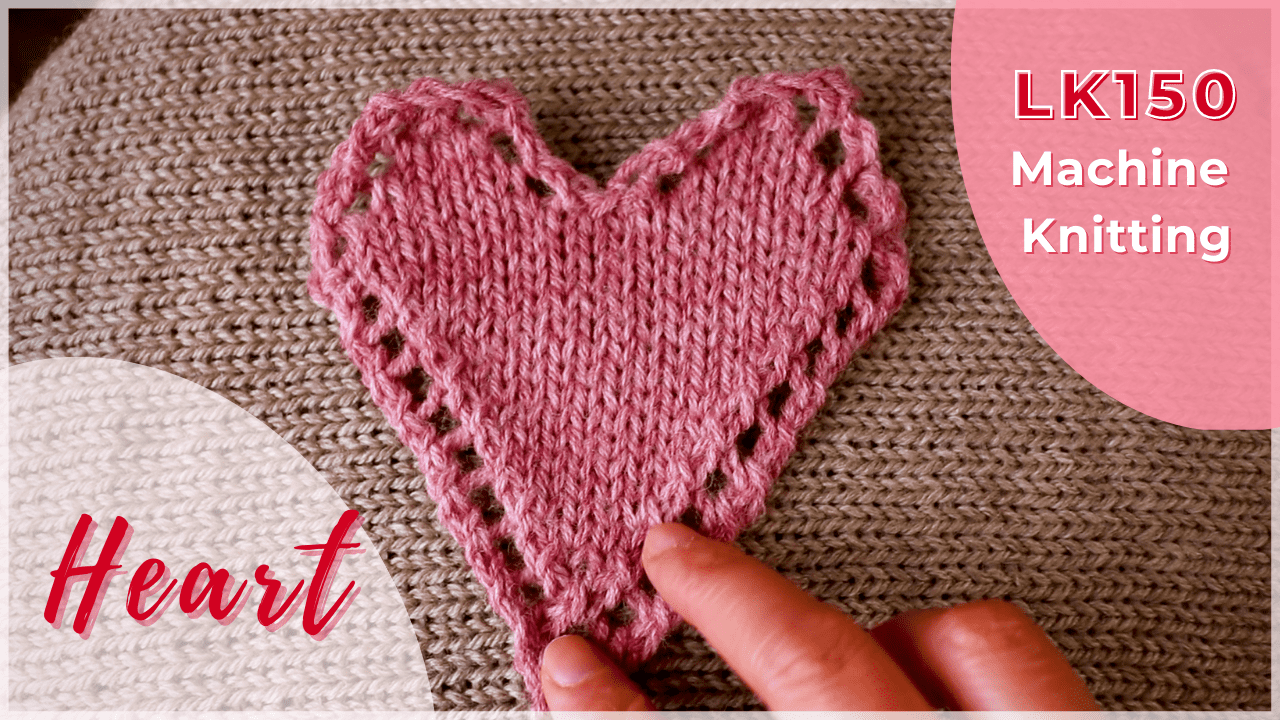
How to machine knit a heart shape on an LK150
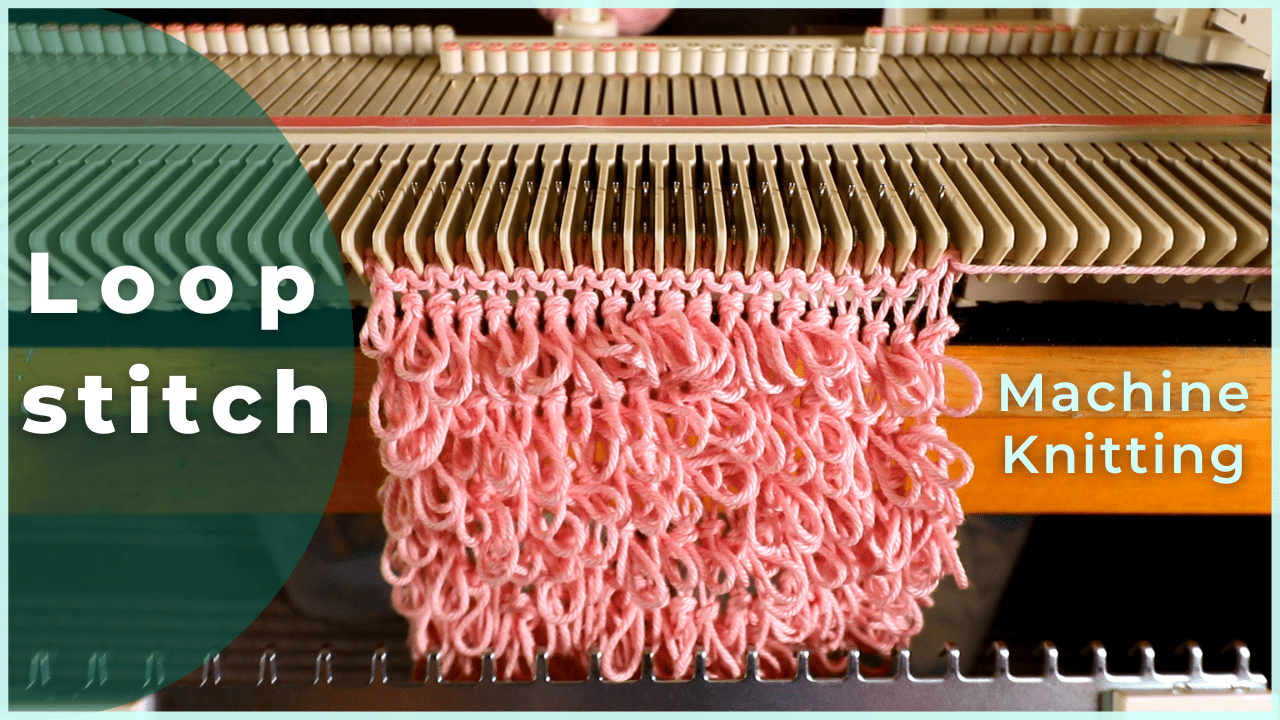
Machine knitting a loop stitch for big texture

Machine knitting a corner-to-corner, diagonal dishcloth
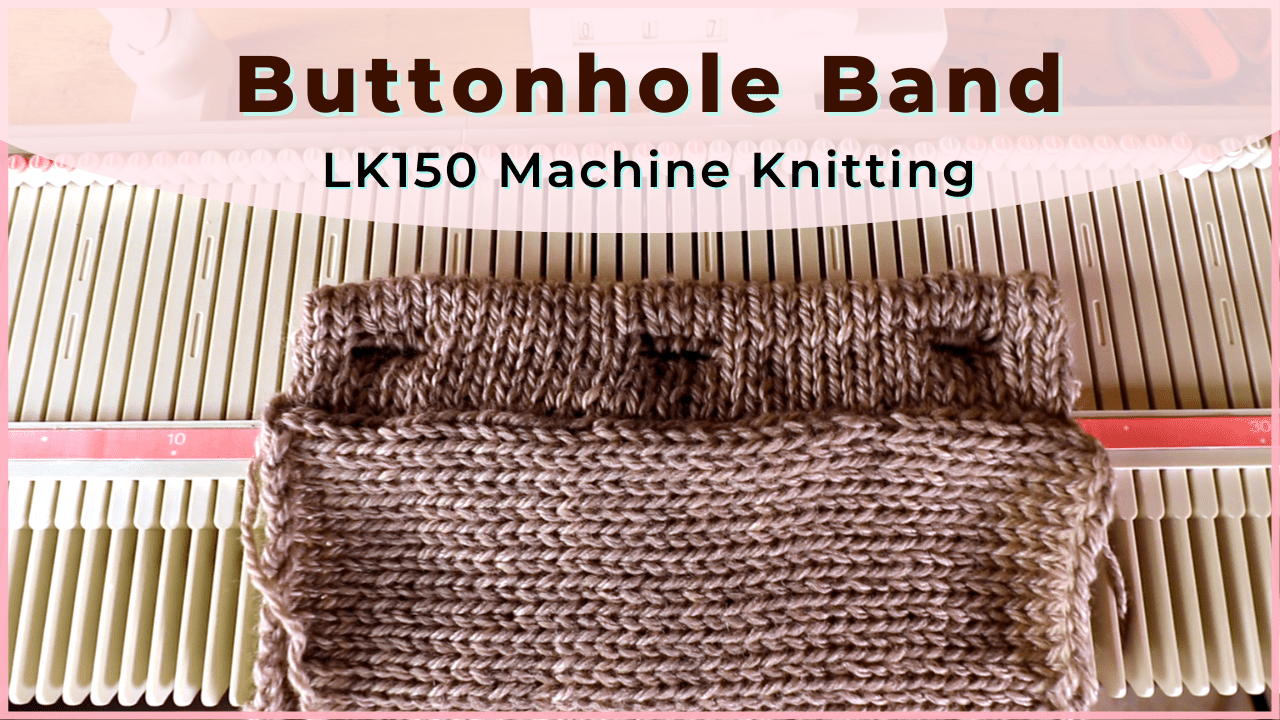
Machine knitting a buttonhole band on an LK150
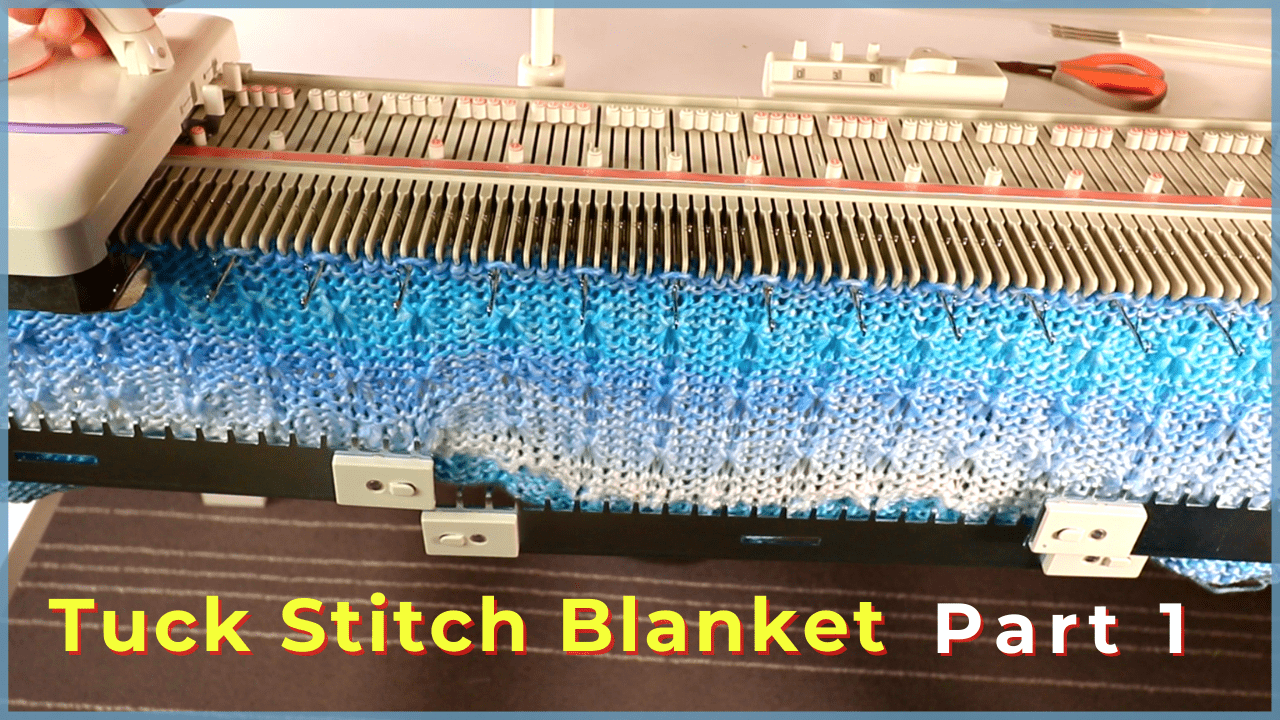
Tuck stitch blanket on an LK150 – Part 1
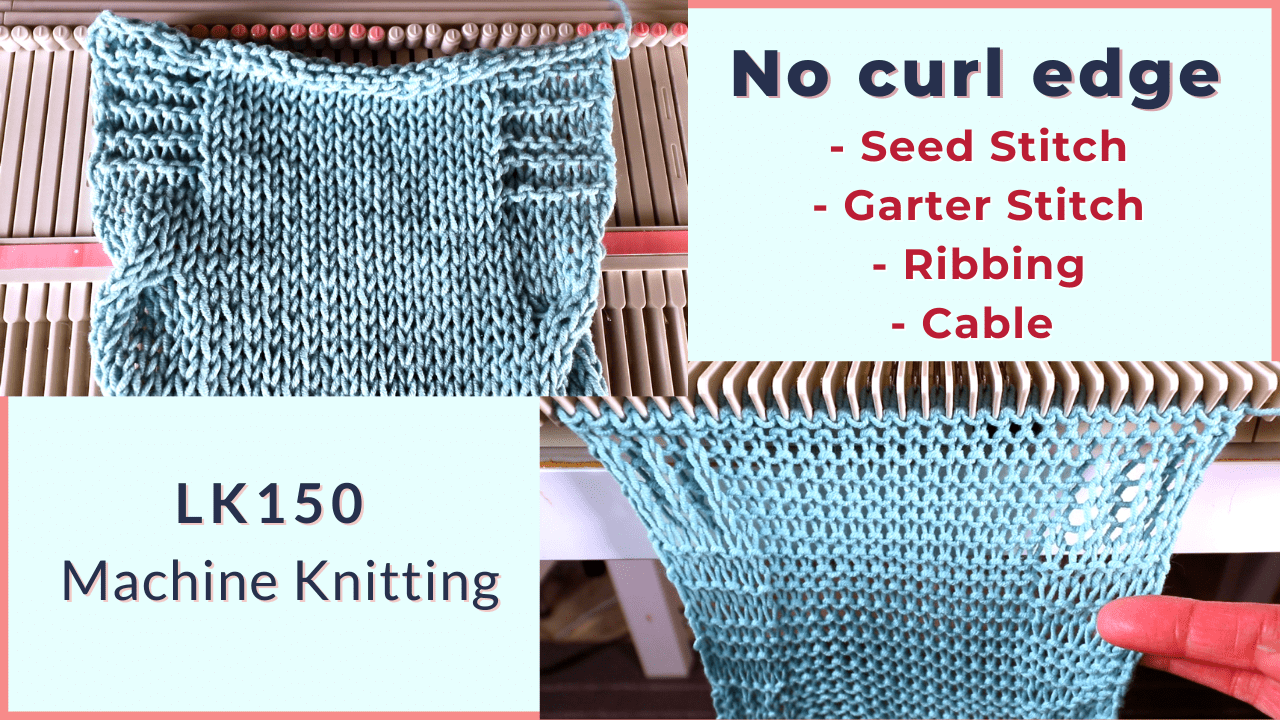
No curl edge with seed, garter, ribbing, or cable stitches
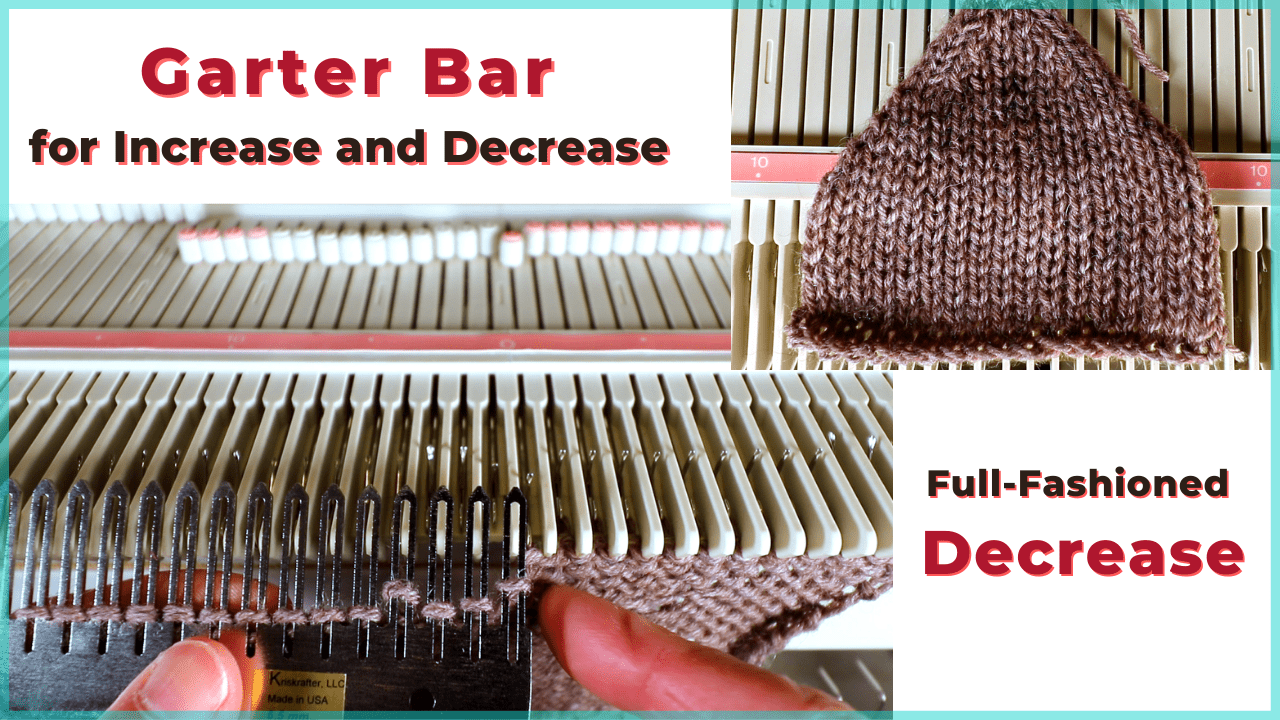
Full-fashioned decrease, Garter Bar increases or decreases in the middle of a row
![]()
How to machine knit a Chevron Lace Hem
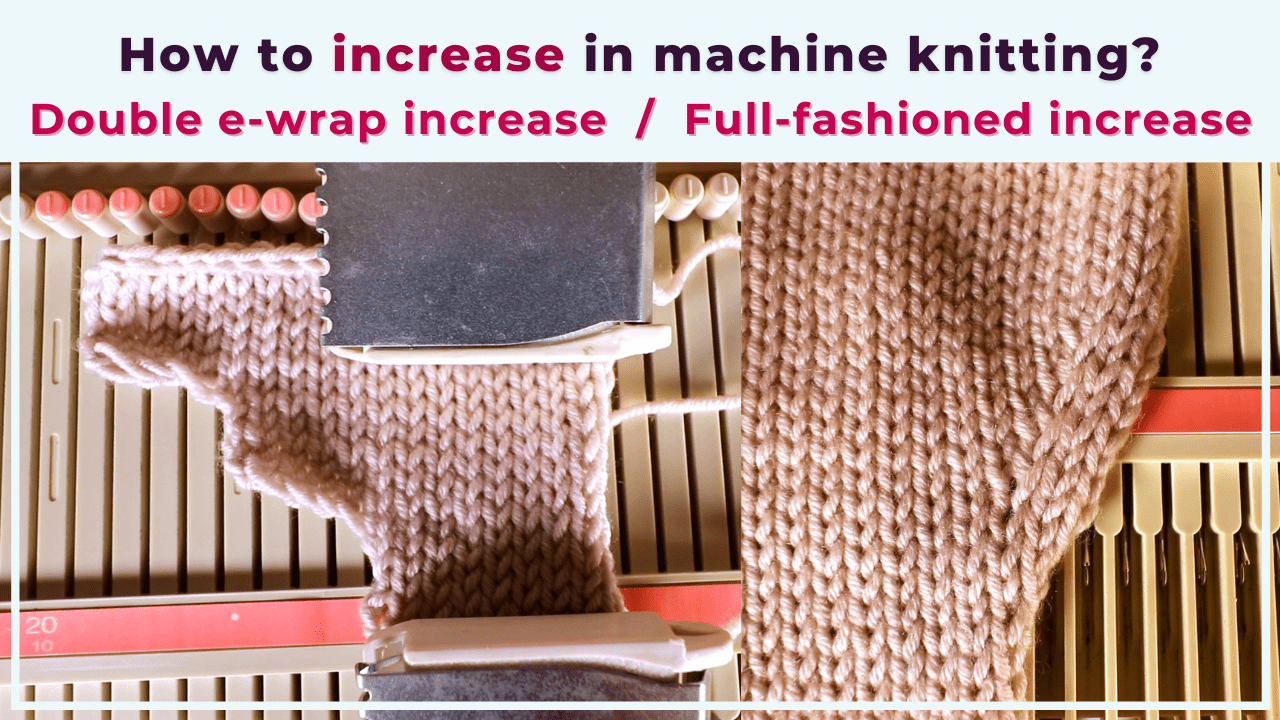
Machine knitting increases – the full-fashioned increase and double e-wrap
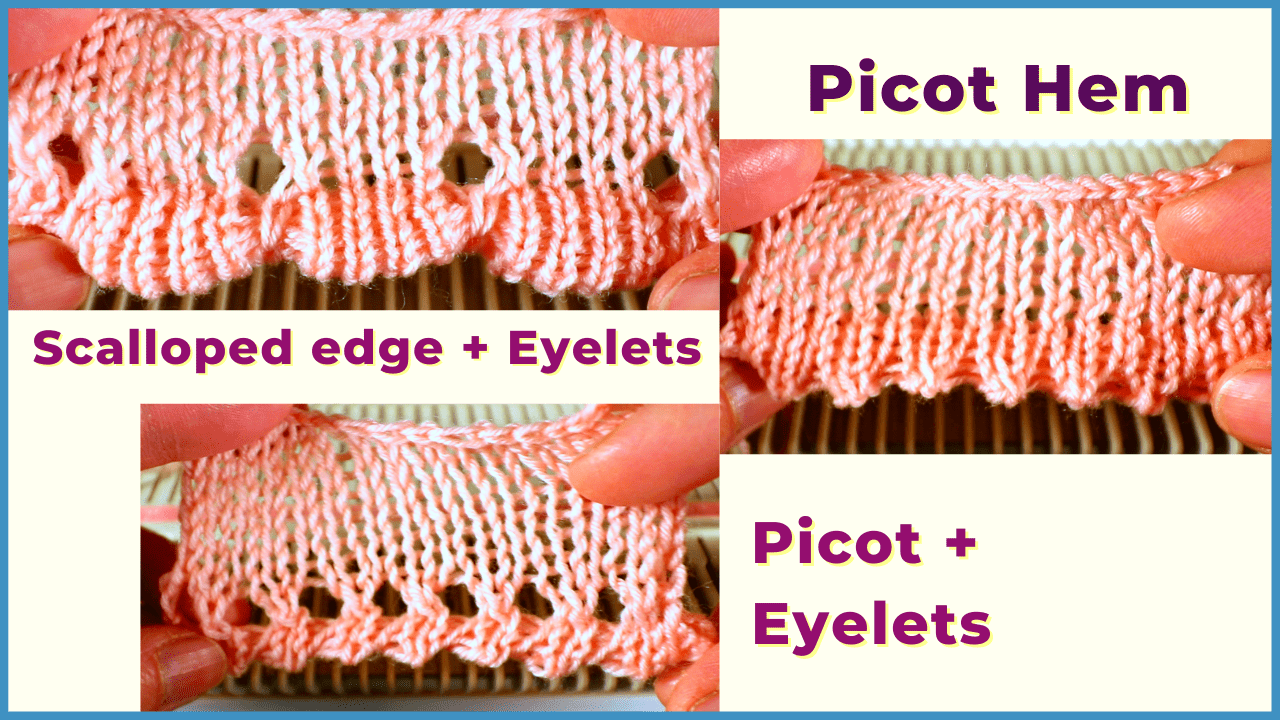
Picot hem with a scalloped edge and eyelets on an LK150 knitting machine


You May Also Like
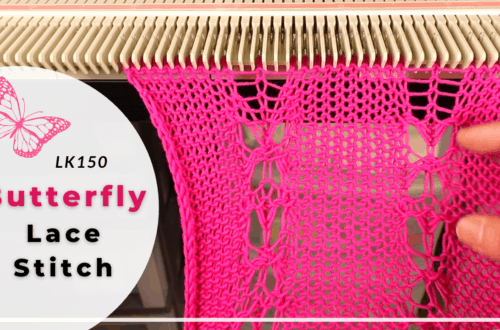
Butterfly lace stitch on the LK150 knitting machine
