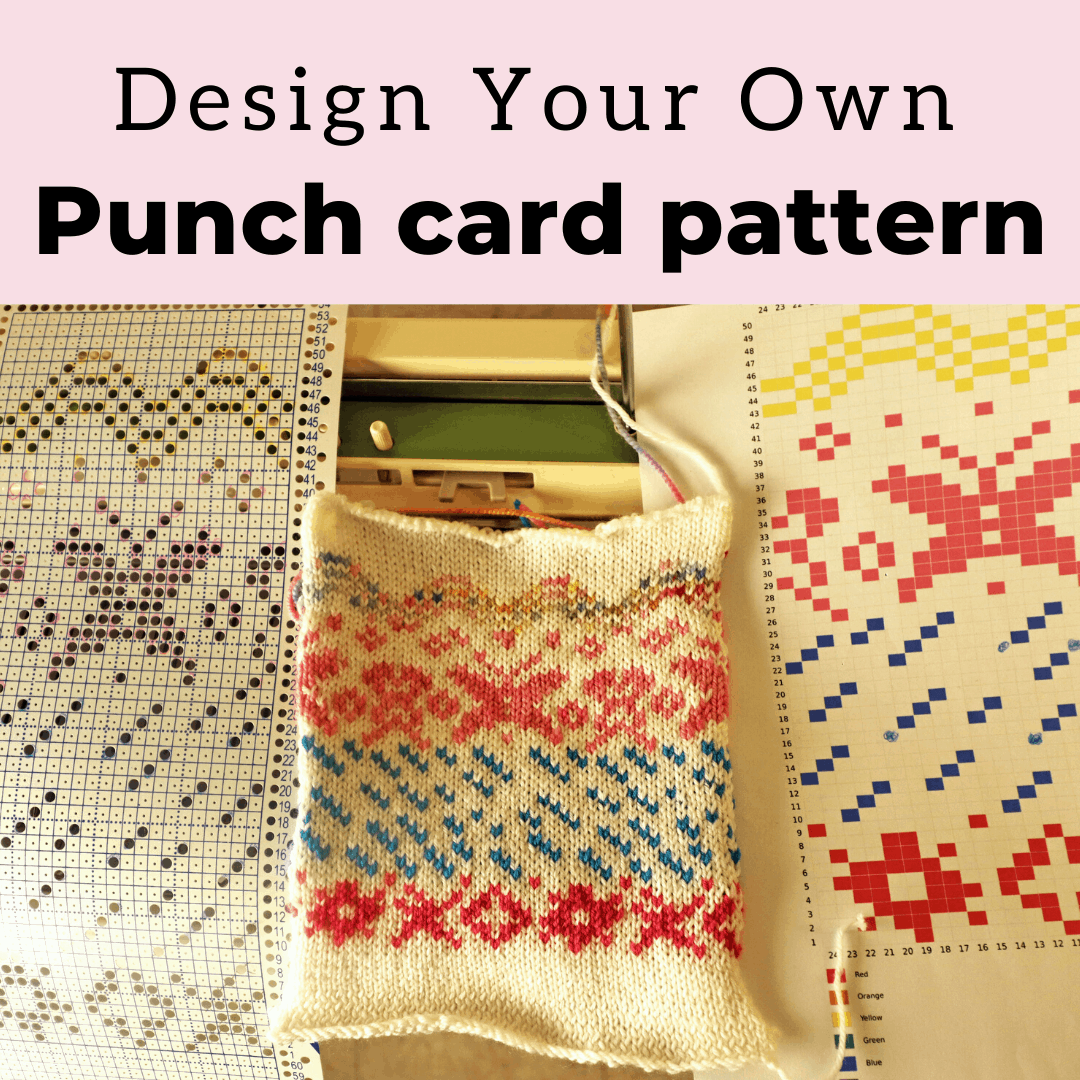
How to design your punch card for 2-color fair isle machine knitting
Fair Isle, or the 2 color knitting, is fun and fascinating. But it can be time-consuming and complicated with hand knitting. If you have a knitting machine with a punch card device, either a standard gauge or bulky gauge, you can easily punch your design on the blank card and knit up your project very fast.
The most standard punch cards are 24 stitches wide, and the second popular format is 12 stitches wide. Some machine has a different stitch count for their punch card, you just have to work with what you have.
Tools and equipment
I am using Brother KH881 standard gauge machine and fingering weight or sock weight yarn. You will need the following tools to punch your own card:
- a hand punch (from eBay or Amazon)
- some blank punch card (available from eBay or Amazon, make sure it is compatible with your machine. ie, Brother vs. Singer)
- a computer app such as Stitchfiddle will be helpful. Or the old fashioned knitting grid paper will work too.
Fair Isle design
To design your card, there is really no limit. You can have just a single motif without repeat, just a few rows of repeat, or punch the whole card and connect the end with the connector to make it a continuous loop.
One thing to remember is the image you punch will be opposite left and right position to your final knitting. So if you have letters and names, design with a mirror image.
If the design is continuous when knitted wider than 24 stitches, remember the left and rightmost columns on your punch card can match and create a continuous pattern.
For fair isle color knitting, the secondary color creates yarn floats in the back, so try to avoid having too much empty background to minimize the floats. You can add some abstract dots and shapes in the transition area to reduce the long yarn floats.
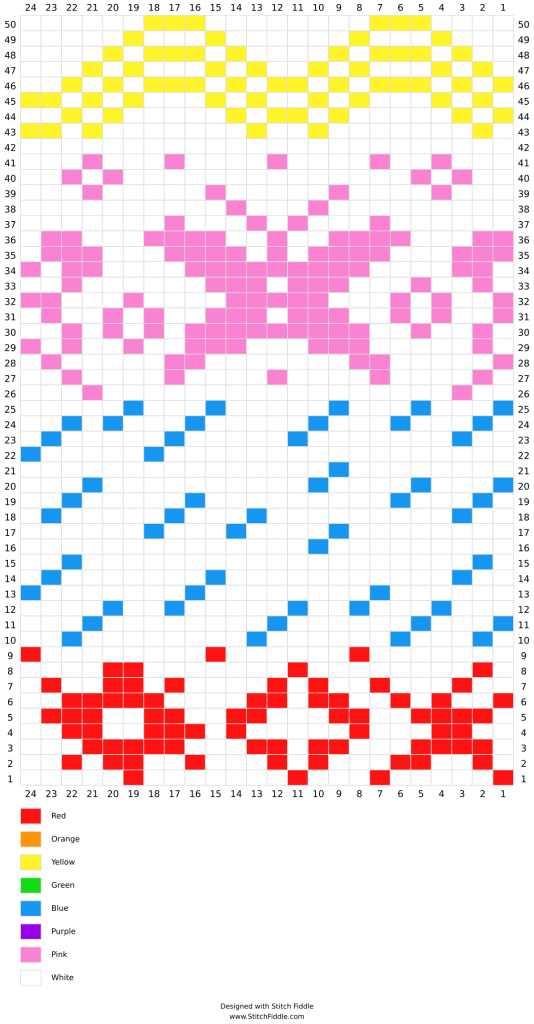
Drawing and sketching
The first part is to gather some ideas and sketch some graphics on paper or computer. For this project, I use Stitchfiddle.com to chart out my pattern (not affiliated). I also like to use traditional knitting grid paper (you can print out from internet for free too). Use some color pencils and markers to get the look you like.
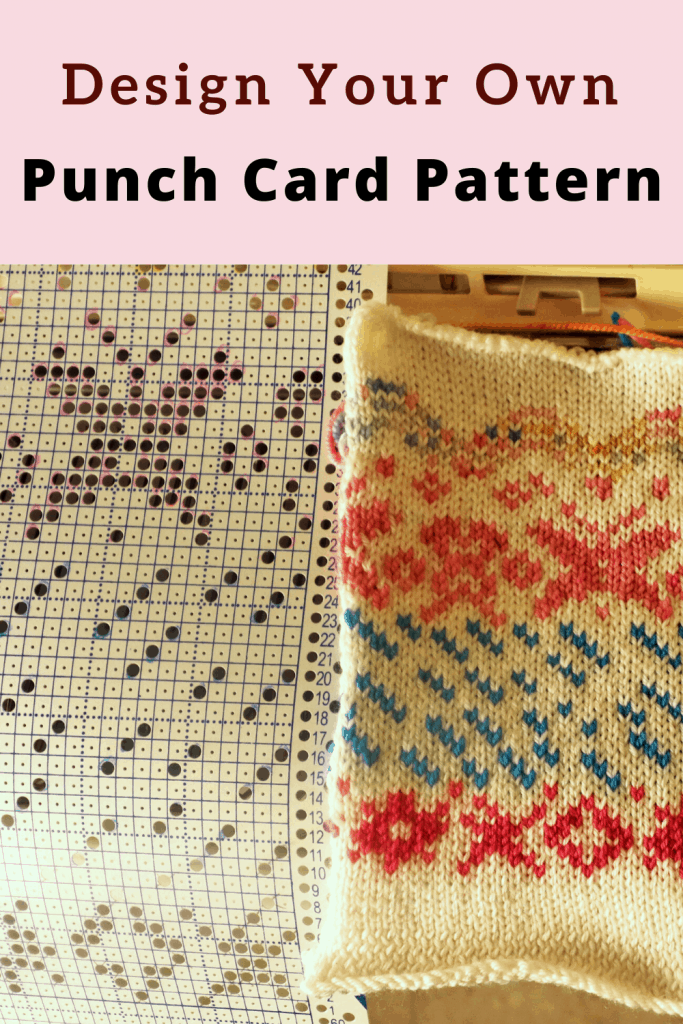
Punch your card
Once you have the design at hand, you can start punching the card with your hand puncher. The one I use can reach 12 stitches deep so I have to punch one side first and switch to the other side.
When punching your card, make sure you find the center first. The small hole on the center of the grid should match the small needle extended from the punch. you can press the punch halfway and wiggle left and right first to find the center.
Fixing mistakes
If you punch the wrong hole, don’t worry. Just use a piece of tape to cover the hole, and you can re-punch again.
Beginning of the 1st row – Brother vs. Singer
For Brother knitting machine punch card, there are 7 rows below the first row, and for Singer machine, there are 5 rows below the first row. That means the current row machine is reading is actually 7th row below the first line we see (on the punch card device) on a Brother or 5th row below on a Singer machine.
Some blank punch card marks 7 rows below the first line for Brother machine, some marks 5 rows for the first line for Singer machine. Either way, it can be interchangeable if you just ignore the marking and just count it by yourself. The paper itself is the same except for the number marking.
Test it on a knitting machine
Once you have your card punched, you can try it on your machine. Watch my previous video for the basics of how to use the punch card device.
Basic knitting machine can take 2 color yarns with the main yarn (background) in A position and secondary yarn in the B position of the carriage. You can add more color if you get a yarn changer accessory.
You can change the background color, the accent color, or use multi-color yarn to create different effects. The same pattern can look very different with different colors and yarns.
Happy Knitting!
Watch the video about the punch card design and knitting


2 Comments
Lilywhite
Please where did you get the punch lace card you re punched
Tien
from the website: http://www.needlesofsteel.org.uk/