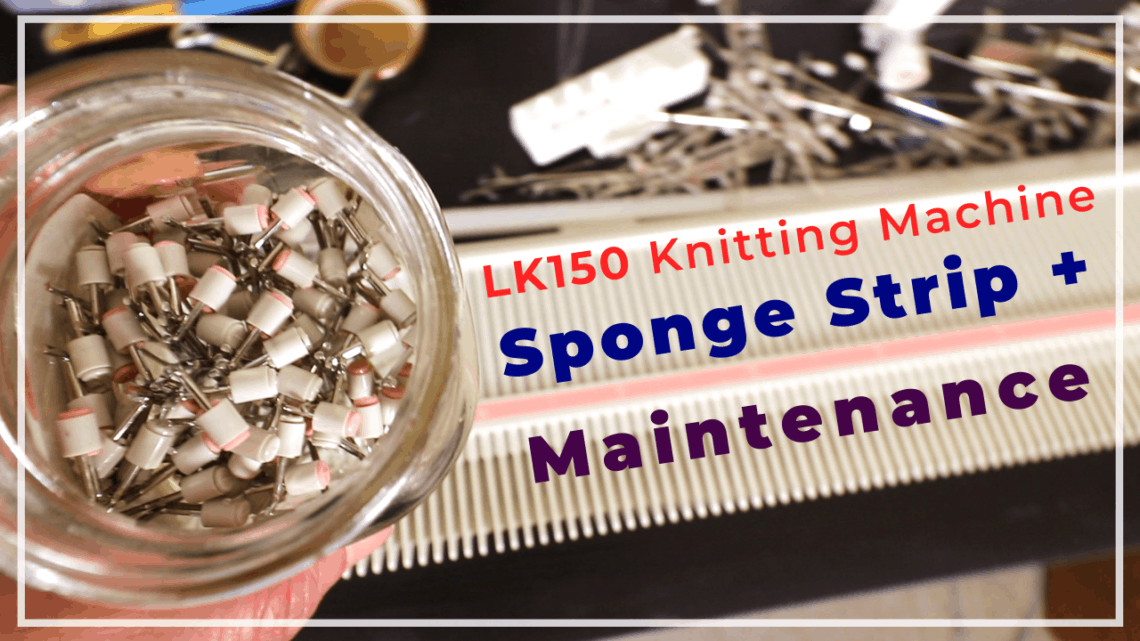
Replacing sponge bar for LK150 and general maintenance
When my LK150 mid-gauge knitting machine needles start to get loose and floppy, I know it is time to replace a new sponge bar. The sponge bar or sponge strip on a knitting machine should be replaced every 1 to 2 years, but we tend to forget or feel too lazy to do the task. It is a dirty job but still needs to get done regularly. This is also a good time to give it a clean-up, oiling, and perform general maintenance.
I got my sponge strip online. You can also make your own with weather sealing sponge from big box hardware stores. Pick the right width (by measuring the old sponge), and cut it into the right length. For the fabrics outside the sponge bar, you can buy an iron-on fabric interface from the sewing supply store. Just iron it on both sides of the sponge strip and cut off the excess.
Below is the link to my sponge bar. It is pretty inexpensive. If I have to change the sponge every year, I really don’t need a fancy sponge strip, unless you knit a lot throughout the year. The following include affiliate links, meaning I get a small commission if you buy through the link.
Sponge Strip I use (for mid-gauge knitting machine): https://amzn.to/3xzggNC
LPS-1 Lubricant oil for knitting machine: https://amzn.to/2SdK8ih
Watch the video for sponge bar replacement and general maintenance of the LK150 knitting machine
Preparing the sponge bar replacement
First, we have to get the right size sponge bar. For most mid-gauge plastic bed machines, the sponge strips are not attached to the metal pieces, so there is no need to glue or tape them down. The sponge size is also different from standard or bulky metal bed knitting machines.
Since I will do a general cleaning of the bed, carriage, and needles, I prepare a jar to hold needles, some rags, and knitting machine oil or lubricant.
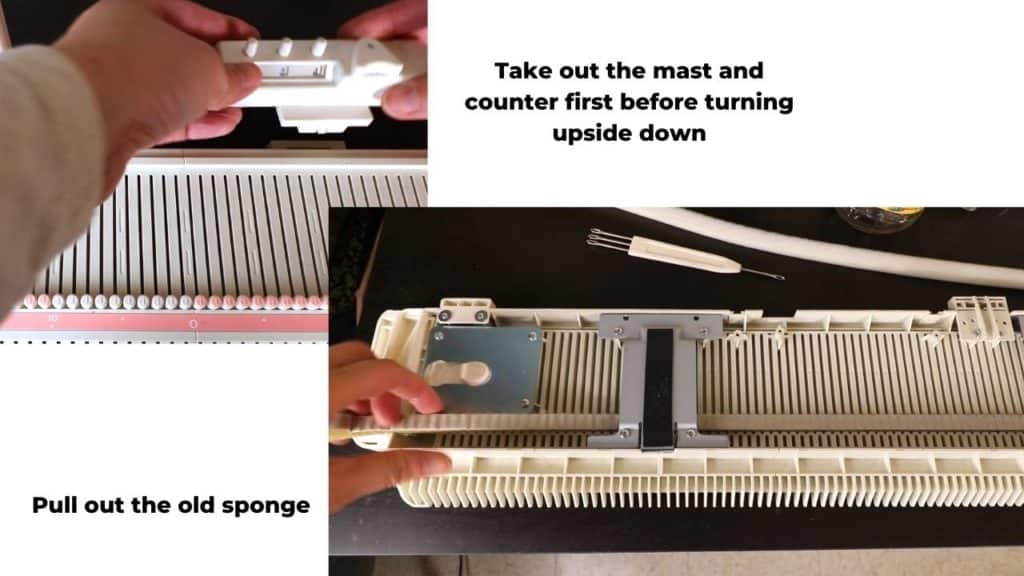
Take down the mast and the row-counter first, so we can flip the machine upside down.
The link to the same sponge bar I use: https://amzn.to/3xzggNC
Take out and clean the needles
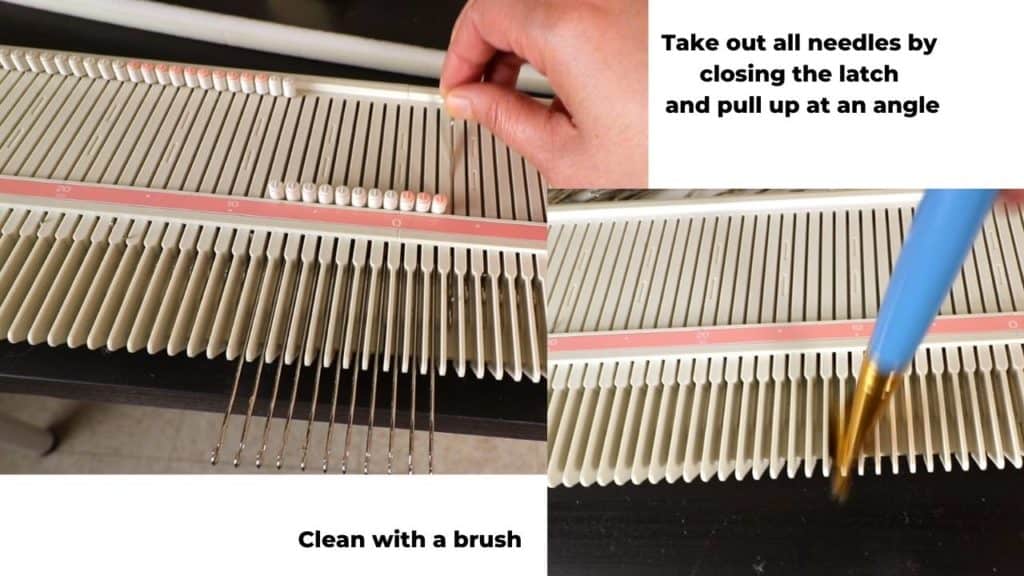
First, to take out the needles, we push them all the way out, close the latches, and then hold the plastic “butts” and tilt them up at an angle to pull out.
Clean the channels with a paint brush.
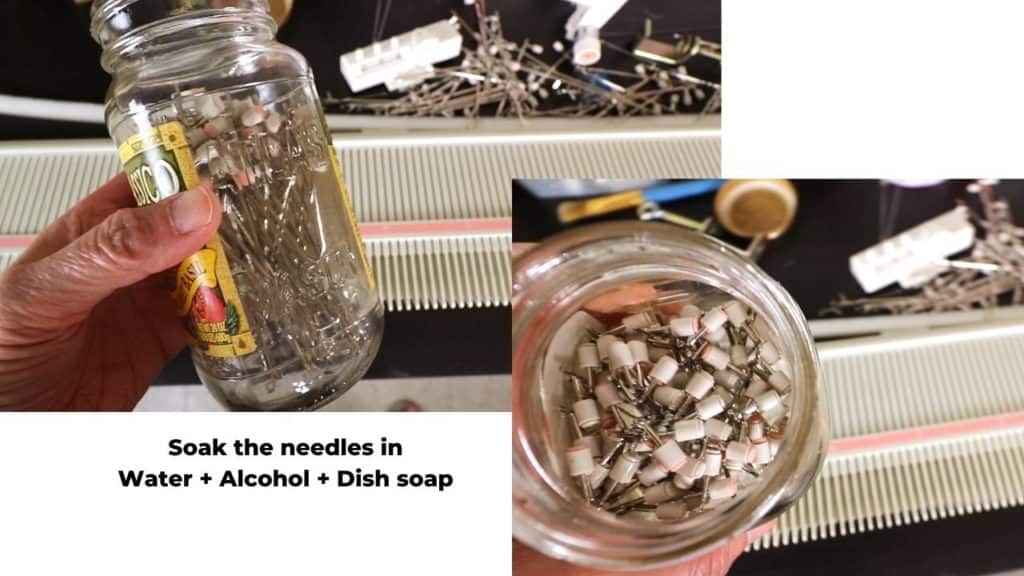
To clean the needles, you can put them in a jar with water, add a few drops of dish soap, and a little rubbing alcohol. Soak for a few minutes and shake a few times. If it is very dirty, you can soak for longer, and increase the dish soap or alcohol amount.
If your needles are rusted (that happens more if you have a second-hand metal bed knitting machine), you might need to send down the rust first, or use the old trick of soaking them in coke (Yes, the Coca-cola) overnight first before sanding them down.
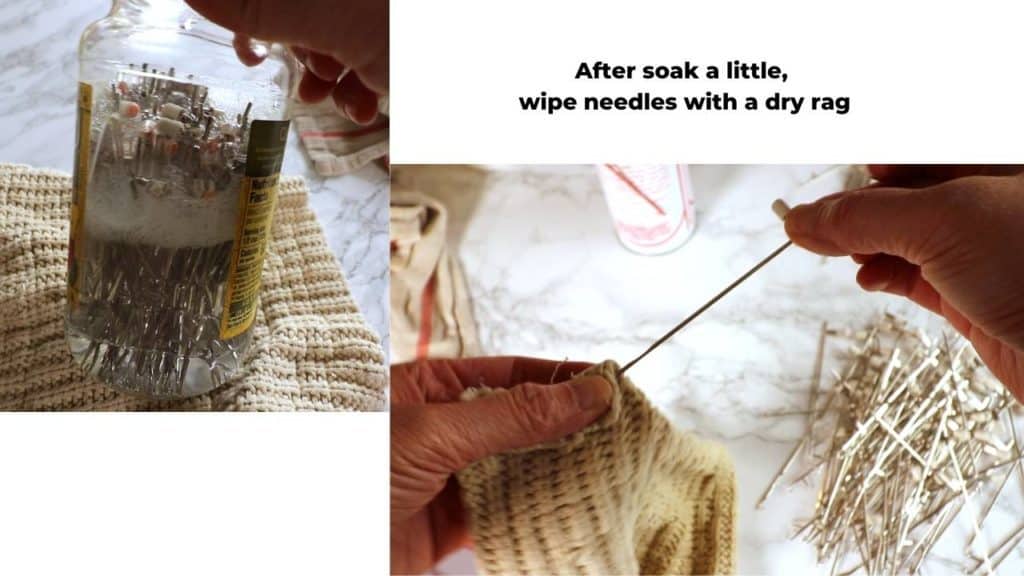
After cleaning, wipe needles with a dry rag or towel so no moisture left.
The last step is to wipe the needles with a rag/towel sprayed with knitting machine oil. This prevents rust and makes knitting smoother.
All metal parts can be wiped or sprayed with oil or lubricant. I use Lori Lin knitting machine oil, but I think it is discontinued. Other choices are the LPS lubricant, gun oil, or sewing machine oil.
The LPS lubricant: https://amzn.to/2SdK8ih
Gun oil: https://amzn.to/3u5pKho
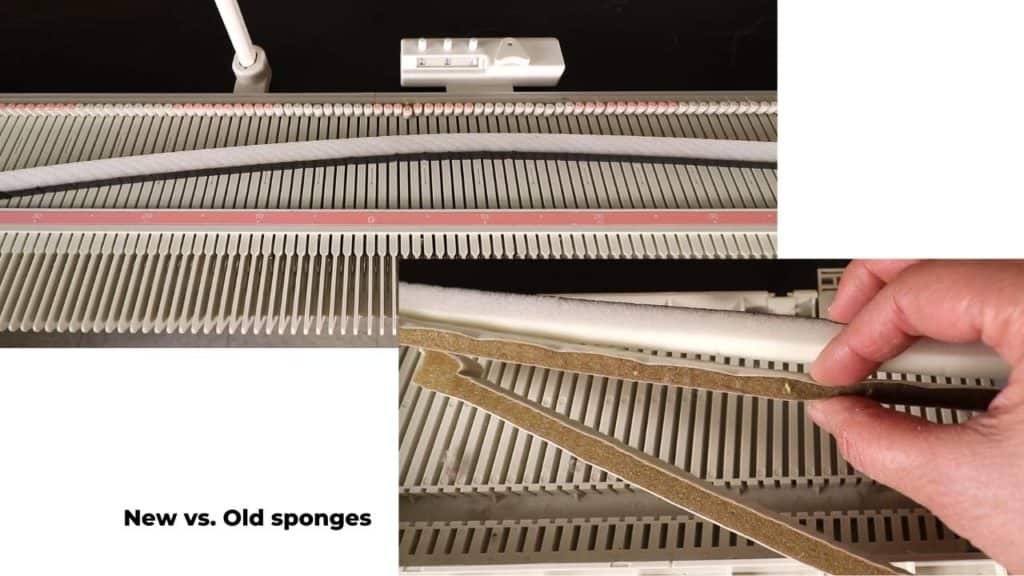
After taking out all the needles, we can pull out the old sponge strip from the back side easily.

Clean the machine and install the new sponge bar
After taking out the old sponge bar, clean up the channel first with the brush and a rag. If needed, use a damp cloth with a little dish soap.
Inset the new sponge into the channel. For my new sponge, both sides have fabric covers so it does not matter which side is up. Check with your sponge strip manufacturer first if you are not sure.
If the sponge is too long, you can cut off extra at the end.
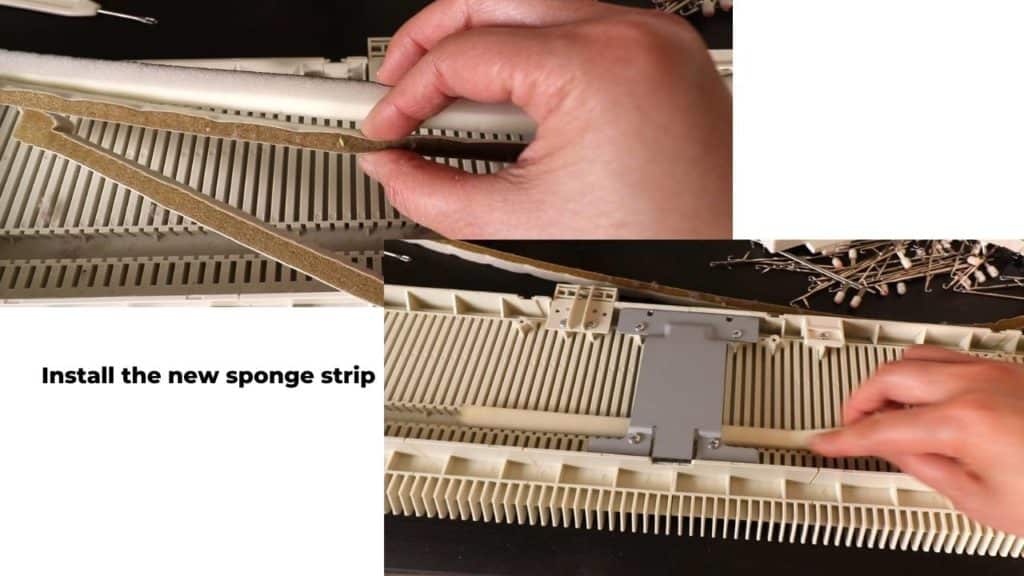
Install the needles back
After installing the new sponge, we are ready to install the needles. Simply press the sponge with one hand, and hold the needle with another hand.
Open up the latch first, and tilt the needle before hitting the sponge. The needle should go under the sponge, then push it straight out.
The trick is to push the sponge with your finger, and feel the needle goes under the sponge.
Remember the order of the needle colors. We start with 5 white needles on the right, then alternate 10 pink needles and 10 white needles.
Now is a good time to clean your carriage with a damp cloth for plastic parts, and machine oil for metal parts.
Then install the mast and row counter, we are done with the maintenance.
One extra step is to place a piece of fabric on top of the LK150 knitting machine to prevent dust when not in use. Now the machine is ready for the next project. It is good to go for at least another year!


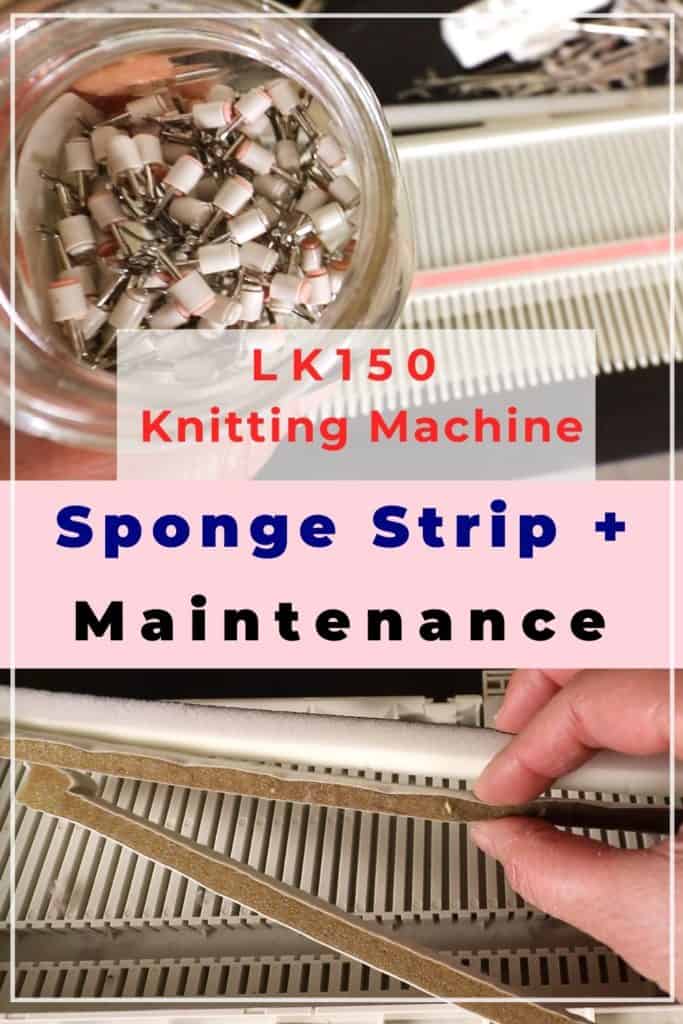
Replacing LK150 sponge strip and general maintenance
Featured Posts
- How to machine knit a heart shape on an LK150
 How to machine knit a simple lace heart shape on an LK150 knitting machine.
 - Machine knitting a loop stitch for big texture
 How to machine knit a loop stitch or double loop stitch? By hand manipulating stitches on the LK150, we can easily make big texture and big statement.
 - Machine knitting a corner-to-corner, diagonal dishcloth
 How to machine knit a corner to corner dishcloth on an LK150? Simple technique and practical project.
 - Machine knitting a buttonhole band on an LK150
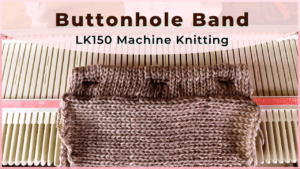 Free video tutorial of machine knitting a buttonhole band on an LK150 knitting machine.
 - Tuck stitch blanket on an LK150 – Part 1
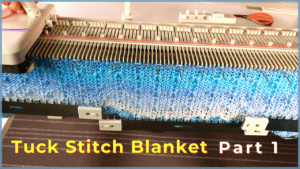 How to knit a simple Tuck stitch blanket on an LK150 knitting machine? Watch our free tutorial.
 - No curl edge with seed, garter, ribbing, or cable stitches
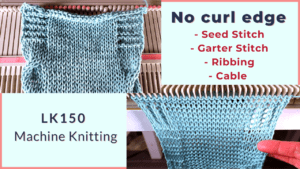 Machine knitting a no-curl edge with a seed stitch, garter stitch, ribbing, and cable stitch.
 - Full-fashioned decrease, Garter Bar increases or decreases in the middle of a row
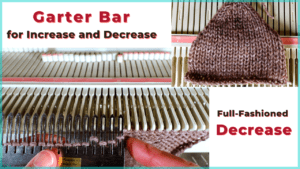 Tutorial for the simple and full fashioned decrease, and how to increase or decrease stitches with a garter bar in the middle of a row.
 - How to machine knit a Chevron Lace Hem
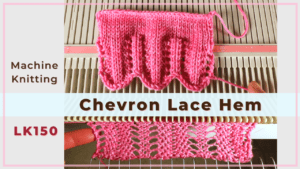 Tutorial for knitting a Chevron curved edge trim with eyelet lace. Simple hand manipulation makes this complicated looking design.
 - Machine knitting increases – the full-fashioned increase and double e-wrap
 How to increase stitches in machine knitting? Full-fashioned and e-wrap or double e-wrap increases.
 - Picot hem with a scalloped edge and eyelets on an LK150 knitting machine
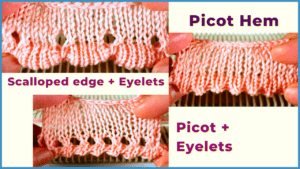 How to knit picot hem with lace and scalloped edges on an LK150 knitting machine?
 - The loop through loop bind-off and the sewing bind-off
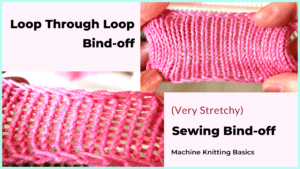 Tutorials of the loop through loop bind off and the sewing cast off for beginning machine knitters.
 - The latch tool bind-off and around the gate peg cast-off
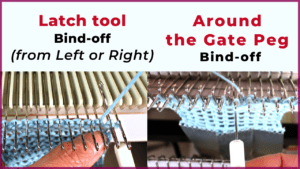 How to cast off with a latch tool from the left or right side? And how to bind off around gate pegs on a metal bed knitting machine?
 - Transfer tool cast off and variations- Simple, No hole, and Even-tension
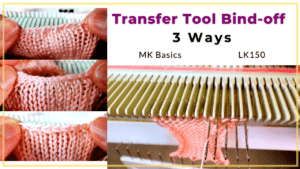 Transfer bind off for the LK150 knitting machine with 3 variations: simple, no hole, and the even tension transfer tool cast-off.
 - Double e-wrap, latch tool, and crochet hook cast on
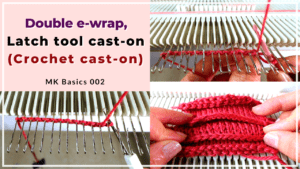 The basic cast on methods for machine knitting, including the double e-wrap cast on, latch tool cast-on, and crochet hook cast-on.
 - Machine Knitting basics – Cast on with waste yarn, ravel cord, and e-wrap
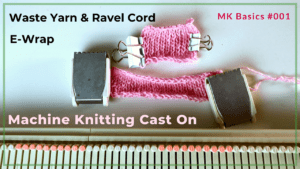 How to cast on with waste yarn, ravel cord, and simple e-wrap.


