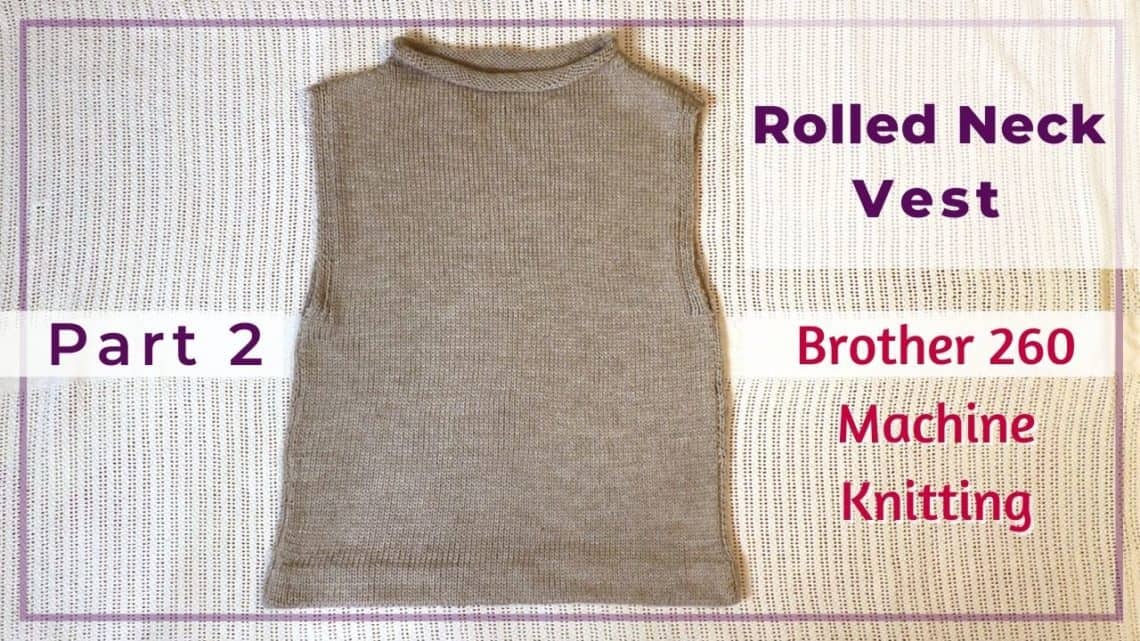
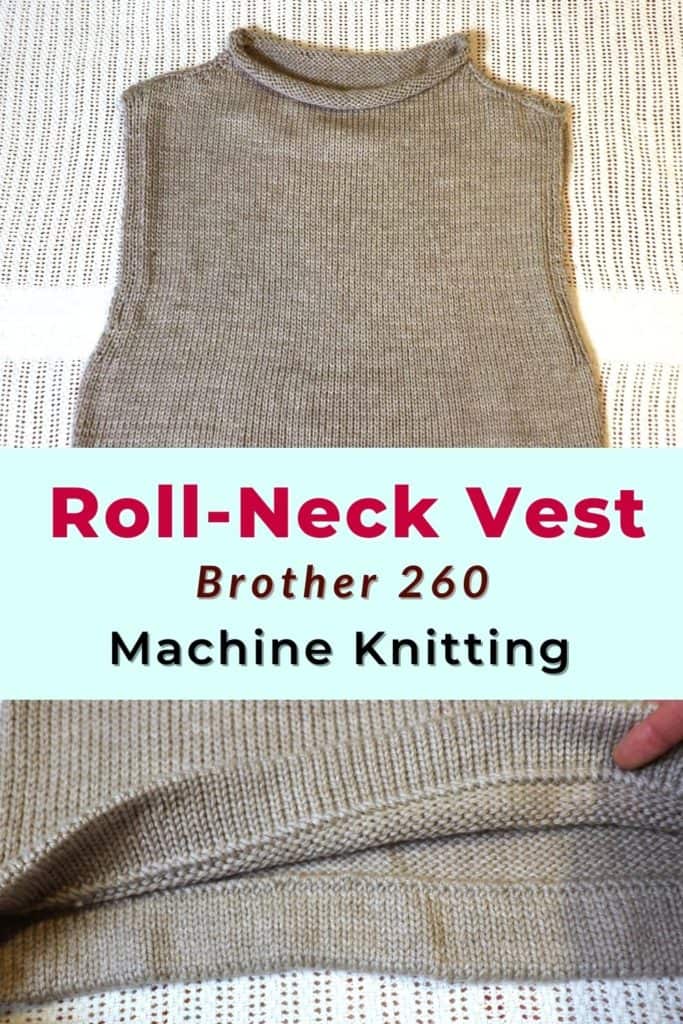
Machine knitting a rolled neck vest
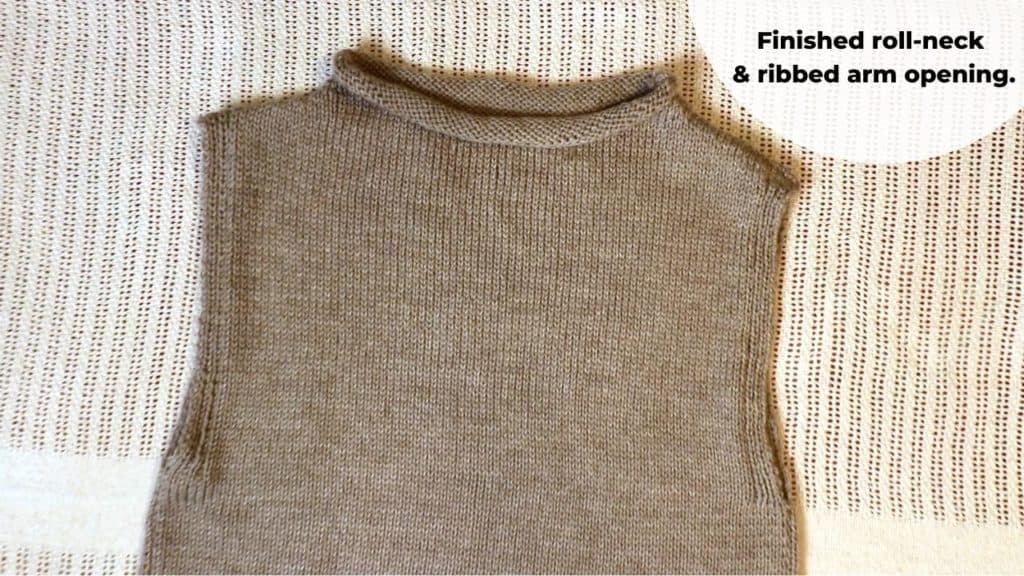
When we think about knitting a sweater or vest, the most challenging part is usually shaping the neckline or adding the ribbing. It does not have to be that way. There are easier designs to simplify all the different shaping and finishing techniques. For this project, I chose the rolled neckline by simply binding off the stockinette stitches.
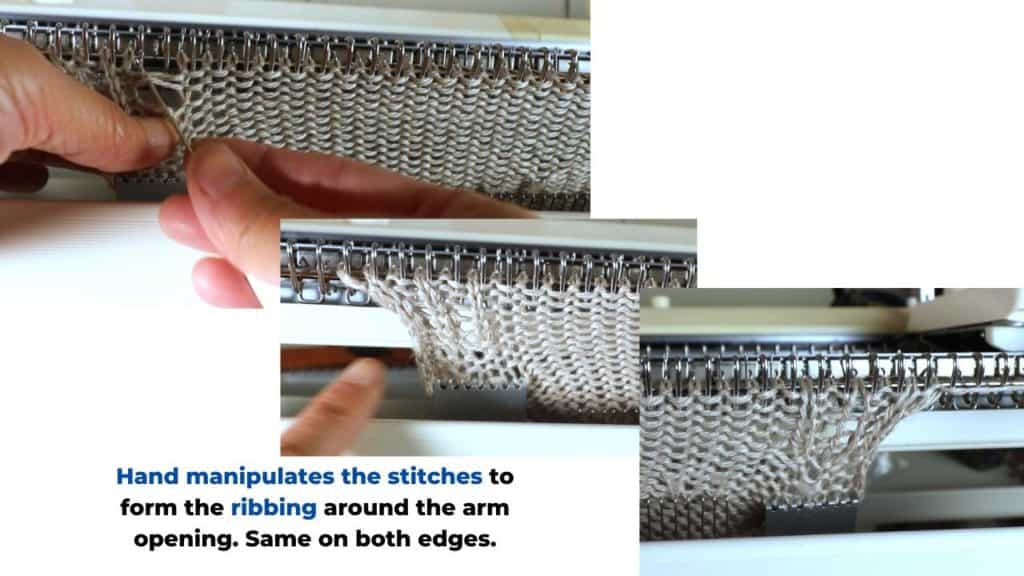
For the arm openings of the vest, I hand manipulated the ribbing on the knitting machine directly, and the bottom hem simply folded and sewn. This eliminates the separate knitting and attaching of the ribbing.
Together with the speed of machine knitting, I can make the vest pretty quickly. The first part is the design and calculation from your swatch so you know the vest will fit you.
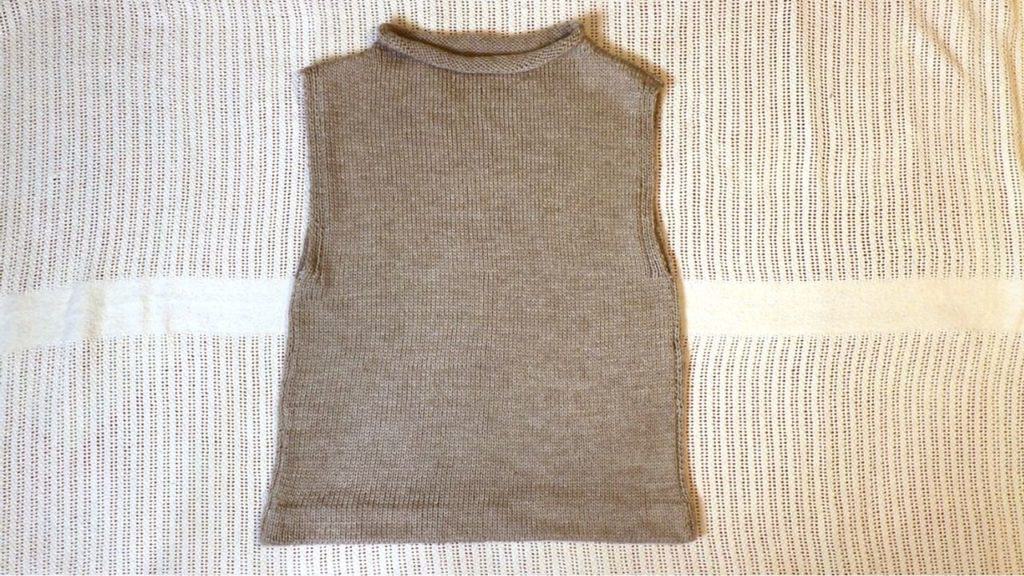
The second part is to knit the front and back pieces. In this design, the front and back panels are identical. The rolled neck can be pulled down a little as the front side, and the knitted fabric will be stretchy enough to accommodate different shapes and sizes.
The third part is to sew the front and back panels together from the inside. That is it. No extra ribbing to knit or sew.
There is some shaping of the shoulders to make the vest fit better. This is done by a short row with the hold button.
The short row is actually pretty easy on a knitting machine compared to the hand-knit short row. It knits up very quickly.
I did this project on a Brother 260 bulky knitting machine, but you can also knit on a mid-gauge machine (eg LK150). Just knit a swatch and calculate the stitches and rows from there. The process is the same. No ribber is needed.
Watch our video tutorial below for part 1 and part 2 of the machine knitting a rolled neck vest on a Brother 260 knitting machine
The knitting machine, yarns, and design diagram
I used DK weight yarn by Cloudborn (Superwash Merino DK). Totally used about 880 yards (800 meters) of yarns.
The knitting machine I use is the Brother 260 bulky. You can also use an LK150 or another mid-gauge knitting machine. I find metal bed machine goes smoother and faster.
If you are using a different machine, make sure you knit a swatch and calculate the stitches first.
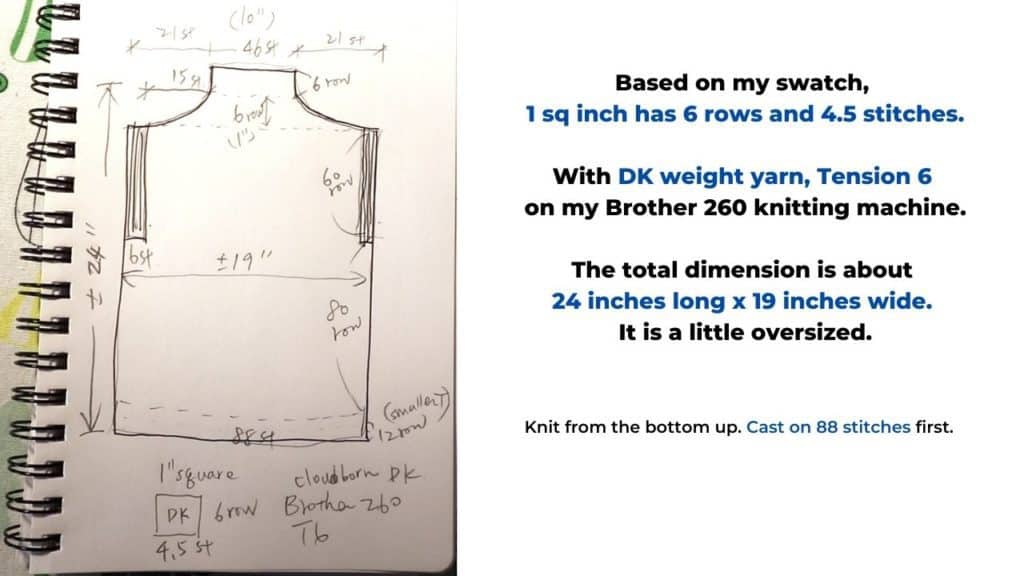
Below is the diagrams based on my calculation. One square inch has 6 rows and 4.5 stitches on my sample. It is based on the DK weight yarn, Tension 6 on the Brother 260 bulky knitting machine.
I casted on 88 stitches and knit from the bottom up.
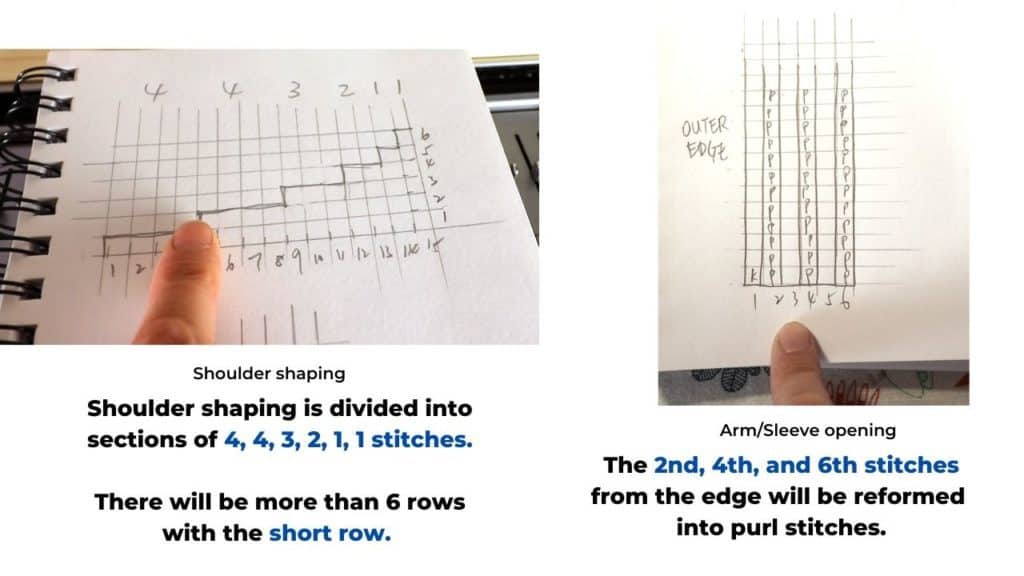
Diagrams for the shoulder shaping and the ribbing of the arm opening.
Step by step tutorial for the machine knitted vest
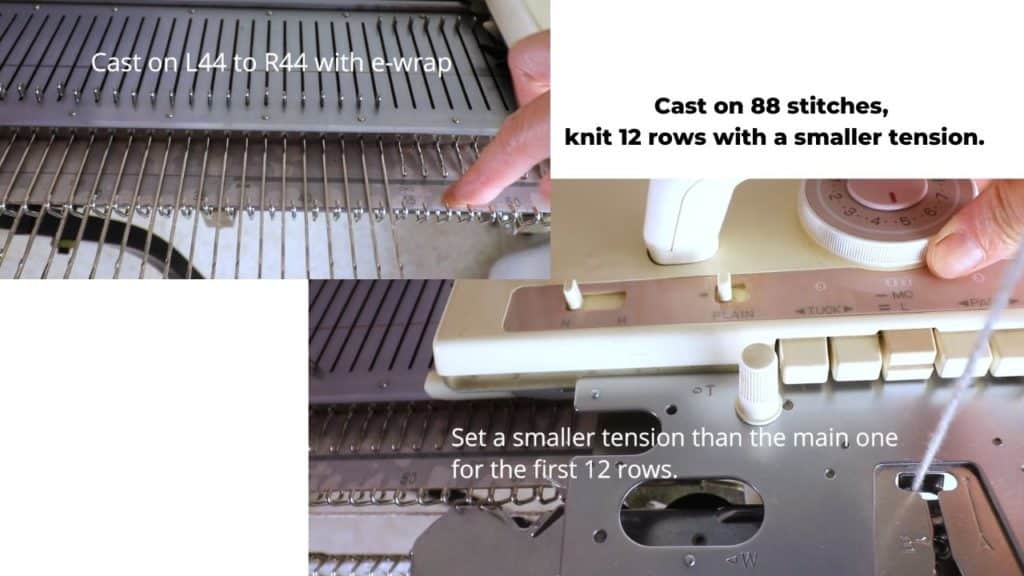
Cast on from L44 to R44 with E-wrap (or any cast on method of your choice).
Set a smaller tension (T4 or T5) and knit 12 rows.
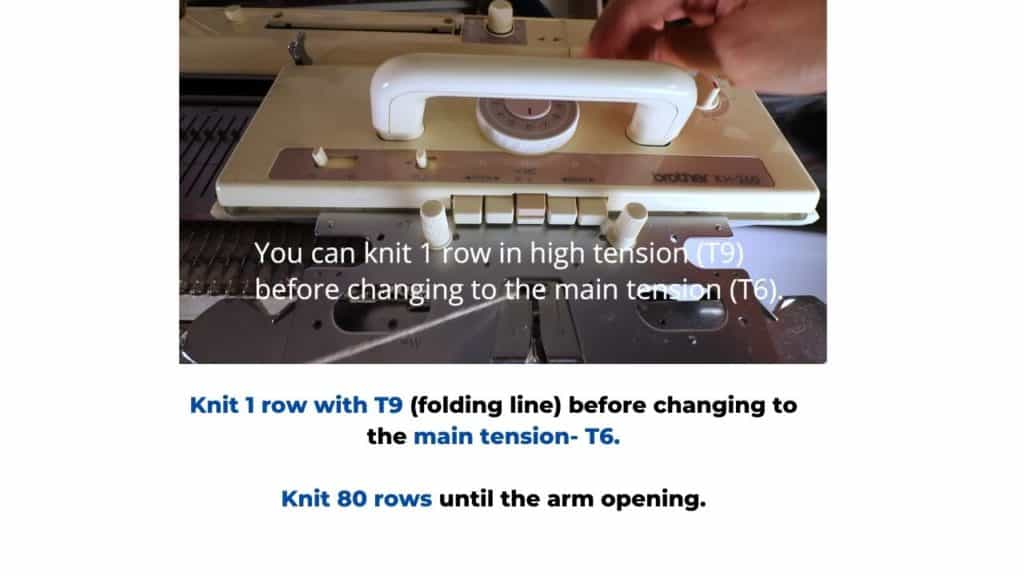
Knit 1 row with a larger tension (T9). This is the folding line.
Set tension to the main tension (T6).
Knit 80 rows until under the sleeve/arm opening.
Arm opening ribbing
Start hand manipulating and reforming the 2nd, 4th, and 6th stitches into purl stitch. This creates 1 x 1 ribbing and the fabric will not curl.
Do the same on both sides for 60 rows.
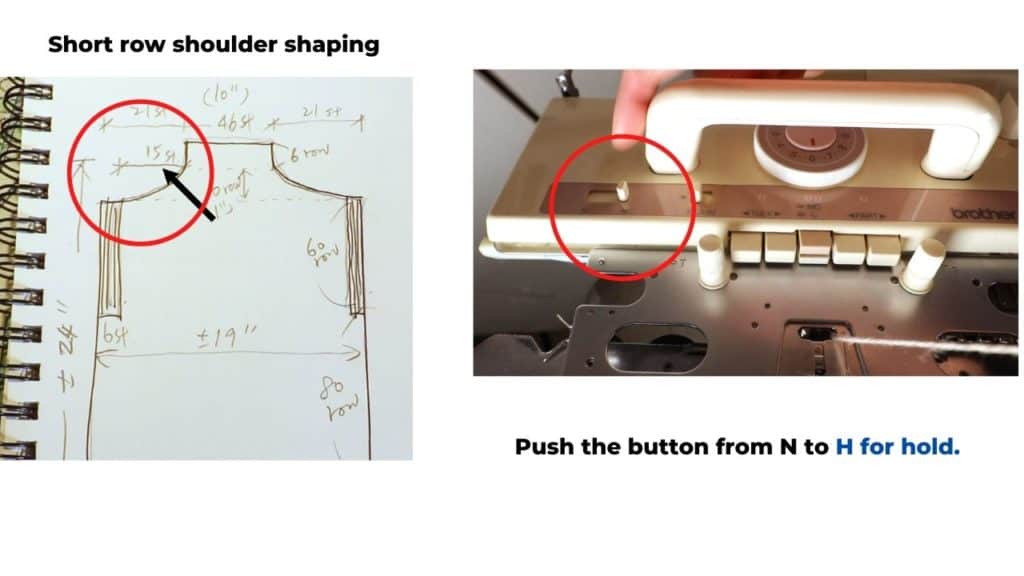
Short row shoulder shaping
We have 15 stitches to be shaped into a slope around the shoulder.
First, we set the carriage to hold (H).
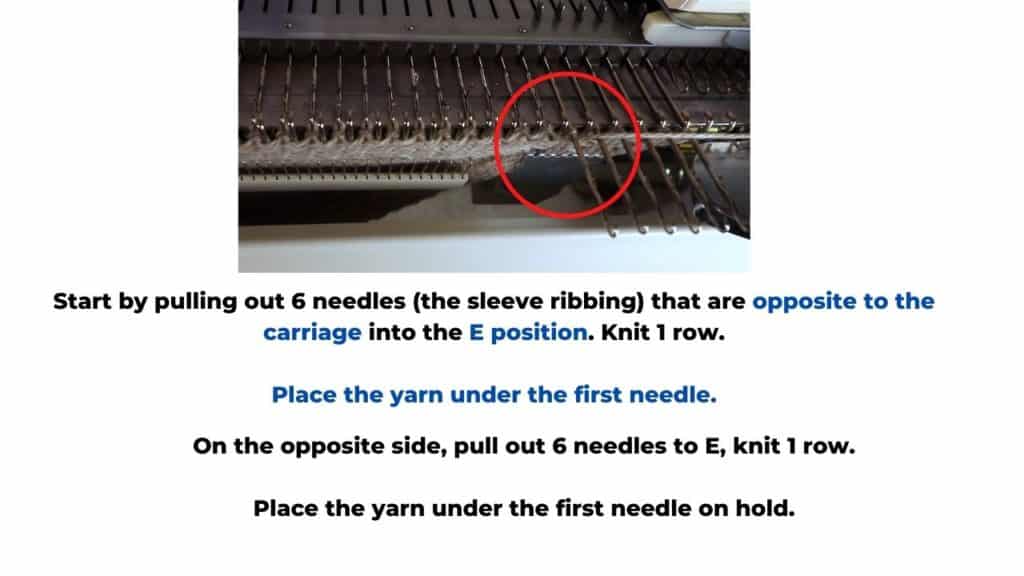
Pull out the first section that needs to be on hold opposite to the carriage side. That is the first 6 stitches (sleeve ribbing we just reformed). Place them to the E position (all the way out).
Knit 1 row.
Wrap the yarn under the first needle on hold. This prevents a hole.
On the other side, pull out the needles that need to be on hold (6 stitches).
Knit one row.
Wrap the yarn under the first needle on hold.
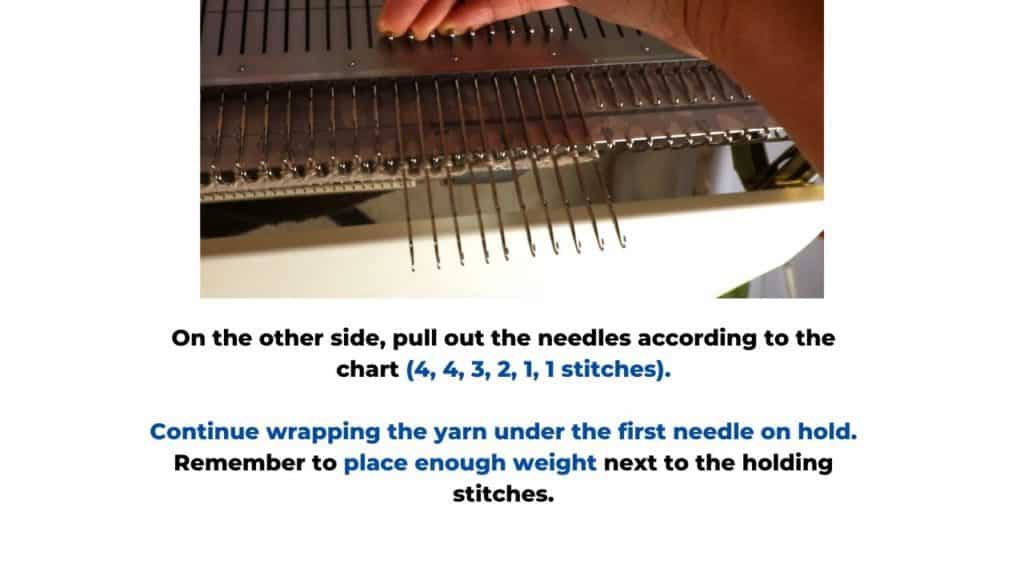
Keep repeating the same process until all sections are short-rowed. According to my chart, that includes sections of 4, 4, 3, 2, 1, 1 stitches. You can come up with your stitch numbers for different slope.
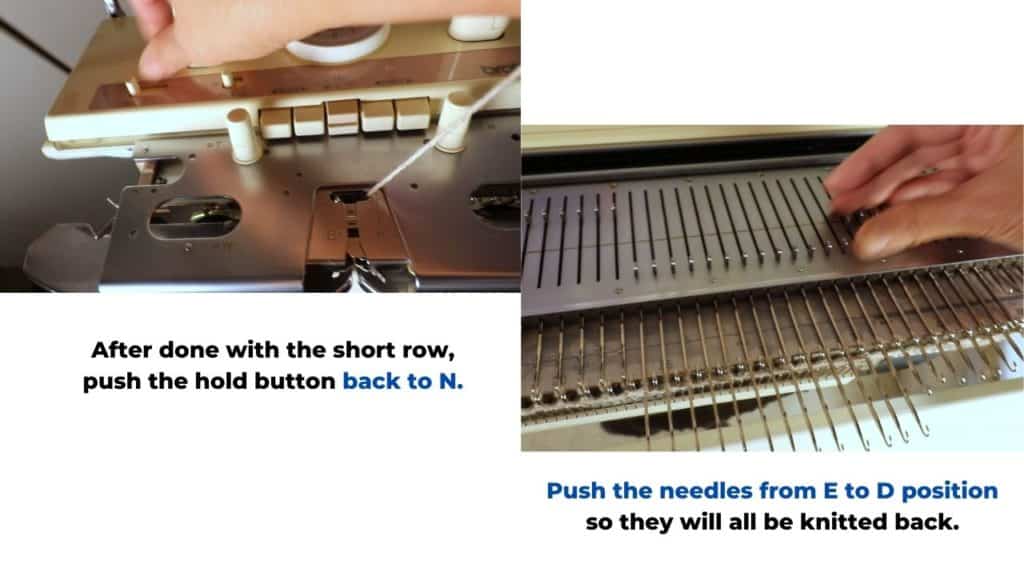
After the short row is done. Push the Hold button to N again.
Push all the needles from the E position to D, so the latches are slightly open. We want all the needles to knit in the next row.
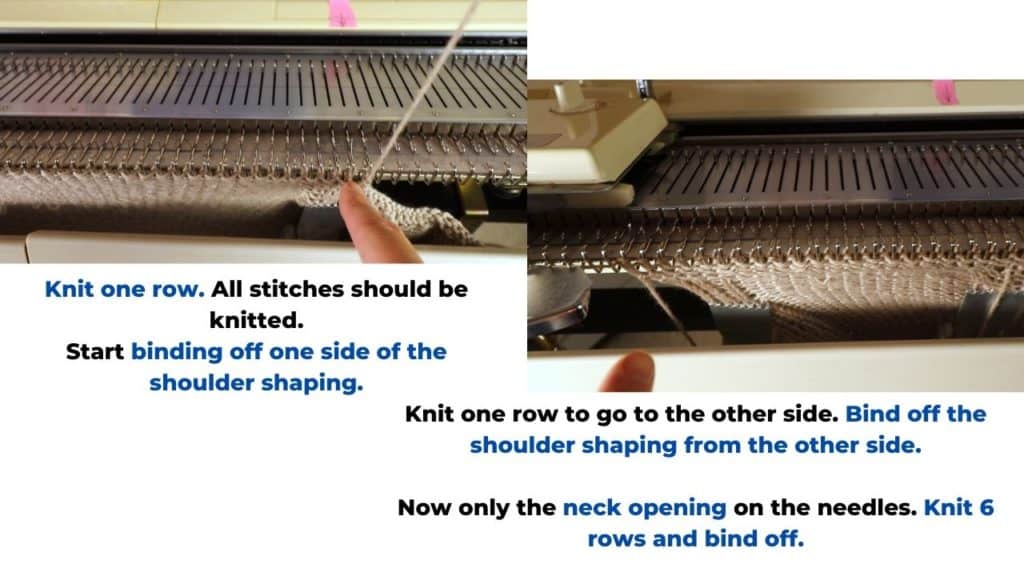
Knit one row. All stitches should be knitted.
Now we can bind off one side of the shoulder shaping.
After binding off, knit 1 row.
The carriage is on the other side now. Bind off the shoulder shaping on the other side.
The only needles left on the machine are the neck stitches.
Neck knitting
Now just knit 6 rows for the neck height (rolled neck) and bind off.
You can use sewn bind off for a stretchy neckline.
Now one panel is done. Repeat the same for the second panel.
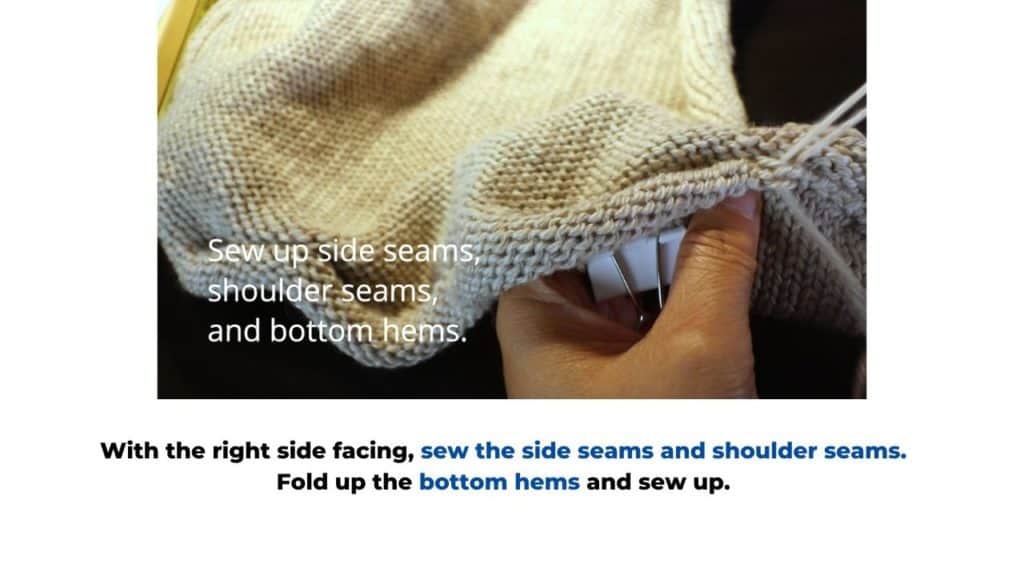
Seam up
After knitting the 2 panels. The only thing left is to sew up the side seam and shoulder/neck seam.
For the bottom hem, fold in and sew up with yarn and a darning needle.
Give it a steam blocking and all done!
Latest Posts


You May Also Like
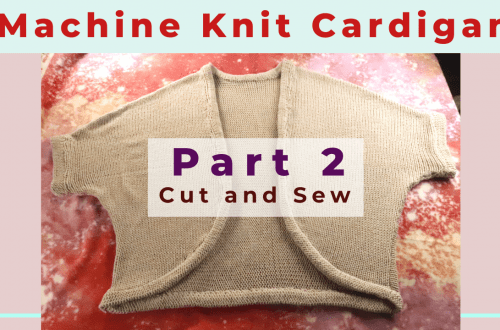
Cut-and-sew machine knitted cardigan

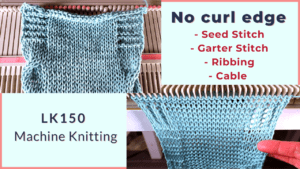
No-roll scallop edge Mock English Rib on an LK150