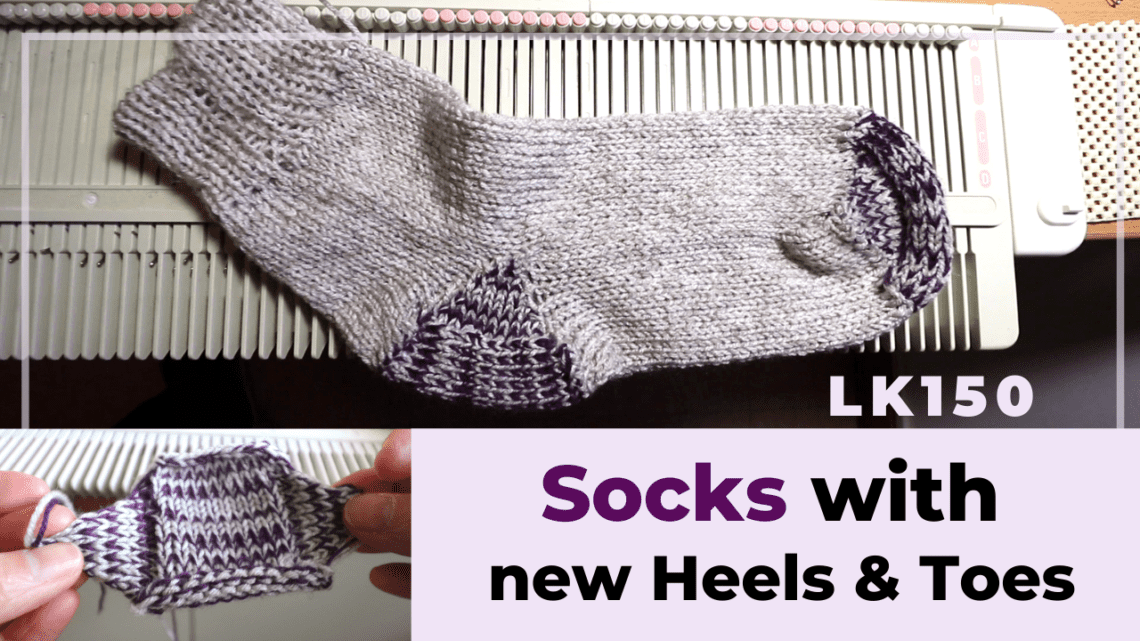
Socks with separated knitted toes and heels
A different heel and toe
For machine knitting, most standard socks have short-row heels and toes. Here I am trying a different design. I knit toes and heels first and then knit the main piece. This way, it is flexible to knit different shapes and textures of the heel/toe, and it is easier if you want to knit a continuous pattern of the main piece.
I use double strands of yarns for the heels and toes, and then hang the piece sideways back to the knitting machine, and knit a triangle by decreasing on both sides every third row. This creates a sturdy piece for long-term wear and tear.
Another way is to knit tuck stitch for the heel piece. Arrange needles with every other stitch and set to tuck. This will create a texture similar to the hand-knit heel flap.
The main piece is knitted from the cuff down. I started with mock ribbing, but you can do hand-knit ribbing, or attach ribbing made from another knitting machine with a ribber.
Yarns and the knitting machine
I use a thin DK weight yarn for this project, but it is closer to sports weight yarn or even thick sock yarn. Please do a swatch and find the best tension and gauge. Use my stitch and row count in the video as a reference only.
The knitting machine I use is the LK150 mid-gauge. You can adapt it to the different knitting machines. The method is the same. If you have a machine with a ribber such as a standard gauge knitting machine, it will be even better for knitting ribbing and continuous tube.

Attaching the heels and toes
You can hang the heel and toe pieces back on the machine and continue knitting, or just knit a few rows of waste yarn, and sew the heels and toes later.
See the diagram below for the basic construction of the socks.

Watch our video tutorial on machine knitting socks with new heels and toes

Latest Posts
- How to machine knit a heart shape on an LK150

- Machine knitting a loop stitch for big texture

- Machine knitting a corner-to-corner, diagonal dishcloth

- Machine knitting a buttonhole band on an LK150

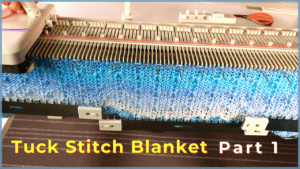
- Tuck stitch blanket on an LK150 – Part 1


You May Also Like
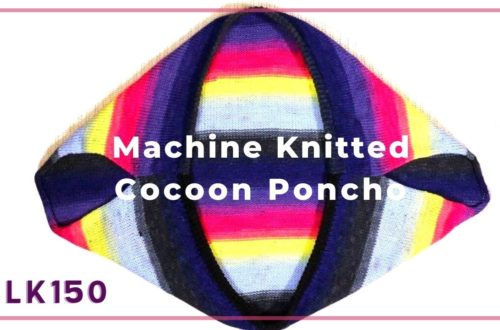
Easy machine knitted Poncho Cardigan on an LK150

Simple circular knitting cowl on a Brother 260 machine
