Transfer tool cast off and variations- Simple, No hole, and Even-tension
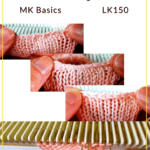
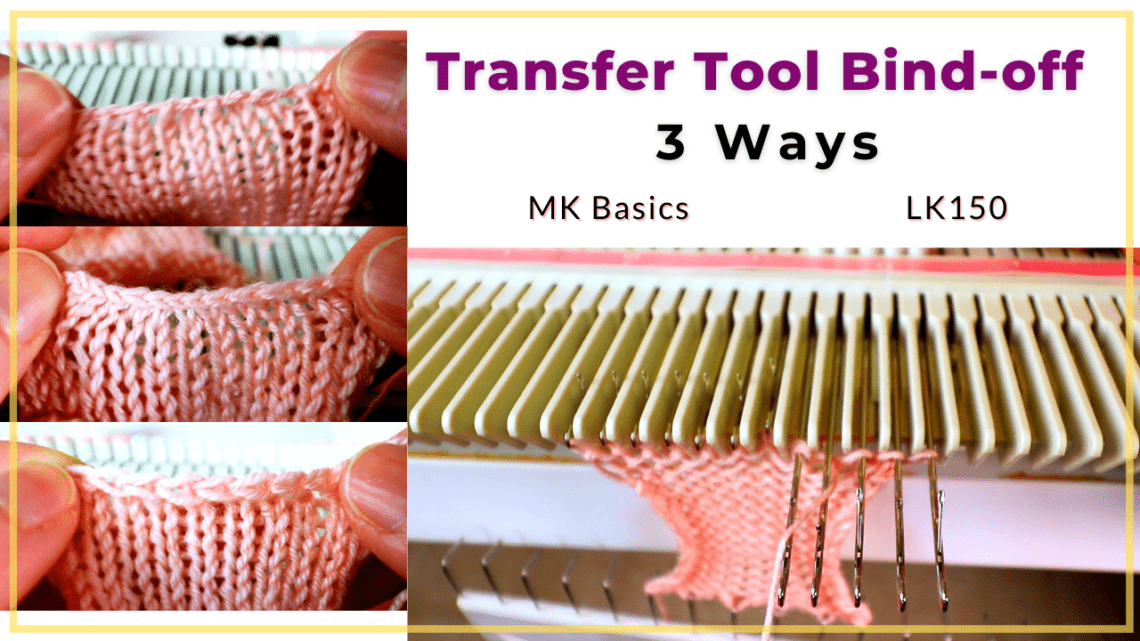
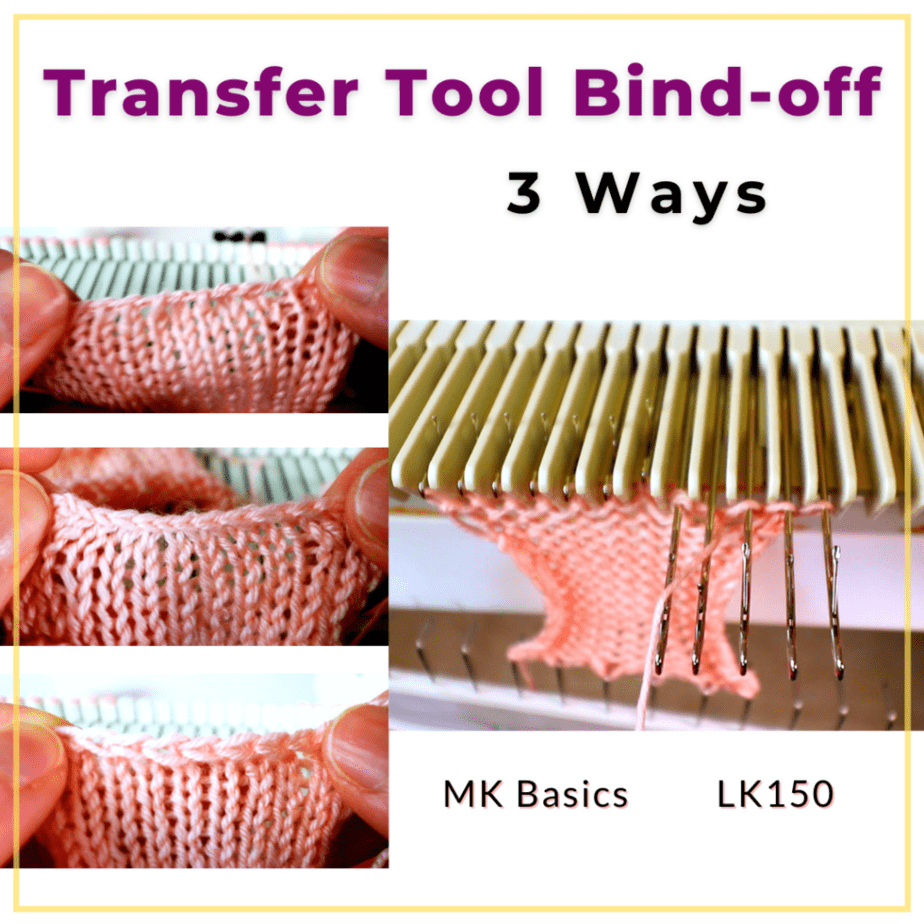
There are 2 basic bind-off techniques in machine knitting. One is by using a transfer tool, and the other one is by using a latch tool (or crochet hook). In this blog, we are focusing on the transfer tool bind off. In the video below, I am showing 3 different variations of the transfer tool bind-off, including a simple bind-off, no-hole bind-off, and even-tension bind-off on an LK150 knitting machine.
As with all machine knitting techniques, there are many variations of the same technique. Some work better on certain projects, and different people have different preferences. For a machine knitting beginner, simplicity might be the first consideration, and later you might want to adopt a new technique just to make the detail look a certain way. There are no right or wrong ways.
Machine knitting Cast-off with a transfer tool – 3 ways: simple, no hole, and even-tension
1. Simple Transfer Tool Bind-off
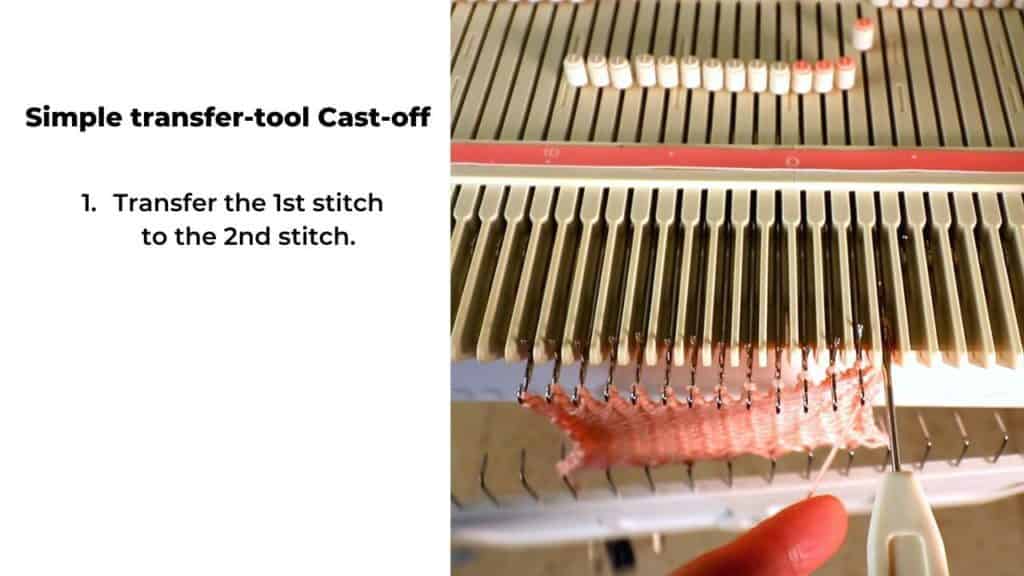
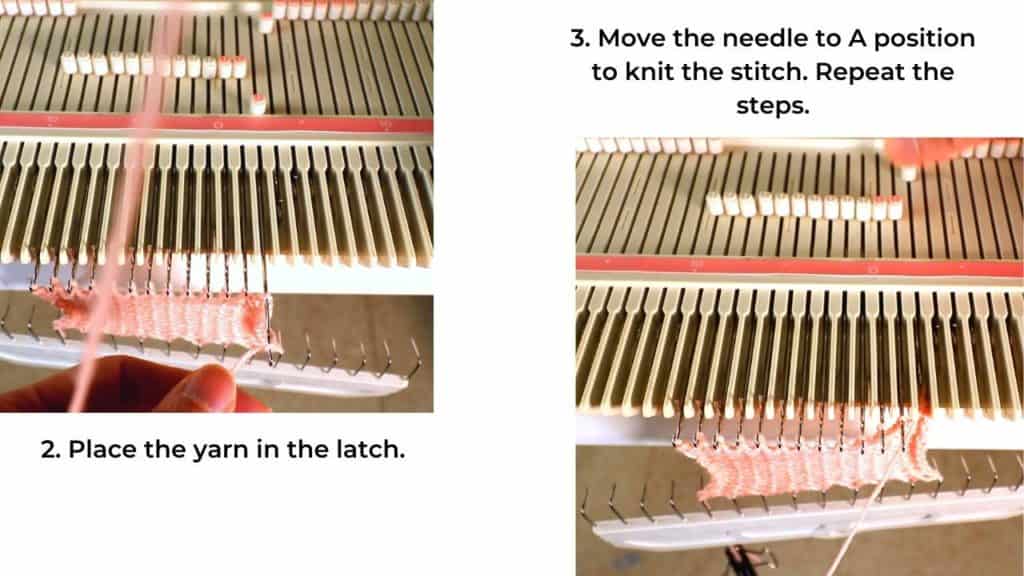
The simple transfer-tool bind-off is a basic method. Simply transfer the first stitch to the next, and knit the stitch by placing the new yarn in the latch and knitting back.
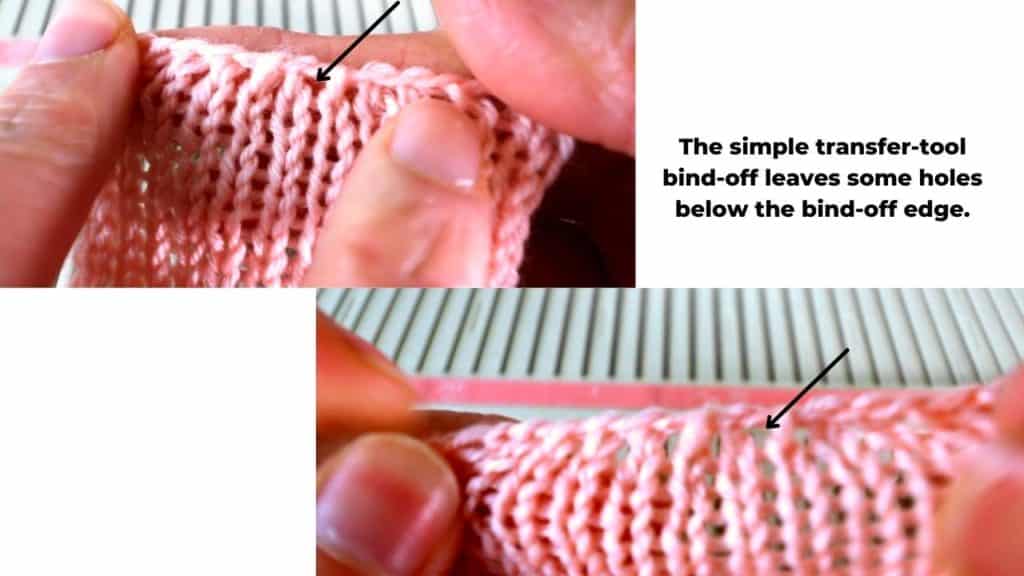
However, this creates a row of bigger holes under the bind-off edge. The tension is always difficult to control.
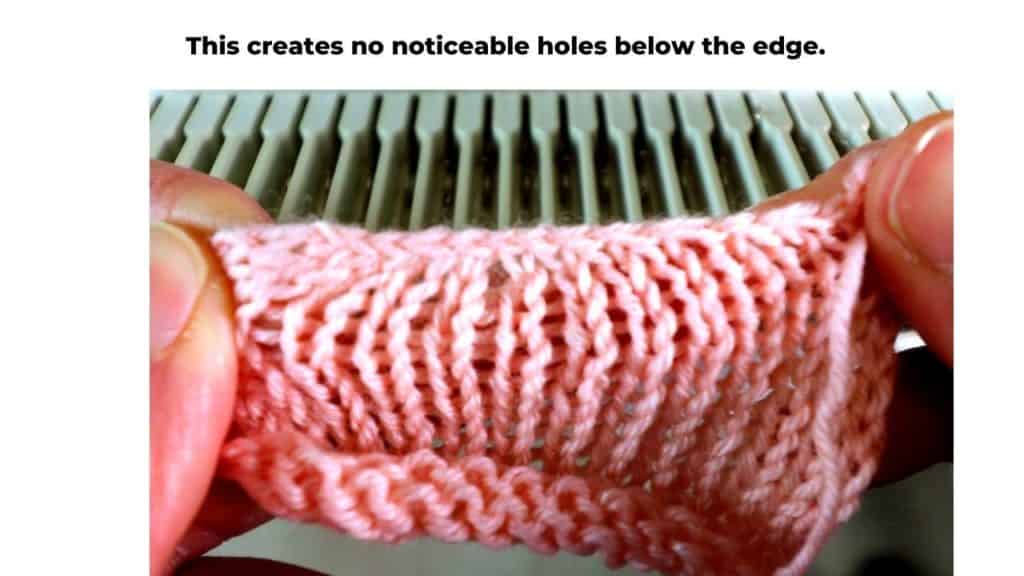
2. No-hole Transfer Tool Bind-off
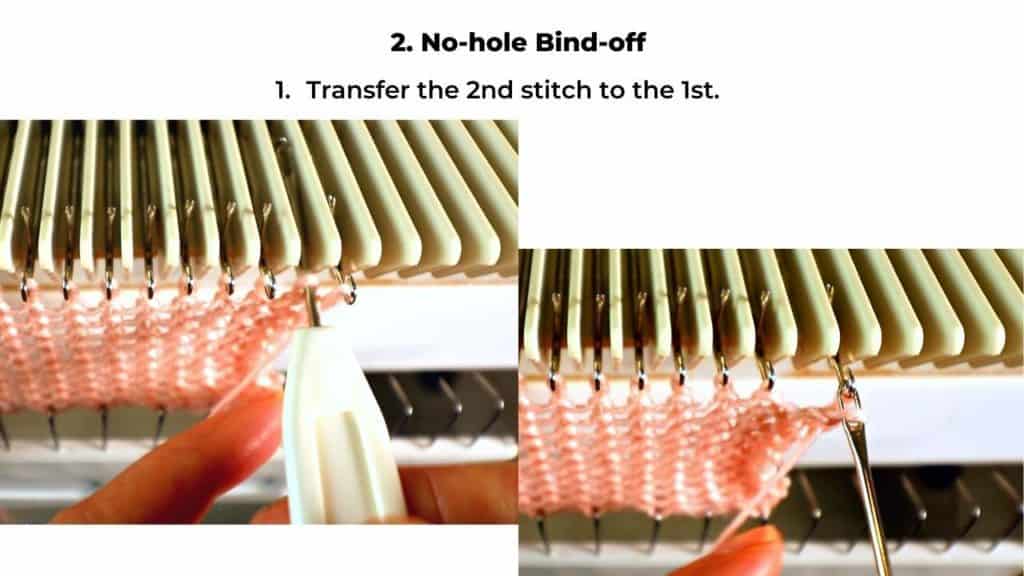
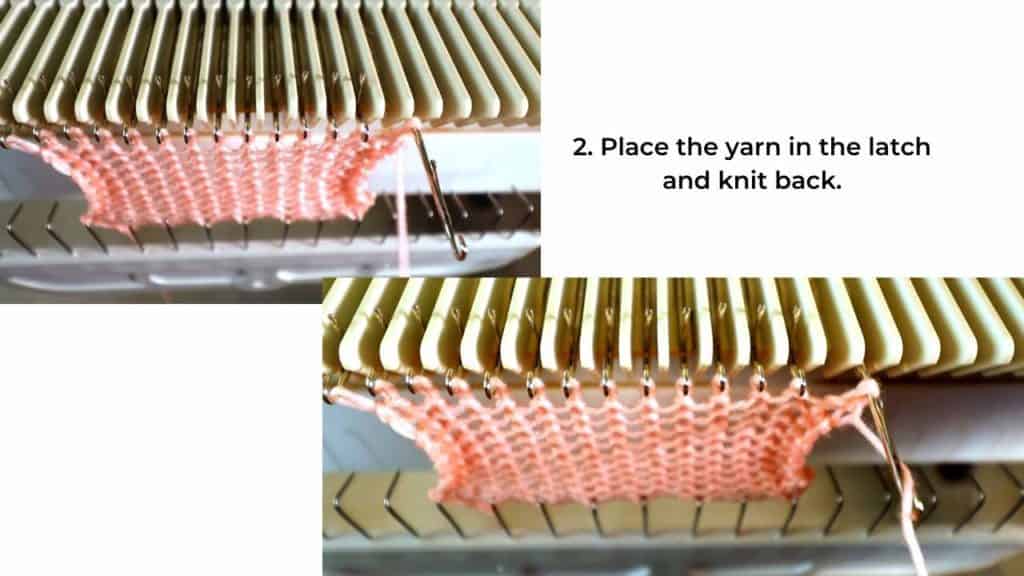
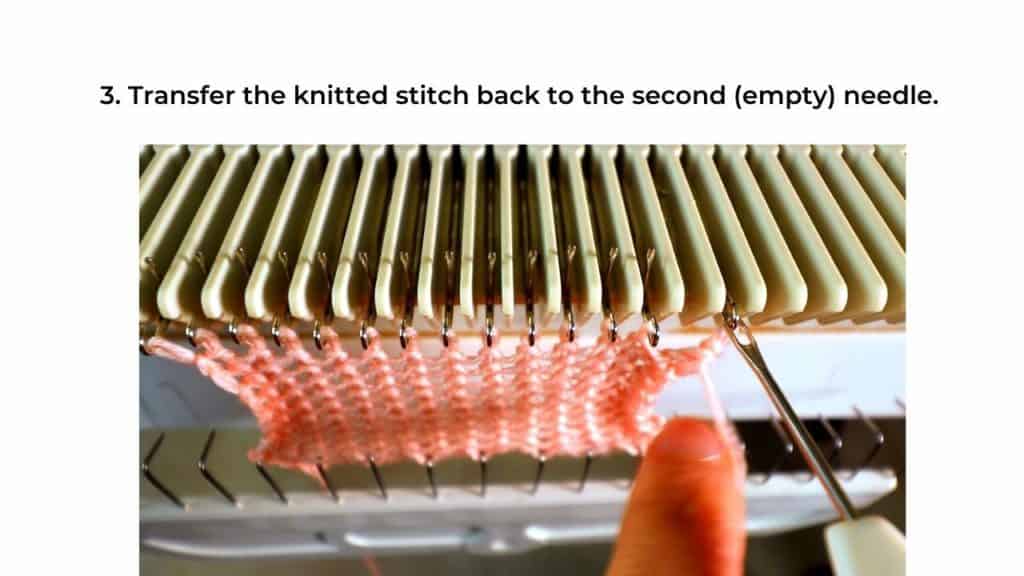
The no-hole transfer-tool bind-off has no obvious holes under the cast-off edge. This is done by transferring the second stitch to the first stitch and then knitting the stitch by placing the yarn in the latch and pulling back the needle.
You still need to pay attention to the tension, so it is not too tight.
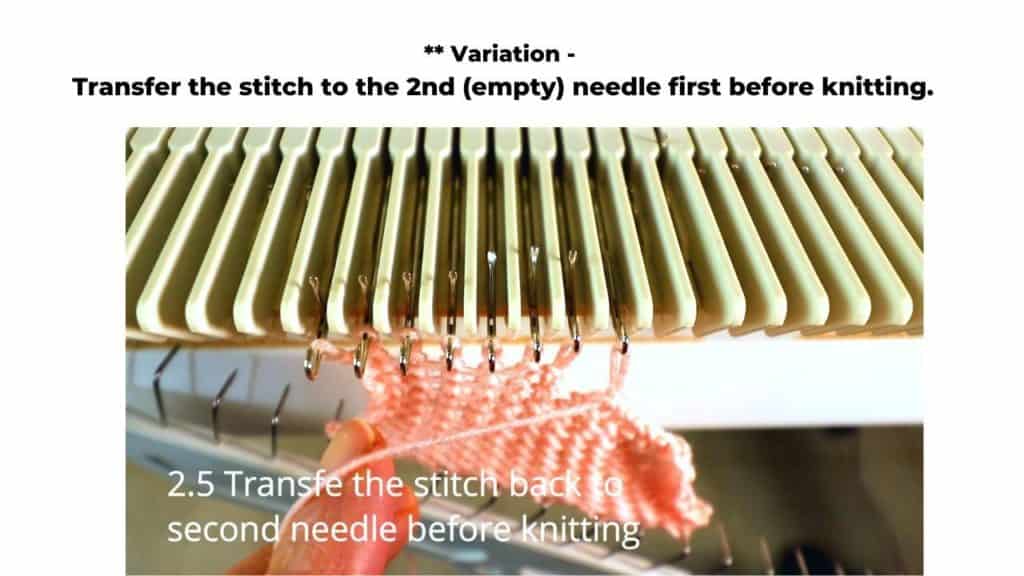
Variation: transfer before knitting.
One variation of this method is to transfer the 2nd stitch to the 1st, and then transfer back to the empty needle (the second needle) before knitting back. I don’t see a big difference with this variation. But you can try to see which way works better for you.
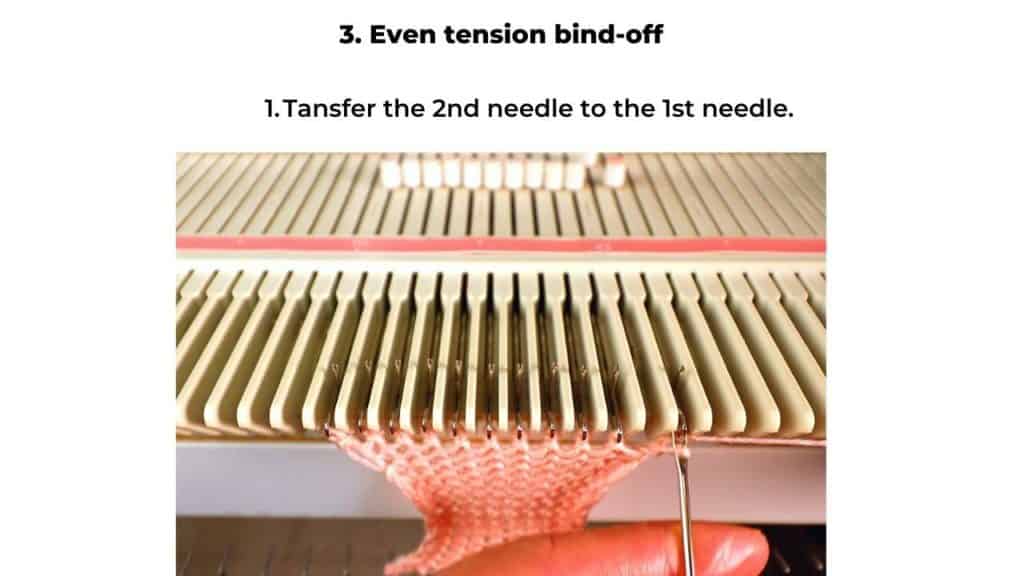
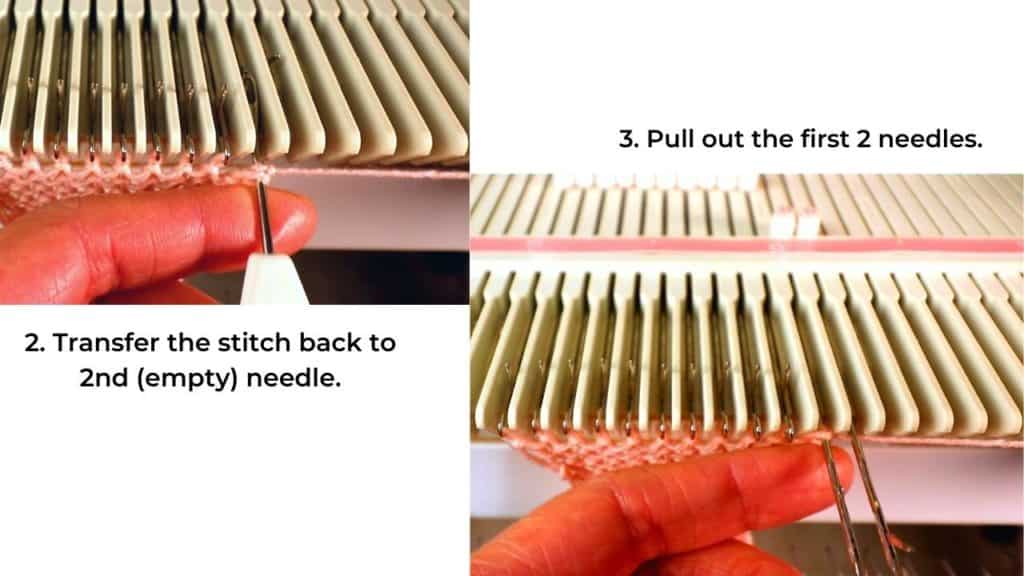
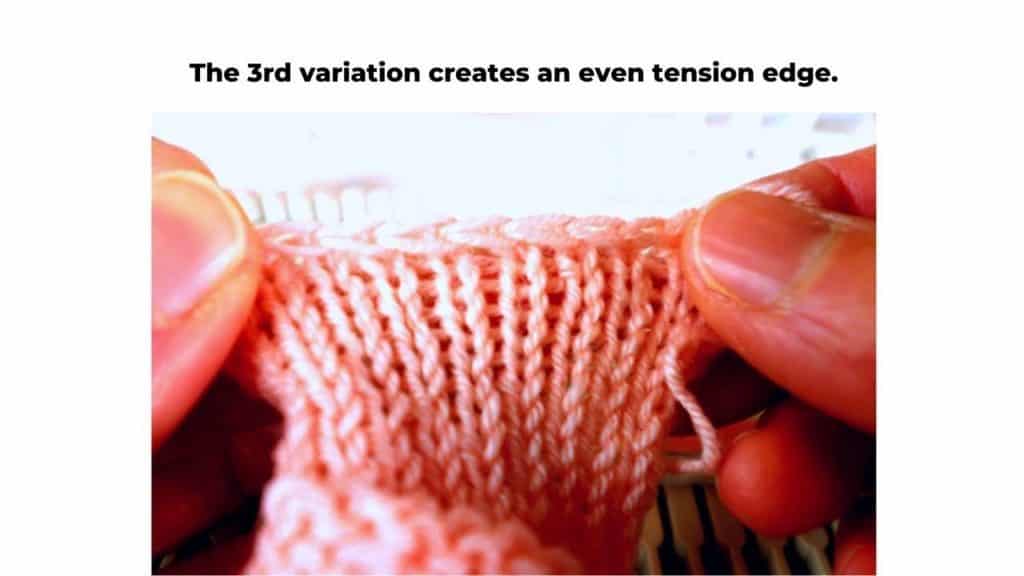
3. Even-tension Transfer-tool cast off
Since there are no gate pegs on an LK150 knitting machine. This method creates a more even tension.
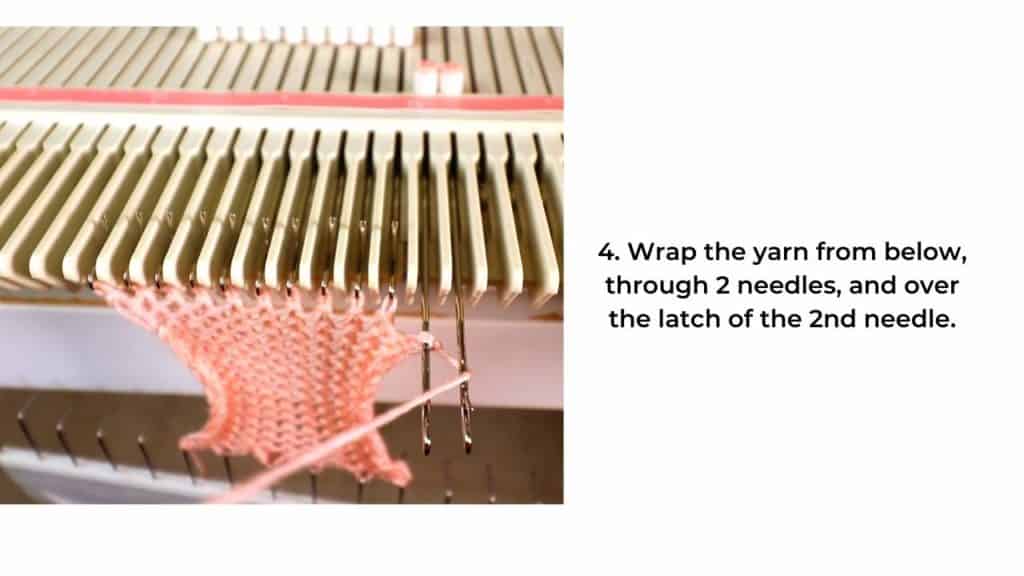
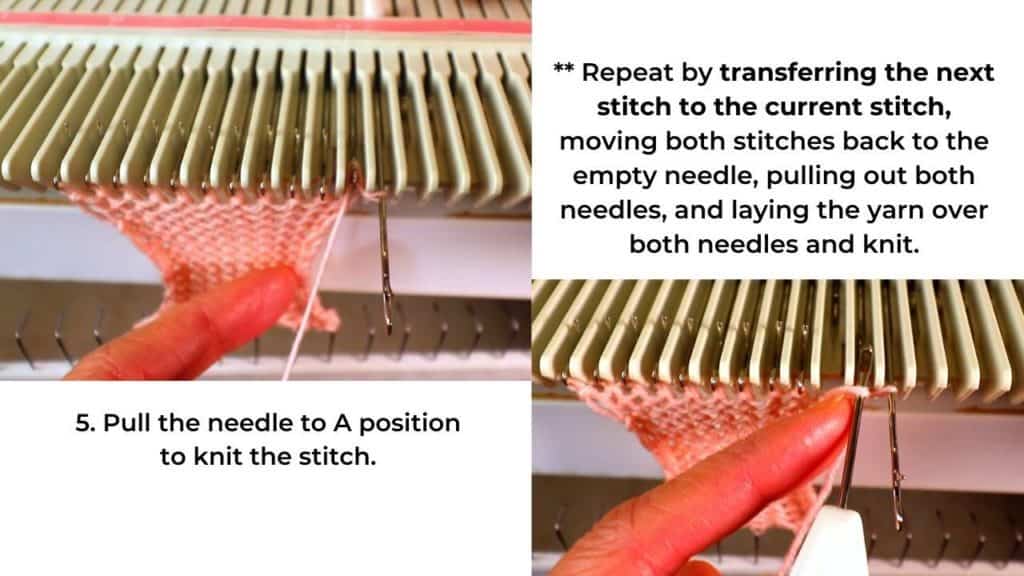
Start the same way as before. Transfer the second stitch to the first stitch. Transfer the stitch back to the second needle. Pull out both the first and second needles, lay the yarn over both needles, and knit back the second stitch.
The extra needle acts as a gate peg to even the stitches out, so it will not be too tight.
Recent Posts


