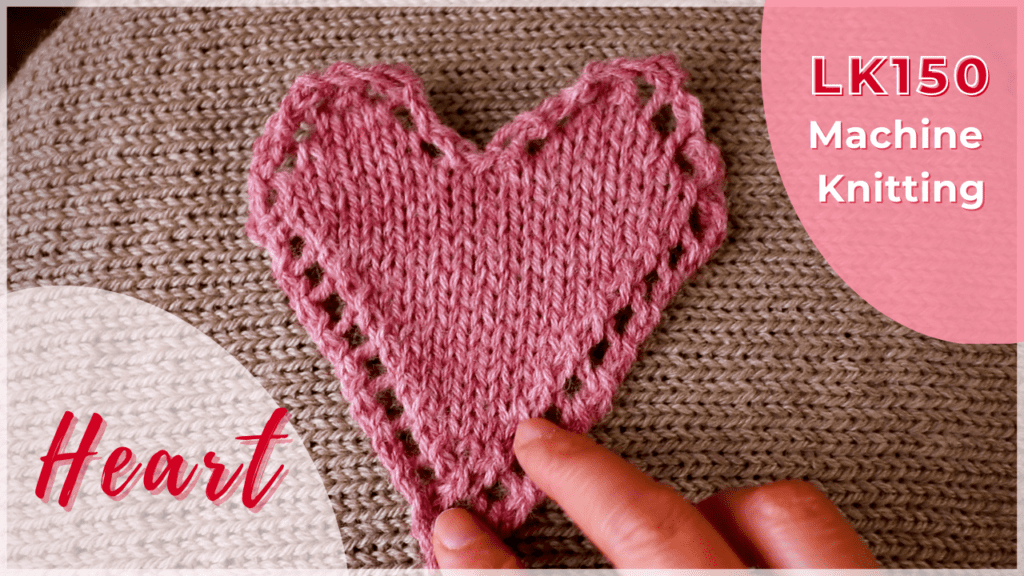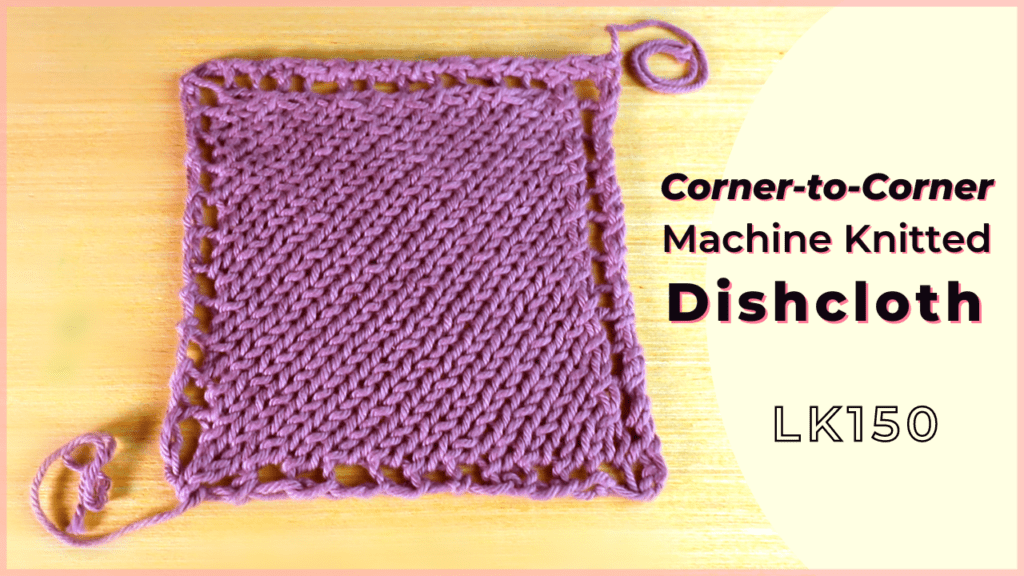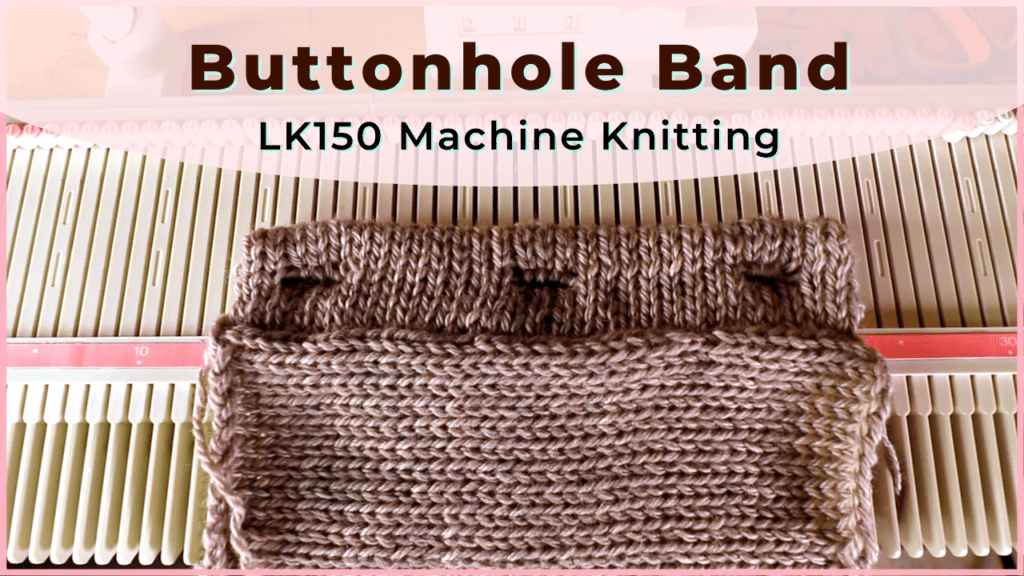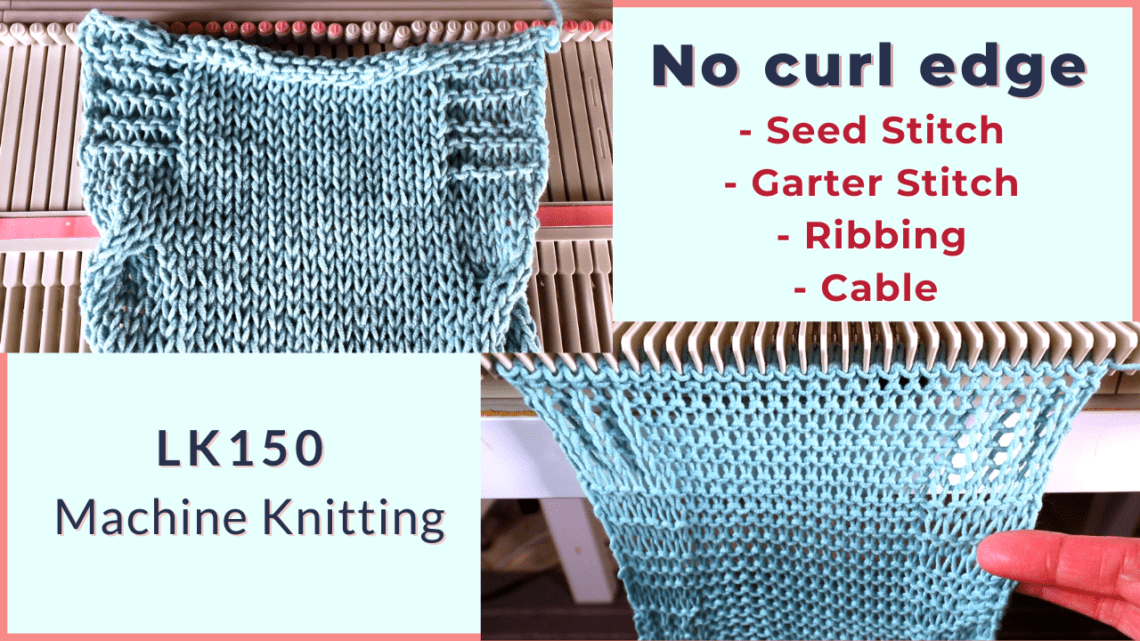
No curl edge with seed, garter, ribbing, or cable stitches
The stockinette stitch fabric always curls at 4 edges. How can we reduce the curling tendency? There are several knitting stitches you can add to the edges to prevent or reduce the curling. These stitches work for hand-knitting and will work for machine knitting. They are the basic seed stitch, garter stitch, ribbing, and cable stitch.
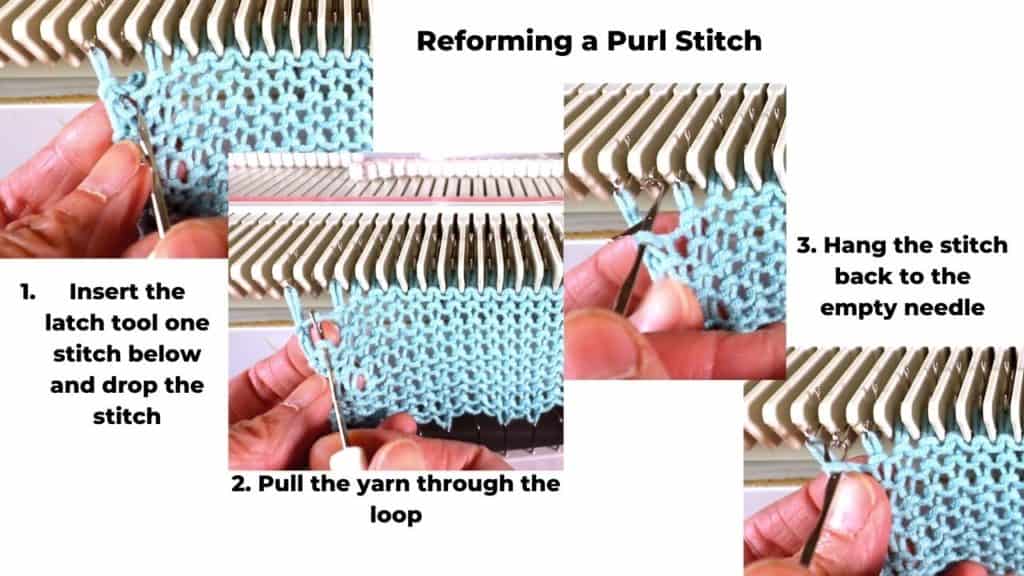
In machine knitting, the purl stitch is not easy to knit. There is a tool called garter carriage to reform selected stitches to purl stitches. They are not manufactured anymore, but you can still find second-hand garter carriages on eBay. The downside is that they are expensive, parts are difficult to find, only work with selected models, and very slow and noisy. It might work for some people, but not for all of us.
The tutorial below shows hand-manipulated stitches to recreate the seed stitch (or modified seed/moss stitch), garter stitch, 1 x 1 ribbing, and 3 x 3 cable crossing. It takes some patience and concentration to reform the stitches but can go faster with some practice.
We are focusing on the left and right sides of fabric curls in this post. It can be done with top and bottom too, except for the cable stitch.
Watch the no-curl edge with hand-manipulated seed stitch, garter, ribbing, and cable crossing
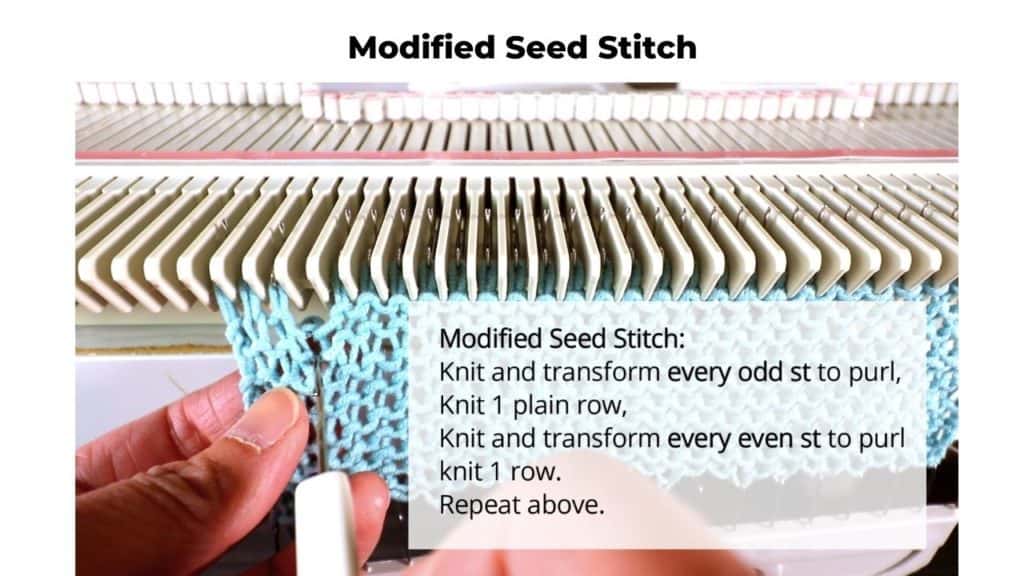
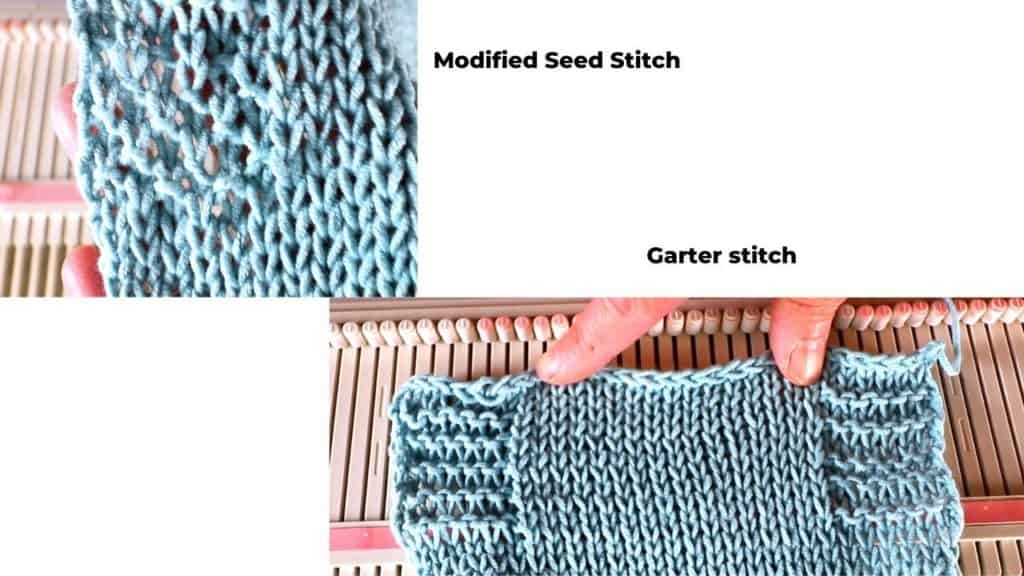
The seed stitch edge (or modified seed stitch)
The seed stitch is done by alternating knit and purl stitches, and the purl stitches are offset in the next row. So, we can reform every odd stitch in the first row, and then reform every even stitch in the next row. Repeat these 2 rows.
This can be time-consuming, so we can do the modified seed stitch to create a similar look. The modified version is to add a row of plain stitches between the reformed rows, so we can reform fewer purl stitches.
There are many variations of seed stitch and moss stitch. They can all reduce the curl of the fabric because of the knit and purl stitch combinations. It is always good to knit a sample and experiment.

Garter stitch
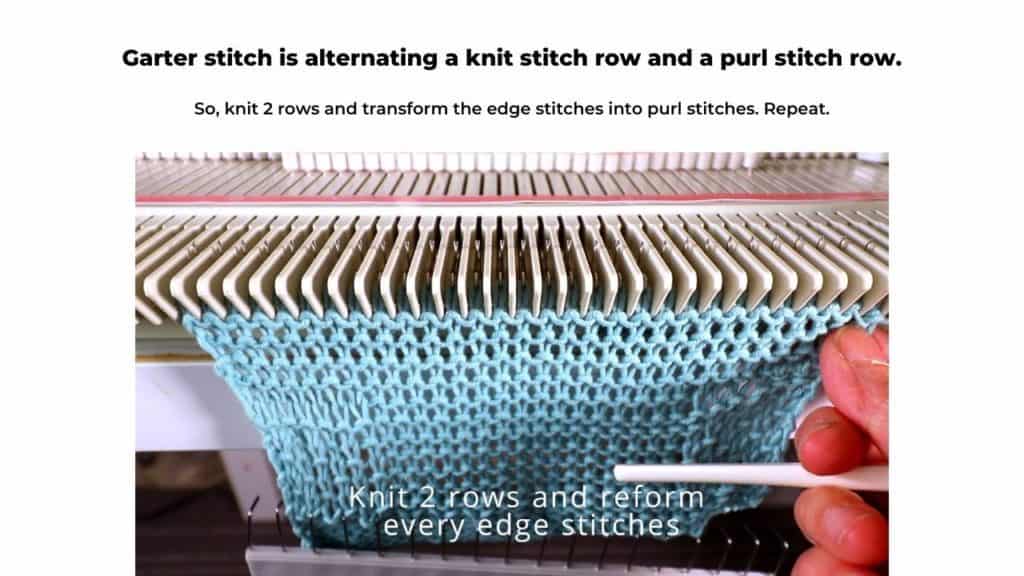
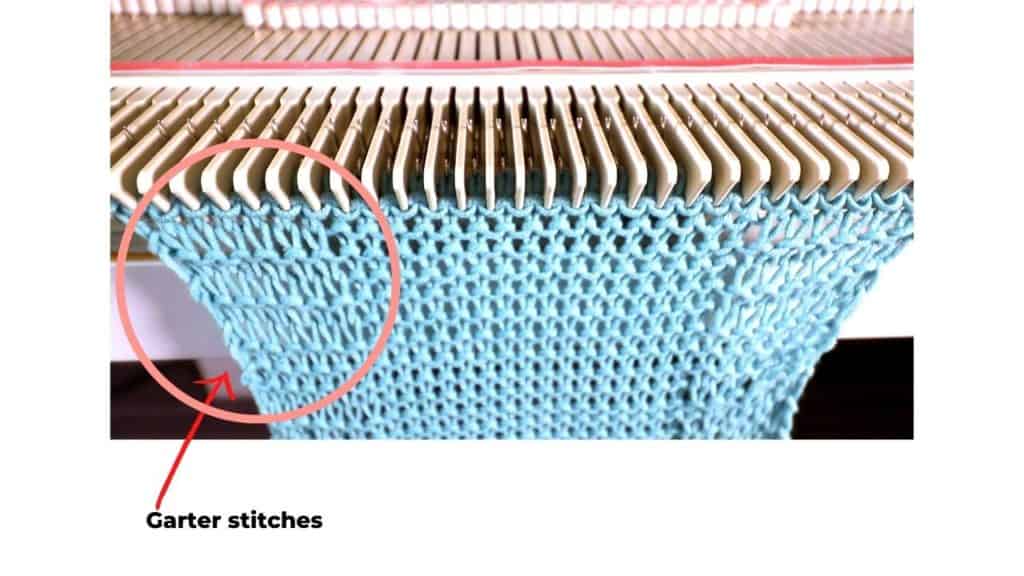
Garter stitch also involves reforming purl stitches. In machine knitting, a garter stitch is one row of plain knitting, alternated with one row of purl stitches.
So we can start with knitting 2 rows, and reform the edge stitches of the second row. Continue repeating these 2 rows.
This creates a ridge in every 2 rows. The garter stitch is reversible.

The 1 x 1 ribbing edge
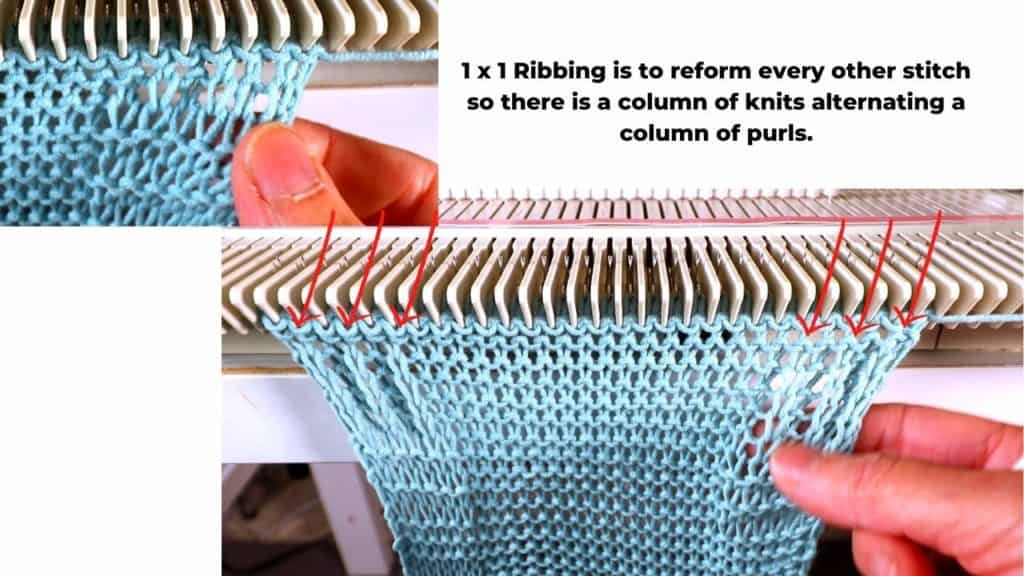
The 1 x 1 ribbing is to alternate one knit stitch with one purl stitch and repeat the same on every row. This creates a column of purl stitches alternating with a column of knit stitches.
The purl stitch is reformed by a latch tool just like before.
You can use 2 x 2, 1 x 2, or 3 x 3, etc. ribbing for the edge stitch. They all create a sturdy edge to stop the curl. The ribbing is typically very stretchy and reversible.
The 3 x 3 cable stitch
In the example below, I use 3 x 3 cable crossings and 8 rows between the cable crossings. You can modify with different stitch combinations (2 x 2, 2 x 3, 3 x 3,…) and row counts.
You will need two 3-prong transferring tools for the 3 x 3 cable crossing.
It does not matter if you transfer the right 3 stitches back to the left 3 empty needles first, or transfer the left 3 stitches to the right needles first. It just creates different looks. You can even make it symmetrical by doing it in pairs.
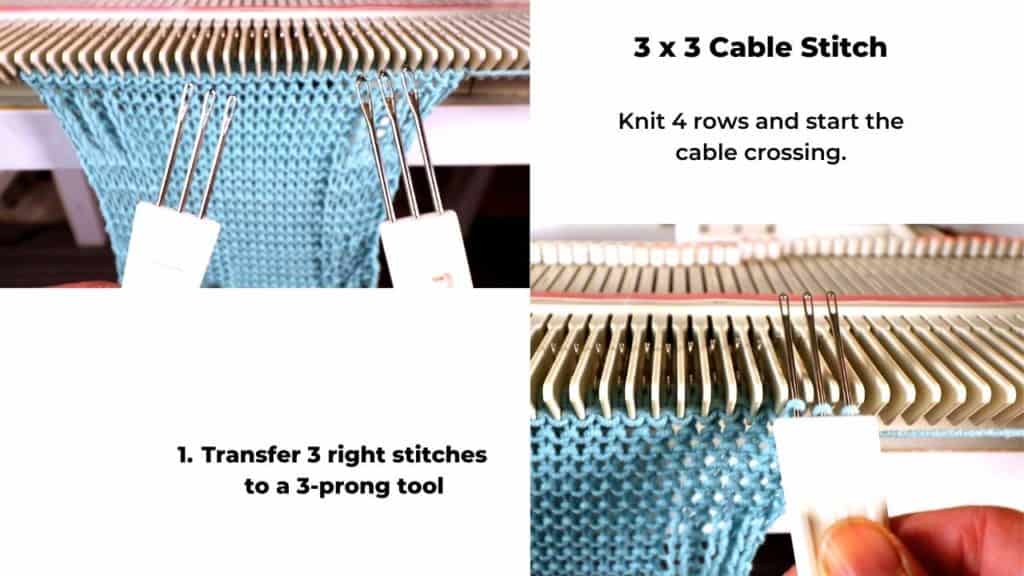
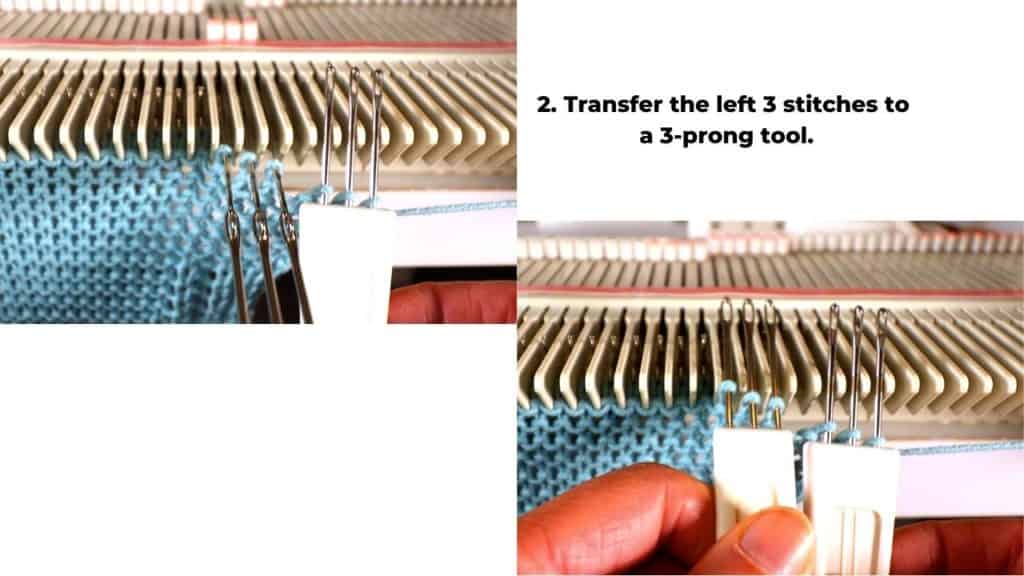
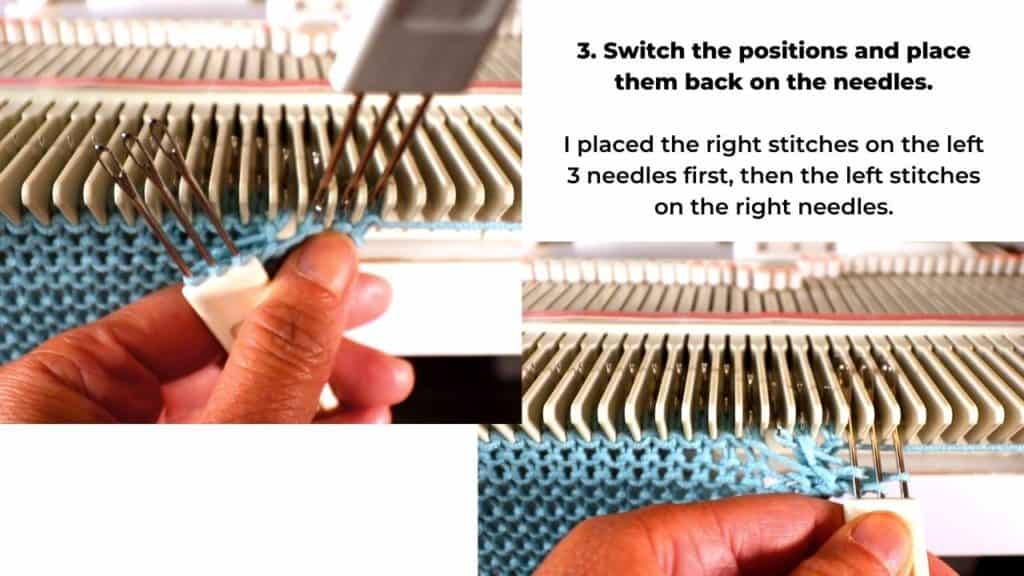


The finished edges
All these stitches reduce the curl of the stockinette fabric. You can also play with tension and yarn thickness. Different yarn and tension can have different results.
And don’t forget to steam and block the piece to know the final look.
Crocheted trim can be another easy way to have flat and pretty edges. That is another choice you can play with.

Link to our picks of crafting products:
For yarn craft tools and supplies, click here. This is an affiliated link, and we might earn a small fee for qualified purchases.

Latest Posts


