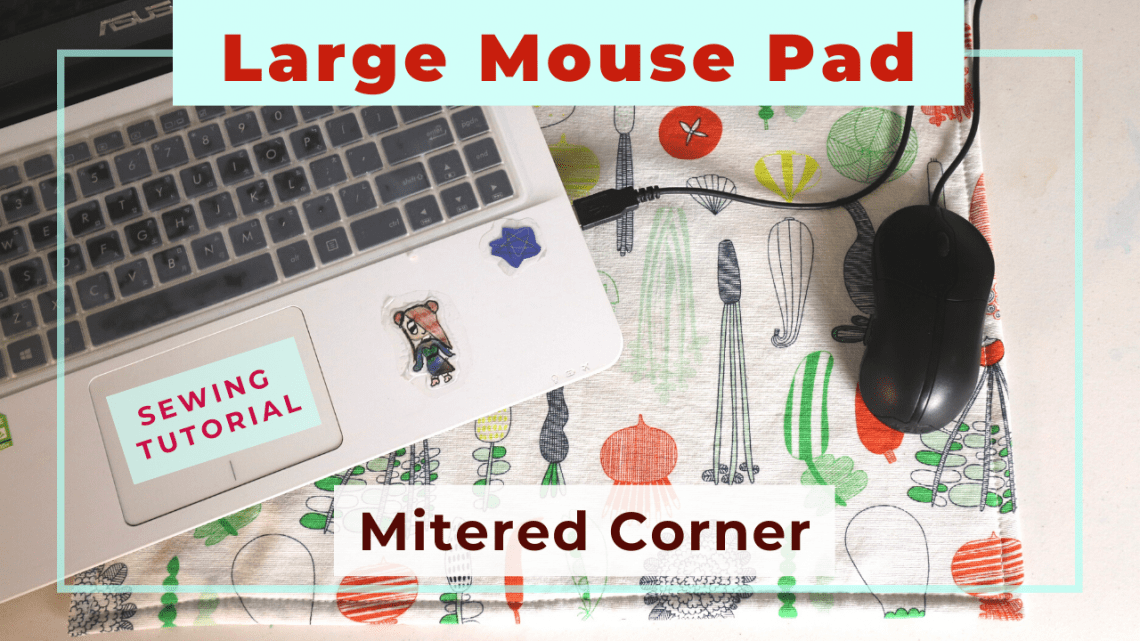
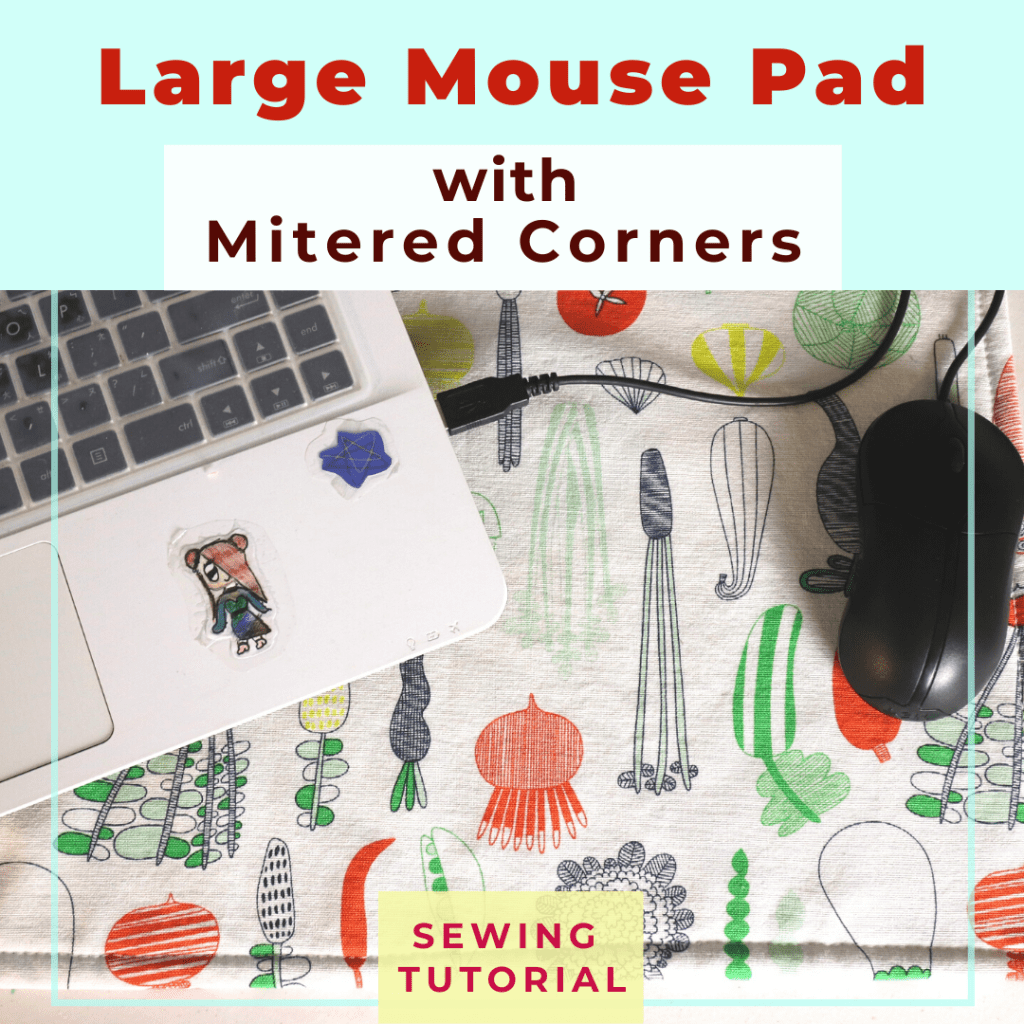
Sewing a large mousepad with mitered corners
A large computer mousepad is a luxury. You don’t have to constantly adjust the position of the mouse to stay inside the little mousepad. I have seen a large mousepad that covers the whole desk on the market. However, it is not easy to find, the price can be high, and the design might not fit your style.
It is actually easy to sew your own mousepad. The process is similar to sewing a placemat. I use one cotton fabric and one fleece fabric. The cotton provides a smooth finish and nice pattern, while the fleece creates the thickness and traction (does not slide easily). You can try different materials and fabric types to see which one works best.
Construction and design
There are many ways you can combine the 2 layers. The easiest method is to finish the edges of the cotton layer first and overlay on top of the fleece fabric. Then simply sew a straight line (over both layers) on 4 sides.
You can finish the 4 sides of the cotton layer by folding under (use 3/8″ or 1/2″ seam allowance) and sew straight lines on top. Or, fold the sides (3/8″), lay flat over the fleece, then sew both layers at once.
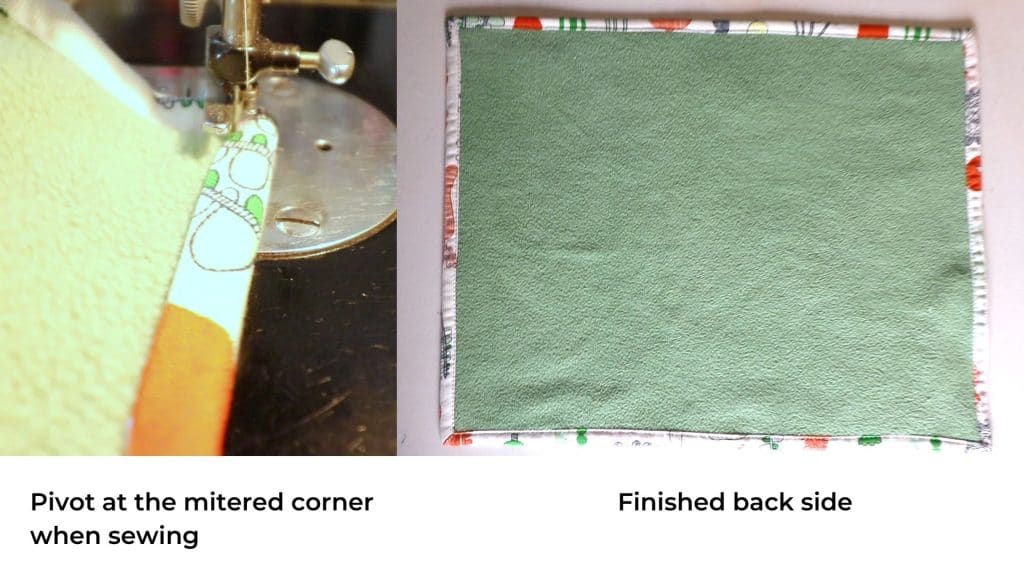
The second method is to create a mitered corners on the backside, with fleece inserted in the center, and then stitch up 4 sides. This is the method I use for this project. The video tutorial can be found at the bottom of this blog.
Material
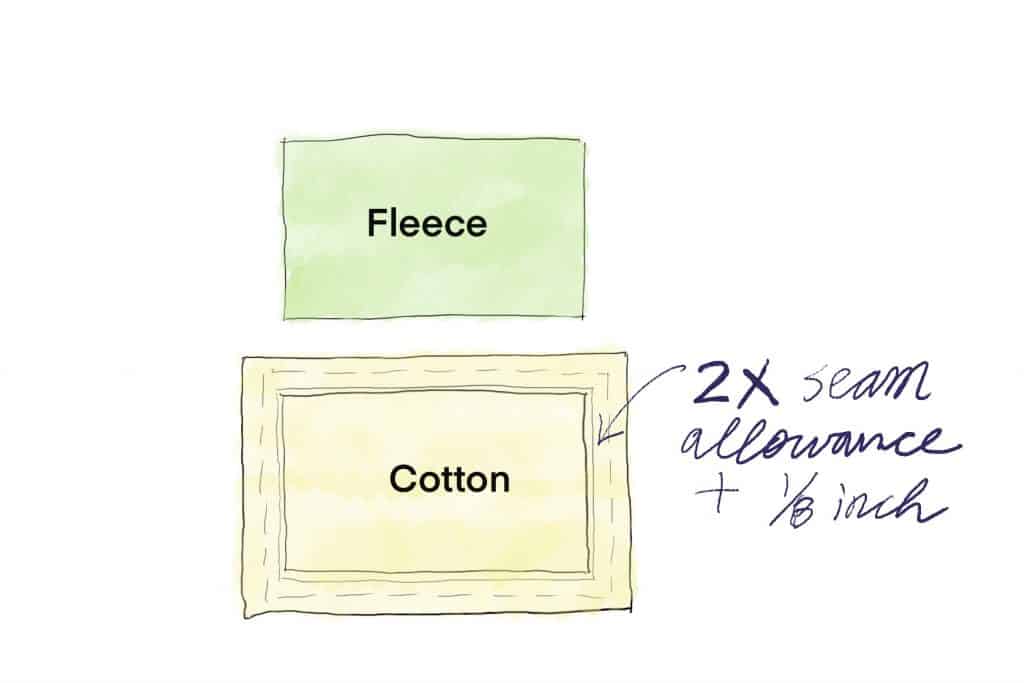
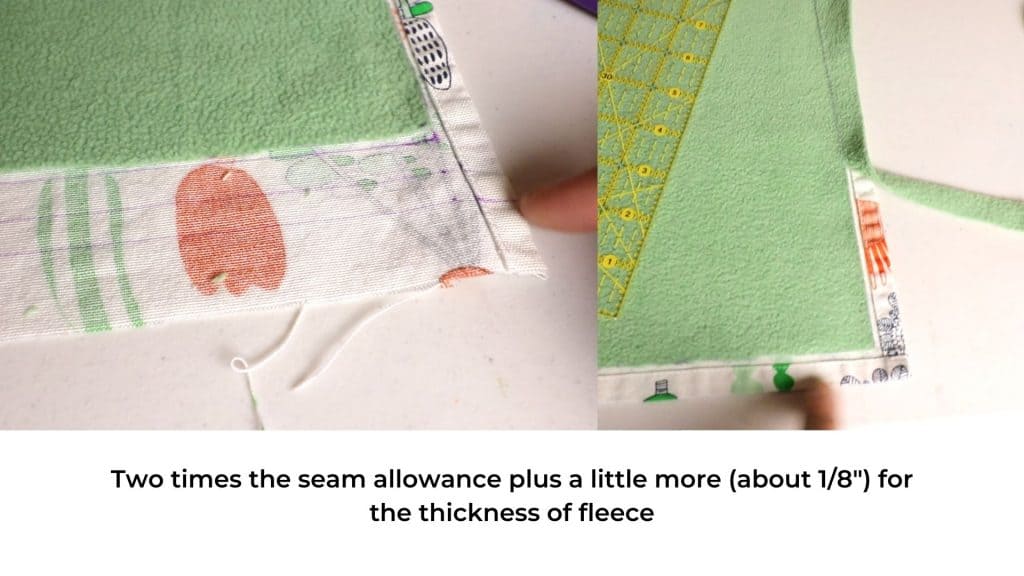
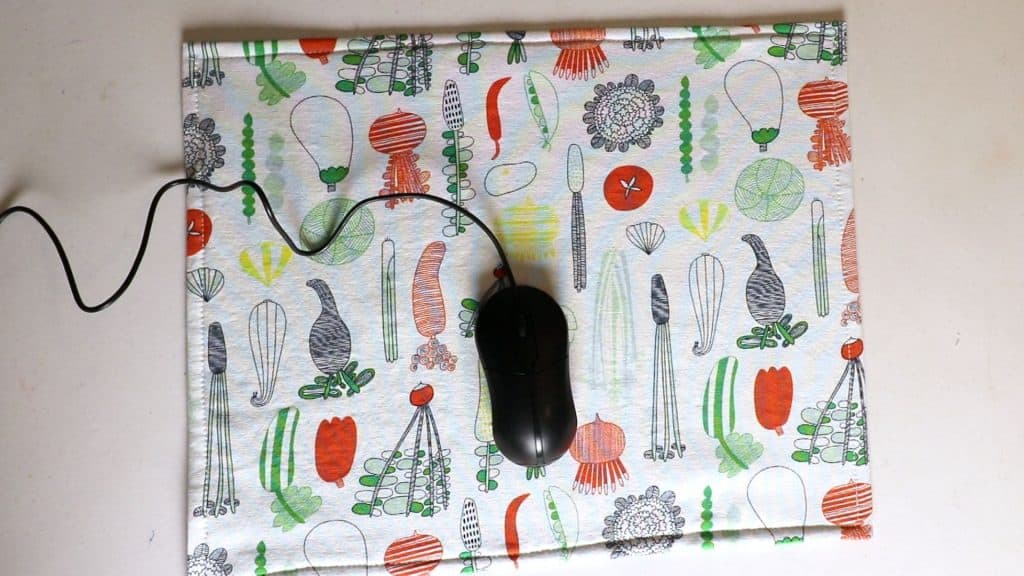
The dimension of the fabric depends on your own preference. It can be as large or as small as you like. I have 14 x 18 inches for the final project. Depending on the seam allowance, add two times the seam allowance plus the thickness of the fleece (for folding over) on the 4 sides of the cotton fabric because we are going to fold the seam allowance twice to hide the raw edges.
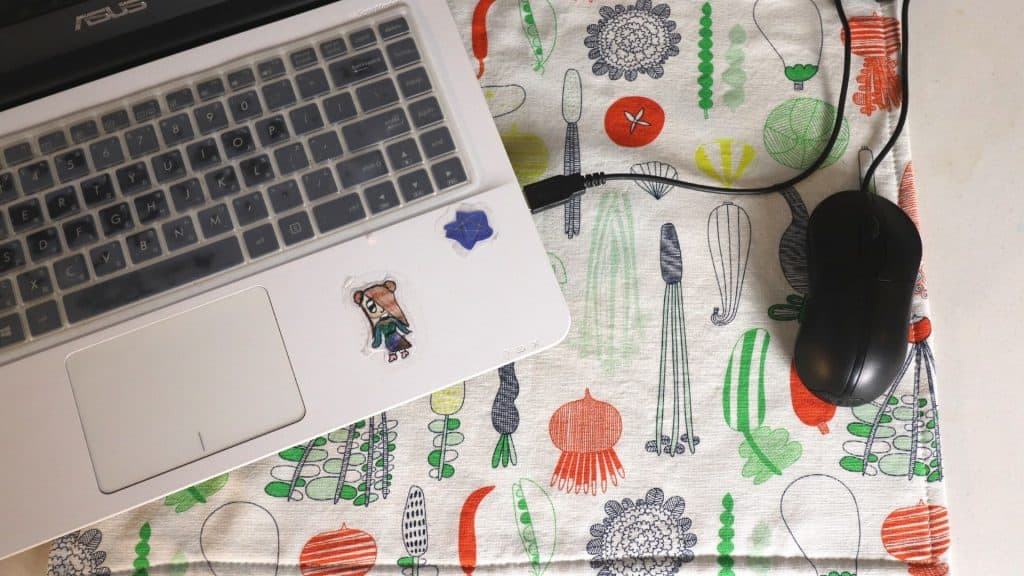
I use a tea towel or kitchen towel as the cotton fabric. It is a little thicker than the quilting cotton and has a slight canvas texture. I also like the printed pattern. The edges are already finished, but one side is cut because I use it for a different project. It does not matter if your fabric has finished sides or not, the process is about the same.
You can use the blanket fleece or any fleece material at hand. Remember to wash and dry them first so it will not shrink too much after sewing.
Sewing Steps
Cut the fabric depends on your preference. Mine is 14 x 18 inches.
The size of the fleece is about the the final size of the mousepad.
The size of the cotton is the size of the fleece, plus 2 times the seam allowance (3/8″ x 2) and a little extra (about the thickness of the fleece, or 1/8″) for folding over.
Mitered corner
The mitered corner is when the 2 sides of the edges meet at a 45-degree angle. It creates a flat and neat corner.
There are many ways to do a mitered corner. Here is the easy way I like.
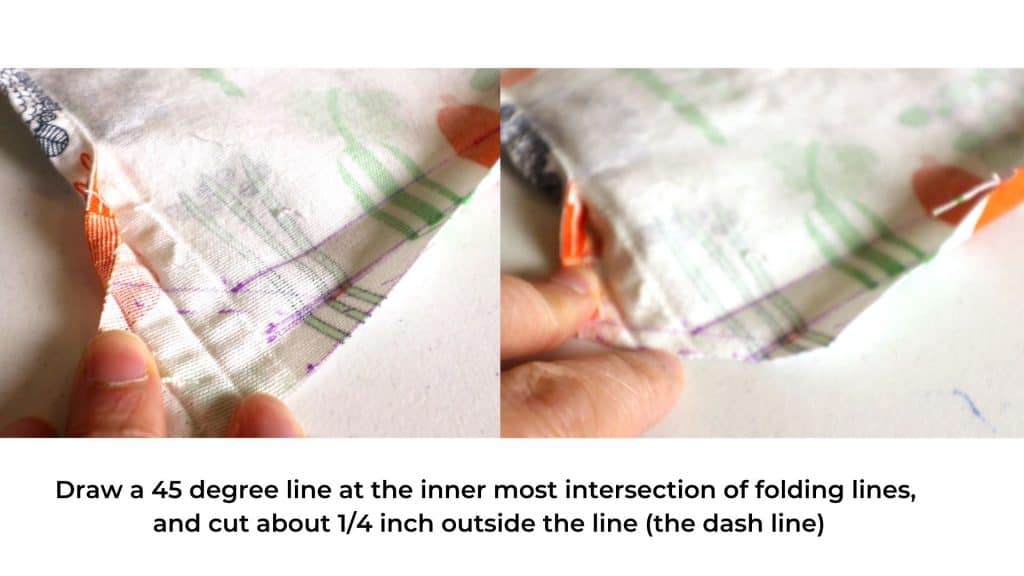
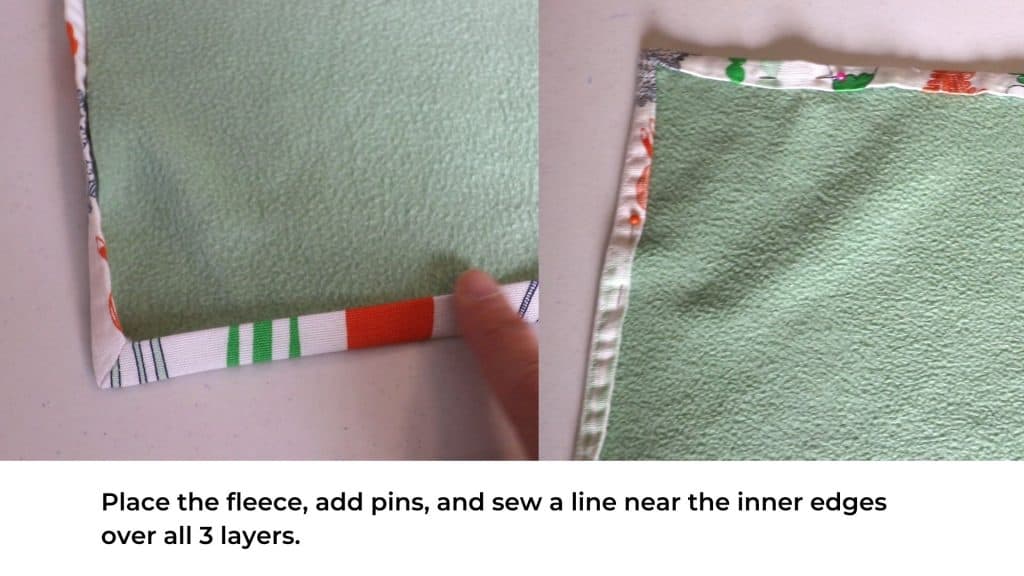
First, we fold the edges twice creating 2 folding lines. You can iron them to make the lines crisp and visible. (See pictures below)
If the corners are previously finished, use a seam ripper to take out some stitches so we can unfold the corners.
Draw a 45-degree line from the innermost intersection of the 2 folding lines.
Cut the fabric about 1/4 inch outside the 45 degree line.
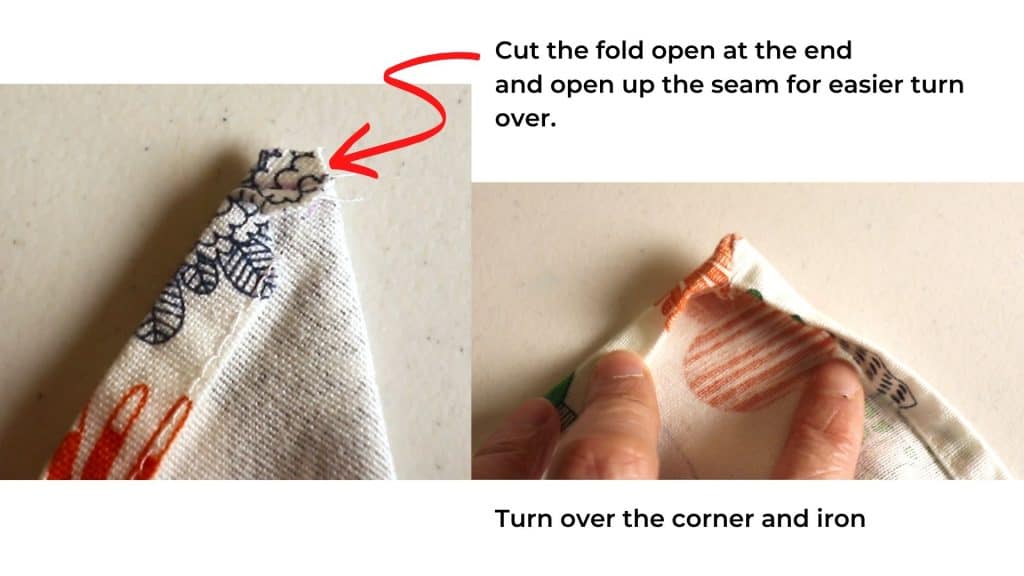
Fold the corner in half, sew the first part of the 45 degree line.
Cut open the end of the fold and turn over to the right side.
Fold the edges (seam allowance) twice and iron. Repeat on all 4 corners.
Now the mitered corners are done.

Watch the mousepad sewing tutorial on our YouTube channel


You May Also Like

Sewing a Japanese style bento tote or lunch bag
Part 2 – sewing a pair of shorts