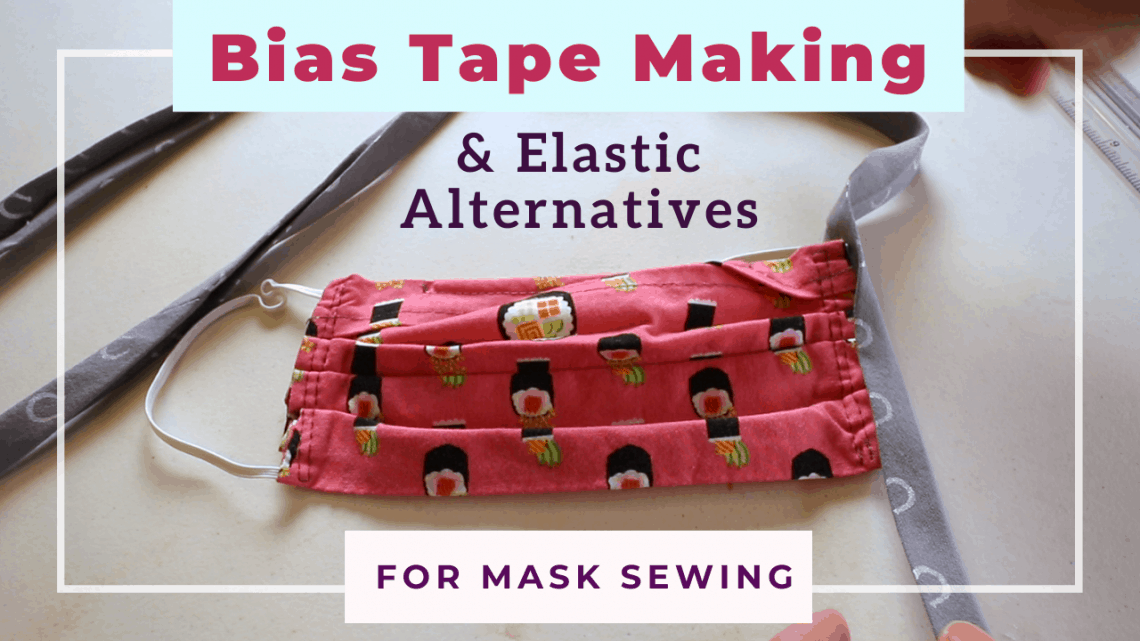
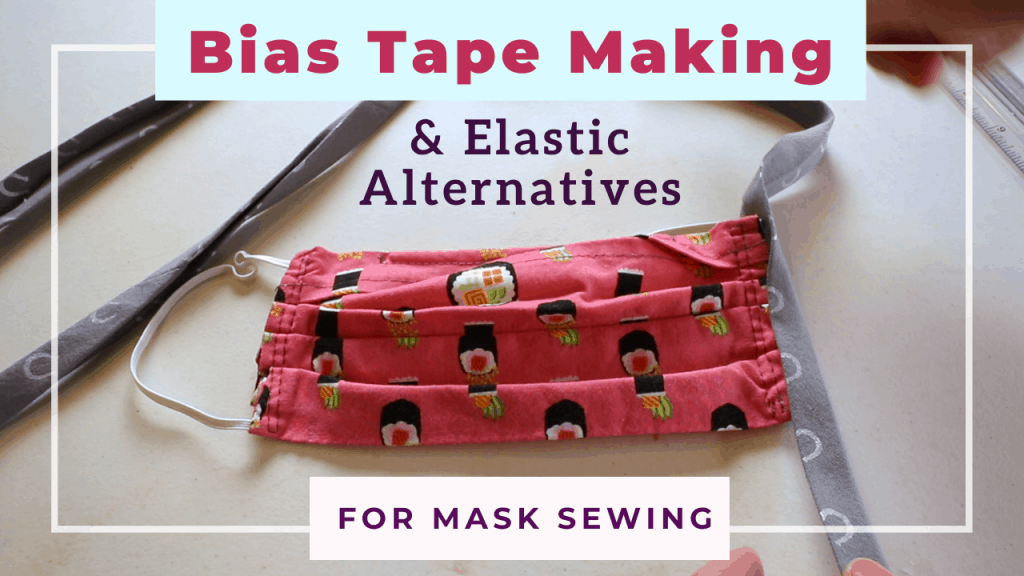
Bias tape DIY and other elastic alternatives for mask making
Since we are in the middle of the virus pandemic and mask making supply is limited, we have to find alternatives for the elastic tape. There are tons of options depending on what kind of design you are after and what is available around you.
We are going to talk about some common elastic substitutes first for DIY mask making. Then there is a quick tutorial for making your own bias tape. It can be used for the DIY mask or other projects. If you prefer to watch a video, check out the video link at the bottom of this article. It will be nice to subscribe to our YouTube channel: CreativeTien.
Elastic alternatives for mask sewing
- Use a Jersey fabric (T-shirt) and cut it into strips. The T-shirt fabric is a type of knitted fabric. The cut edges will not fray so there is no need to finish with sewing. You can pull the fabric lengthwise and the fabric will curve in and lengthen at the same time. It can act like an elastic. Some Jersey fabrics are more stretchy than others so it is best to test first. Or make longer strips (1 to 1.5 inches wide) and use them to tie knots behind the ear or head.
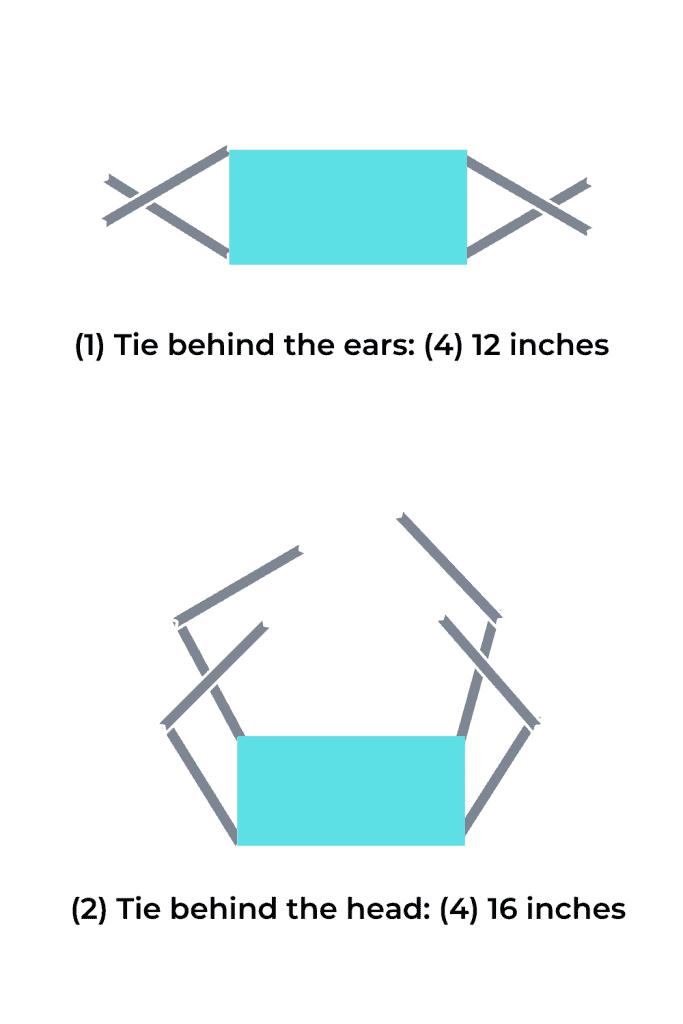
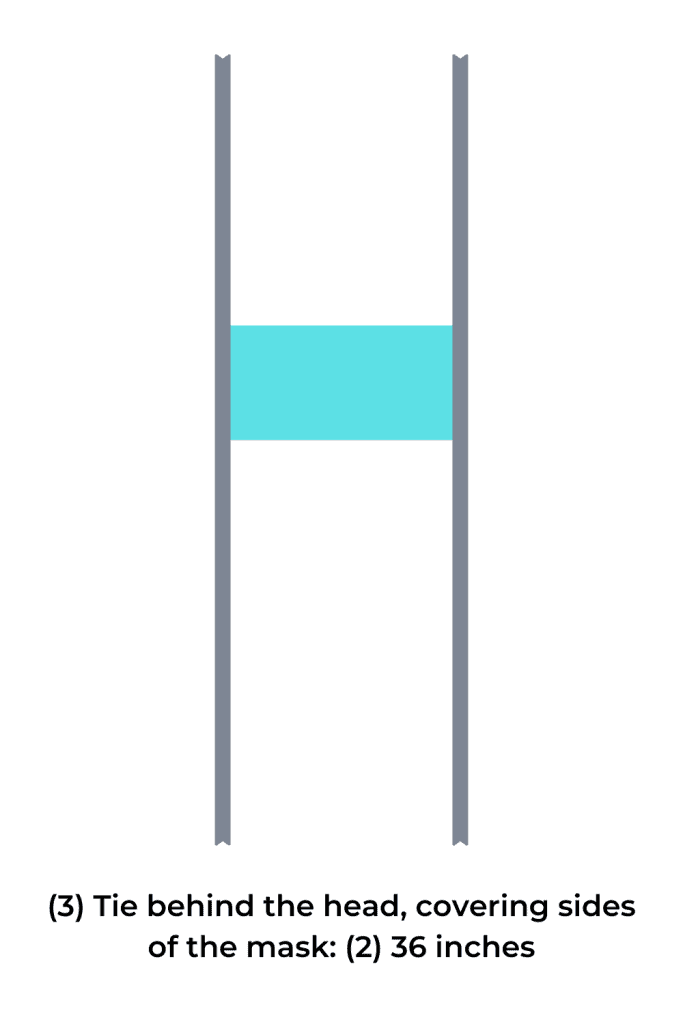
Length requirement (average adult): the following can apply to various materials.
To tie knots behind the ears, you will need about (4) 12-inch long pieces.
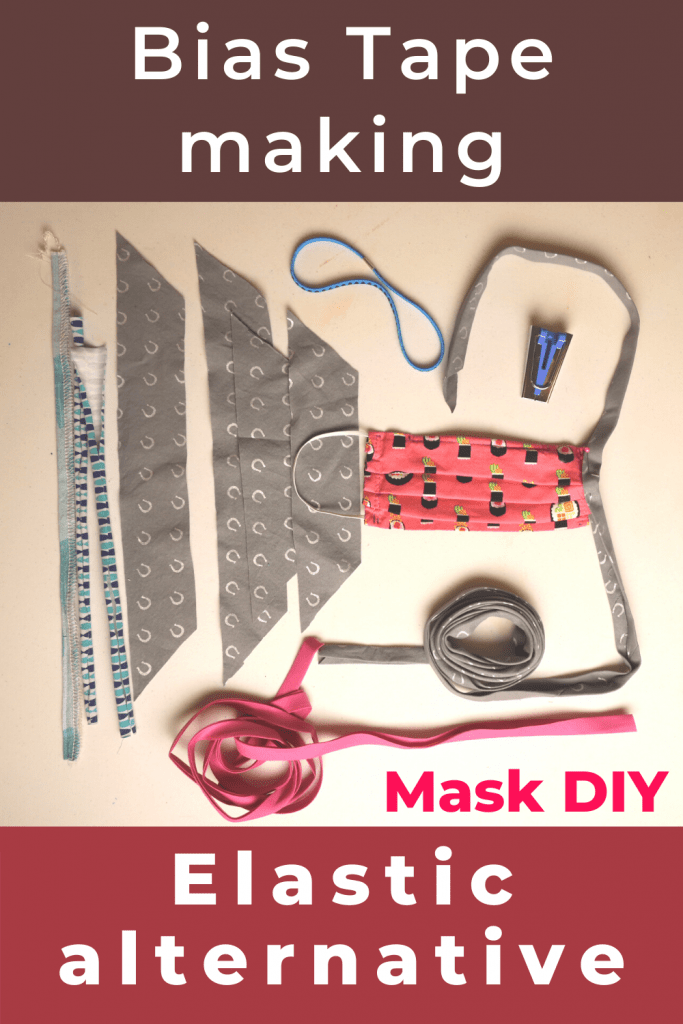
To tie knots behind the head, you will need about (4) 16- inch long pieces, or (2) 36-inches long strips (covering the sides, see pictures below).
2. Crocheted chain stitch or knitted I-cord. These are similar ideas by creating your own “rope” and attach to the mask so you can tie knots behind the ears or behind your head.
3. Ribbon, twill tape, or other strips that are not too thick or thin, and still machine washable. Use the same length guidelines above to tie knots behind the ears or head.
4. Hair tie, hair band, or recycle elastics from old clothing. You can still find some hair tie or hair band at the local drug store or dollar store sometimes. Adapt your pattern width if your hair tie is too short.
Sometimes the elastic from kids’ garment (underwear) is just the right size too. We just have to look through what we have at home.
5 Bias tape or homemade fabric strip (non-bias). Bias tape can be commercially bought or homemade from the basic cotton fabric. The 45-degree bias cut of fabric is not as important in making masks. You can just cut a long strip (vertically or horizontally) and fold the fabric so it looks like bias tape. These cloth tapes can also cover the sides of the mask to make a clean edge. And you only need 2 long pieces (36 inches) if you choose to tie behind your head.
There are many other ways to design the mask ties and the length can vary. Do a sample and try it on first to make sure it works the way you like.
How to make a “Bias Tape”
If you can not find commercially made bias tape, there are a lot of videos on YouTube showing different ways of making your own bias tape. There is a continuous method that is very interesting (if you are going to make a lot) but here is the easiest way I like.
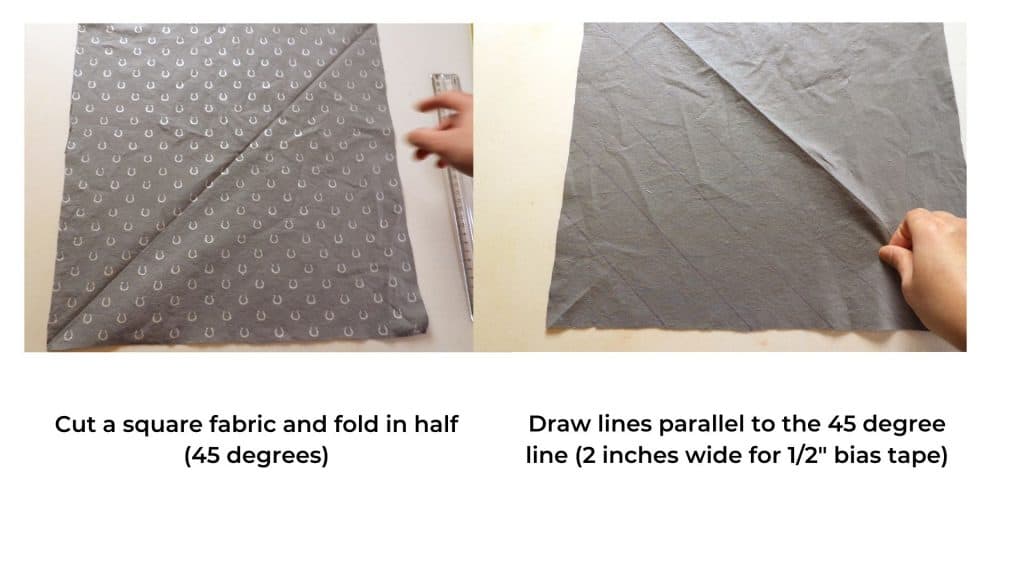
Step 1: Prepare fabirc for bias (45 degree) cut
Cut a square or rectangle fabric. For a square one, fold diagonally (and iron) and that is the 45-degree line. For a rectangle, you can use a ruler to find the 45-degree line.
Mark lines parallel to the 45-degree line. Depending on the final width of bias tape you like, choose the width to be cut. For a 1/2 inch wide bias tape, you need about 2 inches strips.
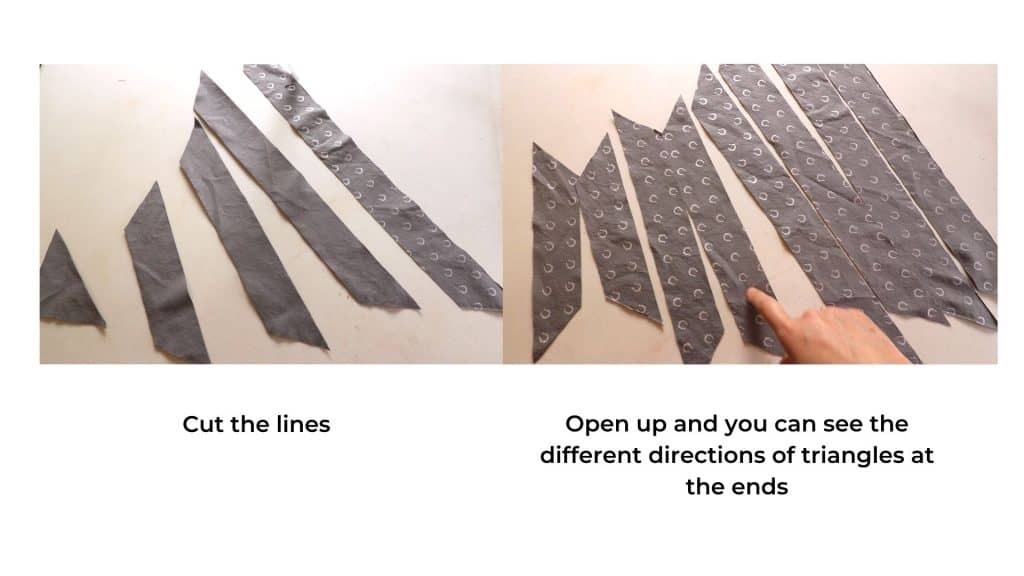
Step 2: Mark and cut into strips
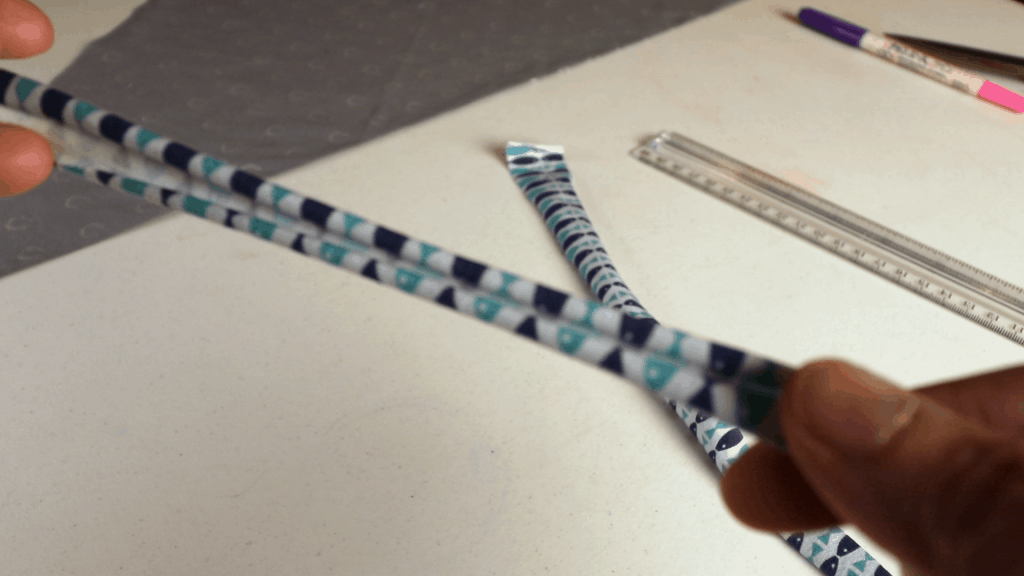
Cut the lines and open up the fabric. You will see different length strips with triangle ends.
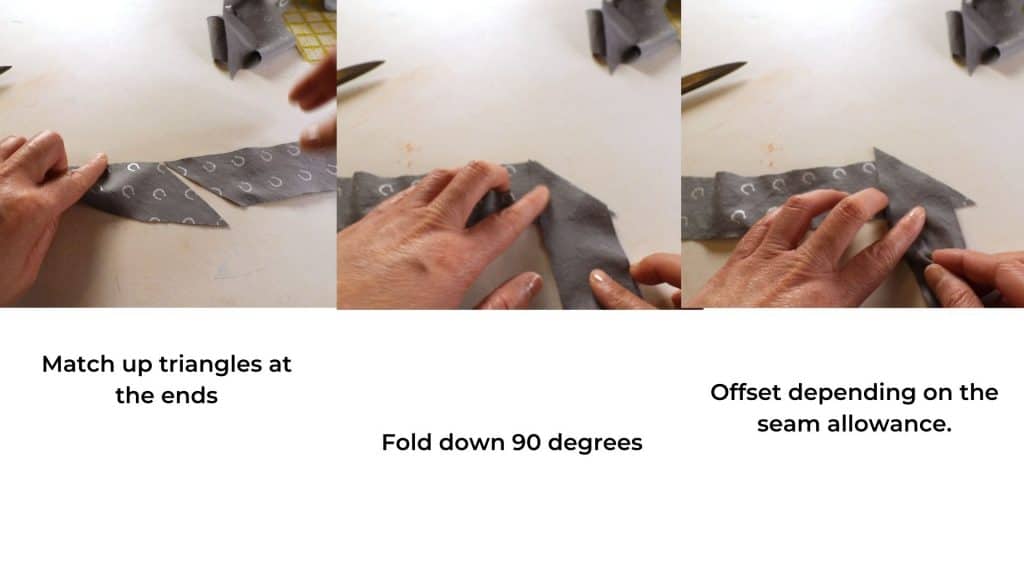
Step 3: Connect strips in the right direction and sew up
Find the matching triangles at ends to connect. If it does not match, you can cut it to match both ends. Fold-down one piece 90 degrees and offset a little depending on the seam allowance.
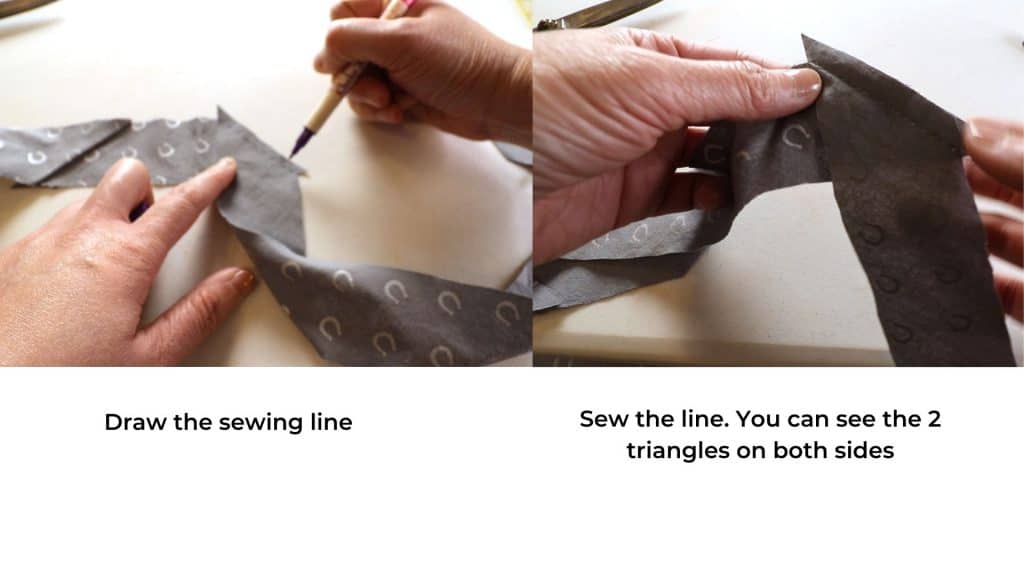
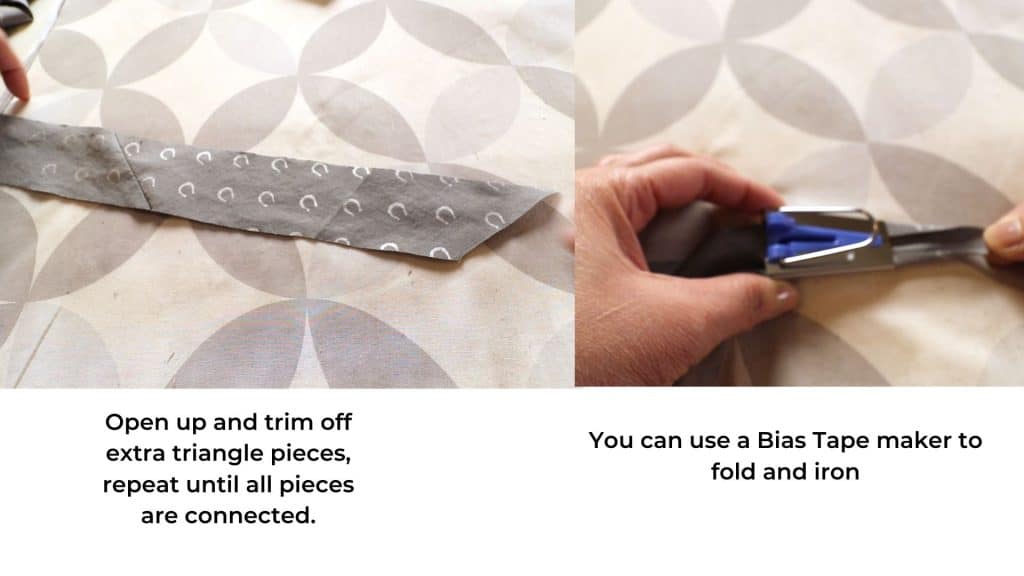
Mark the sewing line and sew a straight line. Open up the fabric and cut off the extra fabric.
Connect all pieces in the same manner.
Step 4: Fold and iron (with or without a Bias Tape Maker)
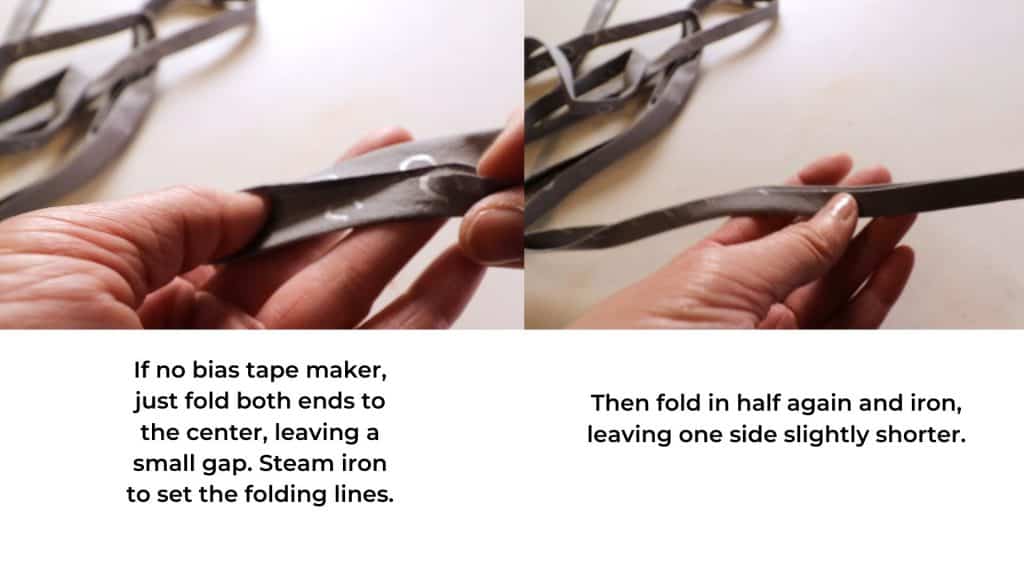
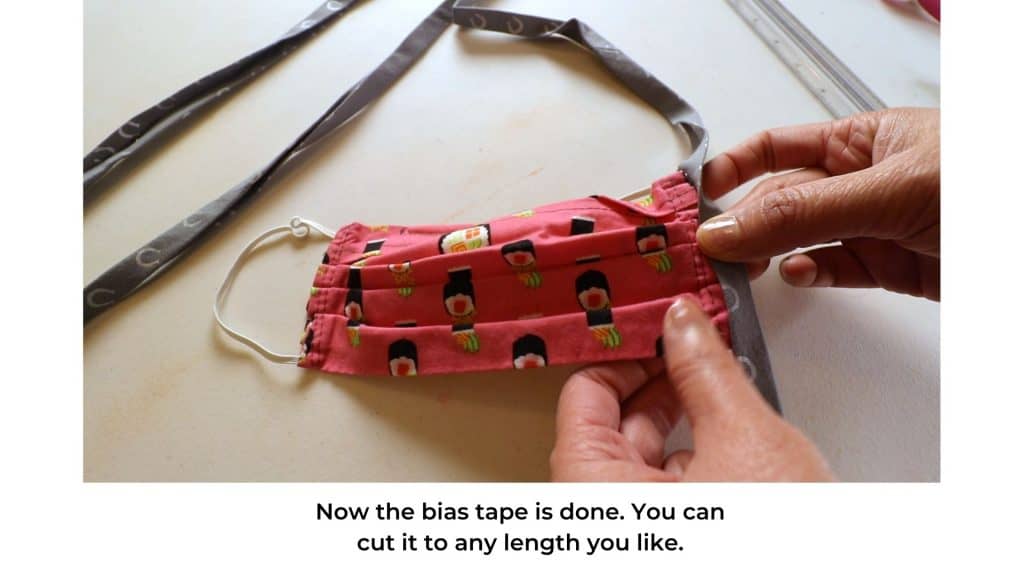
To finish the end of the bias tape, you can fold the end in about half an inch and sew a line on top.
Watch the video tutorial for bias tape DIY and elastic alternatives


You May Also Like
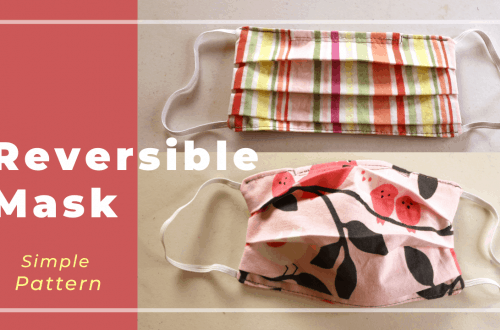
Reversible face mask sewing from 2 squares of fabric
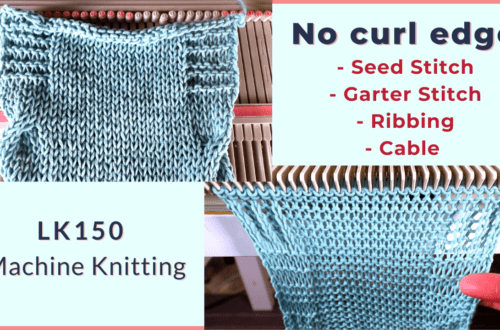
No curl edge with seed, garter, ribbing, or cable stitches