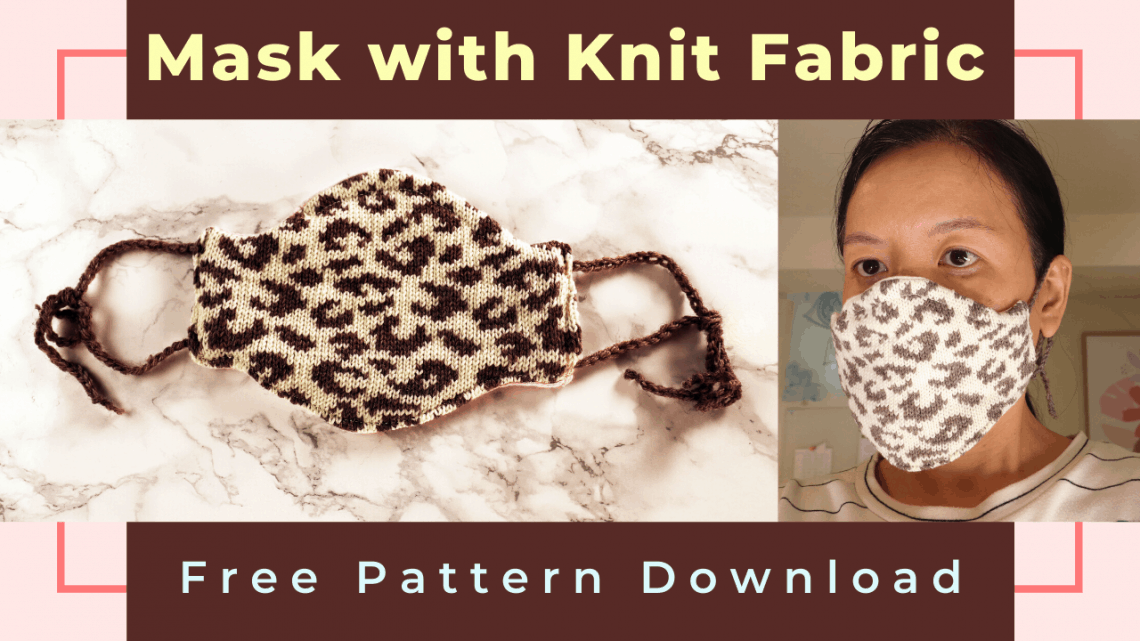
Mask sewing with stretchy knit fabric – cut and sew (Free Pattern Download)
Last time, we knit the animal print pattern with a Brother punch card knitting machine. Today we are going to turn the knitted fabric into a mask. If you do not have a knitting machine, you can hand sew or buy knit fabric from the store. Any stretchy fabric will work.
Free stretchy knit mask pattern PDF download: https://sendfox.com/lp/3o62oo
Free animal prints (leopard and zebra) knitting chart (punch card) download: https://sendfox.com/lp/1v64xv
Watch our YouTube tutorial for the cut and sew knit mask
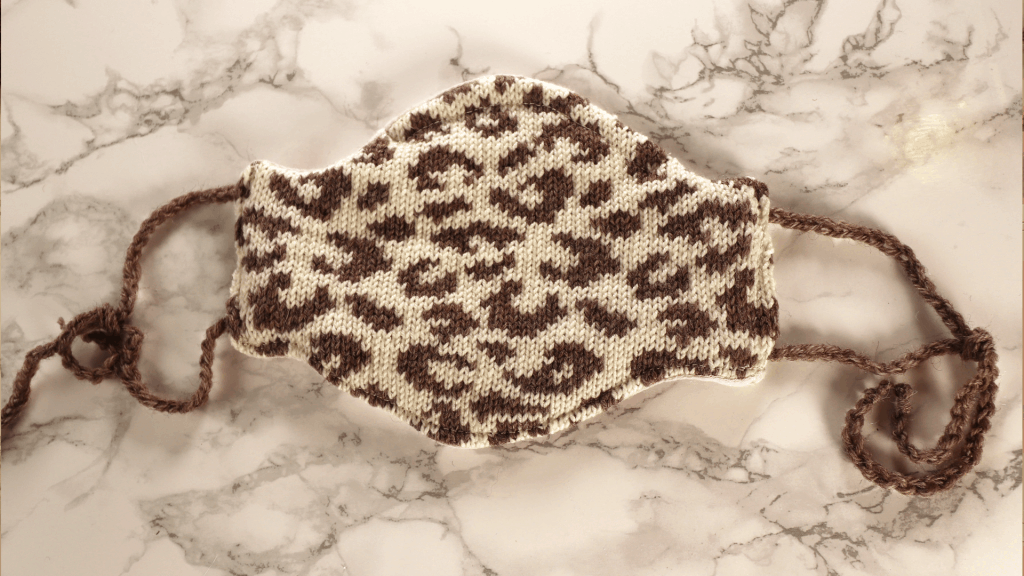
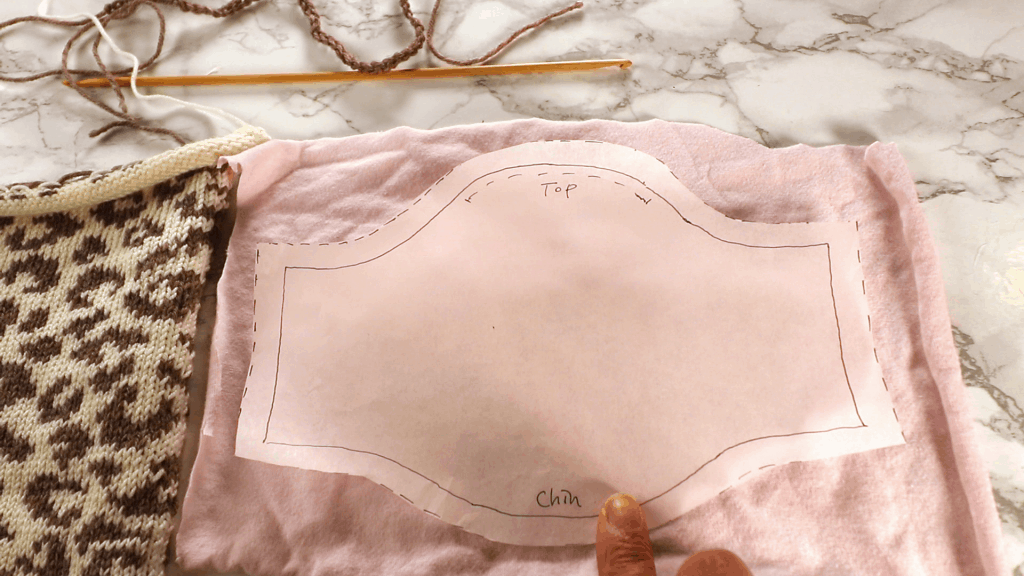
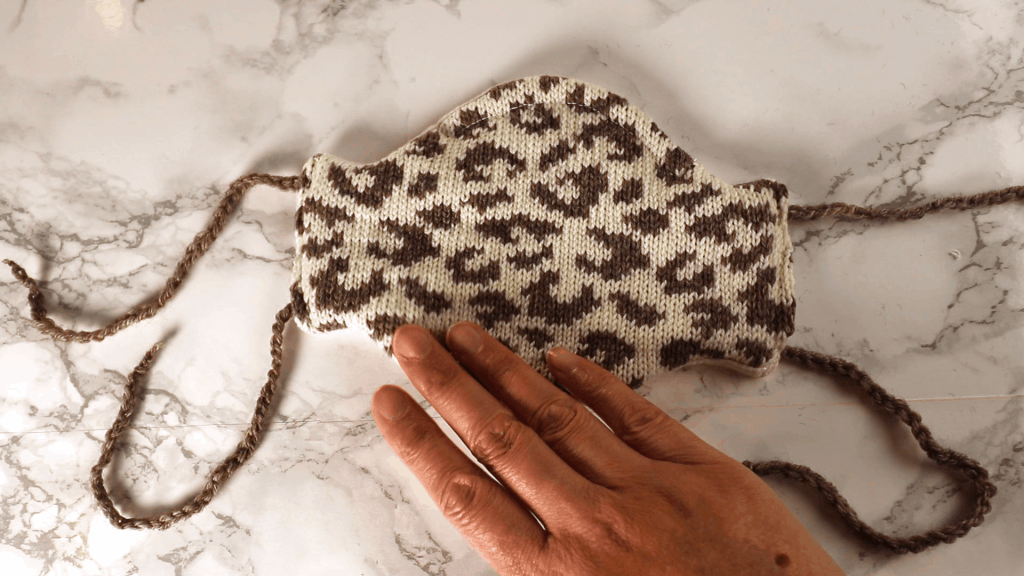
Turning knit fabric to a mask
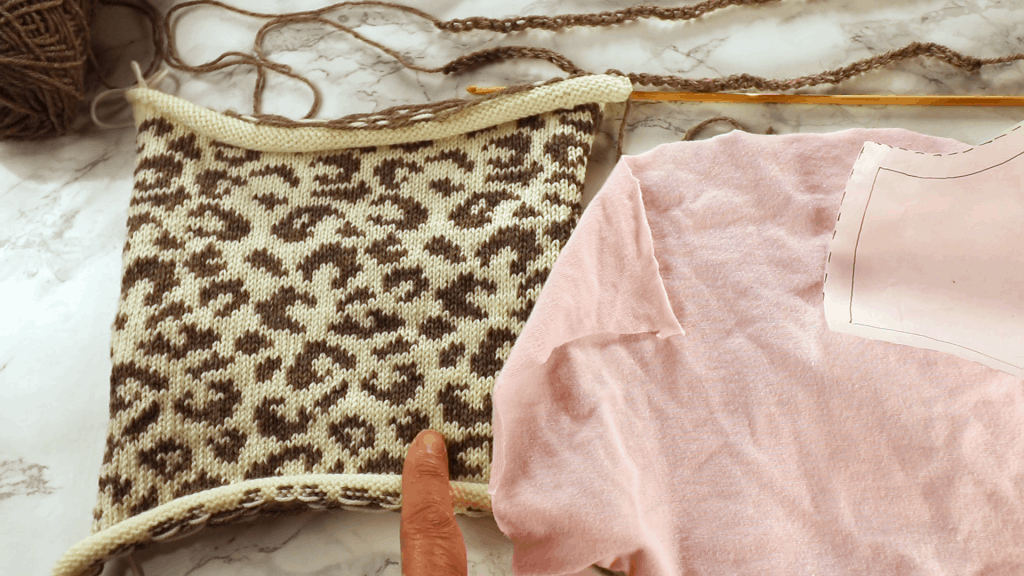
Download and cut the pattern first. The pattern includes a 3/8” (or 1 cm) seam allowance.
I use crocheted chain stitches for the ear loops. You can use elastics too.
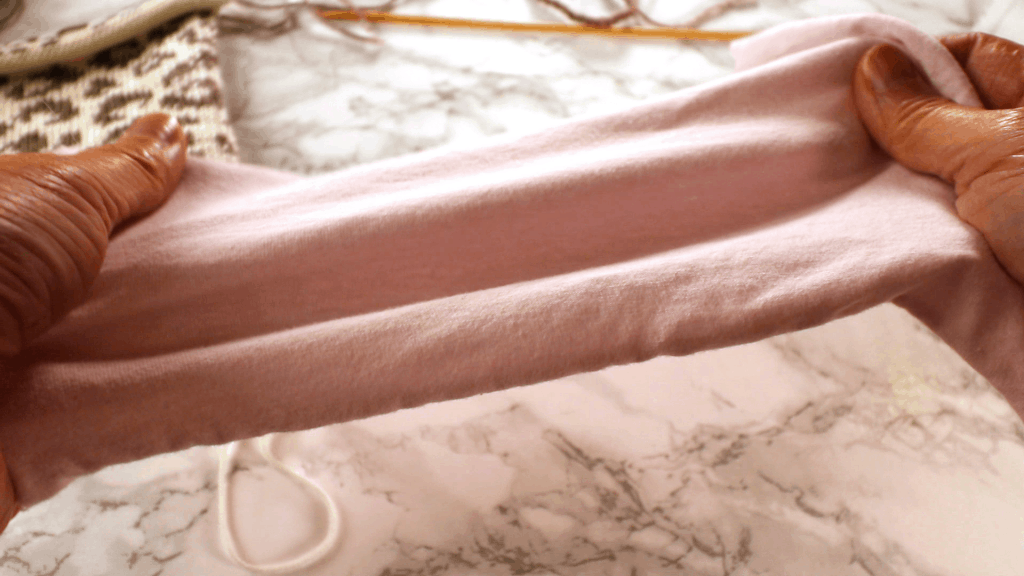
Cut the Jersey fabric according to the pattern.
The fabric should be stretched side ways.

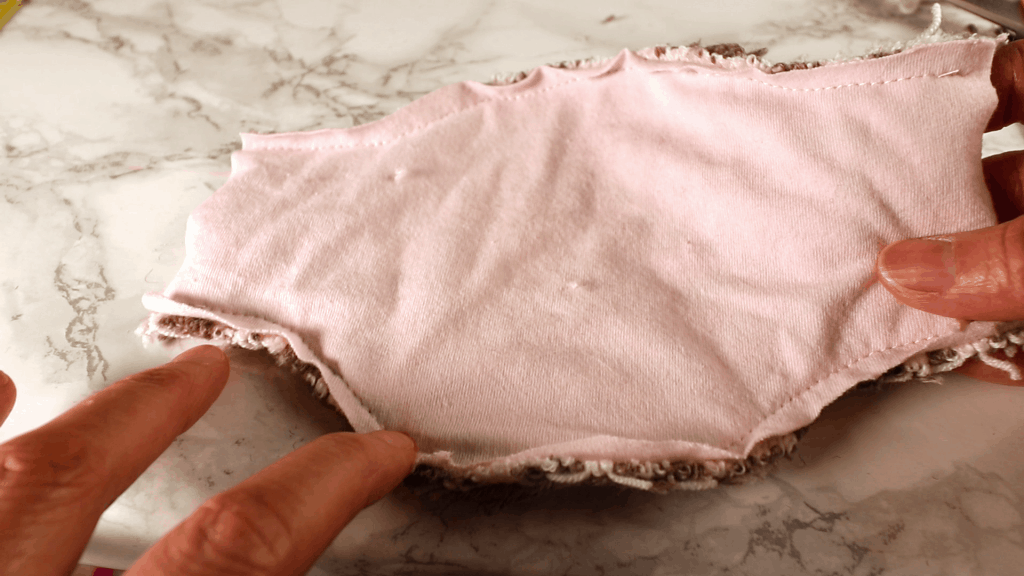
Place the cut Jersey on top of the leopard knit fabric, so they are right sides facing each other.
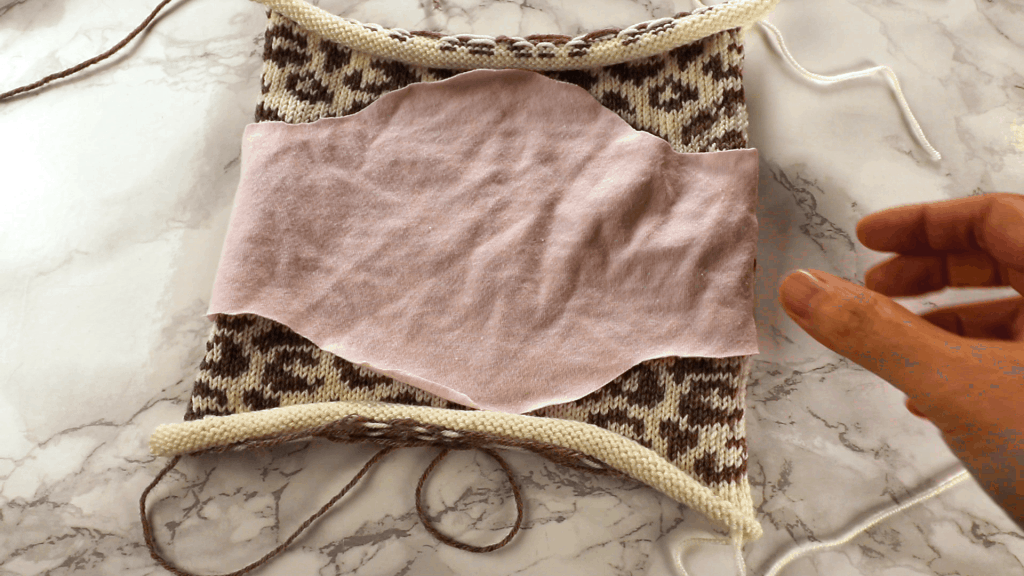
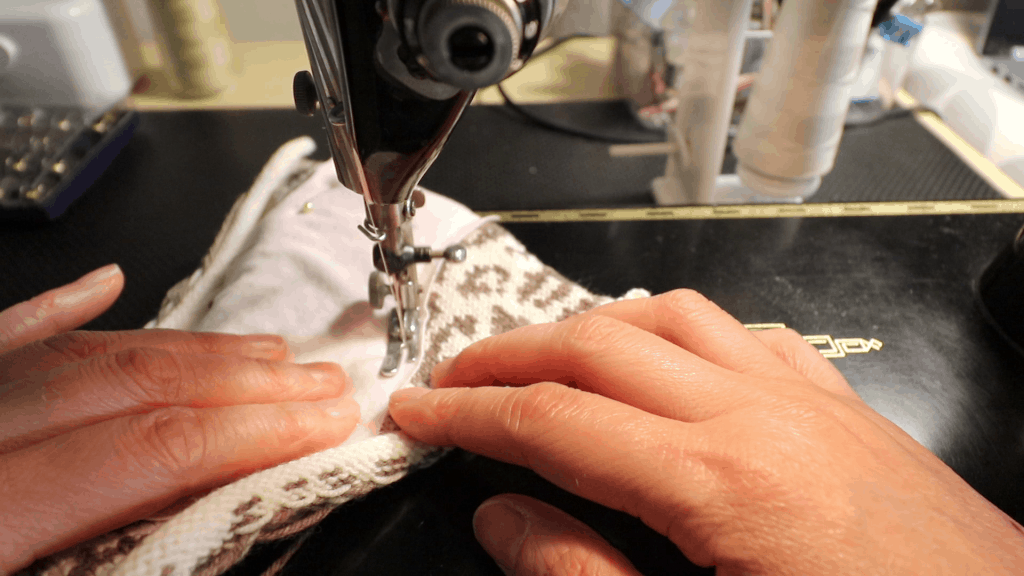
Pin the edges and sew the top and bottom lines, leaving the sides open.
You can use a serger, regular sewing machine, or sew the lines by hand.

I use a Singer 201 sewing machine.
After sewing, cut off extra fabric.

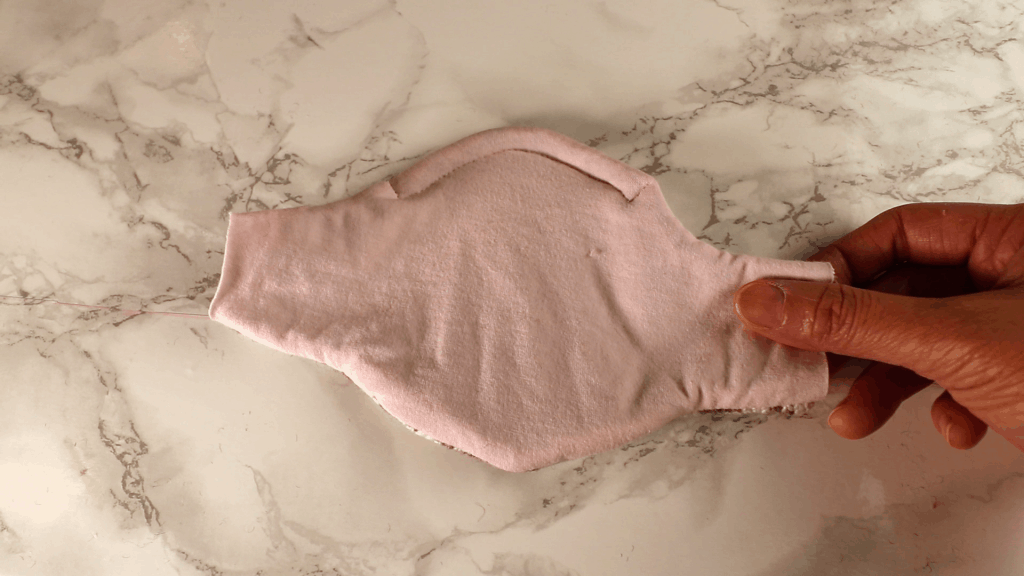
Then turn it inside out through the side opening.
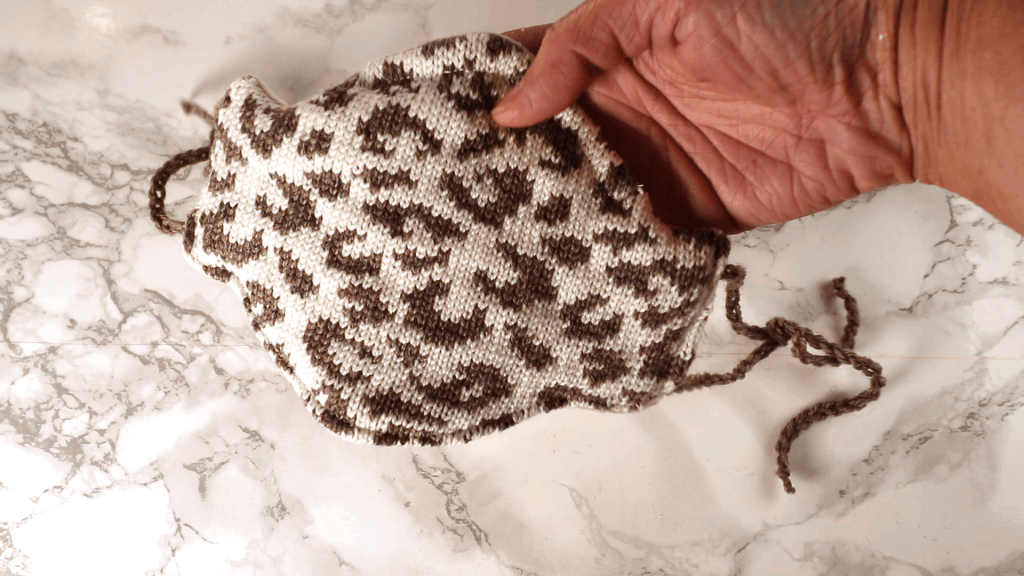
Time to insert nose wire from the side opening.

Pin and sew a channel to enclose the wire.

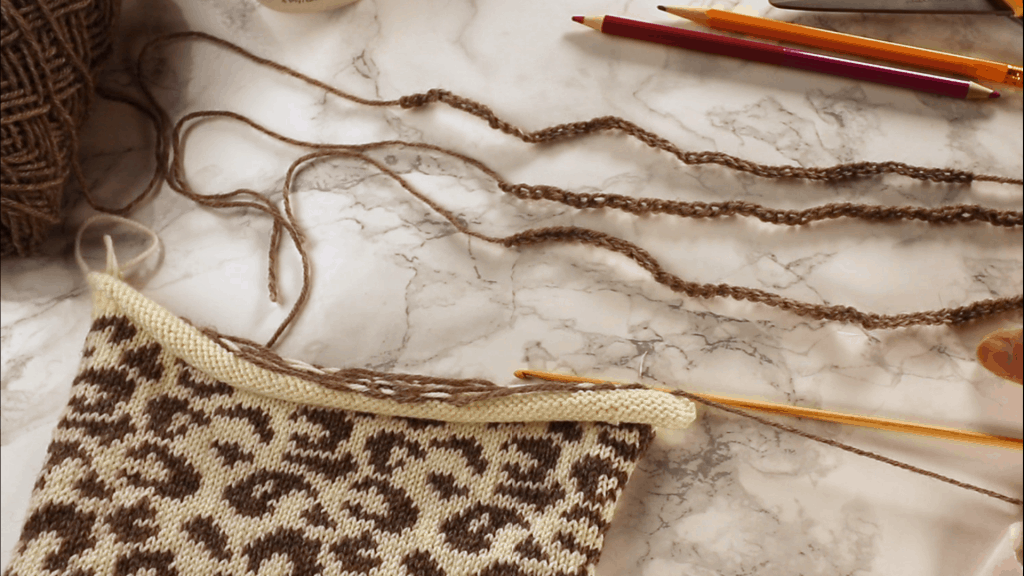
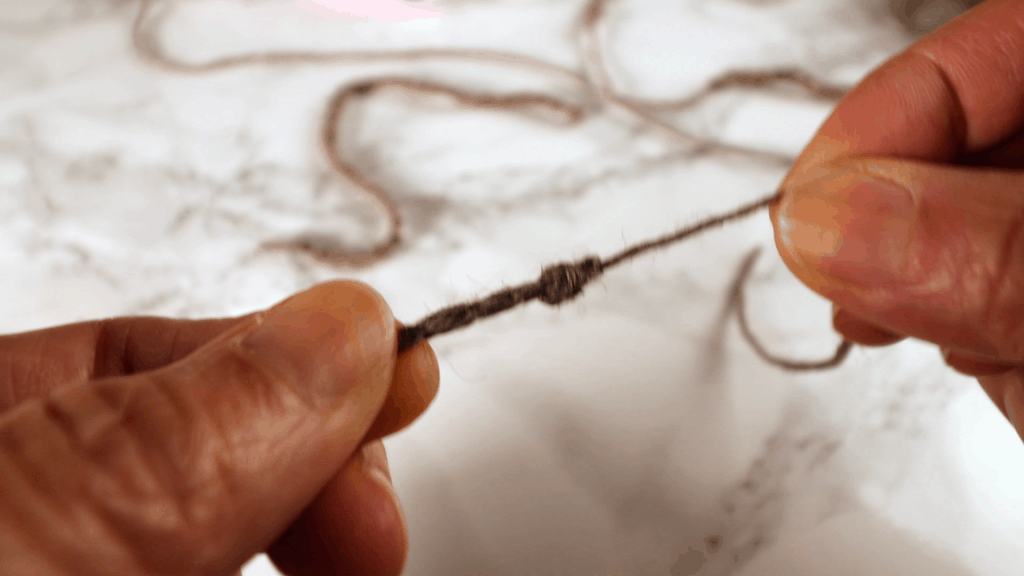
I chained up (4) 9-inch long strings as ear loops. Elastic will work too.

Tie up the ends and cut off extra yarn.
Time to insert the ear loops.
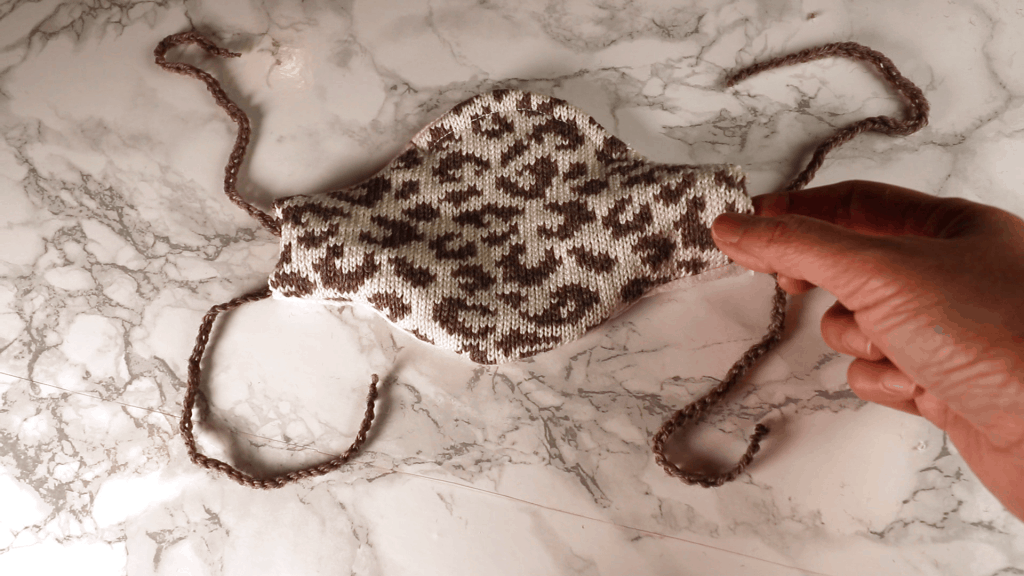
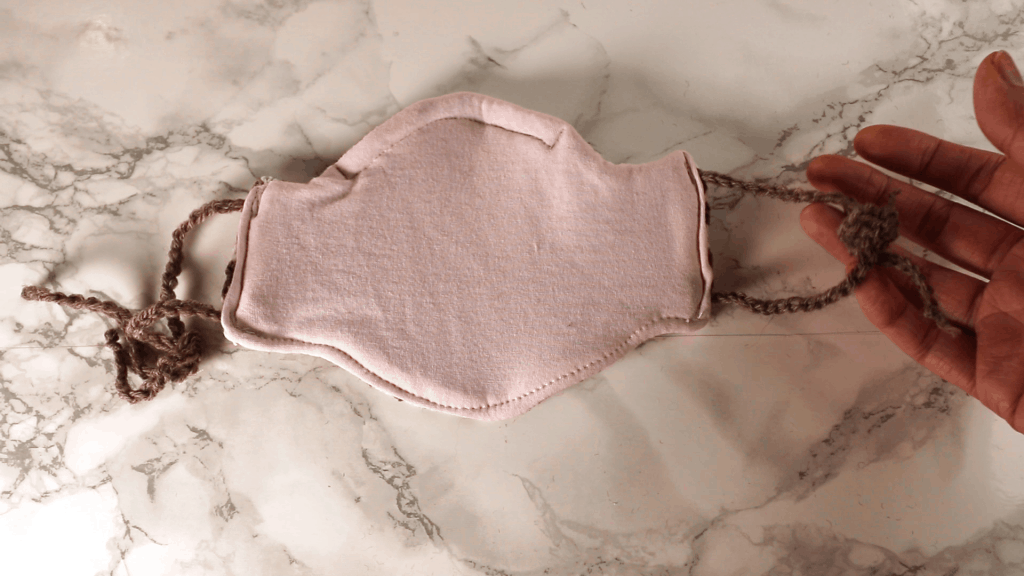
Turn the edges of the side openings inward about 1/2 inch to hide the raw edges.
Insert the crocheted strings near the edges of the openings.

Sew a line to close the opening and secure the strings.

After sewing the side openings.
Sew a line near the bottom edge to top stitch and finish the outline better.
Tie knots for the ear loops.
All done. Enjoy!
Back side view.


Free stretchy knit mask pattern PDF download: https://sendfox.com/lp/3o62oo
Free animal prints (leopard and zebra) knitting chart (punch card) download: https://sendfox.com/lp/1v64xv


You May Also Like
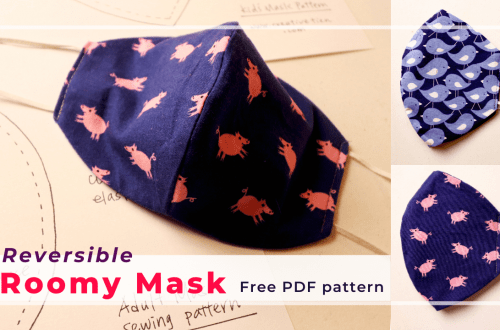
Reversible, roomy mask sewing with free 2-size pattern download
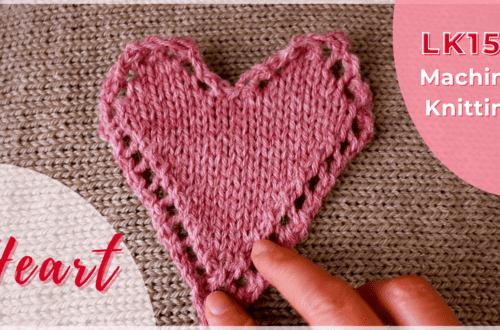
How to machine knit a heart shape on an LK150
