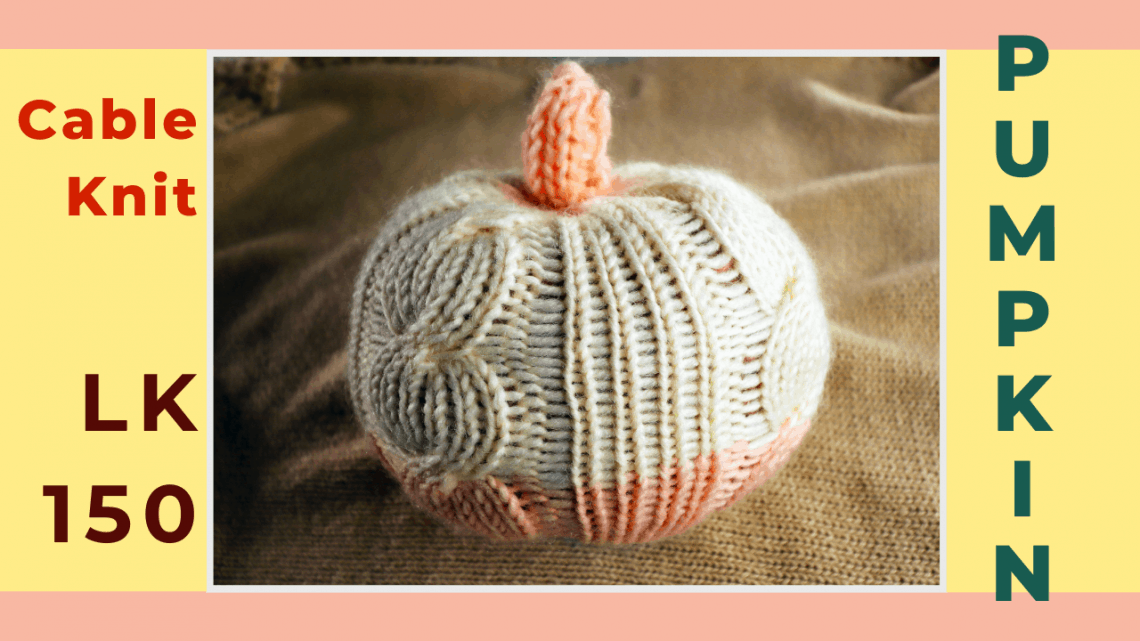
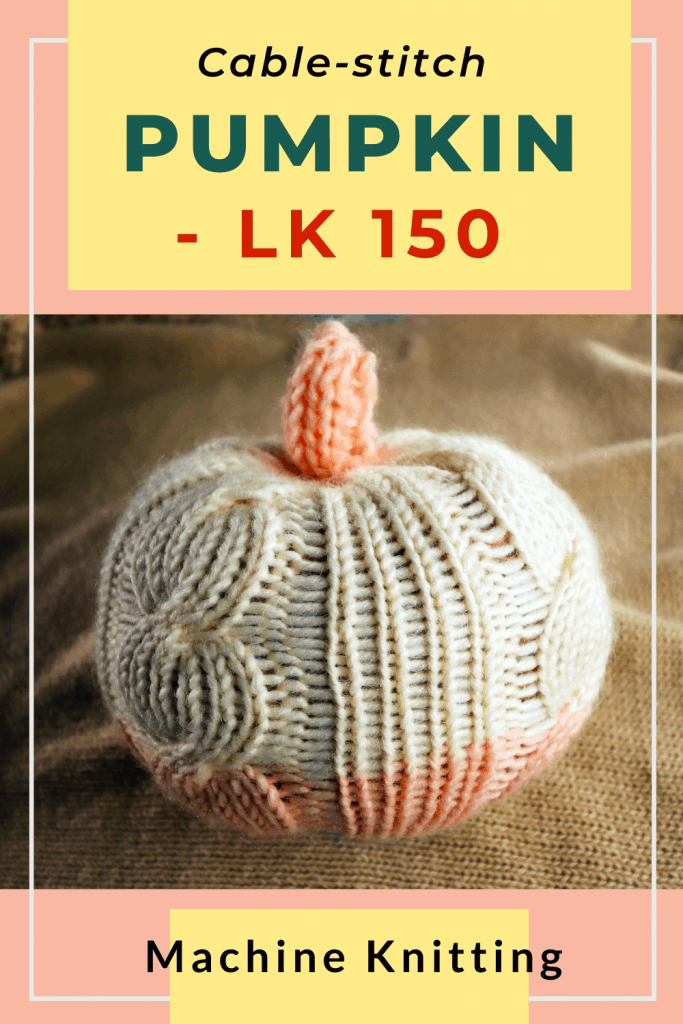
Machine knit a cable stitch pumpkin on the LK150 — Hand reformed stitches
A knitted pumpkin is a fun way to decorate your fall interiors. You can hand knit easily with bulky yarn, but machine knitting is faster. I am using a basic LK150 knitting machine and hand manipulating the cable crossing and the purl stitches.
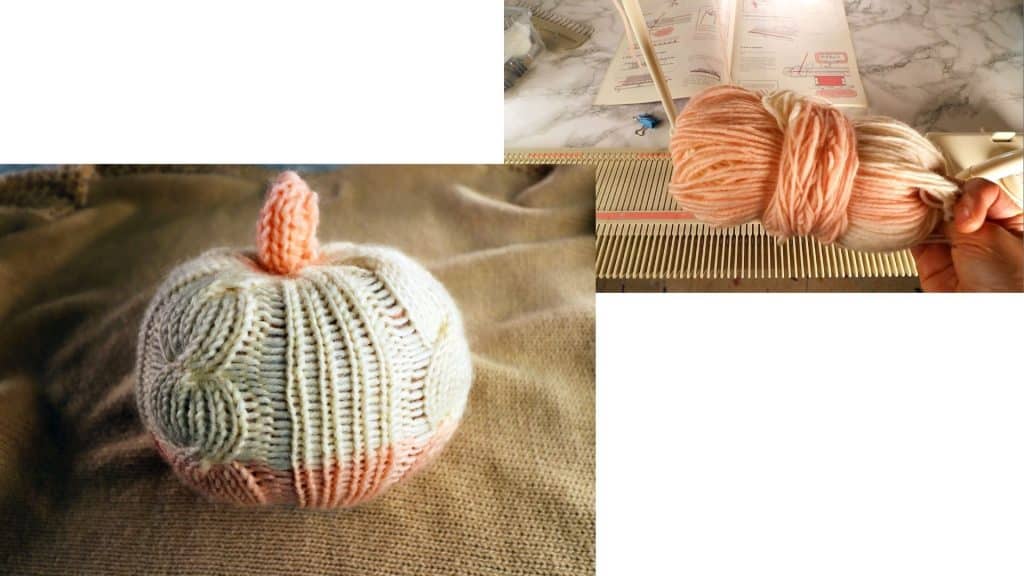
It is knitted flat and seamed up the side with a mattress stitch. The stem is an I-cord knitted on the LK150. Make several sizes and use up your yarn stashes.
Watch the video about machine knit a pumpkin
Picture tutorial for machine knitting a pumpkin on the LK150 knitting machine
Materials
Worsted or DK weight will work nicely on the LK150 machine. It does not use a lot of yarn. You can also mix and match colors from your yarn collection. It does not have to be orange.
The Stuffing can be from scrap yarn, scrap fabric, or polyester/cotton insert. Use what you have around the house.
Cast on
For this pattern, I cast on a multiple of 12 stitches (repeat of 6 plain stitches and 6 cable stitches), plus 1 stitch on each side. (I have 12 x 4+2=50 stitches)
I cast on from L25 to R25 using “every other needle” cast on. You can use any method of cast on such as E-Wrap or Waste Yarn cast on. The first and the last row will be tightened later so it does not have to be perfect.
The carriage is set for plain knitting. Set tension 6 for worsted weight yarn. The upper mast tension is 7. Adjust as needed. Because we are going to knit cable stitches, we need the tension to be a little looser.
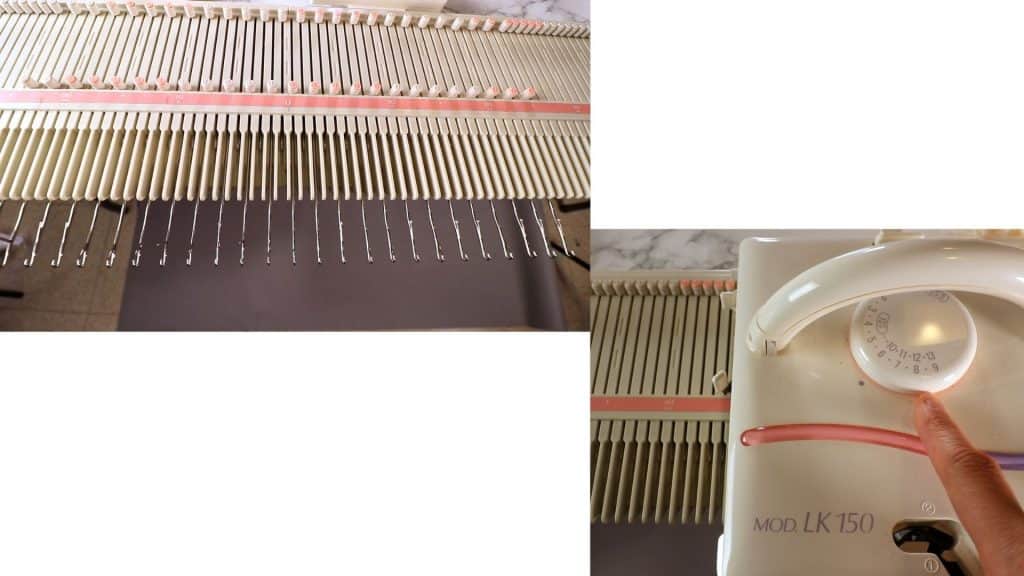
Pull out every other needle, hang the cast on comb, then move the other half of the needles to the B position. Ready to knit now.
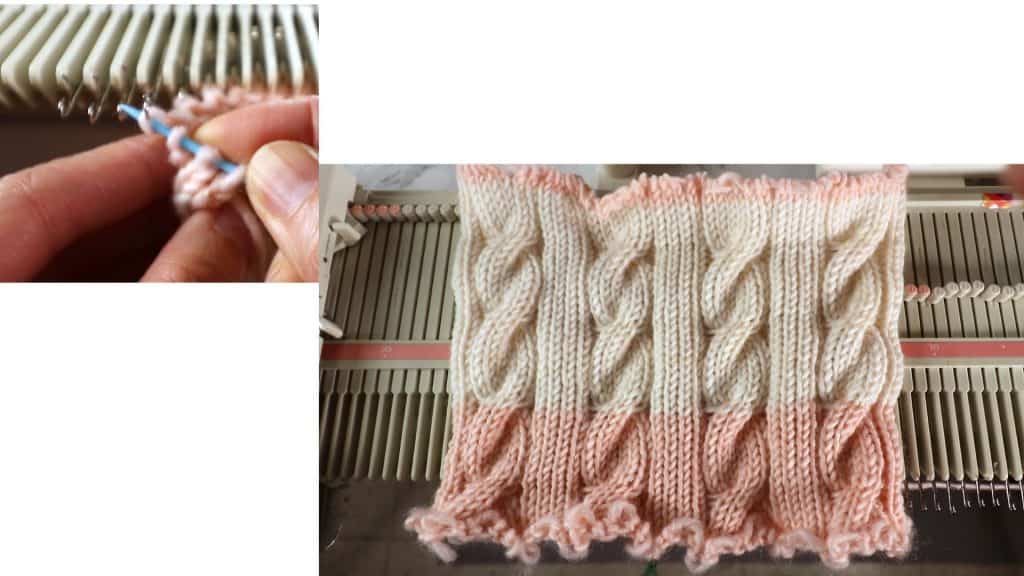
Knit 8 rows (or any row numbers you like for the first section), then we can start reforming purl stitches and crossing cables.
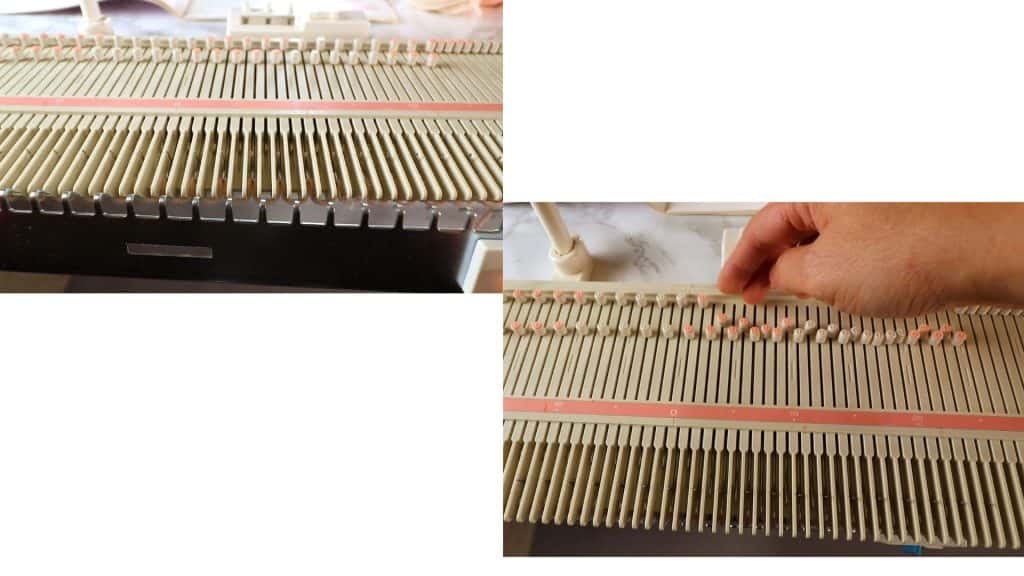
I use a Washi tape to mark the location of the 3 x 3 cable (6 stitches). The stitches outside the 6 cable stitches will be reformed to purl stitches.

Pull out the stitches that need to be reformed (next to the cable stitches).
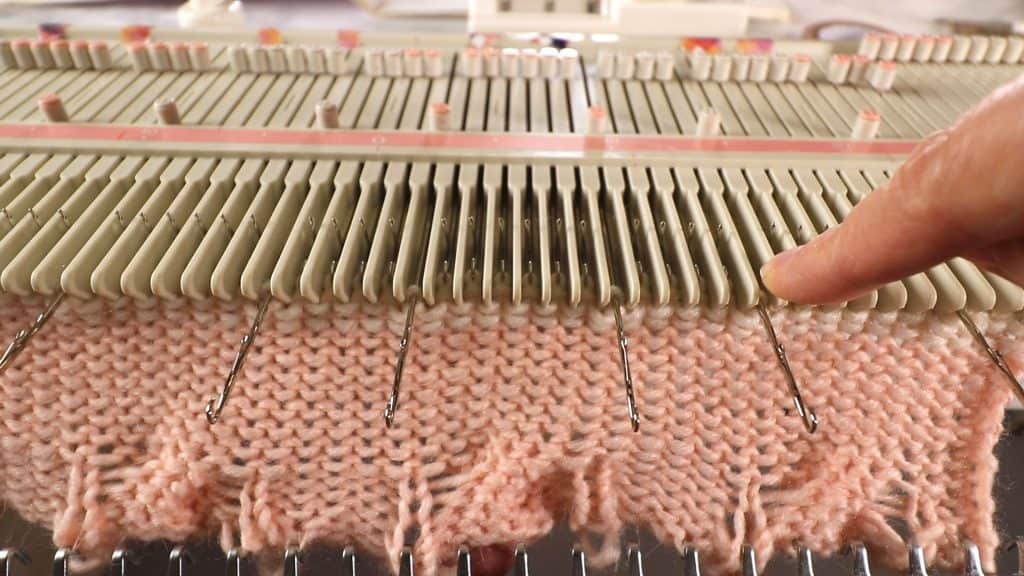
Reform to the purl stitches
Pull out the needle to be reformed and drop the stitch.
Use a latch-up tool to latch-up from the bottom row. Hang it back to the needle. One column of stitches reformed to the purls.
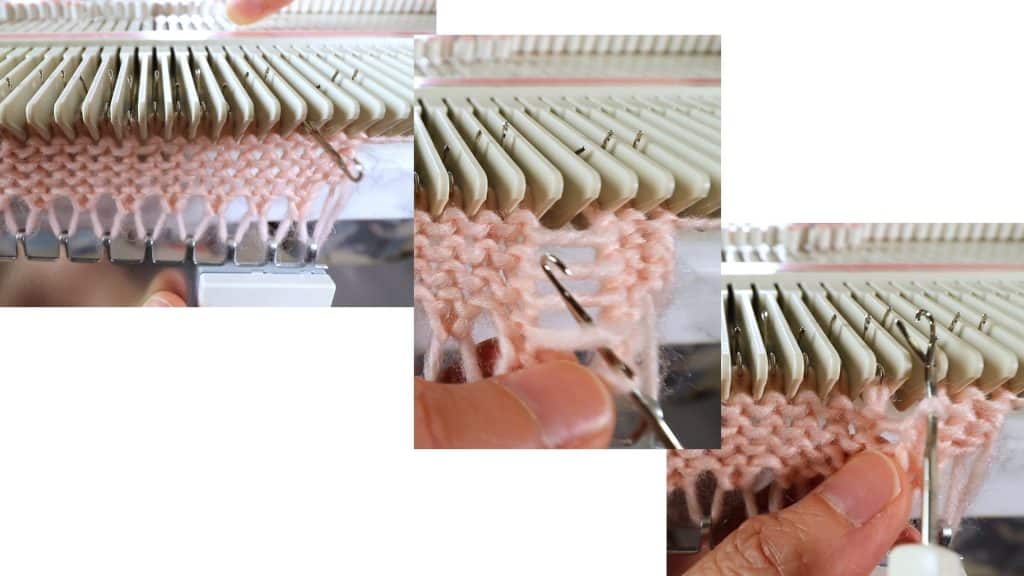
All purl stitches are done.
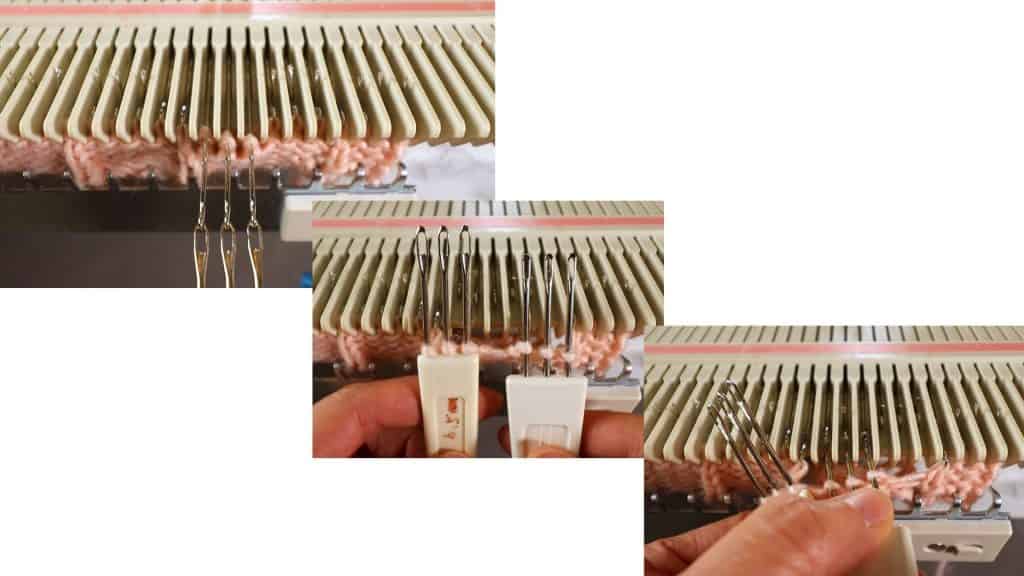
Cable stitch
To cross the 3 × 3 cable stitch, I use (2) 3-prong transferring tools.
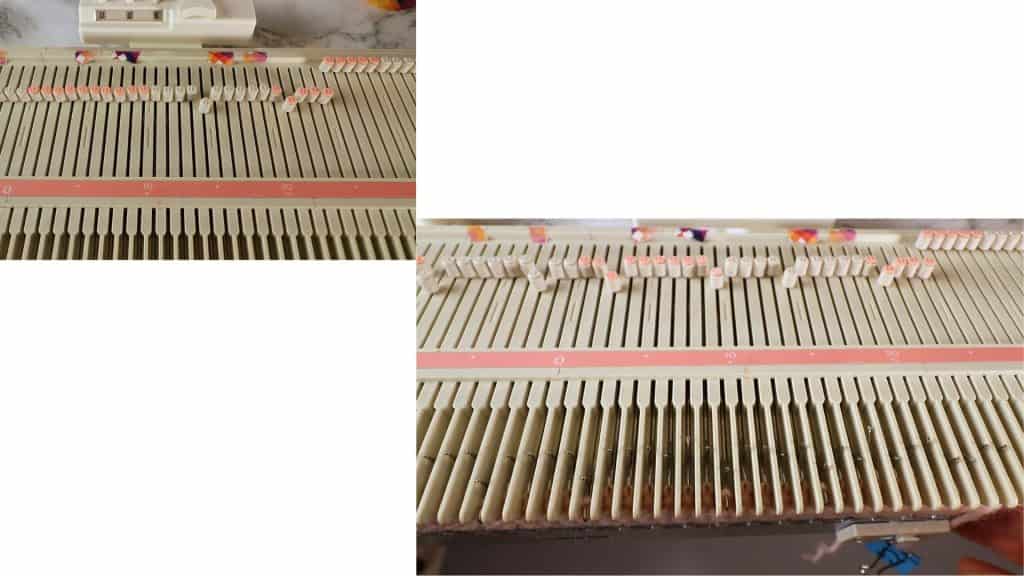
To pick up stitches: Pull the left 3 needles out all the way so the yarns are behind the latches, then push the 3 needles back in so the yarns slide to the transferring tool. Do the same with the right 3 stitches and the second transferring tool.
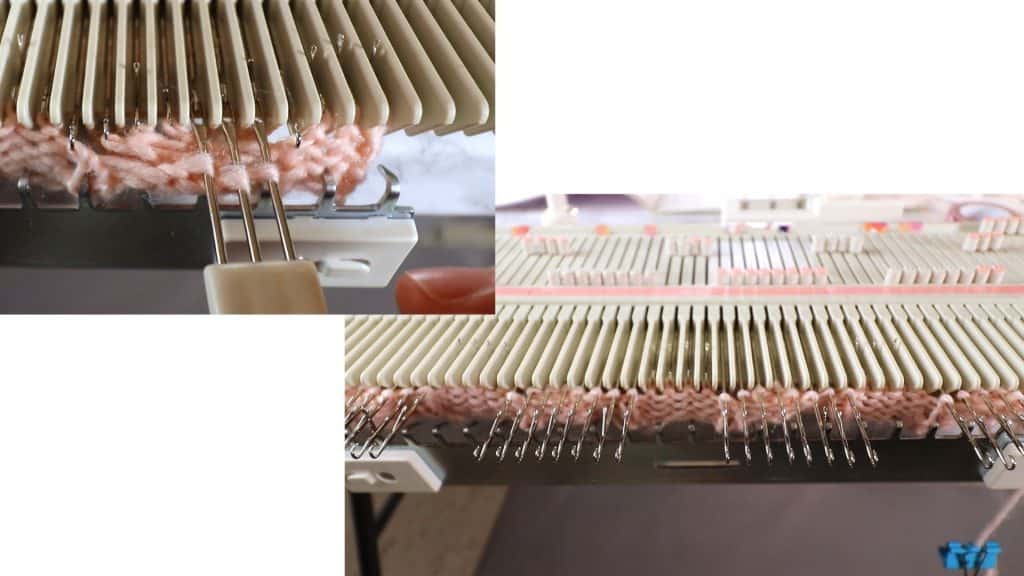
Cross the stitches: Place the right 3 stitches back to the left 3 needles and the left 3 stitches back to the right needles. Now the cable crossing is done.
Because the stitches are tight and bulky now, it is a good idea to pull out these needles to D position to prevent dropping stitches in the next row.
Cross the cables all in the same direction, or opposite direction for a different look.
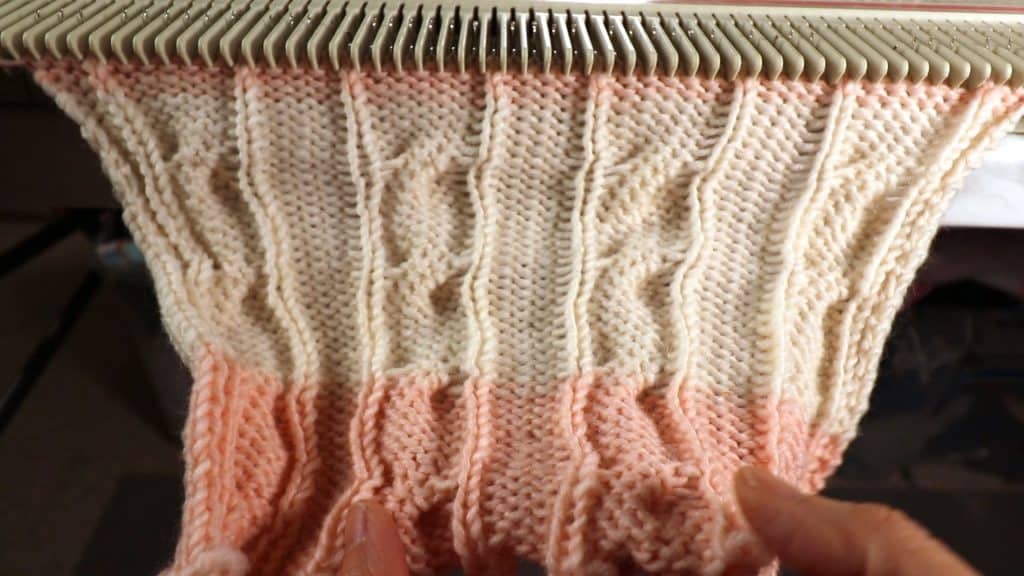
Start the next section repeat:
Knit 10 rows, continue to reform the purl stitches, and cross the cable stitches.
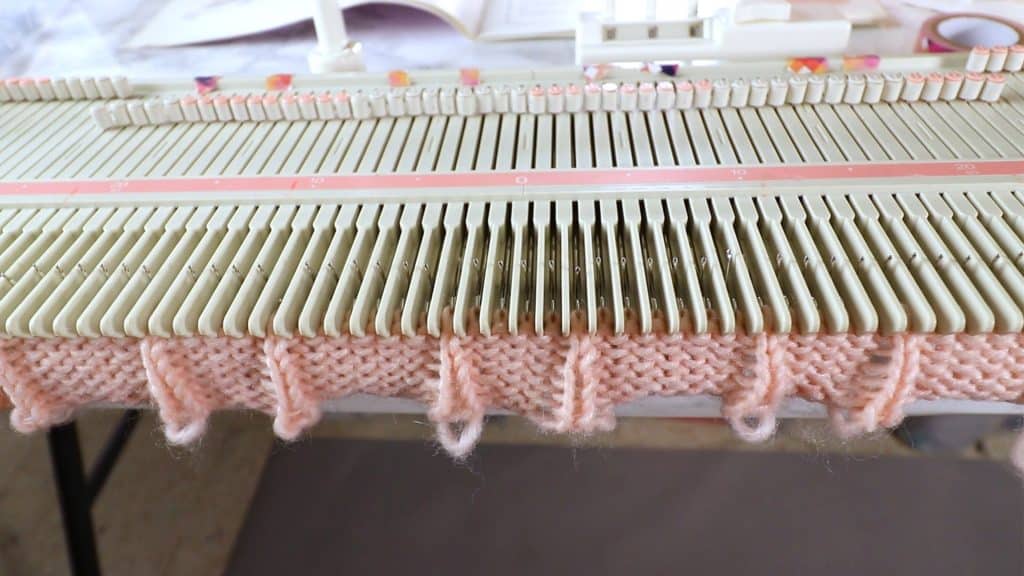
I do this 10 row repeat 3 times total. Then, knit 8 rows to match the beginning 8-row section. Reform stitches as needed.
Purl side look.
Bind off
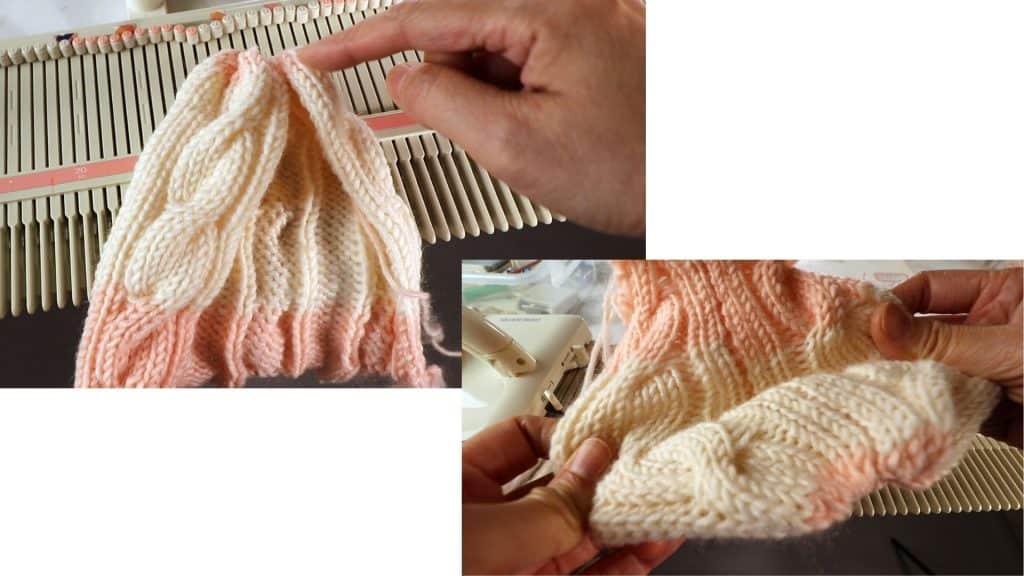
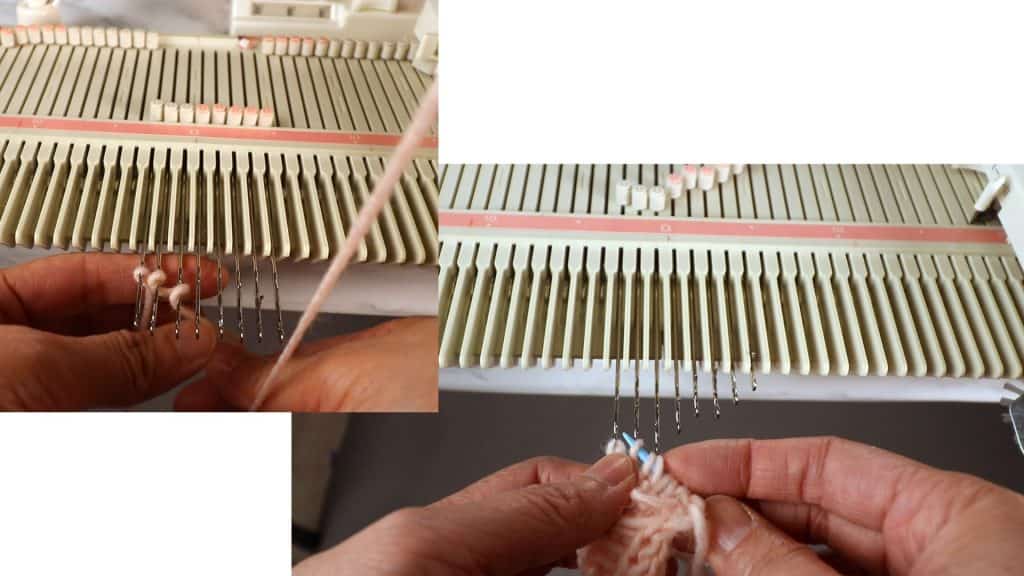
Cut a long yarn tail and thread with a yarn needle. Go through each live stitch, take the project off the machine, and pull tight to close the top.
It looks like a small hat now. Use the remaining yarn and a mattress stitch to seam the side opening.
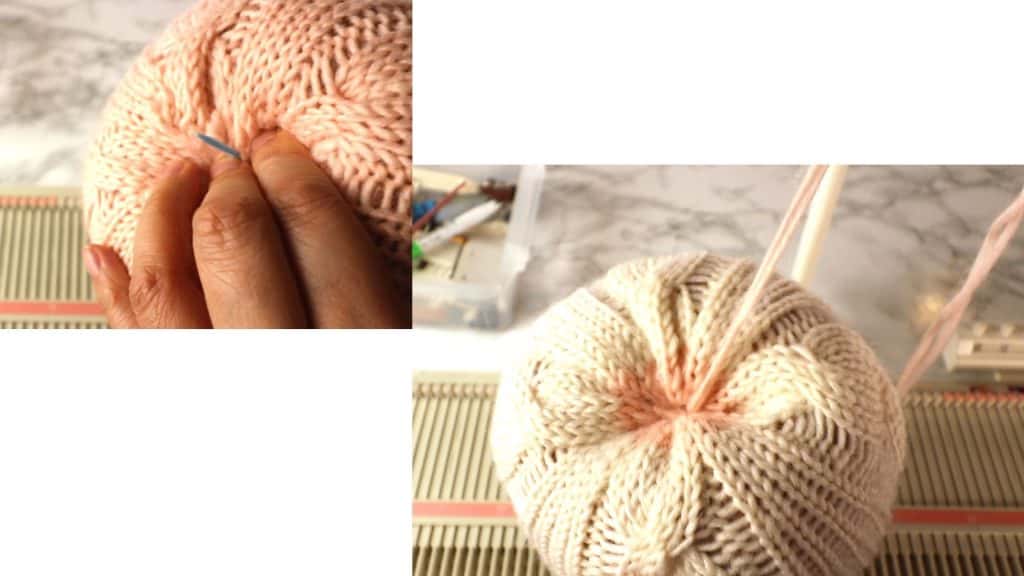
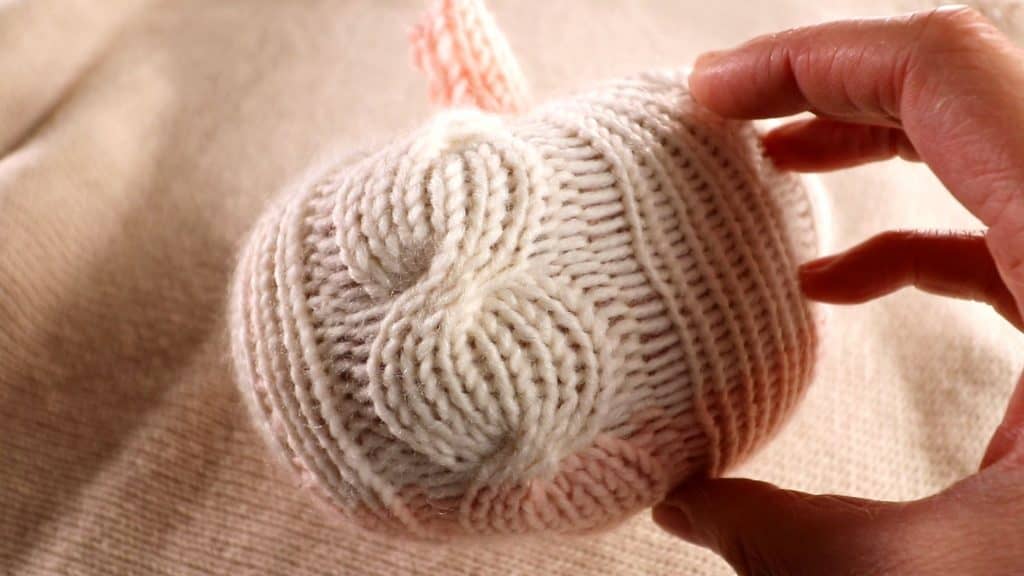
Stuff in scrap yarn, fabric scrap, or polyester insert. Sew close the top.
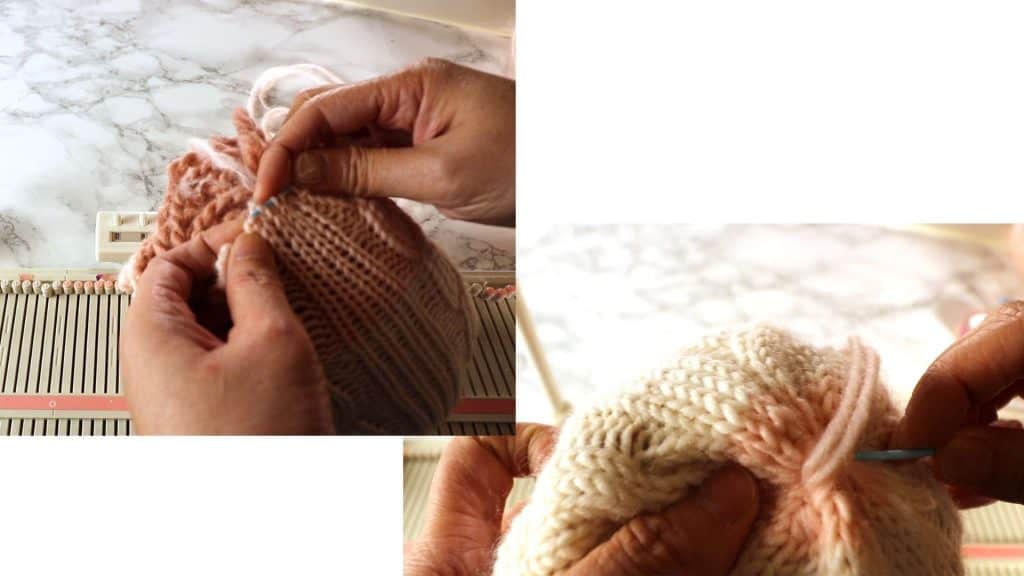
Puncture the needle from the center to the other side and tie knots to make the ball squished and more pumpkin looking.
This can be different fruits too. Just change the color of yarns and details such as a stem.
I-cord stem
To make a stem, you can just crochet a tube, or knit a wider I-cord on the LK150 knitting machine.
Cast on 8 stitches (less for smaller tube) with E-wrap.
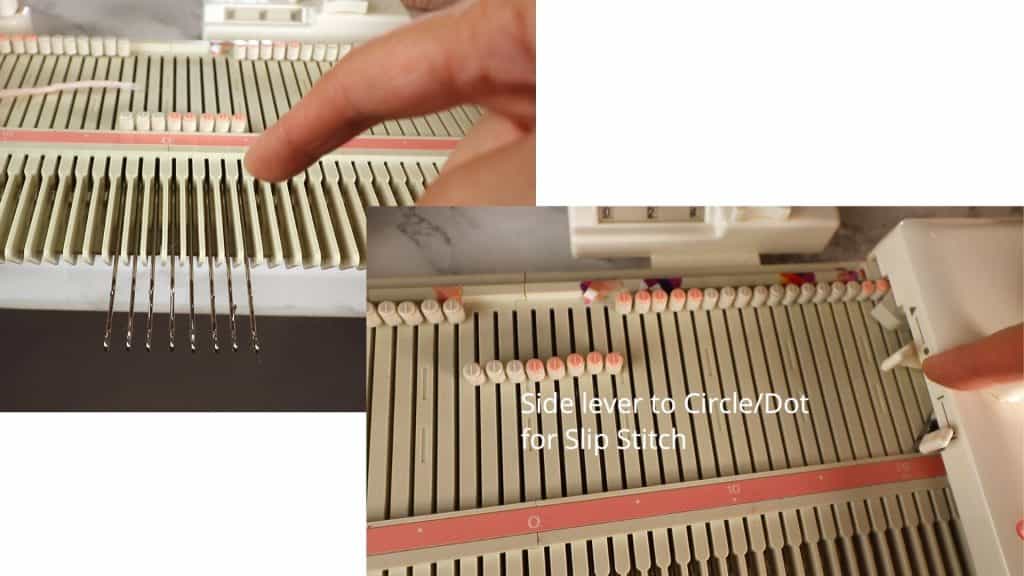
Change ONE SIDE of the side lever from triangle to dot. This makes the slip stitch in one direction only.
Knit as many rows as you want the length to be.
Bind off with the yarn tail and a needle just like before.
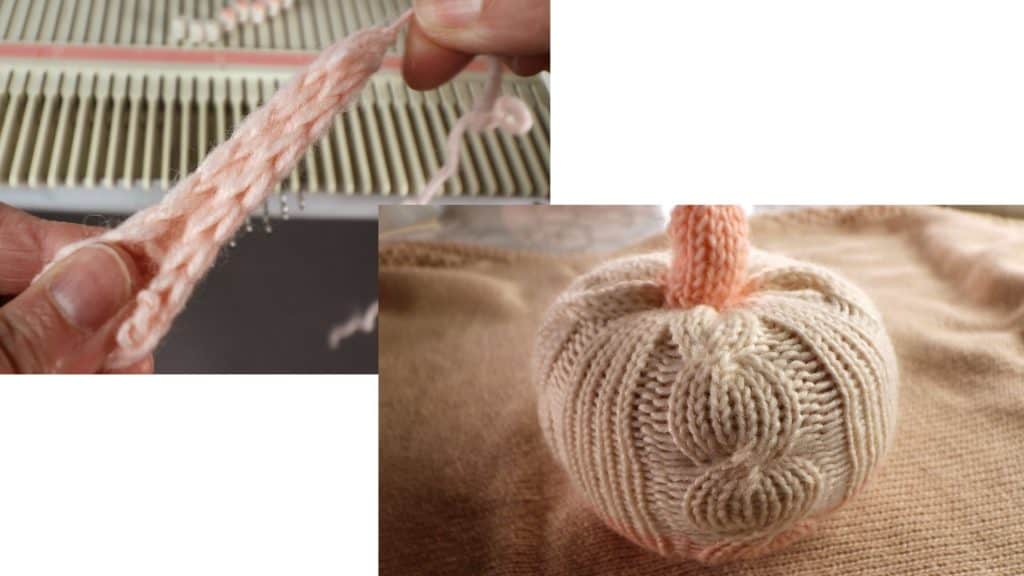
Pull the yarn tight and the I-cord stem is done.
There will be a little gap on the side of the tube because it is a big I-cord. You can whip stitch to close the gap if you like to. It is not really that noticeable.
Sew the stem to the pumpkin. All done and enjoy!


You May Also Like

Gaiter style mask (Neck tube or scarf) with filter pocket made from a T-shirt
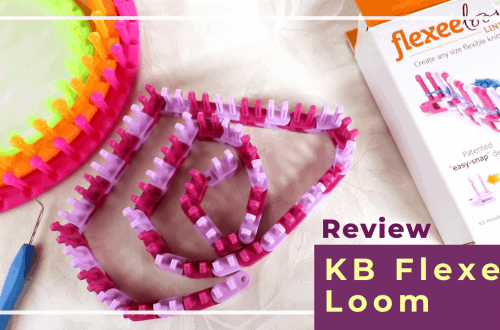
Review of the KB Flexee loom — a flexible knitting loom for various sizes and shapes