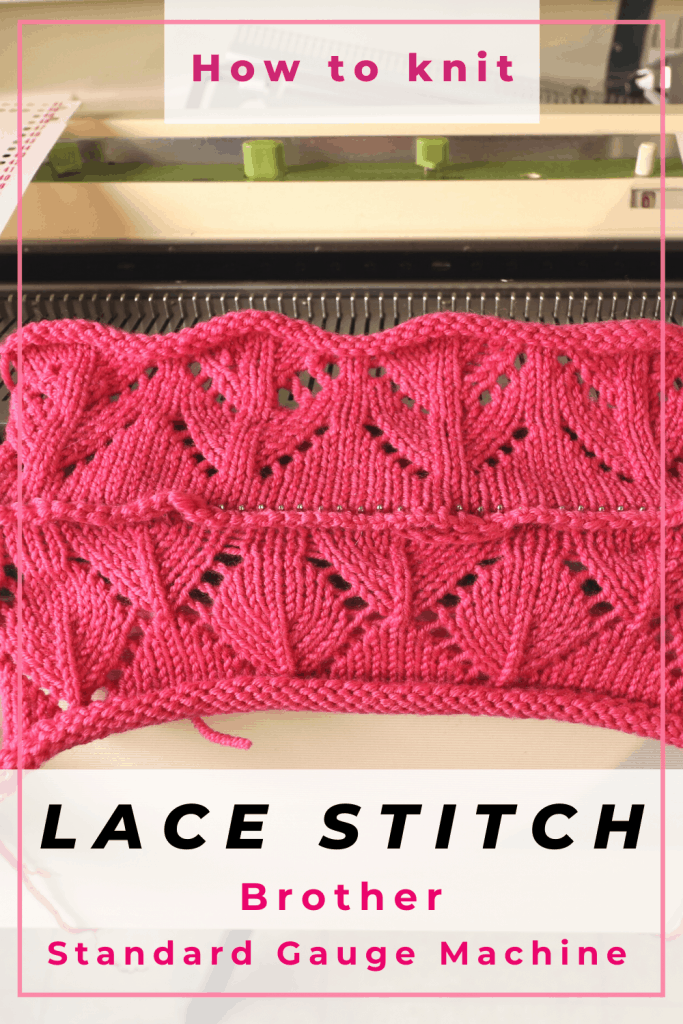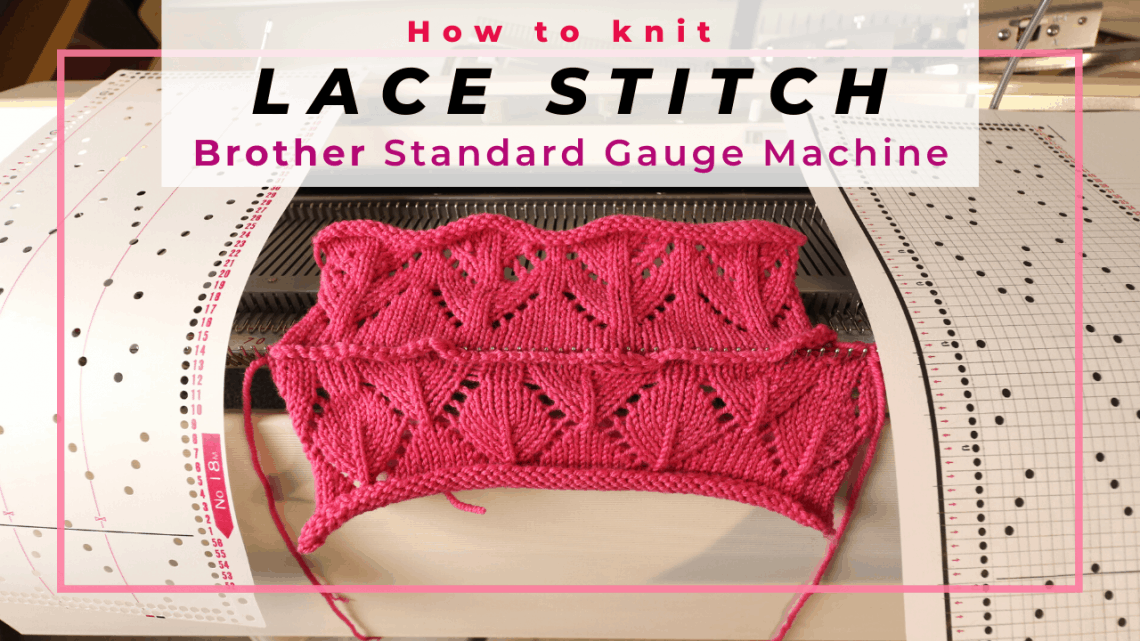
How to knit a lace pattern with a punchcard on a Brother standard gauge knitting machine
The best part about machine knitting is the speed compared to hand knitting, but there is a learning curve for beginning machine knitters. Once you follow the instructions, it is really not that difficult. It does take me several years before getting comfortable with punchcard knitting. Still, I mess up with little things such as hanging weights or choosing the wrong yarn. If you are a machine knitter, you know we all have good days when everything goes well and bad days when everything goes wrong.
You can find different punch card patterns online, buy from eBay, or punch your own card. Lace punchcard is a little harder to design but you can definitely learn. A book I really like is “Machine knitting – the technique of pattern card design” by Denise Musk. It explains punch card design for different stitches on different brands of machines.
This tutorial is done on a Brother standard gauge knitting machine. Different brands of the machine will knit lace differently.
Watch the machine knitted lace stitch video on our YouTube channel
Step by step picture tutorial
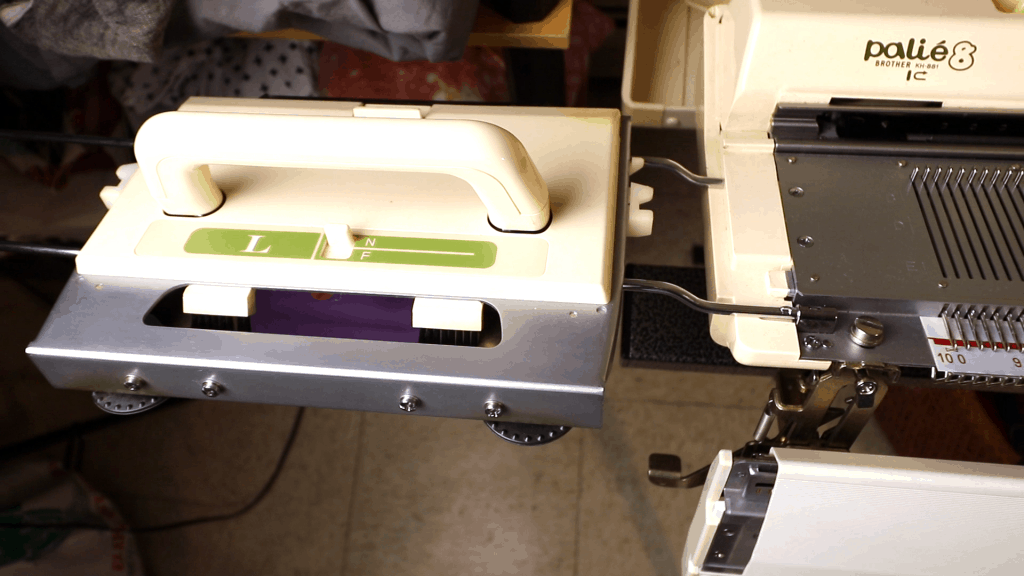
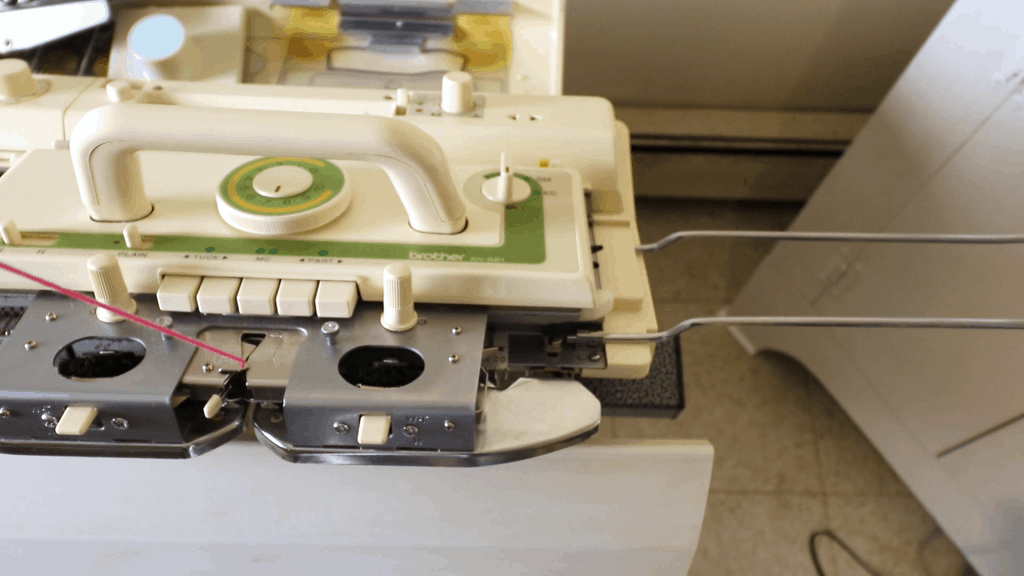
Lace carriage and the extension rails
First, you need a lace carriage. It comes with a standard gauge brother machine. You will also need a set of extension rails. If you don’t have it, you can buy it from eBay for about 20 US dollars. The extension rail for the bulky knitting machine gets very expensive and I don’t understand why.
It is important to install the extension rail or you risk dropping the carriage on the floor.
Lace punch card
The standard Brother lace punch cards include 16 – 20m. There are many other Brother lace punch cards with different numbers. Some are for different machines or different countries.
There are left or right-pointing arrows on the left side of the Brother lace punch cards. Some have the black return arrow mark. It shows the direction of operation for the lace carriage, and the black returning arrow is the time to add the K carriage back and forth. If you don’t see these marks, it might be designed for Singer machines or other brands. It will not work with a Brother lace knitting.
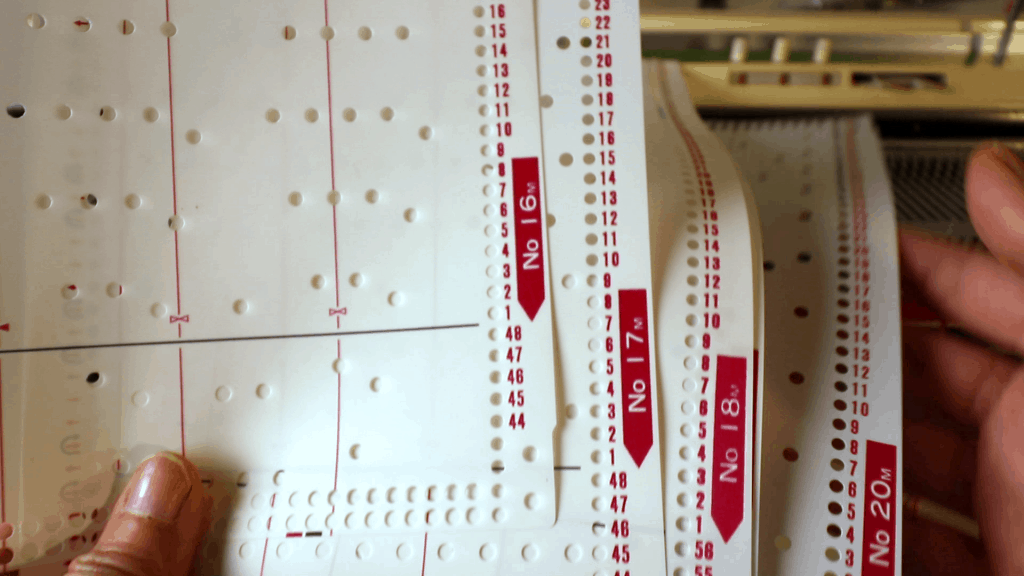
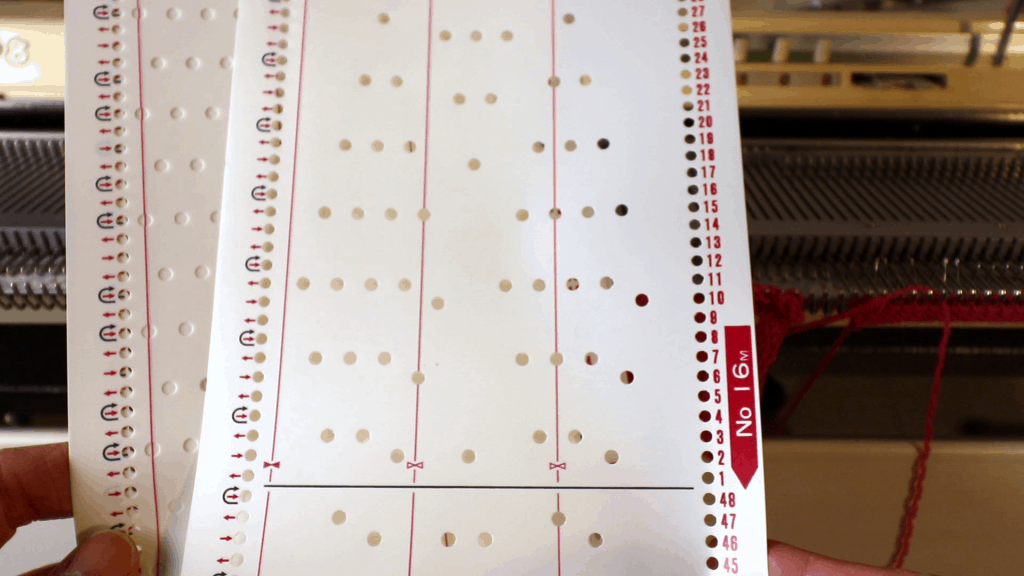
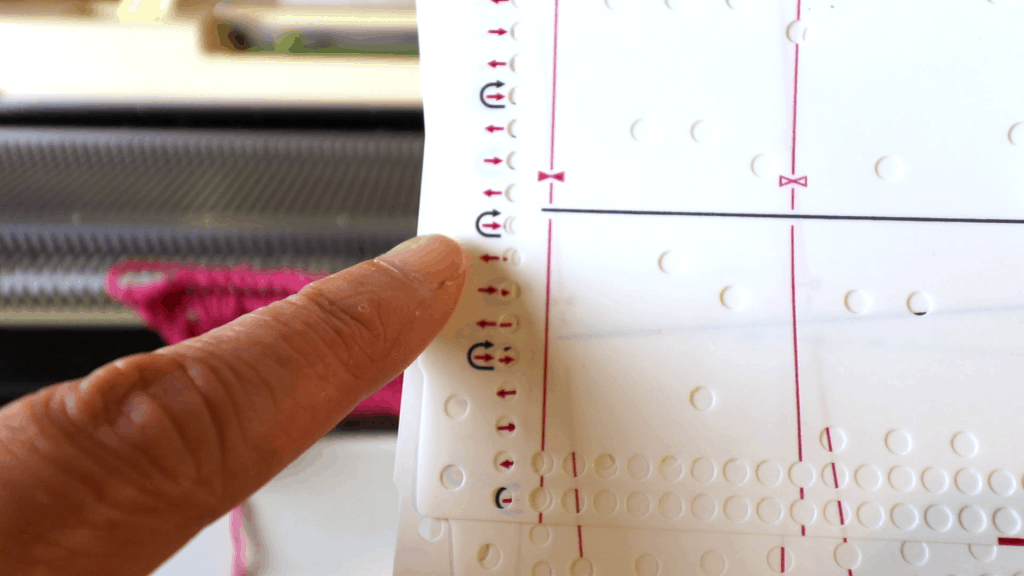
Brother lace knitting punch cards look mostly blank with a few holes here and there.
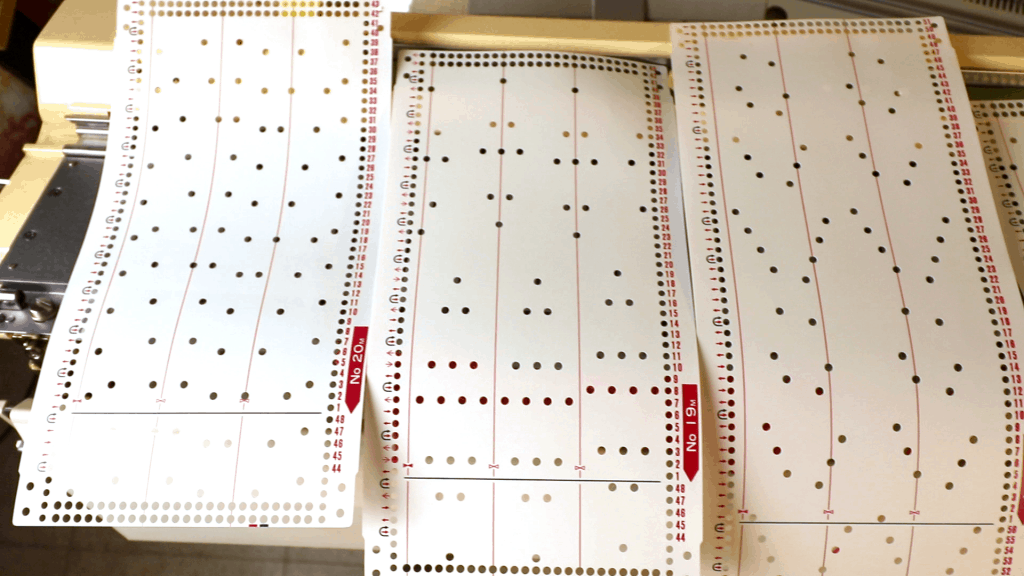
Insert the punch card
Insert the punch card of your choice. I use the 18M. Turn the dial on the right to move the card up and down.
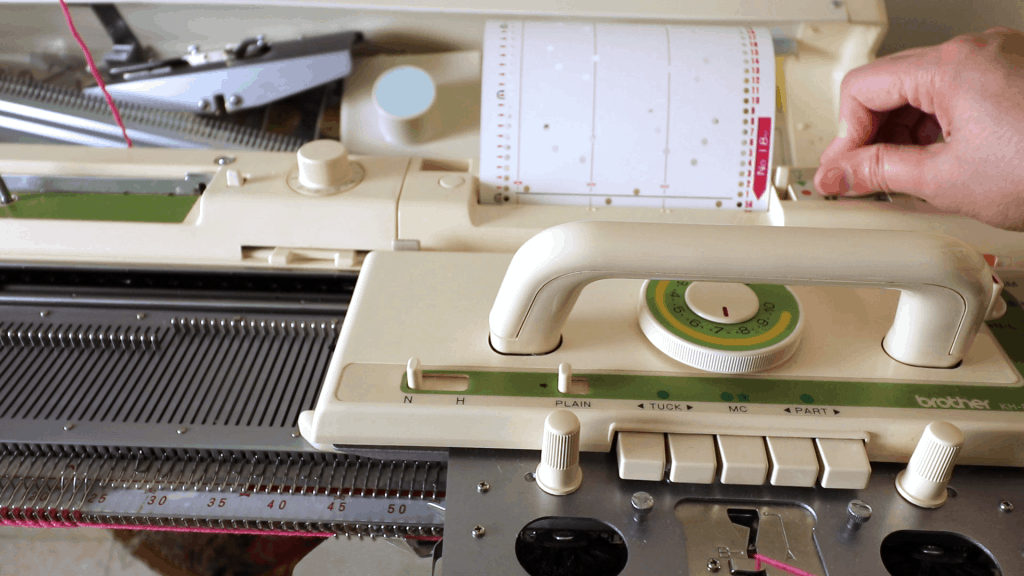
Install the clips at the ends to hold the card together into a tube.
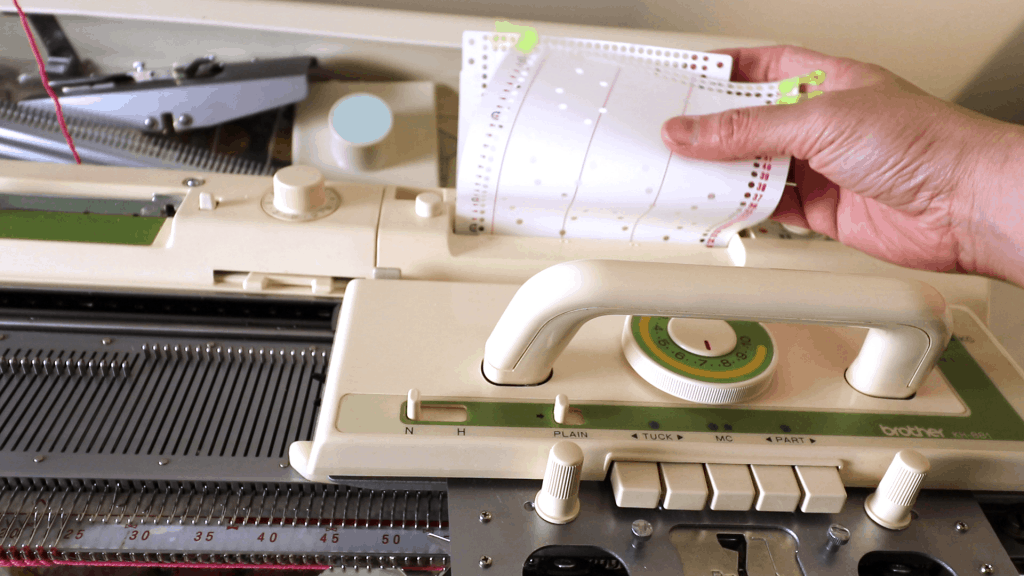
Move the card until the beginning line align with the edge of the slot.
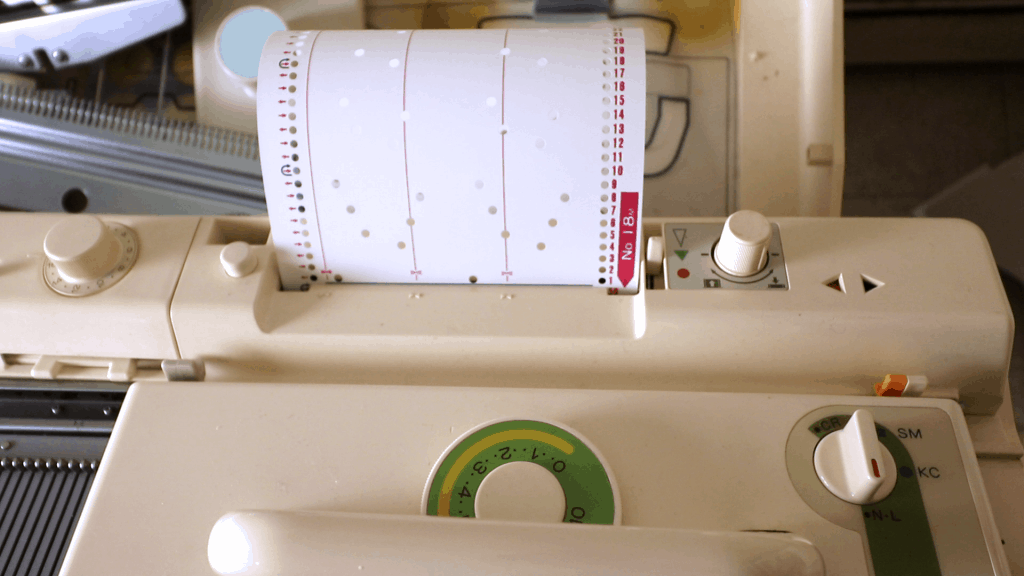
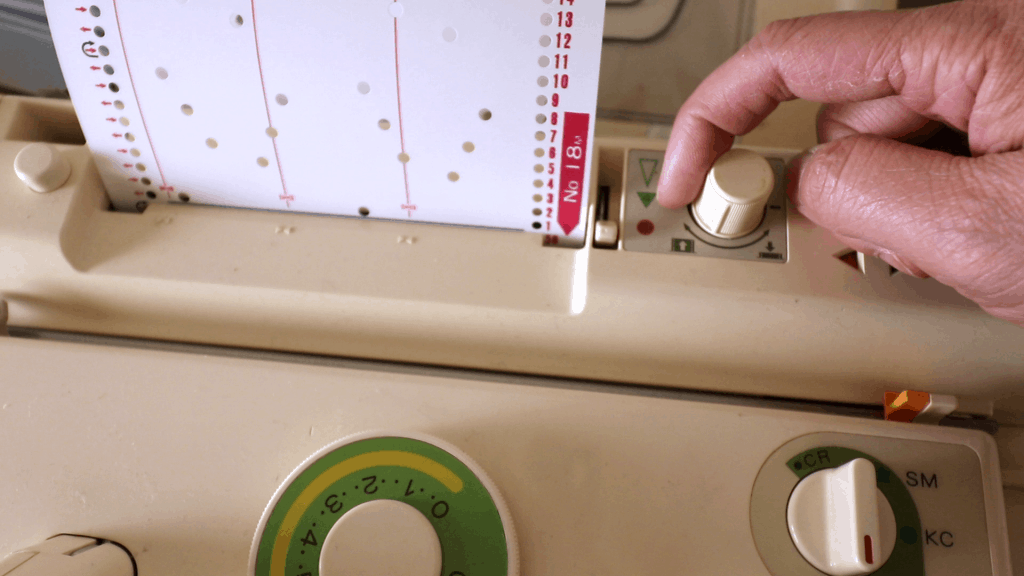
Turn the dial to the red dot in the bottom to lock the card.
The K-carriage is set for plain knitting (dial to N.L.). Thread the yarn and pick your tension.
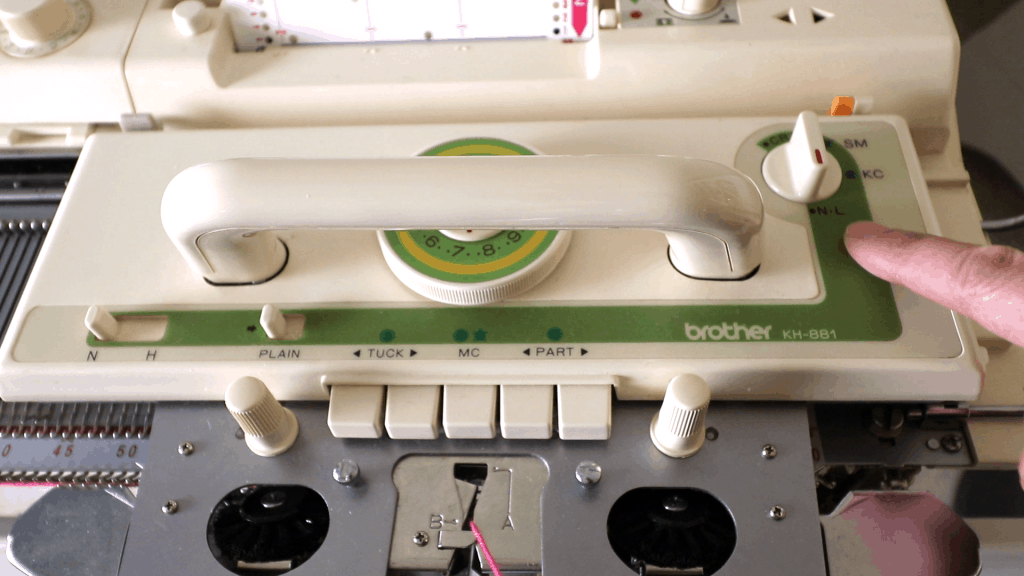
N and F on the lace carriage
The N means normal lace knitting and the F is for fine lace knitting. Most of the time we use the N unless you have a very thin, thread-like yarn.
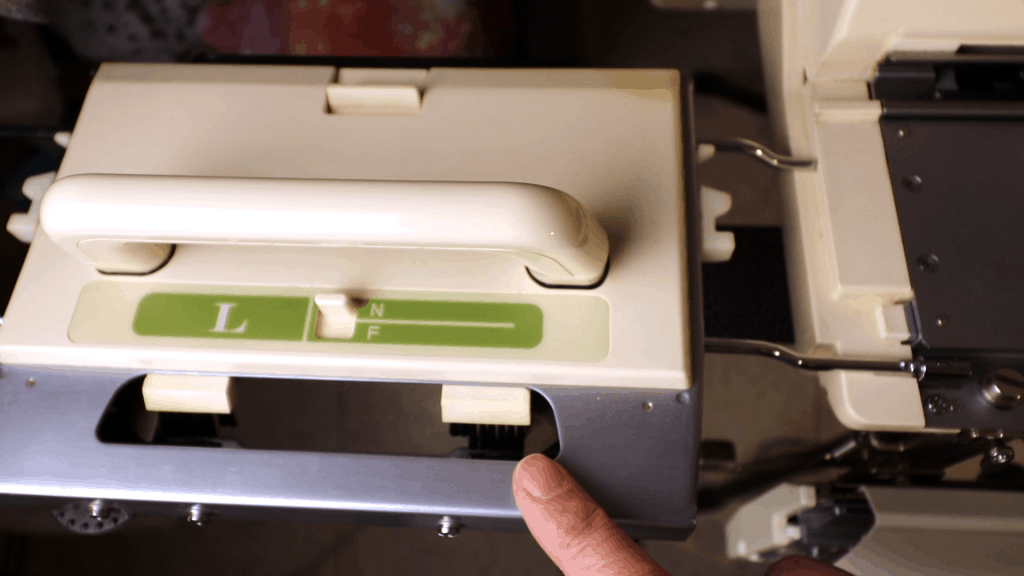
If you use the F for fine lace knitting, remember to install the fine knitting bar to avoid dropping stitches. Both normal lace and fine lace use the same punch cards.
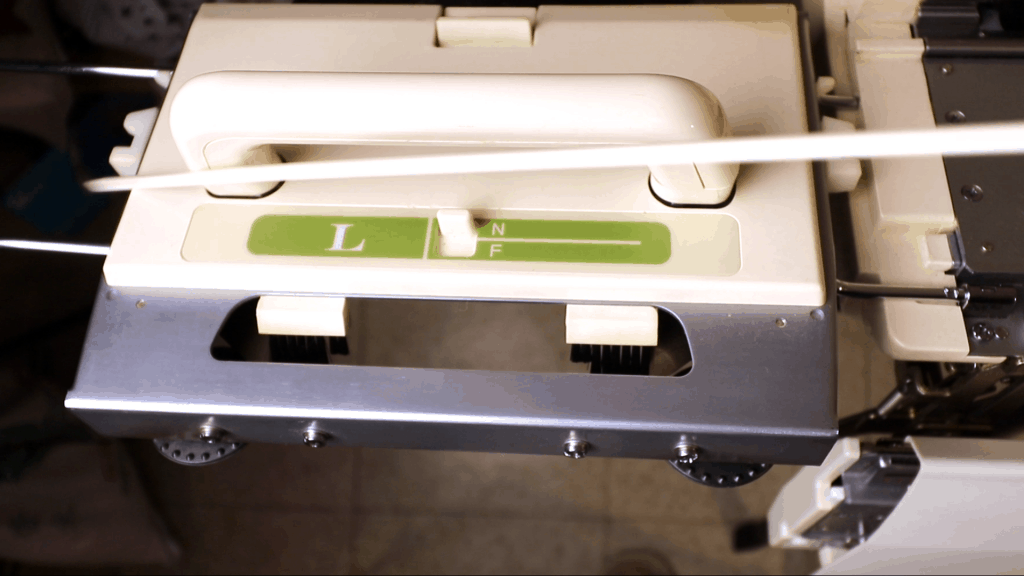
Knit a few plain stitches and park the K-carriage on the right.
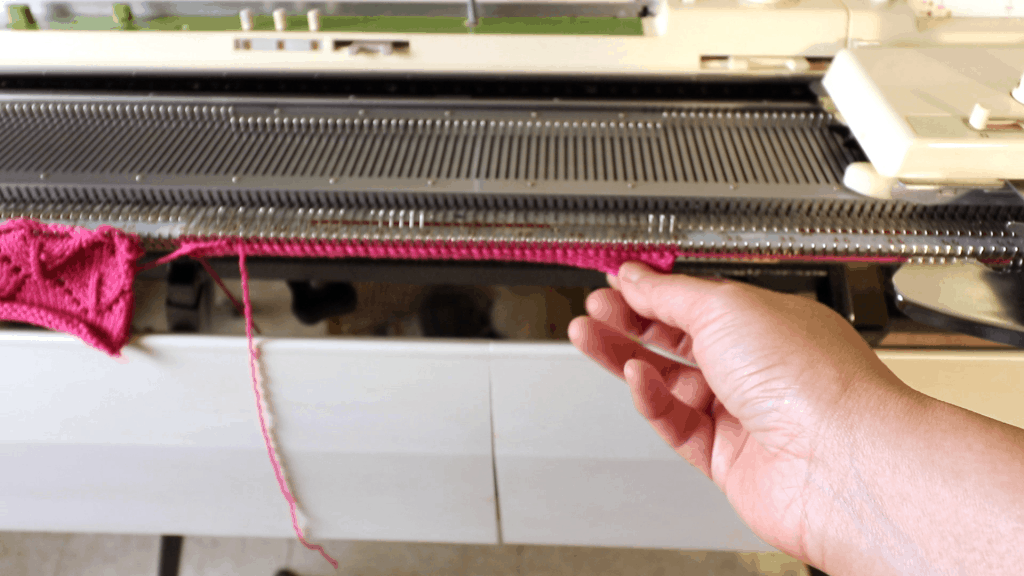
Remember to add weights. I forgot at the beginning.
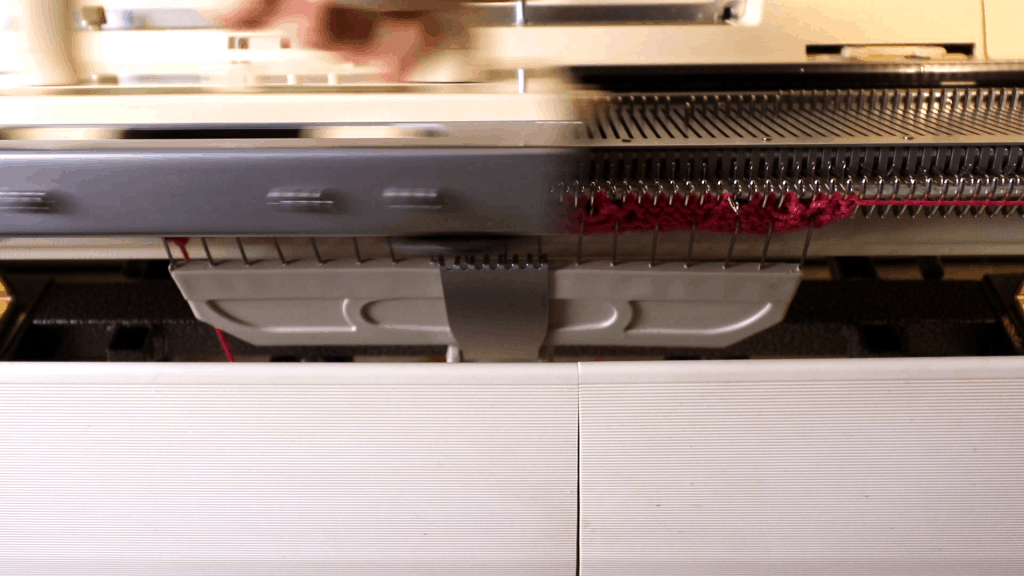
The punch card is in row 1. The punch card is still locked — dial to the red dot. We are ready to knit.
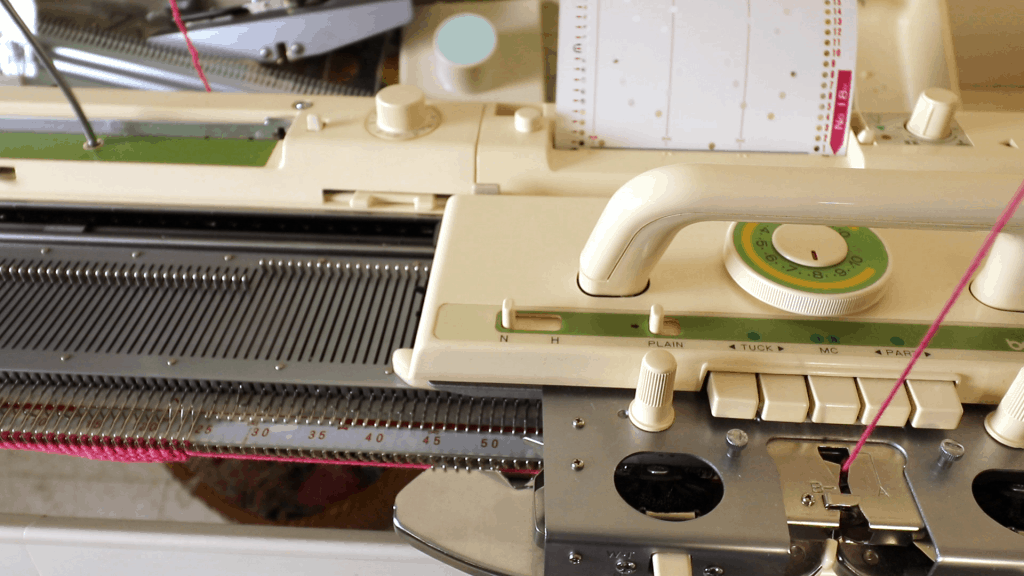
The first arrow is typically from left to right on the punch card.
Move the lace carriage to the right.
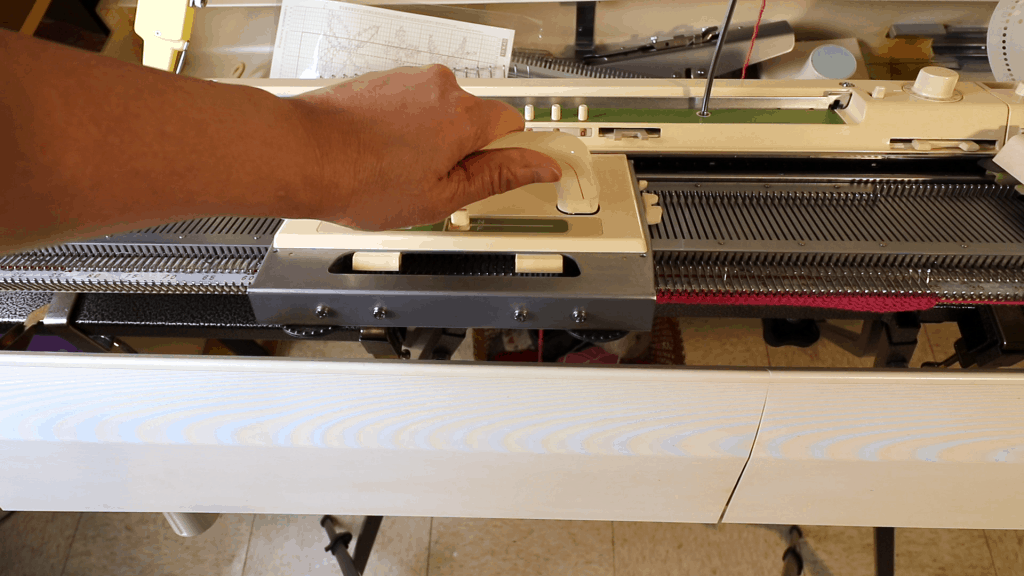
Now needles are selected. Lace carriage is on the right.
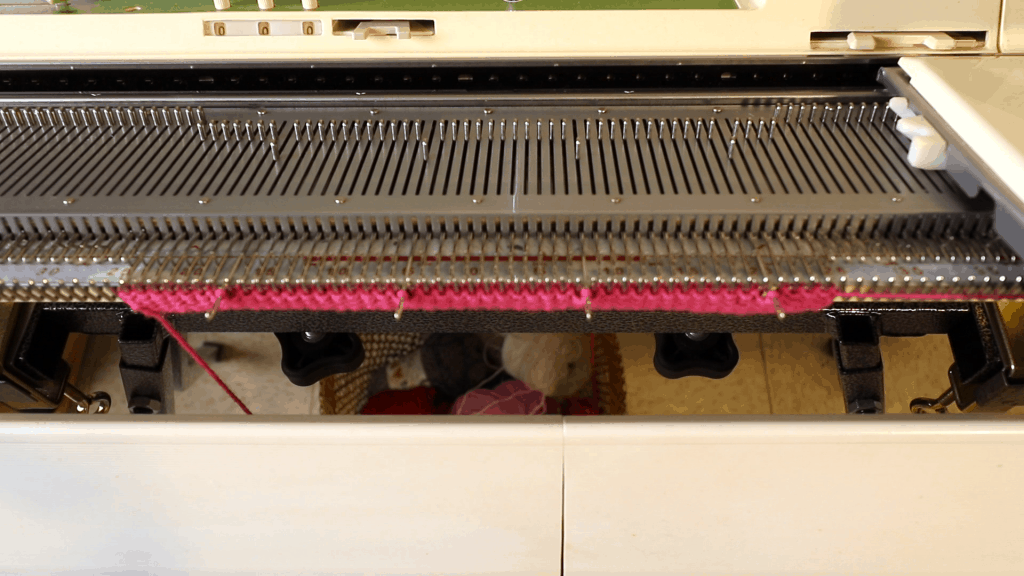
Move the dial from the red dot to the green triangle in the middle for the normal advance of the punch card (unlocking).
We don’t use the top triangle (elongated knitting) for lace knitting.
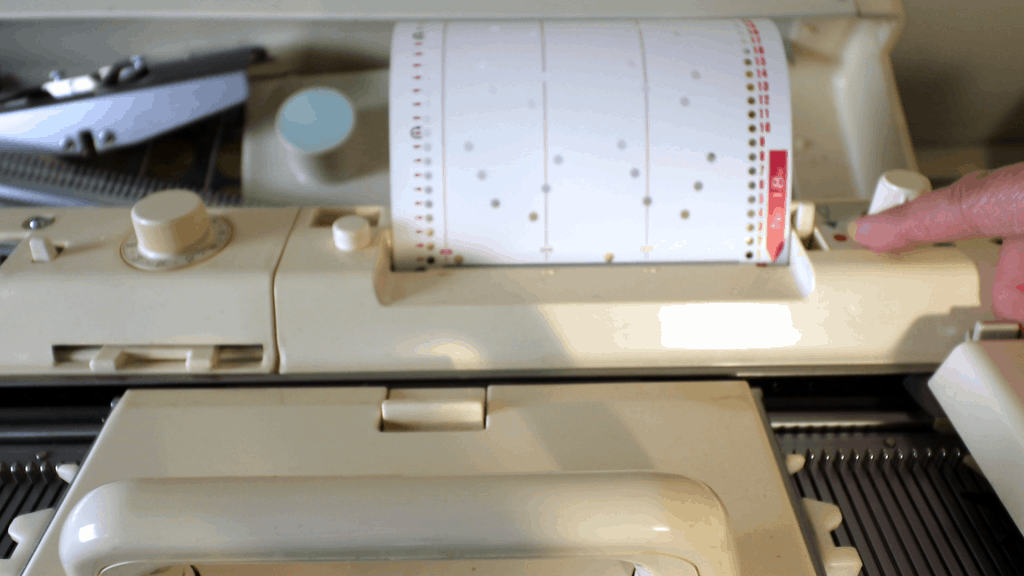
Keep following the direction of the arrow to operate the lace carriage. It should be alternating left and right.
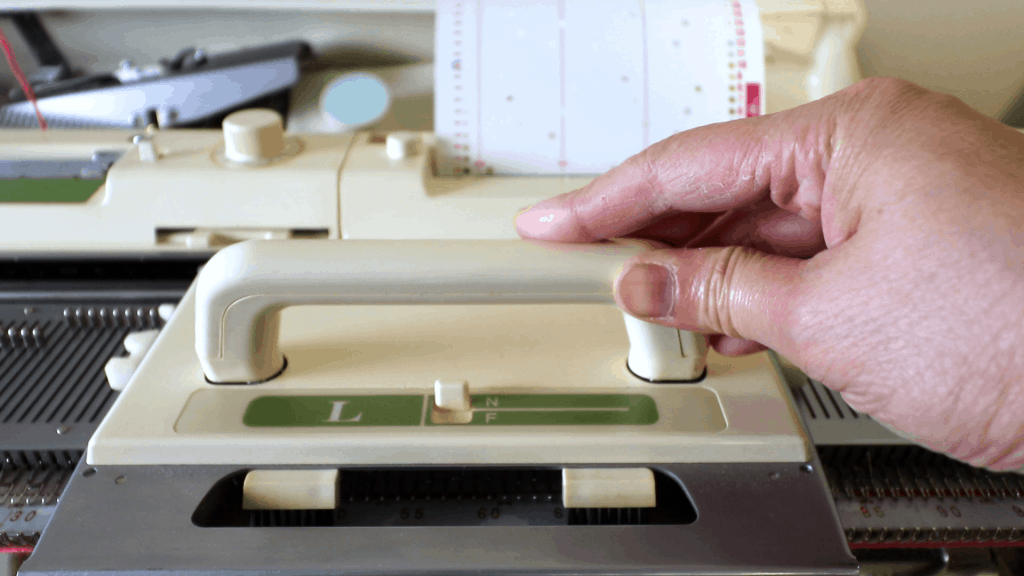
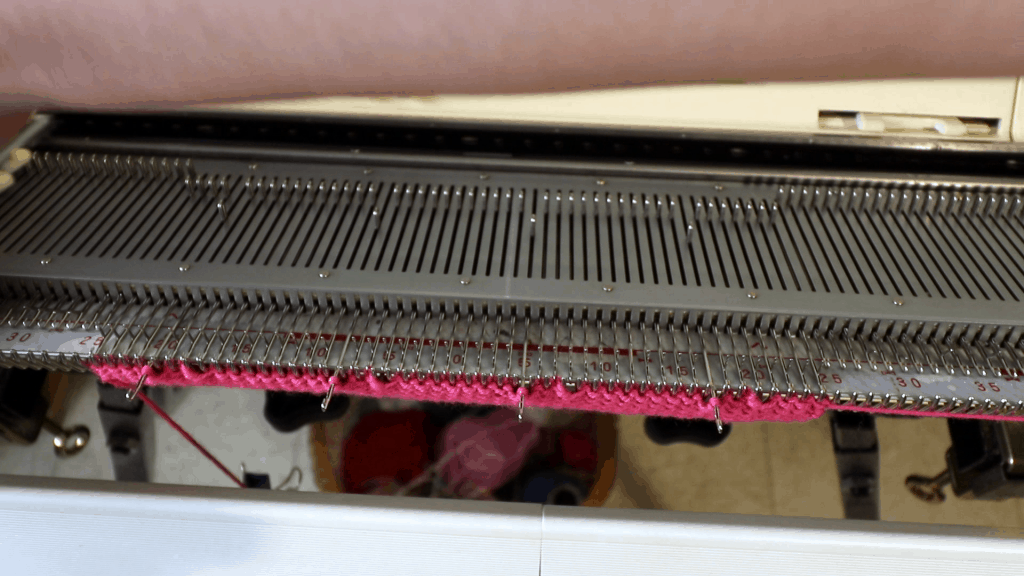
Watch for the symbol with a black returning arrow.
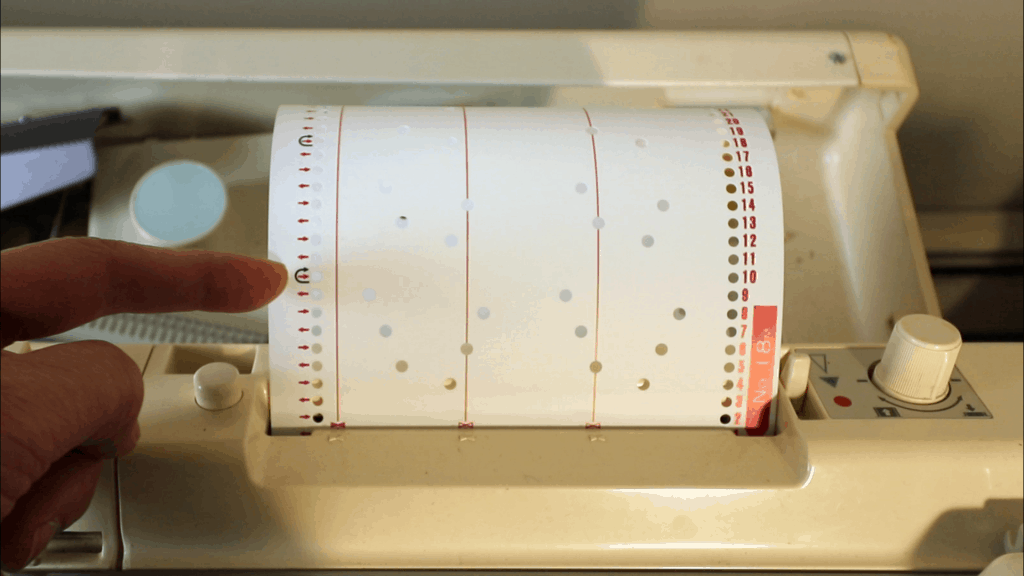
Now we are at the black returning arrow row.
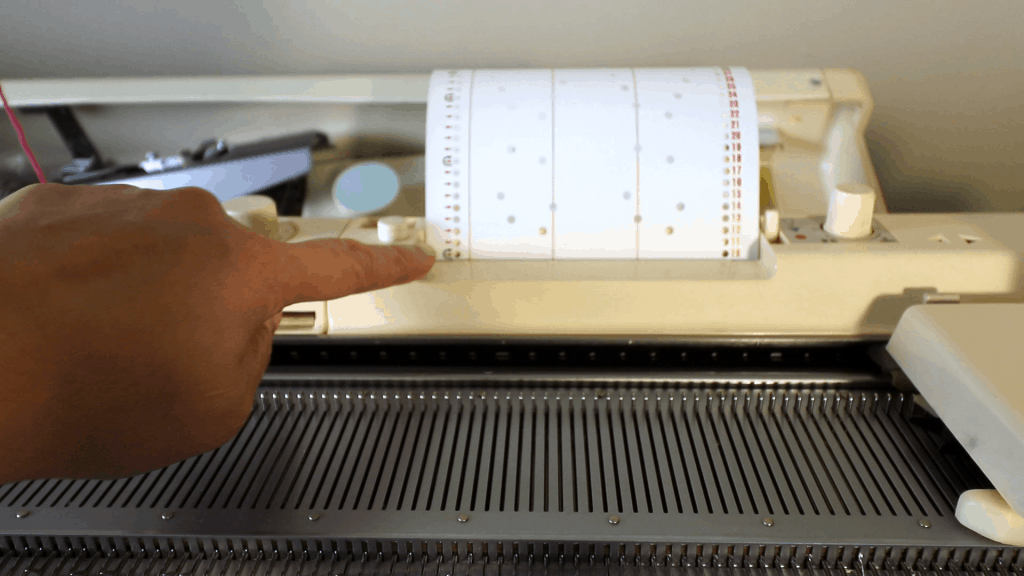
The lace carriage should be on the left side. Now move the K-carriage to the left, then back to the right.
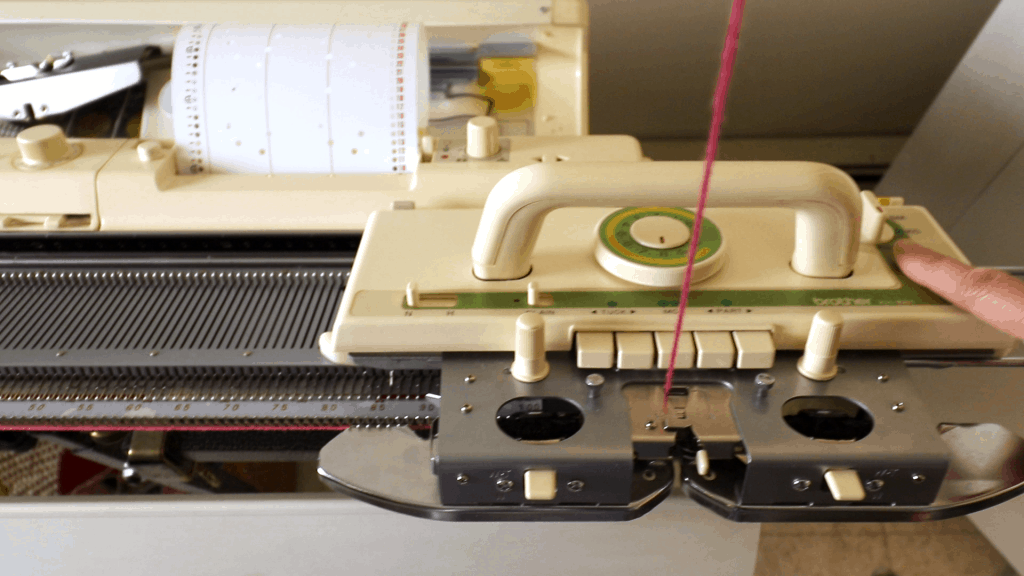
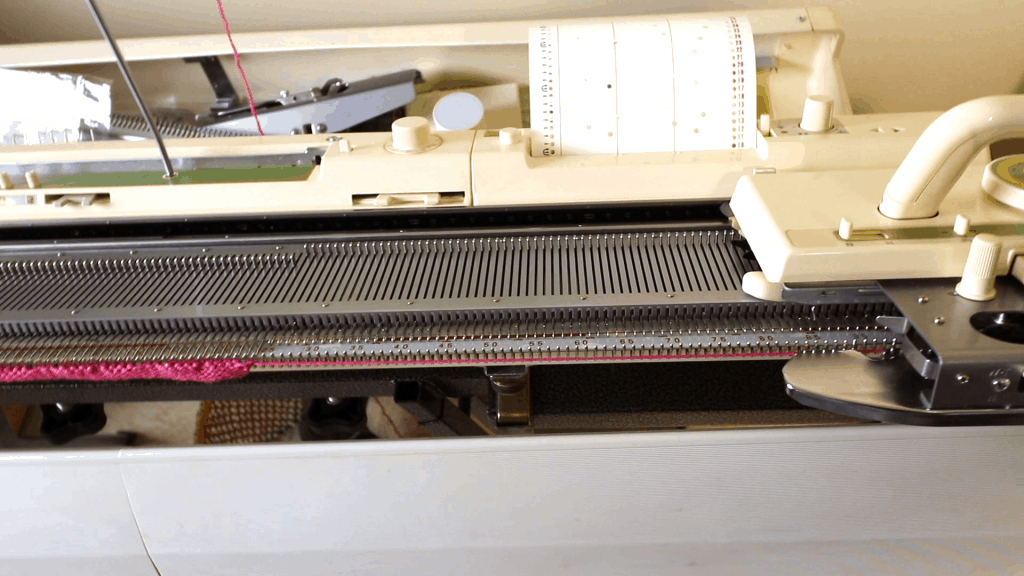
Then, move the Lace carriage from left to the right. This row is now completed.
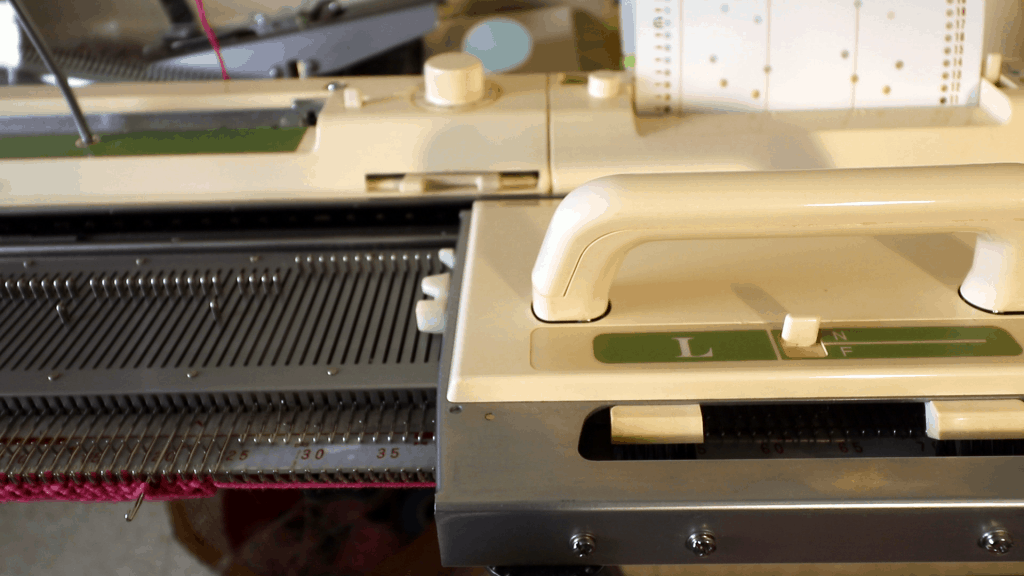
Keep knitting in the same way, follow the symbols on the card. Move the lace carriage to the left or right, and add the K-carriage when it shows the returning arrow symbol.
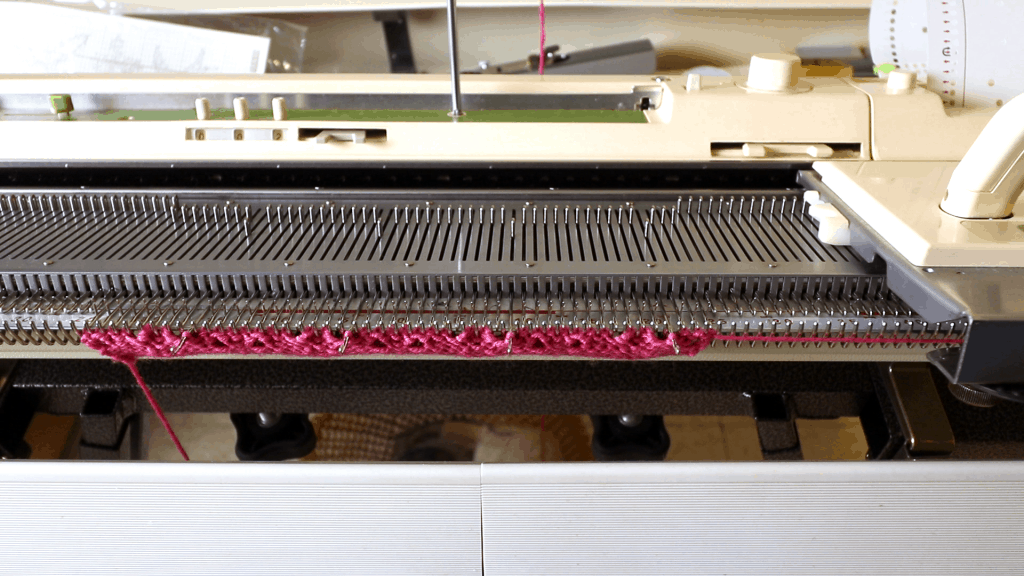
When we are back to the beginning line, it is the end of this card. You can keep knitting if you like.
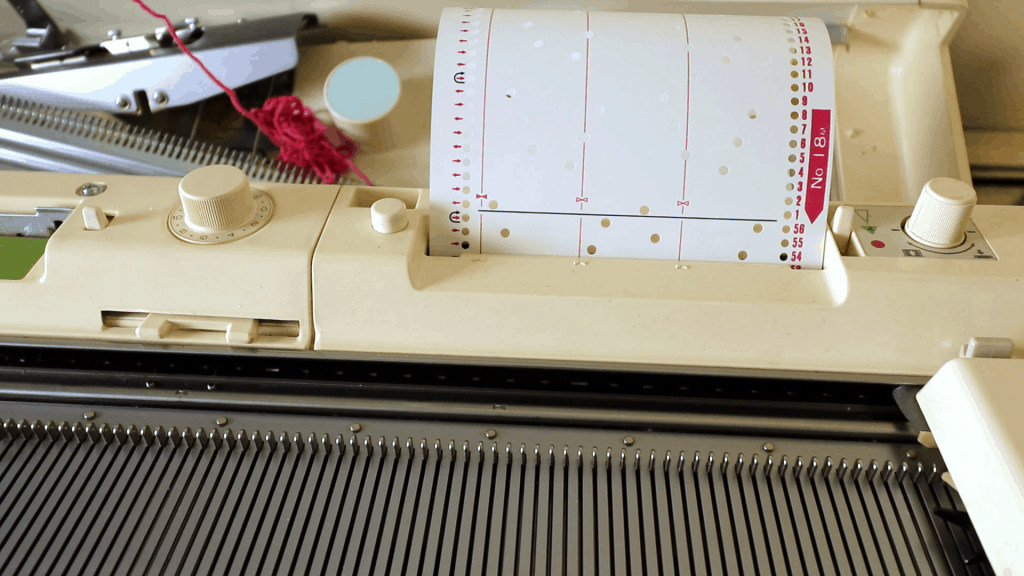
To finish the piece, we can turn the dial to the red dot again for locking the card. Remove the Lace carriage, and knit a few rows with the K-carriage. Bind off.
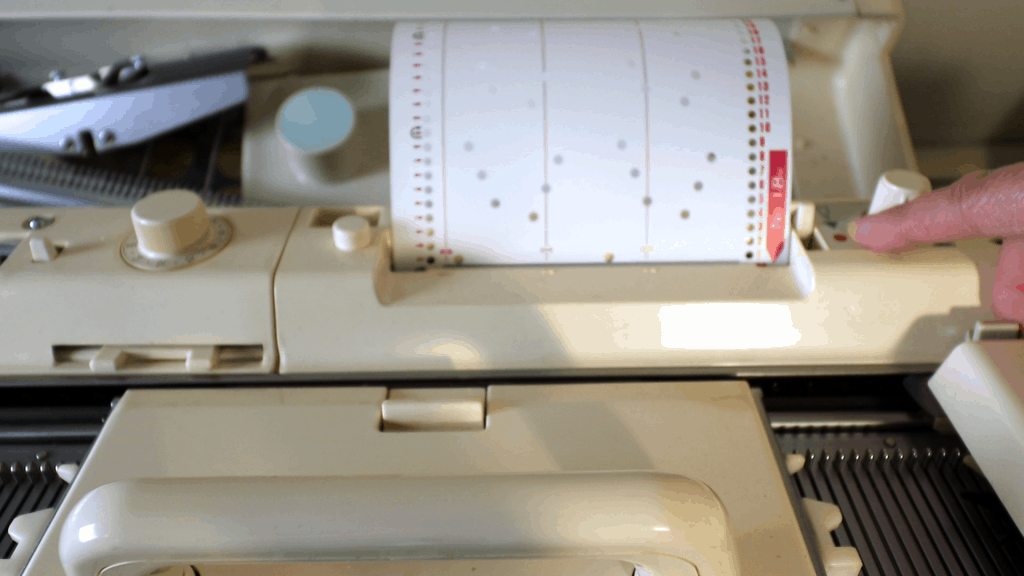
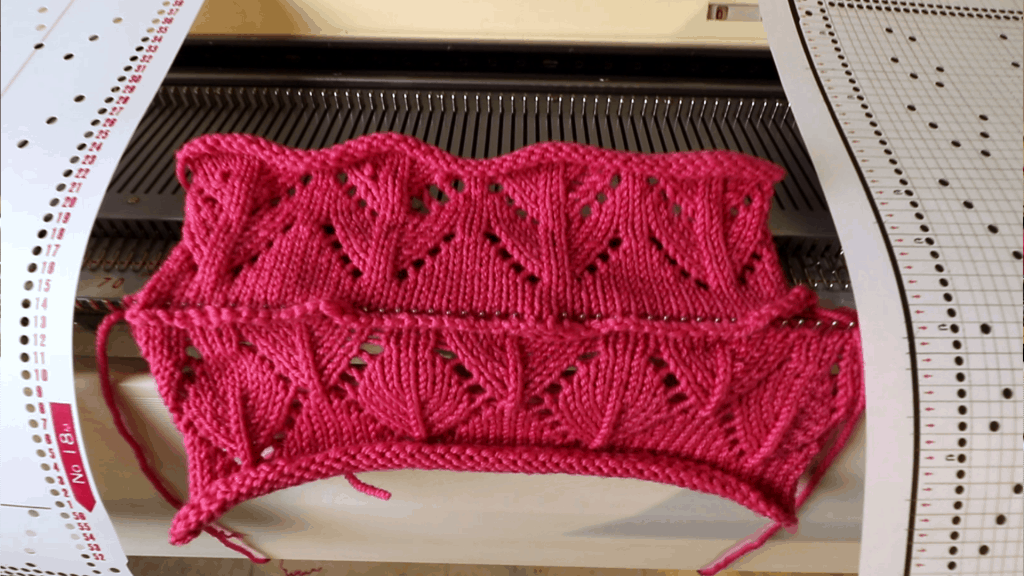
The purl side.
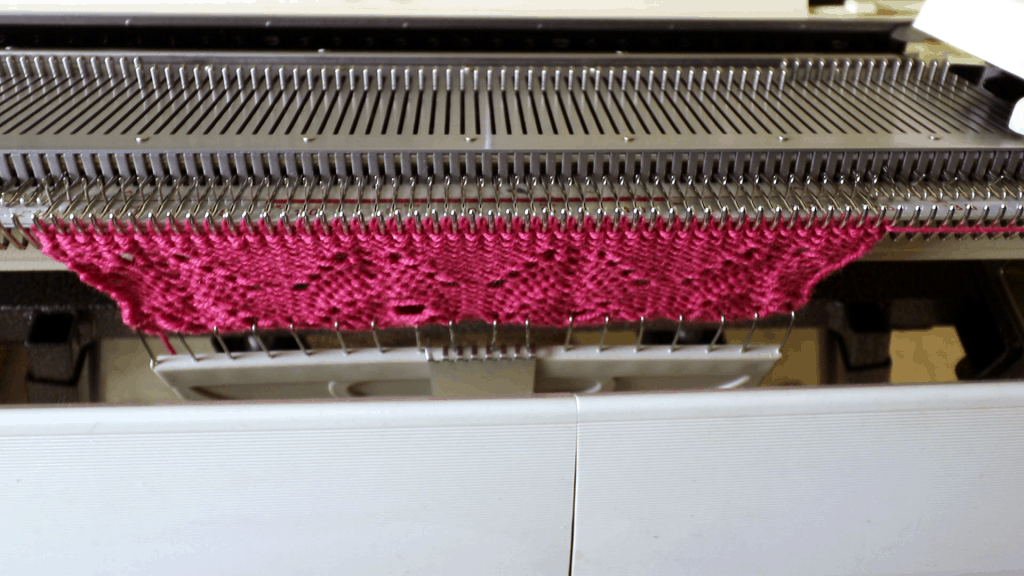
The front side. I did have some dropped stitches.
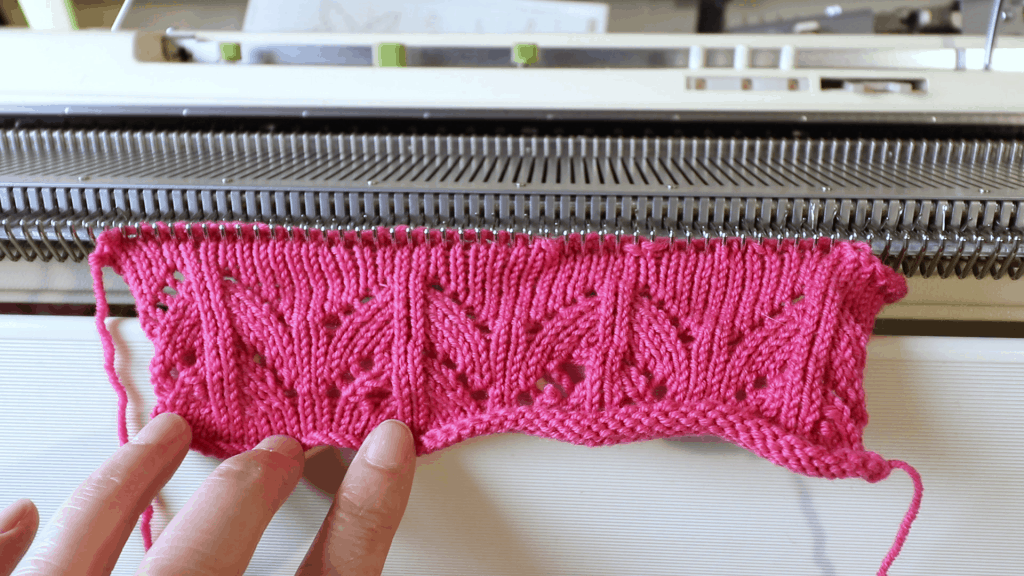
I knitted the whole 60 row punch card but end up with a very short lace pattern. It is hard to see the final pattern by just looking at the punch card.
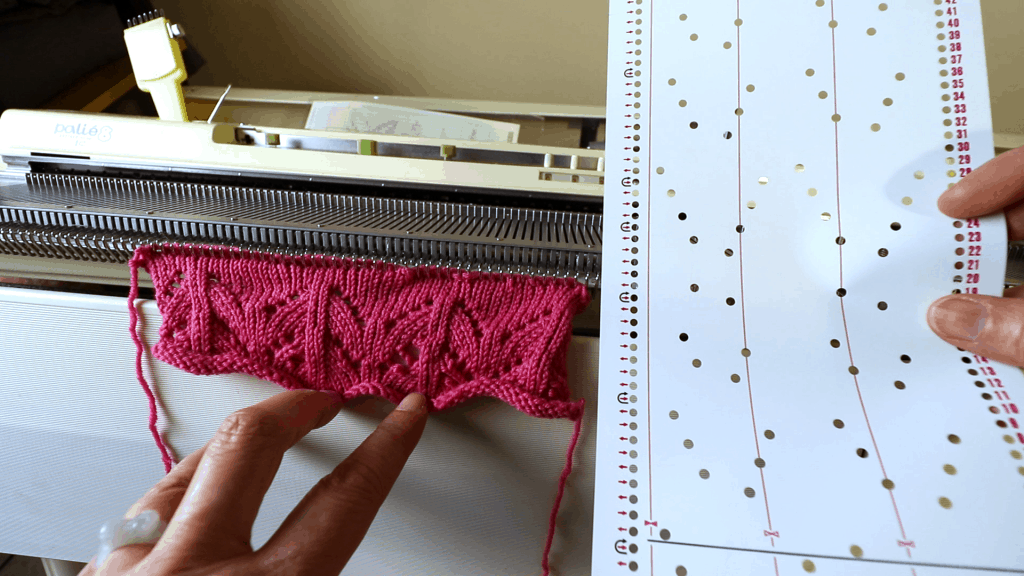
Another lace knitting sample.
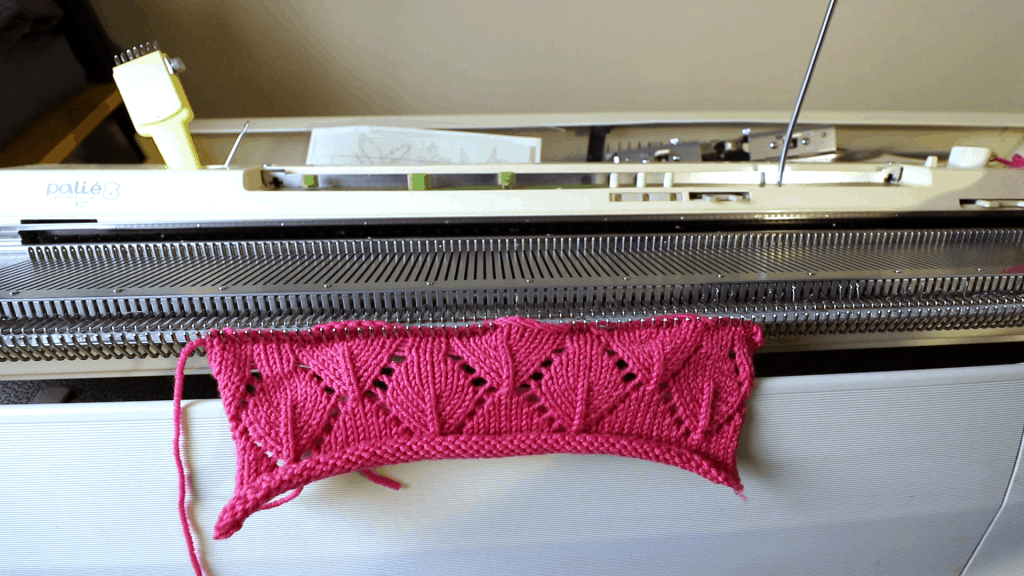
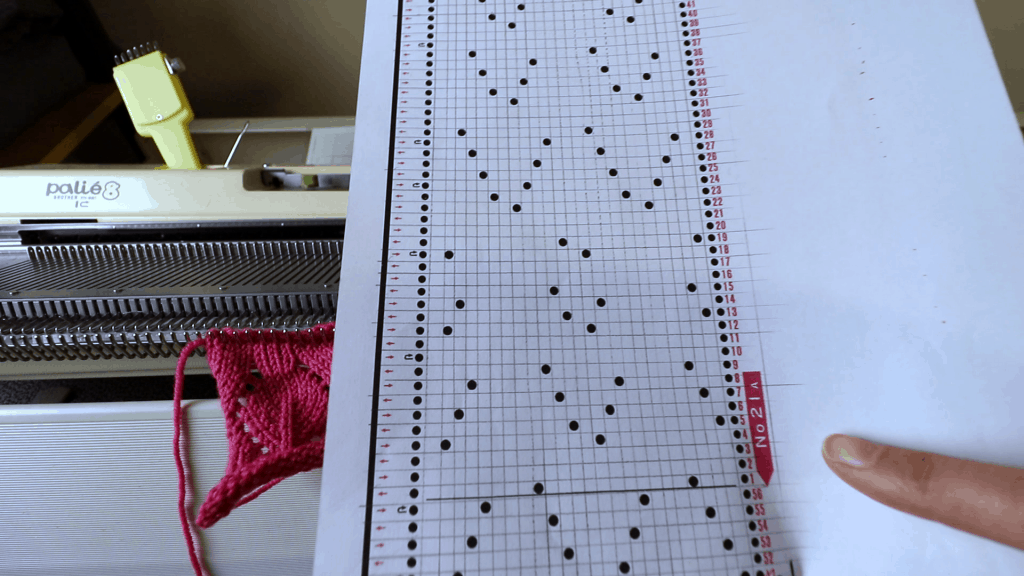
It is from lace pattern number 21a. I found the image online.
And punched my own card. All the arrows on the left are indicated too.
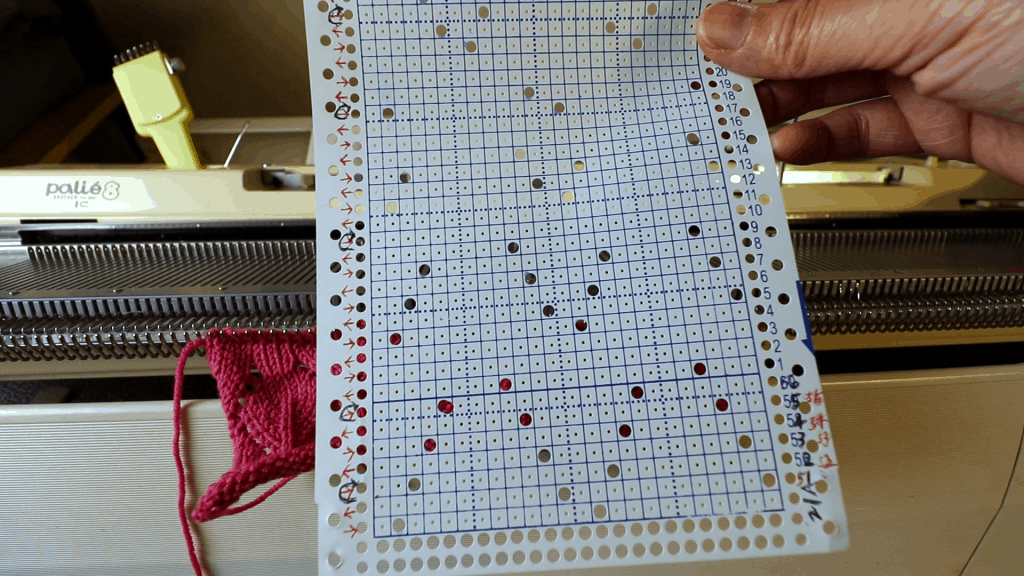
2 lace samples done.
