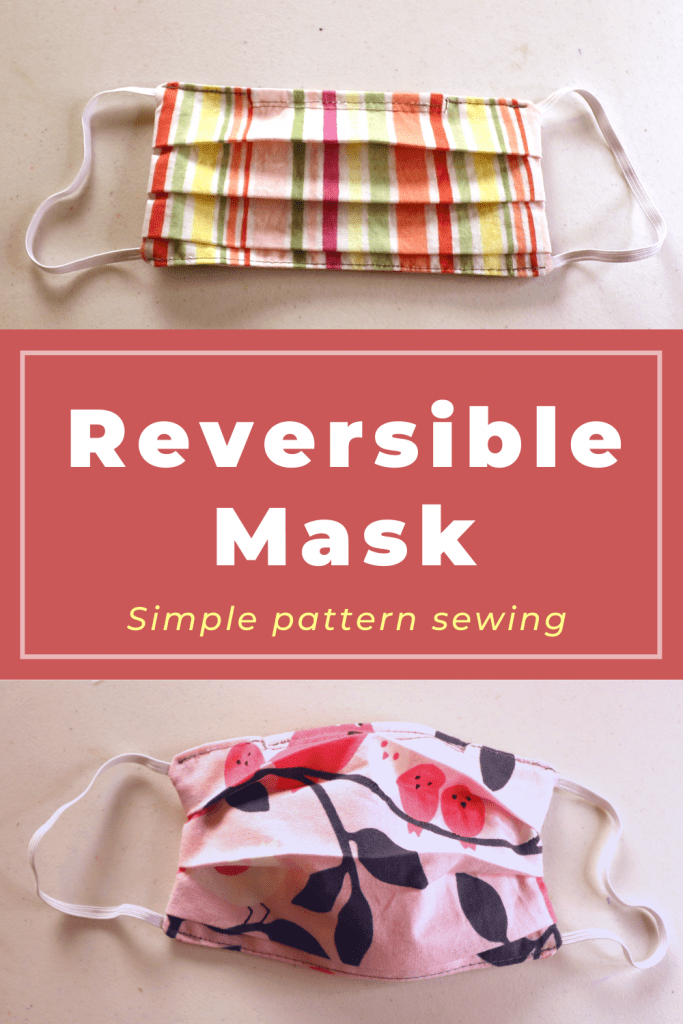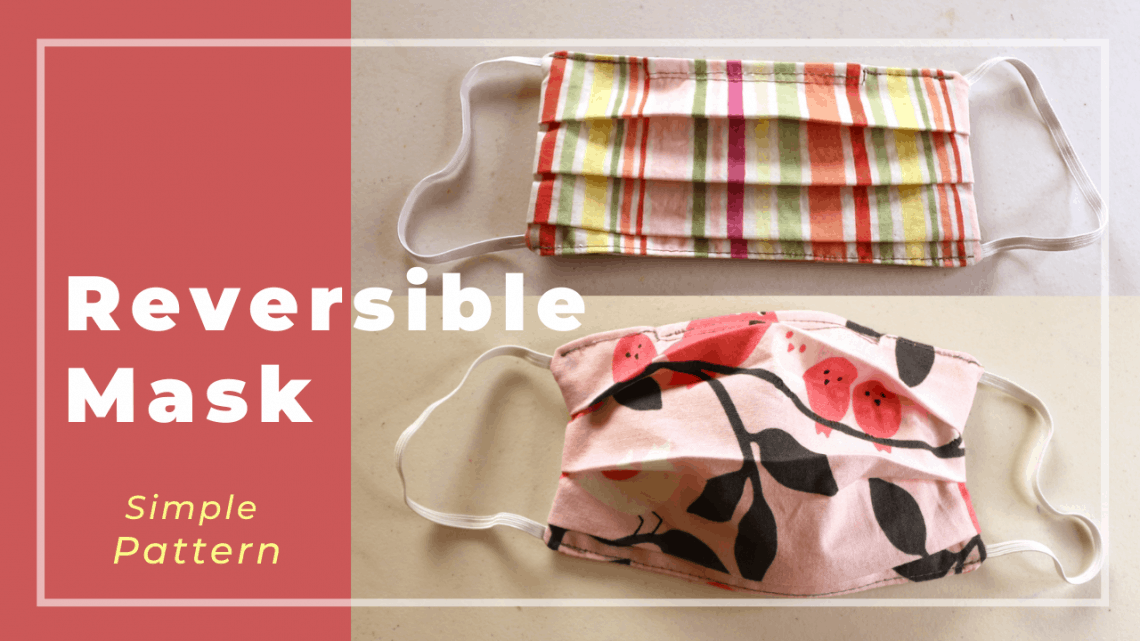
Reversible face mask sewing from 2 squares of fabric
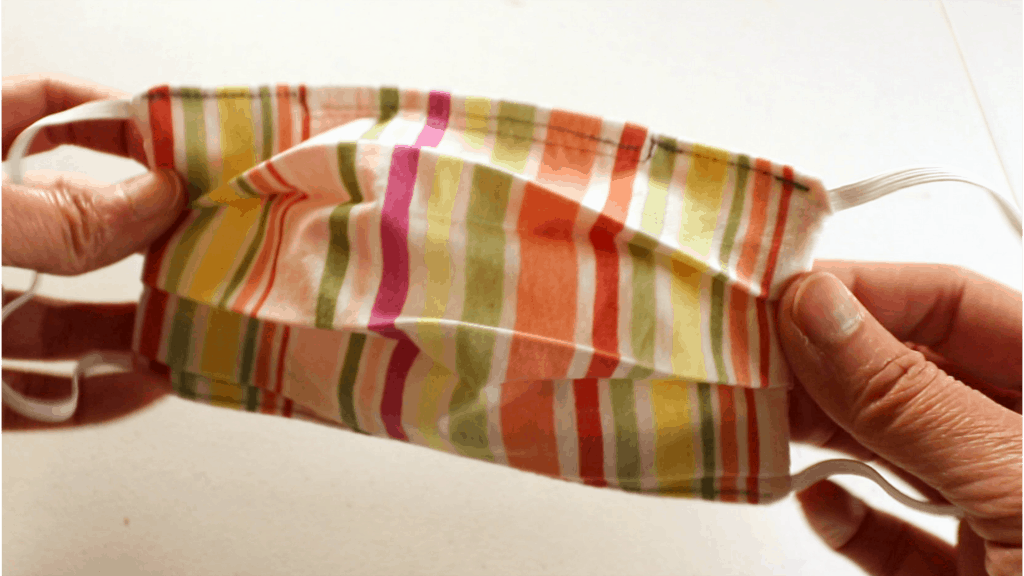
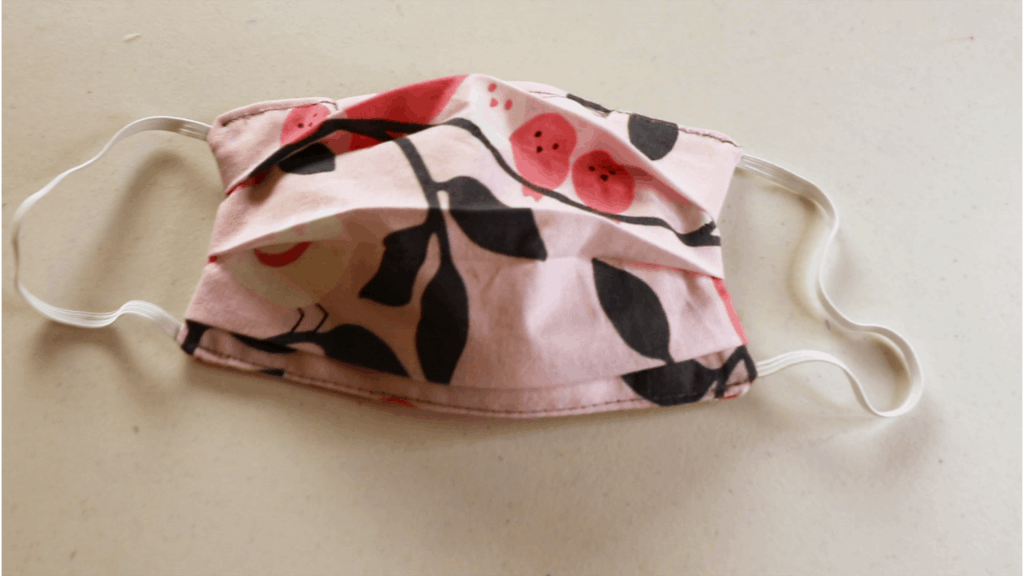
There are many ways to make a mask. This one is a very basic design with 2 different fabrics on each side so you can choose either side as the front. The wire insert is optional, and there is no filter pocket for this design. You can use double-layer as one side of the fabric so the final will have 3 layers if you prefer a little more protection.
If you are looking for the mask tutorial with filter pocket, nose wire, and 4 size pattern download, check out my previous mask tutorial here.
If you are looking for a simple no-sew T-shirt cut-out mask, click here.
For neck tube or gaiter style mask that can be doubled as a neck warmer or headband, click here.
Pattern and fabric
Any woven cotton will work. 100% cotton is the best and it is most comfortable to breathe through but any woven cotton blend fabric will work too.
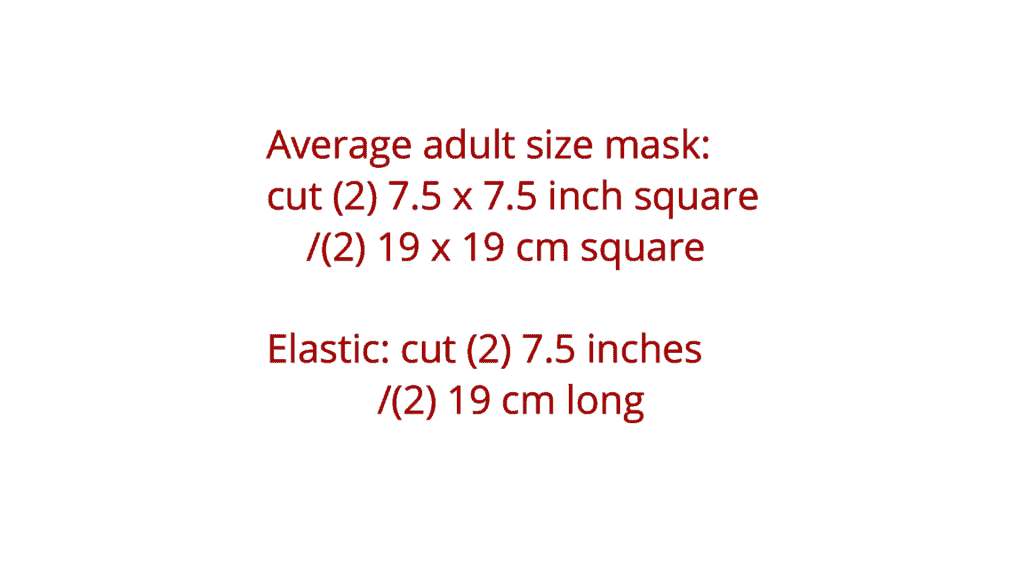
The pattern is very simple and consists of 2 squares. Here are the 2 sizes. For an adult, it is 2 pieces of 7.5 x 7.5 inch square, plus (2) 7.5 inch elastic.
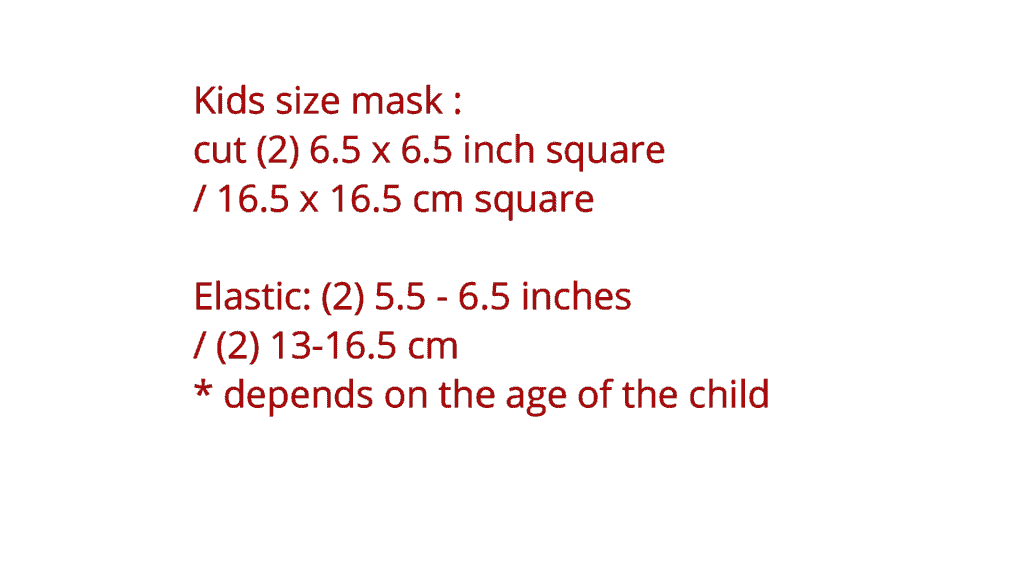
For kid’s size, cut (2) 6.5 x 6.5 inch square fabric of different patterns or colors. The 2 pieces of elastic can range from 5.5 – 6.5 inches long depending on the child’s age. The 5.5 inch is closer to a 5-year-old, and 6.5 inches are for a teenager.
Step by step tutorial
- Cut the 2 fabric squares of different patterns or colors. This tutorial is for an adult so cut (2) 7.5-inch squares.
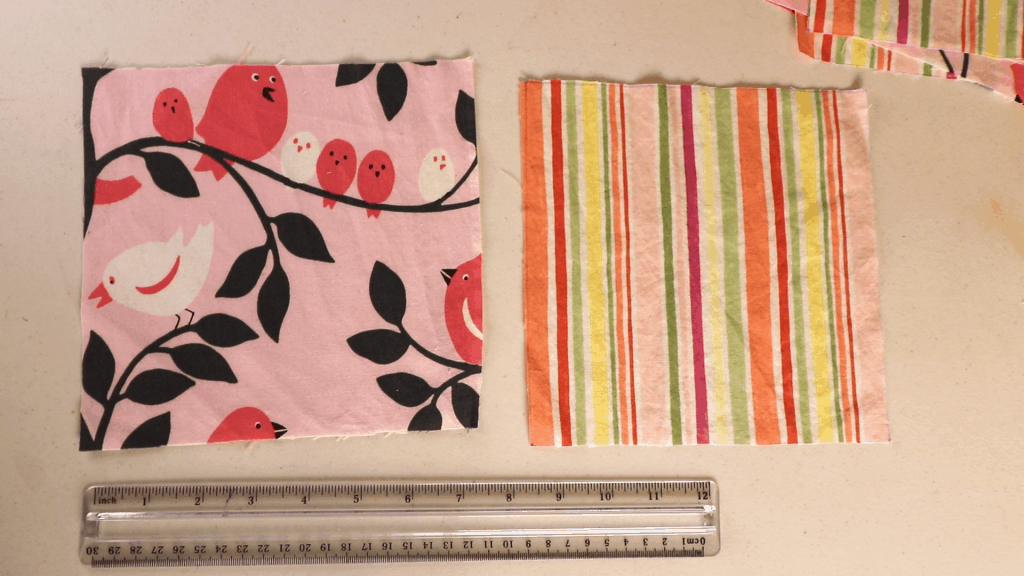
2. Draw the folding lines. Since the total is 7.5 inches. Measure 1.5 inches from each side, then alternate with 1/2 inch. See the picture below.
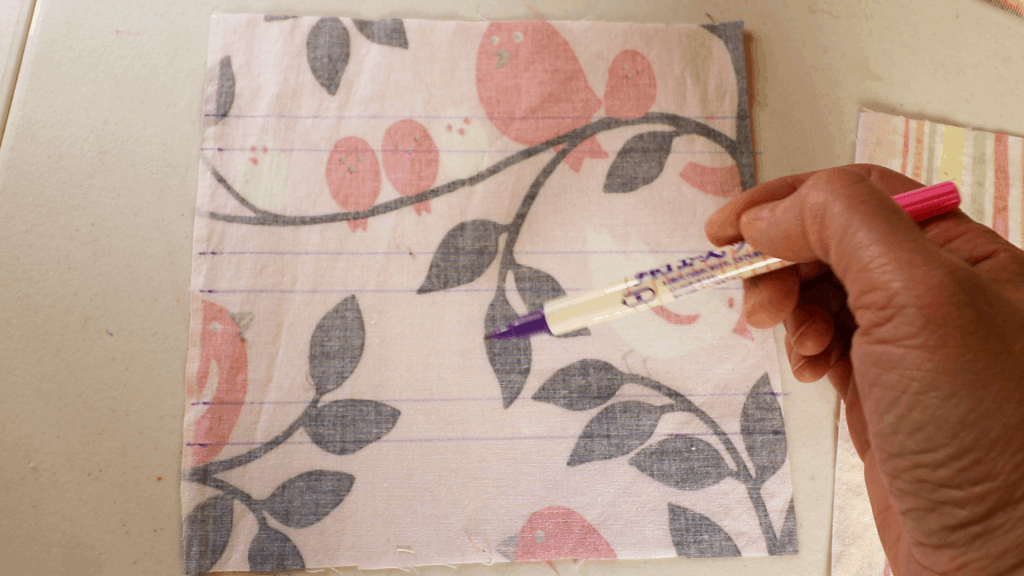
3. Fold the lines and iron. You can also just estimate the folding lines without measuring.
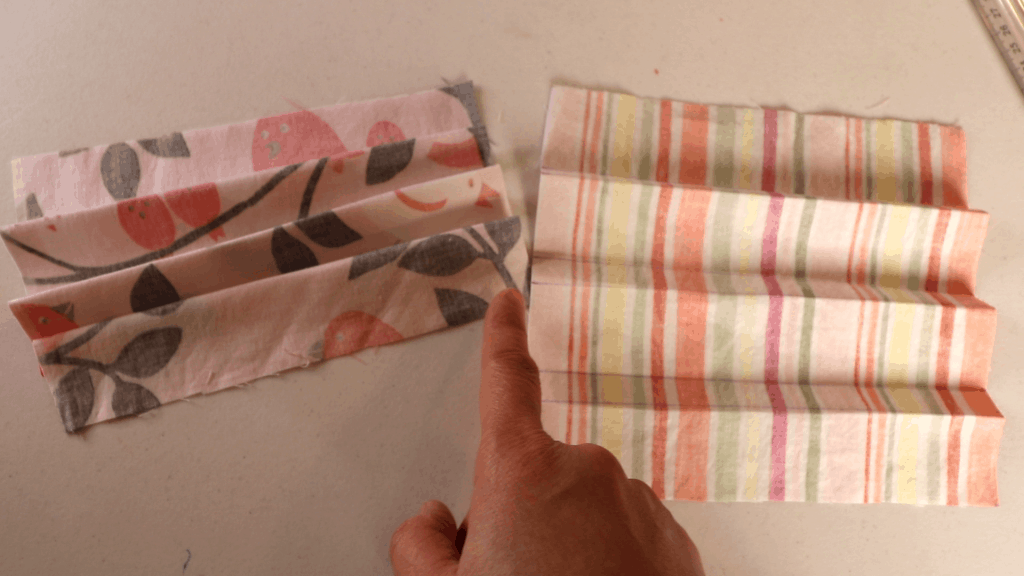
4. Cut the 2 pieces of elastic according to the pattern. For adult size, it is 7.5 inches. It is easy to remember, just 7.5-inch square and 7.5 inches elastic for adult size.
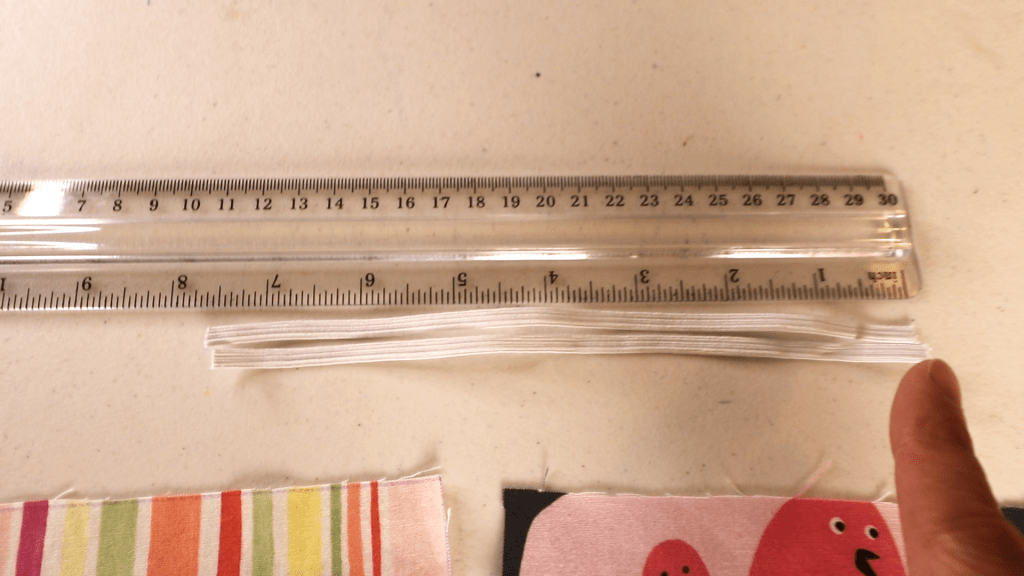
5. Place the elastic over the right side of fabric near the four corners like the picture below. Keep about 1/2 inch away from the edge for the seams.
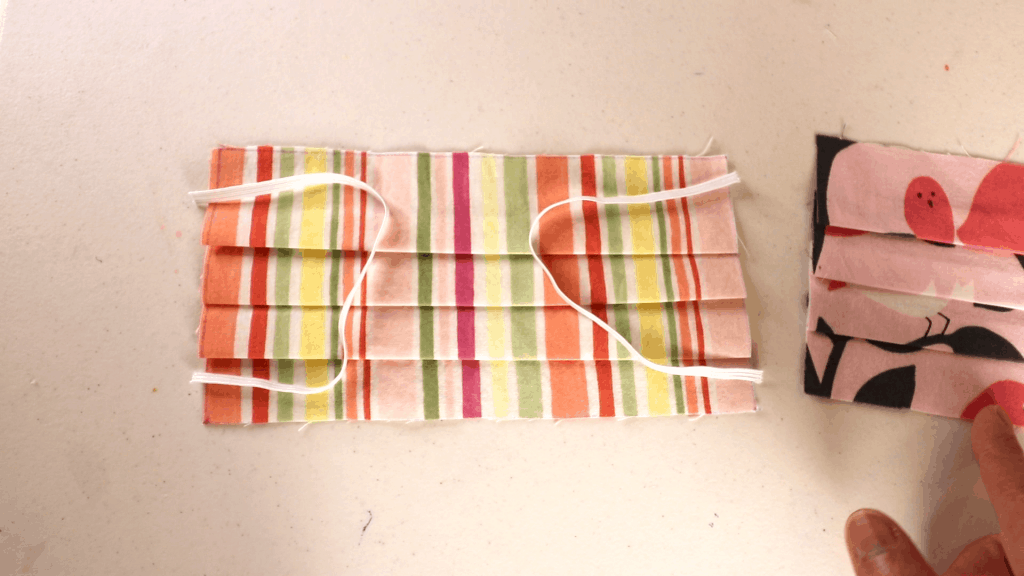
6. Sew the elastic band to the fabric with a sewing machine or hand sewing. You can skip this step but this makes sewing the next step much easier.
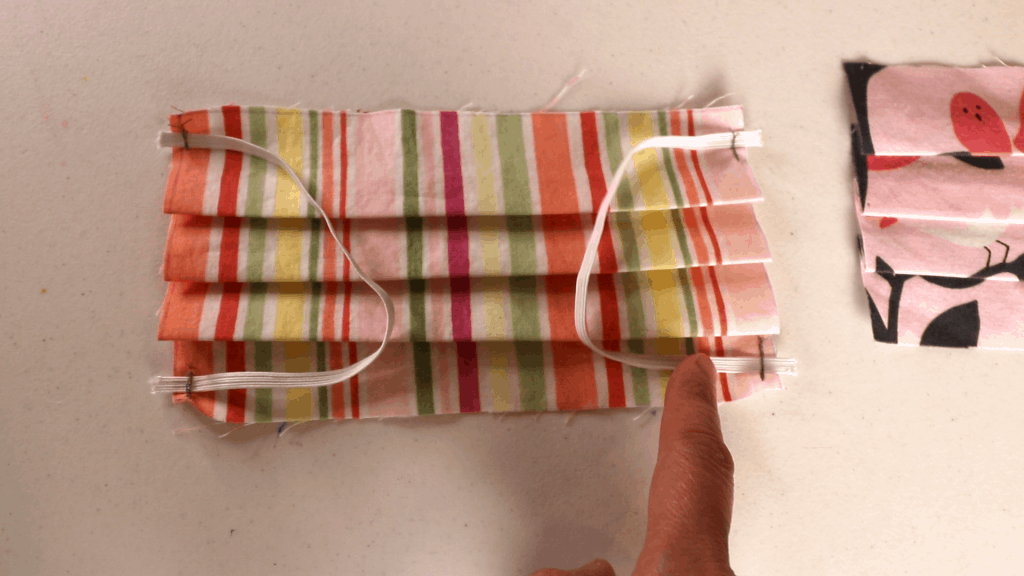
7. Place the other fabric (already folded and ironed) on top with the right side facing each other.
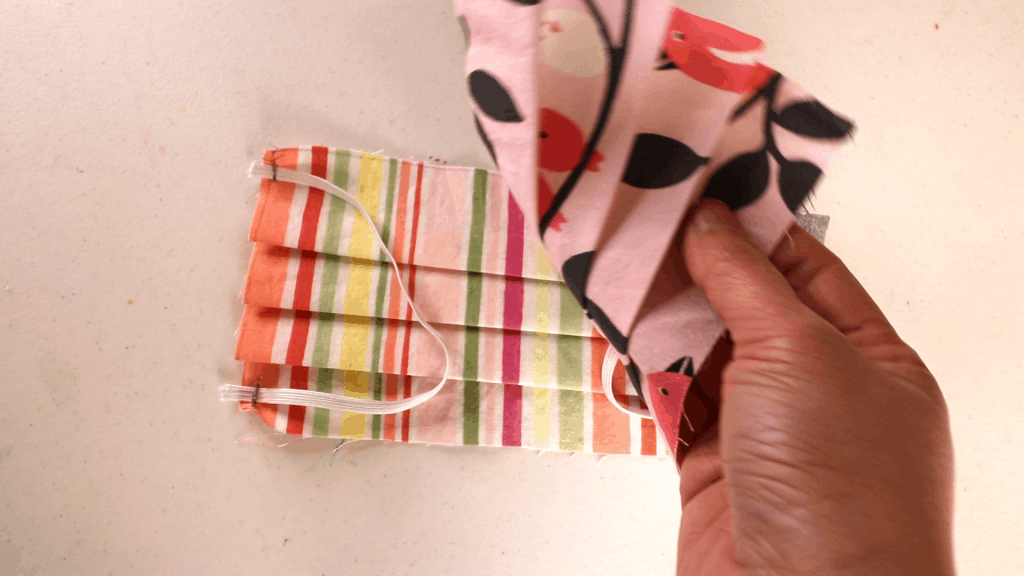
8. Pin together. Mark the opening on the top center. Now we are ready to sew.
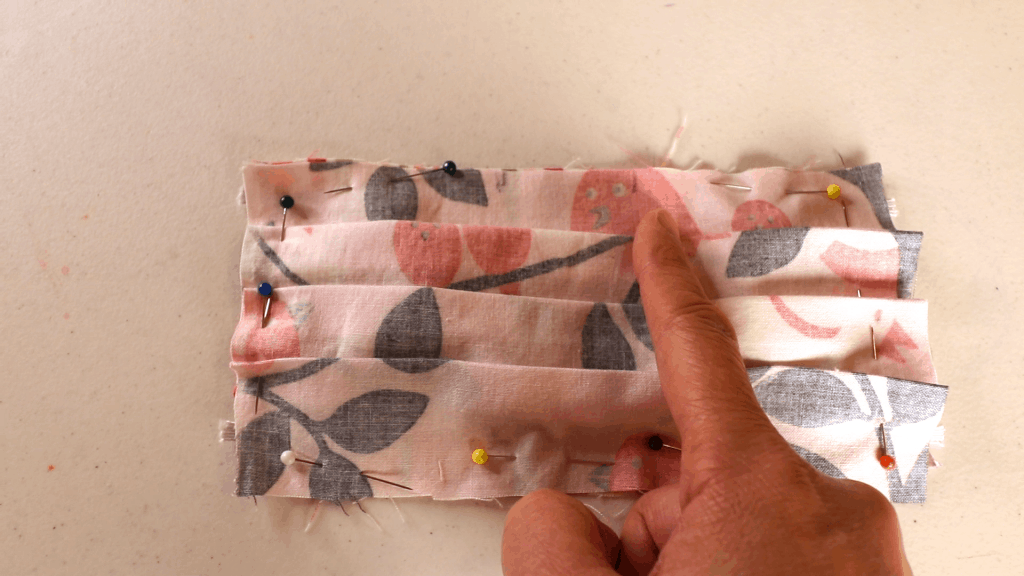
9. Sew a straight line all around with a seam allowance about 1/2 inch (backstitch at the beginning and end of the sewing so it is secure), leaving the marked opening so we can turn inside out.
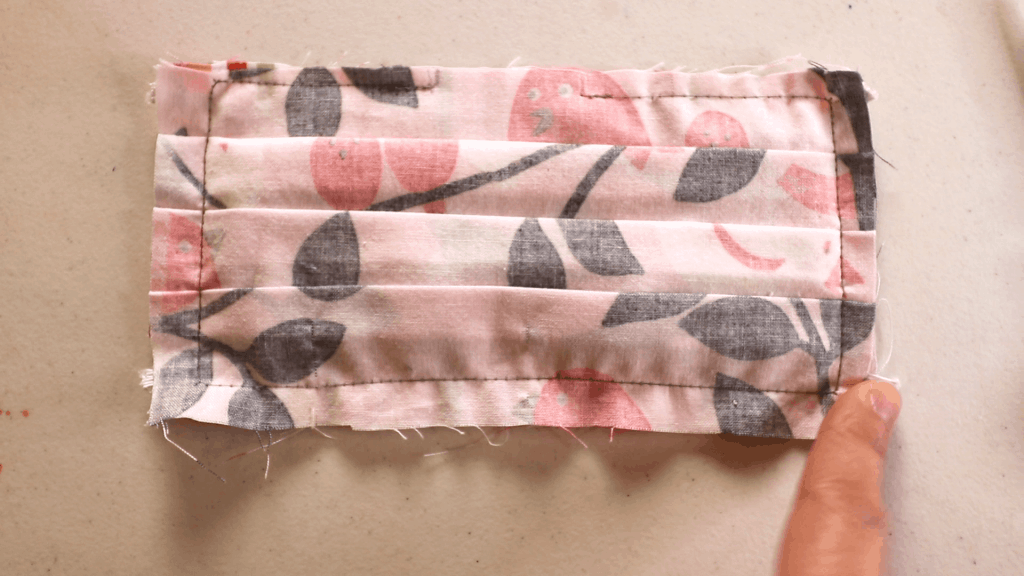
10. Trim the extra fabric at corners before turning.
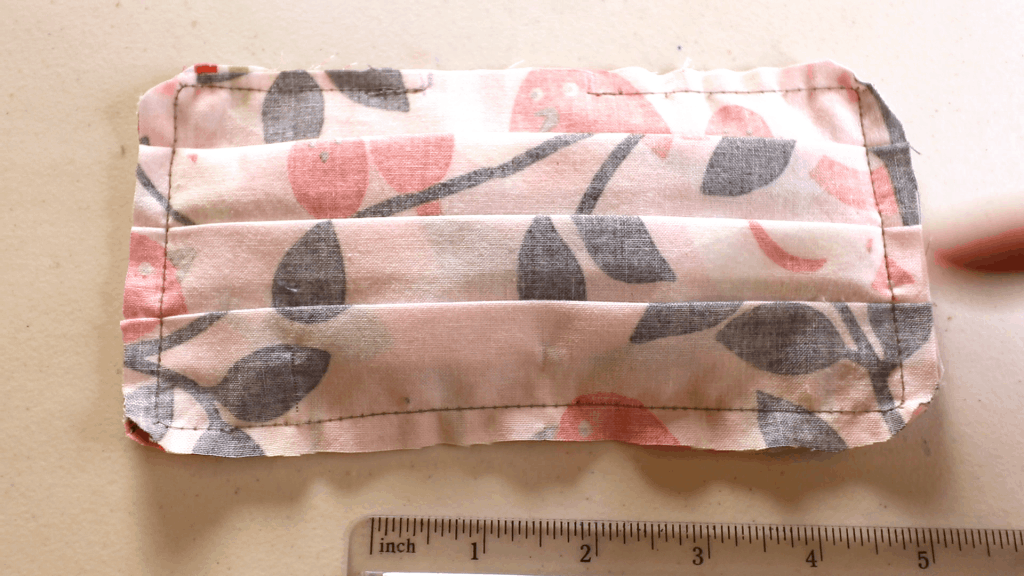
11. Turn inside out and iron.
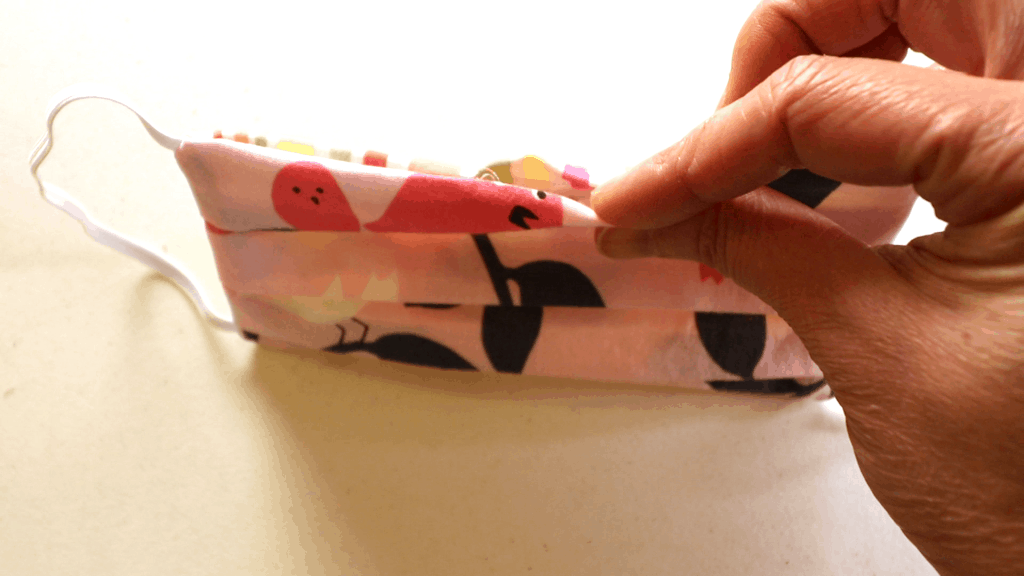
12. You can add a wire for nose shaping. Use a twisty tie, garden wire, jewelry wire, or straightened paper clip. See the location of the wire below. I use a twisty tie here.
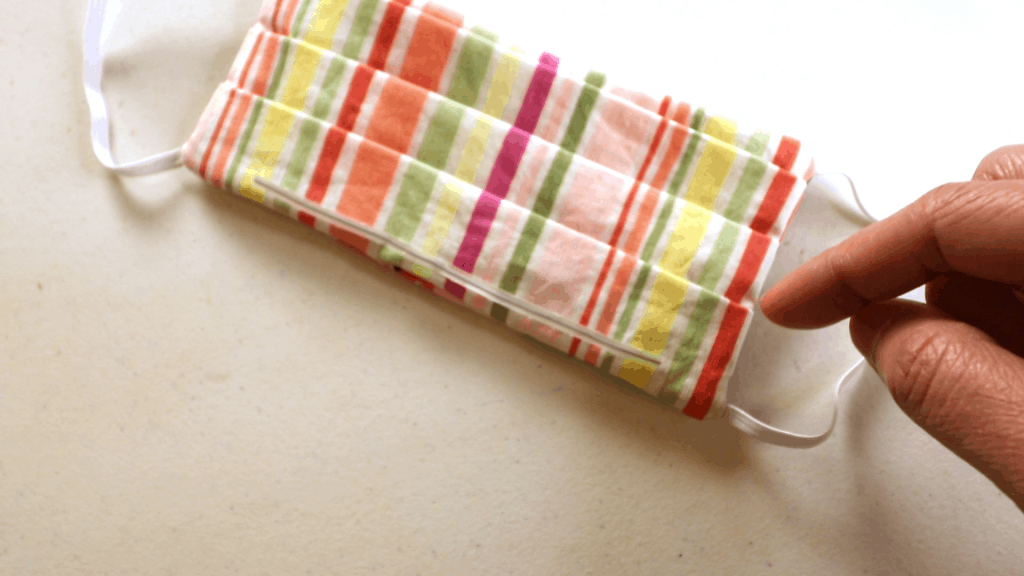
13. Insert the wire under the seam allowance. Use pins to mark the location of the wire.
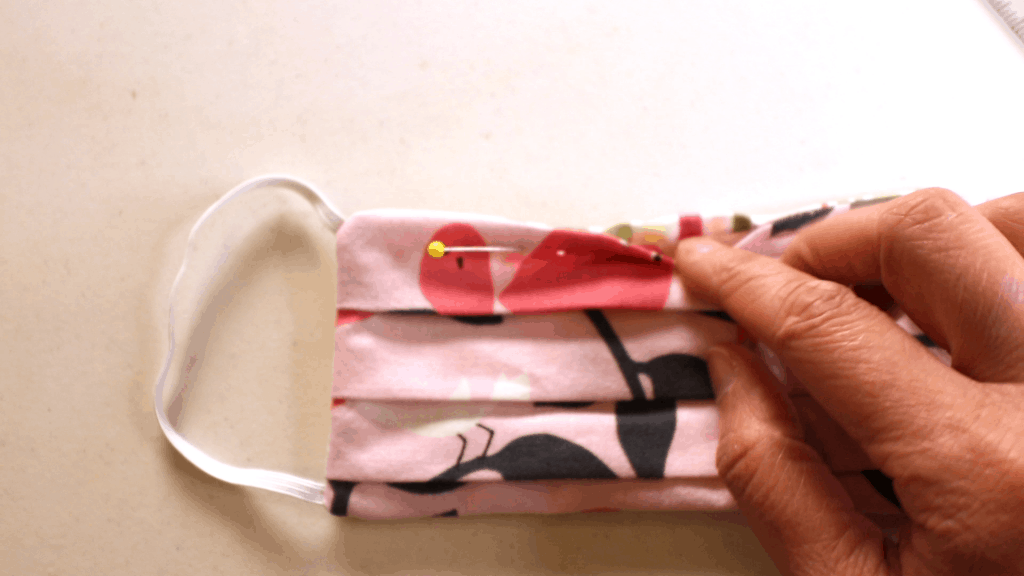
Mark the end of the wire with pins. They also keep the wire in place.
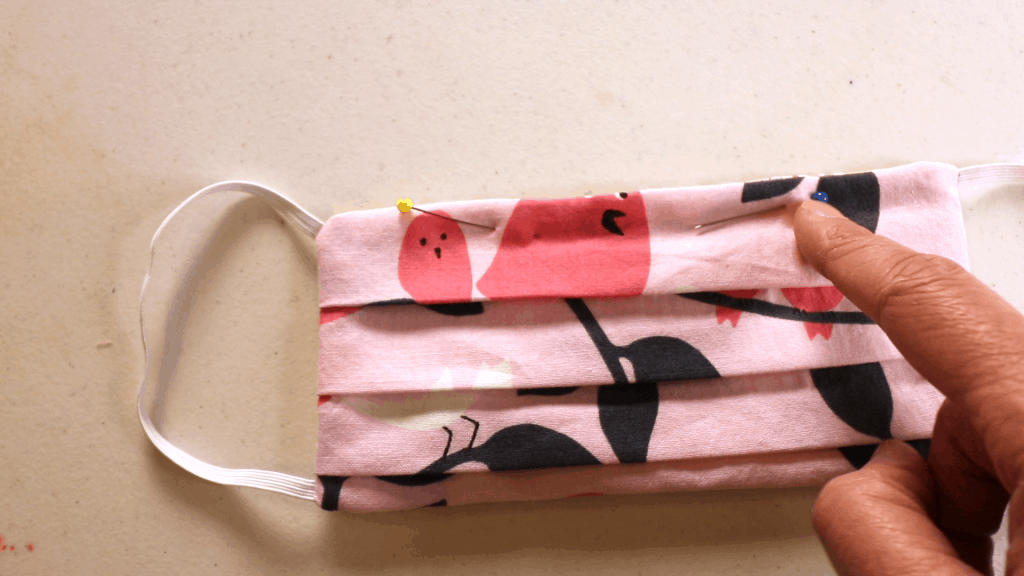
14. Sew around the wire and close the opening.
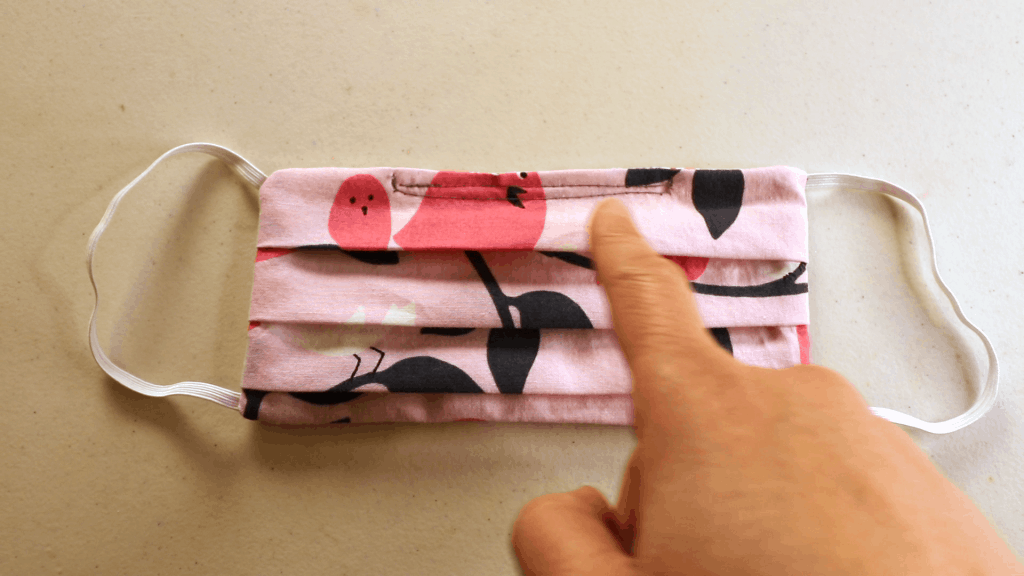
View of the other side. You can see the side edges have clean lines because we fold the lines before sewing. You can sew around the 4 edges (topstitch) if you like, or just leave it as is. You just finished the mask. Iron as necessary.
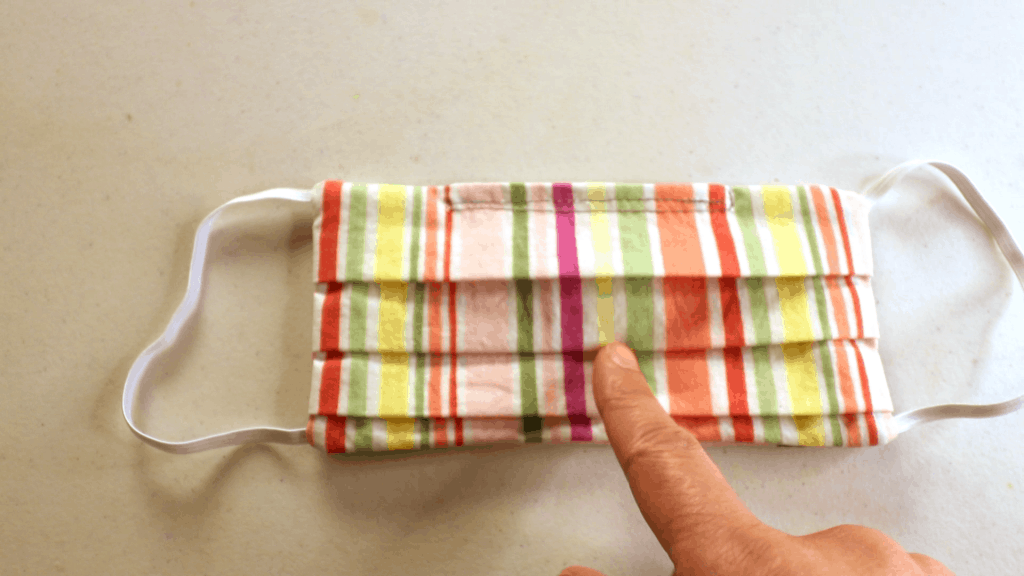
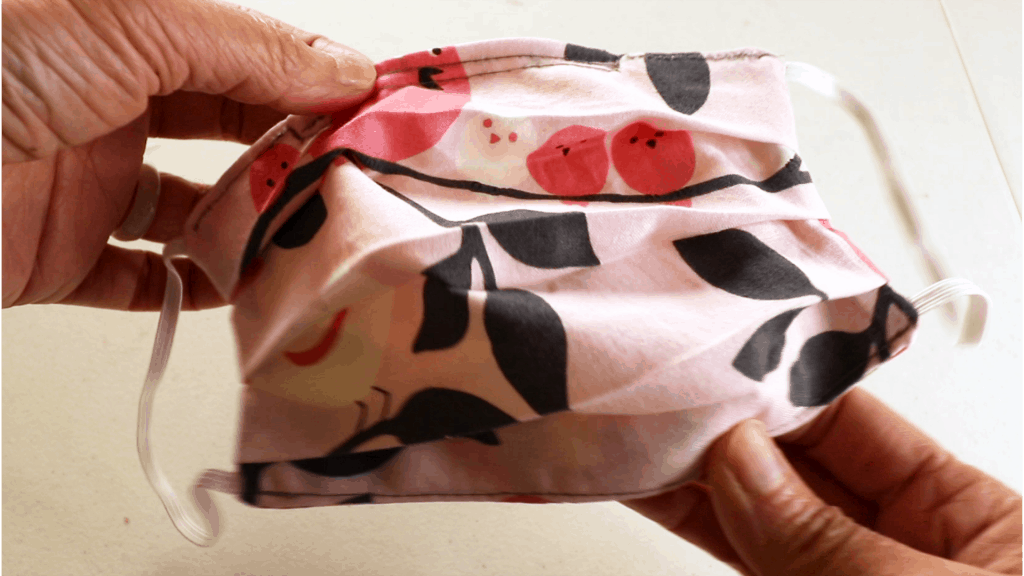
How to wash and how many you need
You can wash daily by throwing your mask into a washing machine and then a dryer. It will come out a little wrinkled. A hot iron will keep the folding line crisp again.
Some people prefer hand washing. Use regular soap, laundry soap, or dishwashing liquid is also very convenient. And just hang it up and air-dry overnight.
How many masks you need depends on how often you wear and how often you wash. 2 masks are the minimum so you can alternate. Some people prefer wearing one per day and do the laundry weekly. Most people are in between. 3-5 masks per person should be enough. On the other hand, it is always nice to have extra at hand especially if your area requires people wearing masks in public.
Watch our video tutorial for the double-sided mask making
