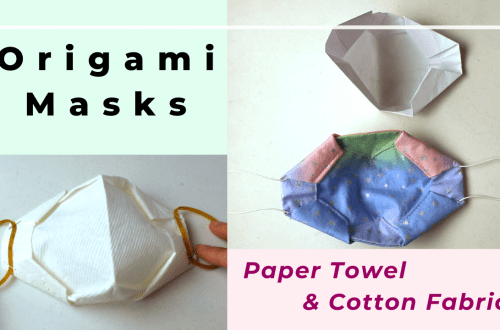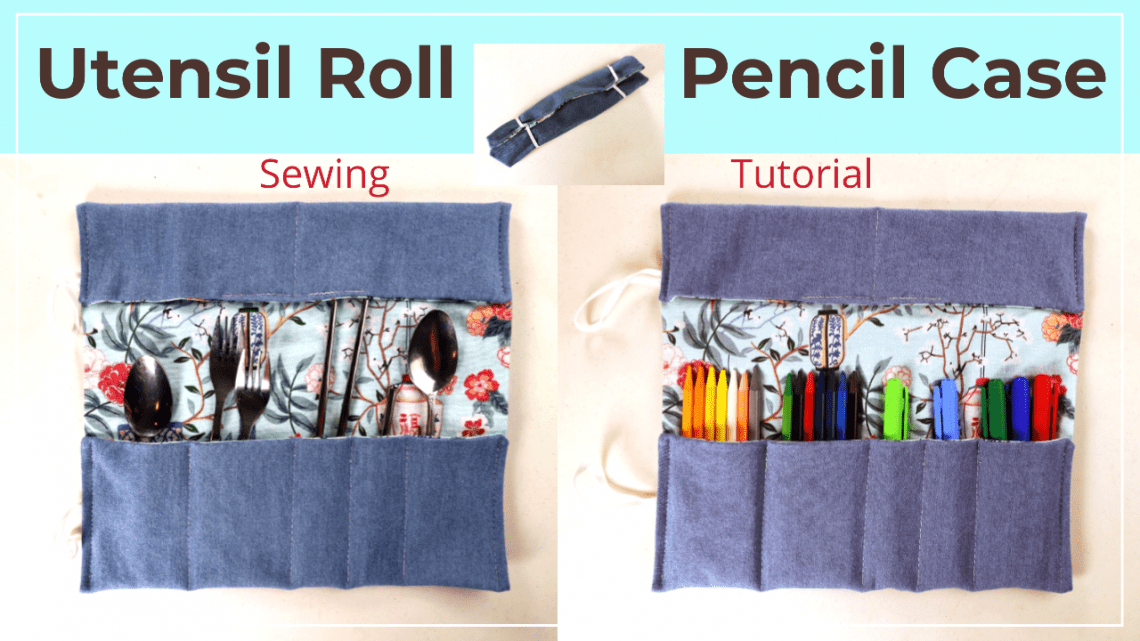
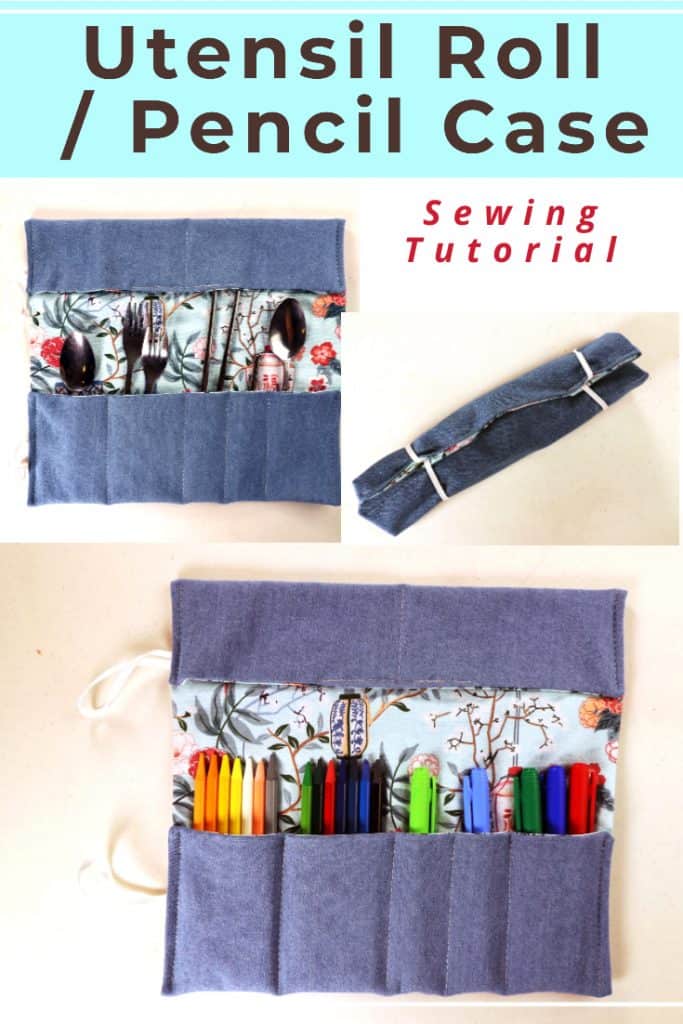
Sewing a utensil holder or roll-up pencil case
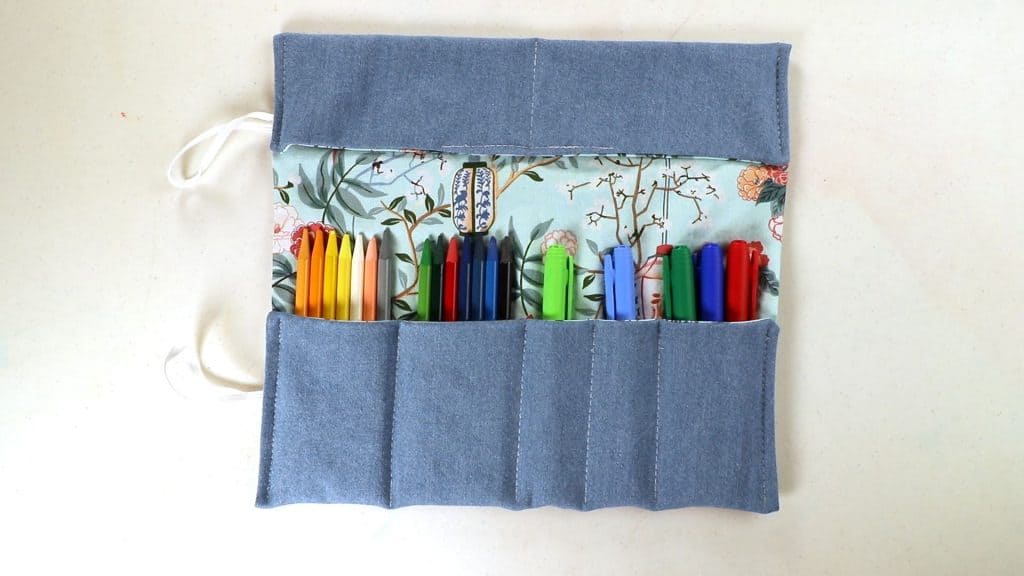
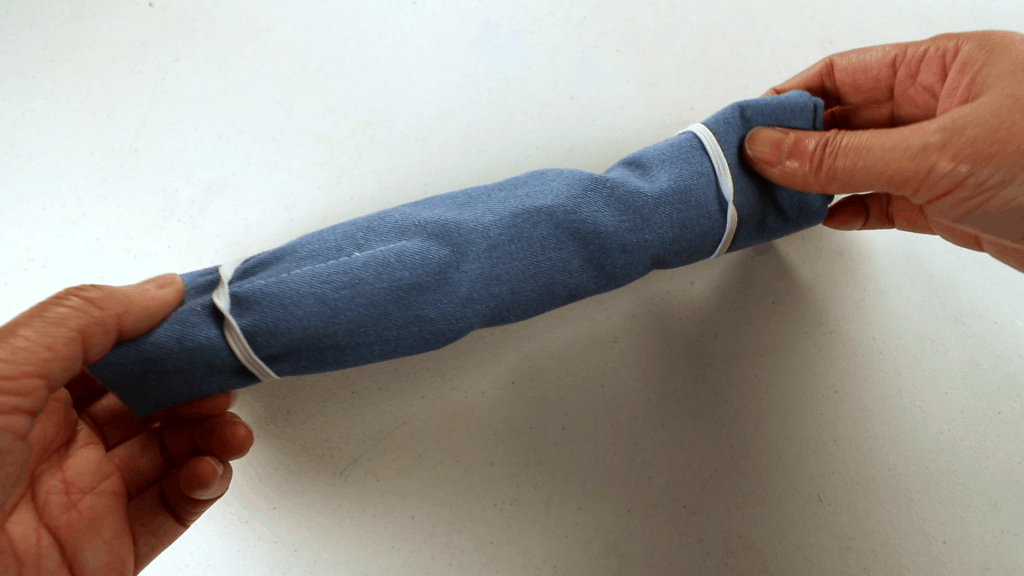
Here is a simple way to sew a utensil holder or roll-up pencil case. You can open up the roll and access items inside easily, or roll up and place in your bag when traveling. You can use this roll-up holder for various purposes. Organize your art supplies, pencils, and markers, or forks and knives.
Watch our video for roll-up utensil case sewing tutorial
Step-by-step picture tutorial
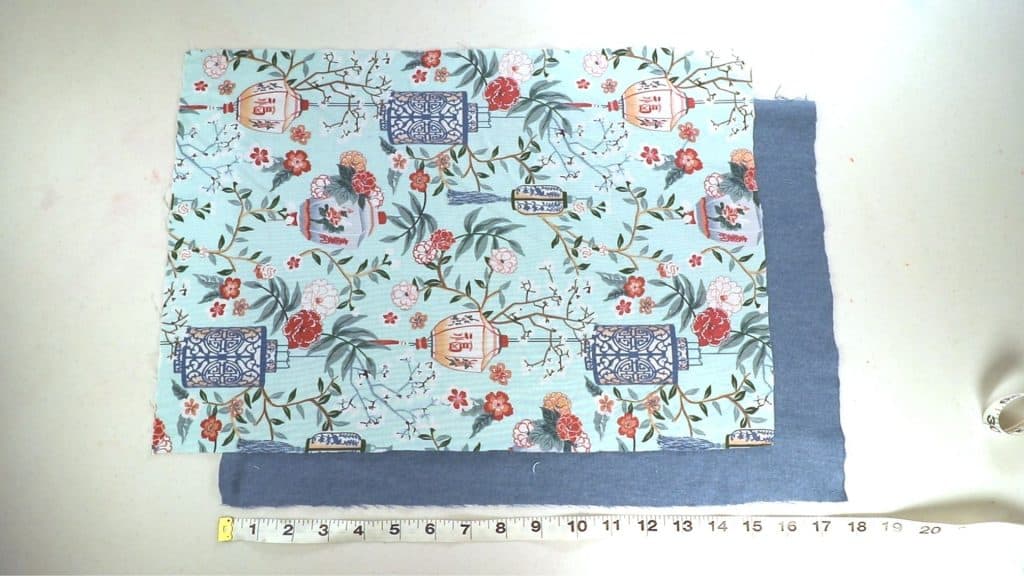
- Cut 2 pieces of fabric. Depending on the size of the items you want to carry, you can make it bigger or smaller. I use 18 by 12 inches.
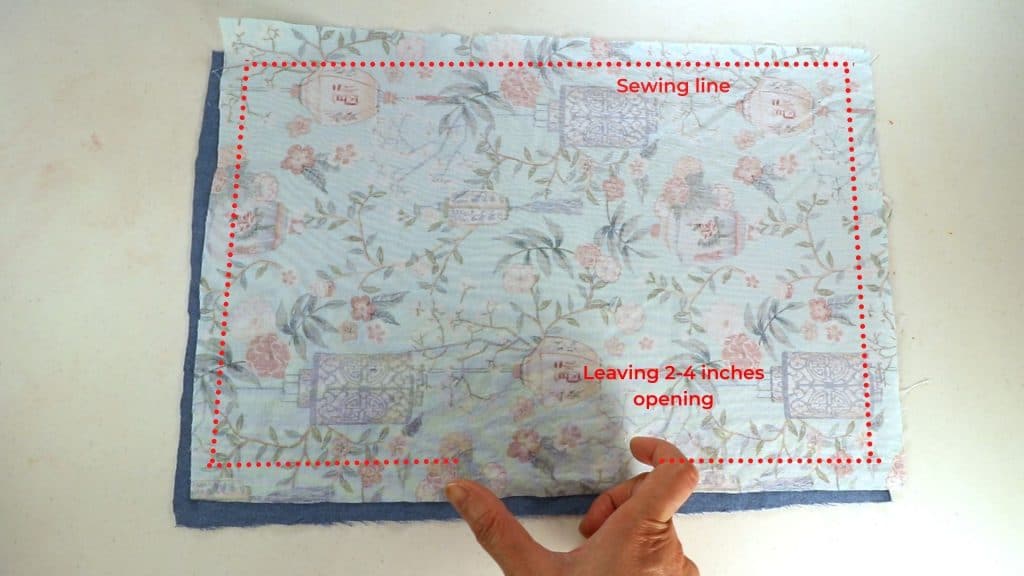
2. Place the right side of fabrics facing each other, and sew a line around 4 sides, leaving 2-4 inches opening, so we can turn inside out later.
3. Cut the 4 corners to reduce the bulk. Turn it inside out through the opening.
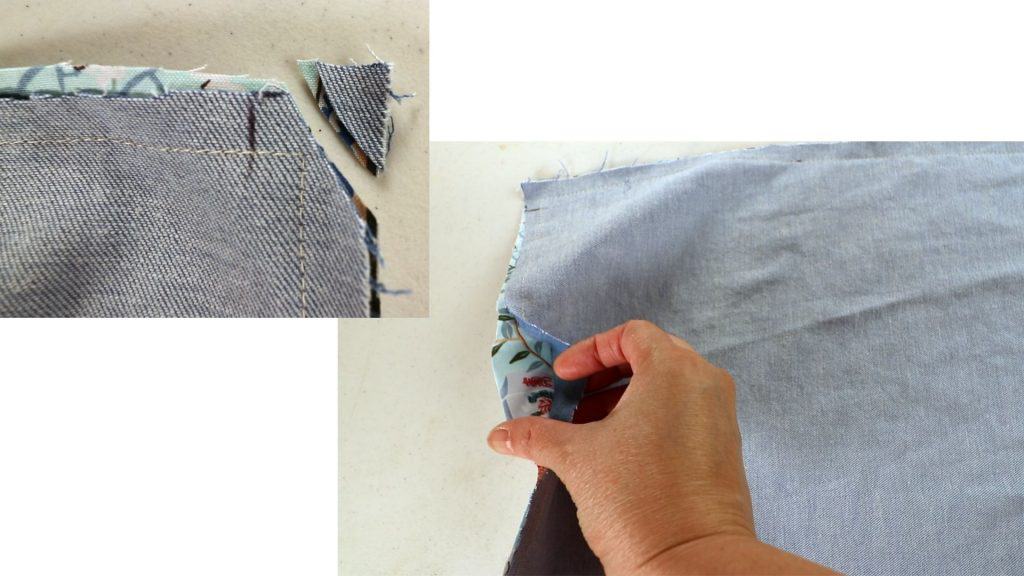
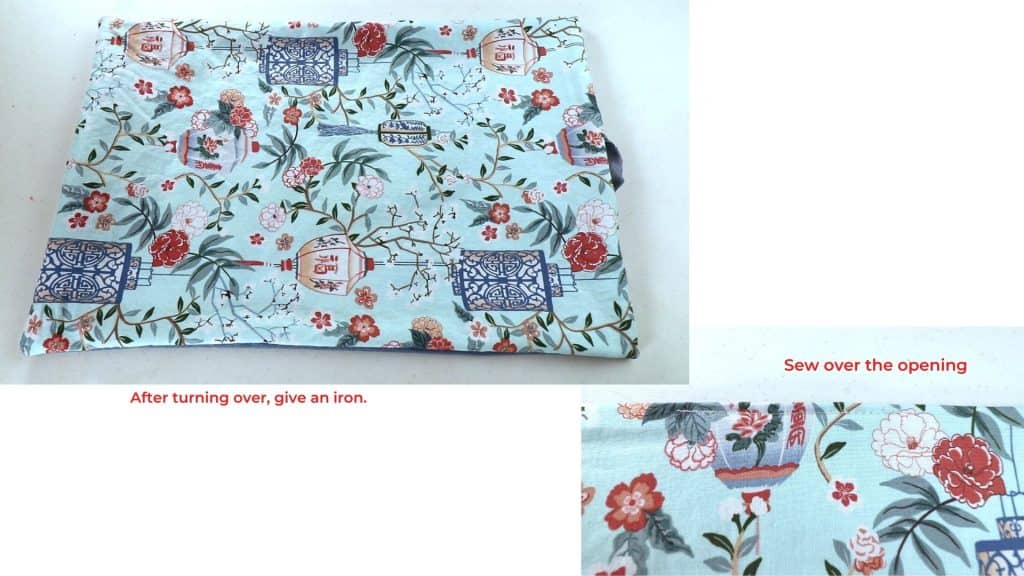
4. Iron the piece and sew close the opening.
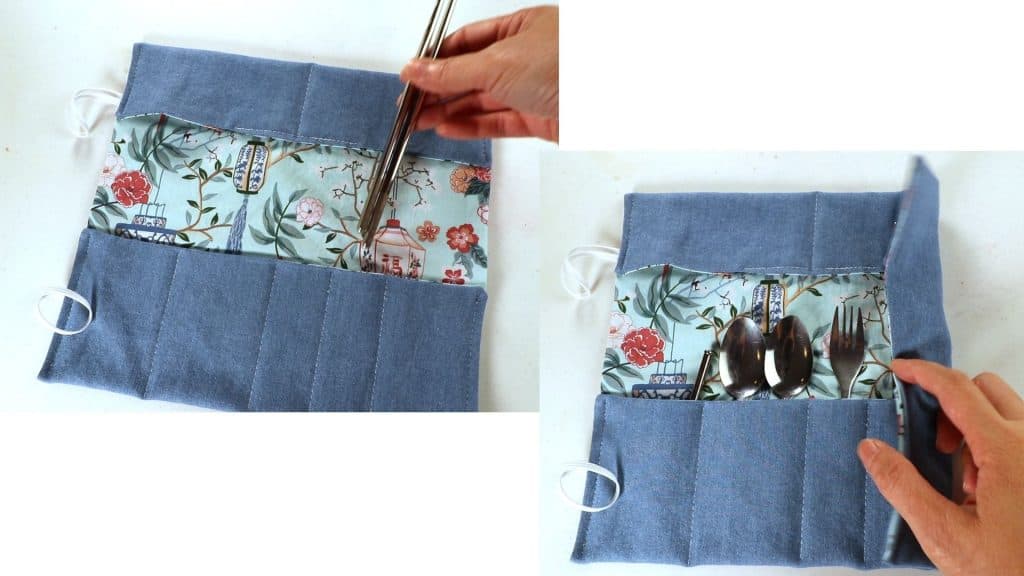
5. Turn the piece vertically. Arrange the items you want to place and decide the size and number of the pockets.

6. Place pins and sew the pocket lines in the center first.

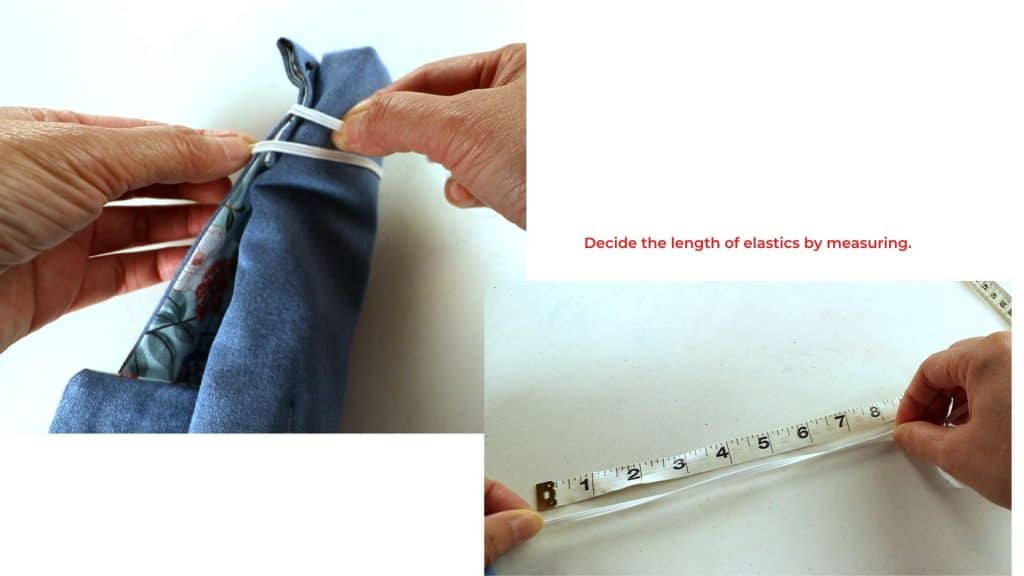
7. Decide the length of the elastics by measuring the roll-up diameter. Cut 2 pieces.
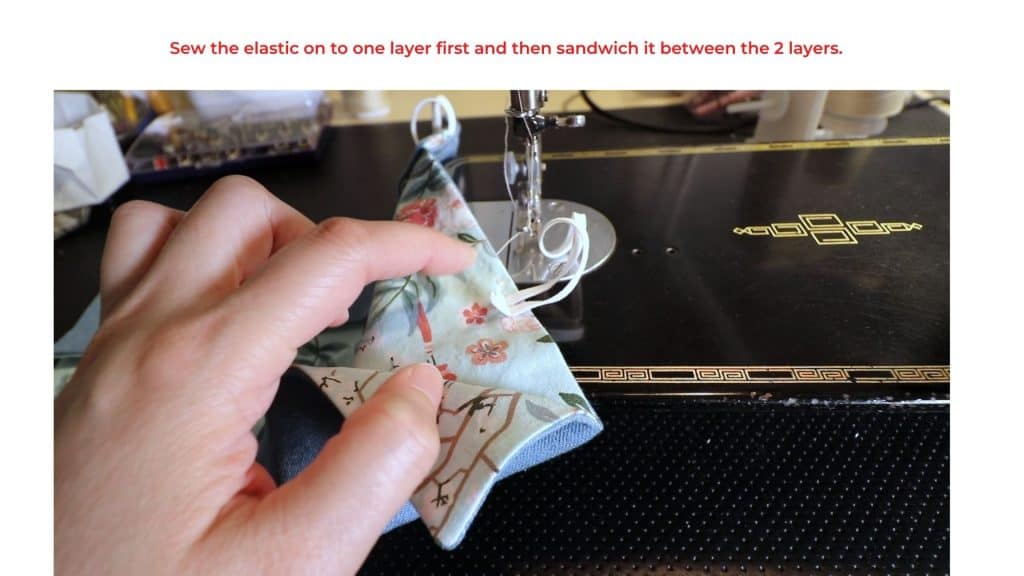
8. Place the elastics sandwiched between the 2 layers. Keep the same distance from both ends so it looks nicer.
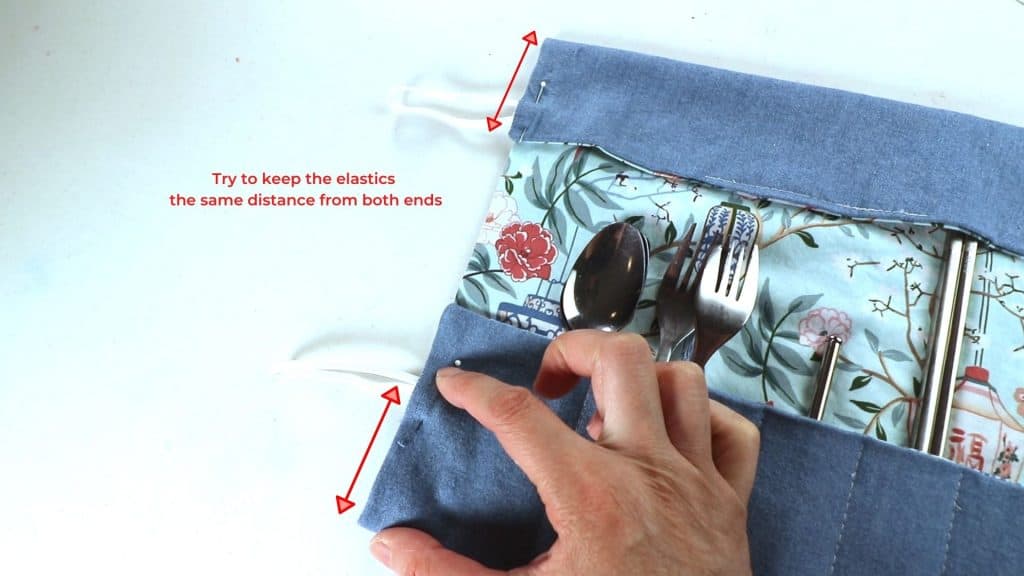
9. Sew the elastic to one layer first, then sandwich it between the 2 layers. Sew over the top layer.
10. Sew all 4 outer edges. Now we are done.


You May Also Like
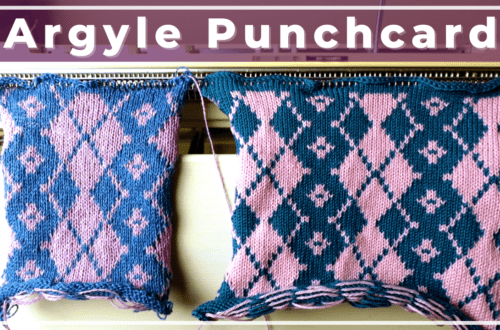
Argyle punch card knitting and free download

Tunisian crochet in the round (Magic Loop)