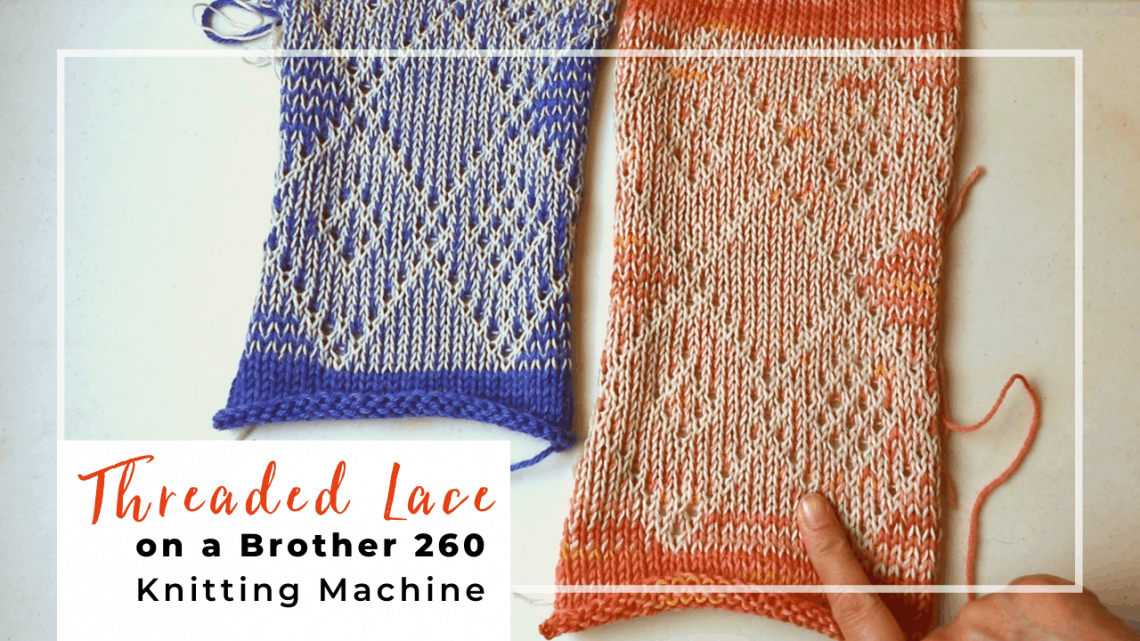
How to knit a Thread Lace on a Brother 260 bulky knitting machine
What is a Thread lace or Threaded Lace stitch? It is a machine knitted punchcard stitch done with 2 yarns, usually one thin and one thick yarn. The thin, lace-like yarn holds the lace pattern together. Unlike the standard lace knitting (on a standard gauge knitting machine), the threaded lace does not need a lace carriage. Once set up, you just move the main carriage back and forth to create the pattern. It looks complicated but is actually simple to knit.
Machine:
First, you will knit a bulky knitting machine such as Brother 260. Just the knitter is fine. No ribber is required.
I don’t think the thread lace stitch can be done on a standard gauge machine. If you know otherwise, please leave a comment so we can all learn.
Yarns:
You can use 2 different weighted yarns such as a laceweight and a DK weight. Or use 2 thin yarns of contrasting colors. Experiment for different looks.
Punchcard:
The bulky knitting machine has a different set of punch cards from the standard gauge machine. The recommended punchcards are number 1p, 11p, 12p, 13p, 14p, and 15p. I use 13p for this sample.
Watch our threaded lace video tutorial on Creative Tien YouTube channel
Thread Lace step by step picture tutorial
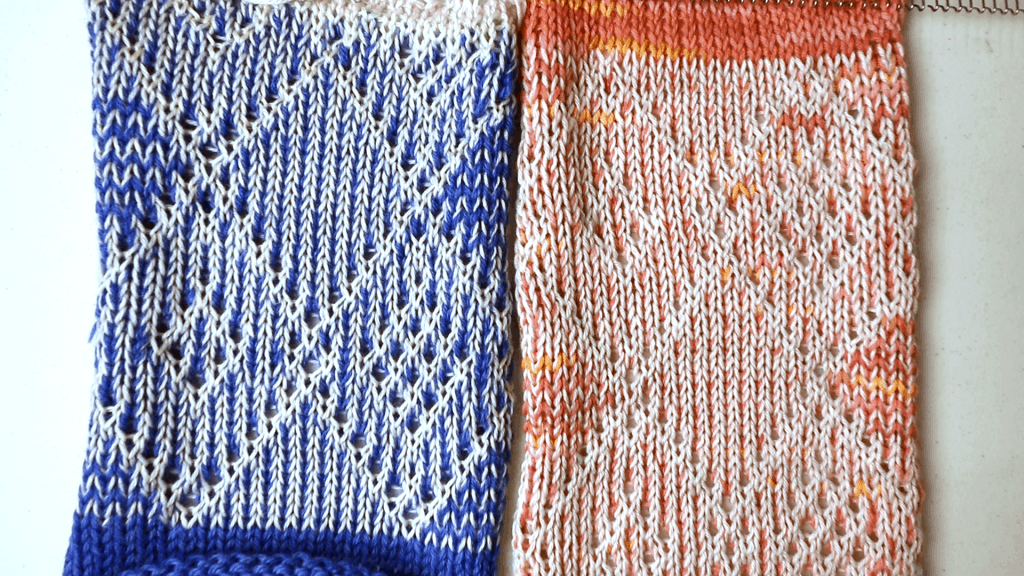
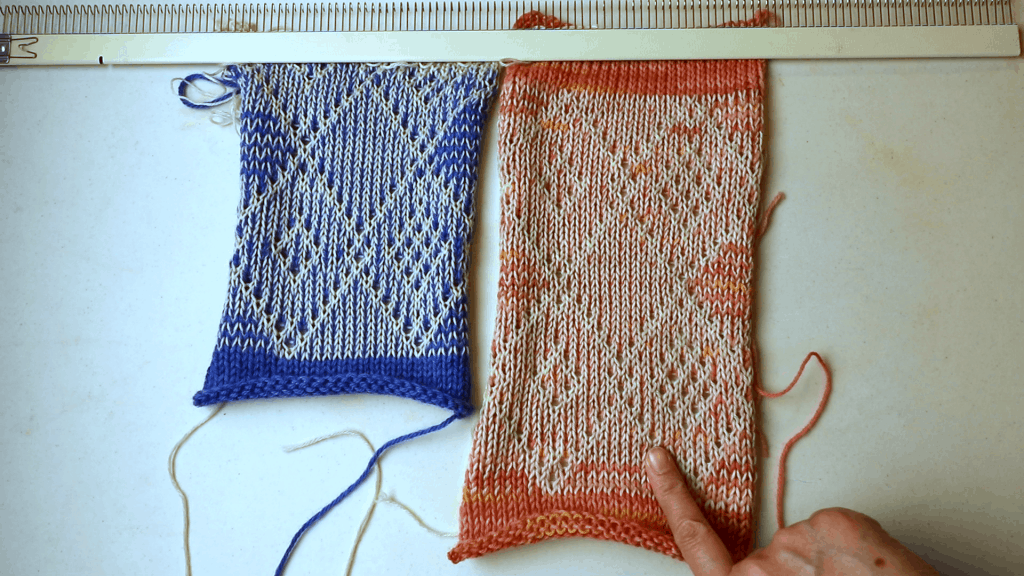
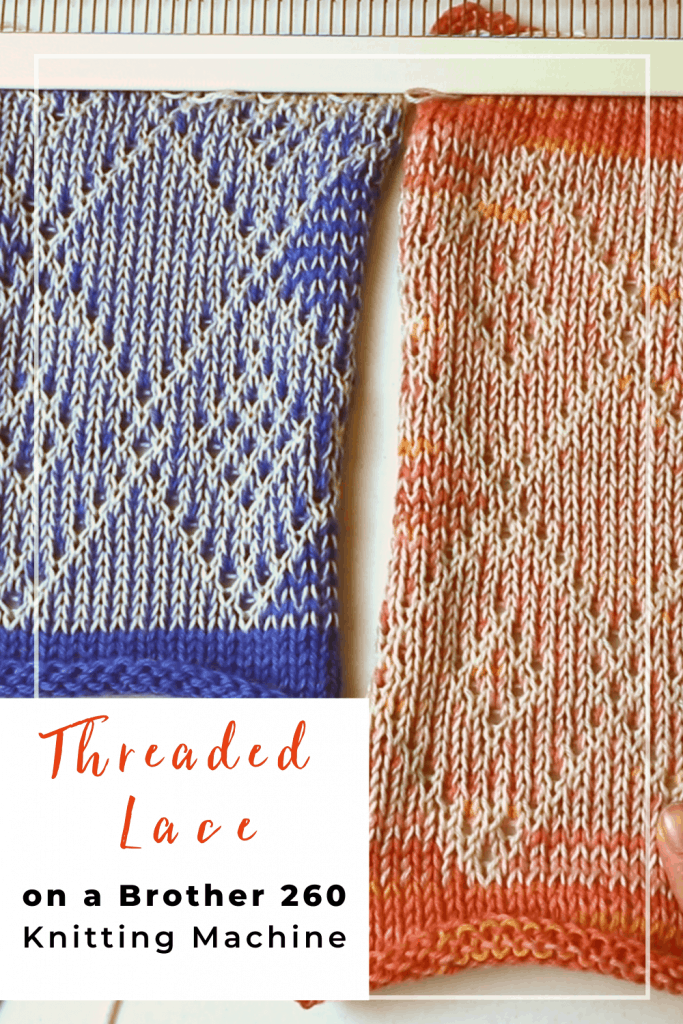
The left one has a thin white yarn and a thicker (DK weight) blue yarn (tension 7). The right one has both thin yarns and a slightly larger tension (8).
Back side look. See the thin white thread-like yarn.

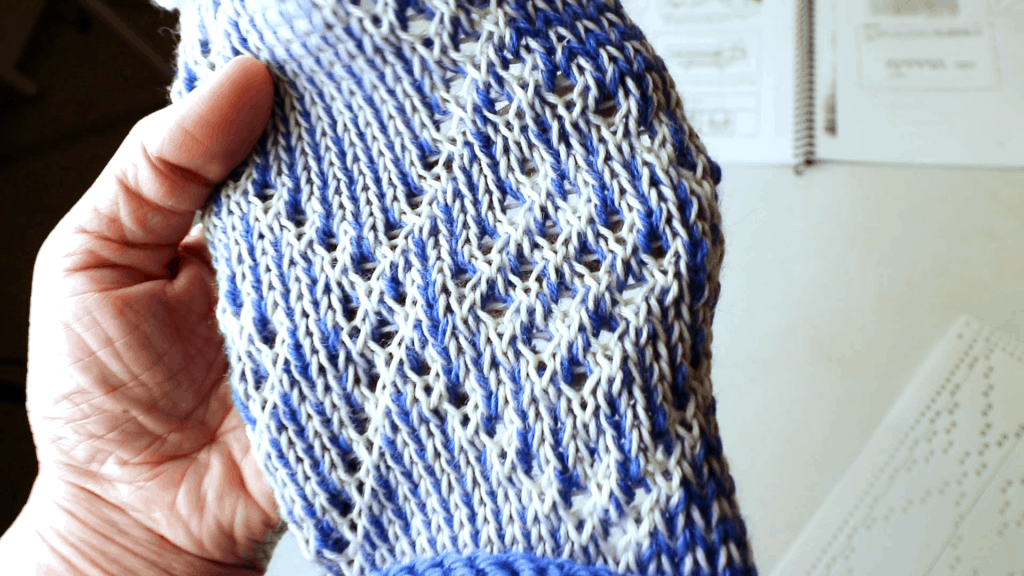
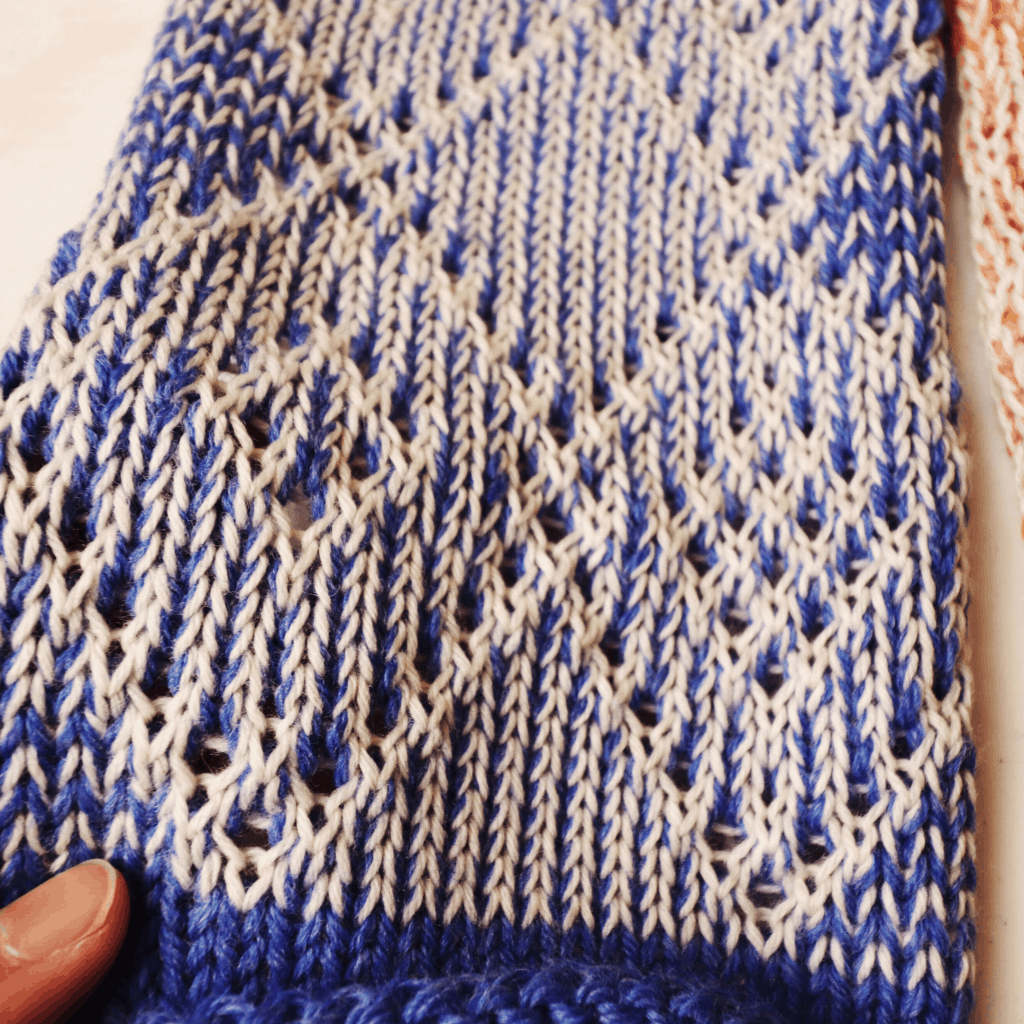
Front side close up.
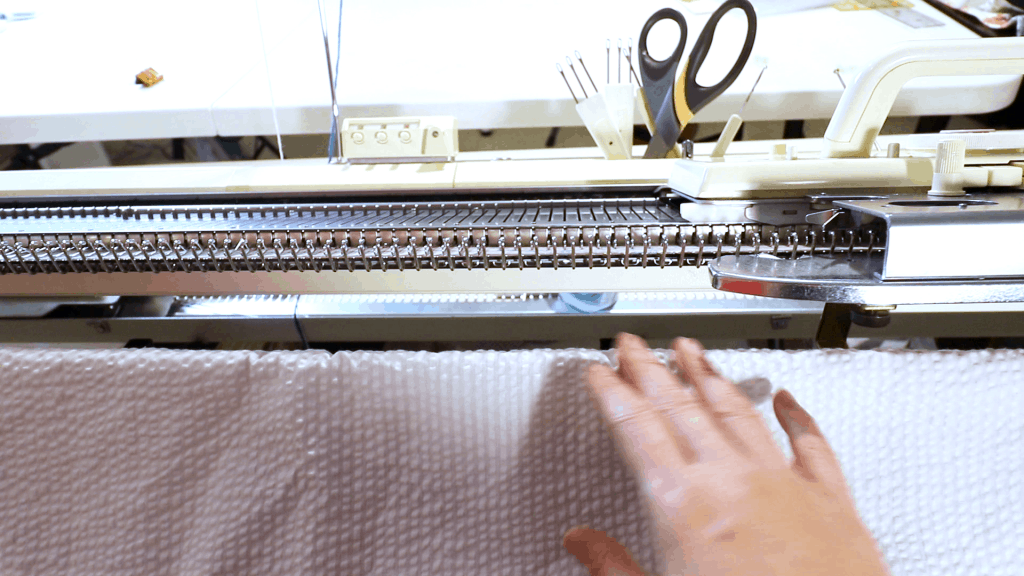
You do not need a ribber. I just cover up my ribber with a piece of cloth so the yarns don’t get caught.
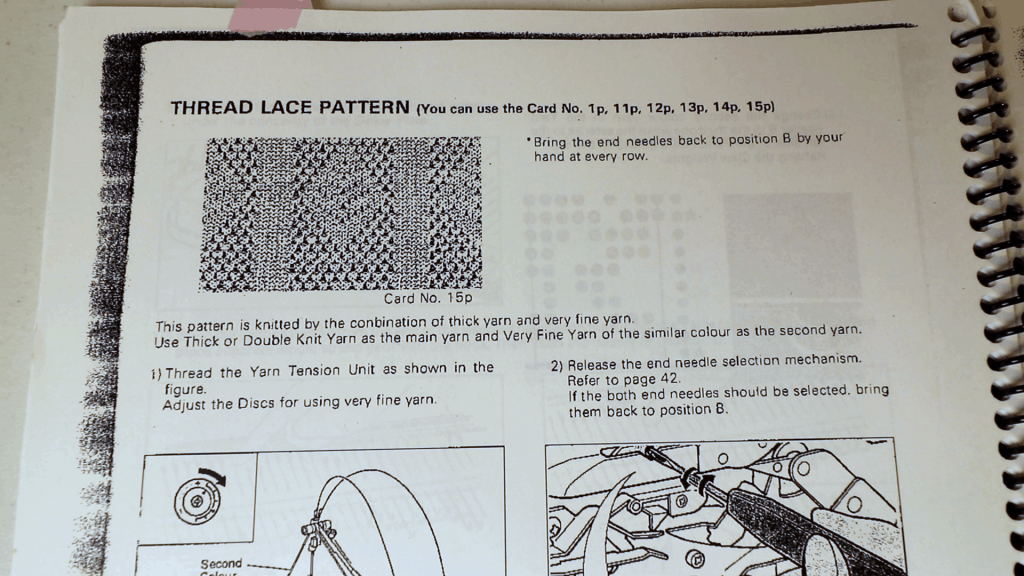
Instruction for thread lace pattern. It suggests punchard pattern 1p, 11p, 12p, 13p, 14p, and 15p.
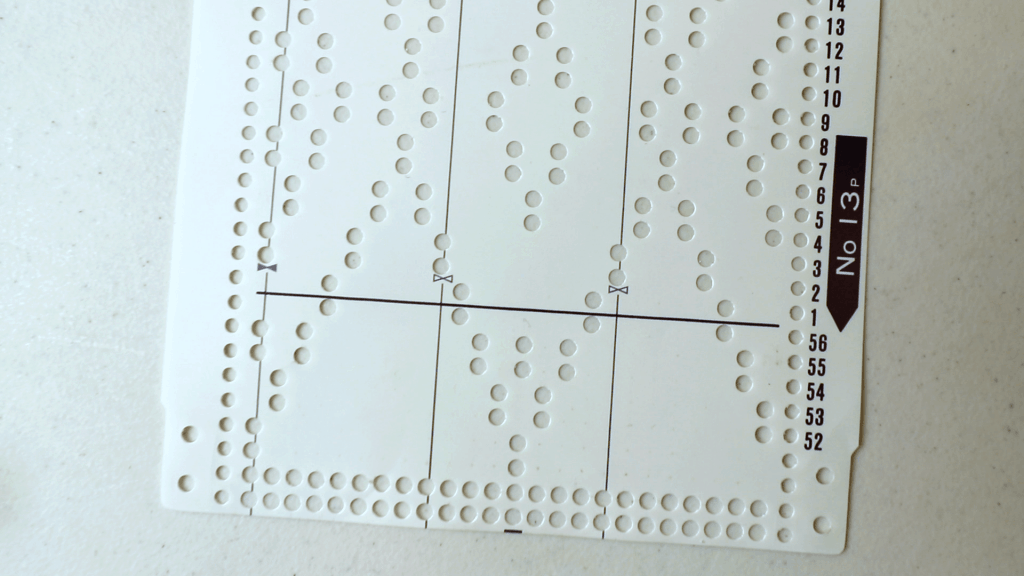
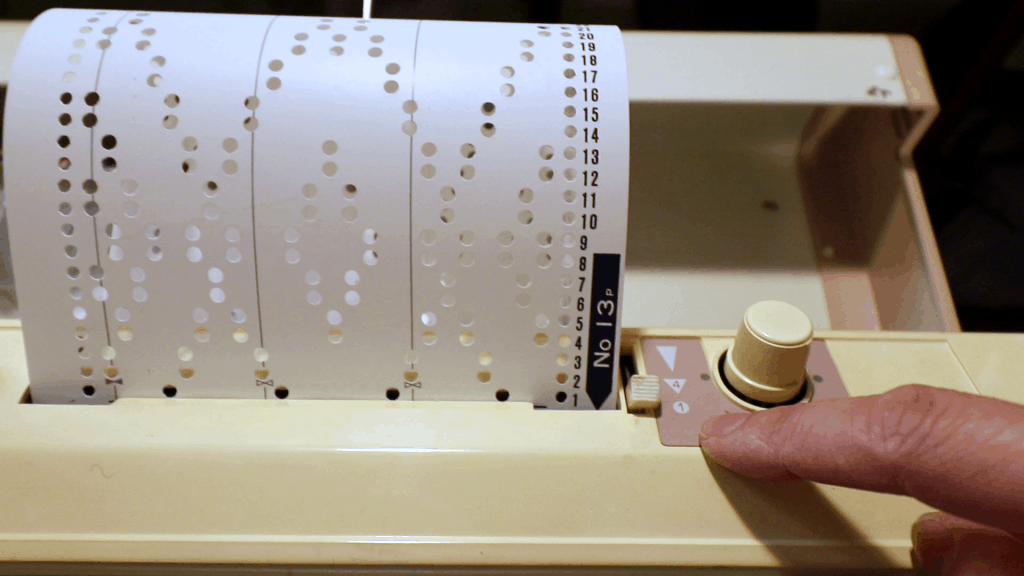
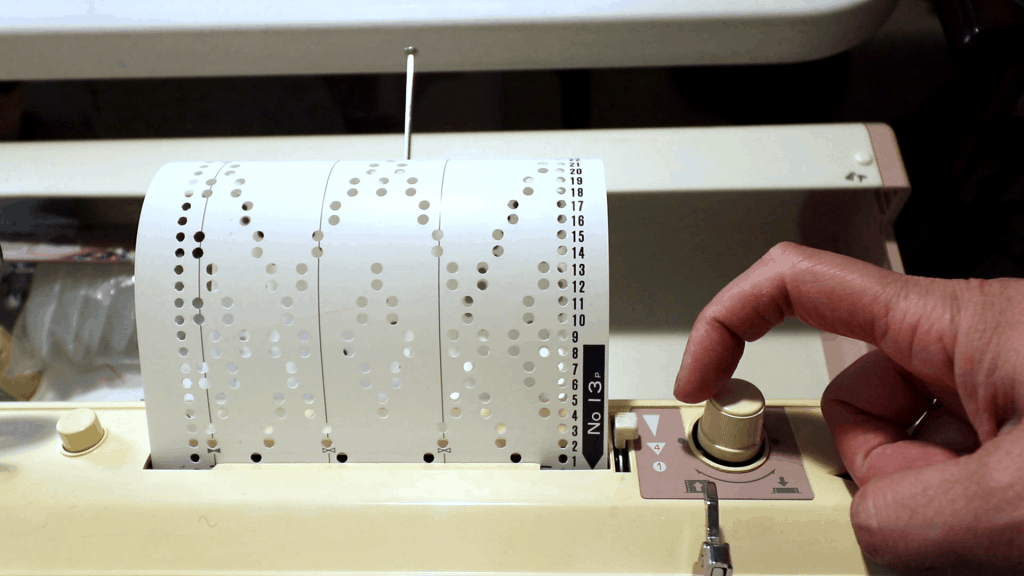
I am using a 13p Brother punch card.
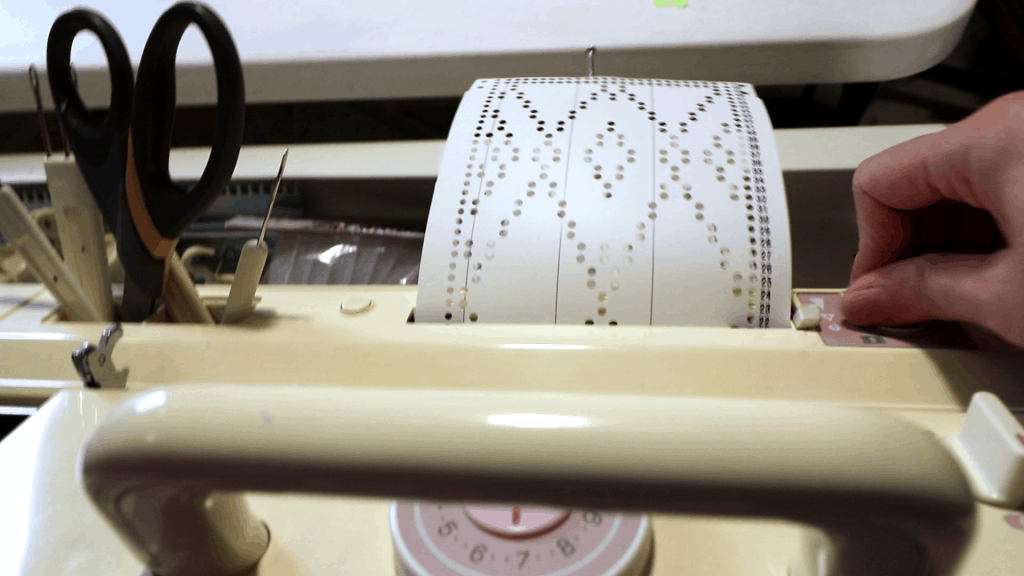
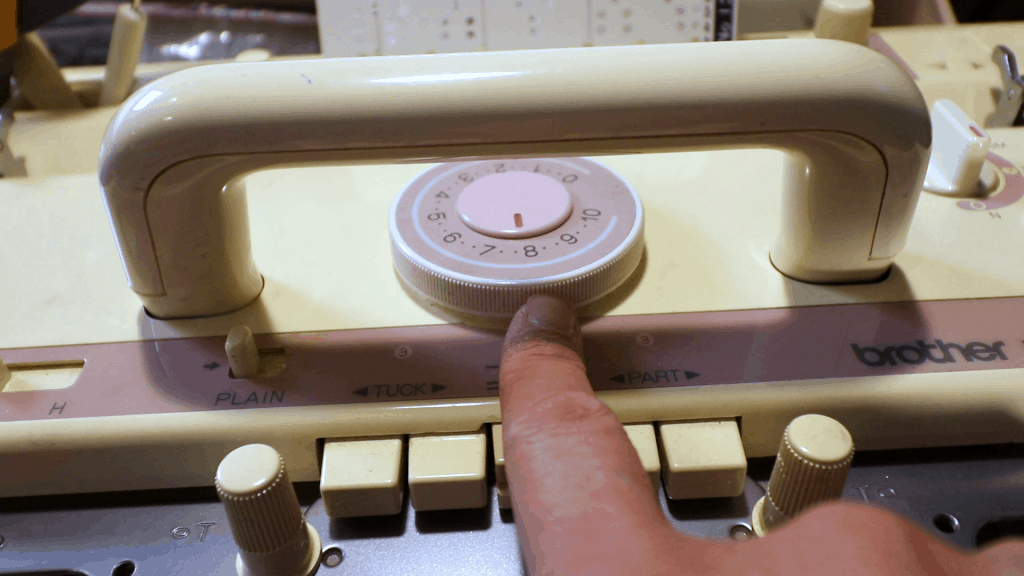
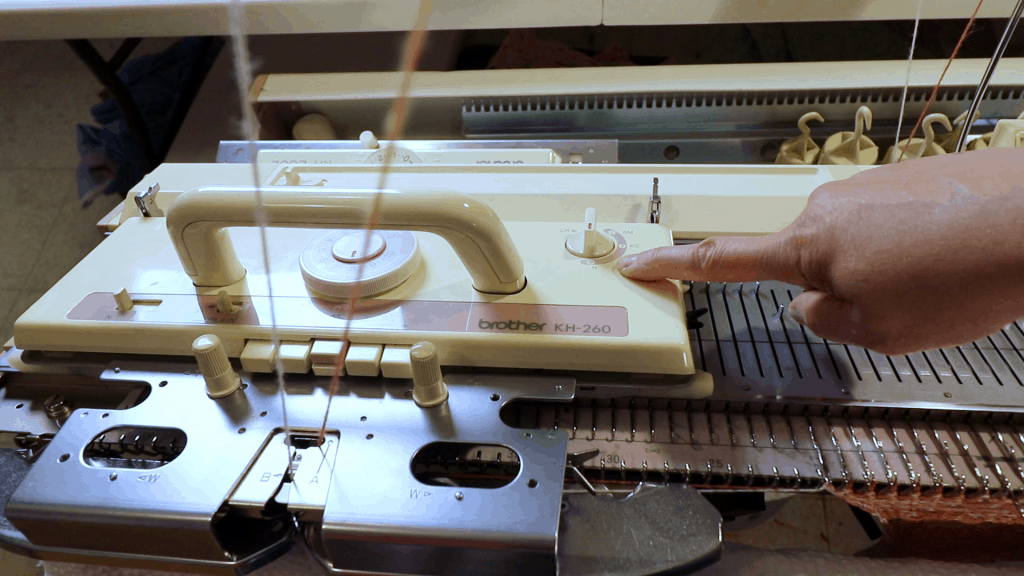
Insert the punch card by turning the dial.
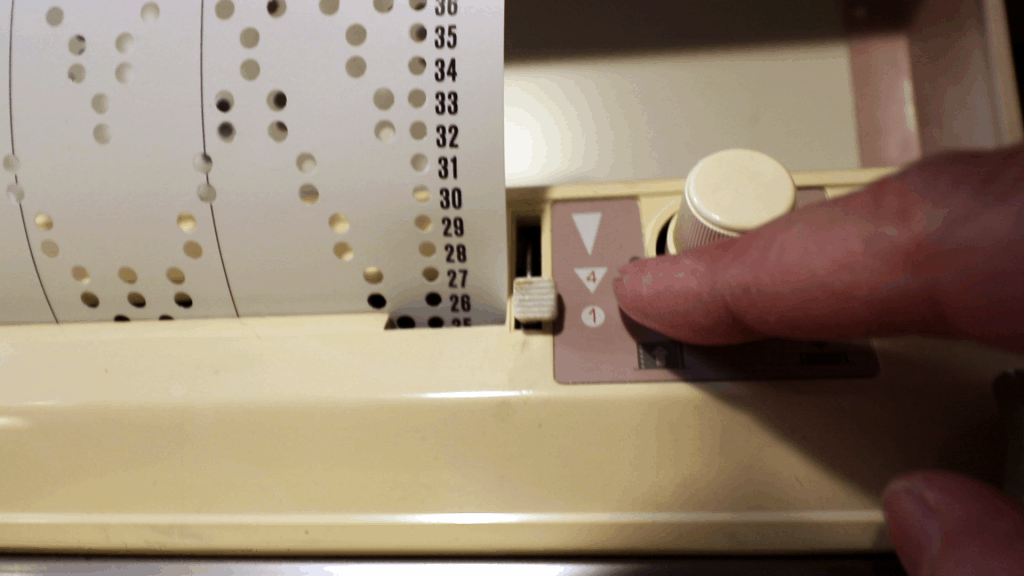
The three symbols:
round (bottom) is for locking,
triangle (middle) is for standard punchcard knitting,
the long triangle (top) is for elongated knitting.
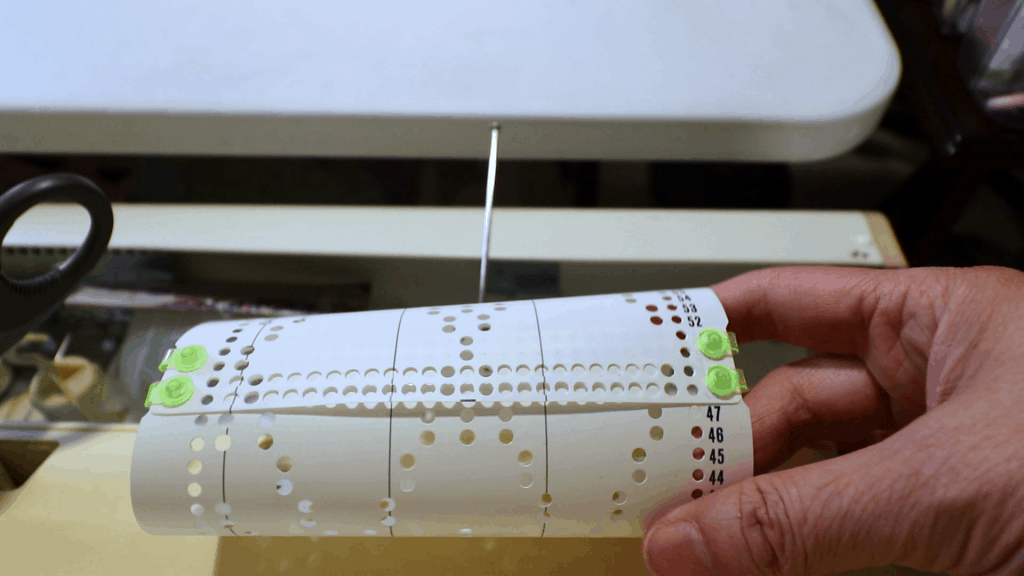
Add 1 pair of clips to connect the beginning and end of the punchcard so the pattern will be continuous.
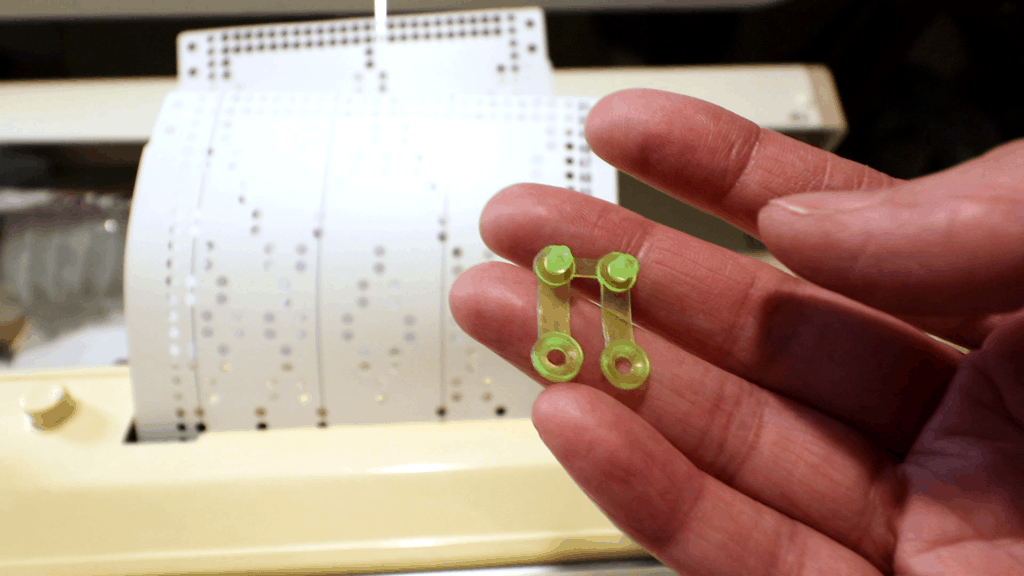
Clips installed.
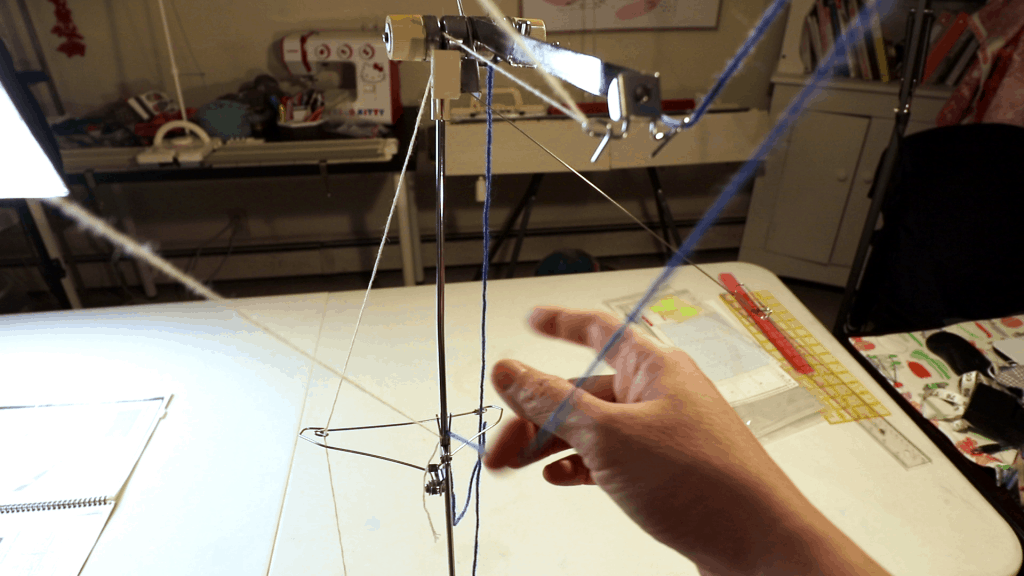
Thread the yarn as usual. The main yarn or the heavyweight one on the right, and the thinner one on the left.
The next step is to disable the “end needle selection” function so the end needles are not selected.
Take the carriage off the machine (Dial to CR first before taking off or place on to the machine).
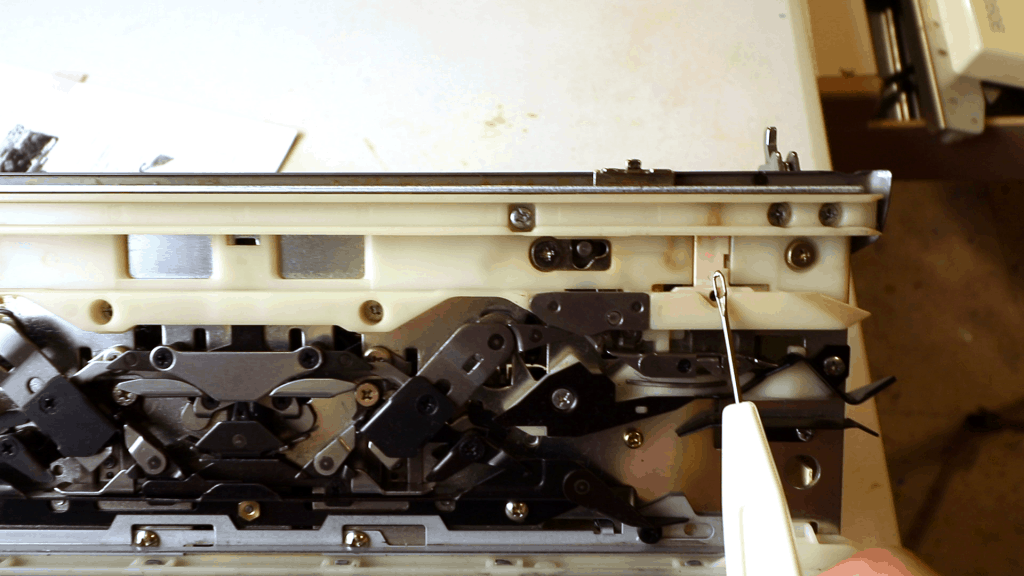
Dial to KC before turning over the carriage. Find the 2 pieces as shown below. One on the left and one on the right.
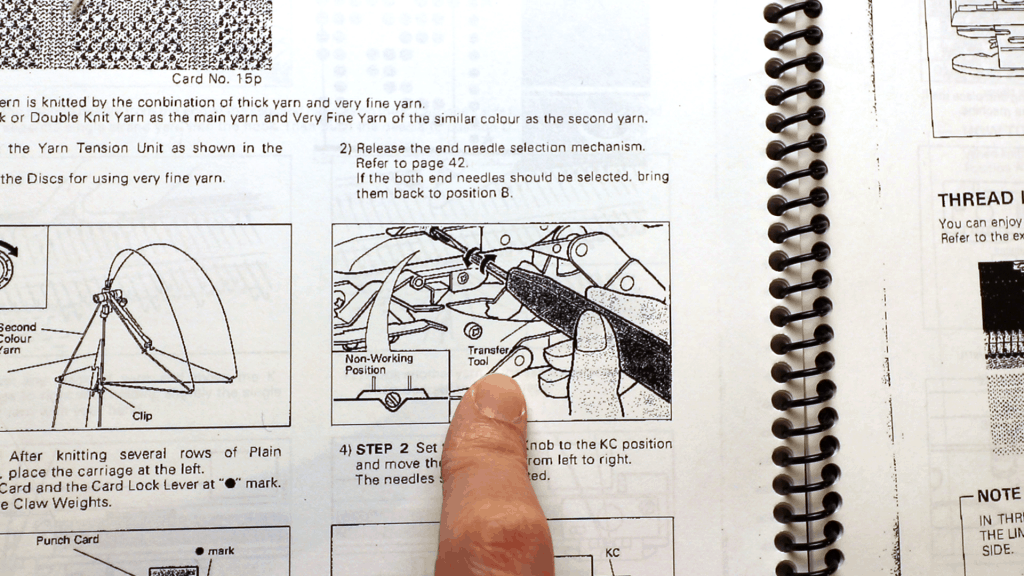
Use the 1-prong transferring tool to turn the black holes to lock or unlock.
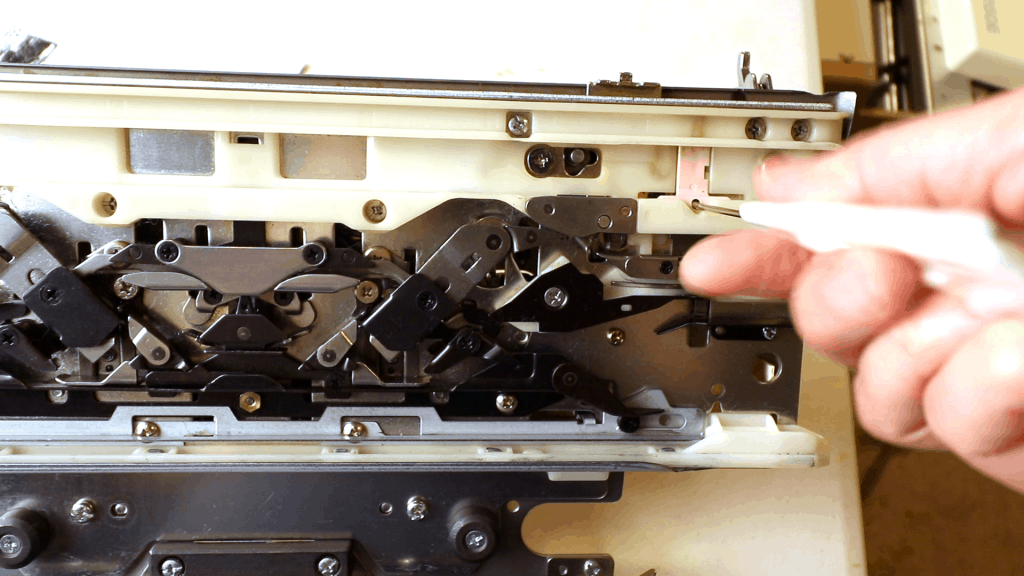
Once they are unlocked, you can move the pieces up or down. We want to move the pieces down and lock them.
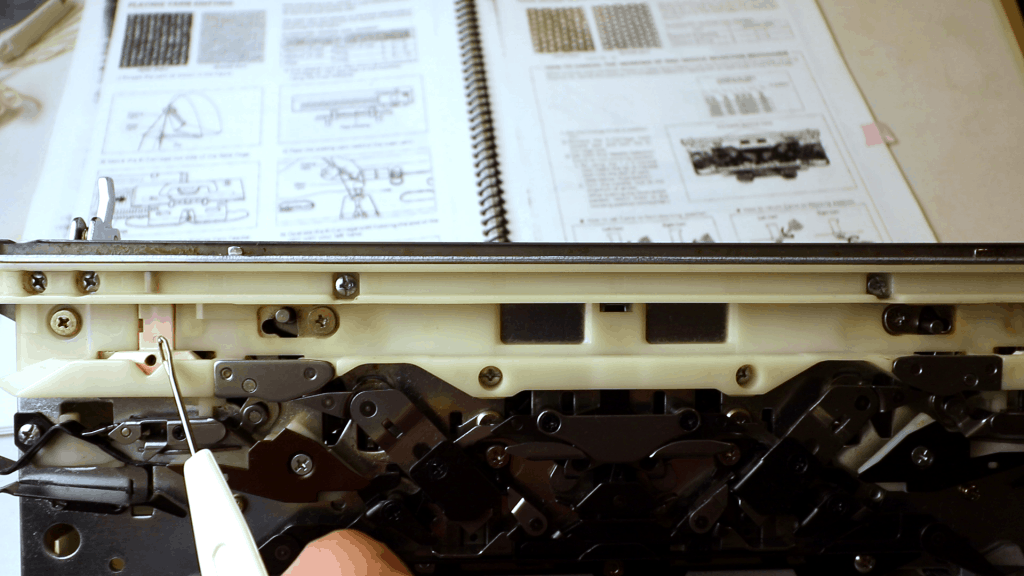
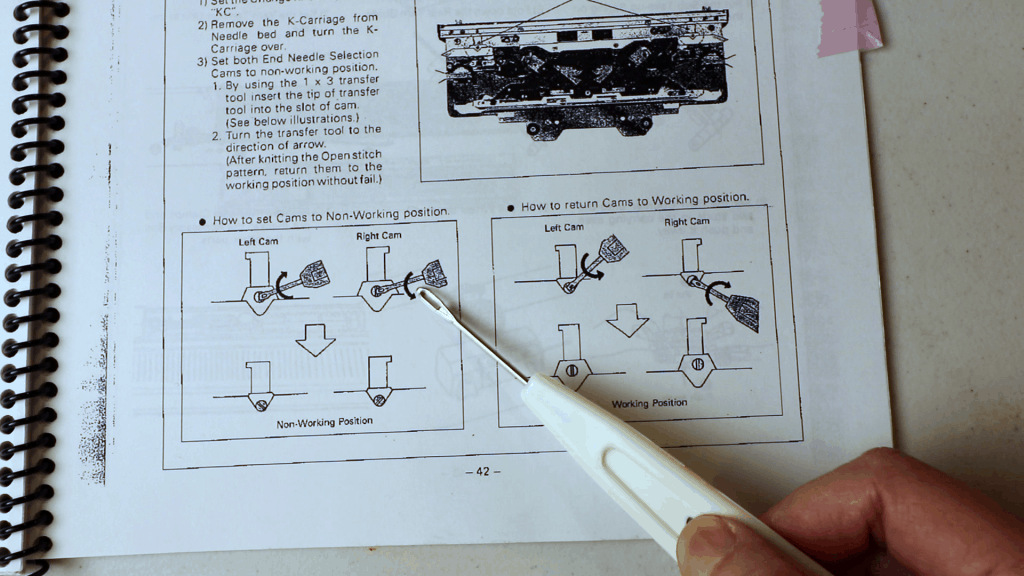
According to the instruction, the left piece needs to be turned clockwise and the right piece needs to be turned counter-clockwise to lock them to the non-working position. See the below picture on the left.
Remember to reverse them after done knitting the thread lace stitch so they will be returned to the working position again.
Place the carriage back to the machine (Dial to CR first before placing it back.) Dial to N for normal knitting.
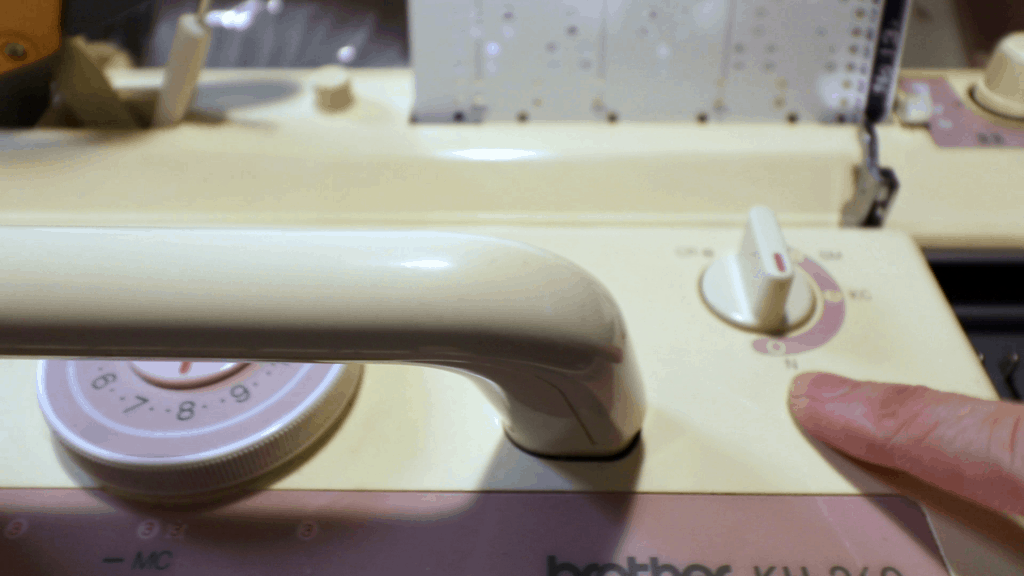
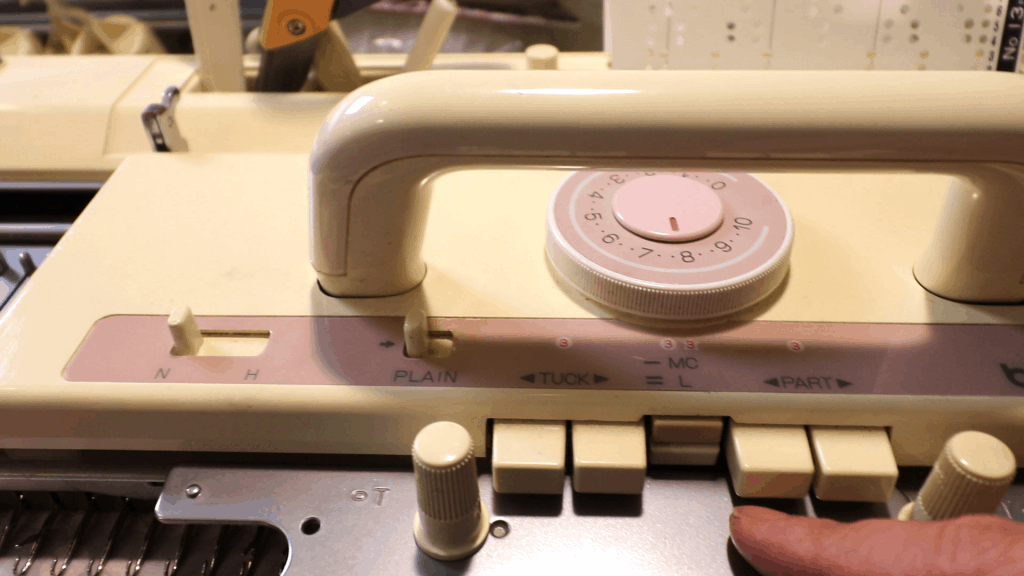
Set your tension depending on the yarns you choose and your own preference. I have number 8 for the 2 thin yarns of different colors.
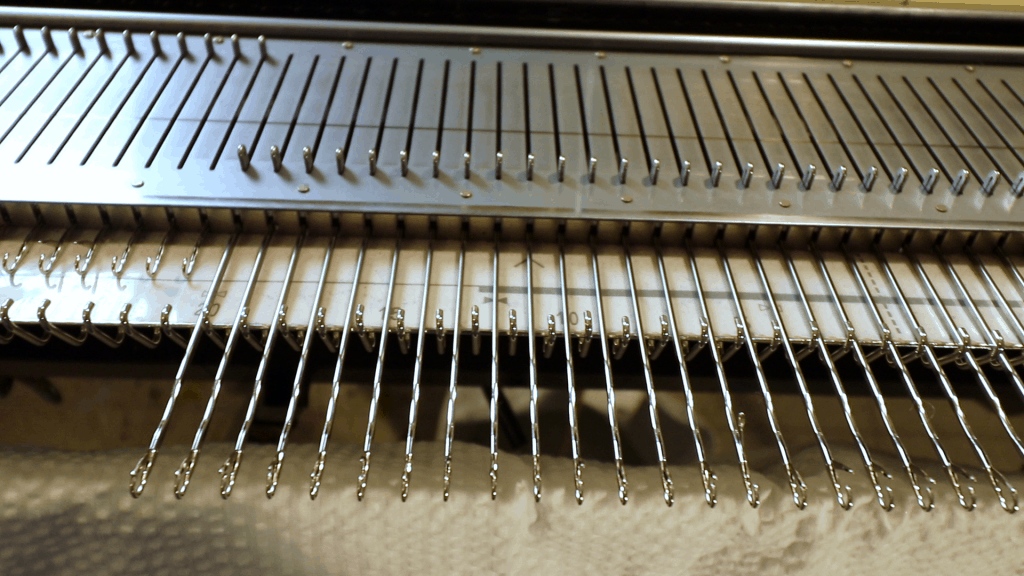
Pick out as many needles as you like. I have 30 needles (Left 20 to Right 10). Just want to make sure I have enough space for the K-carriage to park on the right because I have no extension rail for my bulky machine.
Cast on any method you like. I did a simple e-wrap and then hang some weight.
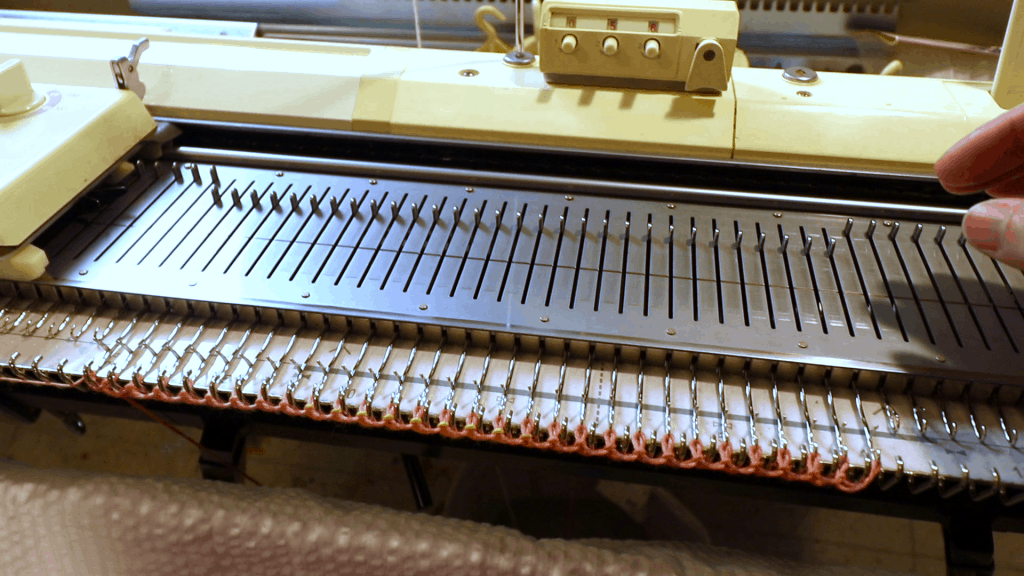
After a few rows of plain stitches, park the carriage on the left side.
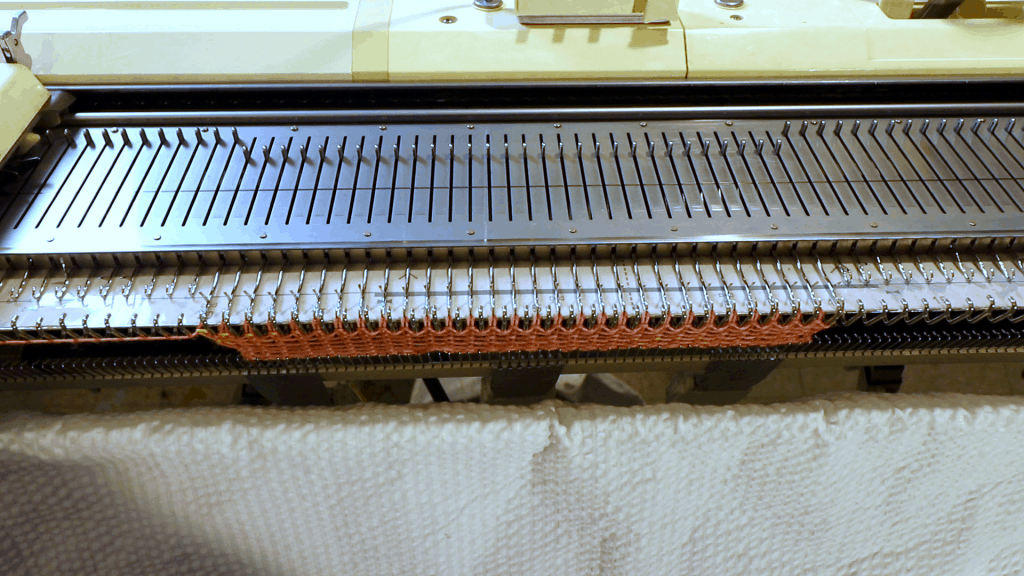
Make sure the punch card is on row 1, and dial to the round circle (bottom) to lock the card in this row.
Carriage dial is set to KC to engage the punchcard.

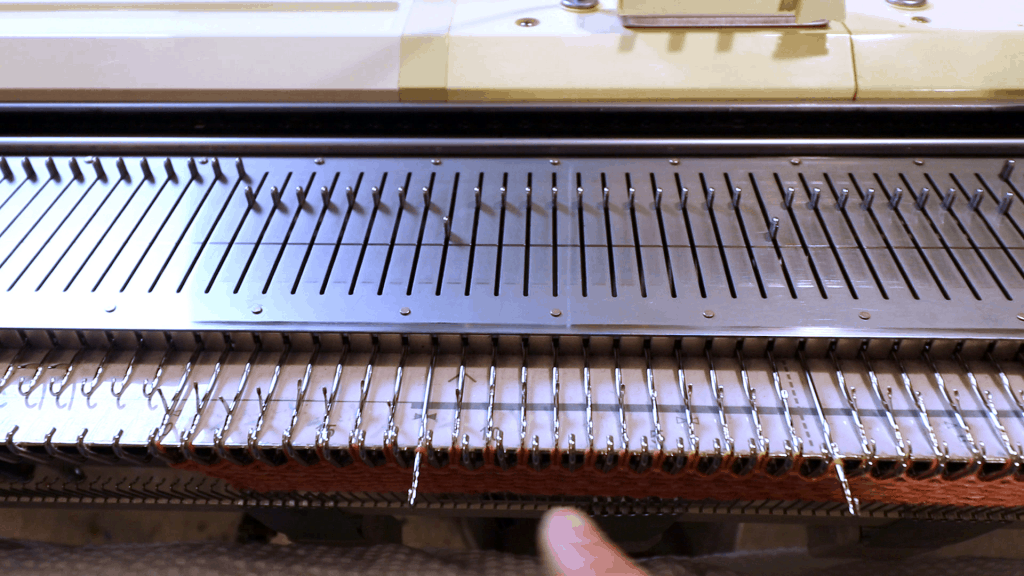
Move the carriage from the left to right. See the needles are selected per punch card.
Push the 2 MC bottons in the center (both top and bottom ones).
Switch to the triangle in the middle for normal punchcard advancement.
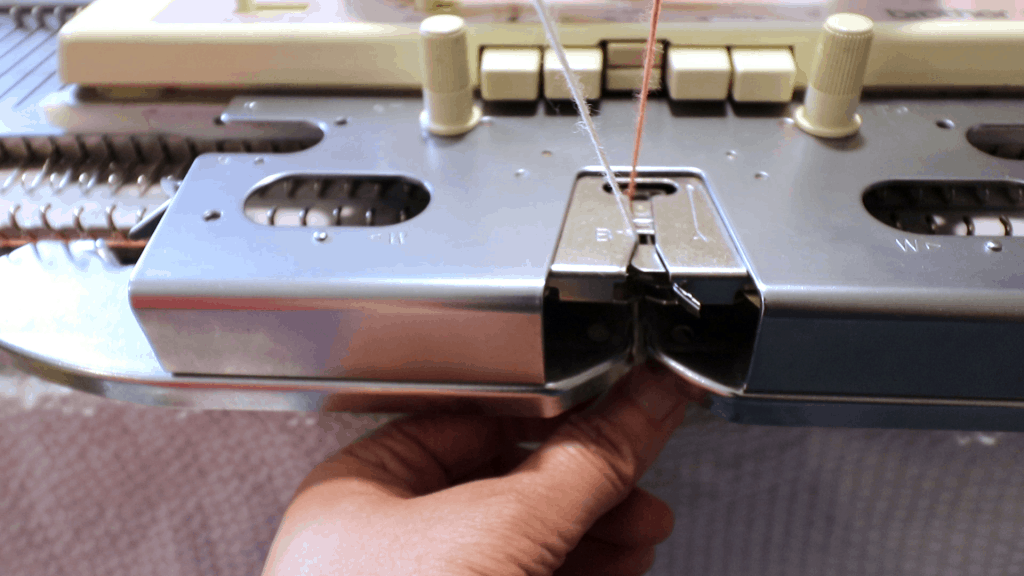
Place the second yarn in the B slot. The first yarn stays in the A slot.
Hold the second yarn end or place a clip so it is weighted down for the next few rows.
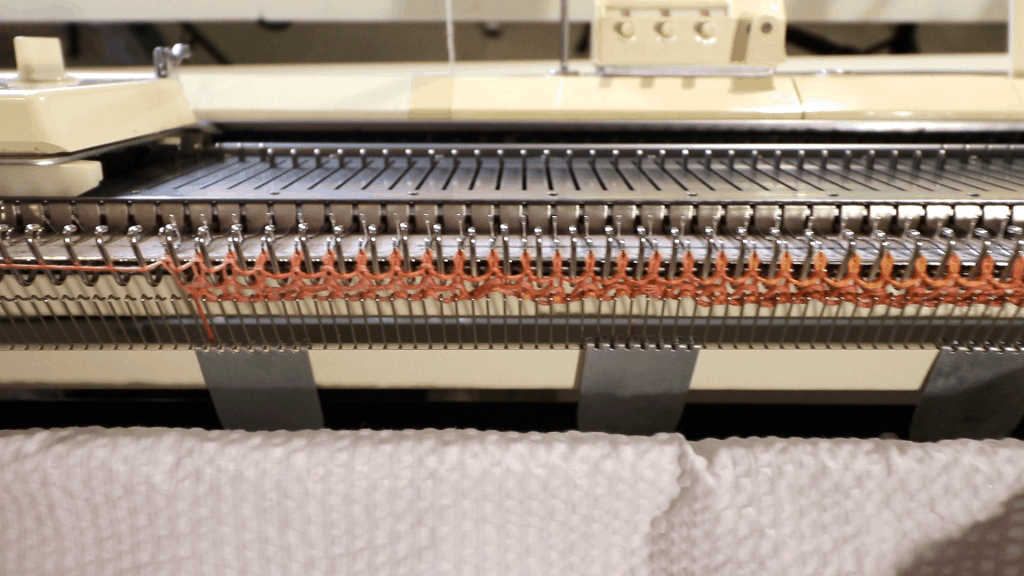
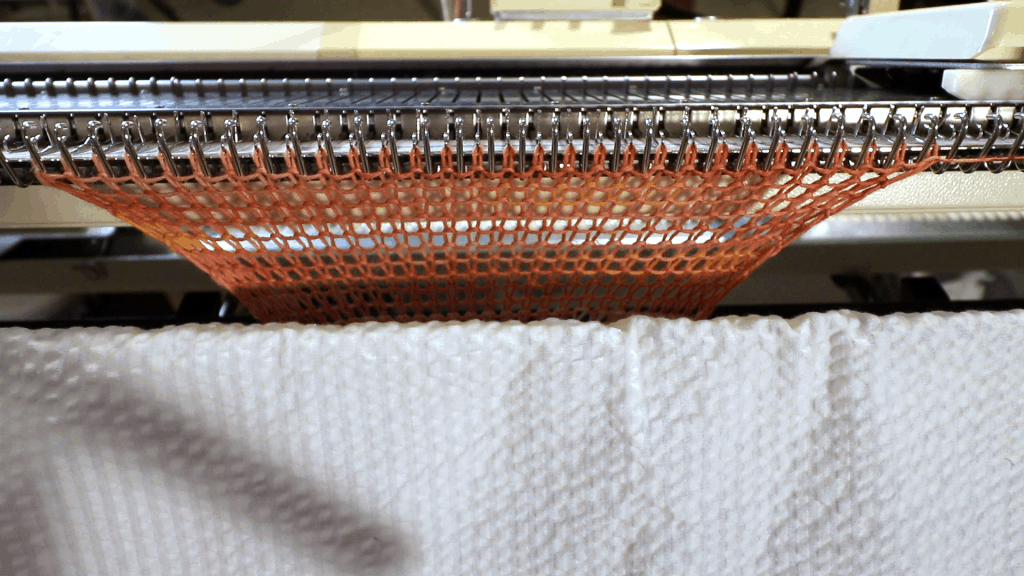
Knit across. This is the first row with both yarns.
Continue knitting back and forth.
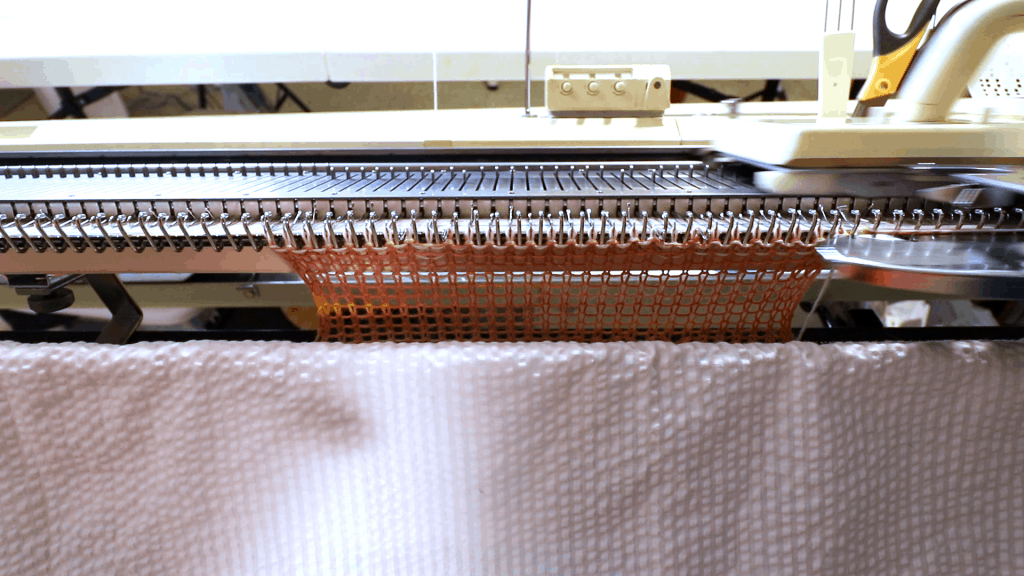
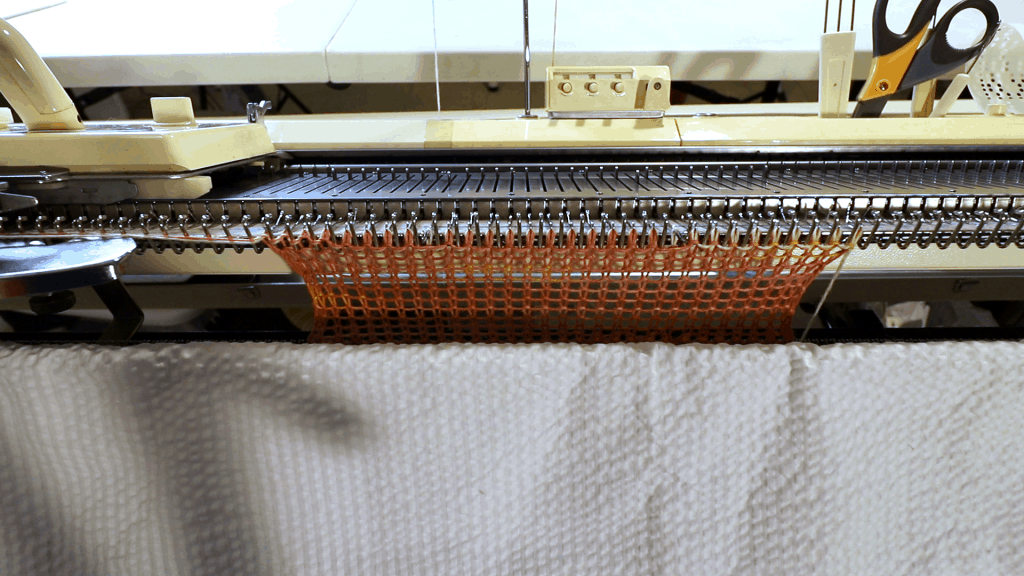
Start to see the pattern forming. Continue knitting as long as you like. I knit about 58 rows because that is the row number on the punch card.
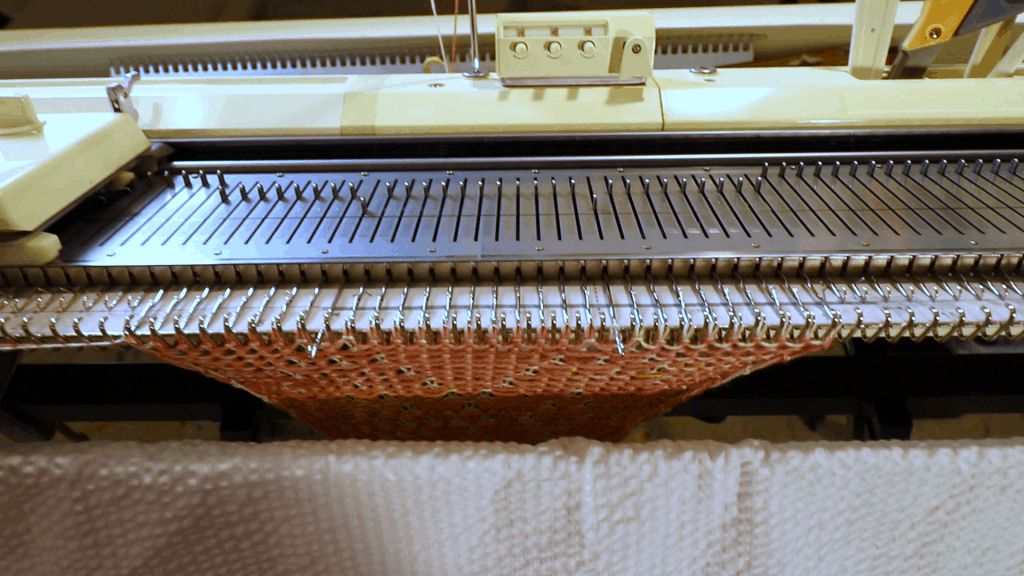
When the length is long enough. Change the dial to N (dis-engage the punchcard).
Make sure the MC buttons are back to normal.
Cut off one of the yarns.
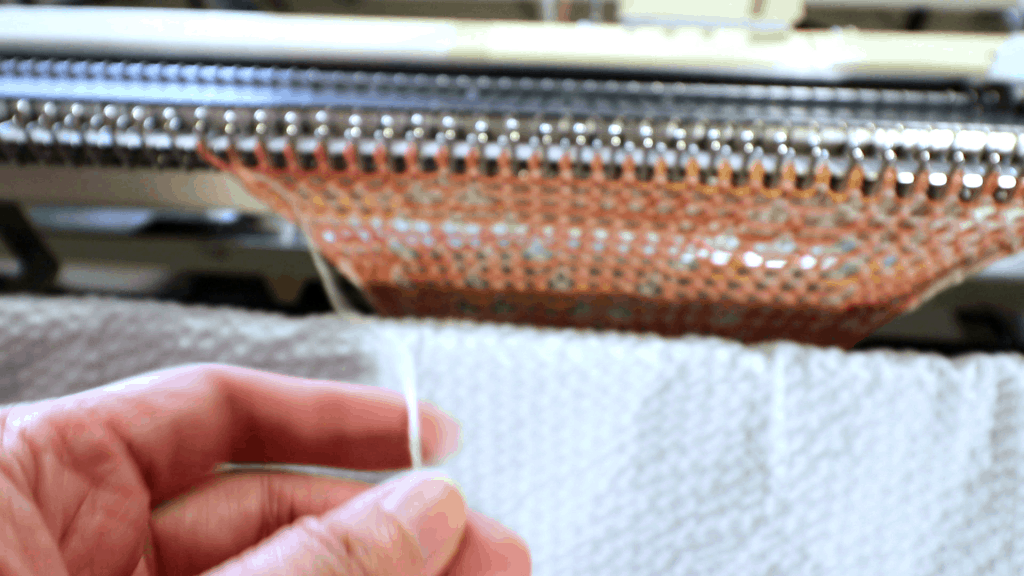
Knit a few plain rows. Bind off any way you like. (Watch the video for how I bind off). Take the piece off the machine.
Give it a steam iron to help flattening a bit if necessary.
The back side.
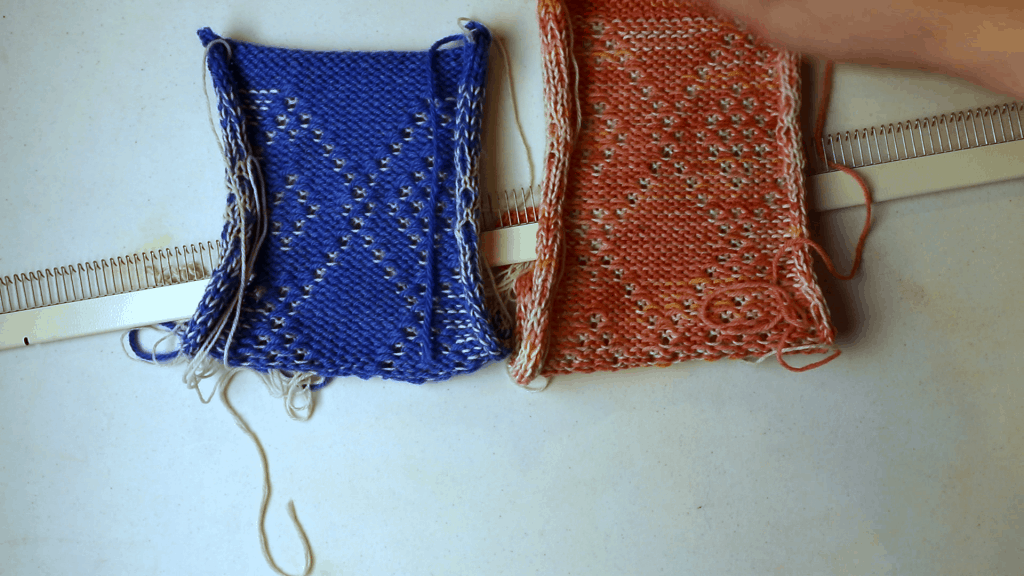
See the holes and thread-like harizontal bars. That’s it. Easy peasy!


One Comment
Brian
Great tutorial, and thread lace can absolutely be done on a standard. I have done it on my 892 and my 940